


 本文介绍了如何在SpringBoot项目中使用Knife4j库创建和定制接口文档,包括添加依赖、配置SwaggerConfig、设置API信息以及调整路径匹配策略,最终生成可访问的API文档。
Knife4j官网:https://doc.xiaominfo.com/knife4j/documentation/get_start.html

1、引入依赖
<!-- knife4j 接口文档 -->
<dependency>
    <groupId>com.github.xiaoymin</groupId>
    <artifactId>knife4j-spring-boot-starter</artifactId>
    <version>2.0.7</version>
</dependency>
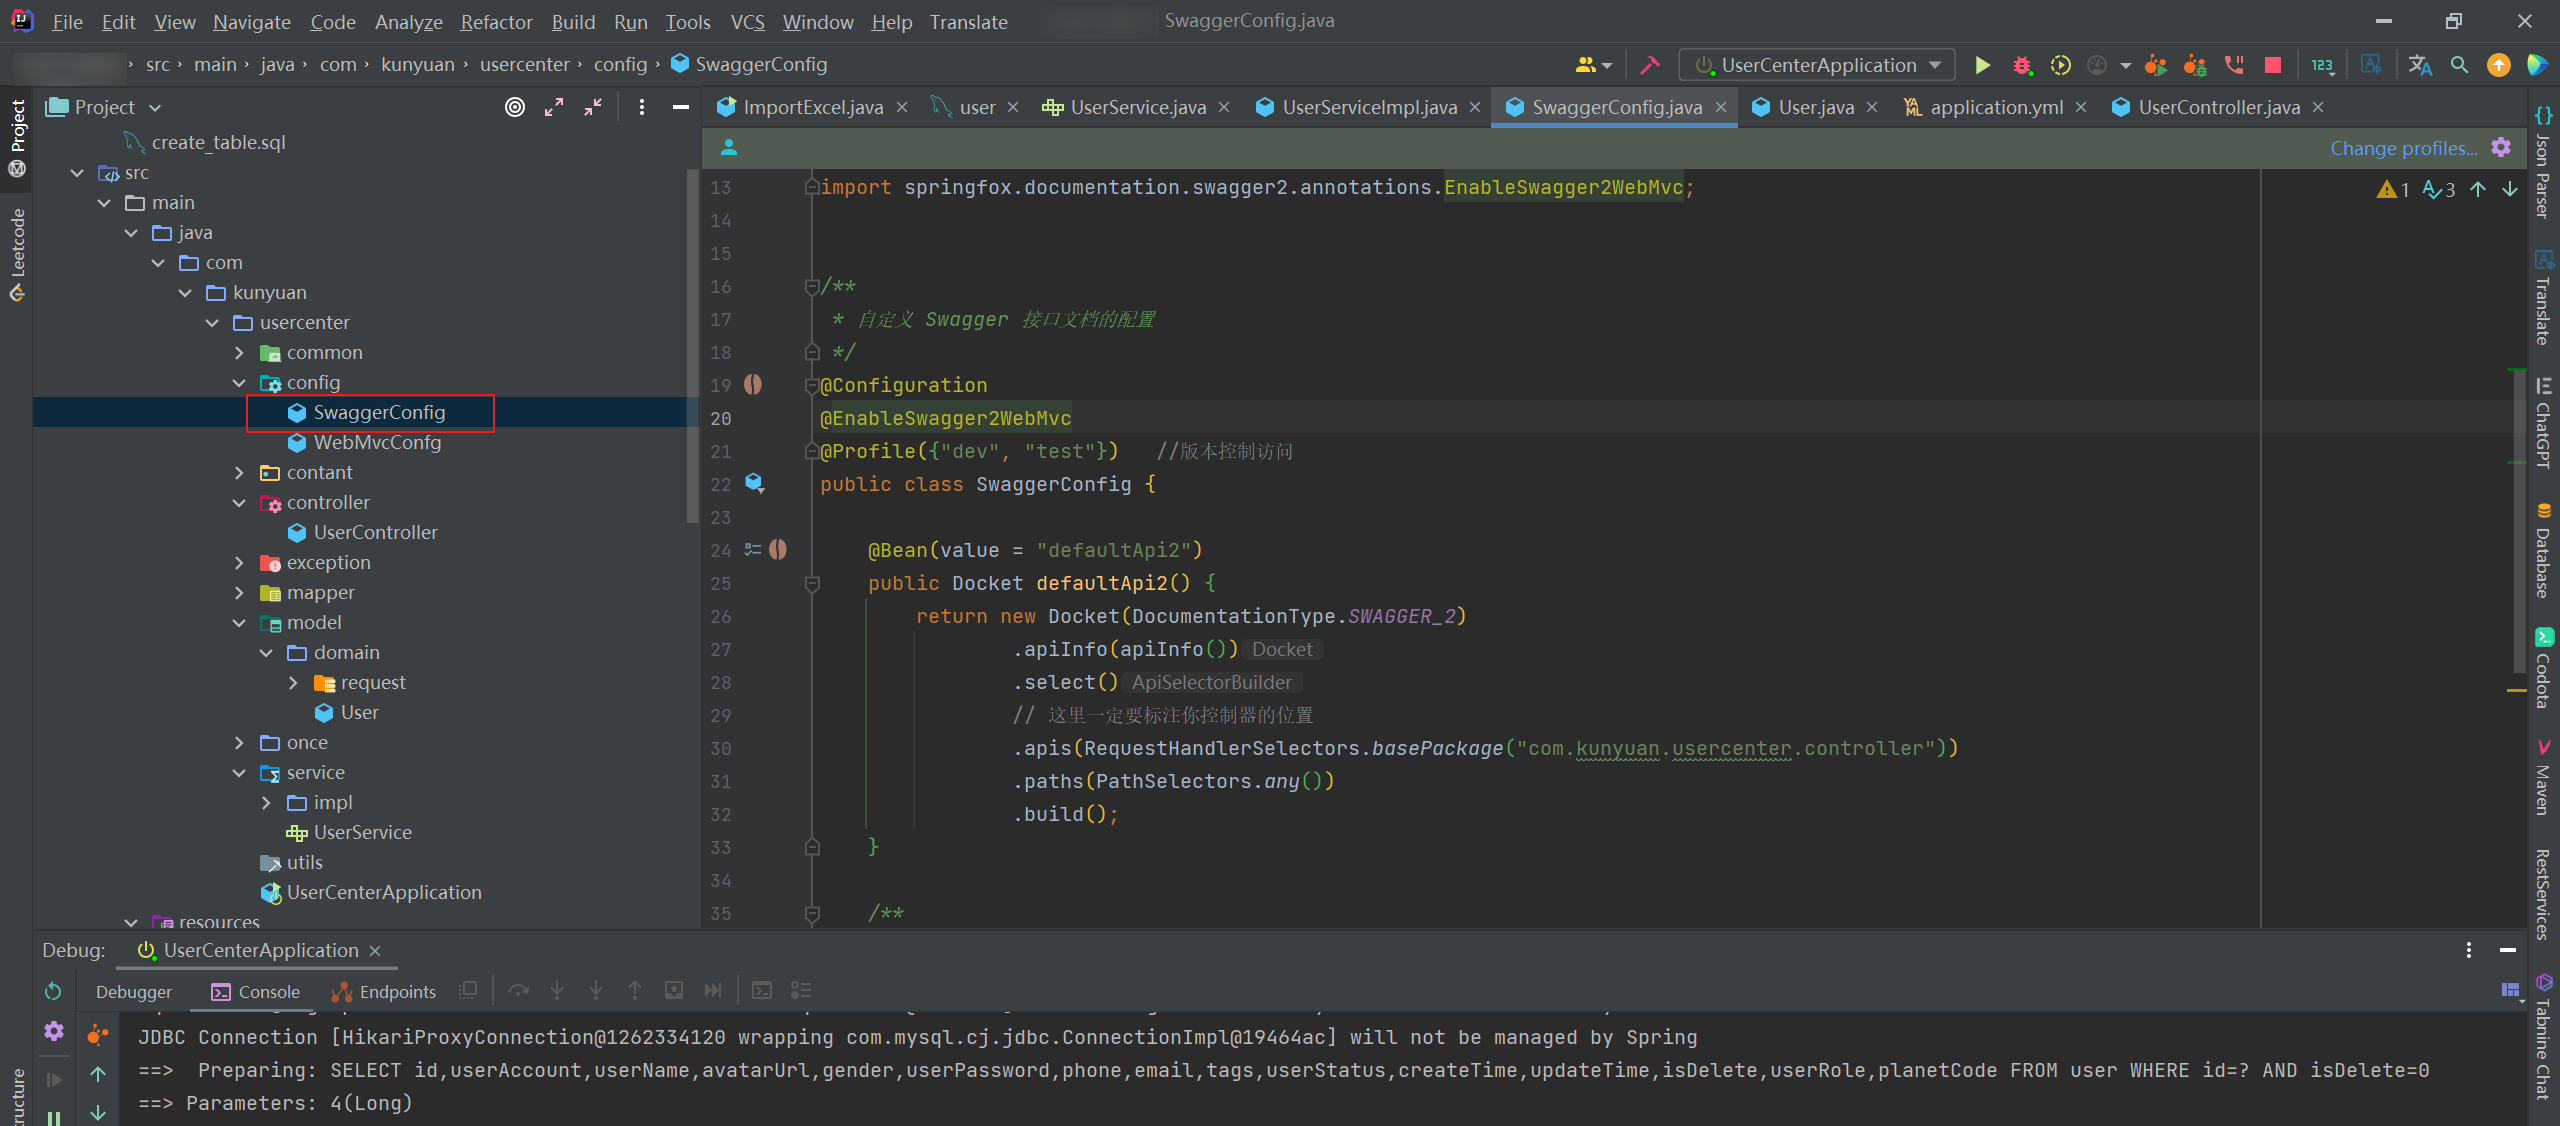
2、新建SwaggerConfig文件
import org.springframework.context.annotation.Bean;
import org.springframework.context.annotation.Configuration;
import org.springframework.context.annotation.Profile;
import springfox.documentation.builders.ApiInfoBuilder;
import springfox.documentation.builders.PathSelectors;
import springfox.documentation.builders.RequestHandlerSelectors;
import springfox.documentation.service.ApiInfo;
import springfox.documentation.service.Contact;
import springfox.documentation.spi.DocumentationType;
import springfox.documentation.spring.web.plugins.Docket;
import springfox.documentation.swagger2.annotations.EnableSwagger2WebMvc;
/**
* 自定义 Swagger 接口文档的配置
*/
@Configuration
@EnableSwagger2WebMvc
@Profile({"dev", "test"}) //版本控制访问
public class SwaggerConfig {
@Bean(value = "defaultApi2")
public Docket defaultApi2() {
return new Docket(DocumentationType.SWAGGER_2)
.apiInfo(apiInfo())
.select()
// 这里一定要标注你控制器的位置
.apis(RequestHandlerSelectors.basePackage("com.kunyuan.usercenter.controller"))
.paths(PathSelectors.any())
.build();
}
/**
* api 信息
* @return
*/
private ApiInfo apiInfo() {
return new ApiInfoBuilder()
.title("鲲远用户中心")
.description("鲲远用户中心接口文档")
.termsOfServiceUrl("https://github.com/liyupi")
.contact(new Contact("shayu","https://shayuyu.cn/","shayu-yusha@qq.com"))
.version("1.0")
.build();
}
}
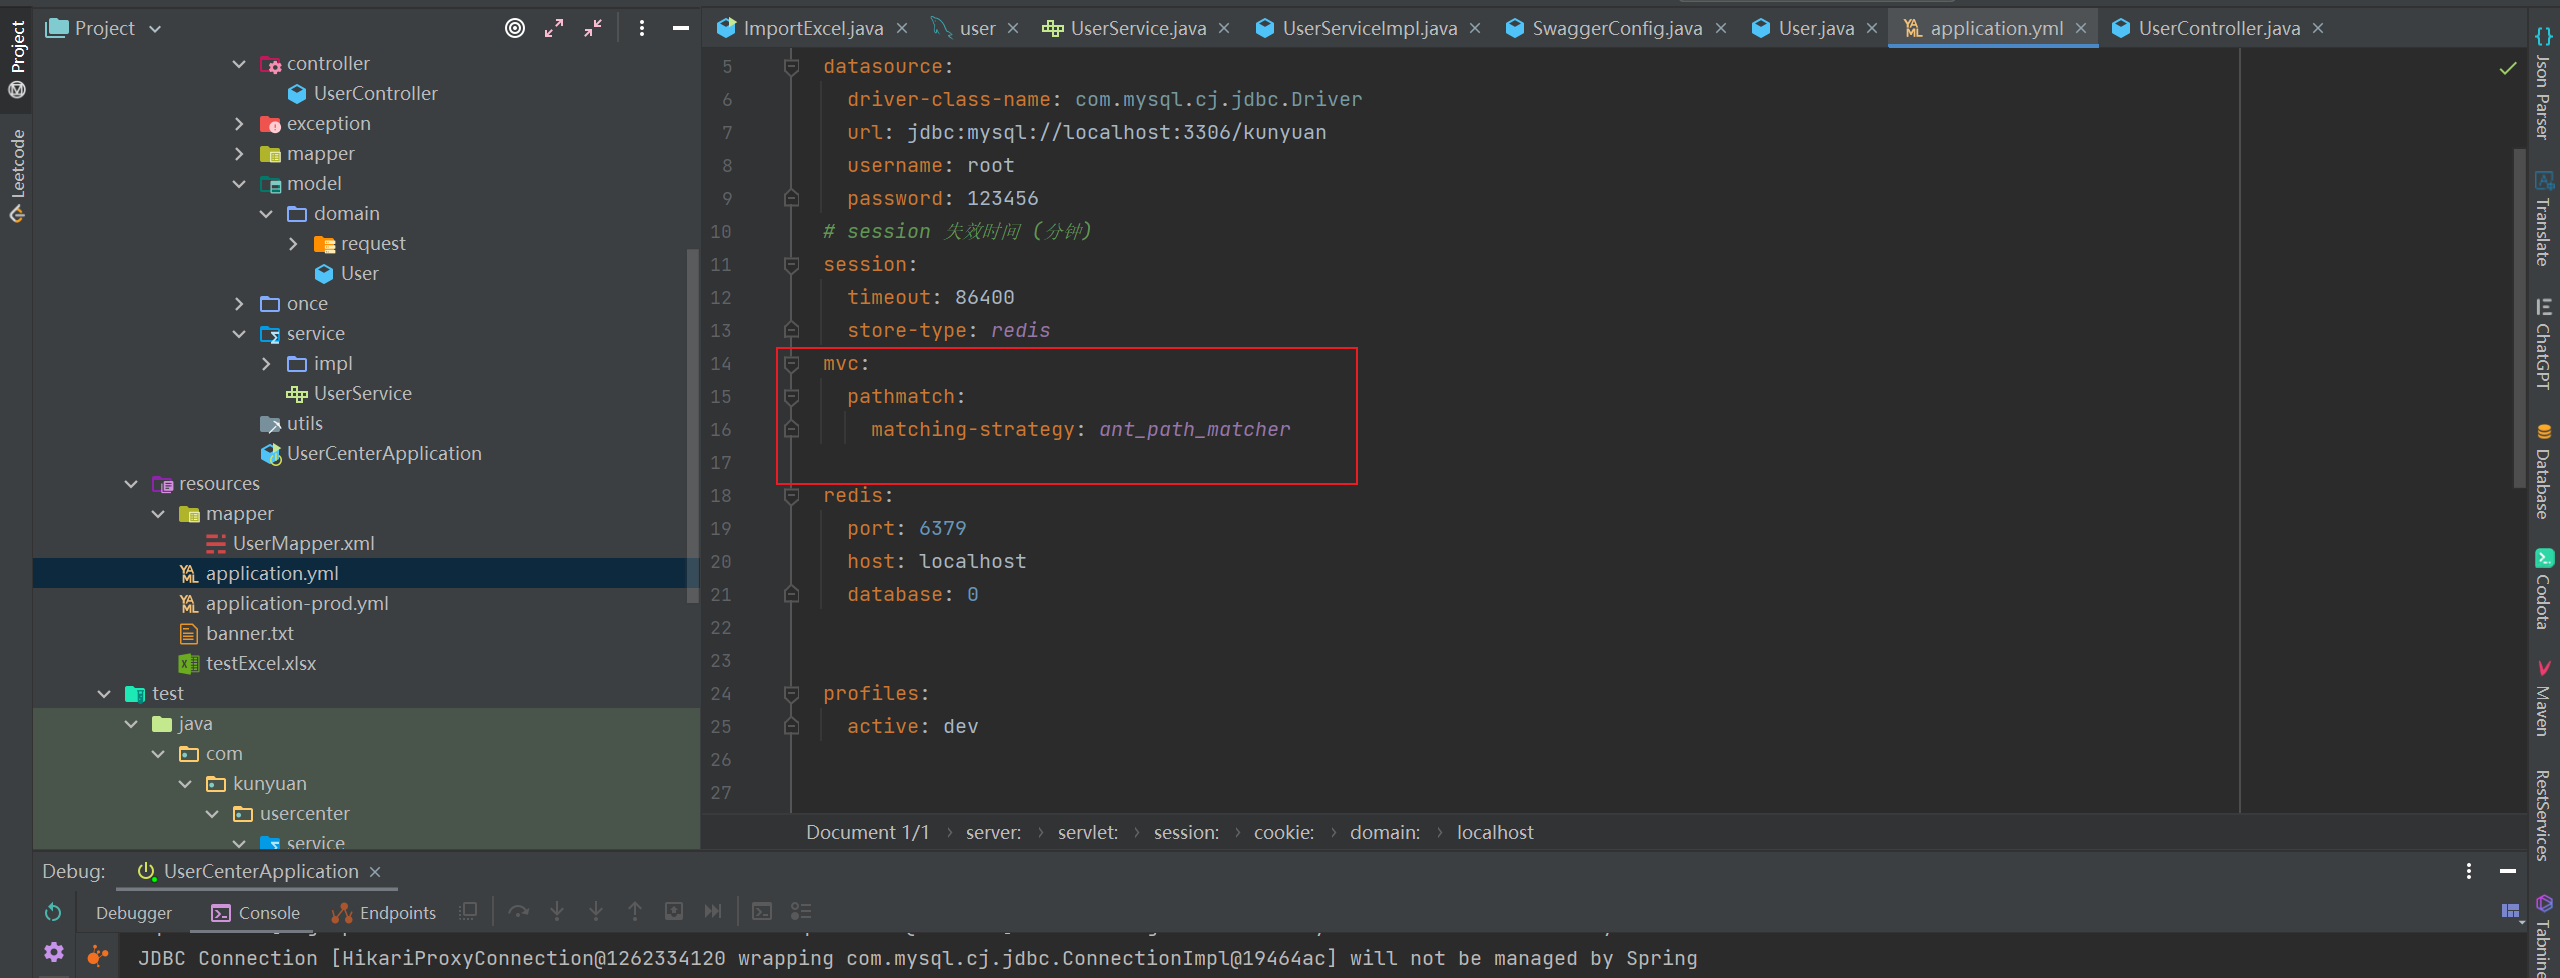
3、在application.yml 加以下代码
 mvc:
    pathmatch:
      matching-strategy: ant_path_matcher
4、运行成功
最终效果:http://localhost:8080/api/doc.html#/home


 21万+
21万+


 被折叠的 条评论
为什么被折叠?
被折叠的 条评论
为什么被折叠?
 到【灌水乐园】发言


