


 本文介绍了如何使用Orbbec相机的PythonSDK,包括下载解压文件、配置Python环境、处理和融合彩色流与深度流。示例代码展示了如何创建Pipeline,启用和配置流,以及将深度图与彩色图进行对齐和显示。
1.在官方文档中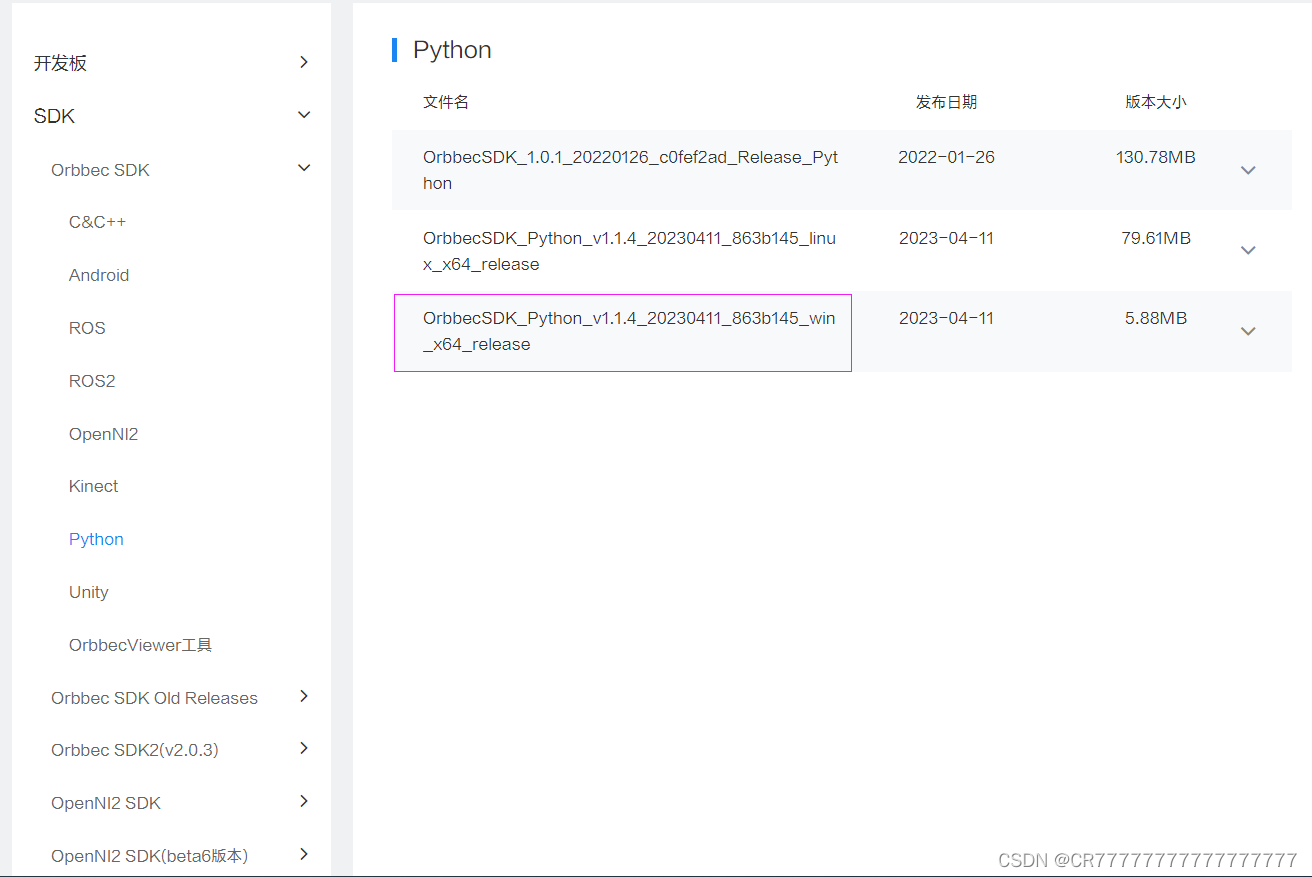
2.下载该文件,保存好后解压

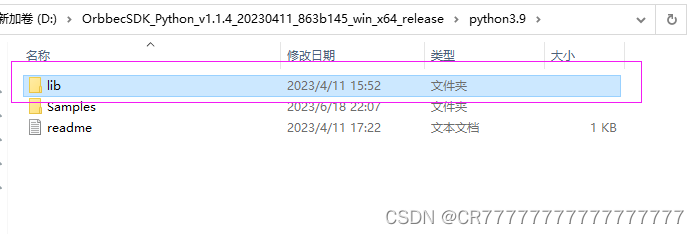
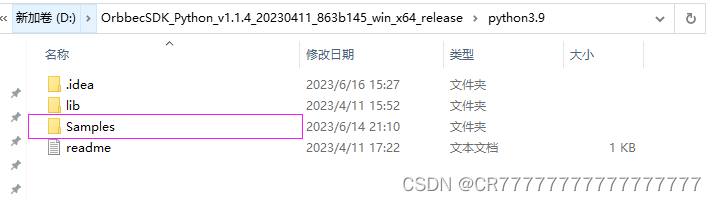
3.里面有三个文件夹,分别对应三个Python版本的demo,你可以选择你自己创建的虚拟环境所对应的Python版本,点击进去。我自己的是python3.9版本,然后点击lib
4.点进去之后是下面c_lib文件夹和python_lib文件夹
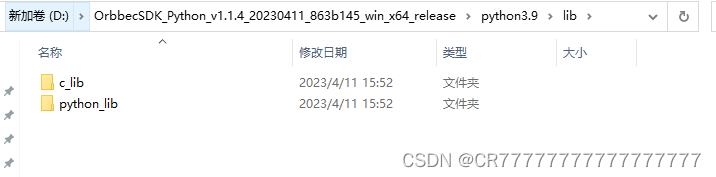 5.点进c_lib文件夹
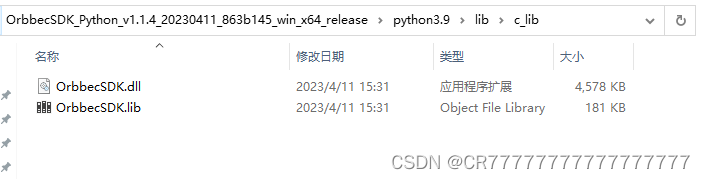 6.点进python_lib文件夹
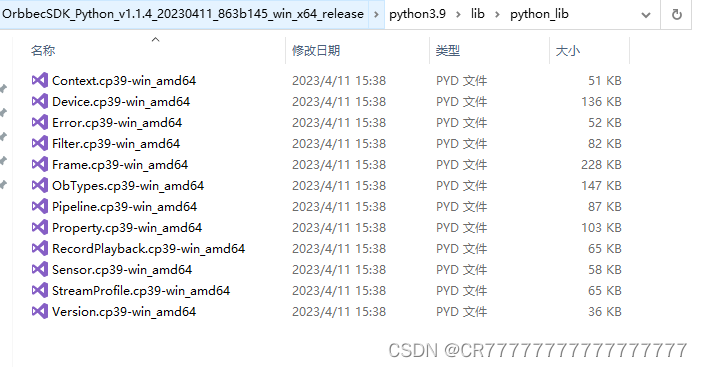
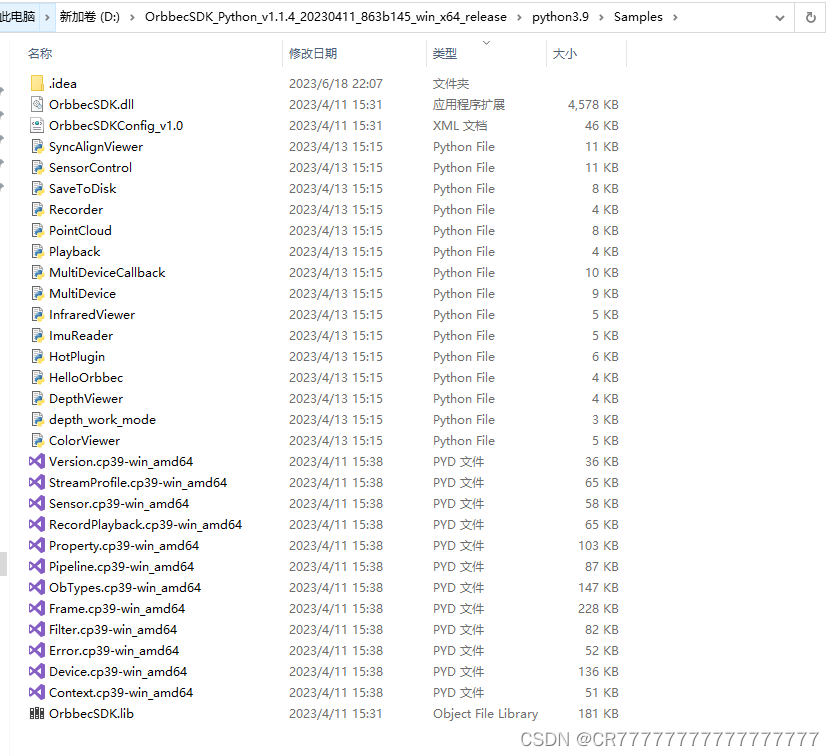
7.把上面c_lib文件夹中OrbbecSDK.dll文件,OrbbecSDK.lib文件和和python_lib文件夹中的所有PYD文件复制到Samples文件夹中
8.本来原本的Samples文件夹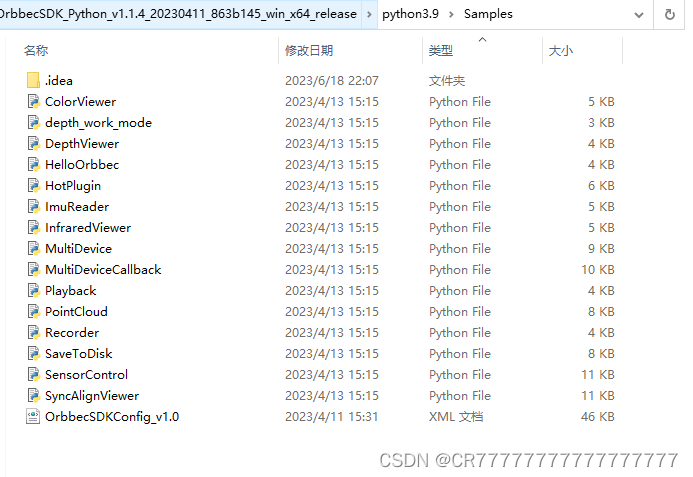
9.复制文件之后,配置好环境之后就可以直接运行这些Python File文件了
10.配置环境
(1) 配置环境
请先安装python3 opencv numpy等环境:
pip3 install opencv-python
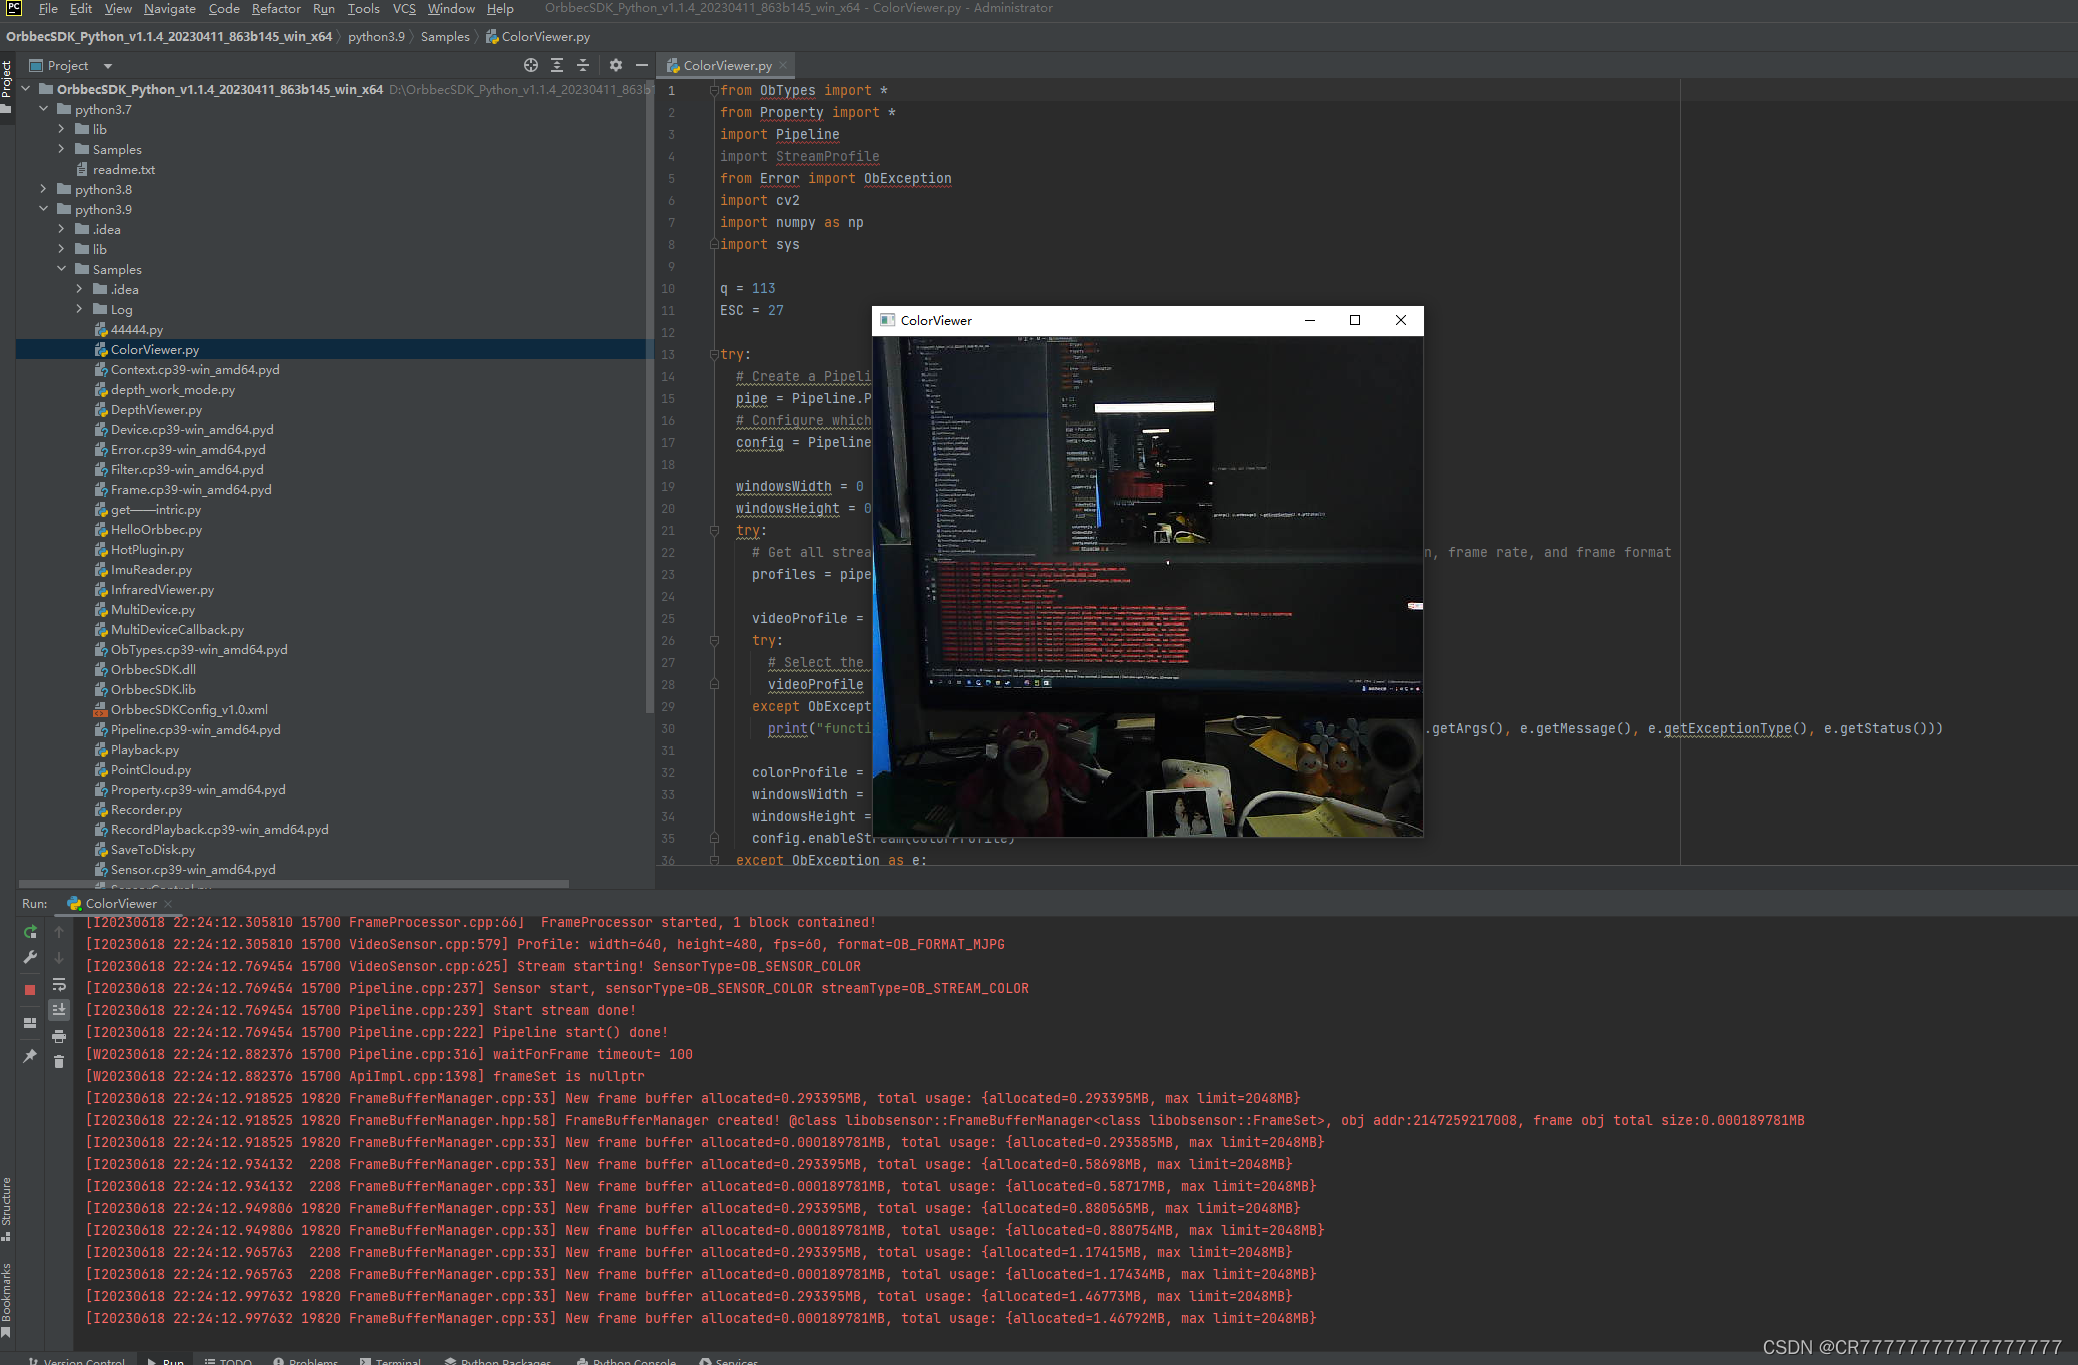
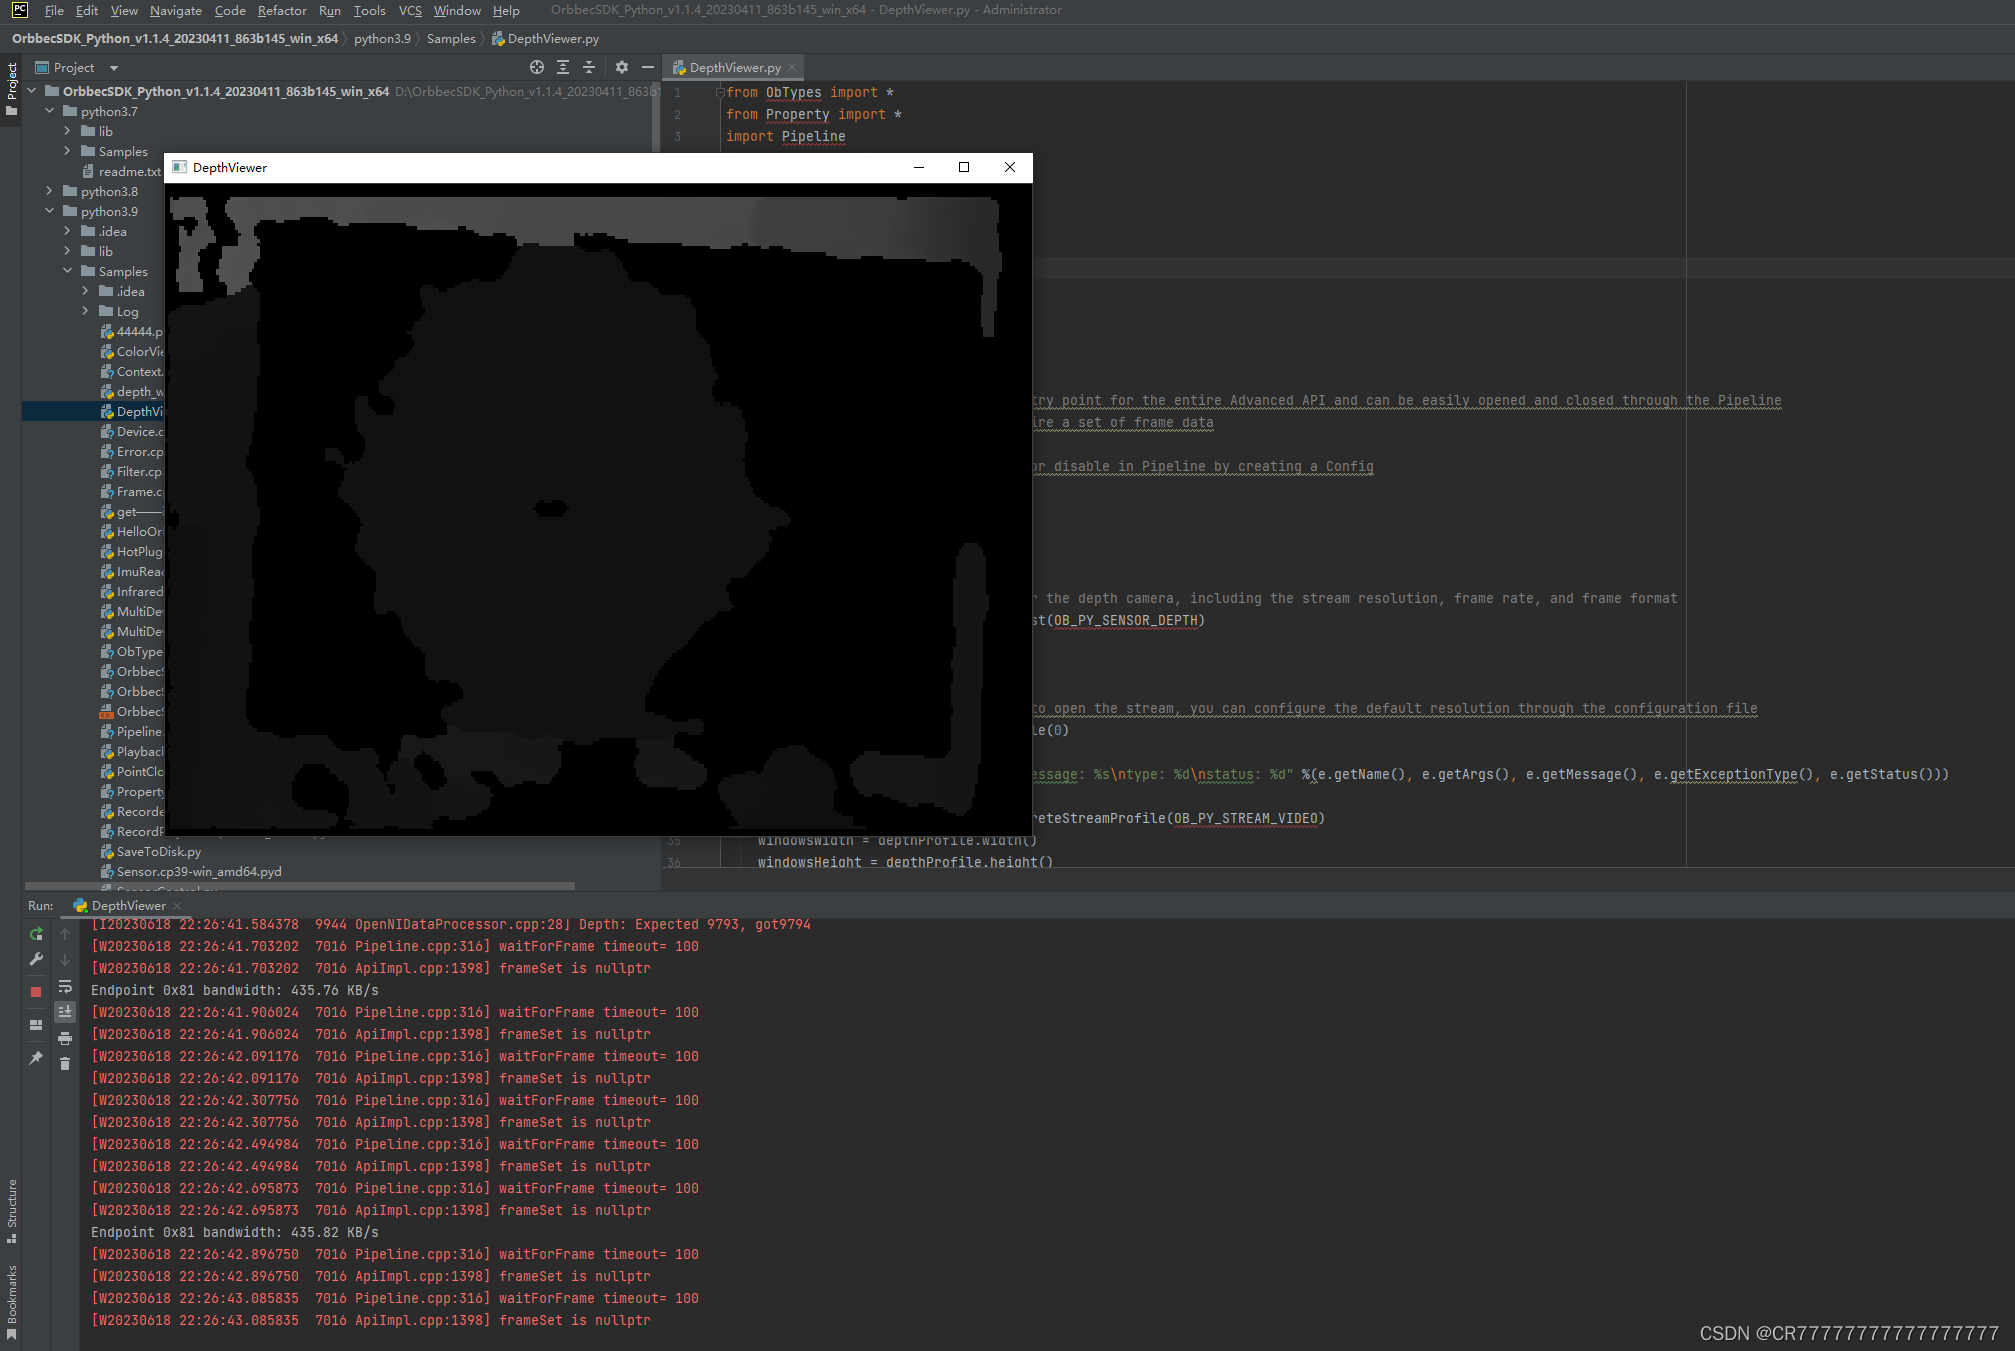
pip3 install numpy11.Orbbec相机默认的官方深度流和彩色流获取分别是DepthViewer.py和ColorViewer.py
12.以下官方对这两个流的合并效果并进行了标注,先放效果图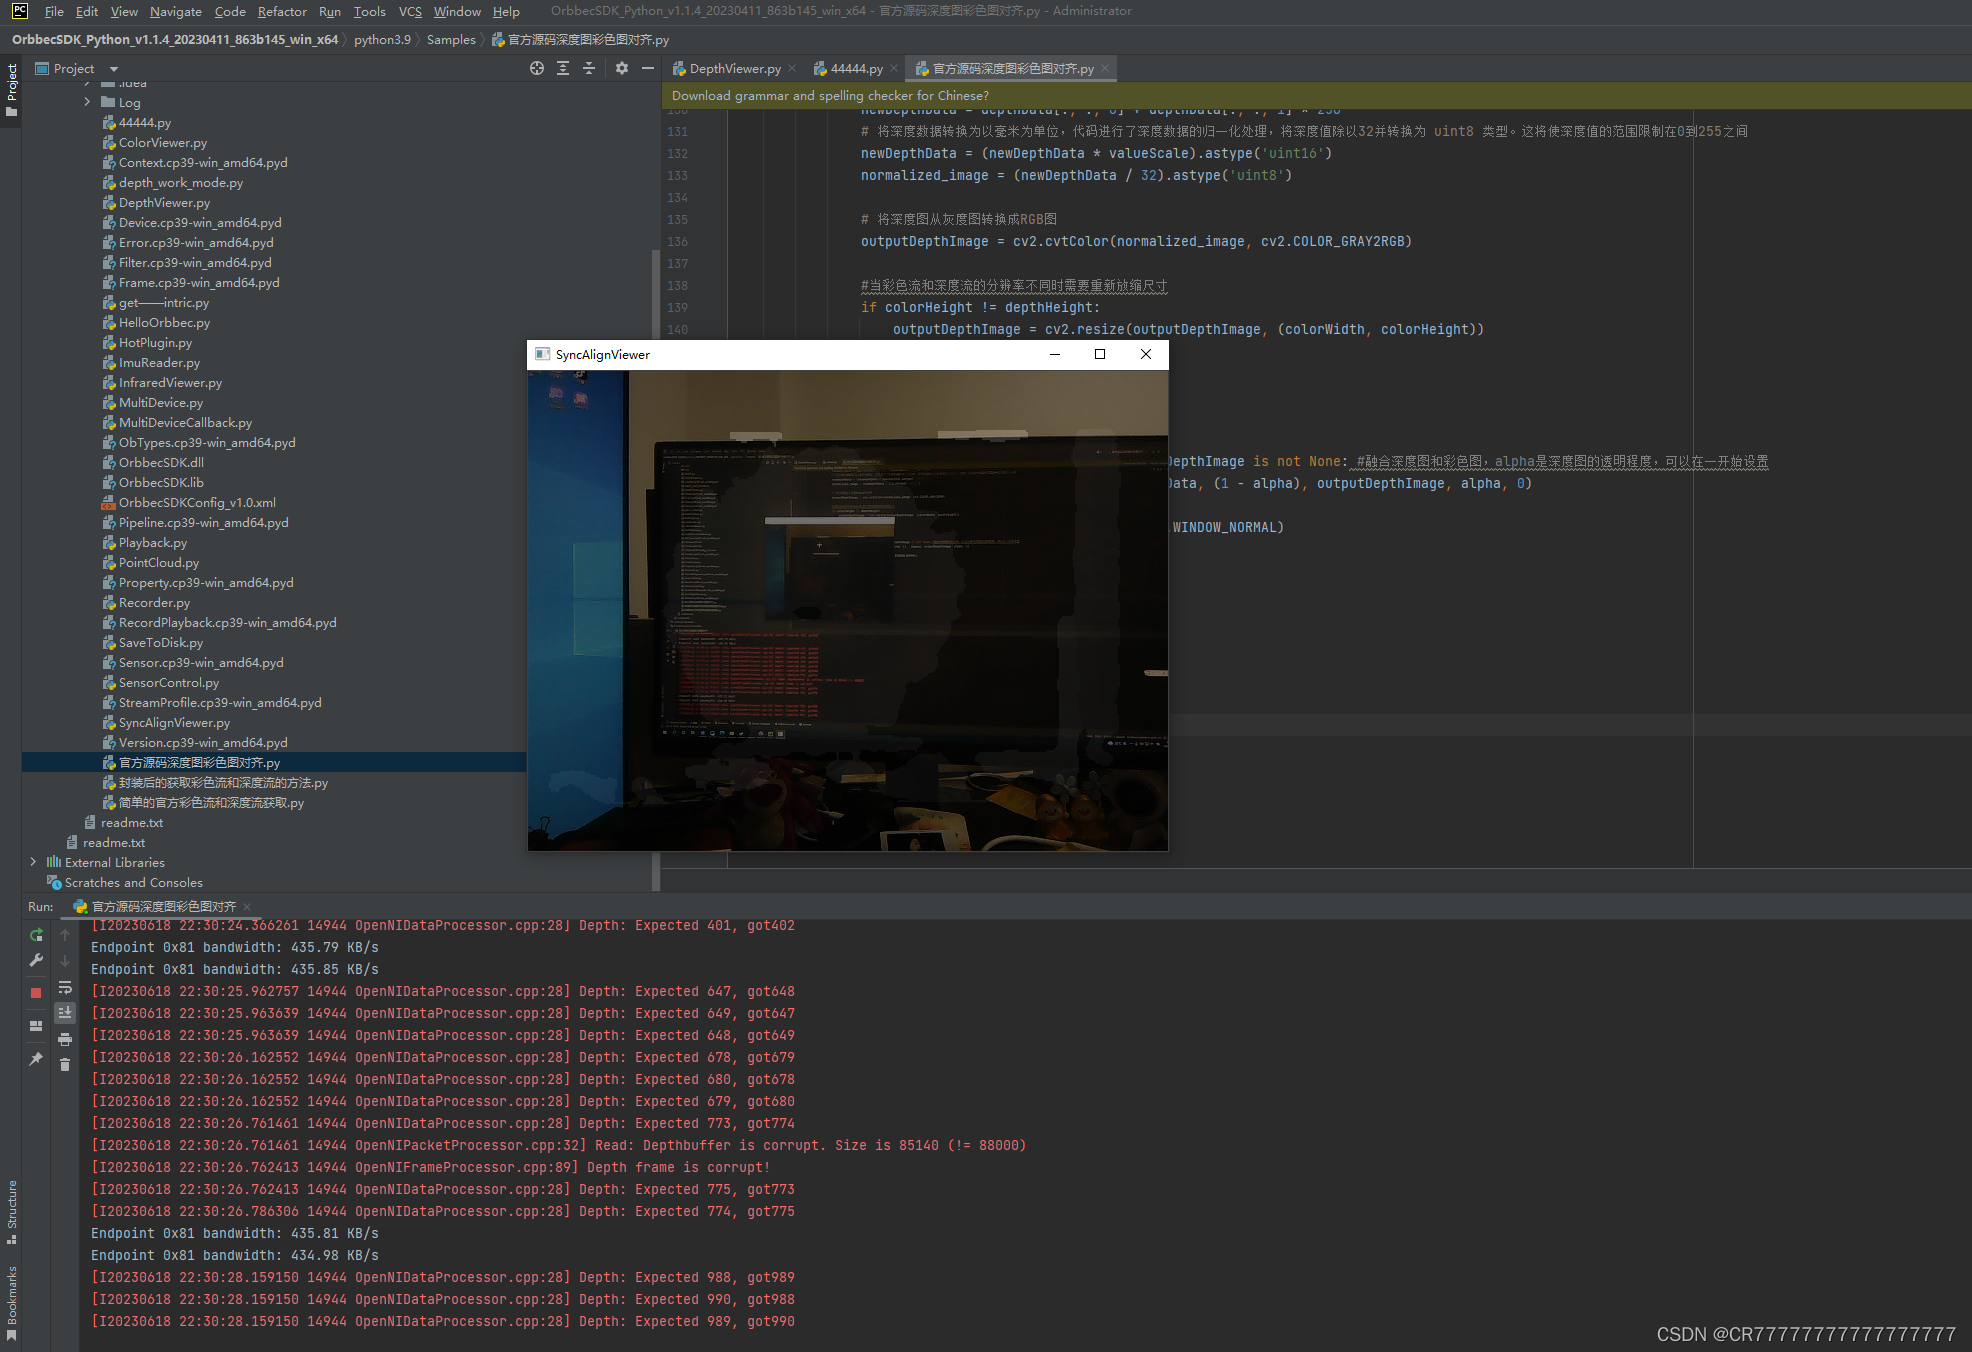
from ObTypes import *
from Property import *
import Pipeline
import StreamProfile
import Device
from Error import ObException
import cv2
import numpy as np
import sys
import math

q = 113
ESC = 27


alpha = 0.6  #设定深度图的透明程度,一般0.8以下都可以


frameSet = None
colorFrame = None
depthFrame = None


pipe = Pipeline.Pipeline(None, None)#创建一个Pipeline,通过Pipeline可以很容易的打开和关闭多种类型的流并获取一组帧数据
config = Pipeline.Config()  #通过创建Config来配置Pipeline要启用或者禁用哪些流
'''
    首先,通过Pipeline.Pipeline(None, None)创建了一个管道对象,并将其赋值给pipe变量。这个管道对象用于管理摄像头数据流和传感器的连接。
    接着,通过Pipeline.Config()创建了一个配置对象,并将其赋值给config变量。配置对象用于配置管道的各种参数,例如设置流的类型、分辨率、格式等。
    通过这两个对象,可以进行摄像头数据流的管理和配置,以便后续的数据获取和处理操作。
'''
###############################################################################################################

profiles = pipe.getStreamProfileList(OB_PY_SENSOR_COLOR)#获得彩色流的配置,包括彩色流的分辨率,帧率,帧的格式等。
videoProfile = None
'''
profiles_color = pipe.getStreamProfileList(OB_PY_SENSOR_COLOR)语句用于获取彩色摄像头的所有流配置。
pipe是一个管道对象,OB_PY_SENSOR_COLOR是指彩色摄像头的标识,OB_PY_SENSOR_DEPTH是指的结构光摄像头的标识
'''

videoProfile = profiles.getProfile(0)

colorProfile = videoProfile.toConcreteStreamProfile(OB_PY_STREAM_VIDEO)
# colorProfile将成为一个具体的视频流配置对象,你可以使用它来访问和操作视频流的属性,如像素格式、分辨率、帧率等
config.enableStream(colorProfile)   # 启用彩色流
color_windowsWidth = colorProfile.width()  #获取彩色图像的宽度
color_windowsHeight = colorProfile.height() #获取彩色图像的高度
color_windowsFPS=colorProfile.fps() #获取彩色图像的FPS
print(f"彩色图图像宽度: {color_windowsWidth}")
print(f"彩色图图像高度: {color_windowsHeight}")
print(f"彩色图图FPS: {color_windowsFPS}")


###############################################################################################################

profiles = pipe.getStreamProfileList(OB_PY_SENSOR_DEPTH) #获得深度流的配置,包括彩色流的分辨率,帧率,帧的格式等。
videoProfile = None

videoProfile = profiles.getProfile(0)#获取深度流的默认配置


depthProfile = videoProfile.toConcreteStreamProfile(OB_PY_STREAM_VIDEO)
config.enableStream(depthProfile)# 启用深度流

depth_windowsWidth = depthProfile.width()  # 获取深度图的宽度
depth_windowsHeight = depthProfile.height()  # 获取深度图的高度
depth_windowsFps = depthProfile.fps()  # 获取深度图的FPS
print(f"深度图像宽度: {depth_windowsWidth}")
print(f"深度图像高度: {depth_windowsHeight}")


###############################################################################################################

#设置对齐模式
#将对齐模式设置为软件深度到彩色对齐模式(Depth to Color Software Mode)。
#在软件深度到彩色对齐模式下,深度帧会被映射到彩色帧的坐标系中,实现深度和彩色的对齐。
#这种对齐模式可以通过计算来实现,但可能会对性能产生一定的影响。
config.setAlignMode(OB_PY_ALIGN_D2C_SW_MODE)

pipe.start(config, None)


while True:
    frameSet = None
    colorFrame = None
    depthFrame = None
    key = cv2.waitKey(1)


    # 以阻塞的方式等待一帧数据,该帧是一个复合帧,里面包含配置里启用的所有流的帧数据,
    # 并设置帧的等待超时时间为100ms
    frameSet = pipe.waitForFrames(100)

    if frameSet == None:
        continue
    else:
        # 在窗口中渲染一组帧数据,这里将渲染彩色帧及深度帧,将彩色帧及深度帧叠加显示
        colorFrame = frameSet.colorFrame()
        depthFrame = frameSet.depthFrame()

        if colorFrame != None and depthFrame != None:
            # 获取帧的大小、数据、宽高
            colorSize = colorFrame.dataSize()  #彩色帧的大小
            colorData = colorFrame.data()       #彩色帧数据
            depthSize = depthFrame.dataSize()
            depthData = depthFrame.data()
            colorWidth = colorFrame.width()
            colorHeight = colorFrame.height()
            colorFormat = colorFrame.format()
            depthWidth = depthFrame.width()
            depthHeight = depthFrame.height()
            valueScale = depthFrame.getValueScale()

            if colorData is not None and depthData is not None:
                newColorData = colorData
                # 将彩色帧数据转换成 (height,width,3)
                if colorFormat == OB_PY_FORMAT_MJPG:
                    # 将数据帧MJPG解码为RGB格式
                    newColorData = cv2.imdecode(newColorData, 1)
                    # 解码数据帧 MJPG 成 RGB format
                    if newColorData is not None:
                        newColorData = np.resize(newColorData, (colorHeight, colorWidth, 3))


                #将深度帧数据格式转化成(height,width,2)
                depthData = np.resize(depthData, (depthHeight, depthWidth, 2))

                # 将深度帧数据从 8bit 转换成 16bit
                newDepthData = depthData[:, :, 0] + depthData[:, :, 1] * 256
                # 将深度数据转换为以毫米为单位,代码进行了深度数据的归一化处理,将深度值除以32并转换为 uint8 类型。这将使深度值的范围限制在0到255之间
                newDepthData = (newDepthData * valueScale).astype('uint16')
                normalized_image = (newDepthData / 32).astype('uint8')

                # 将深度图从灰度图转换成RGB图
                outputDepthImage = cv2.cvtColor(normalized_image, cv2.COLOR_GRAY2RGB)

                #当彩色流和深度流的分辨率不同时需要重新放缩尺寸
                if colorHeight != depthHeight:
                    outputDepthImage = cv2.resize(outputDepthImage, (colorWidth, colorHeight))

                if newColorData is not None:
                    newData = newColorData
                if outputDepthImage is not None:
                    newData = outputDepthImage
                if newColorData is not None and outputDepthImage is not None: #融合深度图和彩色图,alpha是深度图的透明程度,可以在一开始设置
                    newData = cv2.addWeighted(newColorData, (1 - alpha), outputDepthImage, alpha, 0)

                cv2.namedWindow("SyncAlignViewer", cv2.WINDOW_NORMAL)

                cv2.imshow("SyncAlignViewer", newData)

    if key == ESC or key == q:
        cv2.destroyAllWindows()
        break

pipe.stop()
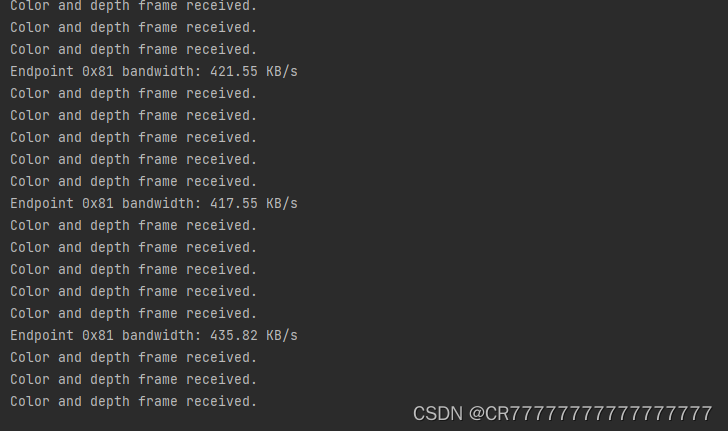
13.我对这个代码进行了最简化,不过这个代码没有进行CV2.imshow了,就只是获取彩色流和深度流,获取成功后会打印出来
from ObTypes import *
from Property import *
import Pipeline
import StreamProfile
import Device
import cv2
import numpy as np

pipe = Pipeline.Pipeline(None, None)  # 创建一个Pipeline
config = Pipeline.Config()  # 创建Config来配置Pipeline


# 获得彩色流的配置
profiles = pipe.getStreamProfileList(OB_PY_SENSOR_COLOR)
colorProfile = profiles.getProfile(0).toConcreteStreamProfile(OB_PY_STREAM_VIDEO)
config.enableStream(colorProfile)  # 启用彩色流

# 获得深度流的配置
profiles = pipe.getStreamProfileList(OB_PY_SENSOR_DEPTH)
depthProfile = profiles.getProfile(0).toConcreteStreamProfile(OB_PY_STREAM_VIDEO)
config.enableStream(depthProfile)  # 启用深度流

# 设置对齐模式
config.setAlignMode(OB_PY_ALIGN_D2C_SW_MODE)

pipe.start(config, None)

while True:
    key = cv2.waitKey(1)

    # 以阻塞的方式等待一帧数据,设置帧的等待超时时间为100ms
    frameSet = pipe.waitForFrames(100)

    if frameSet is not None:
        # 获取彩色帧和深度帧
        colorFrame = frameSet.colorFrame()
        depthFrame = frameSet.depthFrame()

        if colorFrame is not None and depthFrame is not None:
            print("Color and depth frame received.")


pipe.stop()
 14.最后,封装后的Orbbec彩色流和深度流展示图及其代码如下
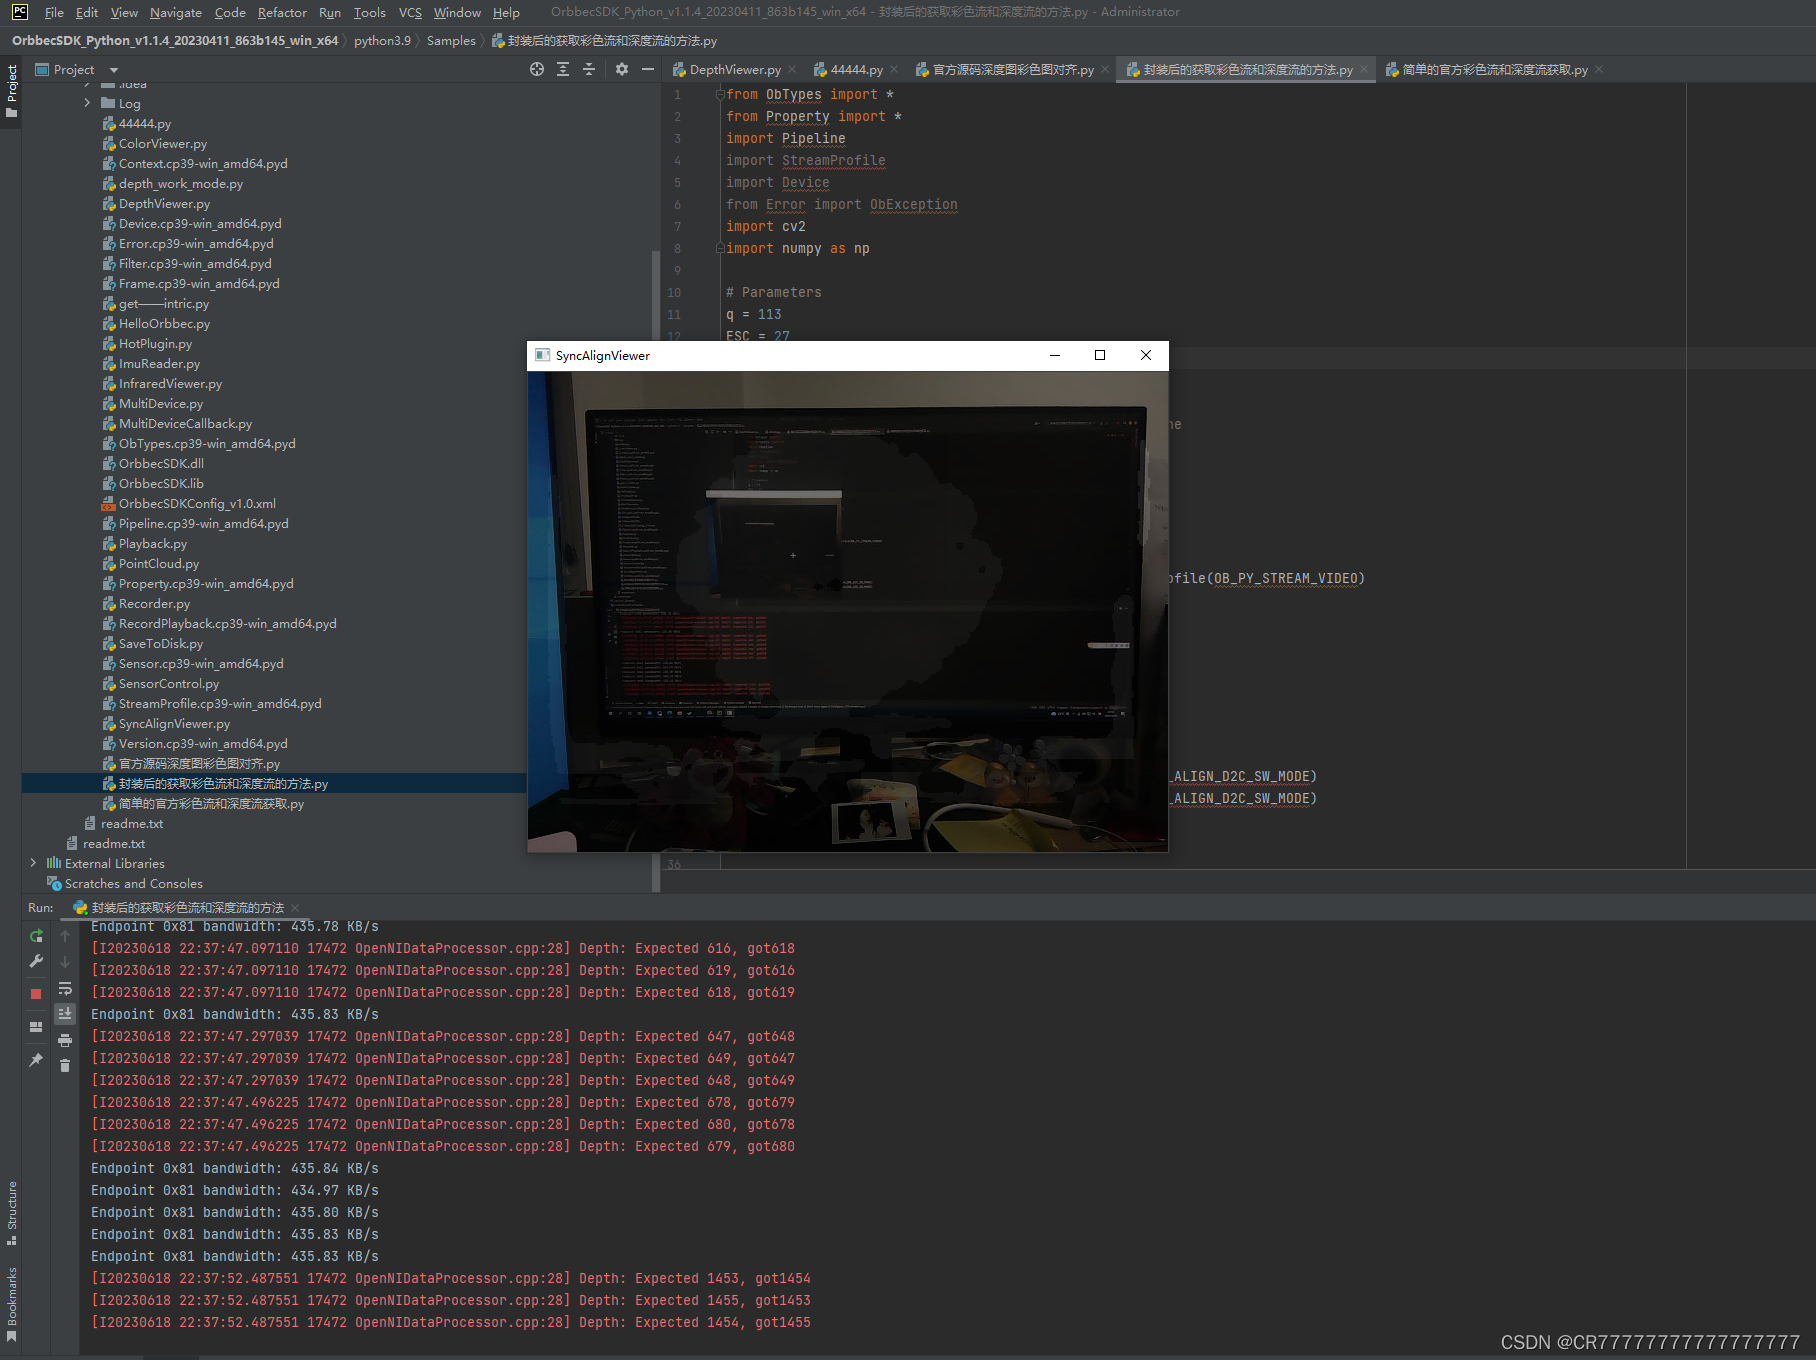
from ObTypes import *
from Property import *
import Pipeline
import StreamProfile
import Device
from Error import ObException
import cv2
import numpy as np

# Parameters
q = 113
ESC = 27
alpha = 0.6  # 深度图映射到彩色图上的透明度,一般不要高于0.7

# Initialize
pipe = Pipeline.Pipeline(None, None)  # Create a Pipeline
config = Pipeline.Config()  # Configure the Pipeline


# Define a function to configure and enable a stream
def enable_stream(sensor_type, align_mode):
    profiles = pipe.getStreamProfileList(sensor_type)
    profile = profiles.getProfile(0).toConcreteStreamProfile(OB_PY_STREAM_VIDEO)
    config.enableStream(profile)
    print(f"Stream width: {profile.width()}")
    print(f"Stream height: {profile.height()}")
    config.setAlignMode(align_mode)
    return profile


# Enable and align color and depth streams
color_profile = enable_stream(OB_PY_SENSOR_COLOR, OB_PY_ALIGN_D2C_SW_MODE)
depth_profile = enable_stream(OB_PY_SENSOR_DEPTH, OB_PY_ALIGN_D2C_SW_MODE)

pipe.start(config, None)


# Define the function to process the frames
def process_frames():
    frameSet = pipe.waitForFrames(100)
    colorData = None
    outputDepthImage = None
    newData = None

    if frameSet:
        colorFrame = frameSet.colorFrame()
        depthFrame = frameSet.depthFrame()
        if colorFrame and depthFrame:
            colorData = colorFrame.data()
            depthData = depthFrame.data()

            if colorData is not None and depthData is not None:
                if colorFrame.format() == OB_PY_FORMAT_MJPG:
                    colorData = cv2.imdecode(colorData, 1)
                    if colorData is not None:
                        colorData = np.resize(colorData, (colorFrame.height(), colorFrame.width(), 3))

                depthData = np.resize(depthData, (depthFrame.height(), depthFrame.width(), 2))
                newDepthData = (depthData[:, :, 0] + depthData[:, :, 1] * 256 * depthFrame.getValueScale()).astype(
                    'uint16')
                normalized_image = (newDepthData / 32).astype('uint8')
                outputDepthImage = cv2.cvtColor(normalized_image, cv2.COLOR_GRAY2RGB)

                # Resize depth image to match color image if necessary
                if colorFrame.height() != depthFrame.height():
                    outputDepthImage = cv2.resize(outputDepthImage, (colorFrame.width(), colorFrame.height()))

                # Combine depth and color images
                newData = cv2.addWeighted(colorData, (1 - alpha), outputDepthImage, alpha, 0)
                cv2.imshow("SyncAlignViewer", newData)

    # Check user input to break the loop
    if cv2.waitKey(1) in [ESC, q]:
        cv2.destroyAllWindows()
        return False, colorData, outputDepthImage, newData

    return True, colorData, outputDepthImage, newData


# Main loop
while True:
    keep_going, colorData, outputDepthImage, newData = process_frames()
    if not keep_going:
        break

pipe.stop()


 492
492

 被折叠的 条评论
为什么被折叠?
被折叠的 条评论
为什么被折叠?
 到【灌水乐园】发言


