重生之 SpringBoot3 入门保姆级学习(24、场景整合 kafka 消息发送服务)

重生之 SpringBoot3 入门保姆级学习(24、场景整合 kafka 消息发送服务)

6.4 消息发送服务


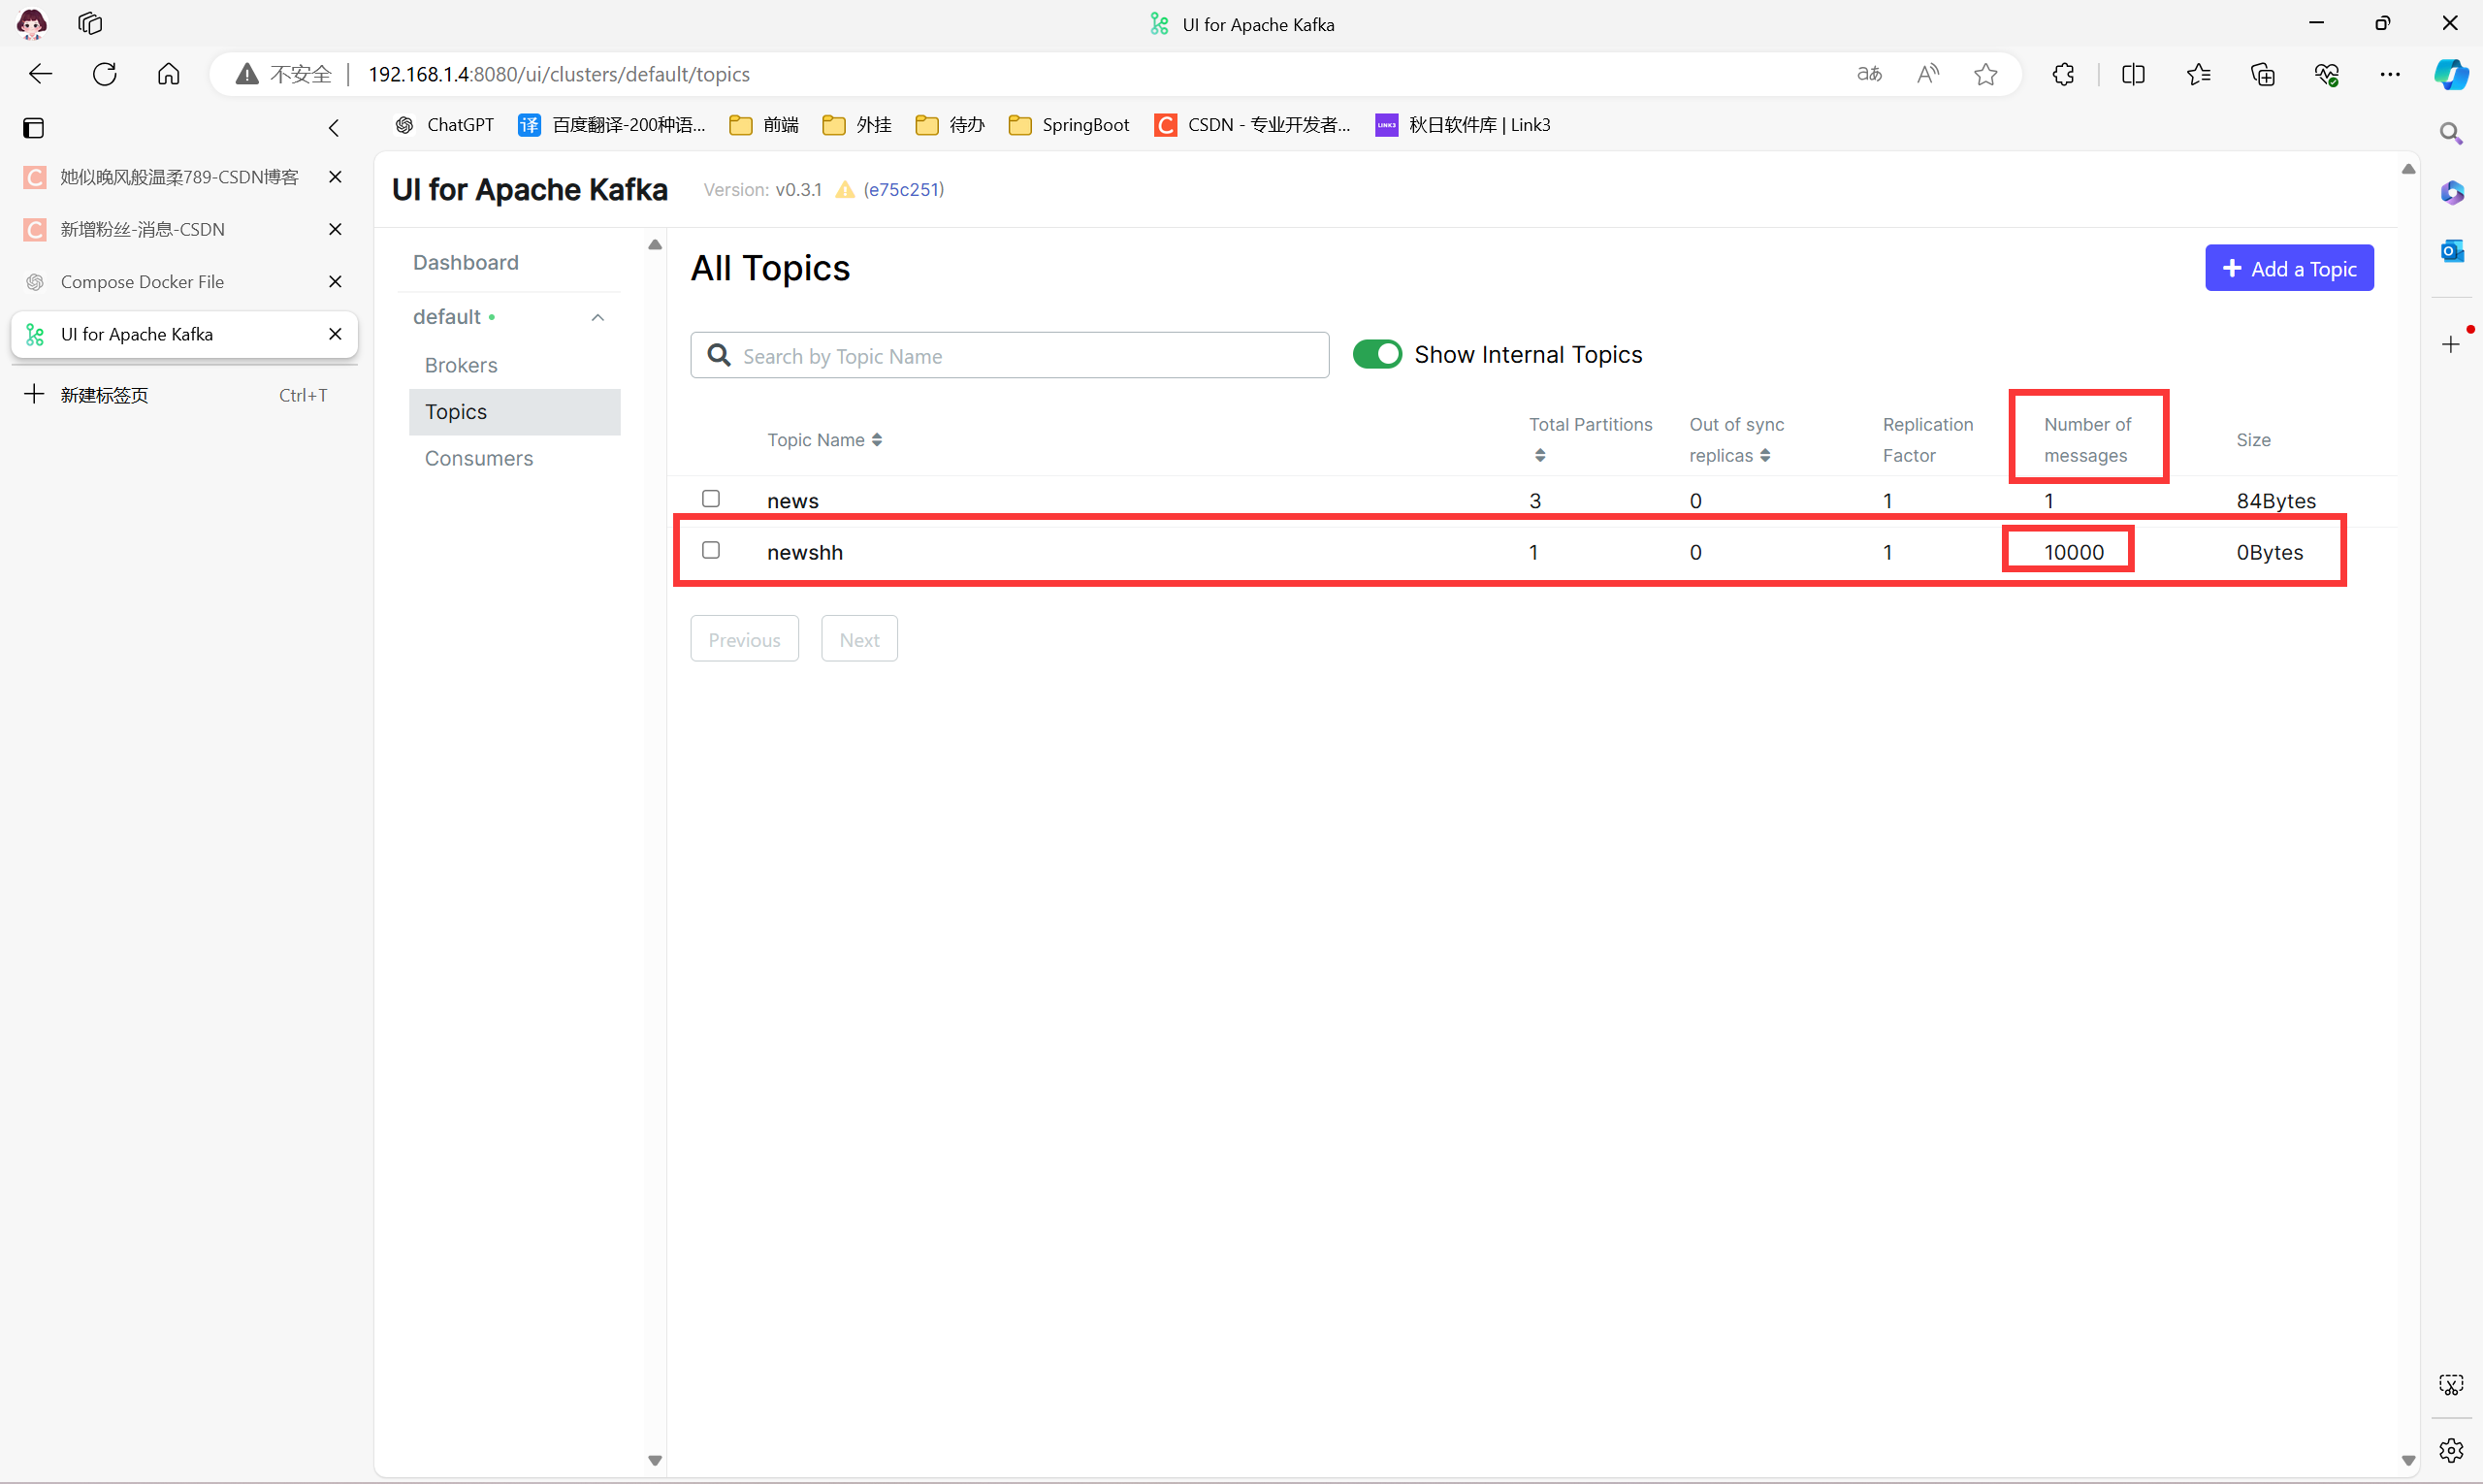
  • 访问 kafka-ui (注意这里需要换成你自己的服务器或者虚拟机的 IP 地址,虚拟机可以用局域网 192.168.xxx.xxx 的地址)
http://192.168.1.4:8080/ui
  • 创建主题

image-20240615215130002

  • 创建成功

image-20240615215153137

  • application.properties 配置文件(注意需要改成你的 kafka 地址,也就是浏览器访问的主机 IP )
spring.kafka.bootstrap-servers=192.168.1.4:9092
  • 测试代码
package com.zhong.message;

import org.junit.jupiter.api.Test;
import org.springframework.beans.factory.annotation.Autowired;
import org.springframework.boot.test.context.SpringBootTest;
import org.springframework.kafka.core.KafkaTemplate;
import org.springframework.util.StopWatch;

import java.util.concurrent.CompletableFuture;

@SpringBootTest
class Boot309MessageApplicationTests {

    @Autowired
    KafkaTemplate kafkaTemplate;

    @Test
    void contextLoads() {
        // 秒表功能
        StopWatch stopWatch = new StopWatch();

        // 异步处理等待处理完
        CompletableFuture[] futures = new CompletableFuture[10000];

        // 开始计时
        stopWatch.start();
        for (int i = 0; i < 10000; i++) {
            // 异步的
            CompletableFuture future = kafkaTemplate.send("newshh", "name", "小钟");
            futures[i] = future;
        }
        CompletableFuture.allOf(futures).join();
        // 停止计时
        stopWatch.stop();
        // 统计计时从开始到结束用了多少毫秒
        long millis = stopWatch.getTotalTimeMillis();
        System.out.println("10000个消息发送完成!ms时间:" + millis);
    }

}
  • 运行测试

image-20240616103426476

  • 发送成功

image-20240616103312638

image-20240616103331430

  • 新建 Person 类
package com.zhong.message.entity;

import lombok.AllArgsConstructor;
import lombok.Data;
import lombok.NoArgsConstructor;

import java.io.Serializable;
import java.util.Date;

/**
 * @ClassName : Person
 * @Description :
 * @Author : zhx
 * @Date: 2024-06-14 16:11
 */
@Data
@AllArgsConstructor
@NoArgsConstructor
public class Person implements Serializable {
    private Long id;
    private String name;
    private Integer age;
    private String email;
}
  • 新建测试代码
package com.zhong.message;

import com.zhong.message.entity.Person;
import org.junit.jupiter.api.Test;
import org.springframework.beans.factory.annotation.Autowired;
import org.springframework.boot.test.context.SpringBootTest;
import org.springframework.kafka.core.KafkaTemplate;
import org.springframework.util.StopWatch;

import java.util.concurrent.CompletableFuture;

@SpringBootTest
class Boot309MessageApplicationTests {

    @Autowired
    KafkaTemplate kafkaTemplate;

    @Test
    void send() {
        CompletableFuture future = kafkaTemplate.send("newsPerson", "person", new Person(1L, "小王", 21, "testemal"));
        future.join();
        System.out.println("消息发送成功!");
    }

}
  • 如果发送出现问题请配置值的序列化规则
# 值的序列化规则
spring.kafka.producer.value-serializer=org.springframework.kafka.support.serializer.JsonSerializer

image-20240616104315342

  • 测试成功

image-20240616104500960

image-20240616104651323

  • 6
    点赞
  • 4
    收藏
    觉得还不错? 一键收藏
  • 打赏
    打赏
  • 0
    评论
Spring Boot整合Kafka学习可以按照以下步骤进行: 1. 在Spring Boot应用的主类上添加`@EnableScheduling`注解,以启用定时任务功能。同时,确保添加了`@SpringBootApplication`注解。\[1\] 2. 在`pom.xml`文件中添加Kafka的依赖项: ```xml <dependency> <groupId>org.springframework.kafka</groupId> <artifactId>spring-kafka</artifactId> </dependency> ```\[2\] 3. 创建一个消息服务的实现类,例如`MessageServiceKafkaImpl`,并实现`MessageService`接口。在该实现类中,注入`KafkaTemplate`对象,并使用它来发送消息。\[3\] 4. 在需要发送消息的地方调用`sendMessage`方法,将消息发送Kafka的指定主题中。 这样,你就可以在Spring Boot应用中成功整合Kafka,并实现消息的生产和消费功能了。 #### 引用[.reference_title] - *1* [SpringBoot整合Kafka](https://blog.csdn.net/weixin_41405524/article/details/125762379)[target="_blank" data-report-click={"spm":"1018.2226.3001.9630","extra":{"utm_source":"vip_chatgpt_common_search_pc_result","utm_medium":"distribute.pc_search_result.none-task-cask-2~all~insert_cask~default-1-null.142^v91^insertT0,239^v3^insert_chatgpt"}} ] [.reference_item] - *2* [Springboot整合kafka](https://blog.csdn.net/qq_21040559/article/details/122839376)[target="_blank" data-report-click={"spm":"1018.2226.3001.9630","extra":{"utm_source":"vip_chatgpt_common_search_pc_result","utm_medium":"distribute.pc_search_result.none-task-cask-2~all~insert_cask~default-1-null.142^v91^insertT0,239^v3^insert_chatgpt"}} ] [.reference_item] - *3* [Springboot整合Kafka](https://blog.csdn.net/qq_43553032/article/details/126225521)[target="_blank" data-report-click={"spm":"1018.2226.3001.9630","extra":{"utm_source":"vip_chatgpt_common_search_pc_result","utm_medium":"distribute.pc_search_result.none-task-cask-2~all~insert_cask~default-1-null.142^v91^insertT0,239^v3^insert_chatgpt"}} ] [.reference_item] [ .reference_list ]

“相关推荐”对你有帮助么?

  • 非常没帮助
  • 没帮助
  • 一般
  • 有帮助
  • 非常有帮助
提交
评论
添加红包

请填写红包祝福语或标题

红包个数最小为10个

红包金额最低5元

当前余额3.43前往充值 >
需支付:10.00
成就一亿技术人!
领取后你会自动成为博主和红包主的粉丝 规则
hope_wisdom
发出的红包

打赏作者

她似晚风般温柔789

你的鼓励将是我创作的最大动力

¥1 ¥2 ¥4 ¥6 ¥10 ¥20
扫码支付:¥1
获取中
扫码支付

您的余额不足,请更换扫码支付或充值

打赏作者

实付
使用余额支付
点击重新获取
扫码支付
钱包余额 0

抵扣说明:

1.余额是钱包充值的虚拟货币,按照1:1的比例进行支付金额的抵扣。
2.余额无法直接购买下载,可以购买VIP、付费专栏及课程。

余额充值