


项目结构
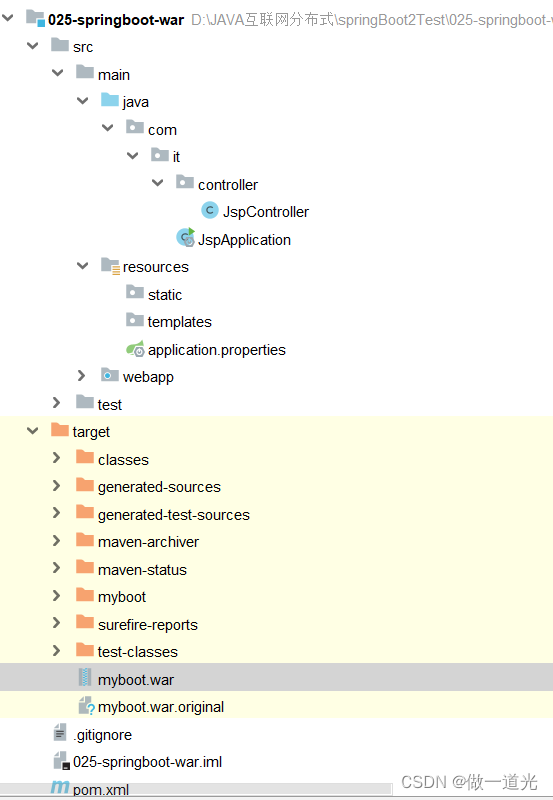
1.新建springboot项目选择web起步依赖,其他依赖手动添加
详细代码
pom.xml文件
<?xml version="1.0" encoding="UTF-8"?>
<project xmlns="http://maven.apache.org/POM/4.0.0" xmlns:xsi="http://www.w3.org/2001/XMLSchema-instance"
xsi:schemaLocation="http://maven.apache.org/POM/4.0.0 https://maven.apache.org/xsd/maven-4.0.0.xsd">
<modelVersion>4.0.0</modelVersion>
<parent>
<groupId>org.springframework.boot</groupId>
<artifactId>spring-boot-starter-parent</artifactId>
<version>2.7.3</version>
<relativePath/> <!-- lookup parent from repository -->
</parent>
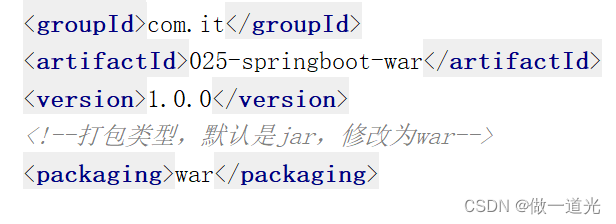
<groupId>com.it</groupId>
<artifactId>025-springboot-war</artifactId>
<version>1.0.0</version>
<!--打包类型,默认是jar,修改为war-->
<packaging>war</packaging>
<properties>
<java.version>1.8</java.version>
</properties>
<dependencies>
<!--加入处理jsp的依赖-->
<dependency>
<groupId>org.apache.tomcat.embed</groupId>
<artifactId>tomcat-embed-jasper</artifactId>
</dependency>
<dependency>
<groupId>org.springframework.boot</groupId>
<artifactId>spring-boot-starter-web</artifactId>
</dependency>
<dependency>
<groupId>org.springframework.boot</groupId>
<artifactId>spring-boot-starter-test</artifactId>
<scope>test</scope>
</dependency>
</dependencies>
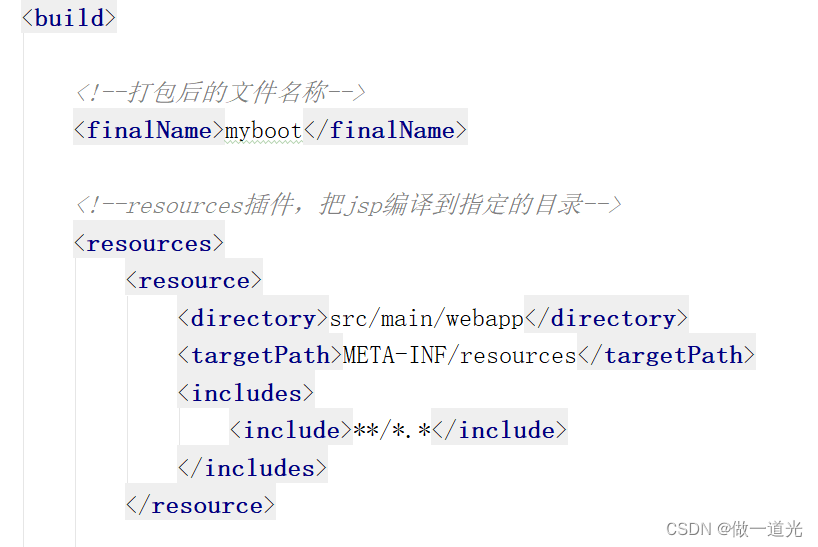
<build>
<!--打包后的文件名称-->
<finalName>myboot</finalName>
<!--resources插件,把jsp编译到指定的目录-->
<resources>
<resource>
<directory>src/main/webapp</directory>
<targetPath>META-INF/resources</targetPath>
<includes>
<include>**/*.*</include>
</includes>
</resource>
<!--使用了mybatis,而且mapper文件放在src/main/java目录中-->
<resource>
<directory>src/main/java</directory>
<includes>
<include>**/*.xml</include>
</includes>
</resource>
<!--把src/main/resources下面的所有文件,都包含到classes目录-->
<resource>
<directory>src/main/resources</directory>
<includes>
<include>**/*.*</include>
</includes>
</resource>
</resources>
<plugins>
<plugin>
<groupId>org.springframework.boot</groupId>
<artifactId>spring-boot-maven-plugin</artifactId>
</plugin>
</plugins>
</build>
</project>
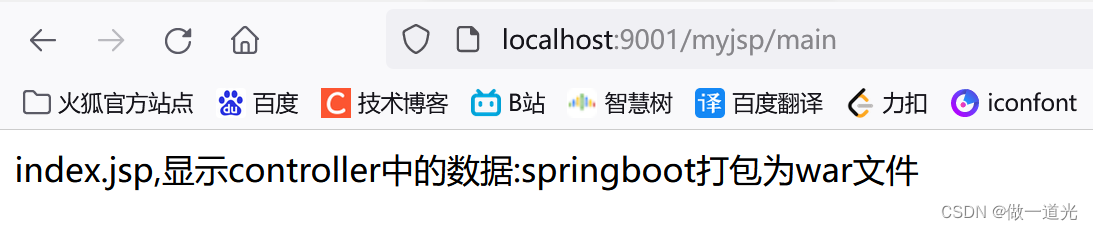
2.新建index.jsp

3.JspController类
package com.it.controller;

import org.springframework.stereotype.Controller;
import org.springframework.ui.Model;
import org.springframework.web.bind.annotation.RequestMapping;

@Controller
public class JspController {

    @RequestMapping("/main")
    public String main(Model model){
        model.addAttribute("data","springboot打包为war文件");
        return "index";
    }

}
4.application.properties文件
server.port=9001
server.servlet.context-path=/myjsp

#配置视图解析器
spring.mvc.view.prefix=/
spring.mvc.view.suffix=.jsp
5.主函数入口类,注意此时需要继承SpringBootServletInitializer这个类,才能够使用独立的tomcat服务器
package com.it;

import org.springframework.boot.SpringApplication;
import org.springframework.boot.autoconfigure.SpringBootApplication;
import org.springframework.boot.builder.SpringApplicationBuilder;
import org.springframework.boot.web.servlet.server.Jsp;
import org.springframework.boot.web.servlet.support.SpringBootServletInitializer;

/**
 * SpringBootServletInitializer:继承这个类,才能够使用独立的tomcat服务器
 */

@SpringBootApplication
public class JspApplication extends SpringBootServletInitializer {

    public static void main(String[] args) {
        SpringApplication.run(JspApplication.class, args);
    }

    @Override
    protected SpringApplicationBuilder configure(SpringApplicationBuilder builder) {
        return builder.sources(JspApplication.class);

    }
}
项目测试:
1.首先不继承SpringBootServletInitializer这个类使用idea内部的Tomcat启动,查看是否可以正常访问
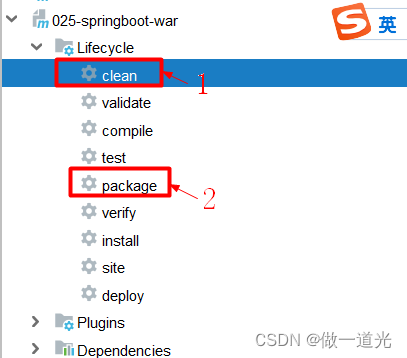
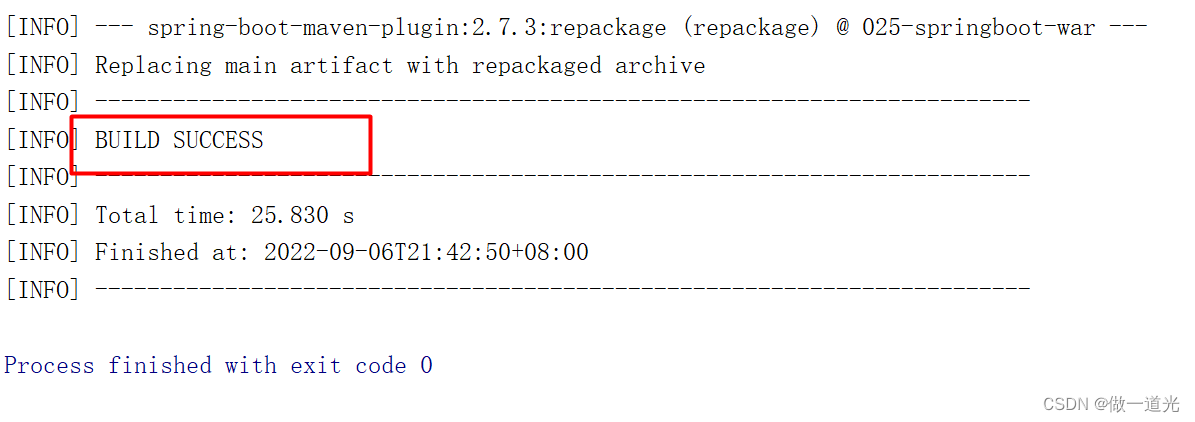
2.项目可以正常访问,继承SpringBootServletInitializer这个类,编写代码后,点击clean,然后再进行打包处理
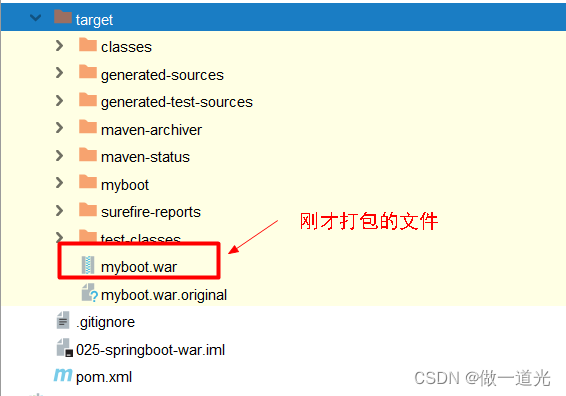
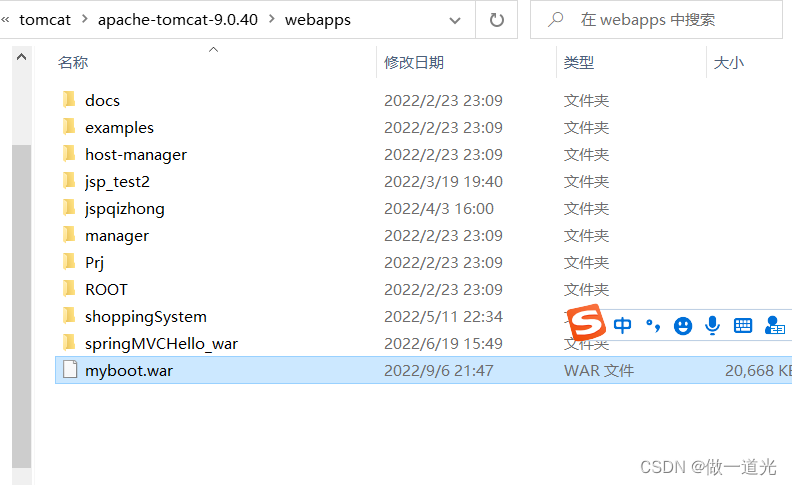
3.选择该打包文件,右键 show in explorer打开该文件所在的文件夹地址,选择该文件进行复制。复制到Tomcat下的webapp目录下,此时运行Tomcat时就会自动发布该文件
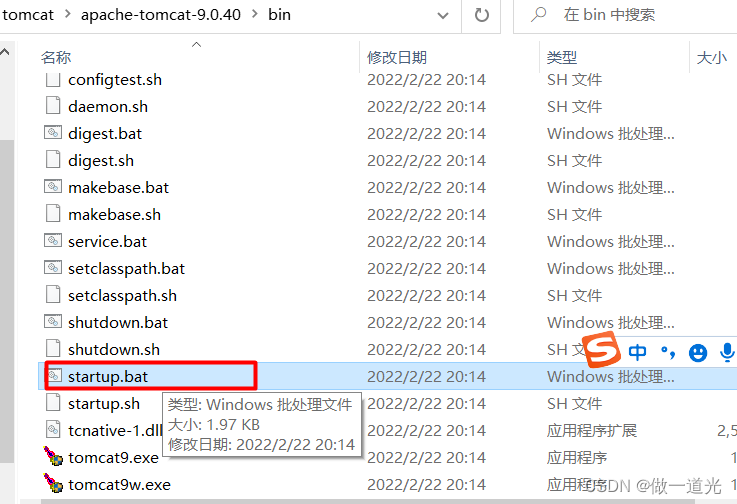
5.然后进入Tomcat的bin目录,点击startup.bat
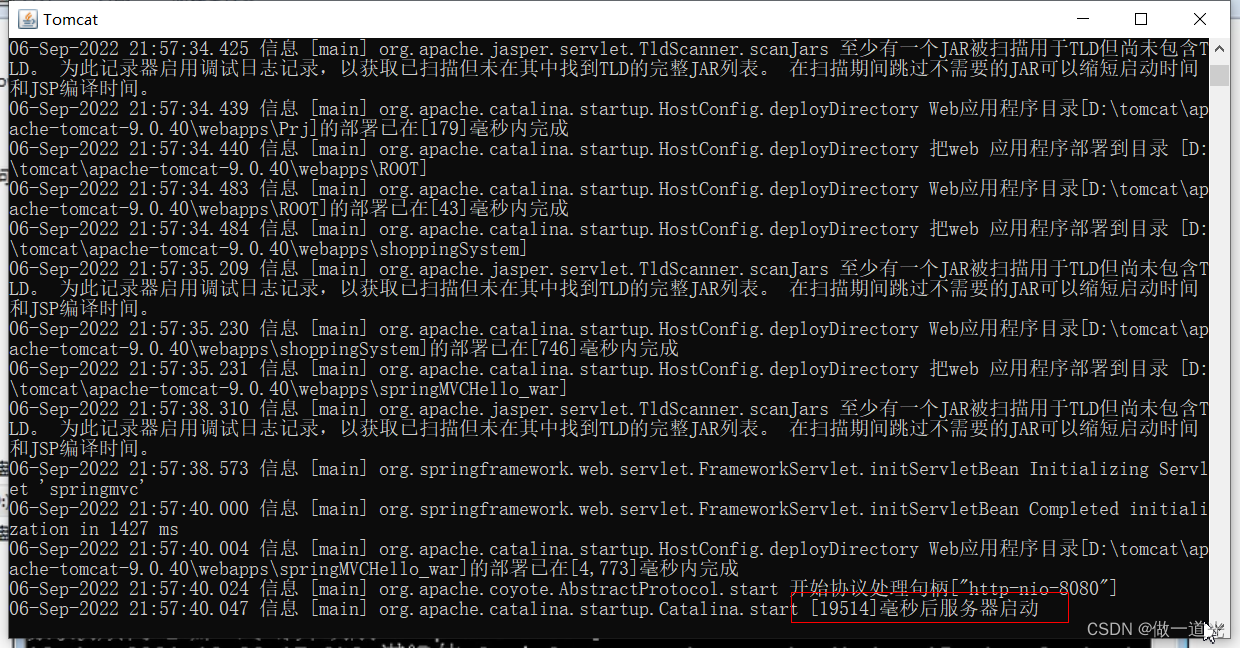
6. 弹出下图的命令行窗口,等它运行完成后不能关闭,可以最小化使其保持运行状态
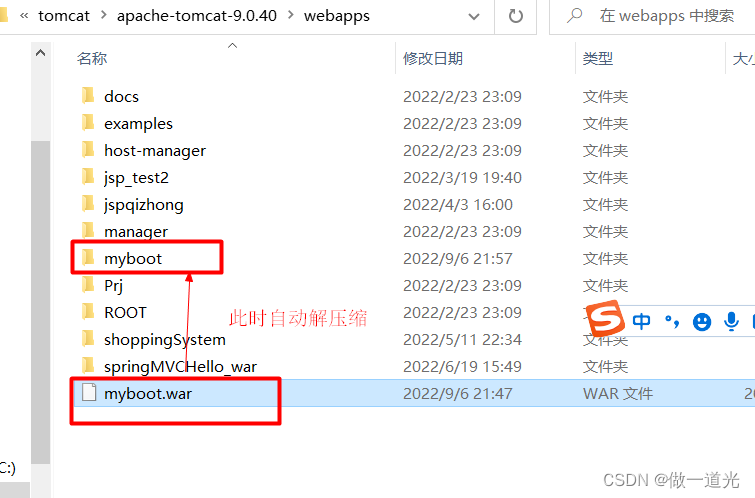
7.此时回到tomcat的webapps目录,就可以看到myboot.war包已经自动解压好了,里面的文件和依赖都和原项目保持一致
8.现在就可以打开浏览器输入Tomcat默认端口号+项目路径进行访问了,这是独立的Tomcat,不需要再借助idea上的Tomcat进行启动了。
localhost:8080/myboot/main
8080:独立Tomcat的端口号
myboot:文件名称
main:方法的路径名(requestmapping)


 585
585


 被折叠的 条评论
为什么被折叠?
被折叠的 条评论
为什么被折叠?
 到【灌水乐园】发言


