


·如何在linux安装vivado的步骤有很多教程,这里只做简单介绍,首先在官网下载
FPGAs_AdaptiveSoCs_Unified_2023.2_1013_2256_Lin64.bin
然后通过各位自己的方法传输到Centos7上,我一般使用FileZilla Client
·然后在centos7中赋予该文件可执行权限:
sudo chmod 777 FPGAs_AdaptiveSoCs_Unified_2023.2_1013_2256_Lin64.bin
·直接执行:
./FPGAs_AdaptiveSoCs_Unified_2023.2_1013_2256_Lin64.bin
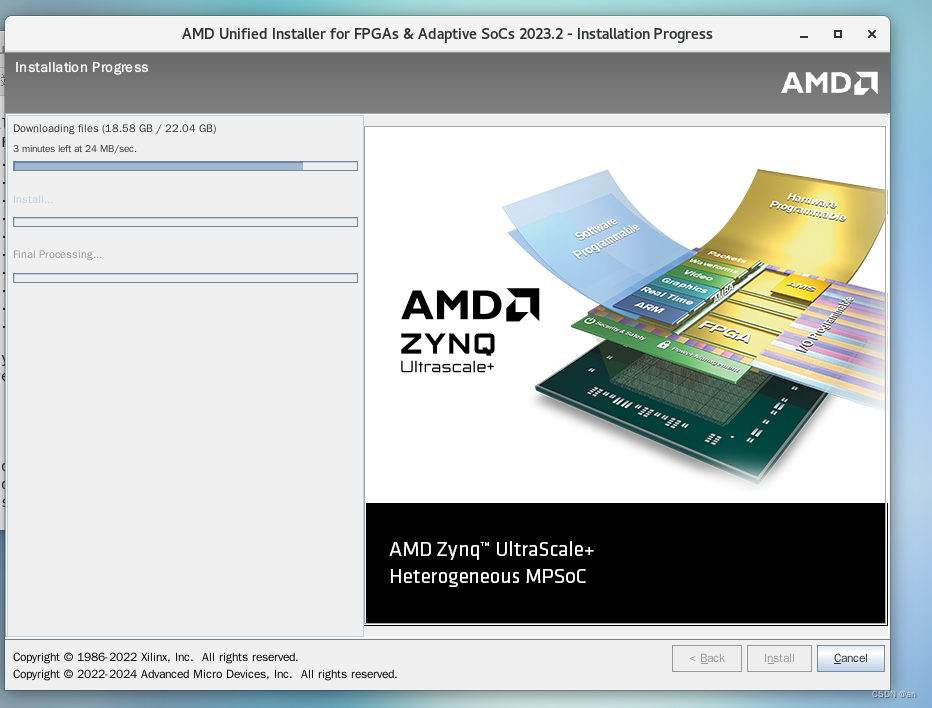
·根据自己需求进行安装
·下面是我自己安装过程中遇到的一些问题
因为网络不稳定的问题,重新加载就行
遇到下载完成之后,在安装过程中虚拟机崩溃怎么办,重新安装会提示已经安装了一个vavido,提示内容一般如下:
An existing installation of vivado design suite 2023.2 has been detected at /home/user1/tools:
·to install a new copy of 2023.2 please provide an alternate destination directory
·to update the current installatio, use the "Add Design Tools Devices" option from the Help Menu within Vivado or the program entry in the Start Menu
这时不需要全部重新安装,只需要删除部分文件夹即可,重新安装时剩下的文件会直接读取,无需再次下载,下面是需要删除的文件(蓝色的为需要删除的,其他进行保留):

删除文件使用:rm Vivado -rf
将Model_Composer、Vitis_HLS、Vivado文件夹删除之后,重新安装需要在这个文件夹内进行,否则需要重新下载。然后耐心等待就行,Vavido的安装时长一般需要一个小时左右。
·还有一点需要格外注意,如果你的电脑CPU性能不是很高,最好将虚拟机内的centos7使用CPU的性能调制电脑CPU的五分之一,否则电脑CPU会禁止虚拟机使用CPU。
·启动vavido,安装完成之后进入/vavido,会有下列文件:

在终端运行下列语句:
source settings64.sh
vivado
成功之后会有出现下列界面:
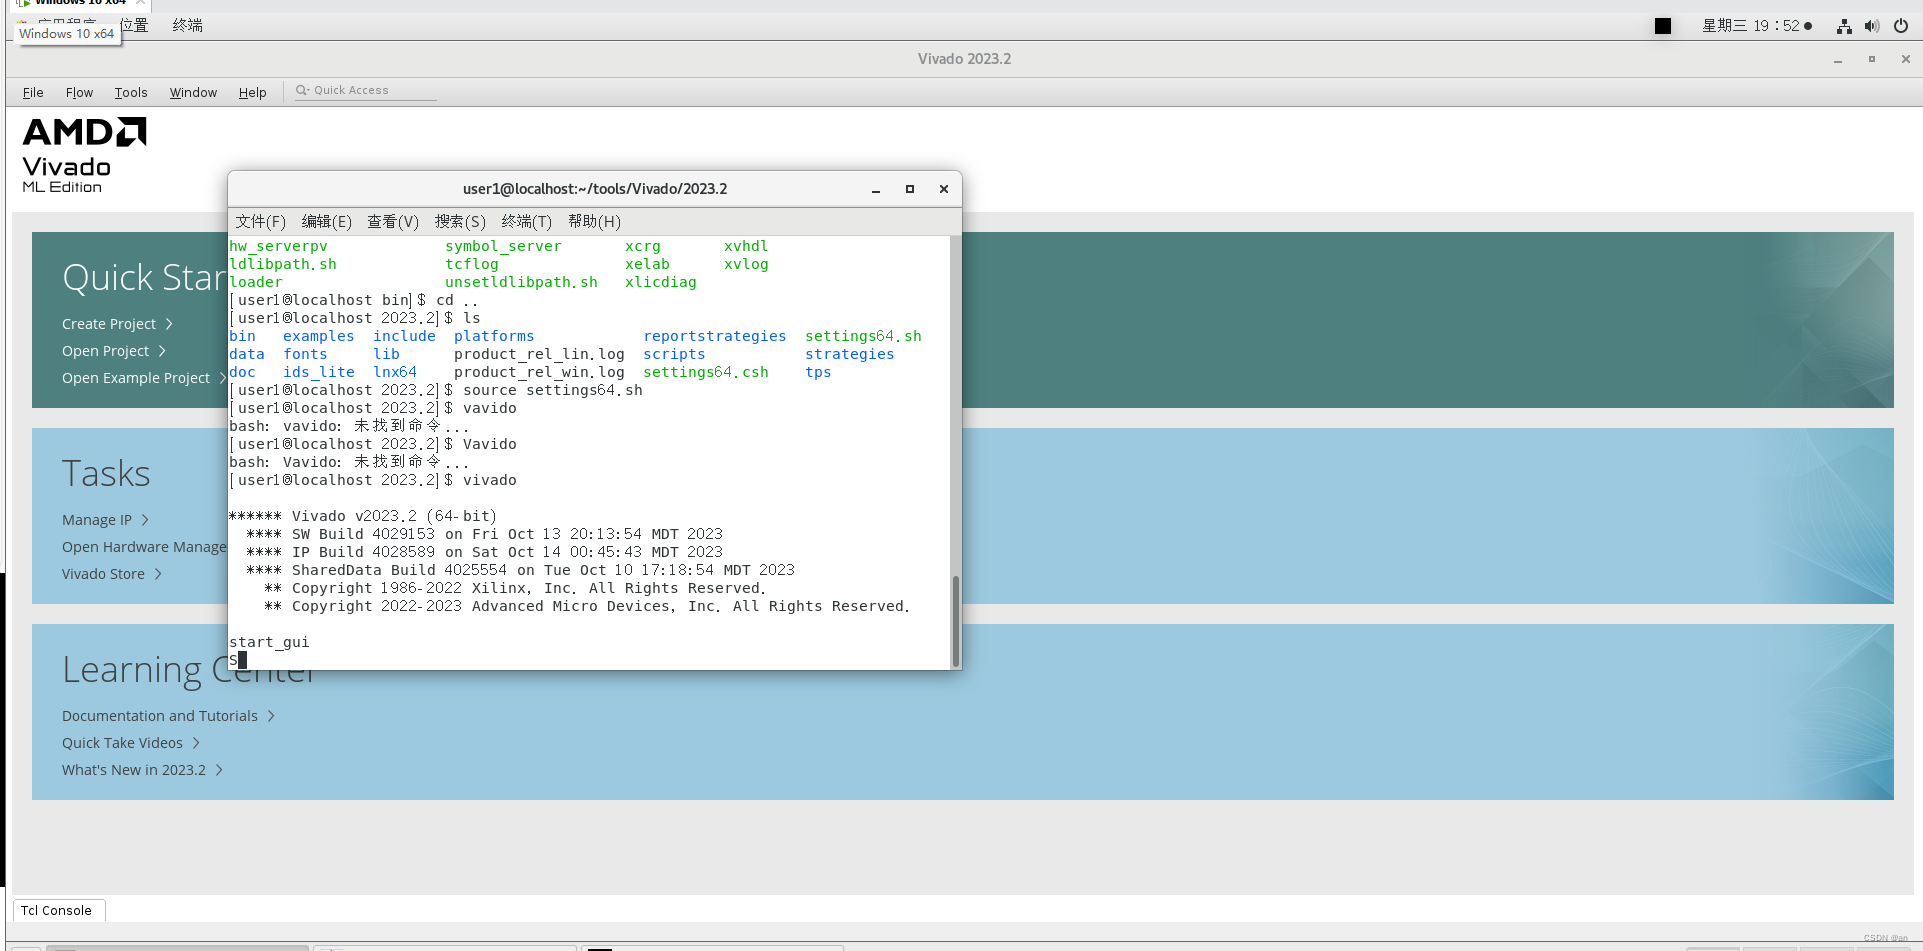
出现该界面,就已经安装完成了。


 6638
6638


 被折叠的 条评论
为什么被折叠?
被折叠的 条评论
为什么被折叠?
 到【灌水乐园】发言


