


在本任务中,我们将向您展示如何在Hetero NN下构建联合任务,其中参与方使用不同的结构化数据:来宾方具有图像数据和标签,宿主方具有文本,它们一起完成二进制分类任务。教程数据集由flickr 8k构建,标签0和1指示图像是在荒野中还是在城市中。您可以从这里下载处理过的数据集,并将其放在examples/data下。完整的数据集可以从这里下载。(请注意,原始数据集与本示例中的数据不同,出于演示目的,此数据集用完整数据集的一小部分进行了注释。)
获取示例数据集:
请从以下位置下载数据集:
并将其放在/examples/data文件夹下(或者自己存放文件的地址,代码中需要用到)。
此数据集的来源是flickr-8k数据集,来自:
from pipeline.component.nn import save_to_fateGuest Bottom Model
%%save_to_fate model guest_bottom_image.py
from torch import nn
import torch as t
from torch.nn import functional as F

class ImgBottomNet(nn.Module):
    def __init__(self):
        super(ImgBottomNet, self).__init__()
        self.seq = t.nn.Sequential(
            nn.Conv2d(in_channels=3, out_channels=6, kernel_size=5),
            nn.MaxPool2d(kernel_size=3),
            nn.Conv2d(in_channels=6, out_channels=6, kernel_size=3),
            nn.AvgPool2d(kernel_size=5)
        )

        self.fc = t.nn.Sequential(
            nn.Linear(1176, 32),
            nn.ReLU(),
            nn.Linear(32, 8)
        )

    def forward(self, x):
        x = self.seq(x)
        x = x.flatten(start_dim=1)
        x = self.fc(x)
        return x
Guest Top Model
%%save_to_fate model guest_top_image.py
from torch import nn
import torch as t
from torch.nn import functional as F

class ImgTopNet(nn.Module):
    def __init__(self):
        super(ImgTopNet, self).__init__()

        self.fc = t.nn.Sequential(
            nn.Linear(4, 1),
            nn.Sigmoid()
        )

    def forward(self, x):
        x = self.fc(x)
        return x.flatten()
Host Bottom Model
%%save_to_fate model host_bottom_lstm.py
from torch import nn
import torch as t
from torch.nn import functional as F

class LSTMBottom(nn.Module):

    def __init__(self, vocab_size):
        super(LSTMBottom, self).__init__()
        self.word_embed = nn.Embedding(num_embeddings=vocab_size, embedding_dim=16, padding_idx=0)
        self.lstm = t.nn.Sequential(
            nn.LSTM(input_size=16, hidden_size=16, num_layers=2, batch_first=True)
        )
        self.act = nn.ReLU()
        self.linear = nn.Linear(16, 8)

    def forward(self, x):
        embeddings = self.word_embed(x)
        lstm_fw, _ = self.lstm(embeddings)

        return self.act(self.linear(lstm_fw.sum(dim=1)))
本地测试数据集和底部模型
from federatedml.nn.dataset.image import ImageDataset
from federatedml.nn.dataset.nlp_tokenizer import TokenizerDataset
# flicke image
img_ds = ImageDataset(center_crop=True, center_crop_shape=(224, 224), return_label=True) # return label = True
img_ds.load('/mnt/hgfs/examples/data/flicker_toy_data/flicker/images/') # 根据自己的文件位置进行调整
# text
txt_ds = TokenizerDataset(return_label=False)
txt_ds.load('/mnt/hgfs/examples/data/flicker_toy_data/flicker_toy_data/text.csv') # 根据自己的文件位置进行调整查看数据
print(len(img_ds))
print(img_ds[0])
print(img_ds.get_classes())
print(img_ds.get_sample_ids()[0: 10])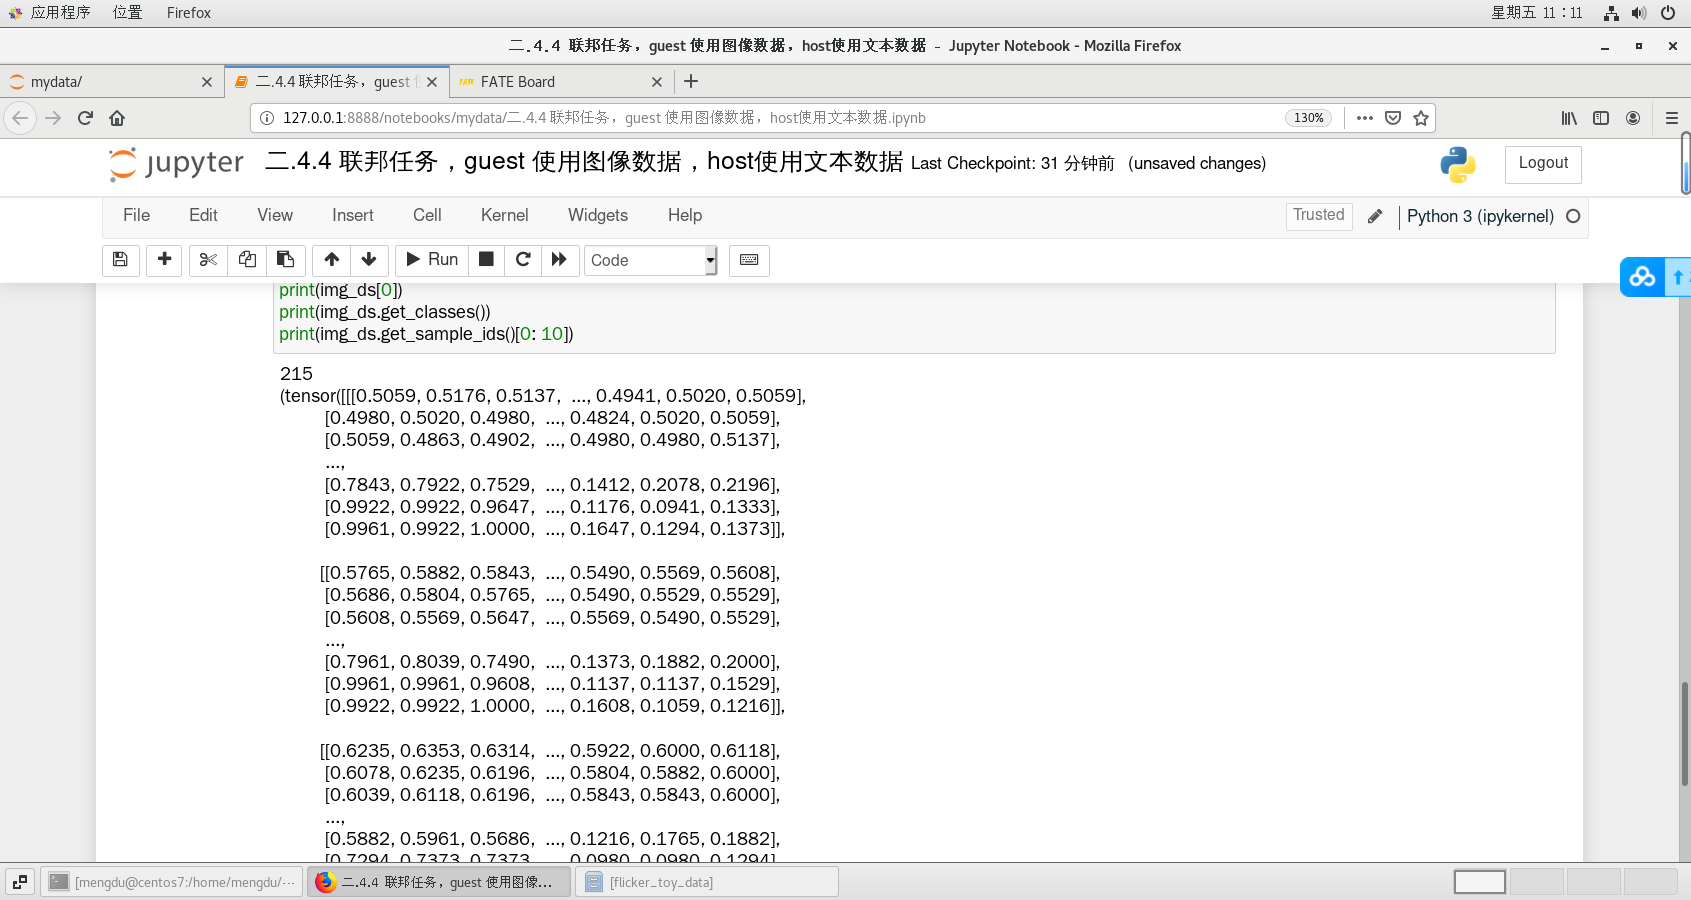
print(len(txt_ds))
print(txt_ds[0]) # word idx
print(txt_ds.get_vocab_size()) # vocab size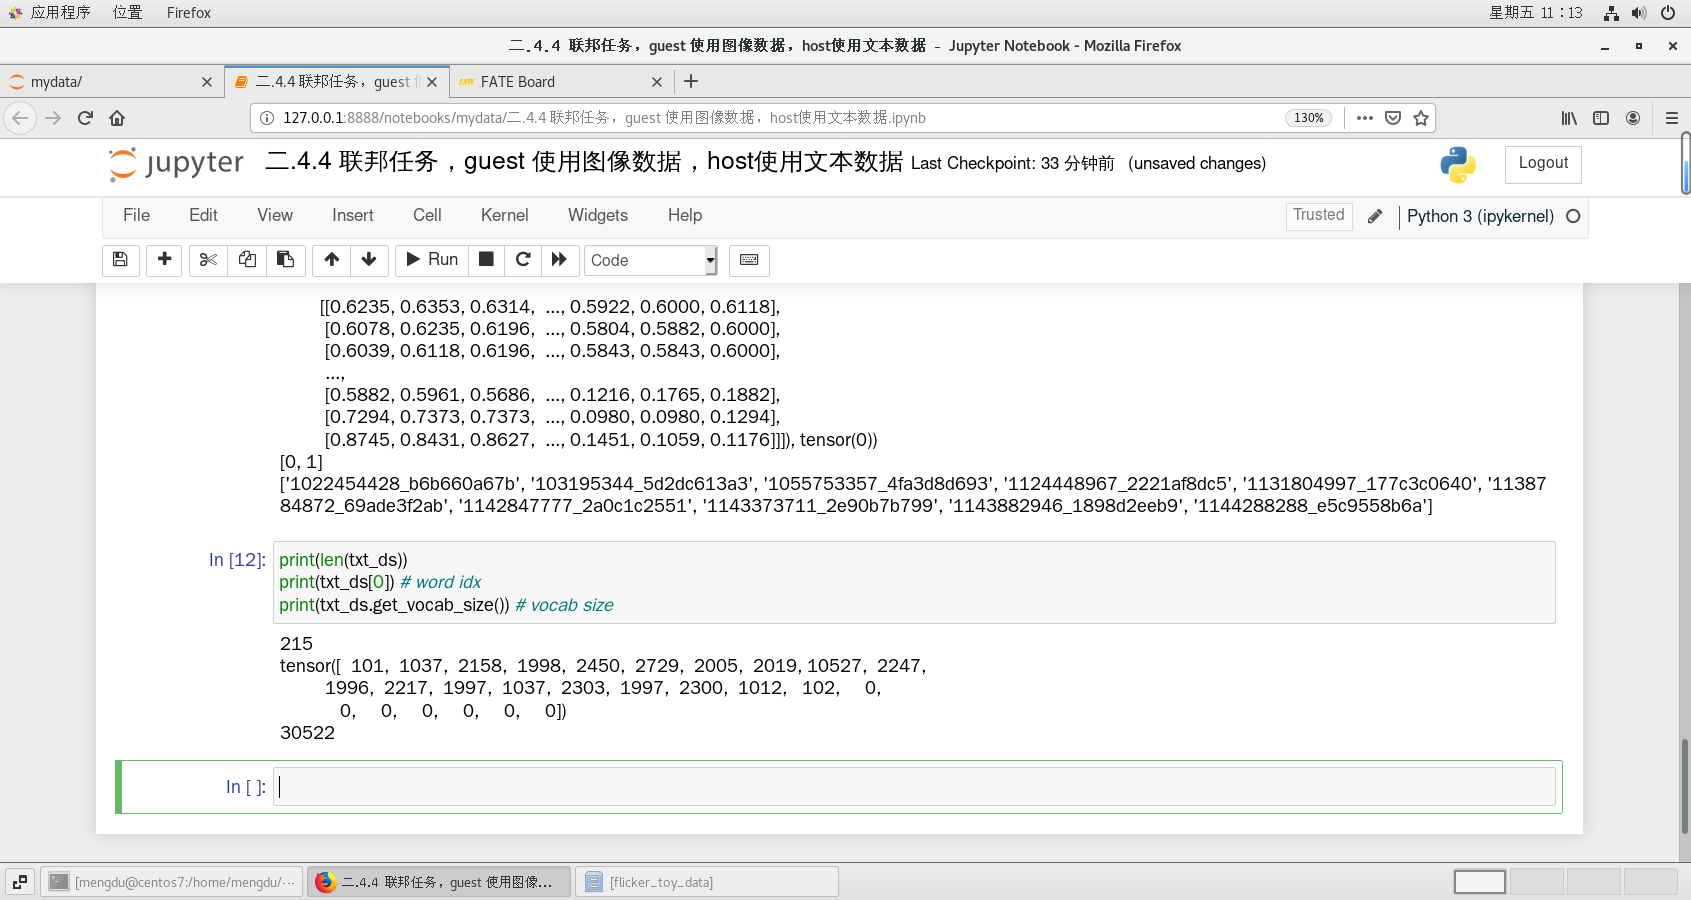
img_bottom = ImgBottomNet()
lstm_bottom = LSTMBottom(vocab_size=txt_ds.get_vocab_size())
lstm_bottom(t.vstack([txt_ds[0], txt_ds[1]])) # test forwardtensor([[0.0000, 0.0000, 0.0000, 0.5858, 0.0000, 0.0000, 0.5437, 0.0000],
[0.0000, 0.0000, 0.0000, 0.0511, 0.0000, 0.0000, 0.6965, 0.0000]],
grad_fn=<ReluBackward0>)
img_bottom(t.vstack([img_ds[0][0].unsqueeze(dim=0), img_ds[1][0].unsqueeze(dim=0)])) tensor([[-0.0009, -0.2242, 0.0642, 0.1377, -0.0960, -0.2041, -0.0653, -0.0182],
[ 0.0104, -0.2324, 0.0810, 0.1305, -0.1085, -0.1857, -0.0652, -0.0390]],
grad_fn=<AddmmBackward0>)
Pipeline
import os
import torch as t
from torch import nn
from pipeline import fate_torch_hook
from pipeline.component import HeteroNN
from pipeline.component.hetero_nn import DatasetParam
from pipeline.backend.pipeline import PipeLine
from pipeline.component import Reader, Evaluation, DataTransform
from pipeline.interface import Data, Model
from pipeline.component.nn import save_to_fate

fate_torch_hook(t)

# fate_project_path = os.path.abspath('../../../../')
guest = 10000
host = 9999

pipeline_mix = PipeLine().set_initiator(role='guest', party_id=guest).set_roles(guest=guest, host=host)

guest_data = {"name": "flicker_guest", "namespace": "experiment"}
host_data = {"name": "flicker_host", "namespace": "experiment"}

# 根据自己的文件位置进行调整
guest_data_path = '/mnt/hgfs/examples/data/flicker_toy_data/flicker/images'
host_data_path = '/mnt/hgfs/examples/data/flicker_toy_data/flicker_toy_data/text.csv'

pipeline_mix.bind_table(name='flicker_guest', namespace='experiment', path=guest_data_path)
pipeline_mix.bind_table(name='flicker_host', namespace='experiment', path=host_data_path)
{'namespace': 'experiment', 'table_name': 'flicker_host'}
reader_0 = Reader(name="reader_0")
reader_0.get_party_instance(role='guest', party_id=guest).component_param(table=guest_data)
reader_0.get_party_instance(role='host', party_id=host).component_param(table=host_data)
hetero_nn_0 = HeteroNN(name="hetero_nn_0", epochs=5,
interactive_layer_lr=0.001, batch_size=64, validation_freqs=1, task_type='classification')
guest_nn_0 = hetero_nn_0.get_party_instance(role='guest', party_id=guest)
host_nn_0 = hetero_nn_0.get_party_instance(role='host', party_id=host)guest_bottom = t.nn.Sequential(
nn.CustModel(module_name='guest_bottom_image', class_name='ImgBottomNet')
)
guest_top = t.nn.Sequential(
nn.CustModel(module_name='guest_top_image', class_name='ImgTopNet')
)
# bottom model
host_bottom = nn.CustModel(module_name='host_bottom_lstm', class_name='LSTMBottom', vocab_size=txt_ds.get_vocab_size())
interactive_layer = t.nn.InteractiveLayer(out_dim=4, guest_dim=8, host_dim=8, host_num=1)guest_nn_0.add_top_model(guest_top)
guest_nn_0.add_bottom_model(guest_bottom)
host_nn_0.add_bottom_model(host_bottom)
optimizer = t.optim.Adam(lr=0.001)
loss = t.nn.BCELoss()
hetero_nn_0.set_interactive_layer(interactive_layer)
hetero_nn_0.compile(optimizer=optimizer, loss=loss)# 添加dataset
guest_nn_0.add_dataset(DatasetParam(dataset_name='image', return_label=True, center_crop=True, center_crop_shape=(224, 224), label_dtype='float'))
host_nn_0.add_dataset(DatasetParam(dataset_name='nlp_tokenizer', return_label=False))pipeline_mix.add_component(reader_0)
pipeline_mix.add_component(hetero_nn_0, data=Data(train_data=reader_0.output.data))
pipeline_mix.compile()pipeline_mix.fit()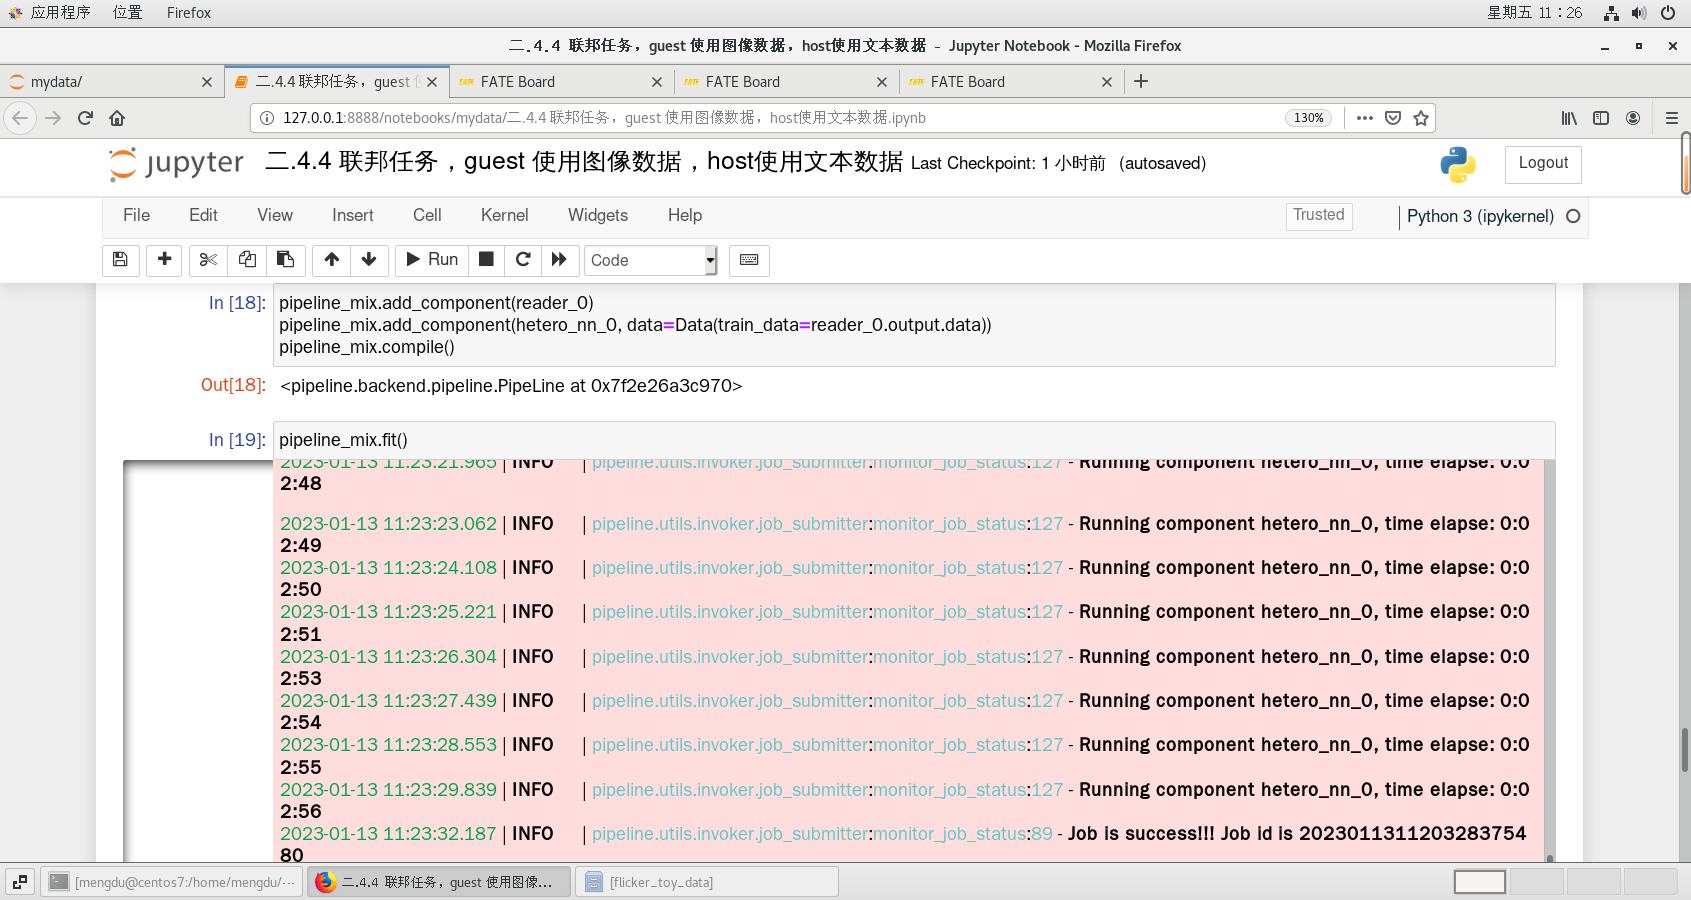
写入并保存
df = pipeline_mix.get_component('hetero_nn_0').get_output_data()  # get result
df
import pandas as pd
df.to_csv('联邦任务,guest 使用图像数据,host使用文本数据.csv')pipeline_mix.get_component('hetero_nn_0').get_summary(){'best_iteration': -1,
'history_loss': [0.6944547406462735,
0.6887847345928814,
0.6825250193130138,
0.6736582733864008,
0.6652656313984893],
'is_converged': False,
'validation_metrics': {'train': {'auc': [0.7946521287642783,
0.8087573554863274,
0.8114399446175147,
0.8181896850121149,
0.8222568362755278],
'ks': [0.47836621668397367,
0.45006922810661126,
0.469539633091035,
0.47836621668397367,
0.4774143302180685]}}}


 1414
1414


 被折叠的 条评论
为什么被折叠?
被折叠的 条评论
为什么被折叠?
 到【灌水乐园】发言


