


 本文介绍了如何在Nestjs项目中集成MQTT,包括硬件准备、服务器安装、模块创建以及使用示例,涉及连接设置、消息订阅与发布。还提及了使用WebSocket进行大屏数据传输的可能性。
准备工作,首先就得硬件的小伙伴自己吧硬件部分配置好,成功连通云端,并成功推送数据。然后就是服务器装好Nestjs 。做好这些准备工作就可以开始了!!!
然后直接开始工作:
一、安装
# 直接安装最新的mqtt 我当前使用的5.5版本
yarn add mqtt
二、创建mqtt模块
# 生成 mqtt Module
nest g mo mqtt

# 生成 mqtt Service
nest g s mqtt
三、使用
import { Injectable, OnModuleInit } from '@nestjs/common';
import { connect } from 'mqtt';
@Injectable()
export class MqttService implements OnModuleInit {
private mqttClient;
onModuleInit() {
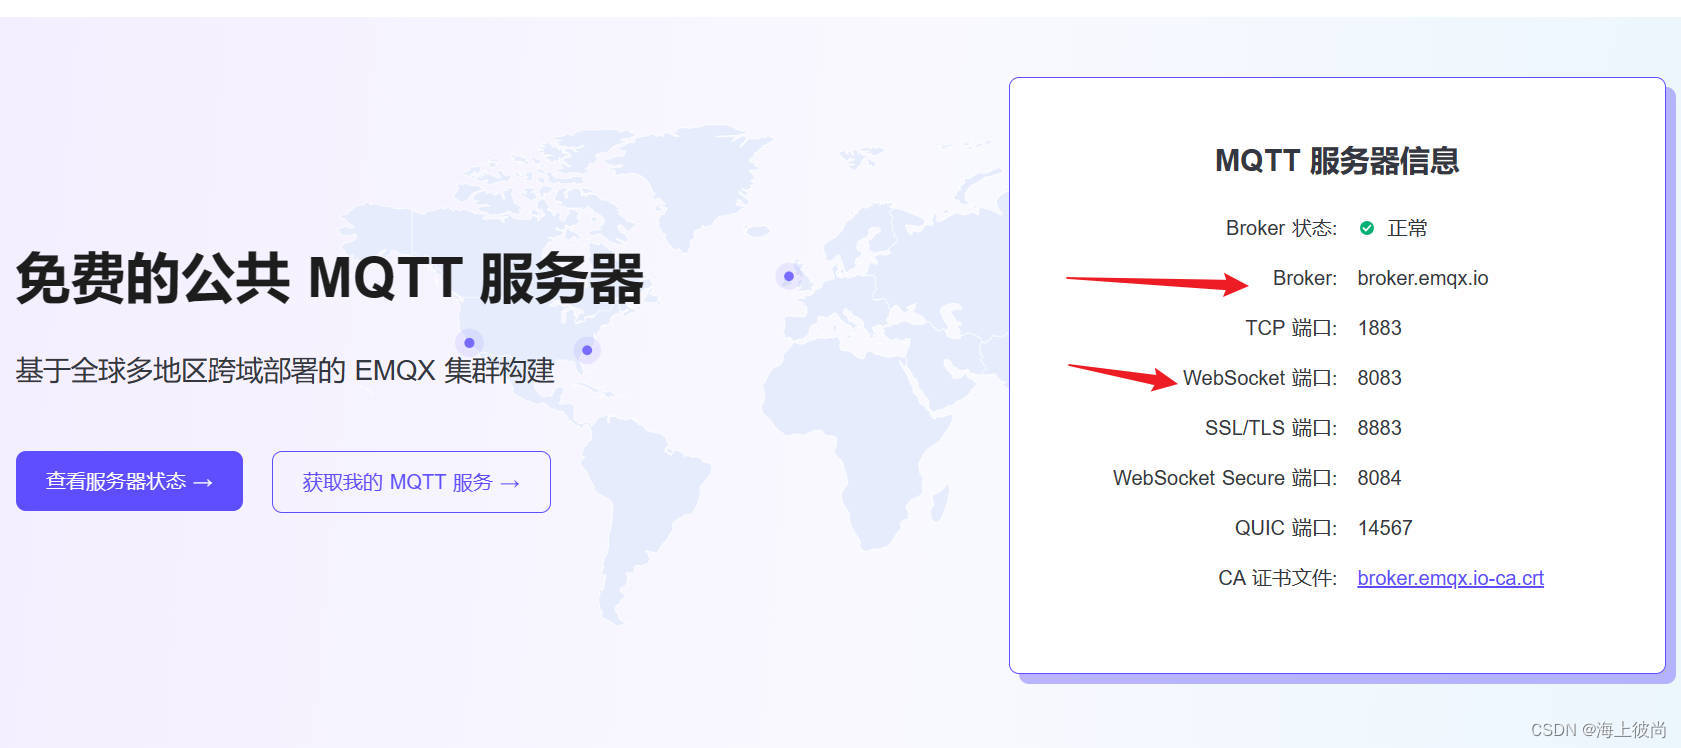
this.mqttClient = connect('ws://broker.emqx.io:8083/mqtt', {
clean: true,
connectTimeout: 5000,
clientId: 'mqtt-client-1',
username: 'your-username',
password: 'your-password',
reconnectPeriod: 3000,
})
this.mqttClient.subscribe('/mysmarthome/pub') // 注意:这里必须选择自己需要订阅的toPic,否则就不会获取到数据
this.mqttClient.on('connect', () => {
console.log('MQTT连接成功!');
})
this.mqttClient.on('message', (topic, message) => {
console.log(`${topic}: ${message.toString()}`);
})
this.mqttClient.on('error', (error) => {
console.error('连接失败!', error);
})
}
publish(topic: string, message: string) {
this.mqttClient.publish(topic, message);
}
}
到这里就差不都了,如果需要做大屏数据,可以采用websocket去做订阅和发布,大家根据自己的实际逻辑来就行了。


 236
236

 被折叠的 条评论
为什么被折叠?
被折叠的 条评论
为什么被折叠?
 到【灌水乐园】发言


