


通过本项目基于Aidlux开发的用于提高模型鲁棒性的车辆检测。
1.Aidlux如何使用?
因为后面的课程中,需要使用Aidlux,因此大家可以先提前下载Aidlux软件。关于Aidlux的使用说明和详细操作实例,江大白老师已经在上一次训练营的第二节课中讲过。大家可以看一下大白老师第二节课的课程内容:《智慧安防AI实战训练营:边缘端实现越界识别》Lesson2
2.边缘设备软件aidlux的使用说明
- Aidlux的特点
目前为止,我们已经了解了AI安全相关的知识以及“以数据为中心”的机器学习策略,加上第一节课学习的智慧交通和CV项目开发落地的理论知识,我们已经有了足够的知识储备,可以开始智慧交通与AI安全项目的学习了。不过在此之前,我们需要先熟悉一下Aidlux边缘设备软件,因为后续我们将在Aidlux上完成很多项目功能。
Aidlux主打的是基于ARM架构的跨生态(Android/鸿蒙+Linux)一站式AIOT应用开发平台。用比较简单的方式理解,我们平时编写训练模型,测试模型的时候,常用的是 Linux/window系统。而实际应用到现场的时候,通常会以几种形态:GPU服务器、嵌入式设备(比如Android手机、人脸识别闸机,摄像头等)、边缘设备。GPU服务器我们好理解,而Android 嵌入式设备的底层芯片,通常是ARM架构。而Linux底层也是ARM架构,并且Android又是基于Linux内核开发的操作系统,两者可以共享Linux内核。因此就产生了从底层开发一套应用系统的方式,在此基础上同时带来原生Android和原生Linux使用体验。
因此基于ARM芯片,开发了Aidlux平台,可以在安卓手机上直接下载Aidlux使用。同时基于 ARM芯片,比如高通骁龙的855芯片和865芯片,也开发了AidBox边缘设备,提供7T OPS和15TOPS算力,可以直接在设备上使用。
而使用这些设备平台开发的时候,和在Linux上开发都是通用的,即Linux上开发的Python代 码,可以在安卓手机、边缘设备上转换后无缝使用。
那么为什么可以无缝使用呢?
常规的方式,应用在手机Android时,需要将PC上编写的代码,封装成Android SO库(C++)。经过测试后,封装JNI调用SO库,最终在Android上使用Java调用JNI,最终再进行测试发布。因此我们可以看到,这样的流程需要一系列的工作人员参与,比如C++、Java、Python的工程师。Aidlux将其中的整个开发流程,全部打通,通过Aidlux平台,可以将PC端编写的代码,快速应用到Android系统上。
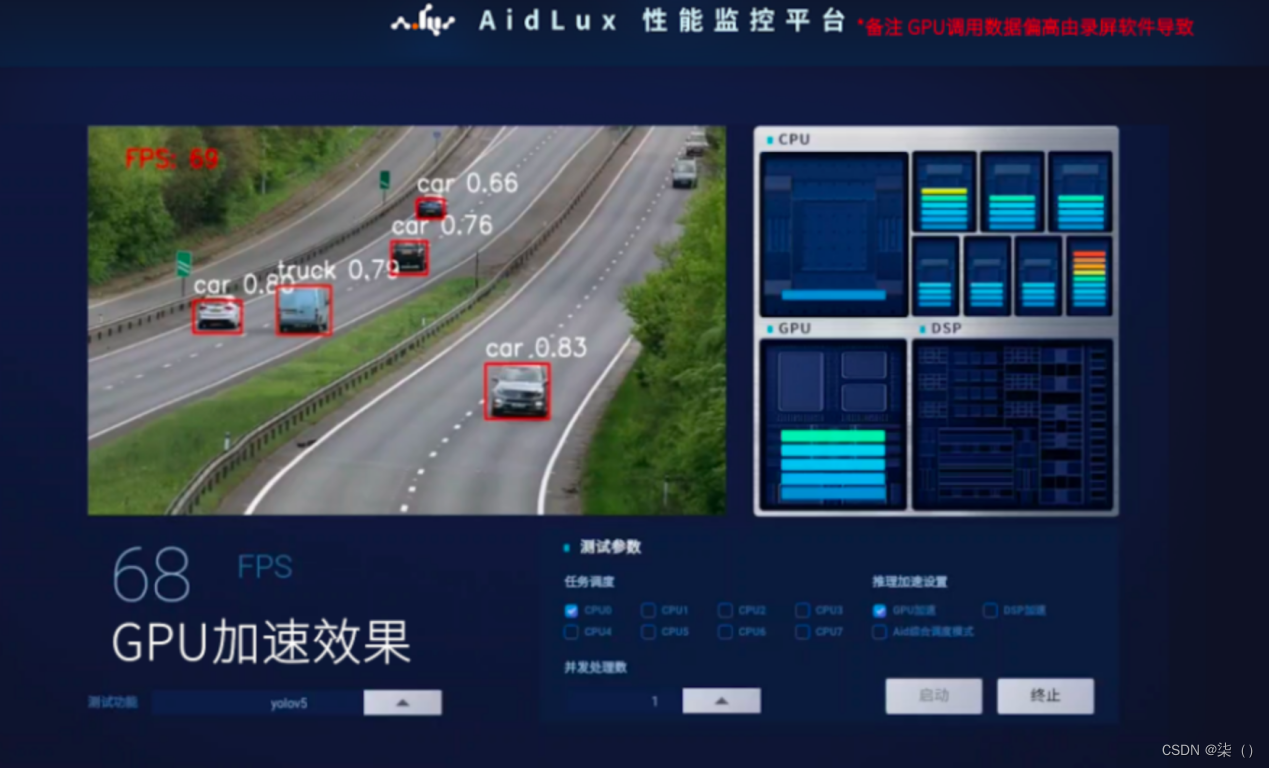
那么有了Android和Linux双系统开发的基础,就可以做很多的事情了。而AI算法应用,就是比较典型的一种。不过这里就涉及到,芯片对于AI算法的优化加速的能力。Aidlux内部一方面内置了多种深度学习框架,便于快速开发。另外对于多种算子进行了优化加速,很多算法的性能,也都能达到实时使用。
通过aidlux很容易部署你的代码。
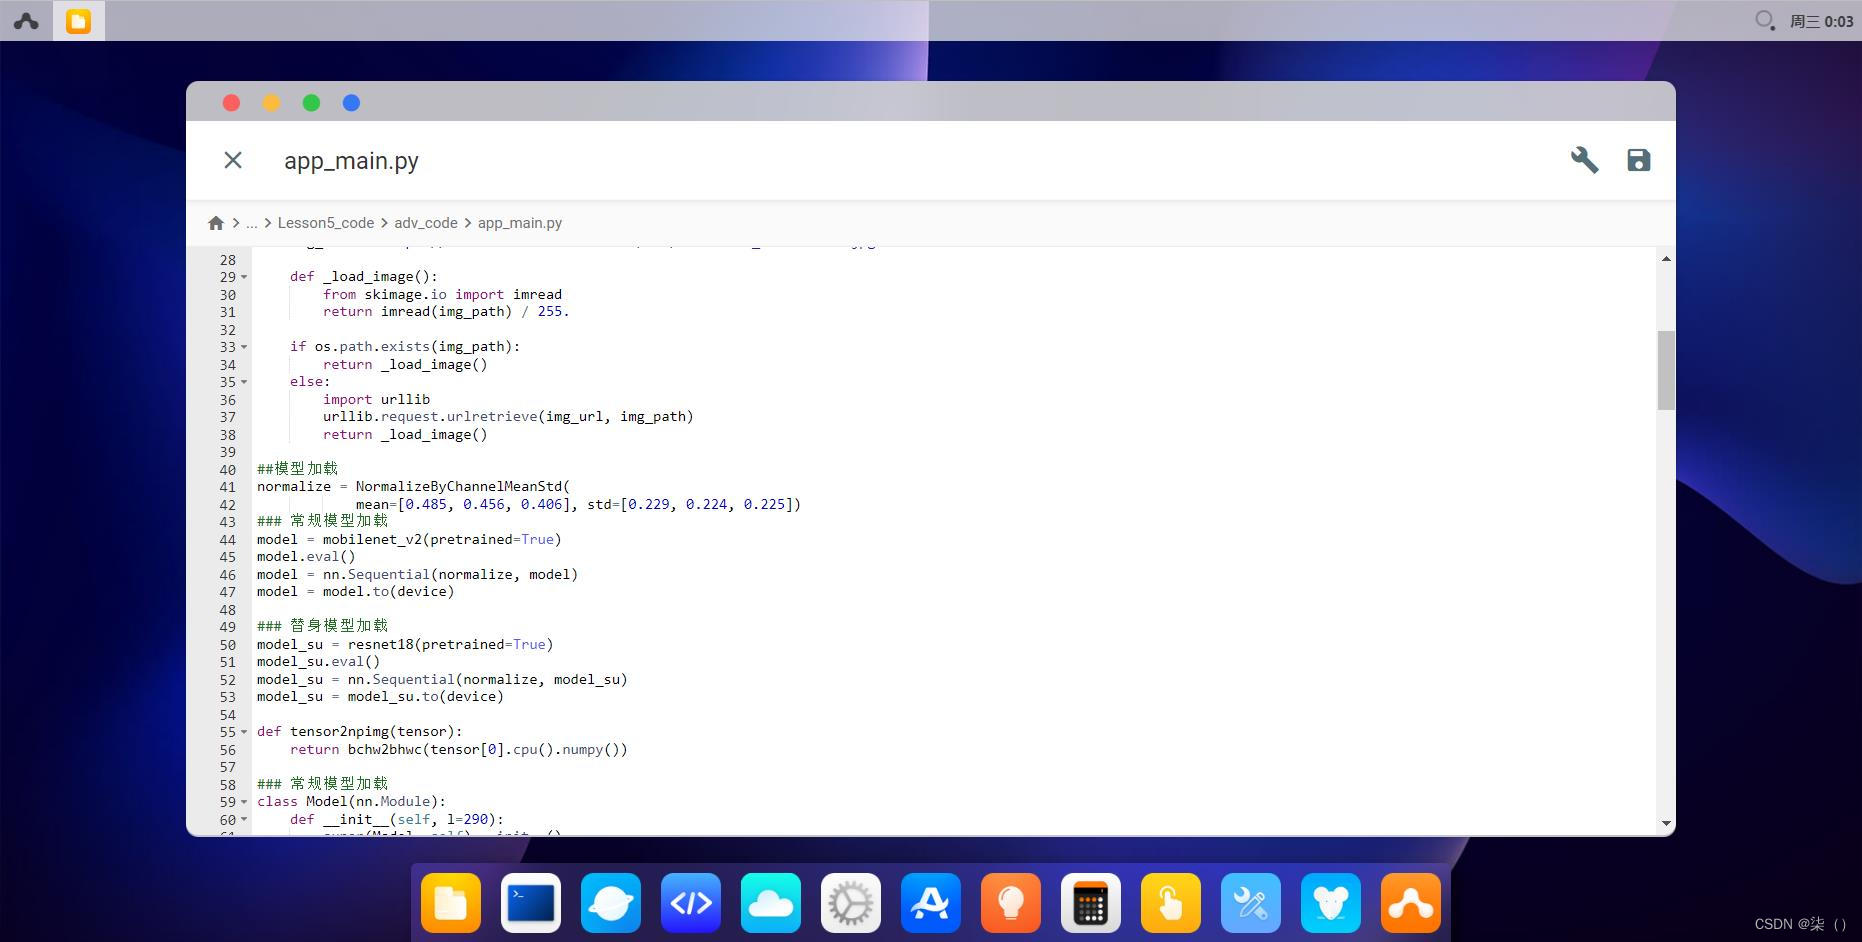
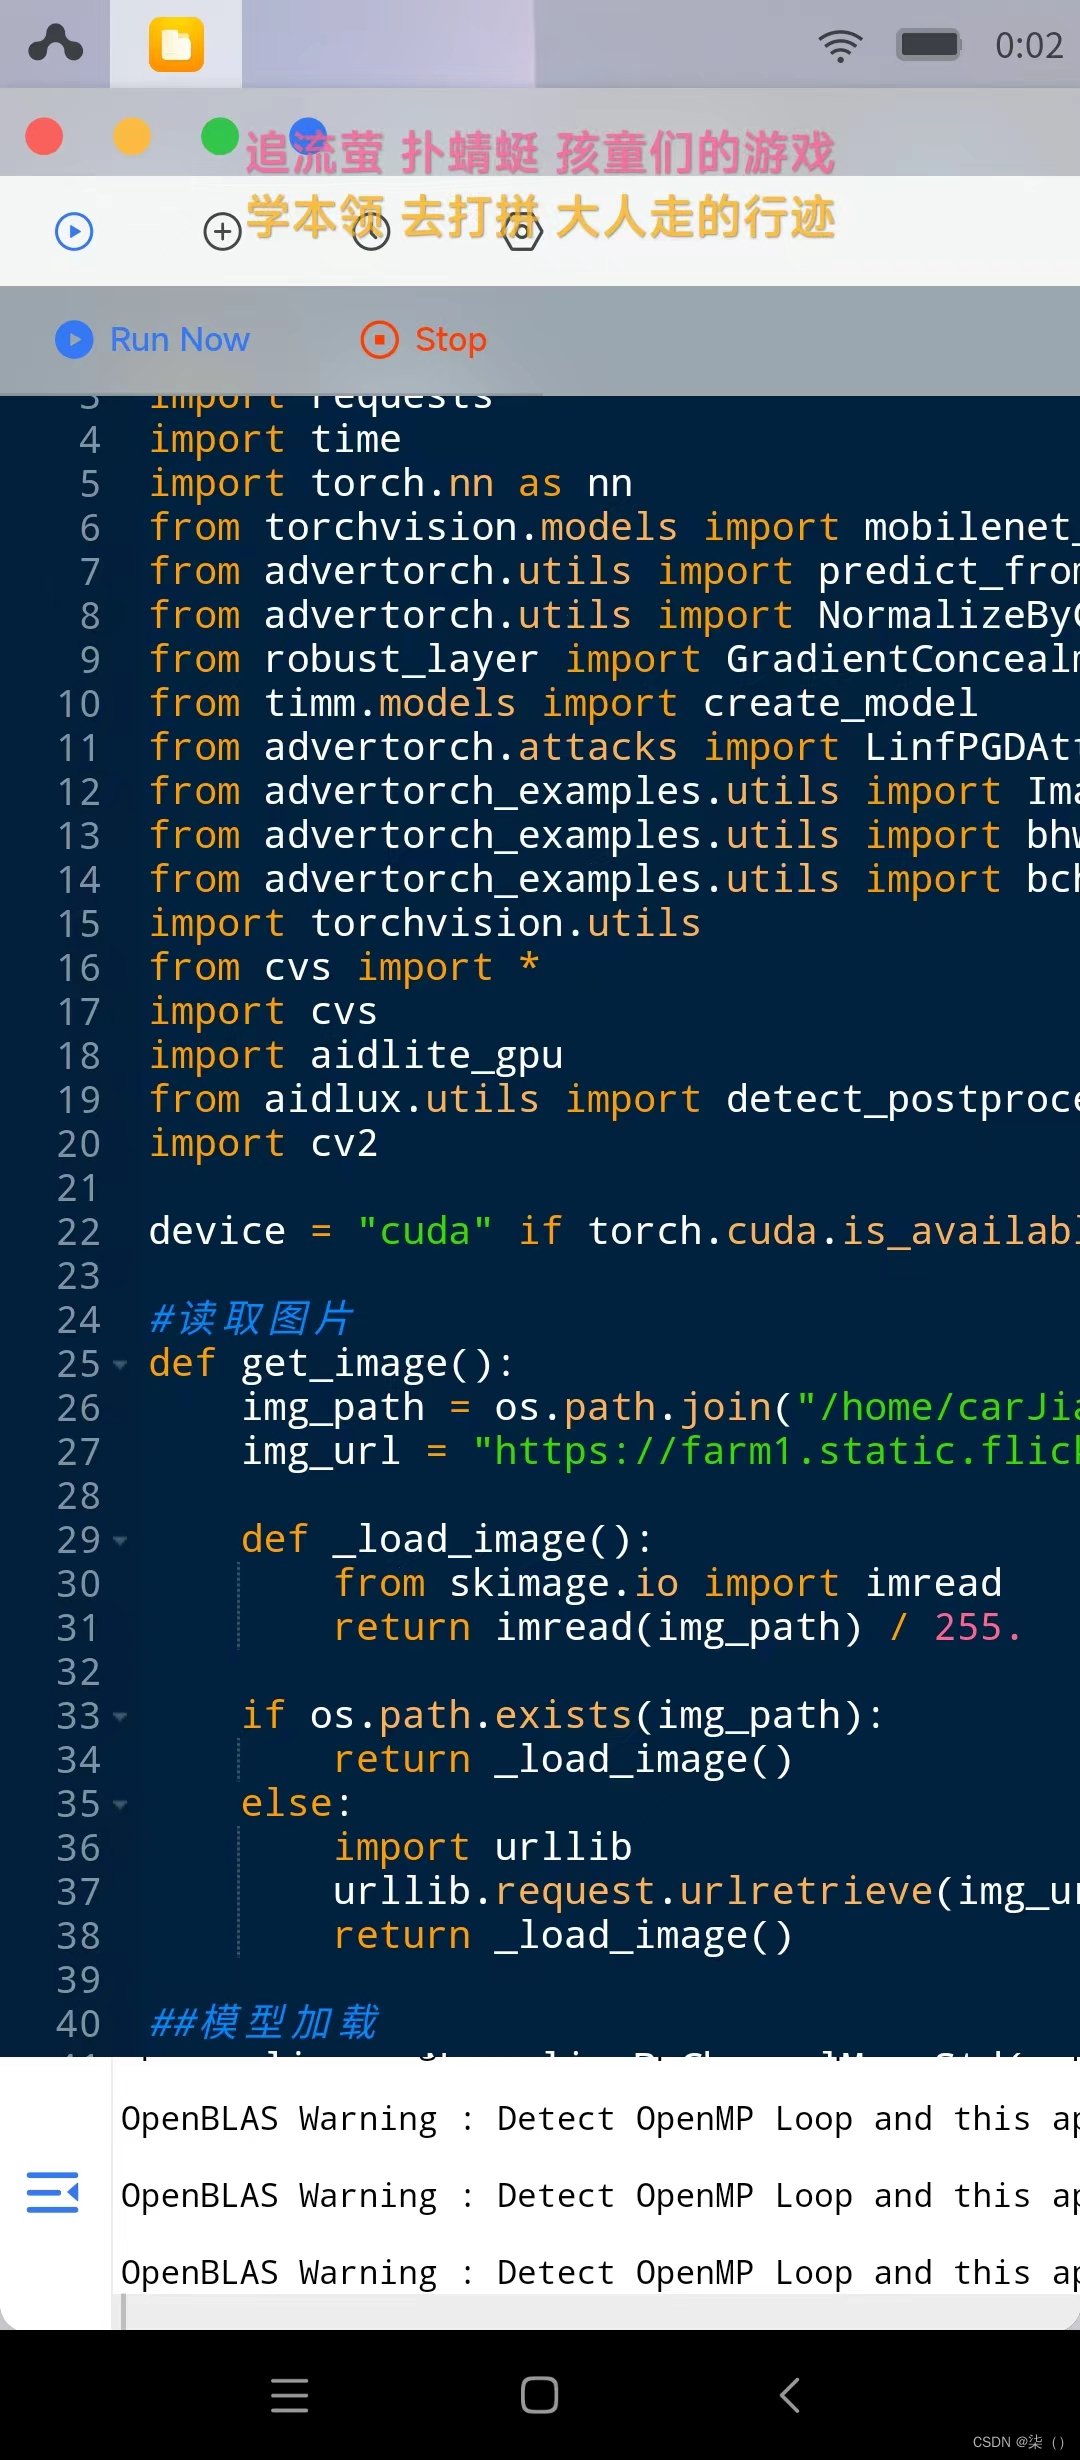
这也是我部署的这个项目的代码
3.大作业:
利用yolov5检测出来的车辆检测结果进行对抗样本的生成,将对抗样本传进模型,通过ai检测模型可以判断这张图片是否带有恶意,以提高鲁棒性,进行一个告警功能的实现。
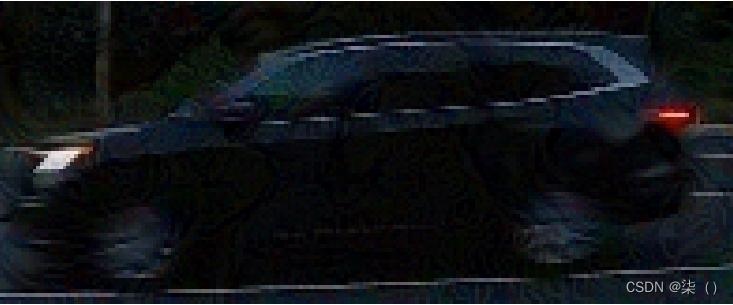
- 第一步:车辆检测,生成检测框里的车图片
首先找一张有关车的图片,我们通过yolov5找到图片中车的具体位置,再通过相关函数进行裁剪,提取车辆目标区域


我们试着利用模型判断这个车的类型

2.生成对抗样本
可以看到加入了很多的噪声
可以观察到模型输出的类型与之前不同,可以知道这对抗样本干扰到模型的准确性。
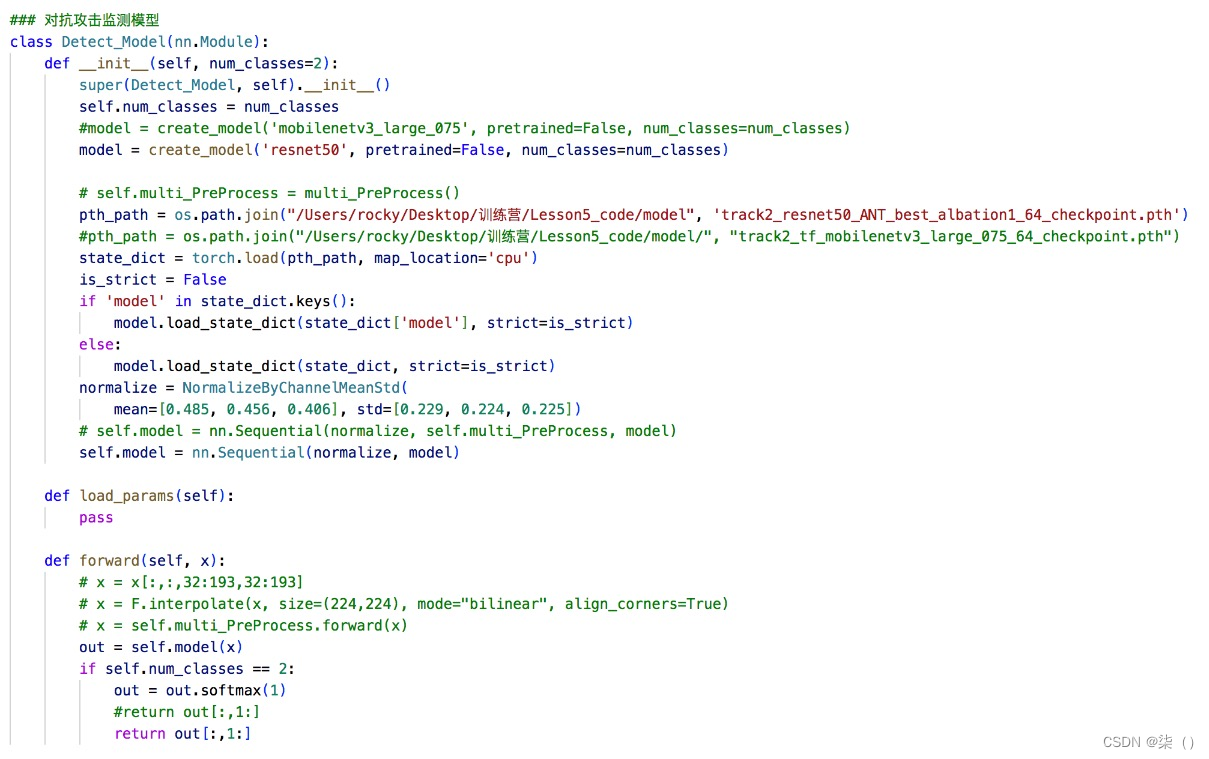
3.对抗攻击检测模型
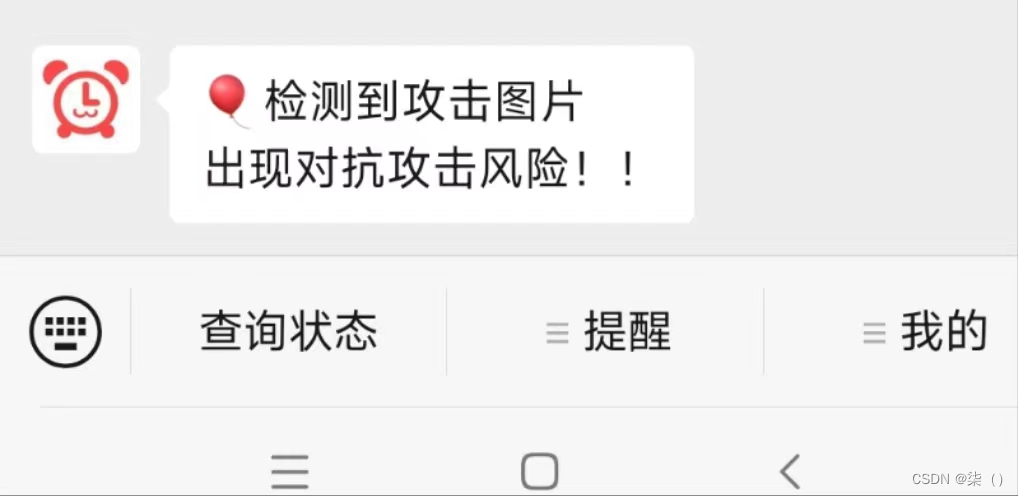
对抗攻击检测模型是一个能够捕捉对抗扰动的二分类模型,这里使用一个已经训练好的基于ResNet50的模型,作为检测模型。再通过喵提醒将检测模型的告警结果发送到手机公众号中。
4.完整流程串联:
车辆检测+检测框提取+对抗样本+ai安全检测警告功能。
判断是否进行攻击,如果是,则通过公众号进行消息提醒
import os
import torch
import requests
import time
import torch.nn as nn
from torchvision.models import mobilenet_v2,resnet18
from advertorch.utils import predict_from_logits
from advertorch.utils import NormalizeByChannelMeanStd
from robust_layer import GradientConcealment, ResizedPaddingLayer
from timm.models import create_model
from advertorch.attacks import LinfPGDAttack
from advertorch_examples.utils import ImageNetClassNameLookup
from advertorch_examples.utils import bhwc2bchw
from advertorch_examples.utils import bchw2bhwc
import torchvision.utils
from cvs import *
import cvs
import aidlite_gpu
from aidlux.utils import detect_postprocess, preprocess_img, draw_detect_res, extract_detect_res
import cv2

device = "cuda" if torch.cuda.is_available() else "cpu"

#读取图片
def get_image():
    img_path = os.path.join("/home/carJiance/Lesson5_code/adv_code/duikangpicture", "vid_5_27620.jpg_0.jpg")
    img_url = "https://farm1.static.flickr.com/230/524562325_fb0a11d1e1.jpg"

    def _load_image():
        from skimage.io import imread
        return imread(img_path) / 255.

    if os.path.exists(img_path):
        return _load_image()
    else:
        import urllib
        urllib.request.urlretrieve(img_url, img_path)
        return _load_image()

##模型加载
normalize = NormalizeByChannelMeanStd(
            mean=[0.485, 0.456, 0.406], std=[0.229, 0.224, 0.225])
### 常规模型加载
model = mobilenet_v2(pretrained=True)
model.eval()
model = nn.Sequential(normalize, model)
model = model.to(device)

### 替身模型加载
model_su = resnet18(pretrained=True)
model_su.eval()
model_su = nn.Sequential(normalize, model_su)
model_su = model_su.to(device)

def tensor2npimg(tensor):
    return bchw2bhwc(tensor[0].cpu().numpy())

### 常规模型加载
class Model(nn.Module):
    def __init__(self, l=290):
        super(Model, self).__init__()

        self.l = l
        self.gcm = GradientConcealment()
        #model = resnet18(pretrained=True)
        model = mobilenet_v2(pretrained=True)

        self.model = nn.Sequential(normalize, model)

    def load_params(self):
        pass

    def forward(self, x):
        #x = self.gcm(x)
        #x = ResizedPaddingLayer(self.l)(x)
        out = self.model(x)
        return out

### 对抗攻击监测模型
class Detect_Model(nn.Module):
    def __init__(self, num_classes=2):
        super(Detect_Model, self).__init__()
        self.num_classes = num_classes
        #model = create_model('mobilenetv3_large_075', pretrained=False, num_classes=num_classes)
        model = create_model('resnet50', pretrained=False, num_classes=num_classes)

        # self.multi_PreProcess = multi_PreProcess()
        pth_path = os.path.join("/home/carJiance/Lesson5_code/model", 'track2_resnet50_ANT_best_albation1_64_checkpoint.pth')
        #pth_path = os.path.join("/Users/rocky/Desktop/训练营/Lesson5_code/model/", "track2_tf_mobilenetv3_large_075_64_checkpoint.pth")
        state_dict = torch.load(pth_path, map_location='cpu')
        is_strict = False
        if 'model' in state_dict.keys():
            model.load_state_dict(state_dict['model'], strict=is_strict)
        else:
            model.load_state_dict(state_dict, strict=is_strict)

        # self.model = nn.Sequential(normalize, self.multi_PreProcess, model)
        self.model = nn.Sequential(normalize, model)

    def load_params(self):
        pass

    def forward(self, x):
        # x = x[:,:,32:193,32:193]
        # x = F.interpolate(x, size=(224,224), mode="bilinear", align_corners=True)
        # x = self.multi_PreProcess.forward(x)
        out = self.model(x)
        if self.num_classes == 2:
            out = out.softmax(1)
            #return out[:,1:]
            return out[:,1:]

model = Model().eval().to(device)

detect_model = Detect_Model().eval().to(device)

def attack():
    ### 数据预处理
    np_img = get_image()
    img = torch.tensor(bhwc2bchw(np_img))[None, :, :, :].float().to(device)
    imagenet_label2classname = ImageNetClassNameLookup()

    ### 测试模型输出结果
    pred = imagenet_label2classname(predict_from_logits(model(img)))
    print("车的类型:", pred)

    ### 输出原label
    pred_label = predict_from_logits(model_su(img))

    ### 对抗攻击:PGD攻击算法
    adversary = LinfPGDAttack(
    model_su, eps=8/255, eps_iter=2/255, nb_iter=80,
    rand_init=True, targeted=False)

    ### 完成攻击,输出对抗样本
    advimg = adversary.perturb(img, pred_label)
    return advimg

# AidLite初始化:调用AidLite进行AI模型的加载与推理,需导入aidlite
aidlite = aidlite_gpu.aidlite()
# Aidlite模型路径
model_path = '/home/carJiance/Lesson5_code/yolov5_code/models/yolov5_car_best-fp16.tflite'
# 定义输入输出shape
in_shape = [1 * 640 * 640 * 3 * 4]
out_shape = [1 * 25200 * 6 * 4]
# 加载Aidlite检测模型:支持tflite, tnn, mnn, ms, nb格式的模型加载
aidlite.ANNModel(model_path, in_shape, out_shape, 4, 0)

def main():
    # 读取图片进行推理
    # 设置测试集路径
    source = "/home/carJiance/Lesson5_code/adv_code/test_images"
    images_list = os.listdir(source)
    print(images_list)
    frame_id = 0
    # 读取数据集
    for image_name in images_list:
        frame_id += 1
        print("frame_id:", frame_id)
        image_path = os.path.join(source, image_name)
        frame = cv2.imread(image_path)
        print("数据预处理开始")
        # 预处理
        img = preprocess_img(frame, target_shape=(640, 640), div_num=255, means=None, stds=None)
        # 数据转换:因为setTensor_Fp32()需要的是float32类型的数据,所以送入的input的数据需为float32,大多数的开发者都会忘记将图像的数据类型转换为float32
        aidlite.setInput_Float32(img, 640, 640)
        # 模型推理API
        aidlite.invoke()
        # 读取返回的结果
        pred = aidlite.getOutput_Float32(0)

        # 数据维度转换
        pred = pred.reshape(1, 25200, 6)[0]
        # 模型推理后处理
        pred = detect_postprocess(pred, frame.shape, [640, 640, 3], conf_thres=0.25, iou_thres=0.45)
        # 绘制推理结果
        res_img = draw_detect_res(frame, pred)

        # 图片裁剪,提取车辆目标区域
        extract_detect_res(frame, pred, image_name)
        print("图片裁剪完成")
        ### 数据预处理
        np_img = get_image()
        print("2")
        img = torch.tensor(bhwc2bchw(np_img))[None, :, :, :].float().to(device)
        print("3")
        imagenet_label2classname = ImageNetClassNameLookup()
        print("测试模型输出结果")
        ### 测试模型输出结果
        pred = imagenet_label2classname(predict_from_logits(model(img)))
        print("输出原label")
        ### 输出原label
        pred_label = predict_from_logits(model_su(img))
        print("进行输出对抗样本")
        ### 对抗攻击:PGD攻击算法
        adversary = LinfPGDAttack(
        model_su, eps=8/255, eps_iter=2/255, nb_iter=80,
        rand_init=True, targeted=False)

        ### 完成攻击,输出对抗样本
        advimg = adversary.perturb(img, pred_label)
        print("完成输出对抗样本")
        print("对抗攻击检测")
        ### 对抗攻击监测
        detect_pred = detect_model(advimg)
        if detect_pred > 0.5:
            id = 'tLCW5i9'
            # 填写喵提醒中,发送的消息,这里放上前面提到的图片外链
            text = "出现对抗攻击风险!!"
            ts = str(time.time())  # 时间戳
            type = 'json'  # 返回内容格式
            request_url = "http://miaotixing.com/trigger?"

            headers = {
                'User-Agent': 'Mozilla/5.0 (Windows NT 10.0; Win64; x64) AppleWebKit/537.36 (KHTML, like Gecko) Chrome/87.0.4280.67 Safari/537.36 Edg/87.0.664.47'}

            result = requests.post(request_url + "id=" + id + "&text=" + text + "&ts=" + ts + "&type=" + type,
                                headers=headers)
        else:
            pred = imagenet_label2classname(predict_from_logits(model(img)))
            print("车的类型为:"+pred)

    print("结束")

if __name__=="__main__":
    print("流程开始")
    main()
    print("流程结束")
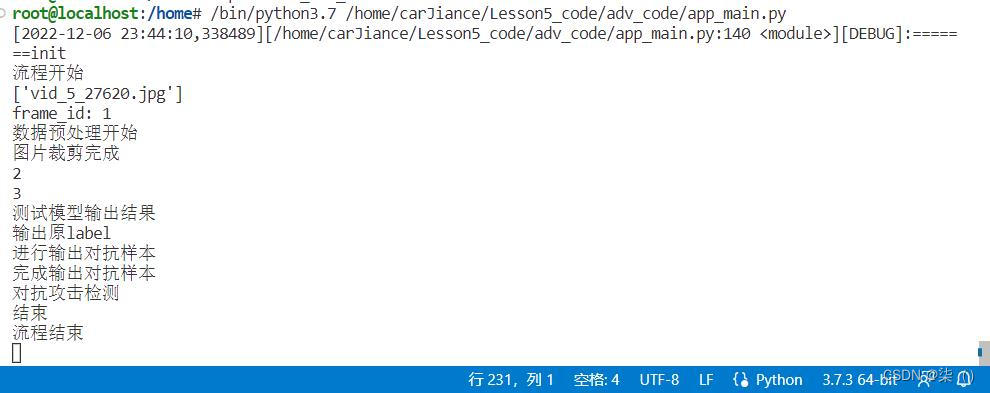
运行结果:


 2830
2830


 被折叠的 条评论
为什么被折叠?
被折叠的 条评论
为什么被折叠?
 到【灌水乐园】发言


