


目录
-
JavaScript基础
-
js语言
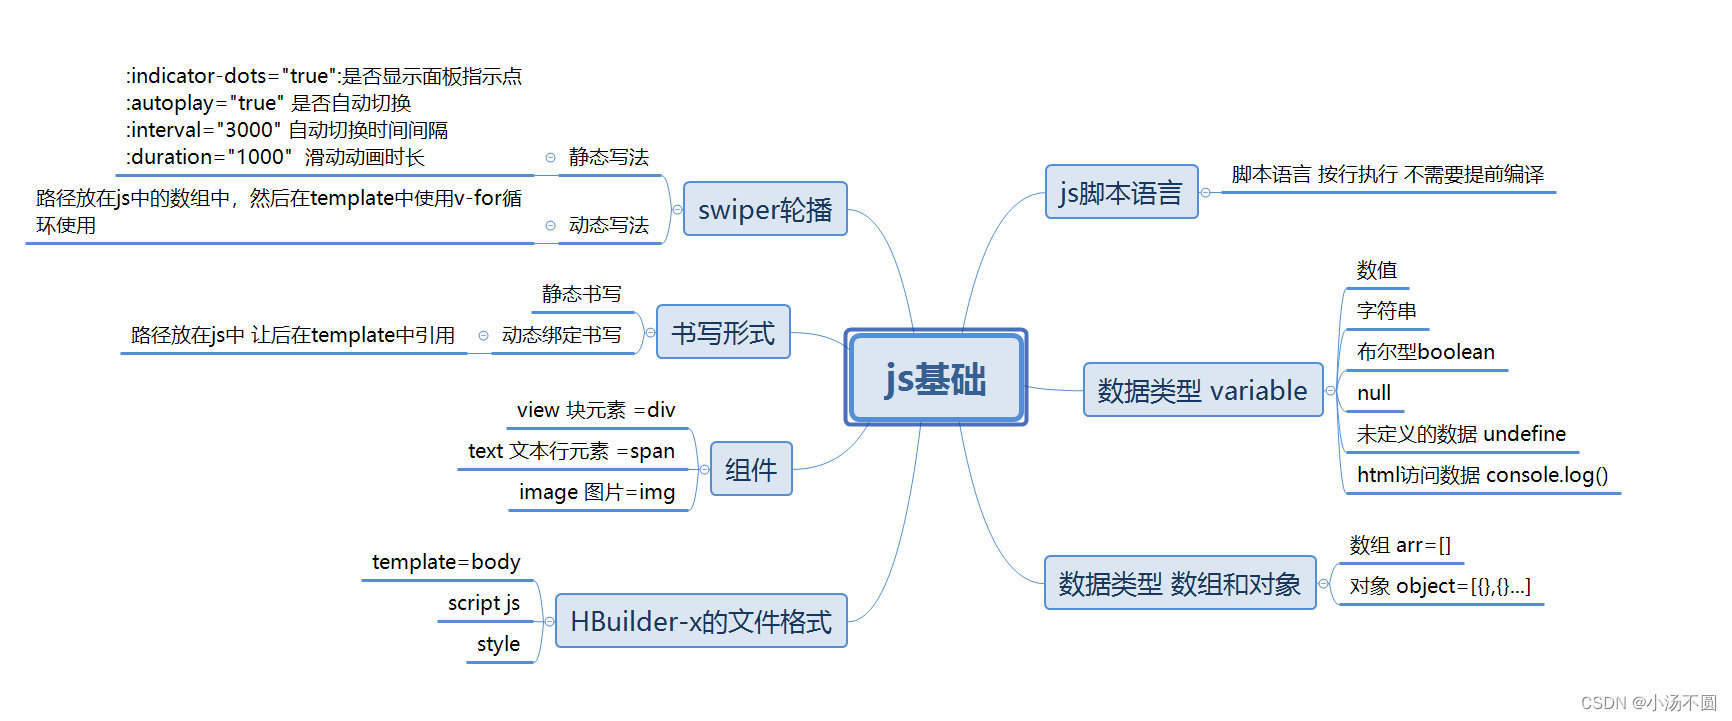
js语言不同于Java语言,js是一种脚本语言,按行执行,不需要提前编译,所以是一种很方便的前端脚本语言,因此很适合在前端使用。
-
js数据
先了解我们的数据,以便我们使用后期的数据。我们需要在script中去书写我们的数据,然后我们调用console来访问我们的数据。
<body>
    <!-- js脚本语言 按行执行 不需要提前编译
		 java 先编译在执行 -->
    <script>
        // 数据类型 variable
        // 数值型
        var age = 18;
        var score = 424.99;
        // 字符串
        var add = "管城区";
        var id = "jx21022111010216"
            // boolean布尔型 true or false
        var flag = true;
        // null :没有
        var nullVar = null;

        // 先声明 在赋值
        var idnum;

        console.log(age);
        console.log(score);
        console.log(add);
        console.log(id);
        console.log(flag);
        console.log(nullVar);
        console.log(idnum);

        // 数组
        var arr = [1, 1.1, true, "你好,taday is funny day"]

        // 对象 object
        // 使用数组将对象包裹起来
        var obj = [
            {
                // 键值对
                id: "jx21022111010216",
                stuName: "张三",
                age: 20,
                sex: true
            },
            stuMsg = {
                id: "jx21022111010215",
                stuName: "jeery",
                age: 20,
                sex: true
            },
            stuMsg = {
                id: "jx21022111010217",
                stuName: "tom",
                age: 20,
                sex: true
            }
        ]

        // 访问数组
        console.log(arr[2])

        // 访问对象 obj([index索引])
        console.log(stuMsg[2])
    </script>
</body>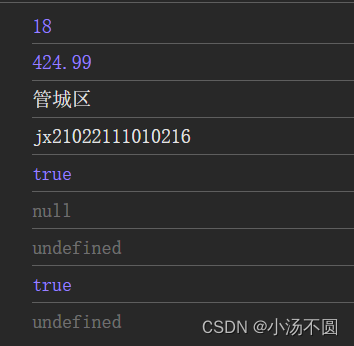
-
HBuilderX
然后了解我们的新的开发工具HBuilderX极客开发工具。
-
结构
主要是与我们的VSCode有区别但是结构差不多,还是要了解一下,这样我们对后来的书写会更加方便。
<template>
	<view class="content">
		<image class="logo" src="/static/logo.png"></image>
		<view class="text-area">
			<text class="title">{{title}}</text>
		</view>
	</view>
</template>

<script>
	export default {
		data() {
			return {
				title: 'Hello'
			}
		},
		onLoad() {

		},
		methods: {

		}
	}
</script>

<style>
	.content {
		display: flex;
		flex-direction: column;
		align-items: center;
		justify-content: center;
	}

	.logo {
		height: 200rpx;
		width: 200rpx;
		margin-top: 200rpx;
		margin-left: auto;
		margin-right: auto;
		margin-bottom: 50rpx;
	}

	.text-area {
		display: flex;
		justify-content: center;
	}

	.title {
		font-size: 36rpx;
		color: #8f8f94;
	}
</style>
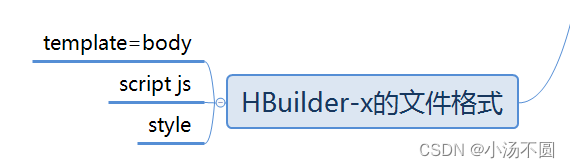
template就是我们html的body,主要的代码写在里面;然后我们的style也跟我们html的style一样主要的样式写在里面;最后我们的js脚本主要在script里面,这样的结构跟我们的html差不多,所以还需要多了解使用。
-
组件
<template>
	<view class="content">
		<!-- 1.view相当于div -->
		<view class="view1">
			块内容1
		</view>
		<view class="view2">
			块内容2
		</view>
		<view class="view3">
			块内容3
		</view>
		<!-- 2.text相当于span -->
		<text>文本1</text>
		<text>文本2</text>
		<text>文本3</text>
        <!-- 3.image图片标签相当于img -->
		<image src="../../static/logo.png" mode=""></image>
		<!-- / 根目录 -->
		<image class="logo" src="/static/logo.png"></image>
	</view>
</template>

<script>
</script>

<style>
</style>
-
图片标签的书写
图片标签的书写有两种。
-
静态书写
是将我们的动态图片链接直接引用到我们的image的src里面书写。
<template>
	<view class="content">
		<view class="main">
			main
		</view>
		<image src="https://projectapp5566.oss-cn-beijing.aliyuncs.com/banner1.png" mode="" class="banner"></image>
	</view>
</template>-
动态书写
将我们的动态路径在script中用变量数据的形式使用,让后在image里面直接引用我们的路径,使用我们经常会使用这个书写,来让我们的template更加简明。
<template>
	<view class="content">
		<!-- 动态绑定 -->
		<!-- 插值表达式{{}} -->
		<view class="main">{{title}}</view>
		<!-- 动态绑定属性 -->
		<image :src="imgUrl" mode="" class="banner"></image>
	</view>
</template>

<script>
	export default {
		data() {
			return {
				title: '智慧校车',
				imgUrl:'https://projectapp5566.oss-cn-beijing.aliyuncs.com/banner1.png'
			}
		},
		onLoad() {

		},
		methods: {

		}
	}
</script>-
swiper轮播
-
静态轮播书写方式
轮播是一种显示的多张图片轮换播放的一种方法组件,但是这种静态轮播书写方式,使我们的template更加繁琐,所以我们推荐我们的动态书写。
<template>
	<view class="content">
		<!-- :indicator-dots="true":是否显示面板指示点
		     :autoplay="true" 是否自动切换
		     :interval="3000" 自动切换时间间隔
		     :duration="1000"  滑动动画时长
		 -->
		<swiper :indicator-dots="true" :autoplay="true" :interval="3000" :duration="1000" class="banner">
			<swiper-item>
				<view class="swiper-item">
					<image src="https://projectapp5566.oss-cn-beijing.aliyuncs.com/banner1.png" mode=""></image>
				</view>
			</swiper-item>
			<swiper-item>
				<view class="swiper-item">
					<image src="https://projectapp5566.oss-cn-beijing.aliyuncs.com/banner2.png" mode=""></image>
				</view>
			</swiper-item>
			<swiper-item>
				<view class="swiper-item">
					<image src="https://projectapp5566.oss-cn-beijing.aliyuncs.com/banner3.png" mode=""></image>
				</view>
			</swiper-item>
		</swiper>
	</view>
</template>
-
动态轮播书写方式
我们的动态轮播,会用到我们的js数据里面的对象我们引用,使用v-for循环来调用我们的图片,大家可以到vue的网页里面找到我们的这个vue2文档中找到我们v-for的使用方法,来正确了解和循环使用我们的图片。
<template>
	<view class="content">
		<!-- :indicator-dots="true":是否显示面板指示点
		     :autoplay="true" 是否自动切换
		     :interval="3000" 自动切换时间间隔
		     :duration="1000"  滑动动画时长
		 -->
		<swiper :indicator-dots="true" :autoplay="true" :interval="3000" :duration="1000" class="banner">
			<!-- swiper-item有多个,所以需要循环输出 :key="bannerData.id"绑定key值加速解析-->
			<swiper-item v-for="bannerData in bannerDatas" :key="bannerData.id">
				<view class="swiper-item">
					<image :src="bannerData.imgurl" mode=""></image>
				</view>
			</swiper-item>
		</swiper>
	</view>
</template>

<script>
	export default {
		data() {
			return {
				title: '智慧校车',
				imgUrl: 'https://projectapp5566.oss-cn-beijing.aliyuncs.com/banner1.png',
				// 轮播的数据
				bannerDatas: [{
						id: 1,
						imgurl: 'https://projectapp5566.oss-cn-beijing.aliyuncs.com/banner1.png'
					},
					{
						id: 2,
						imgurl: 'https://projectapp5566.oss-cn-beijing.aliyuncs.com/banner2.png'
					},
					{
						id: 3,
						imgurl: 'https://projectapp5566.oss-cn-beijing.aliyuncs.com/banner3.png'
					}
				]
			}
		},
		onLoad() {

		},
		methods: {

		}
	}
</script>
最后还是我们的思维导图,简单明了。


 17万+
17万+


 被折叠的 条评论
为什么被折叠?
被折叠的 条评论
为什么被折叠?
 到【灌水乐园】发言


