


创建登录的视图页面
在views里创建一个LoginView.vue,且配置一下路由
<template>
  <div>
    这是登录页面
  </div>
</template>

<script>

export default {
  name: "LOGIN",
  data() {
    return {

    }
  },
  methods: {

  }
}
</script>
import LoginView from '../views/LoginView.vue'
{
path: '/login',
name: 'login',
component: LoginView
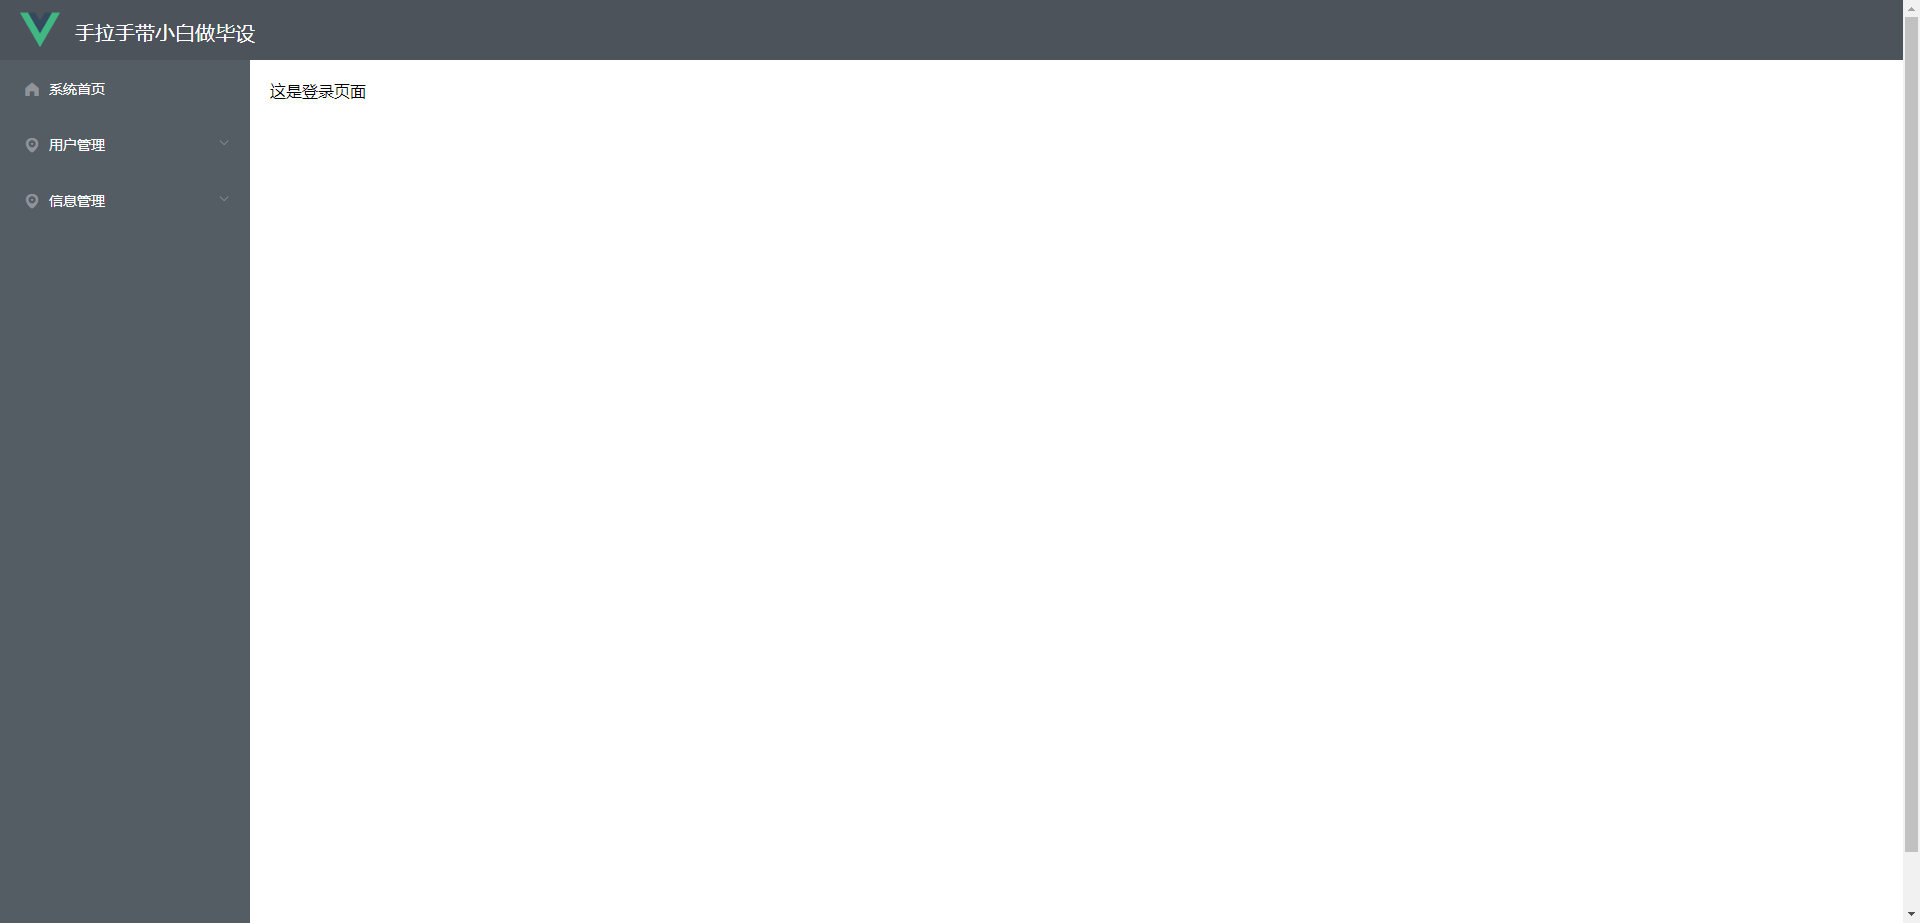
},使用/login路由请求一下登录页面,会发现很奇怪:它不是一个独立的登录页面,而是嵌入在这个后台管理系统框架内部,这明显不是我们想要的。
将路由分级,一级路由和二级路由
- 首先我们需要把App.vue里的内容移出去,比如我创建一个Layout.vue文件,把所有内容移到Layout.vue文件里
<template>
  <div>
    <el-container>
      <el-header style="background-color: #4c535a">
        <img src="@/assets/logo.png" alt="" style="width: 40px; position: relative; top: 10px;">
        <span style="font-size: 20px; margin-left: 15px; color: white">手拉手带小白做毕设</span>
      </el-header>
    </el-container>
    <el-container>
      <el-aside style="overflow: hidden; min-height: 100vh; background-color: #545c64; width: 250px">
        <el-menu :default-active="$route.path" router background-color="#545c64" text-color="#fff" active-text-color="#ffd04b">
          <el-menu-item index="/">
            <i class="el-icon-s-home"></i>
            <span slot="title">系统首页</span>
          </el-menu-item>
          <el-submenu index="2">
            <template slot="title">
              <i class="el-icon-location"></i><span>用户管理</span>
            </template>
            <el-menu-item-group>
              <el-menu-item index="/admin">管理员信息</el-menu-item>
              <el-menu-item index="2-2">用户信息</el-menu-item>
            </el-menu-item-group>
          </el-submenu>
          <el-submenu index="3">
            <template slot="title">
              <i class="el-icon-location"></i><span>信息管理</span>
            </template>
            <el-menu-item-group>
              <el-menu-item index="3-1">xxx信息</el-menu-item>
              <el-menu-item index="3-2">yyy信息</el-menu-item>
            </el-menu-item-group>
          </el-submenu>
        </el-menu>
      </el-aside>
      <el-main>
        <router-view/>
      </el-main>
    </el-container>
  </div>
</template>

<script>
export default {
  name: "Layout"
}
</script>

<style>
.el-menu{
  border-right: none !important;
}
</style>- App.vue文件里,写上
<template>
  <div id="app">
    <router-view />
  </div>
</template>- 修改路由,把一级路由定义在Layout,然后菜单那些路由,定义在children里,作为子路由,这样的话就可以把login放在一级路由了。
const routes = [
  {
    path: '/login',
    name: 'login',
    component: LoginView
  },
  {
    path: '/',
    name: 'Layout',
    component: Layout,
    children: [ // 子路由
      {
        path: '',
        name: 'home',
        component: HomeView
      },
      {
        path: 'admin',
        name: 'admin',
        component: () => import('../views/AdminView.vue')
      }
    ]
  },

]
登录页面的设计
<div>
  <div style="width: 400px; height: 350px; margin: 150px auto; background-color:rgba(107,149,224,0.5); border-radius: 10px">
    <div style="width: 100%; height: 100px; font-size: 30px; line-height: 100px; text-align: center; color: #4a5ed0">欢迎登录</div>
    <div style="margin-top: 25px; text-align: center; height: 320px;">
      <el-form :model="admin">
        <el-form-item>
          <el-input v-model="admin.name" prefix-icon="el-icon-user" style="width: 80%" placeholder="请输入用户名"></el-input>
        </el-form-item>
        <el-form-item>
          <el-input v-model="admin.password" prefix-icon="el-icon-lock" style="width: 80%" placeholder="请输入密码"></el-input>
        </el-form-item>
        <el-form-item>
          <el-button style="width: 80%; margin-top: 10px" type="primary" @click="login()">登录</el-button>
        </el-form-item>
      </el-form>

    </div>
  </div>
</div>
<script>
import request from "@/utils/request";
export default {
name: "Login",
data() {
return {
admin: {}
}
},
// 页面加载的时候,做一些事情,在created里面
created() {
},
// 定义一些页面上控件出发的事件调用的方法
methods: {
login() {
request.post("/admin/login", this.admin).then(res => {
if (res.code === '0') {
this.$message({
message: '登录成功',
type: 'success'
});
this.$router.push("/");
} else {
this.$message({
message: res.msg,
type: 'error'
});
}
})
}
}
}
</script>登录后台逻辑
- AdminController
@PostMapping("/login")
public Result login(@RequestBody Admin admin) {
    Admin loginUser = adminService.login(admin);
    return Result.success(loginUser);
}- AdminService
public Admin login(Admin admin) {
    // 1. 进行一些非空判断
    if (admin.getName() == null || "".equals(admin.getName())) {
        throw new CustomException("用户名不能为空");
    }
    if (admin.getPassword() == null || "".equals(admin.getPassword())) {
        throw new CustomException("密码不能为空");
    }
    // 2. 从数据库里面根据这个用户名和密码去查询对应的管理员信息,
    Admin user = adminDao.findByNameAndPassword(admin.getName(), admin.getPassword());
    if (user == null) {
        // 如果查出来没有,那说明输入的用户名或者密码有误,提示用户,不允许登录
        throw new CustomException("用户名或密码输入错误");
    }
    // 如果查出来了有,那说明确实有这个管理员,而且输入的用户名和密码都对;
    return user;
}- AdminDao.java
@Select("select * from admin where name = #{name} and password = #{password} limit 1")
Admin findByNameAndPassword(@Param("name") String name, @Param("password") String password);
异常捕获与自定义异常
- GlobalExceptionHandler
package com.example.exception;

import com.example.common.Result;
import org.slf4j.Logger;
import org.slf4j.LoggerFactory;
import org.springframework.web.bind.annotation.ControllerAdvice;
import org.springframework.web.bind.annotation.ExceptionHandler;
import org.springframework.web.bind.annotation.ResponseBody;

import javax.servlet.http.HttpServletRequest;

@ControllerAdvice(basePackages="com.example.controller")
public class GlobalExceptionHandler {

    private static final Logger log = LoggerFactory.getLogger(GlobalExceptionHandler.class);

    //统一异常处理@ExceptionHandler,主要用于Exception
    @ExceptionHandler(Exception.class)
    @ResponseBody
    public Result error(HttpServletRequest request, Exception e){
        log.error("异常信息:",e);
        return Result.error("系统异常");
    }

    @ExceptionHandler(CustomException.class)
    @ResponseBody
    public Result customError(HttpServletRequest request, CustomException e){
        return Result.error(e.getMsg());
    }
}- 自定义异常:CustomException
package com.example.exception;

public class CustomException extends RuntimeException {
    private String msg;

    public CustomException(String msg) {
        this.msg = msg;
    }

    public String getMsg() {
        return msg;
    }

    public void setMsg(String msg) {
        this.msg = msg;
    }
}
注册功能的实现
- 注册页面:LoginView.vue
<template>
  <div>
    <div style="width: 400px; height: 350px; margin: 150px auto; background-color:rgba(165,190,234,0.5); border-radius: 10px">
      <div style="width: 100%; height: 100px; font-size: 30px; line-height: 100px; text-align: center; color: #4a5ed0">欢迎注册</div>
      <div style="margin-top: 25px; text-align: center; height: 320px;">
        <el-form :model="admin">
          <el-form-item>
            <el-input v-model="admin.name" prefix-icon="el-icon-user" style="width: 80%" placeholder="请输入用户名"></el-input>
          </el-form-item>
          <el-form-item>
            <el-input v-model="admin.password" prefix-icon="el-icon-lock" style="width: 80%" placeholder="请输入密码"></el-input>
          </el-form-item>
          <el-form-item>
            <el-button style="width: 80%; margin-top: 10px" type="primary" @click="register()">注册</el-button>
          </el-form-item>
        </el-form>

      </div>
    </div>
  </div>
</template>

<script>

import request from "@/utils/request";

export default {
  name: "Register",
  data() {
    return {
      admin: {}
    }
  },
  // 页面加载的时候,做一些事情,在created里面
  created() {
  },
  // 定义一些页面上控件出发的事件调用的方法
  methods: {
    register() {
      request.post("/admin/register", this.admin).then(res => {
        if (res.code === '0') {
          this.$message({
            message: '注册成功',
            type: 'success'
          });
          this.$router.push("/login");
        } else {
          this.$message({
            message: res.msg,
            type: 'error'
          });
        }
      })
    }
  }
}
</script>- 添加一下路由
import RegisterView from "@/views/RegisterView";

{
  path: '/register',
  name: 'Register',
  component: RegisterView
},- AdminController.java
@PostMapping("/register")
public Result register(@RequestBody Admin admin) {
    adminService.add(admin);
    return Result.success();
}


 870
870

 被折叠的 条评论
为什么被折叠?
被折叠的 条评论
为什么被折叠?
 到【灌水乐园】发言


