


安装gitlab,创建group、user和project并授权
gitlab的安装
下载地址:
#官方下载地址
https://packages.gitlab.com/gitlab/gitlab-ce
#清华大学下载地址:
https://mirrors.tuna.tsinghua.edu.cn/gitlab-ce
安装服务器地址:10.0.0.190
#下载deb安装包
wget https://mirrors.tuna.tsinghua.edu.cn/gitlab-ce/ubuntu/pool/jammy/main/g/gitlab-ce/gitlab-ce_16.6.1-ce.0_amd64.deb

#安装
dpkg -i gitlab-ce_16.6.1-ce.0_amd64.deb
...
Thank you for installing GitLab!
GitLab was unable to detect a valid hostname for your instance.
Please configure a URL for your GitLab instance by setting `external_url`
configuration in /etc/gitlab/gitlab.rb file. #gitlab配置文件
Then, you can start your GitLab instance by running the following command:
  sudo gitlab-ctl reconfigure #修改配置文件后执行

For a comprehensive list of configuration options please see the Omnibus GitLab readme
https://gitlab.com/gitlab-org/omnibus-gitlab/blob/master/README.md

Help us improve the installation experience, let us know how we did with a 1 minute survey:
https://gitlab.fra1.qualtrics.com/jfe/form/SV_6kVqZANThUQ1bZb?installation=omnibus&release=16-6
修改gitlab配置文件
vim /etc/gitlab/gitlab.rb
#gitlab访问地址
external_url 'http://10.0.0.190'
#开启邮箱配置
gitlab_rails['smtp_enable'] = true
#邮箱smtp域名
gitlab_rails['smtp_address'] = "smtp.163.com"
#SMTP端口
gitlab_rails['smtp_port'] = 465
#邮箱地址
gitlab_rails['smtp_user_name'] = "xxxxxxxx@163.com"
#qq邮箱,163邮箱一般是授权码;公司的企业邮箱一般是密码
gitlab_rails['smtp_password'] = "EXFYLNHAEMBPROGW"
gitlab_rails['smtp_domain'] = "163.com"
gitlab_rails['smtp_authentication'] = :login
#自动判断是不是使用ssl,老版本支持,新版本支持
#gitlab_rails['smtp_enable_starttls_auto'] = true
#强制使用ssl
gitlab_rails['smtp_tls'] = true
#发件人
gitlab_rails['gitlab_email_from'] = "xxxxxxxx@163.com"
#git用户的邮箱
user["git_user_email"] = "xxxxxxxx@163.com"


#修改完配置文件后更新配置;如果后期又修改了配置文件也要执行它;第一次执行比较慢
root@gitlab:~# gitlab-ctl reconfigure
...
Notes:
Default admin account has been configured with following details:
Username: root
Password: You didn't opt-in to print initial root password to STDOUT.
#第一次安装后生成的默认密码,只会保存24小时,但是不会过期
Password stored to /etc/gitlab/initial_root_password. This file will be cleaned up in first reconfigure run after 24 hours.
....

#查看并记录初始默认密码
root@gitlab:~# cat /etc/gitlab/initial_root_password
# WARNING: This value is valid only in the following conditions
#          1. If provided manually (either via `GITLAB_ROOT_PASSWORD` environment variable or via `gitlab_rails['initial_root_password']` setting in `gitlab.rb`, it was provided before database was seeded for the first time (usually, the first reconfigure run).
#          2. Password hasn't been changed manually, either via UI or via command line.
#
#          If the password shown here doesn't work, you must reset the admin password following https://docs.gitlab.com/ee/security/reset_user_password.html#reset-your-root-password.

Password: 3YA0z9ifTu1ffK45lV+3k4qMvxWAW1lH1qEWUn7EoWc=

# NOTE: This file will be automatically deleted in the first reconfigure run after 24 hours.
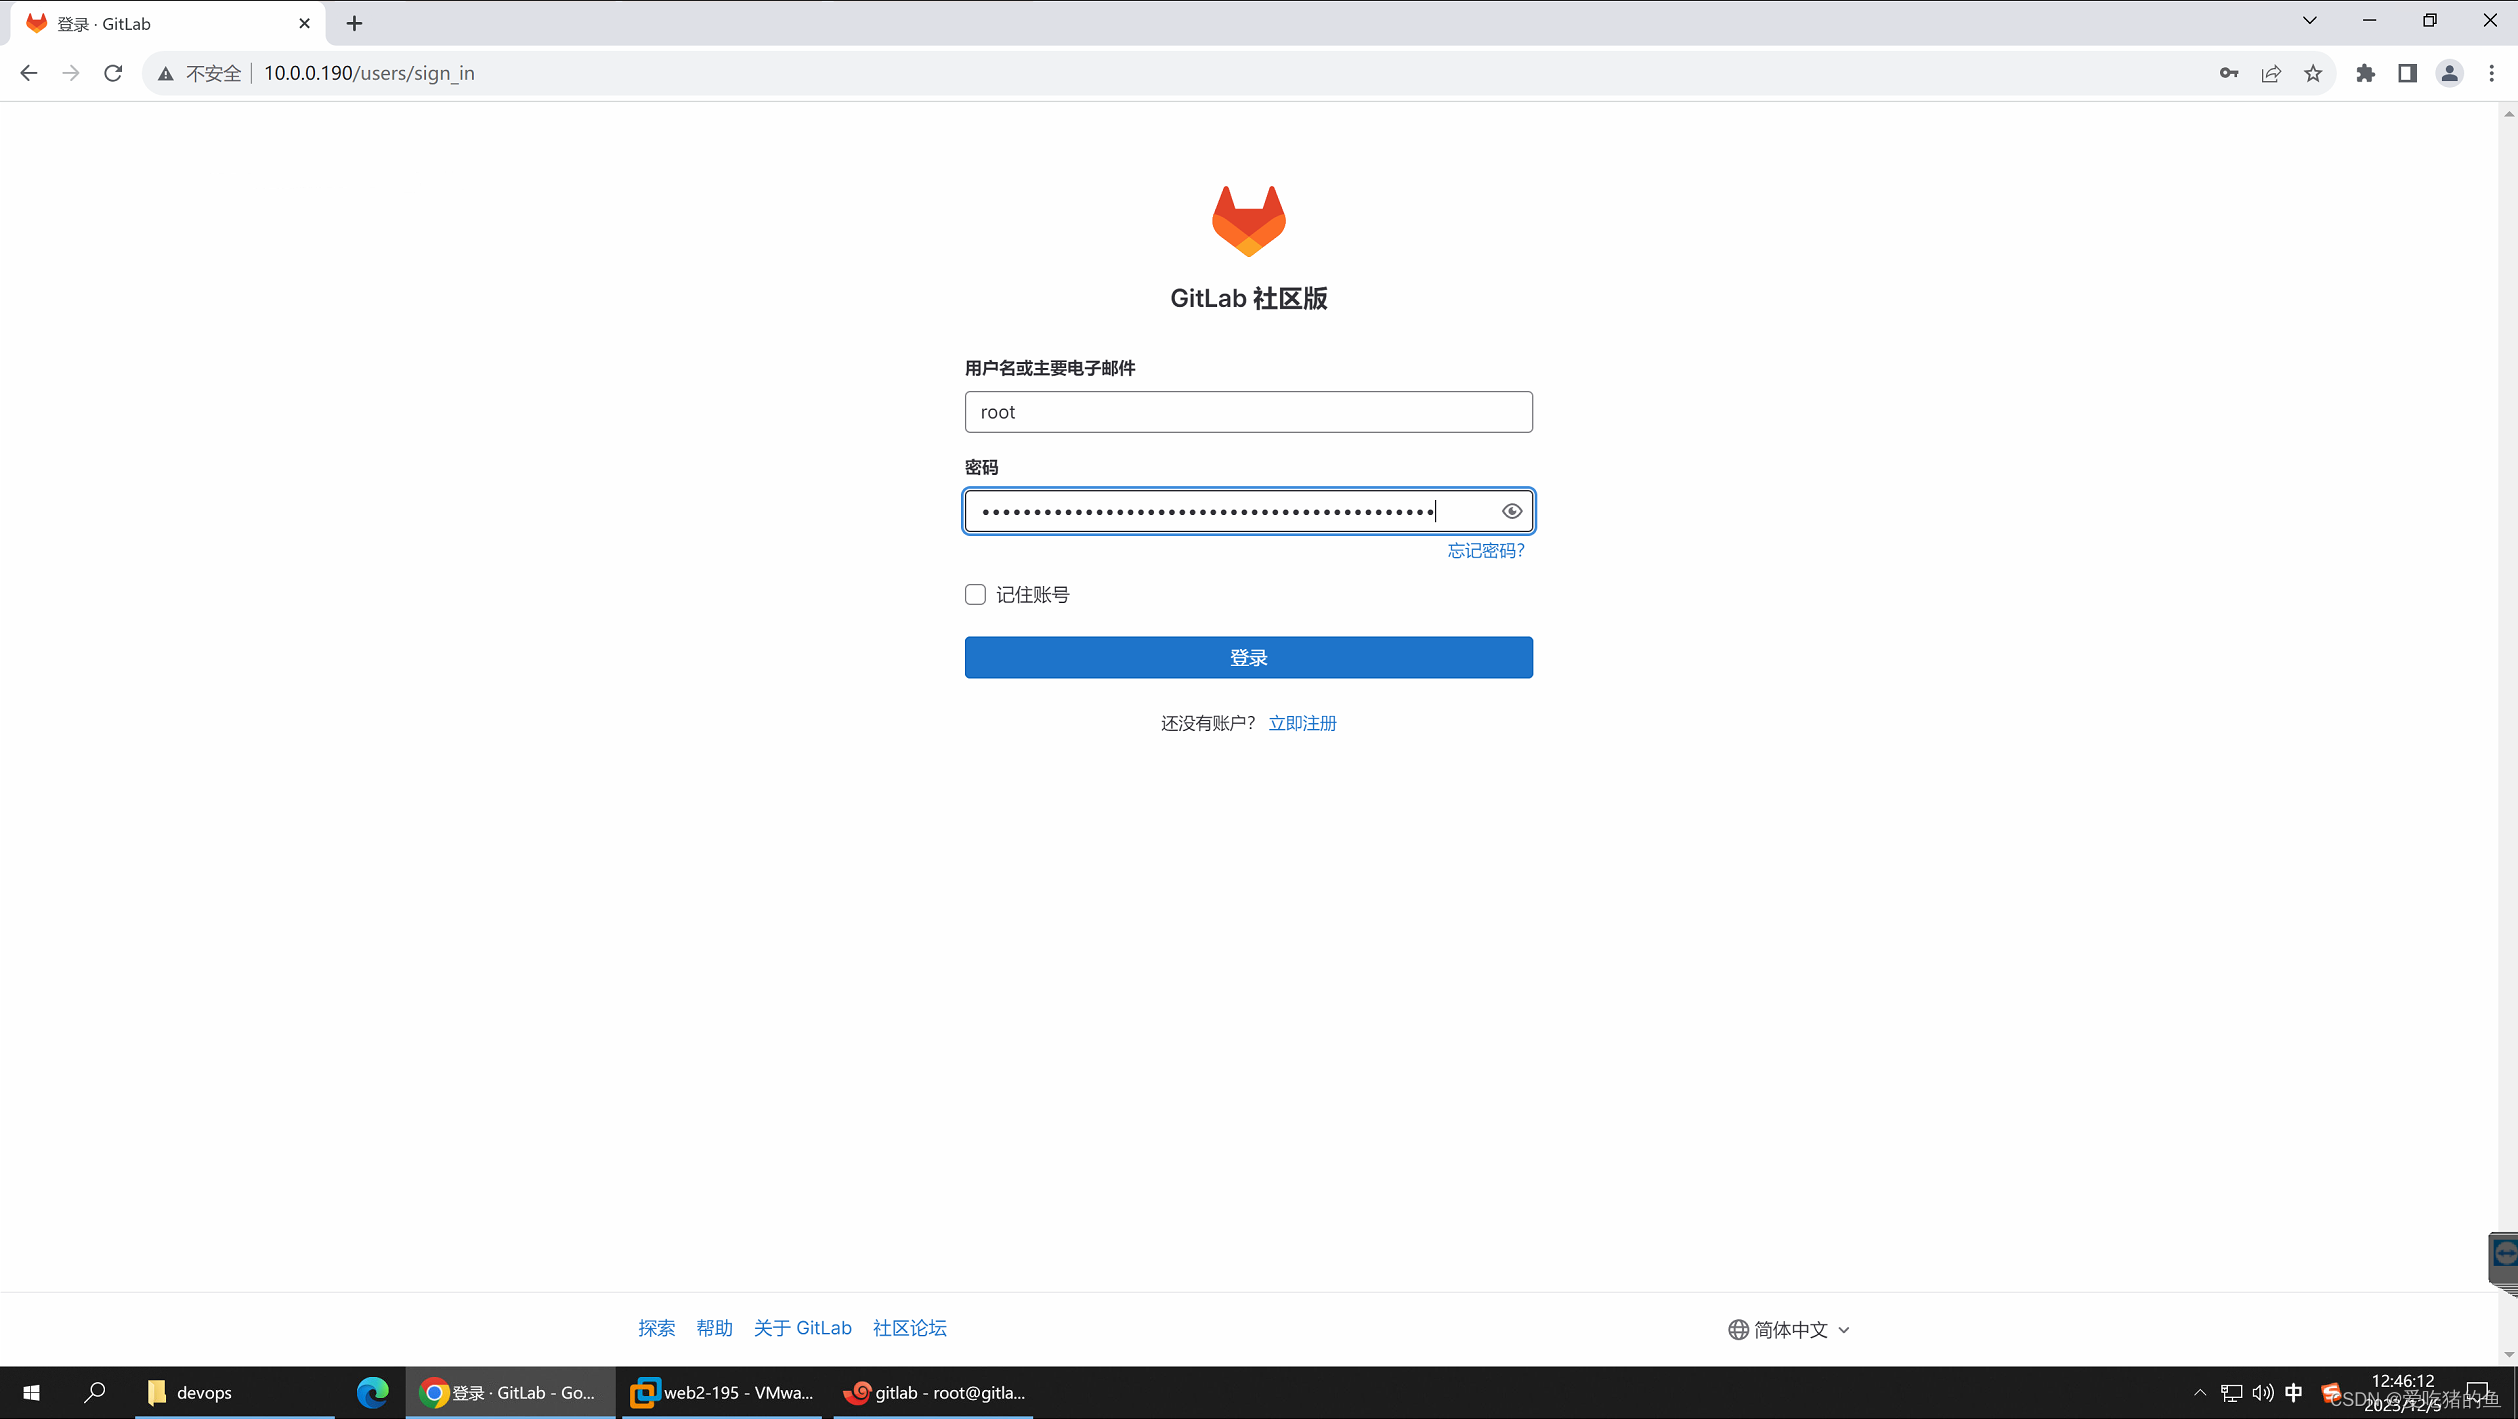
登录gitlab
http://10.0.0.190
默认账号:root
默认密码:3YA0z9ifTu1ffK45lV+3k4qMvxWAW1lH1qEWUn7EoWc=
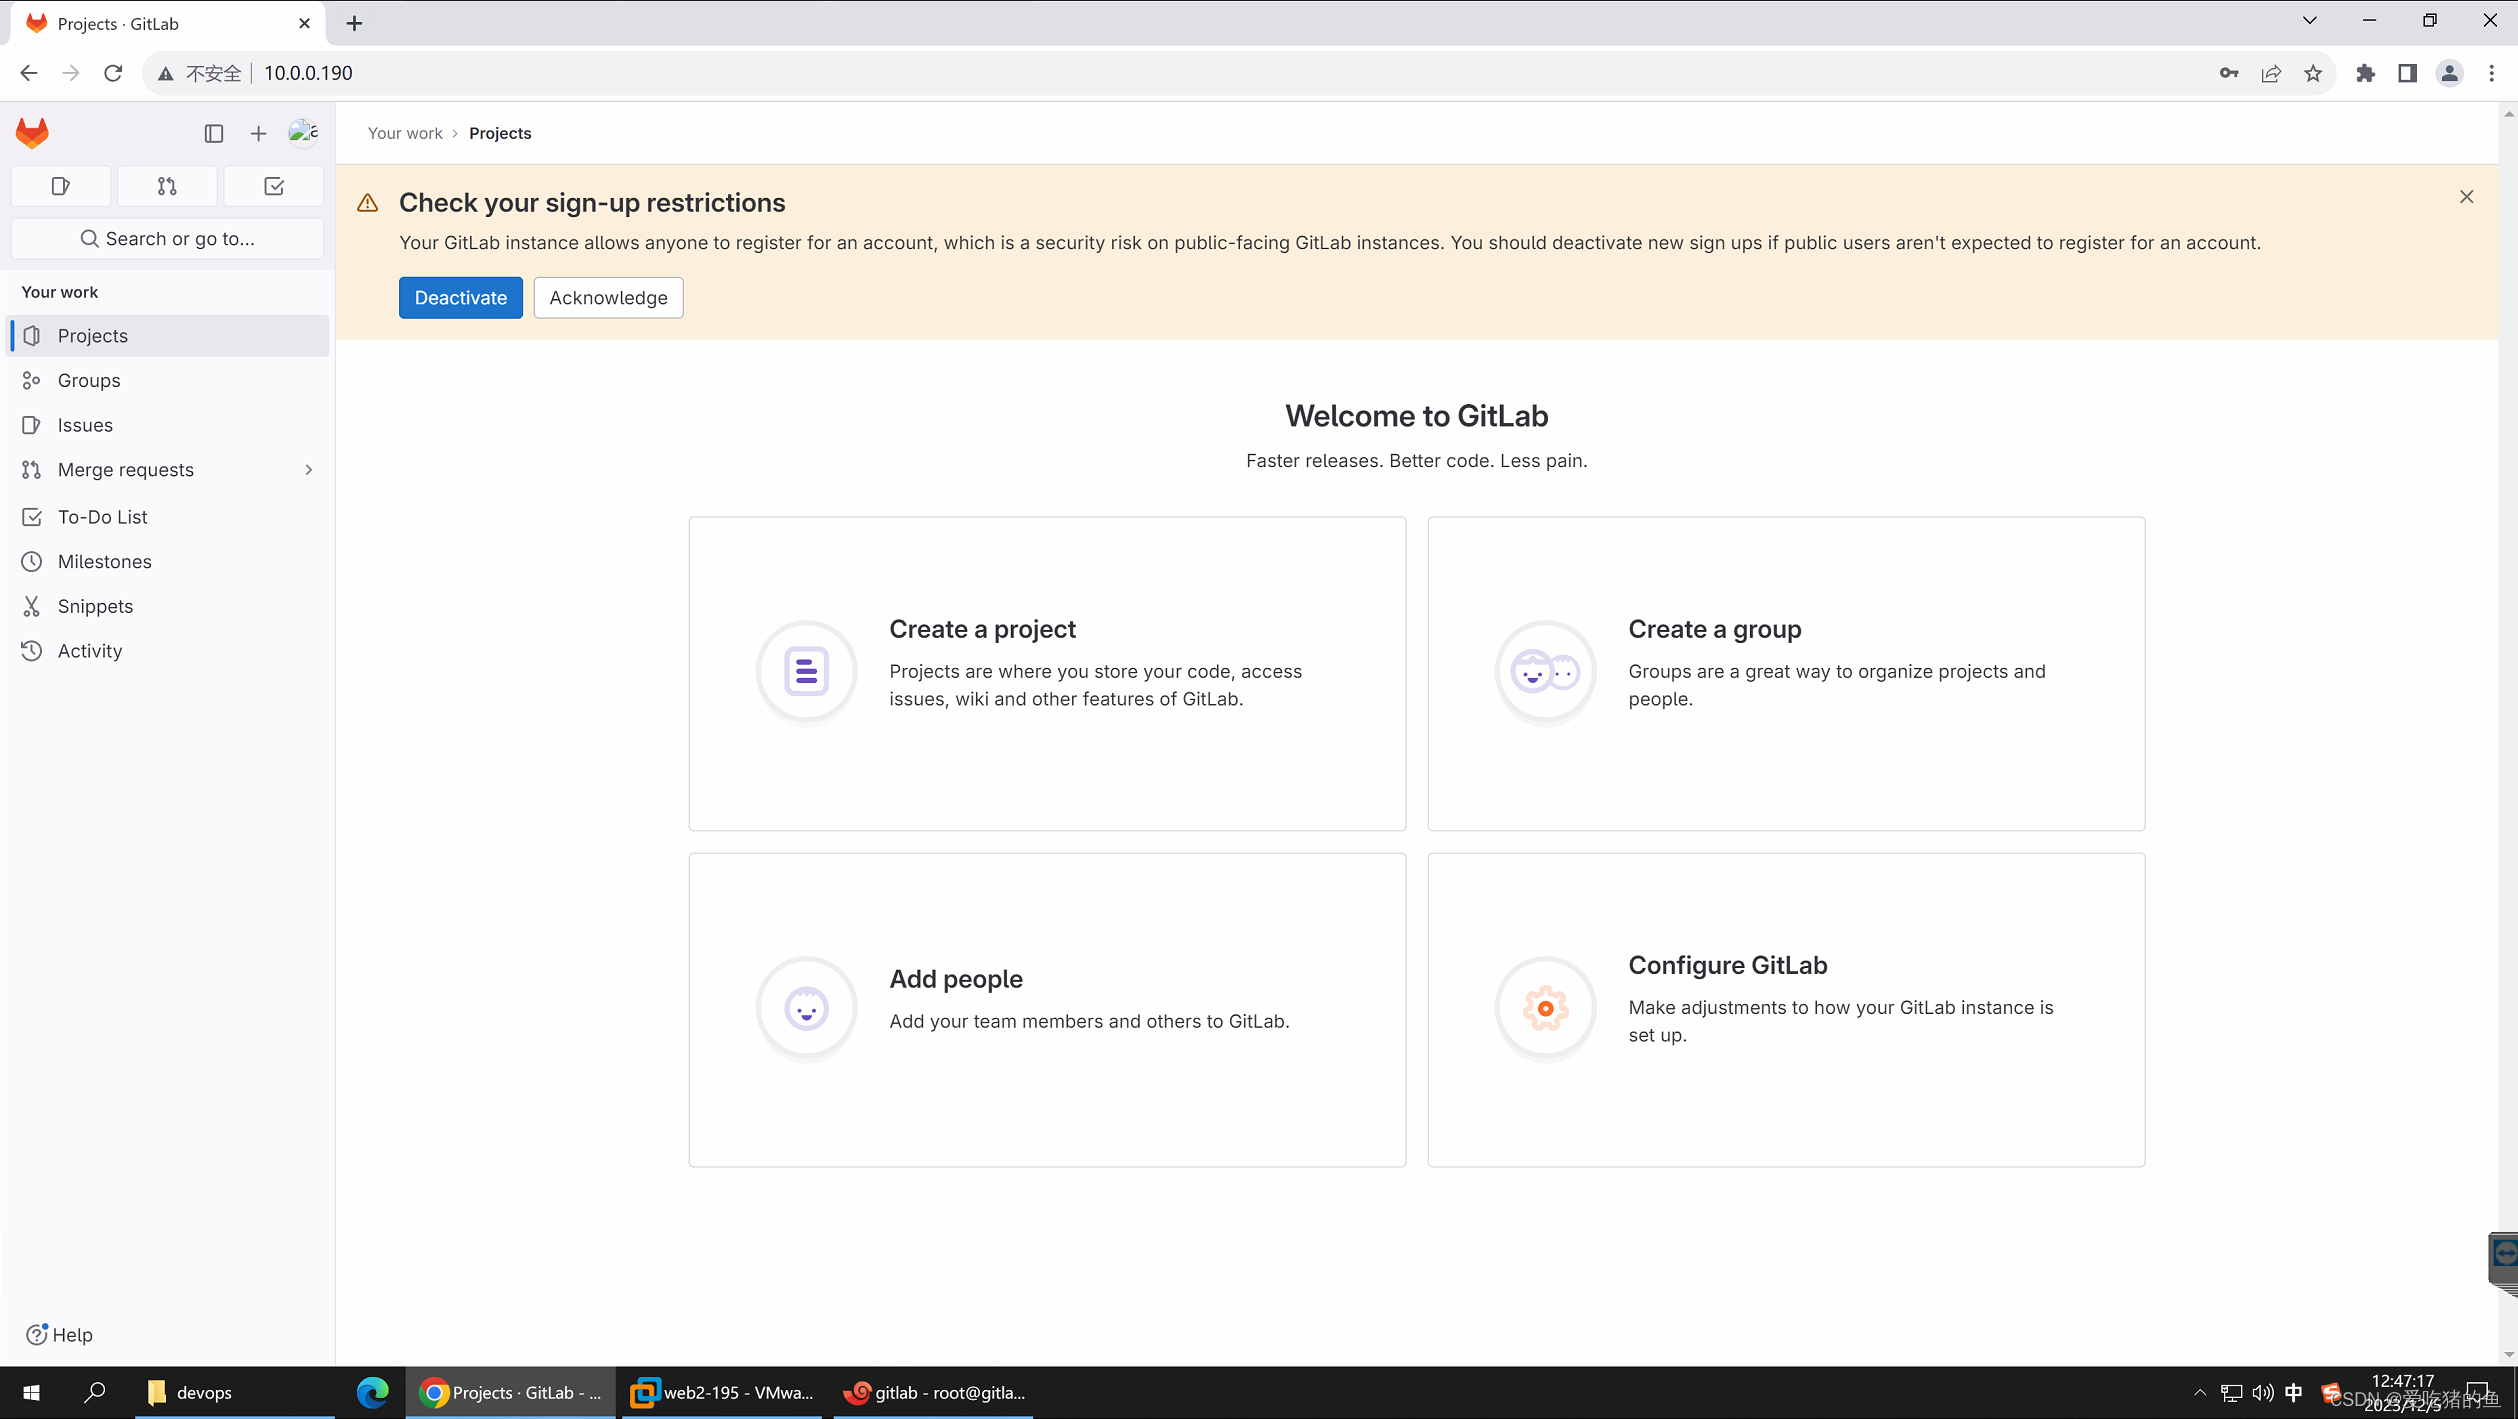
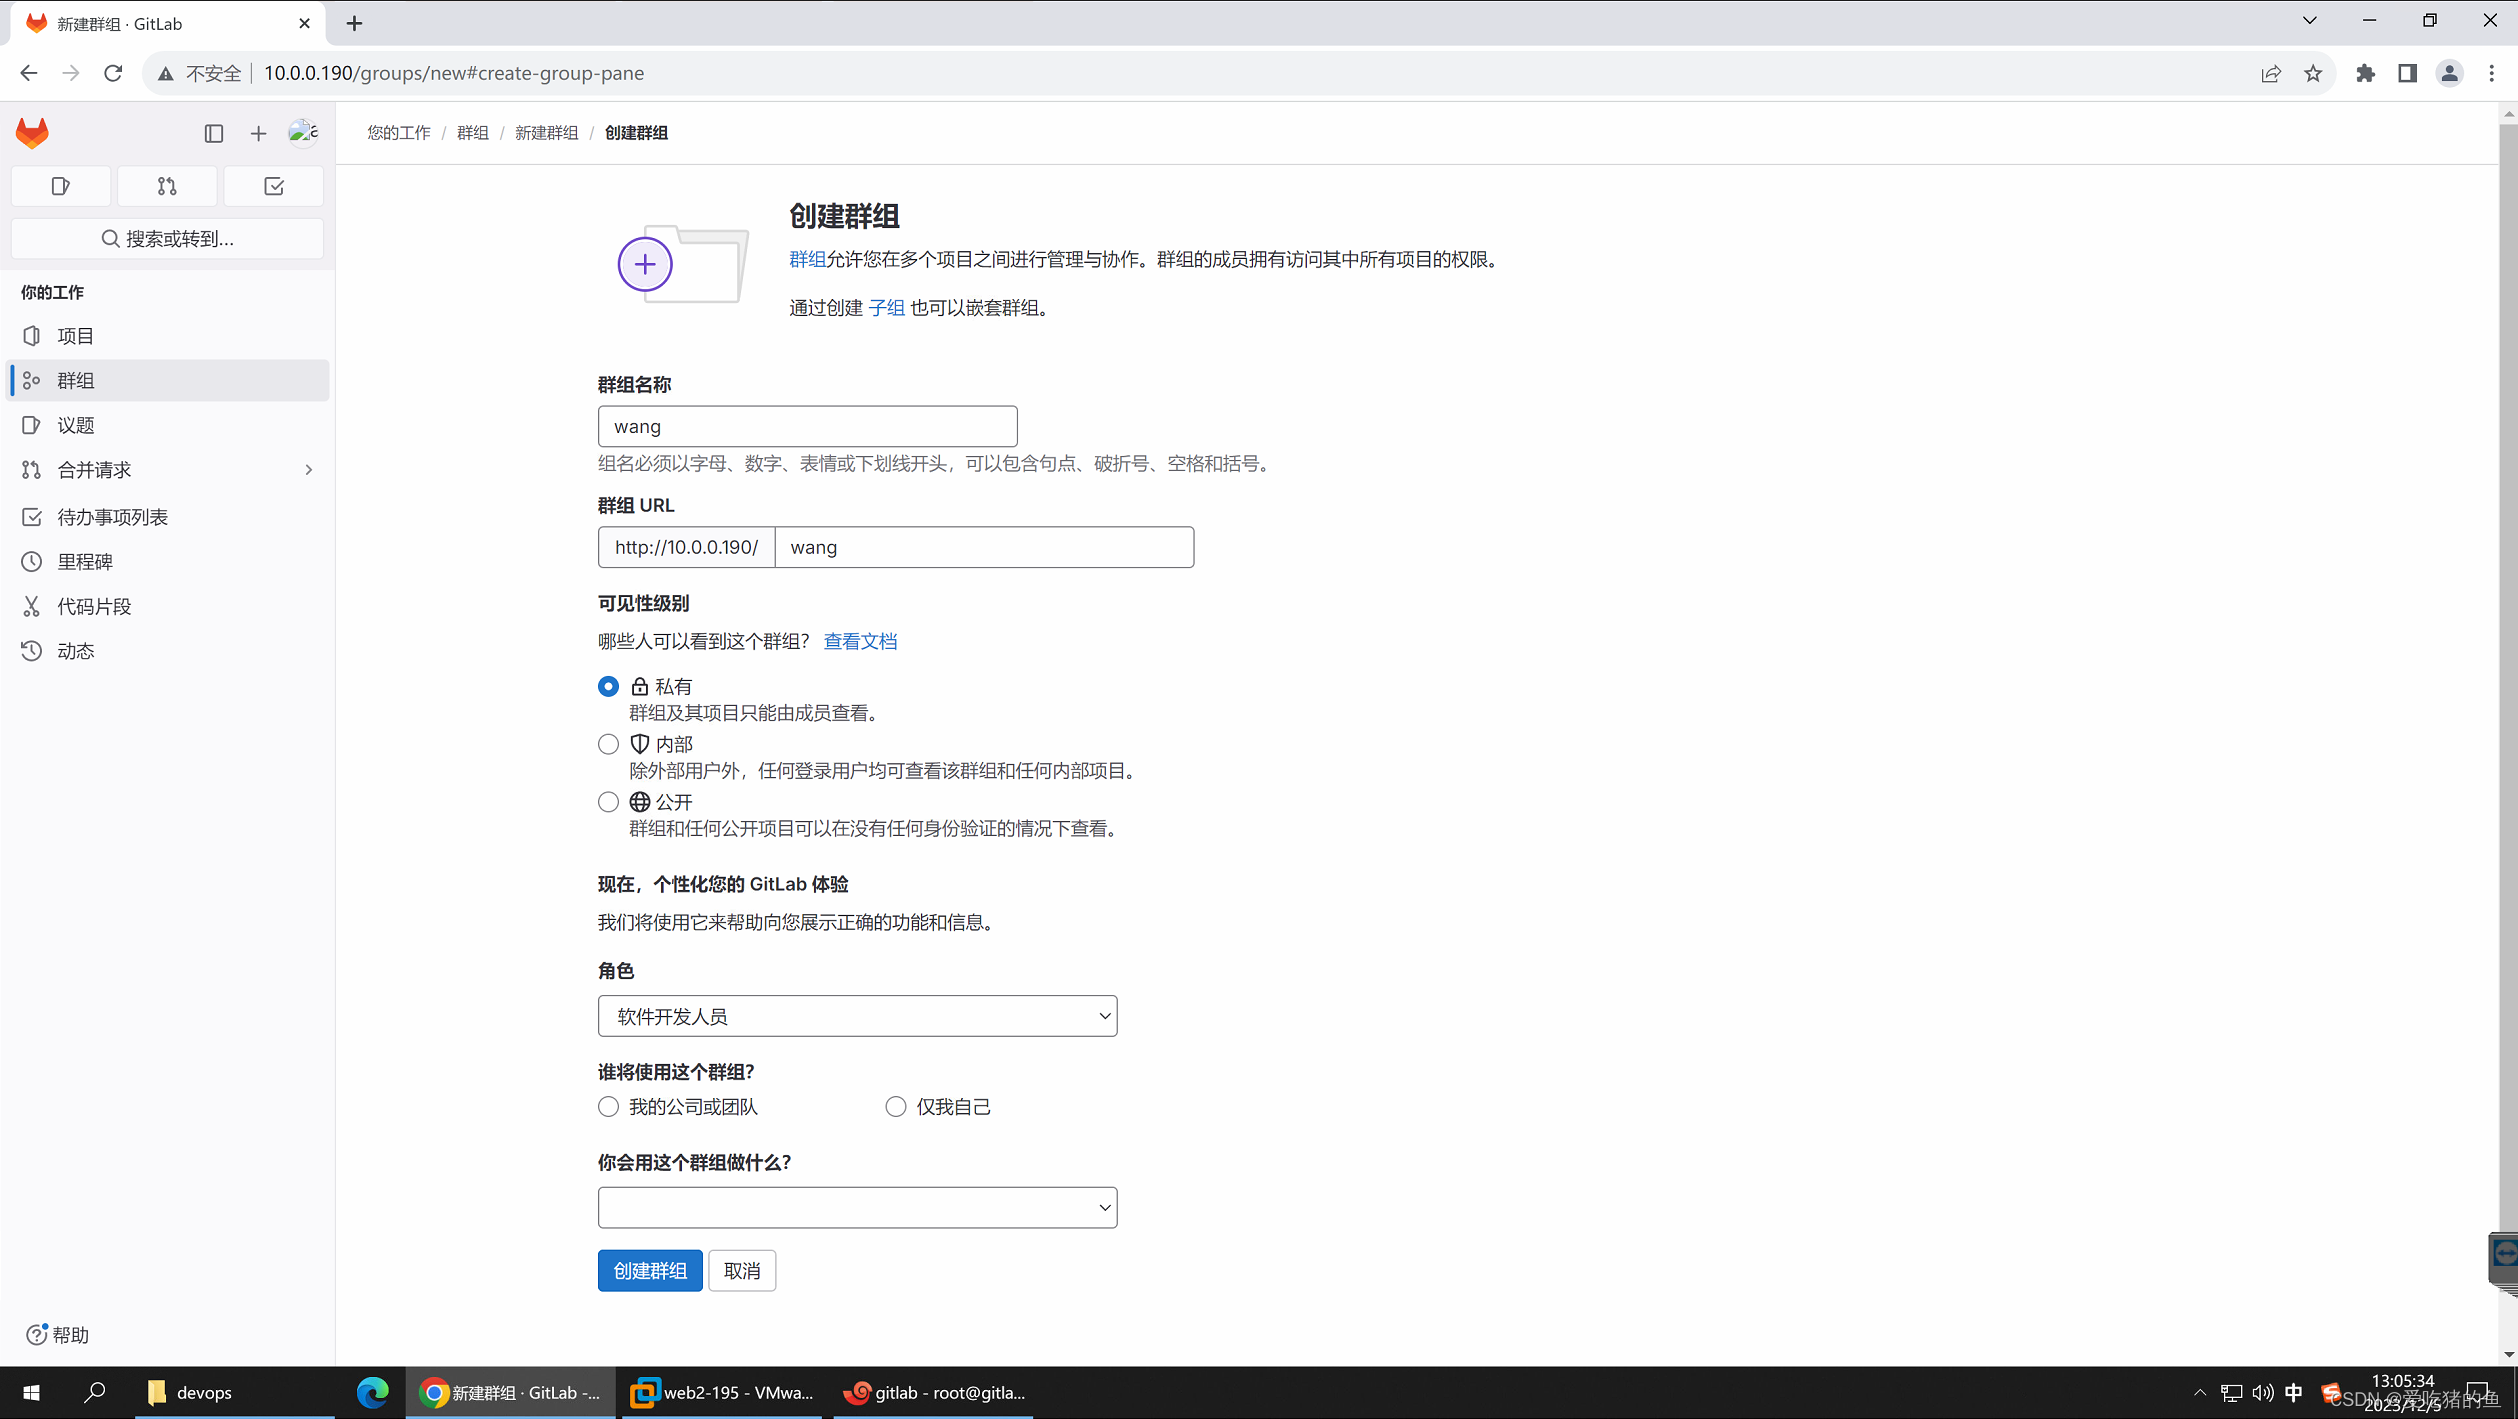
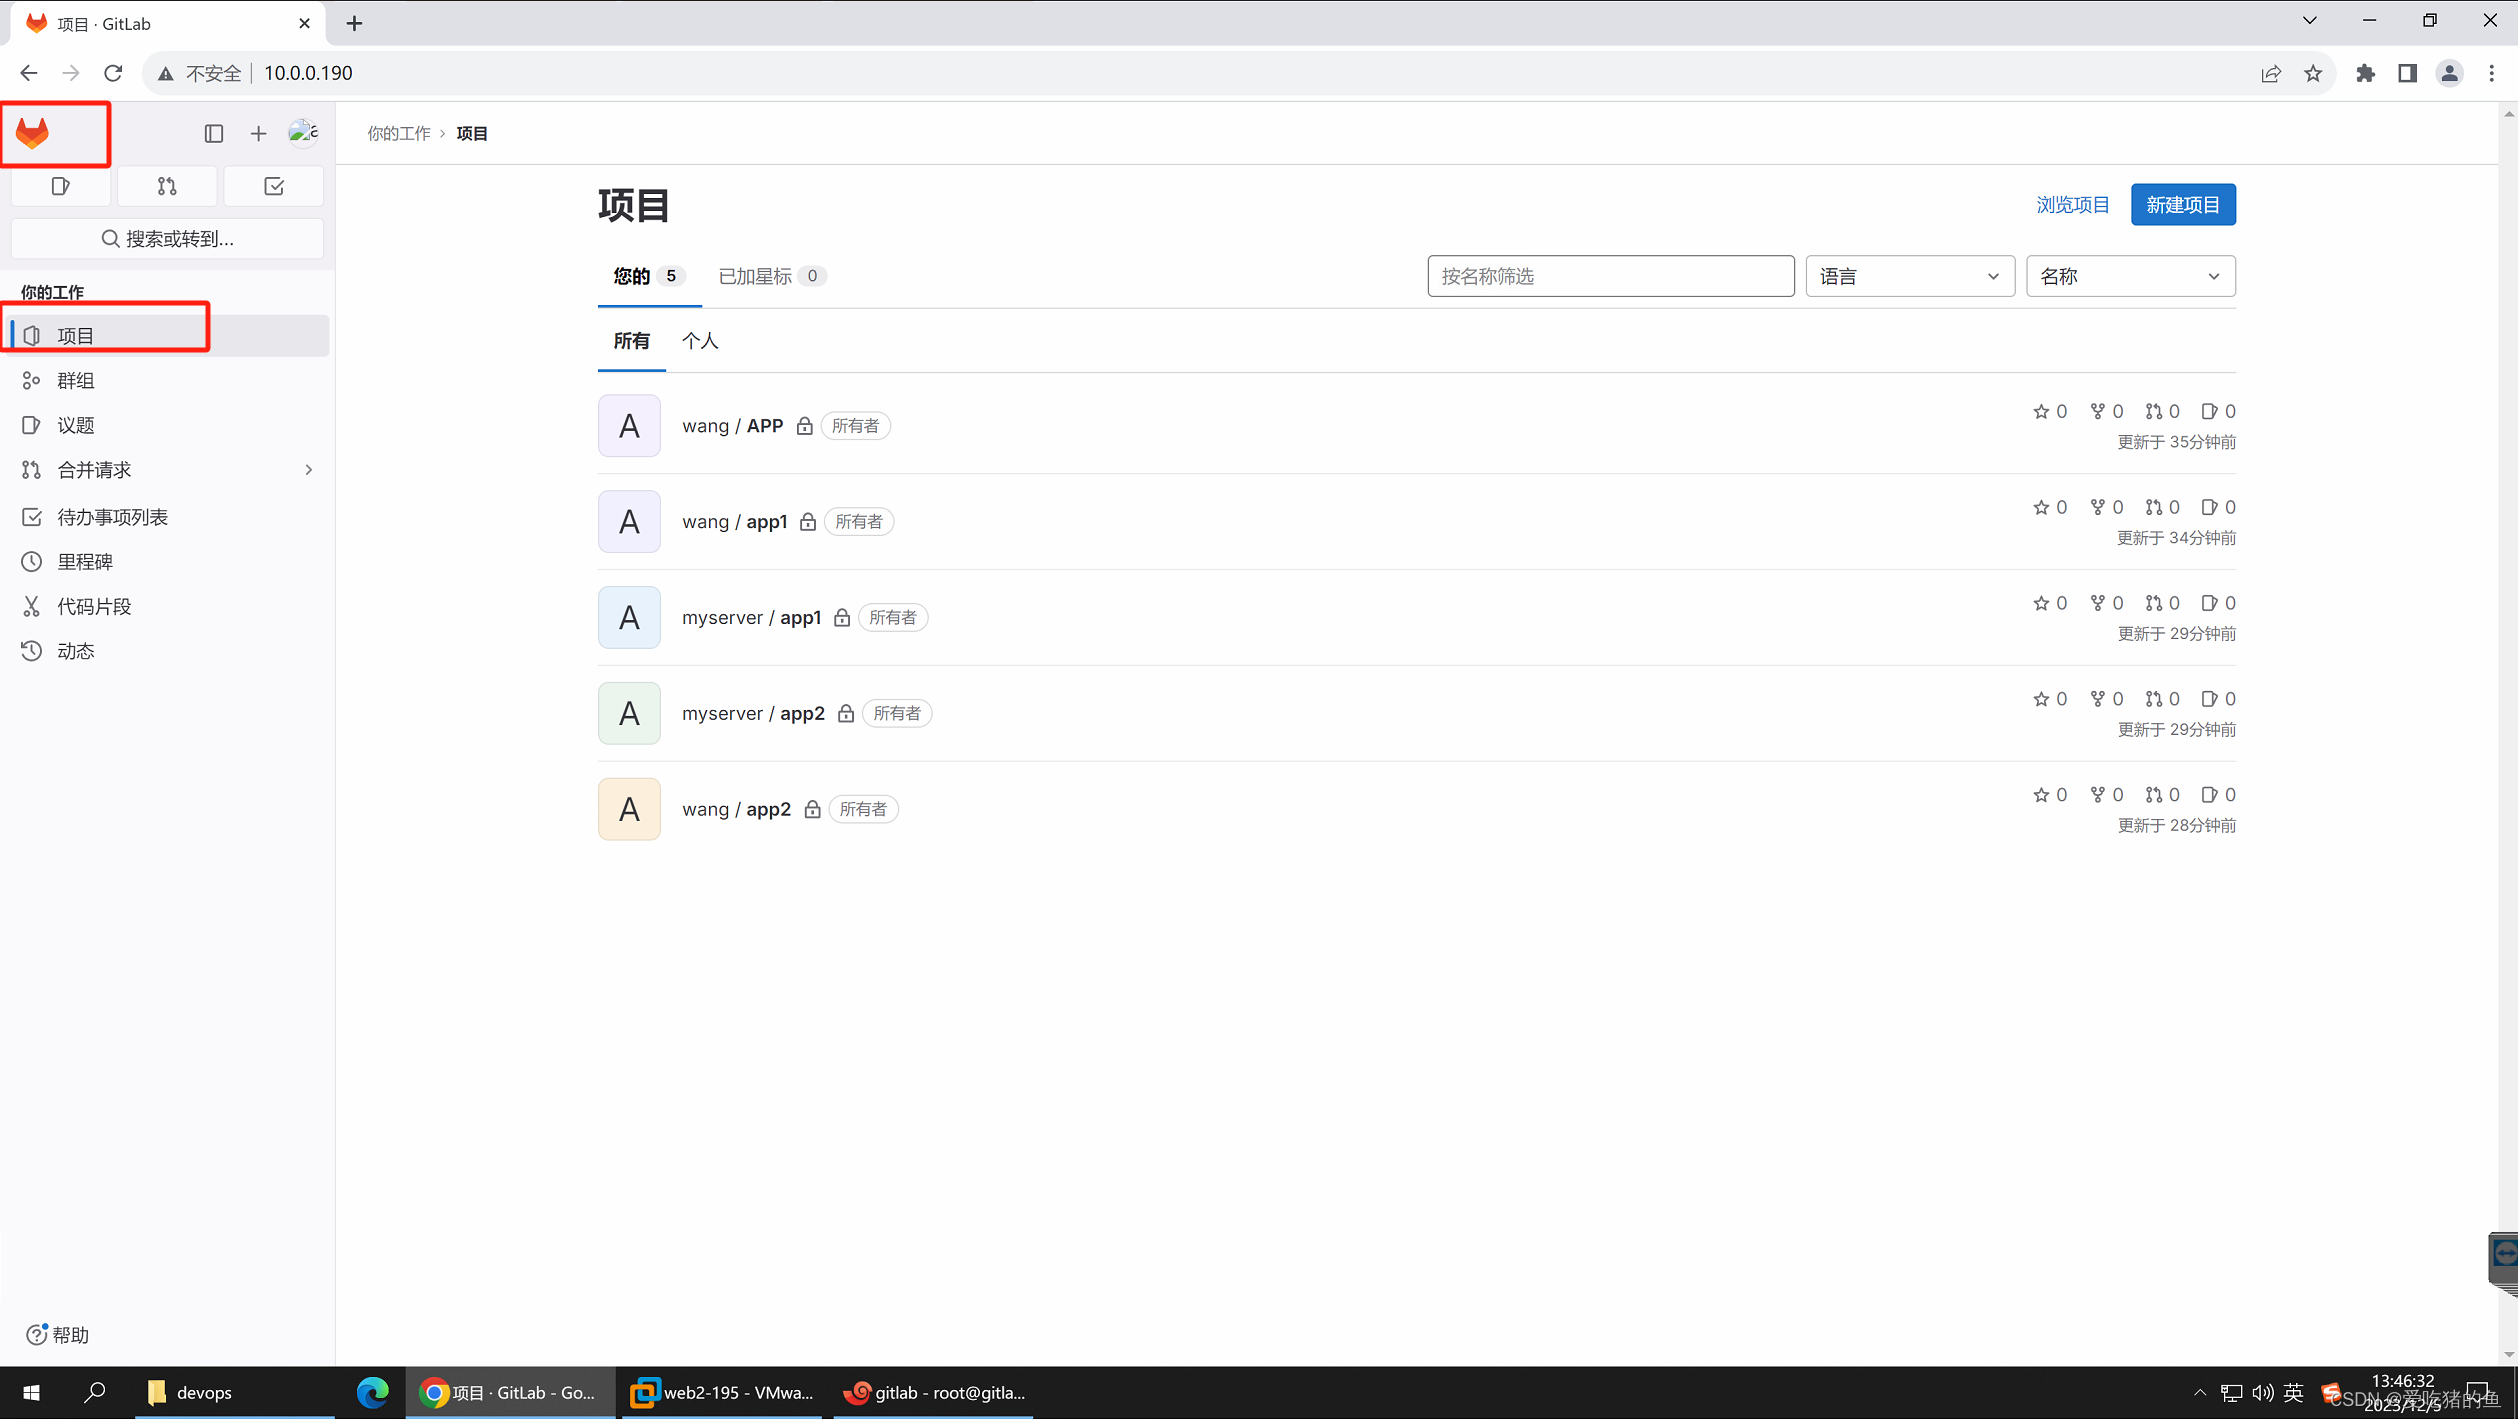
创建群组(项目)

群组就相当于项目
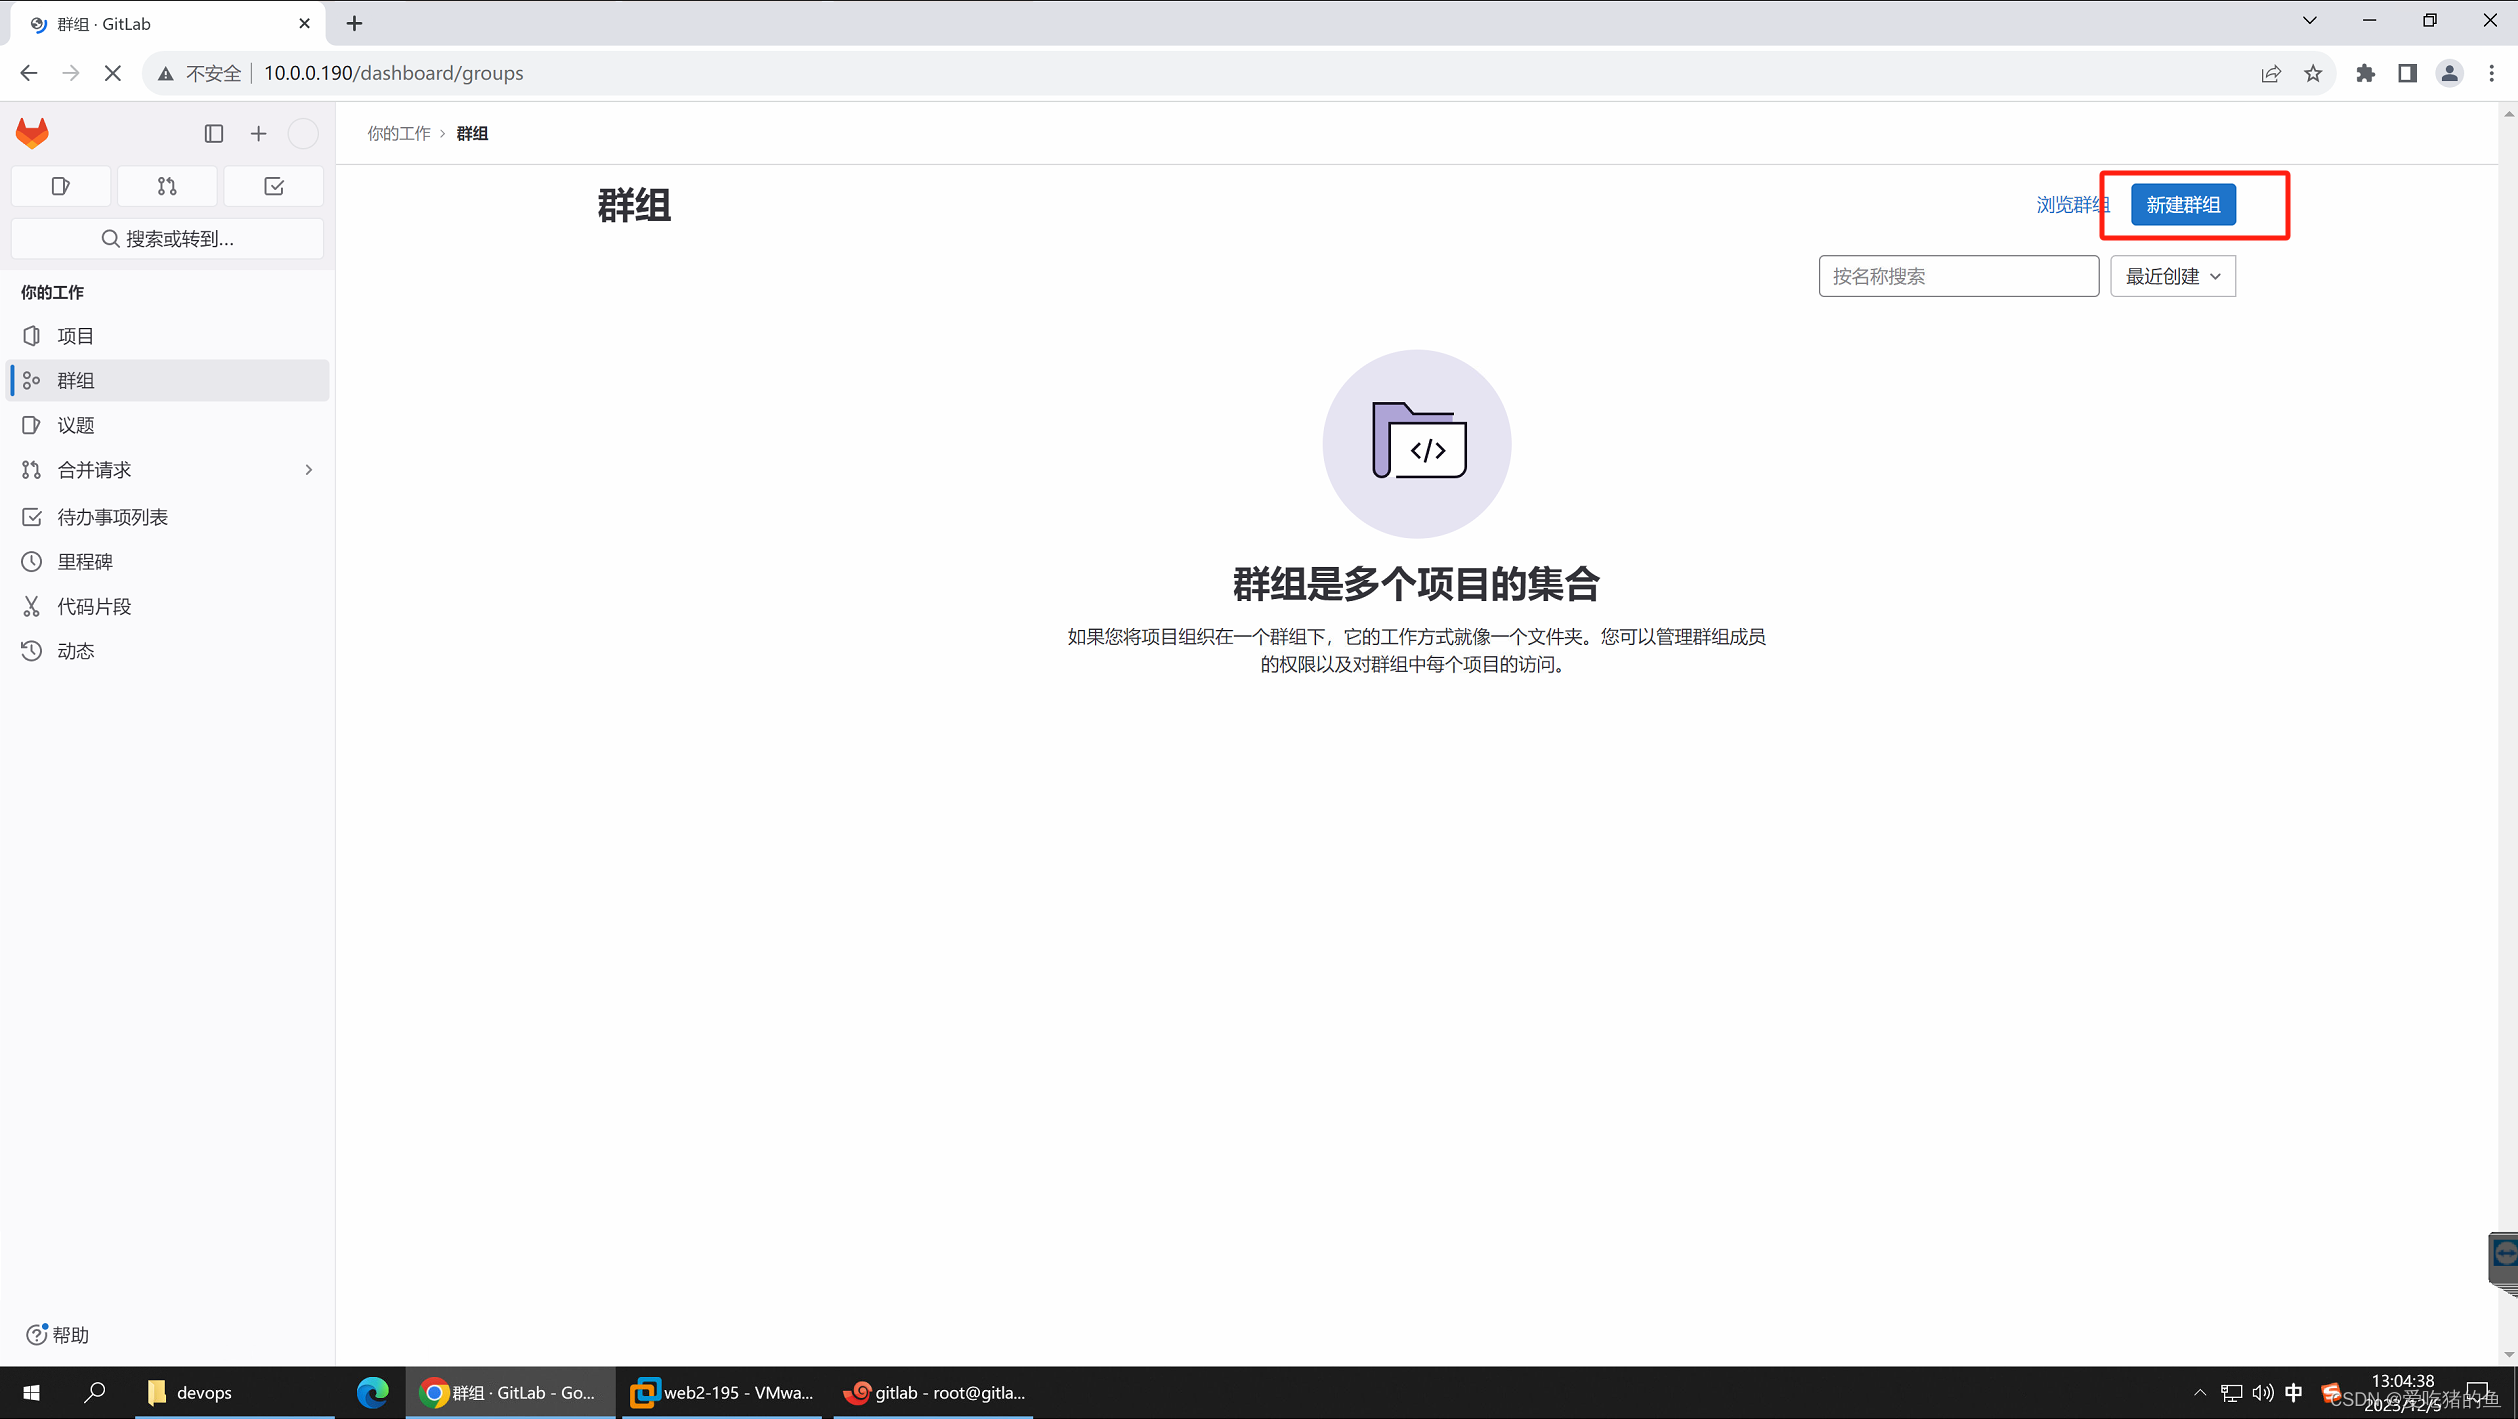
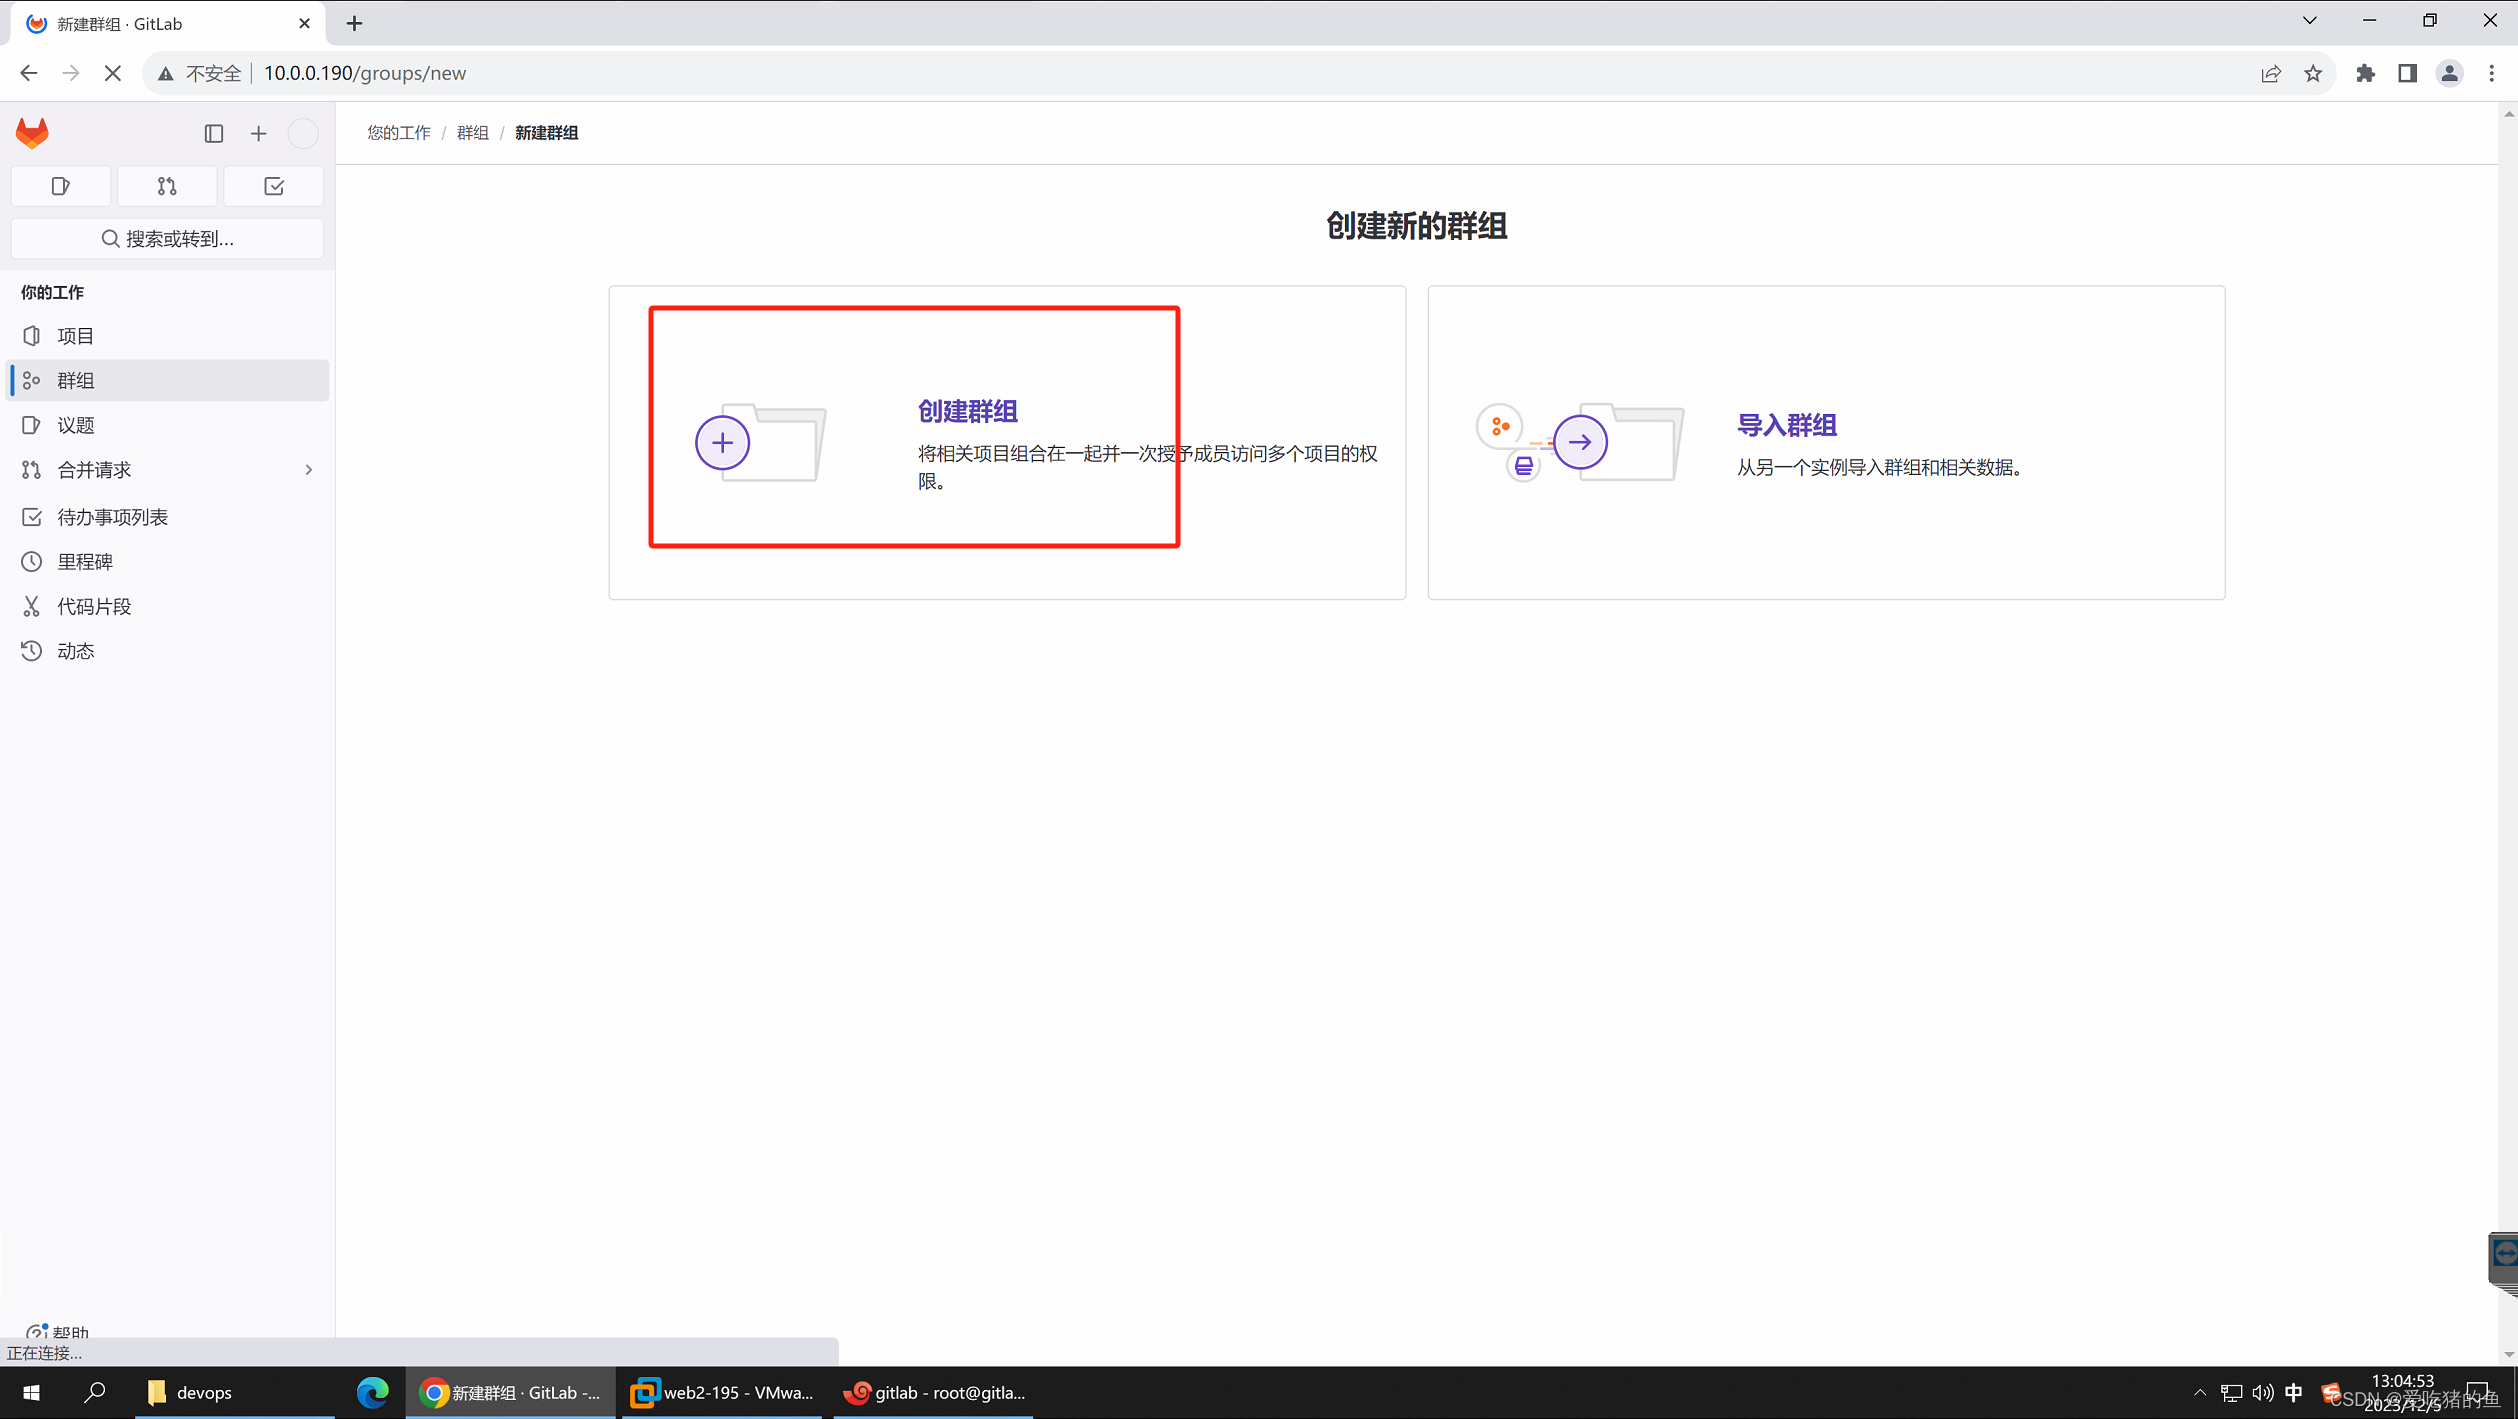
创建一个wang的项目(群组),点击保存
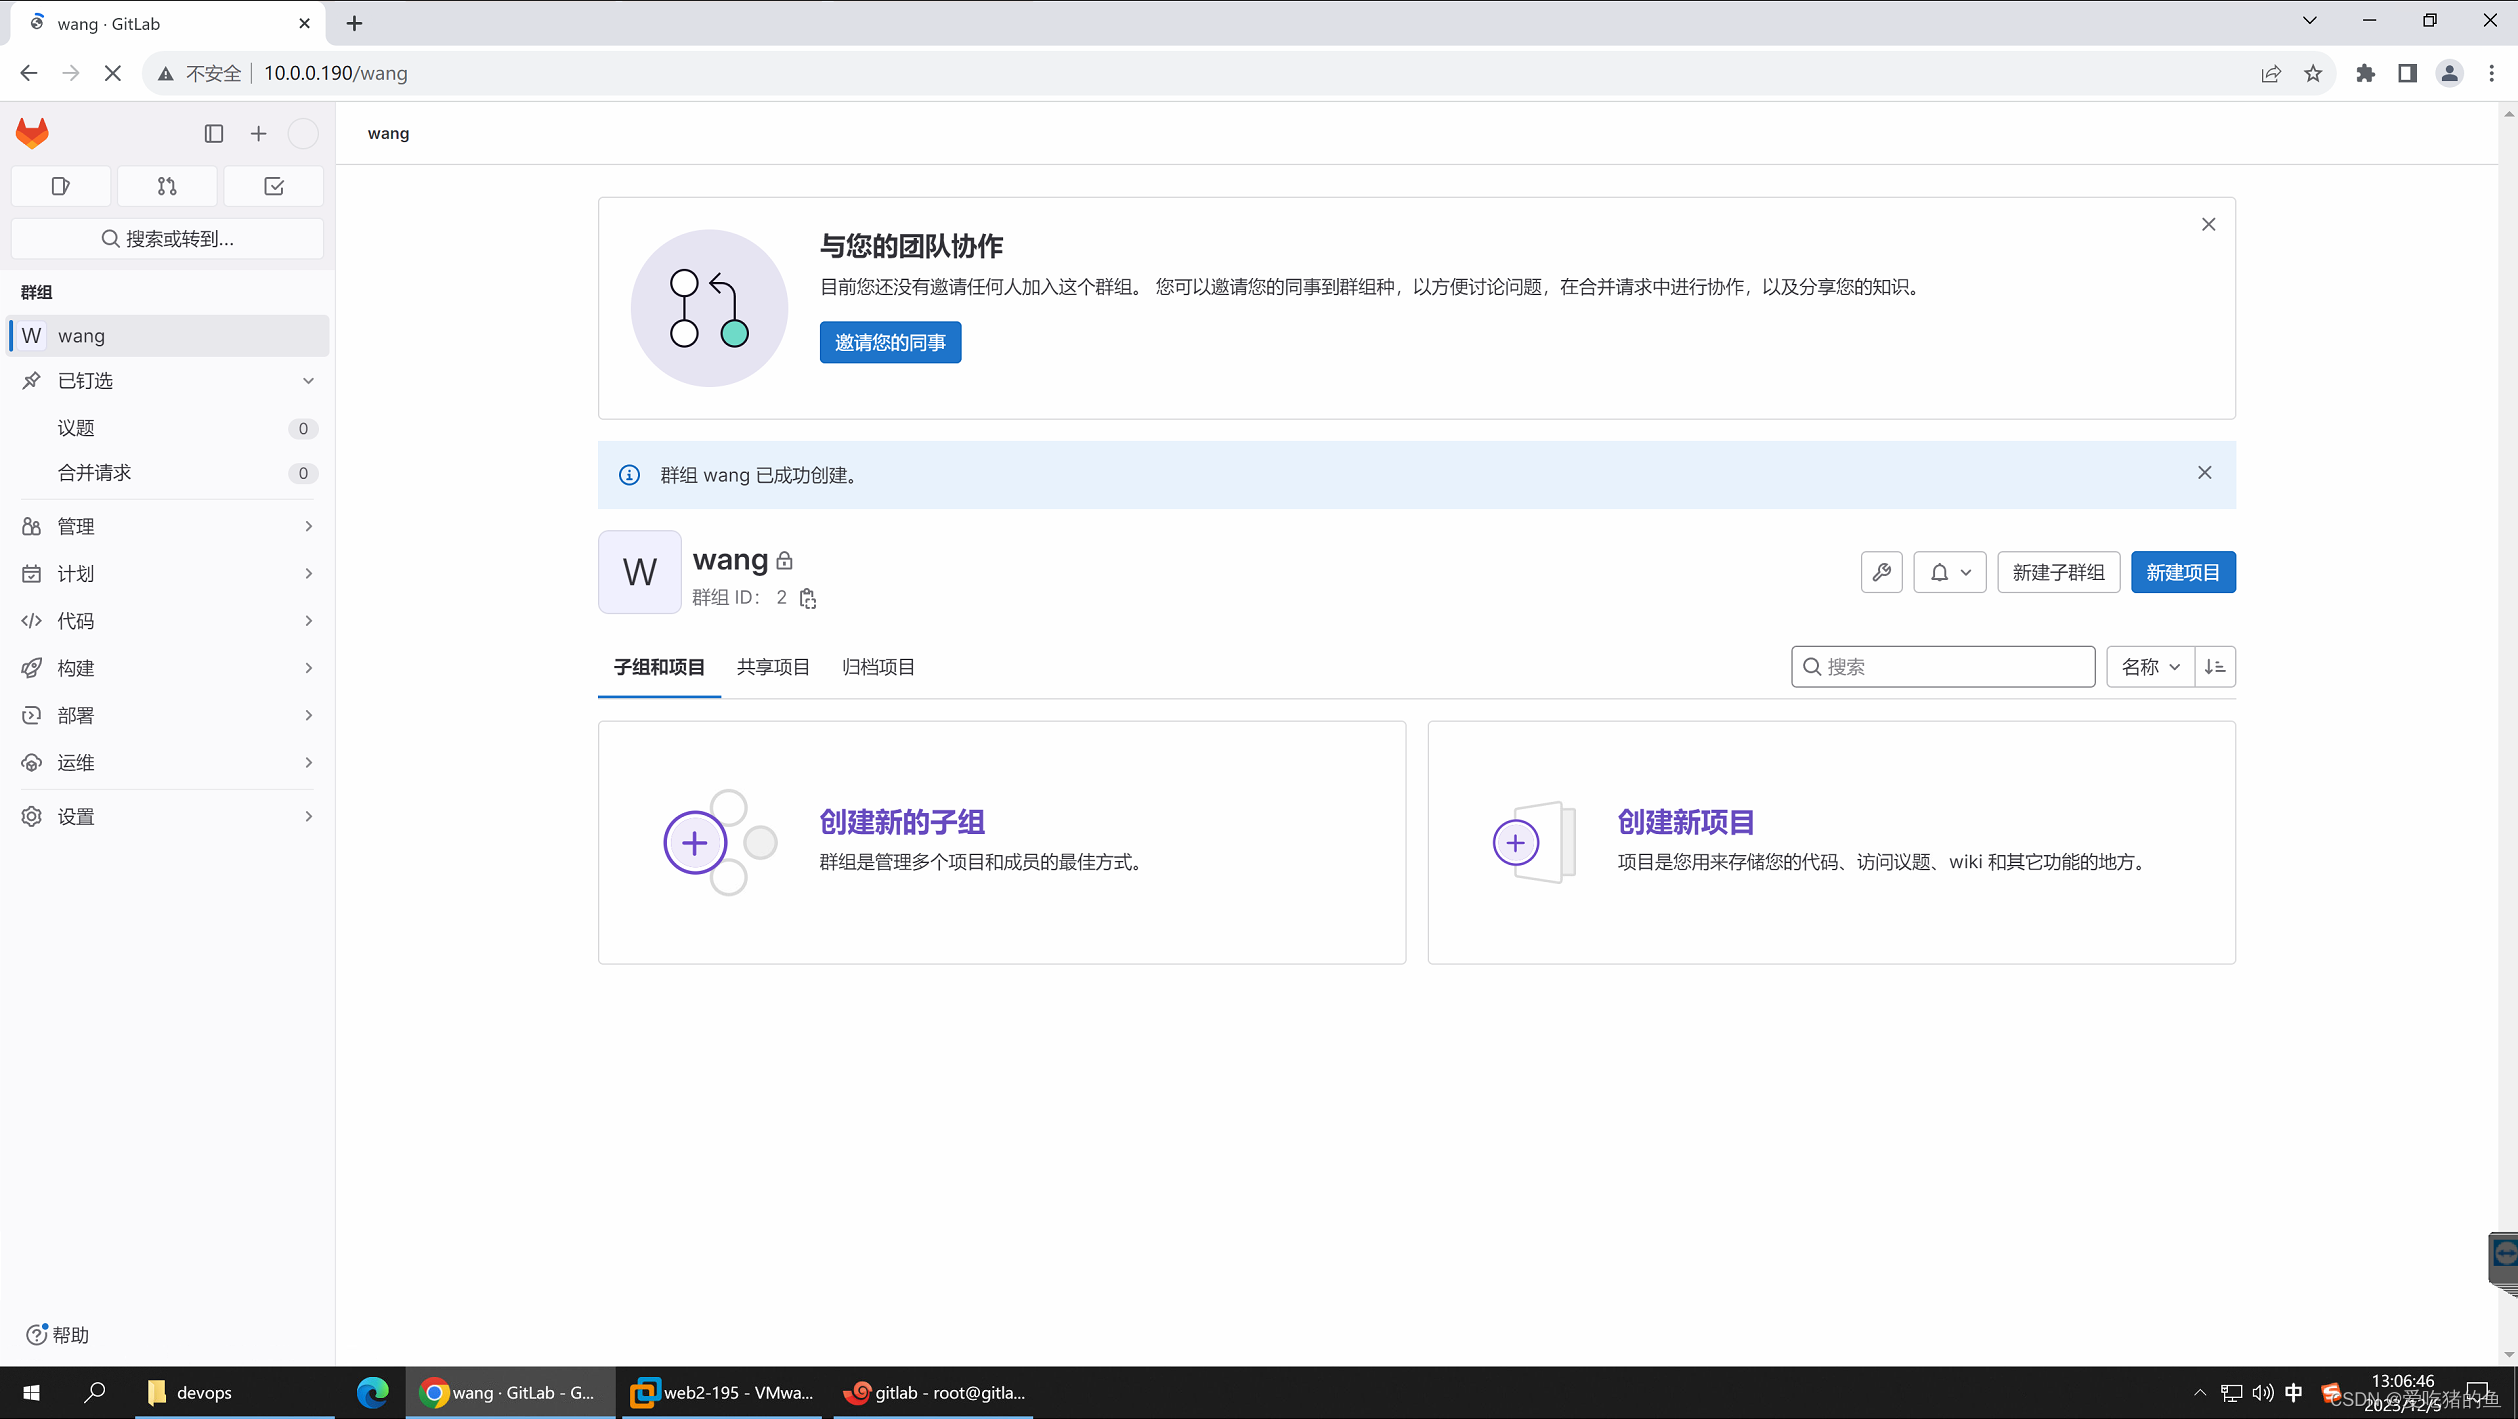
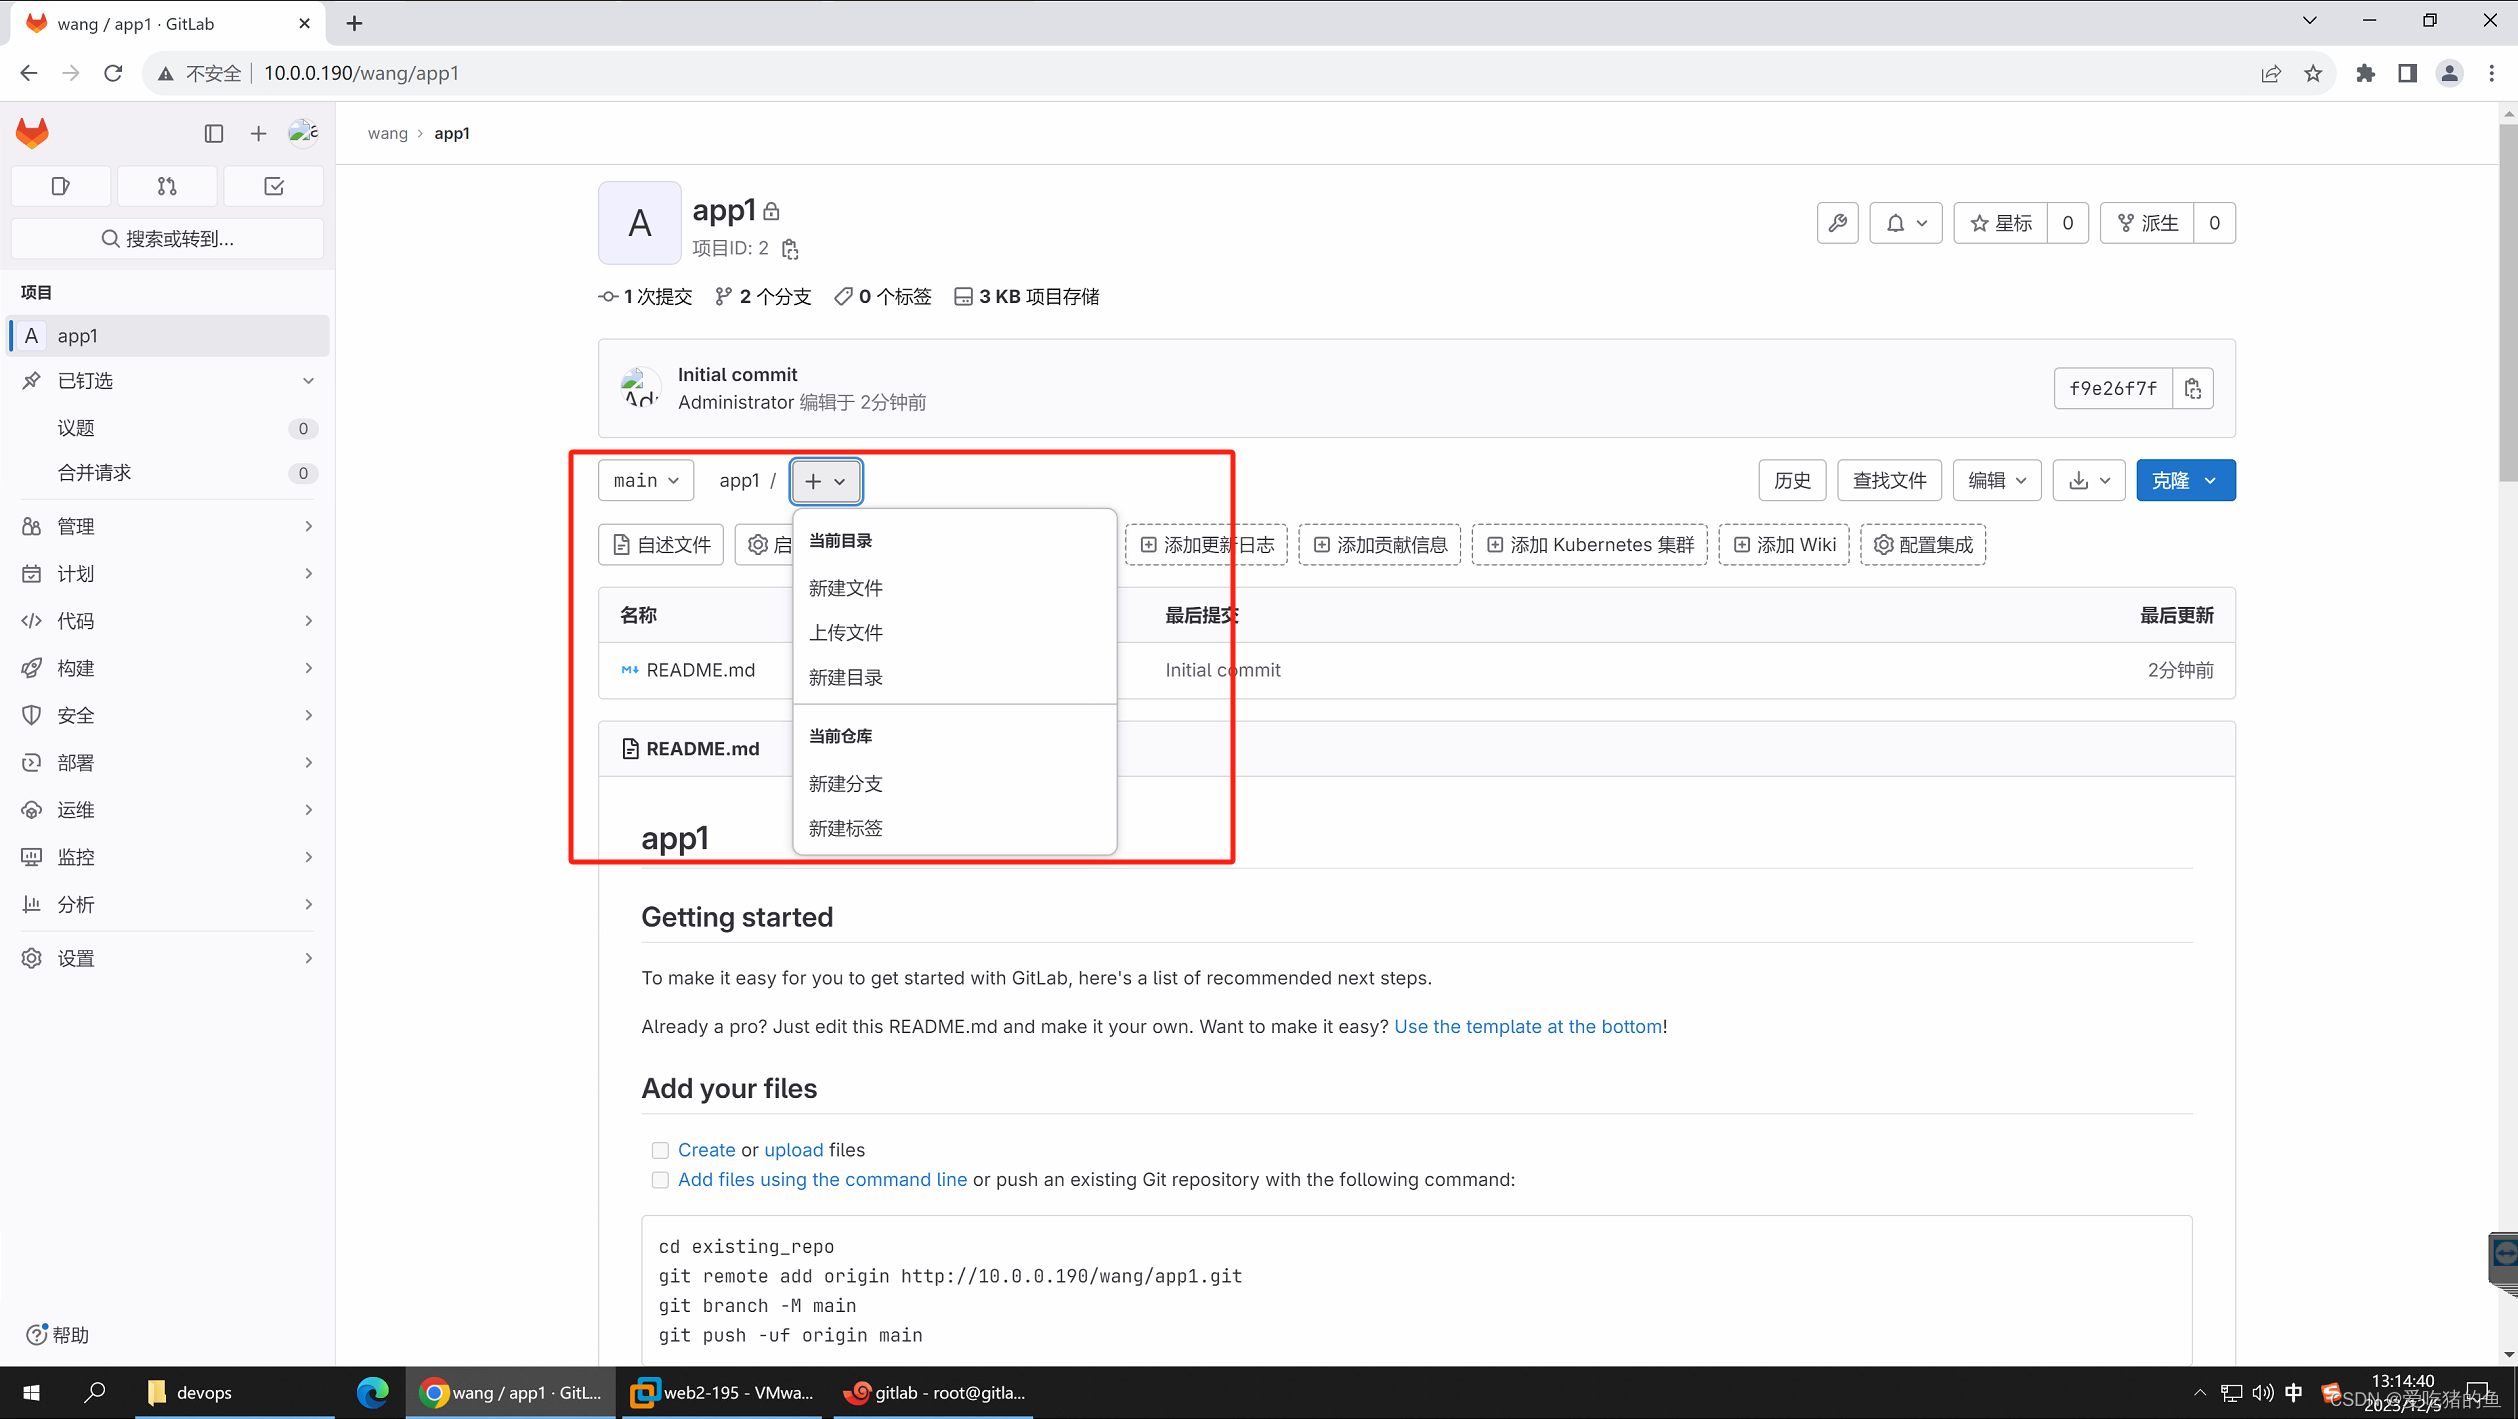
在群组(项目)里面创建项目(服务)

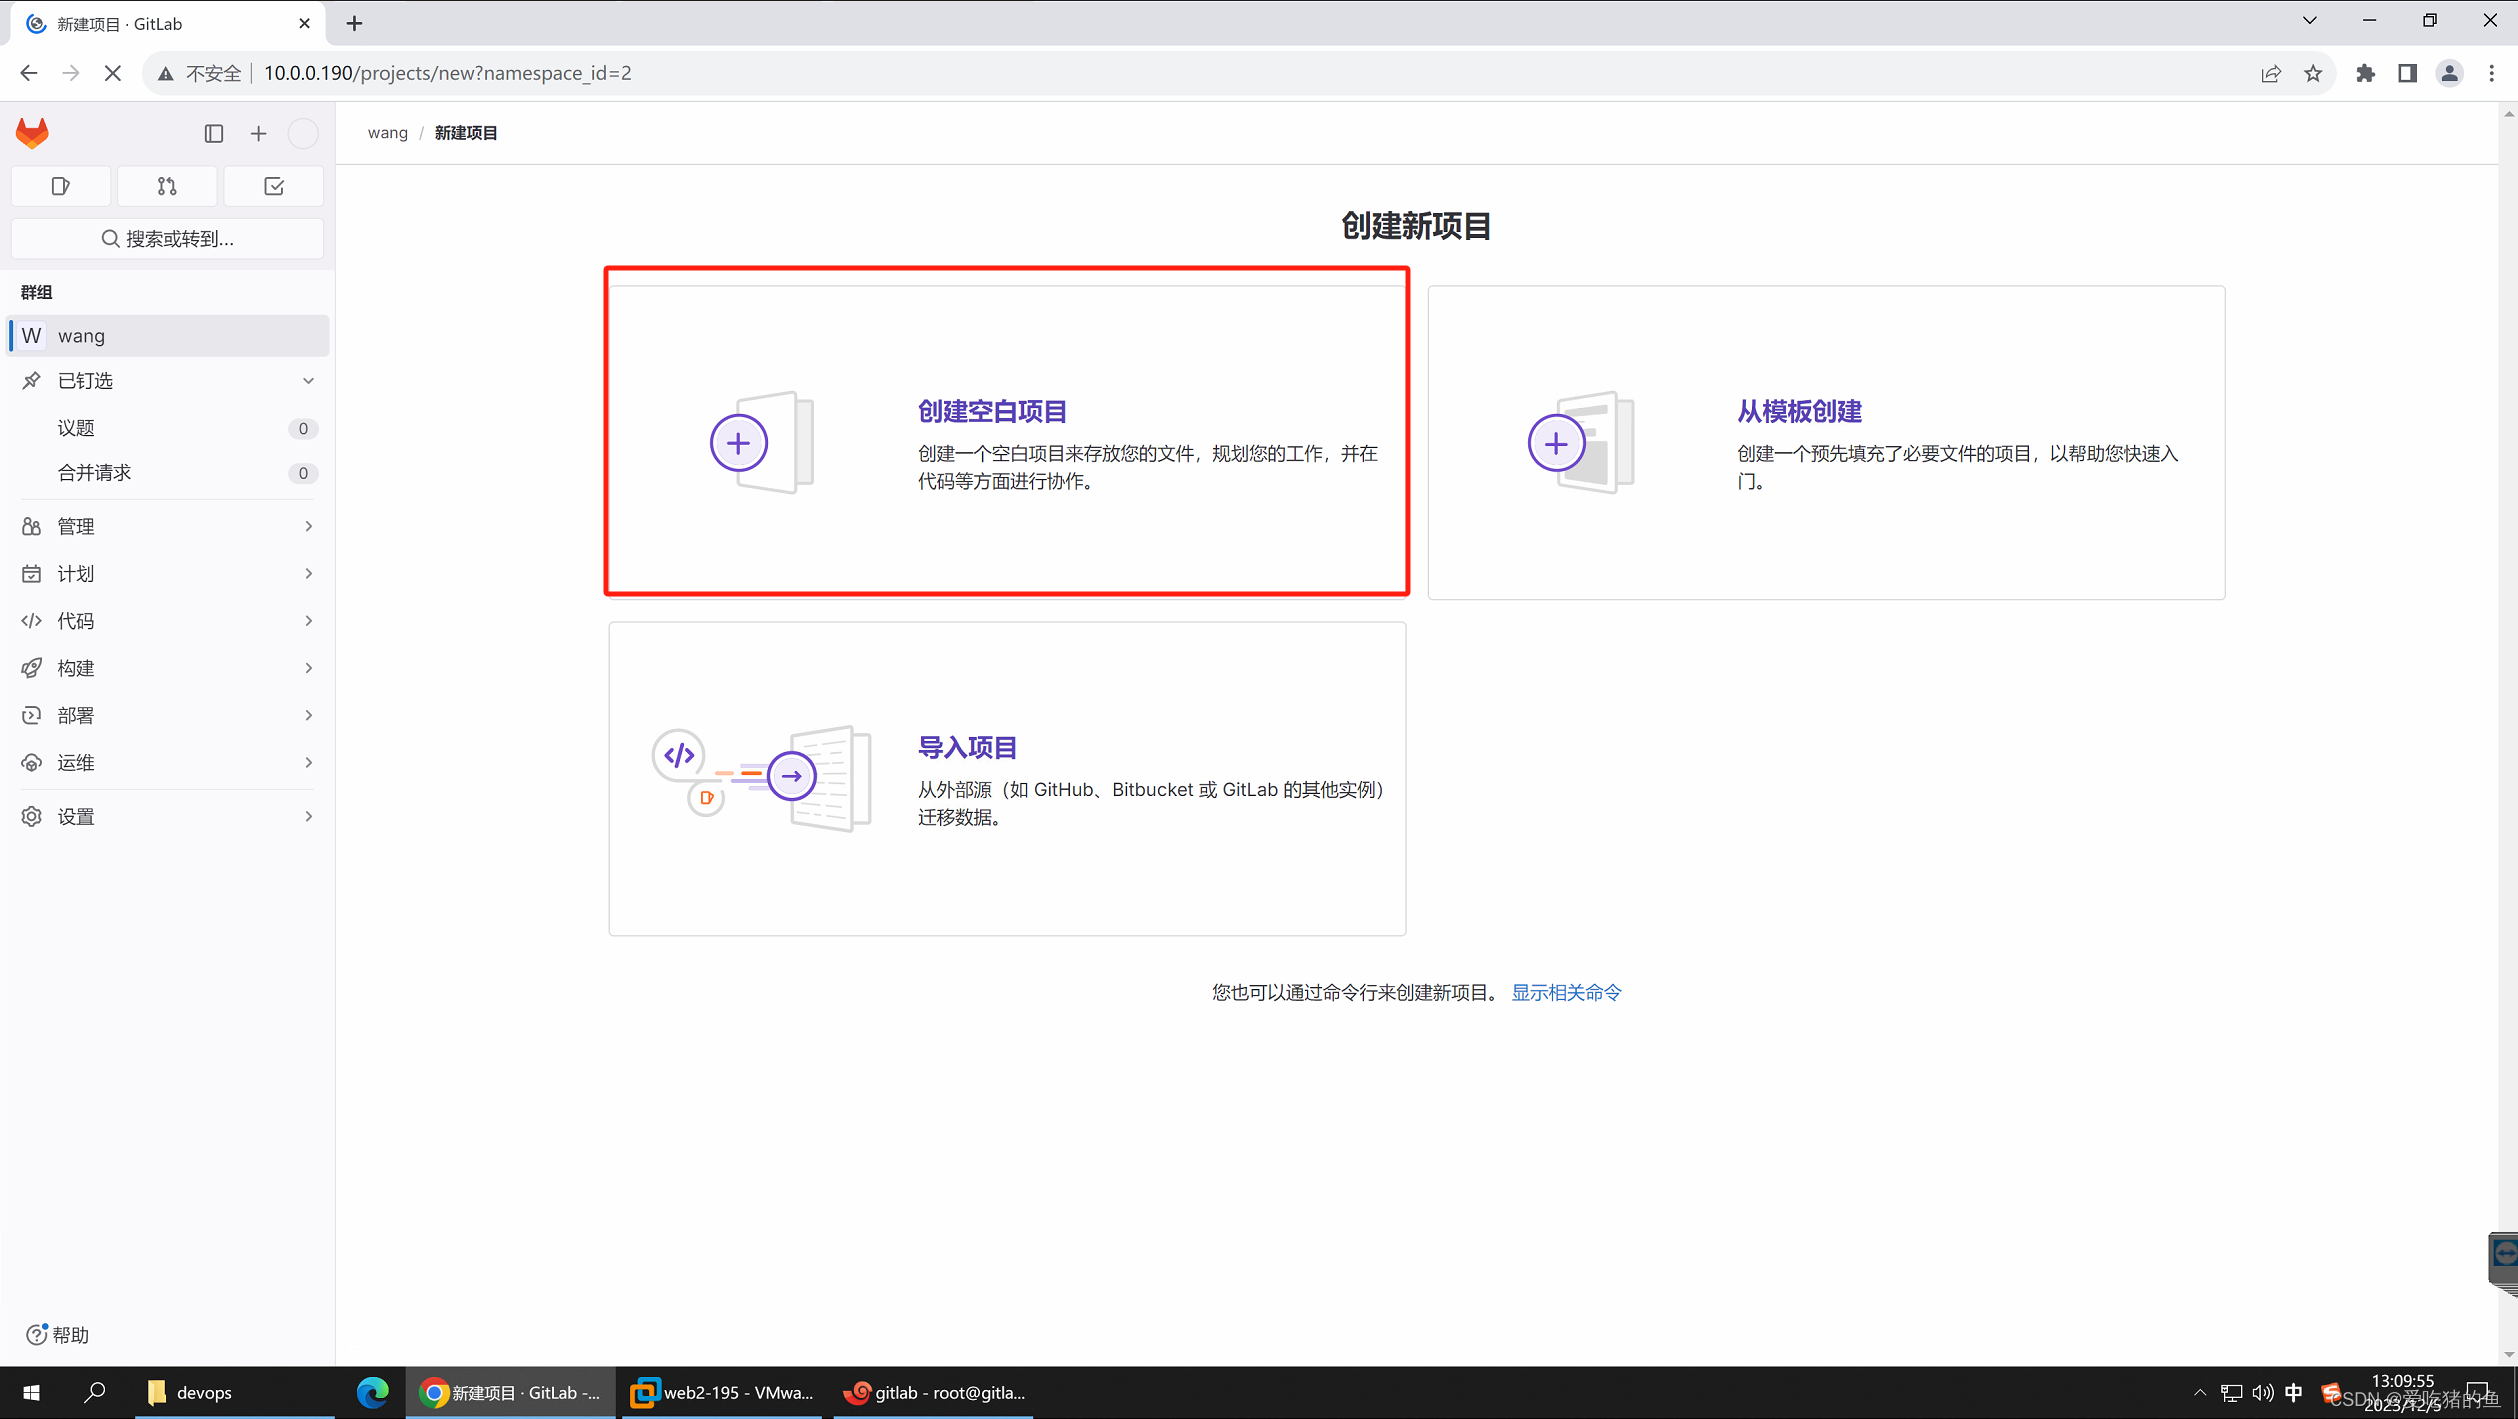
在wang的项目中创建app1服务
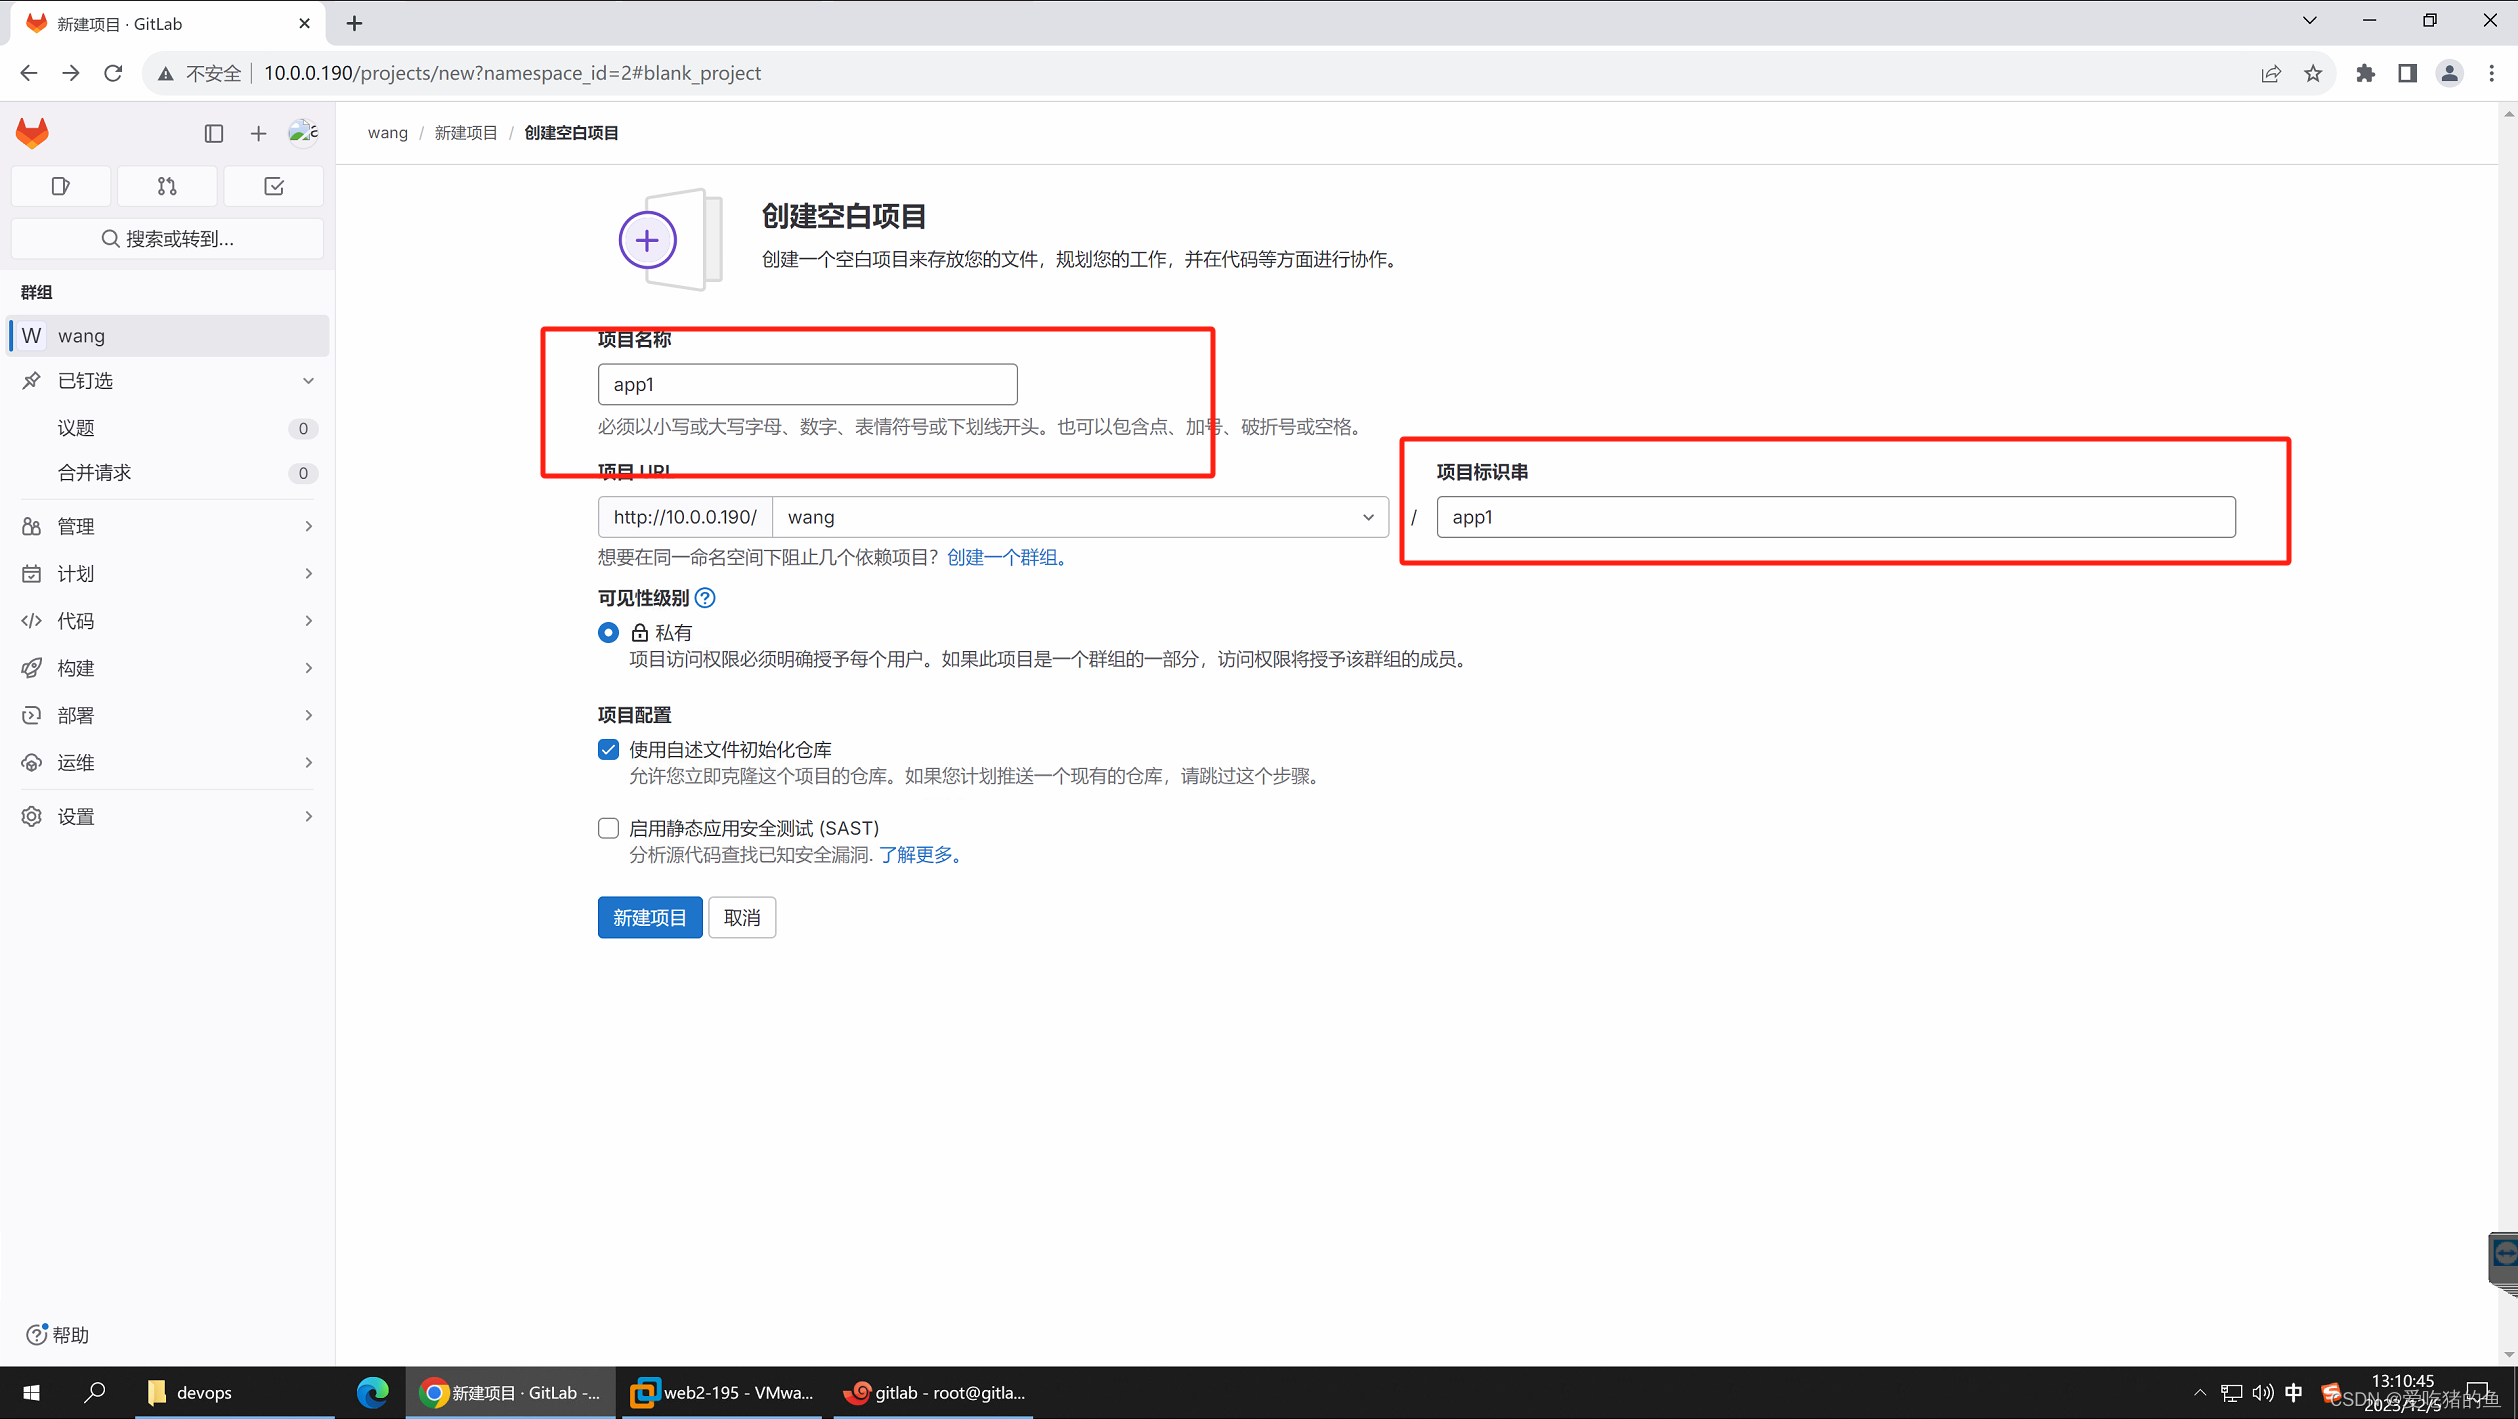
在这里可以创建分支,也可以上传文件
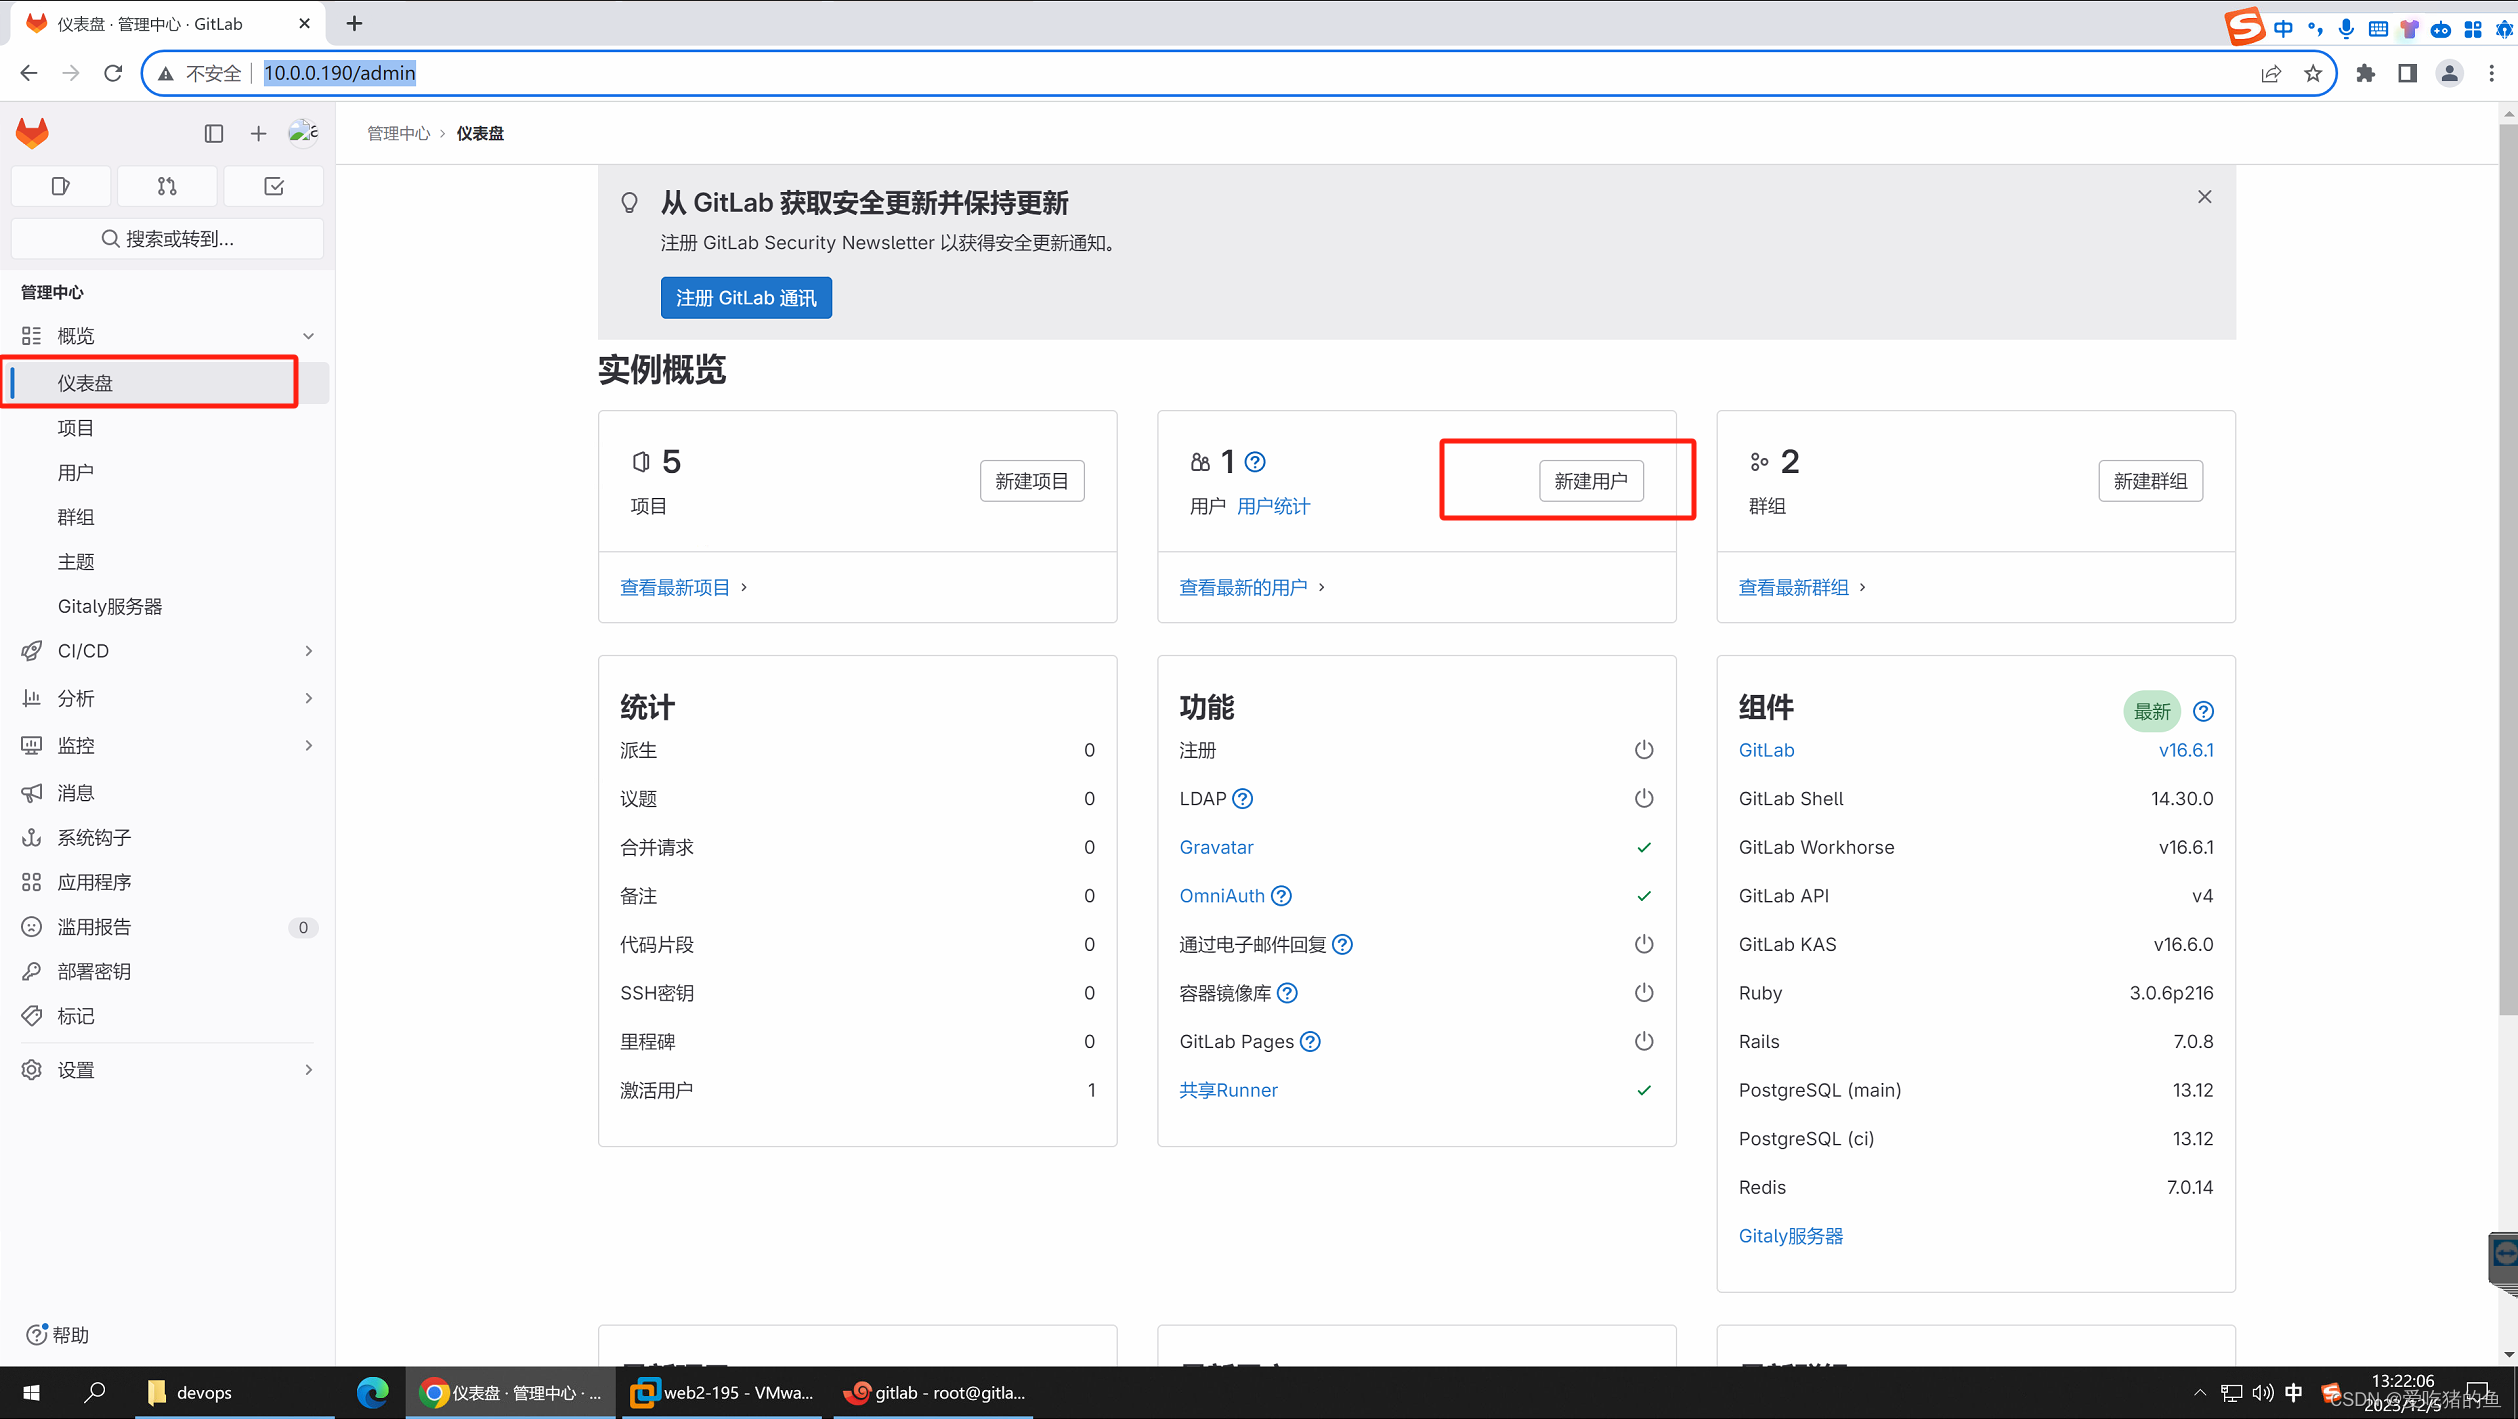
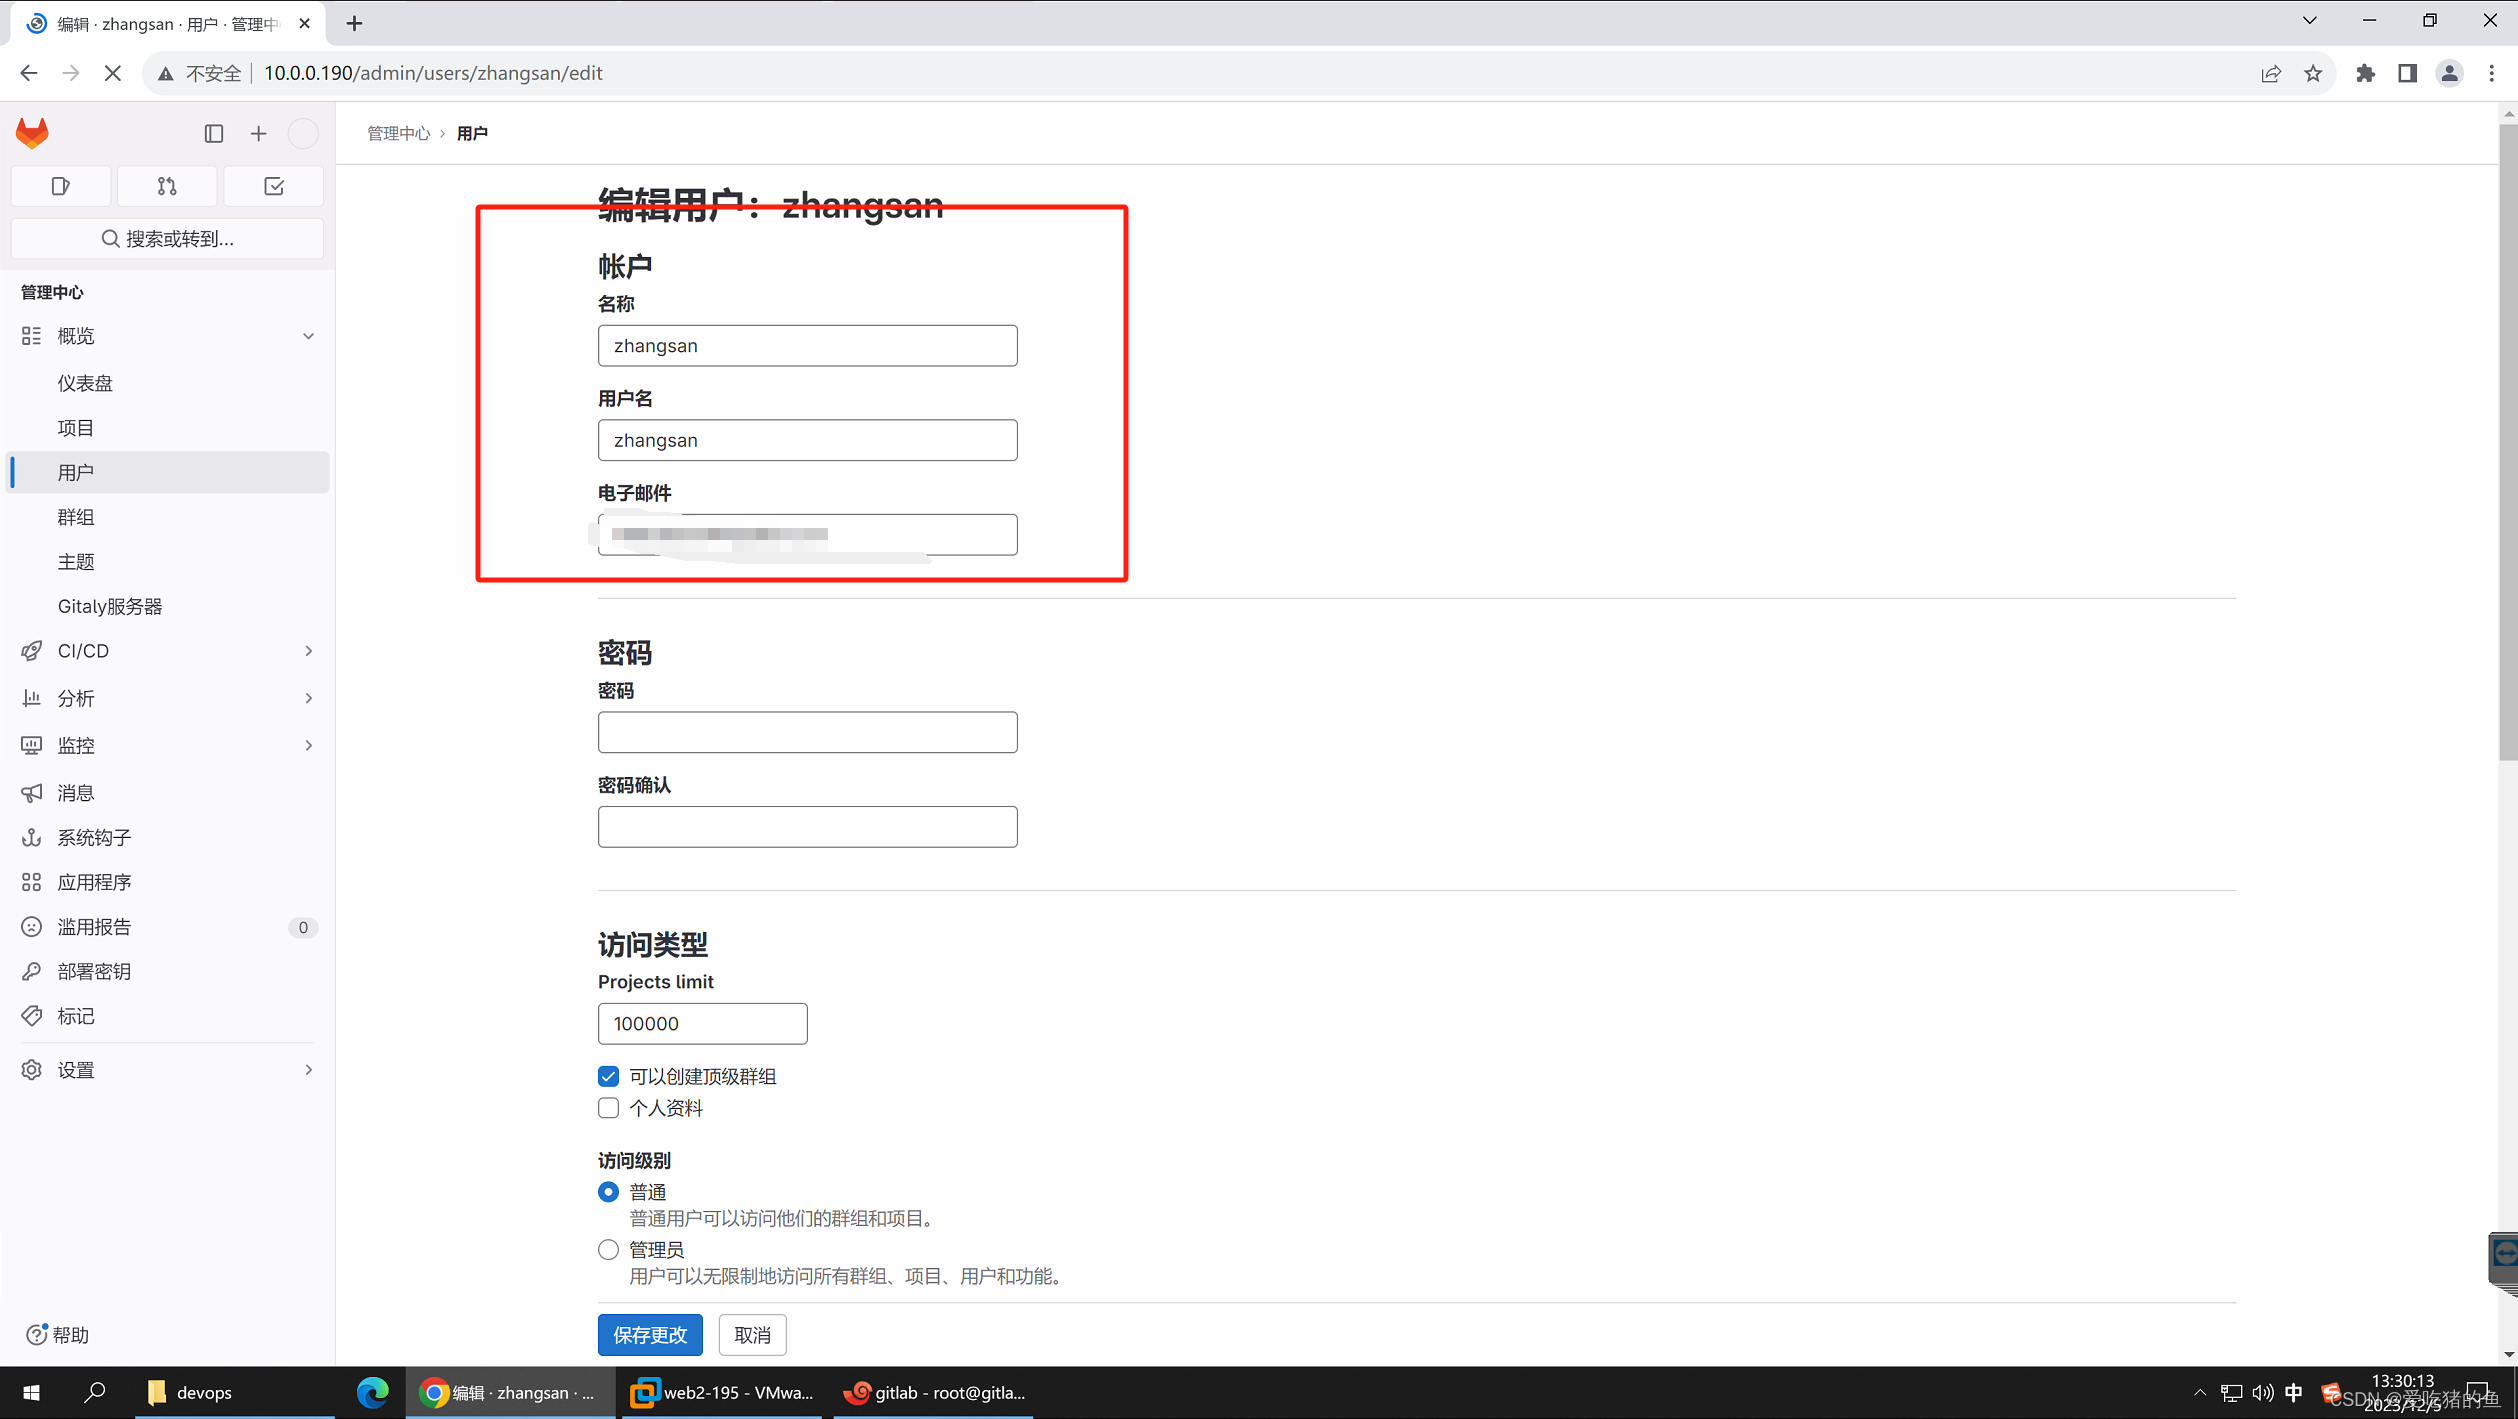
新建用户
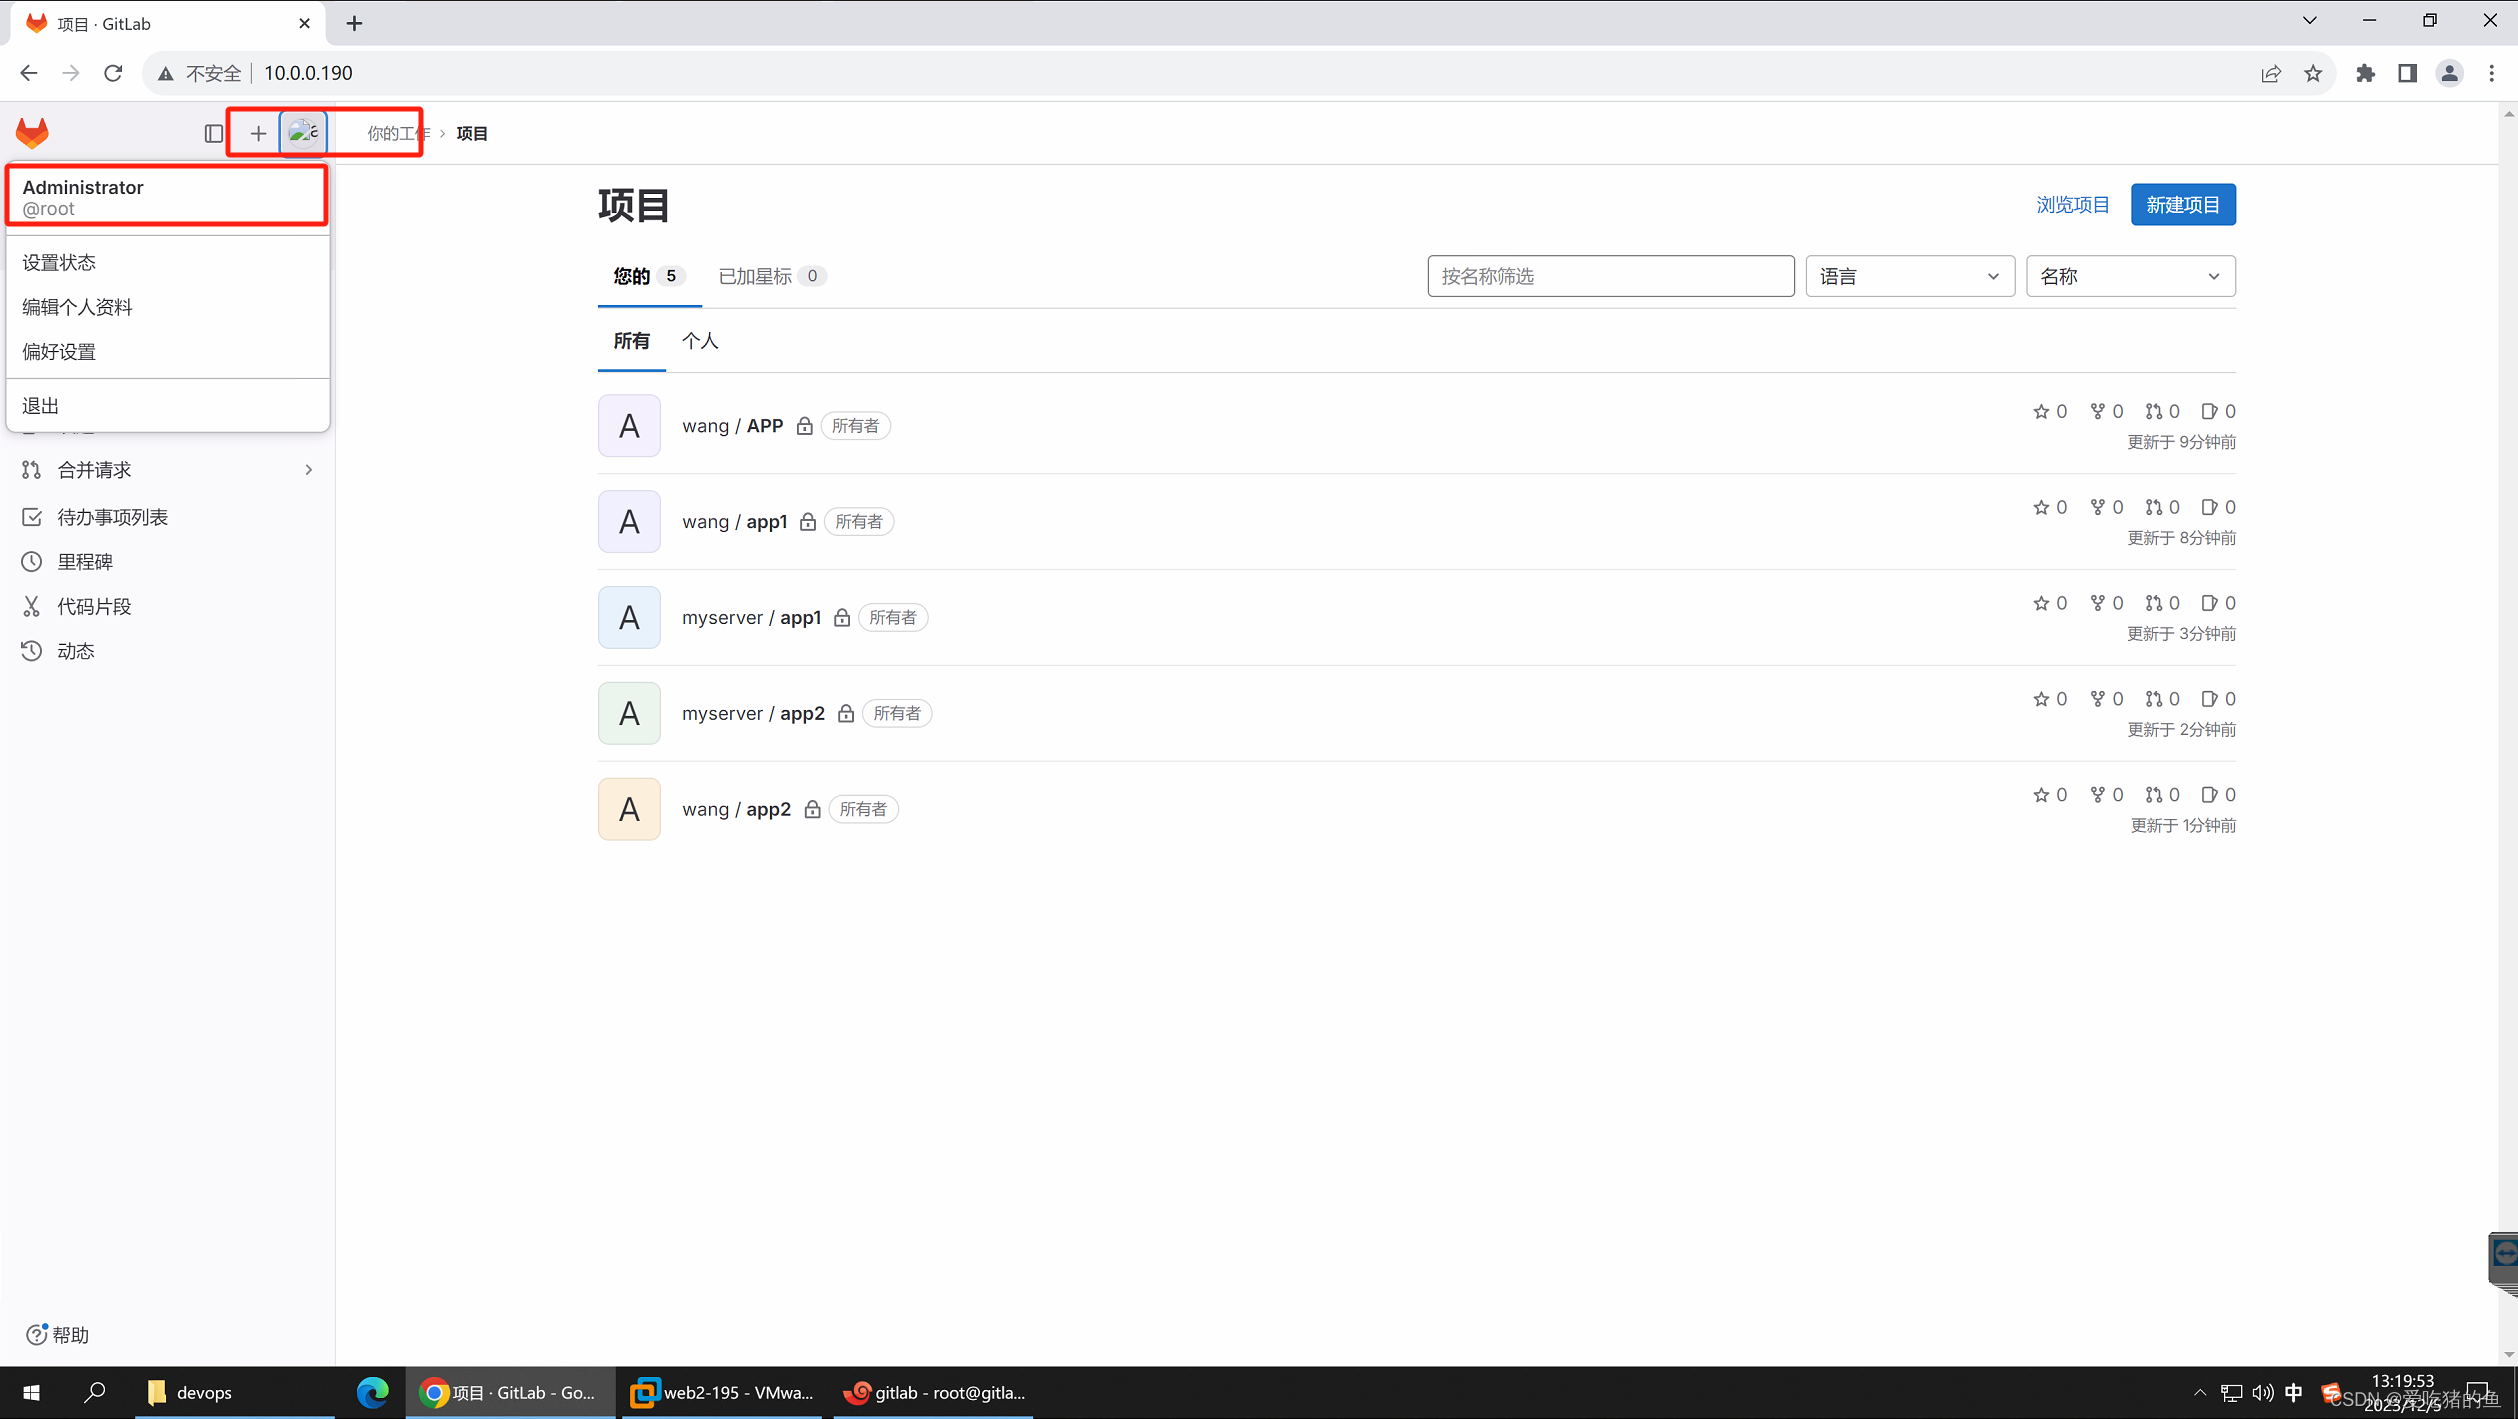
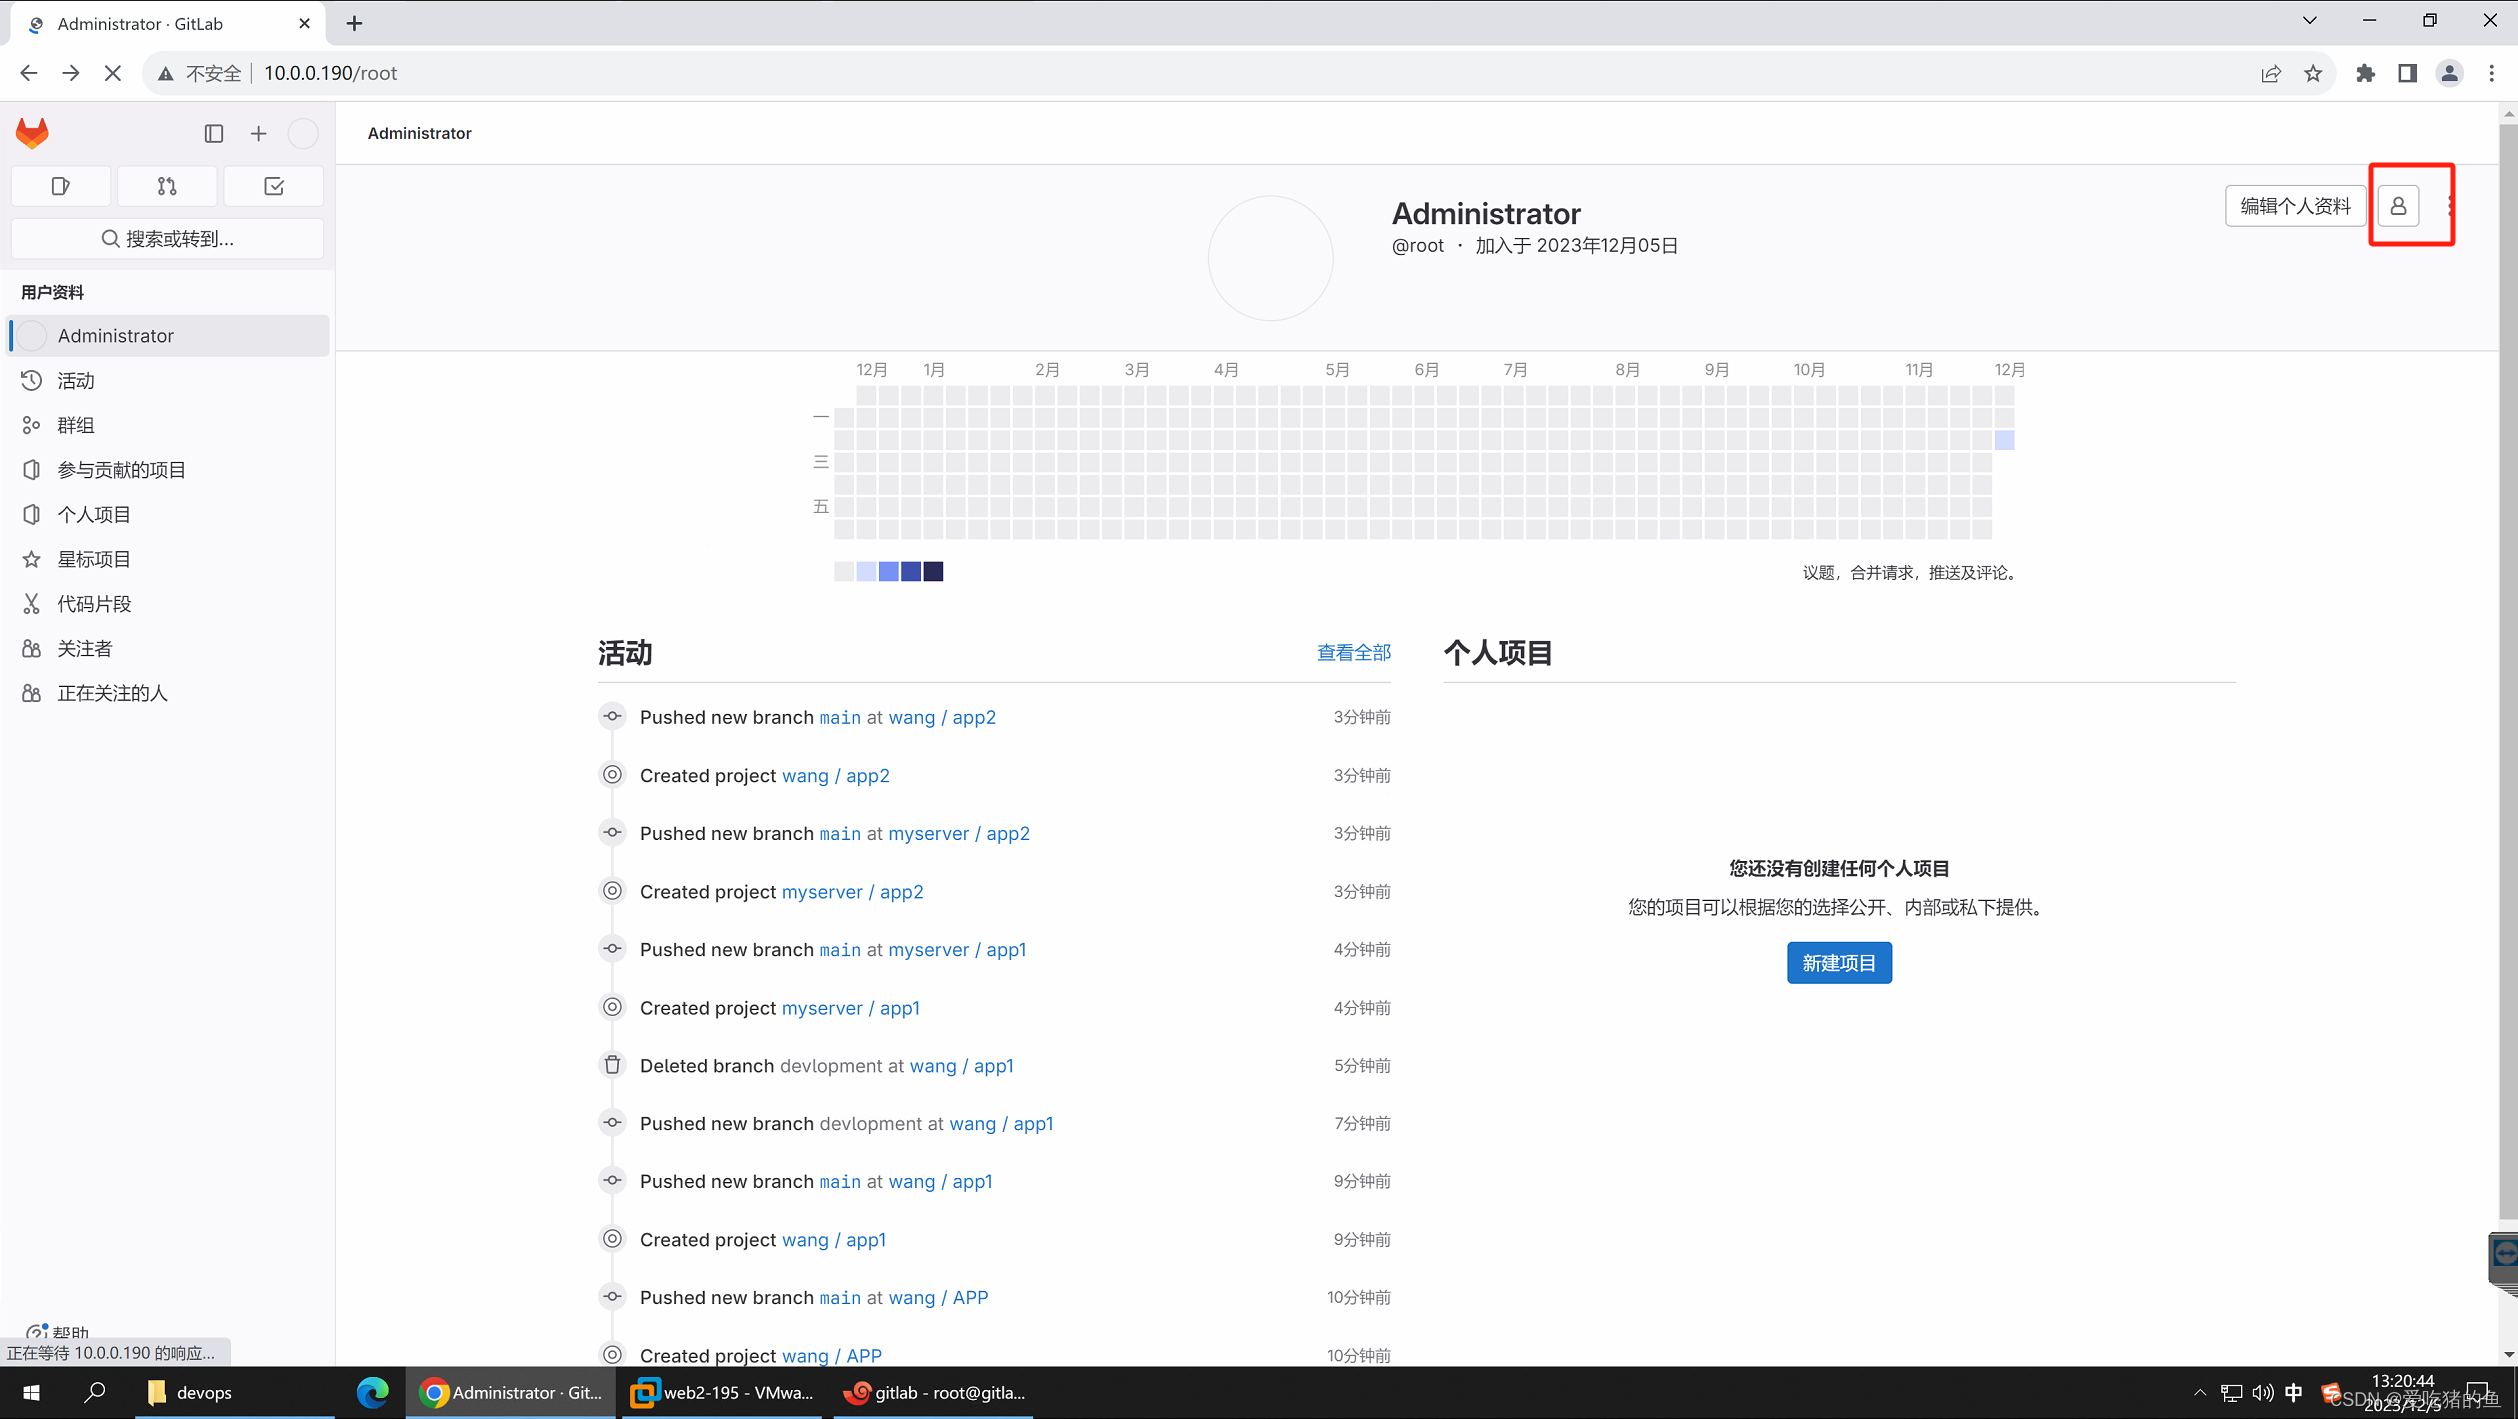
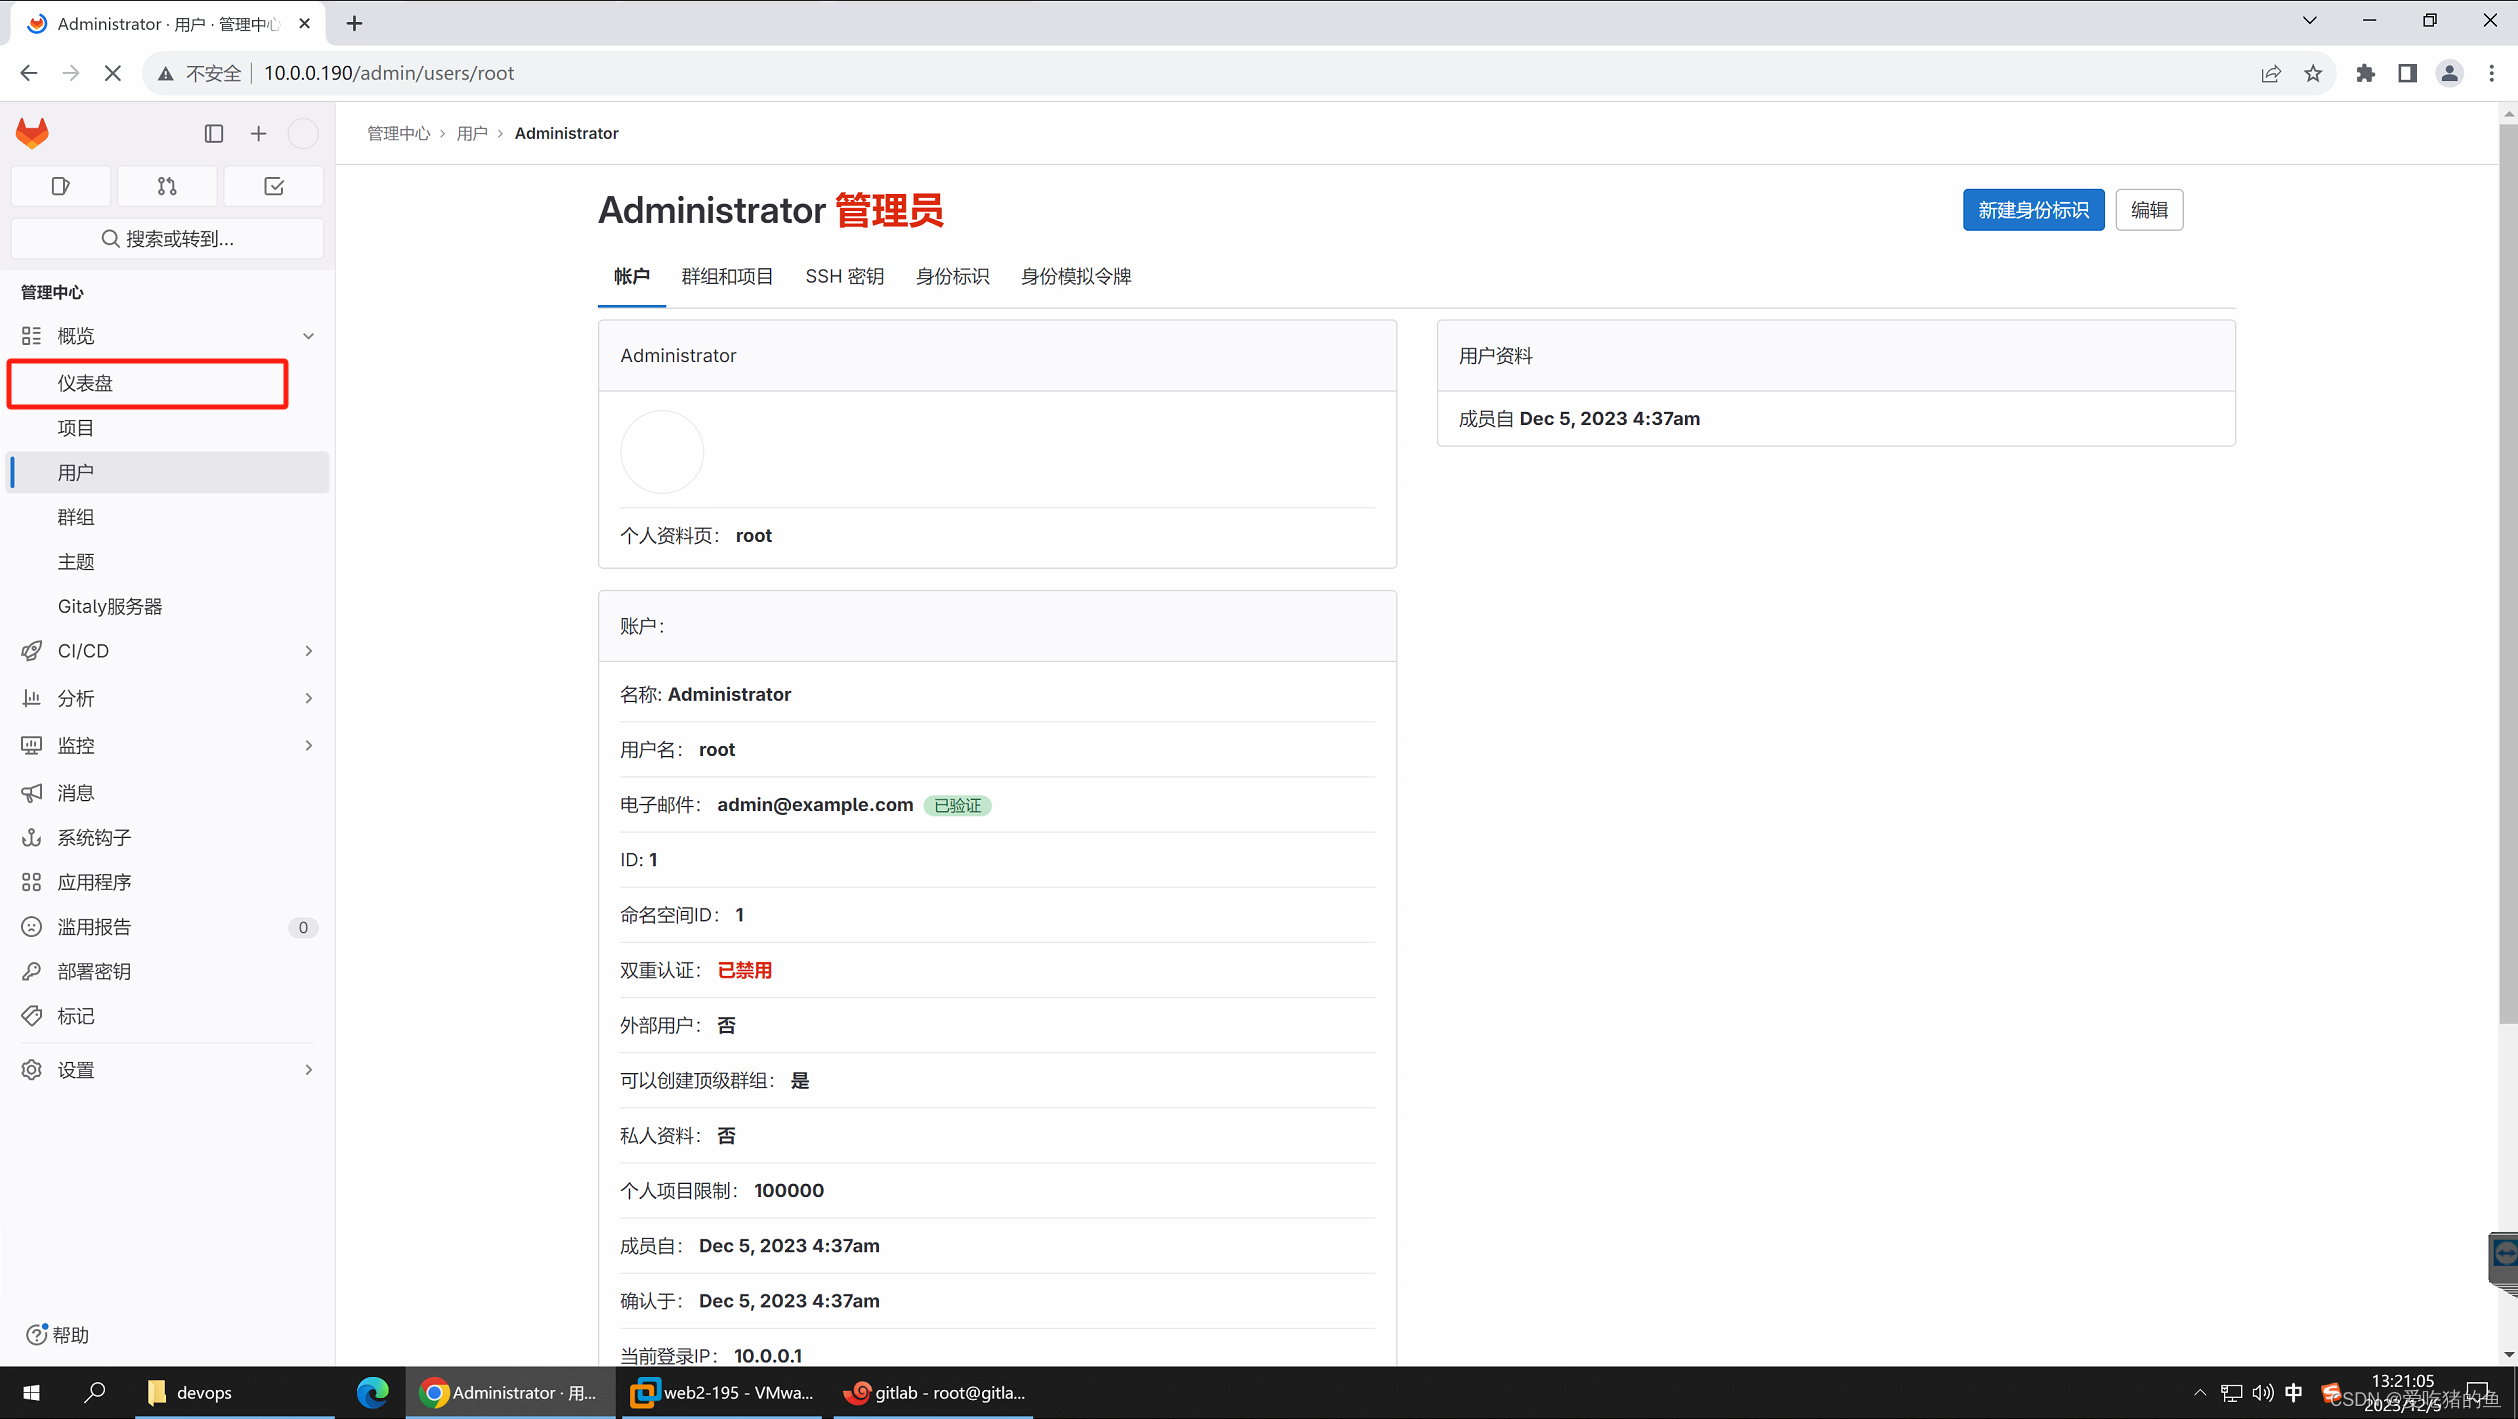
或者直接访问:http://10.0.0.190/admin
邮箱写用户的公司邮箱
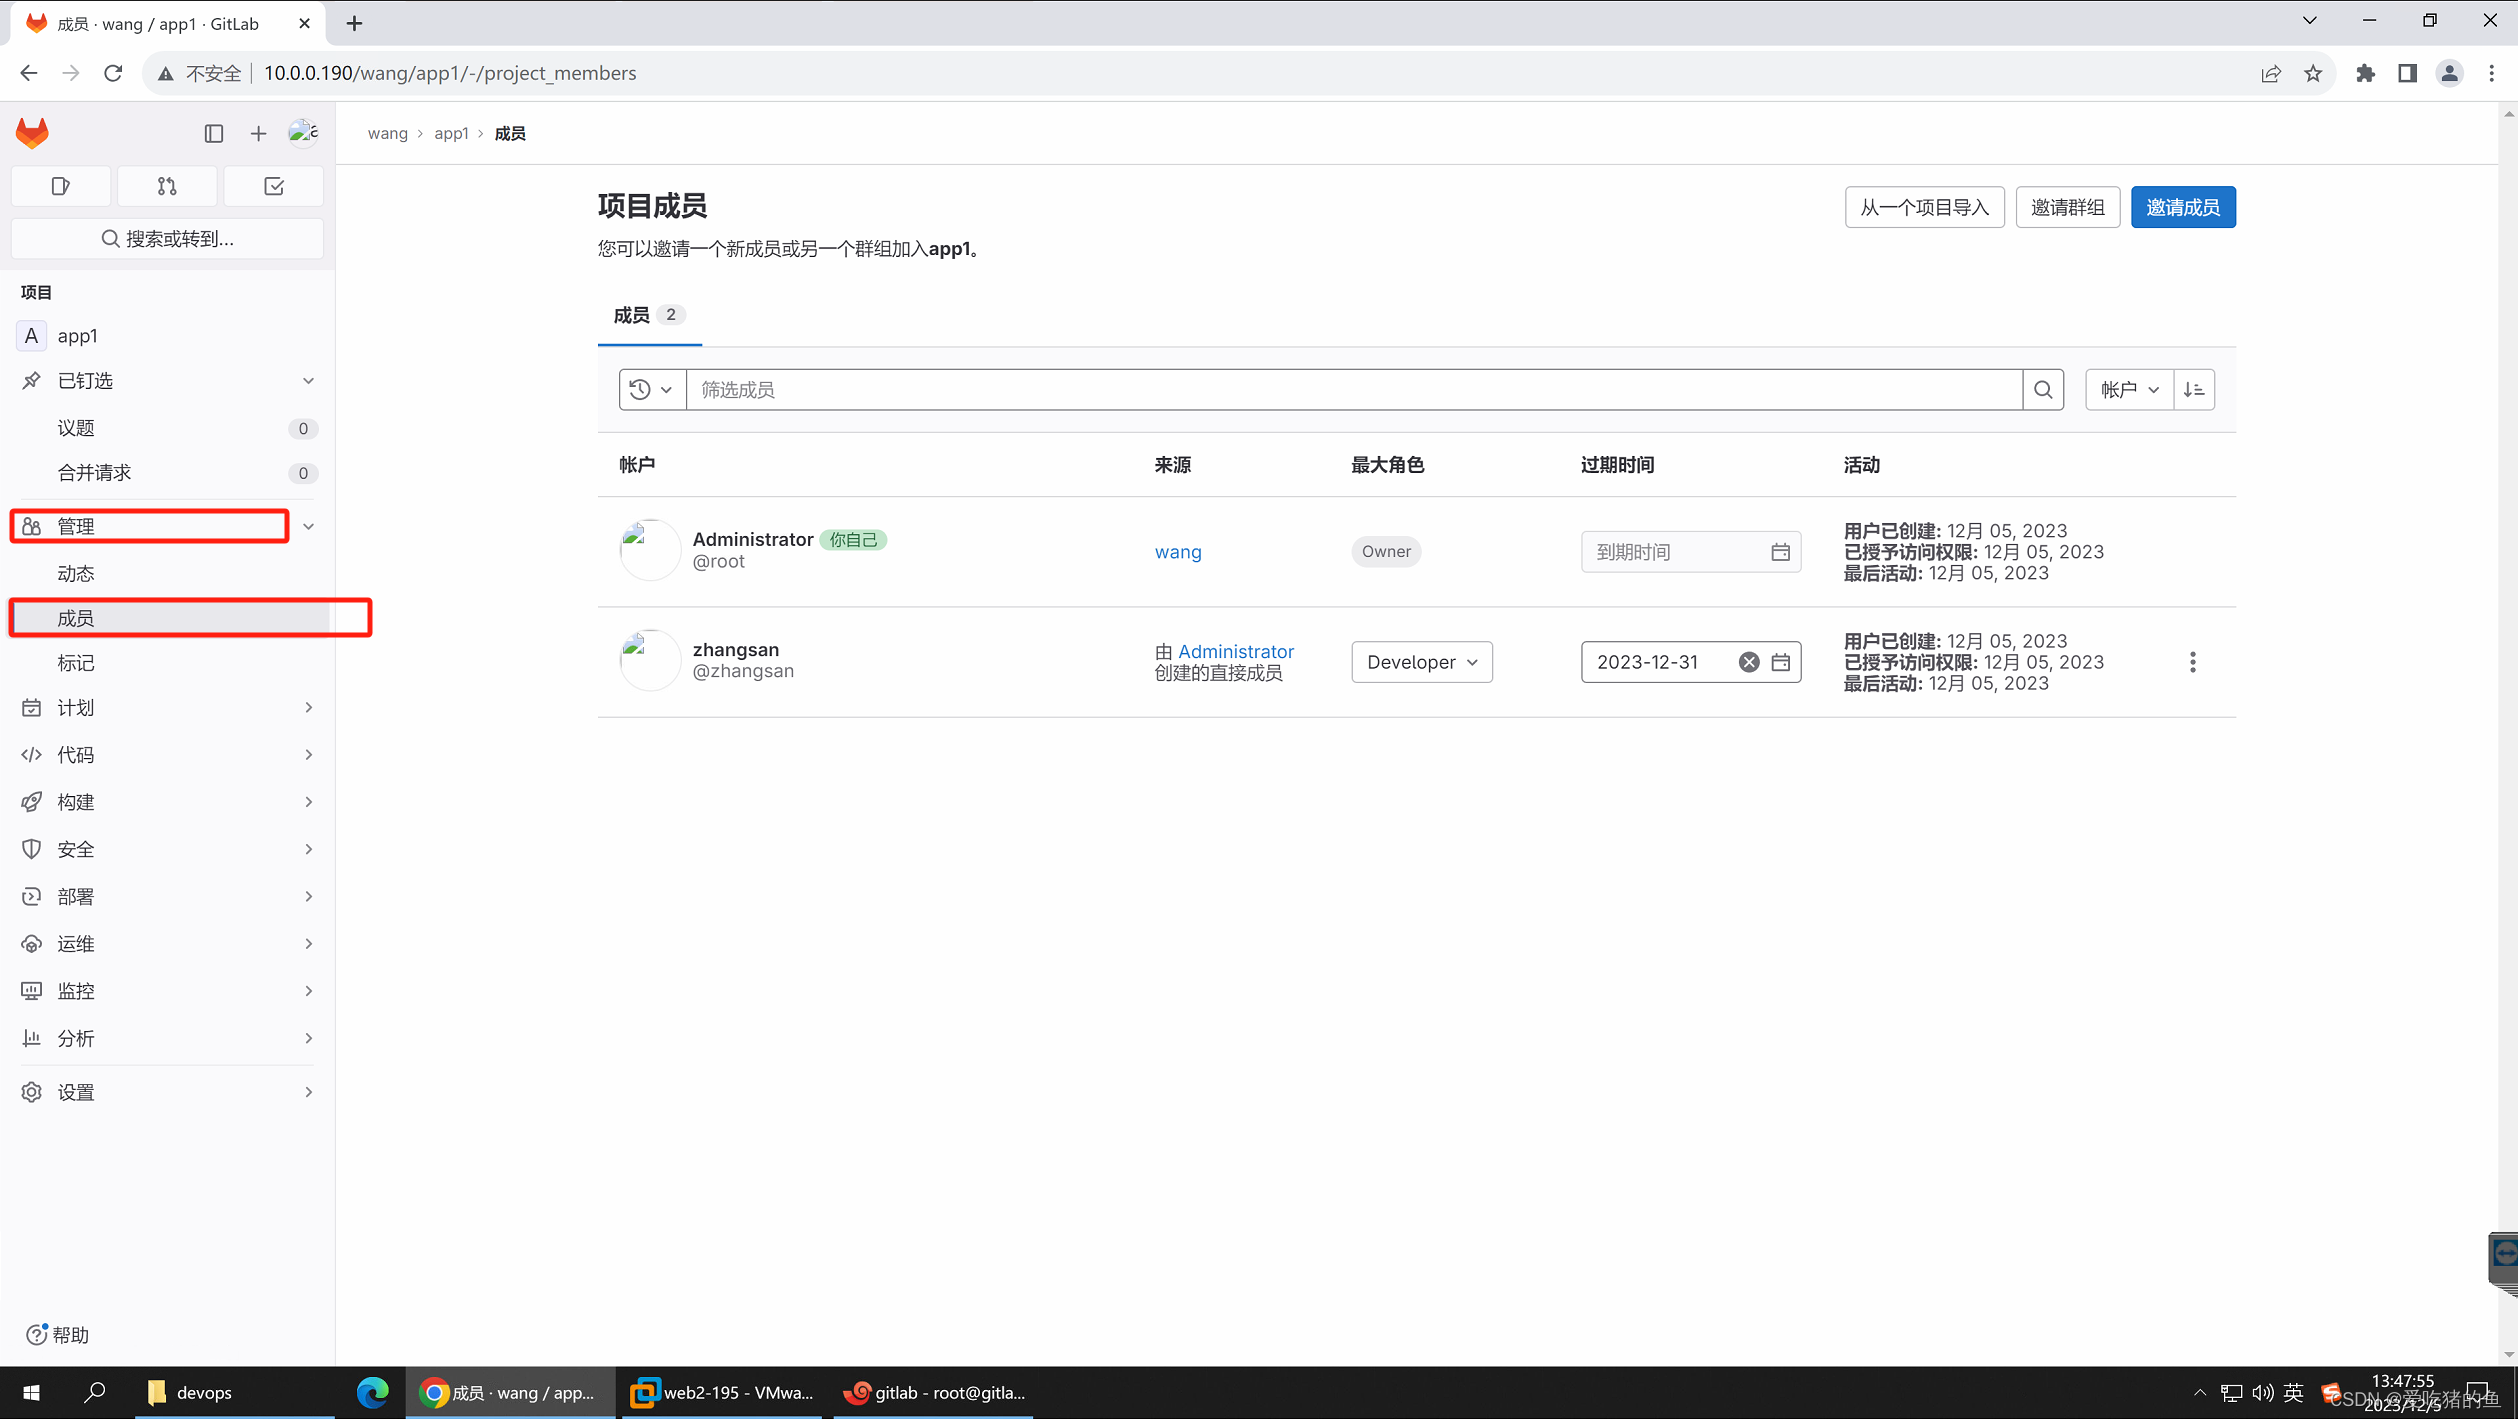
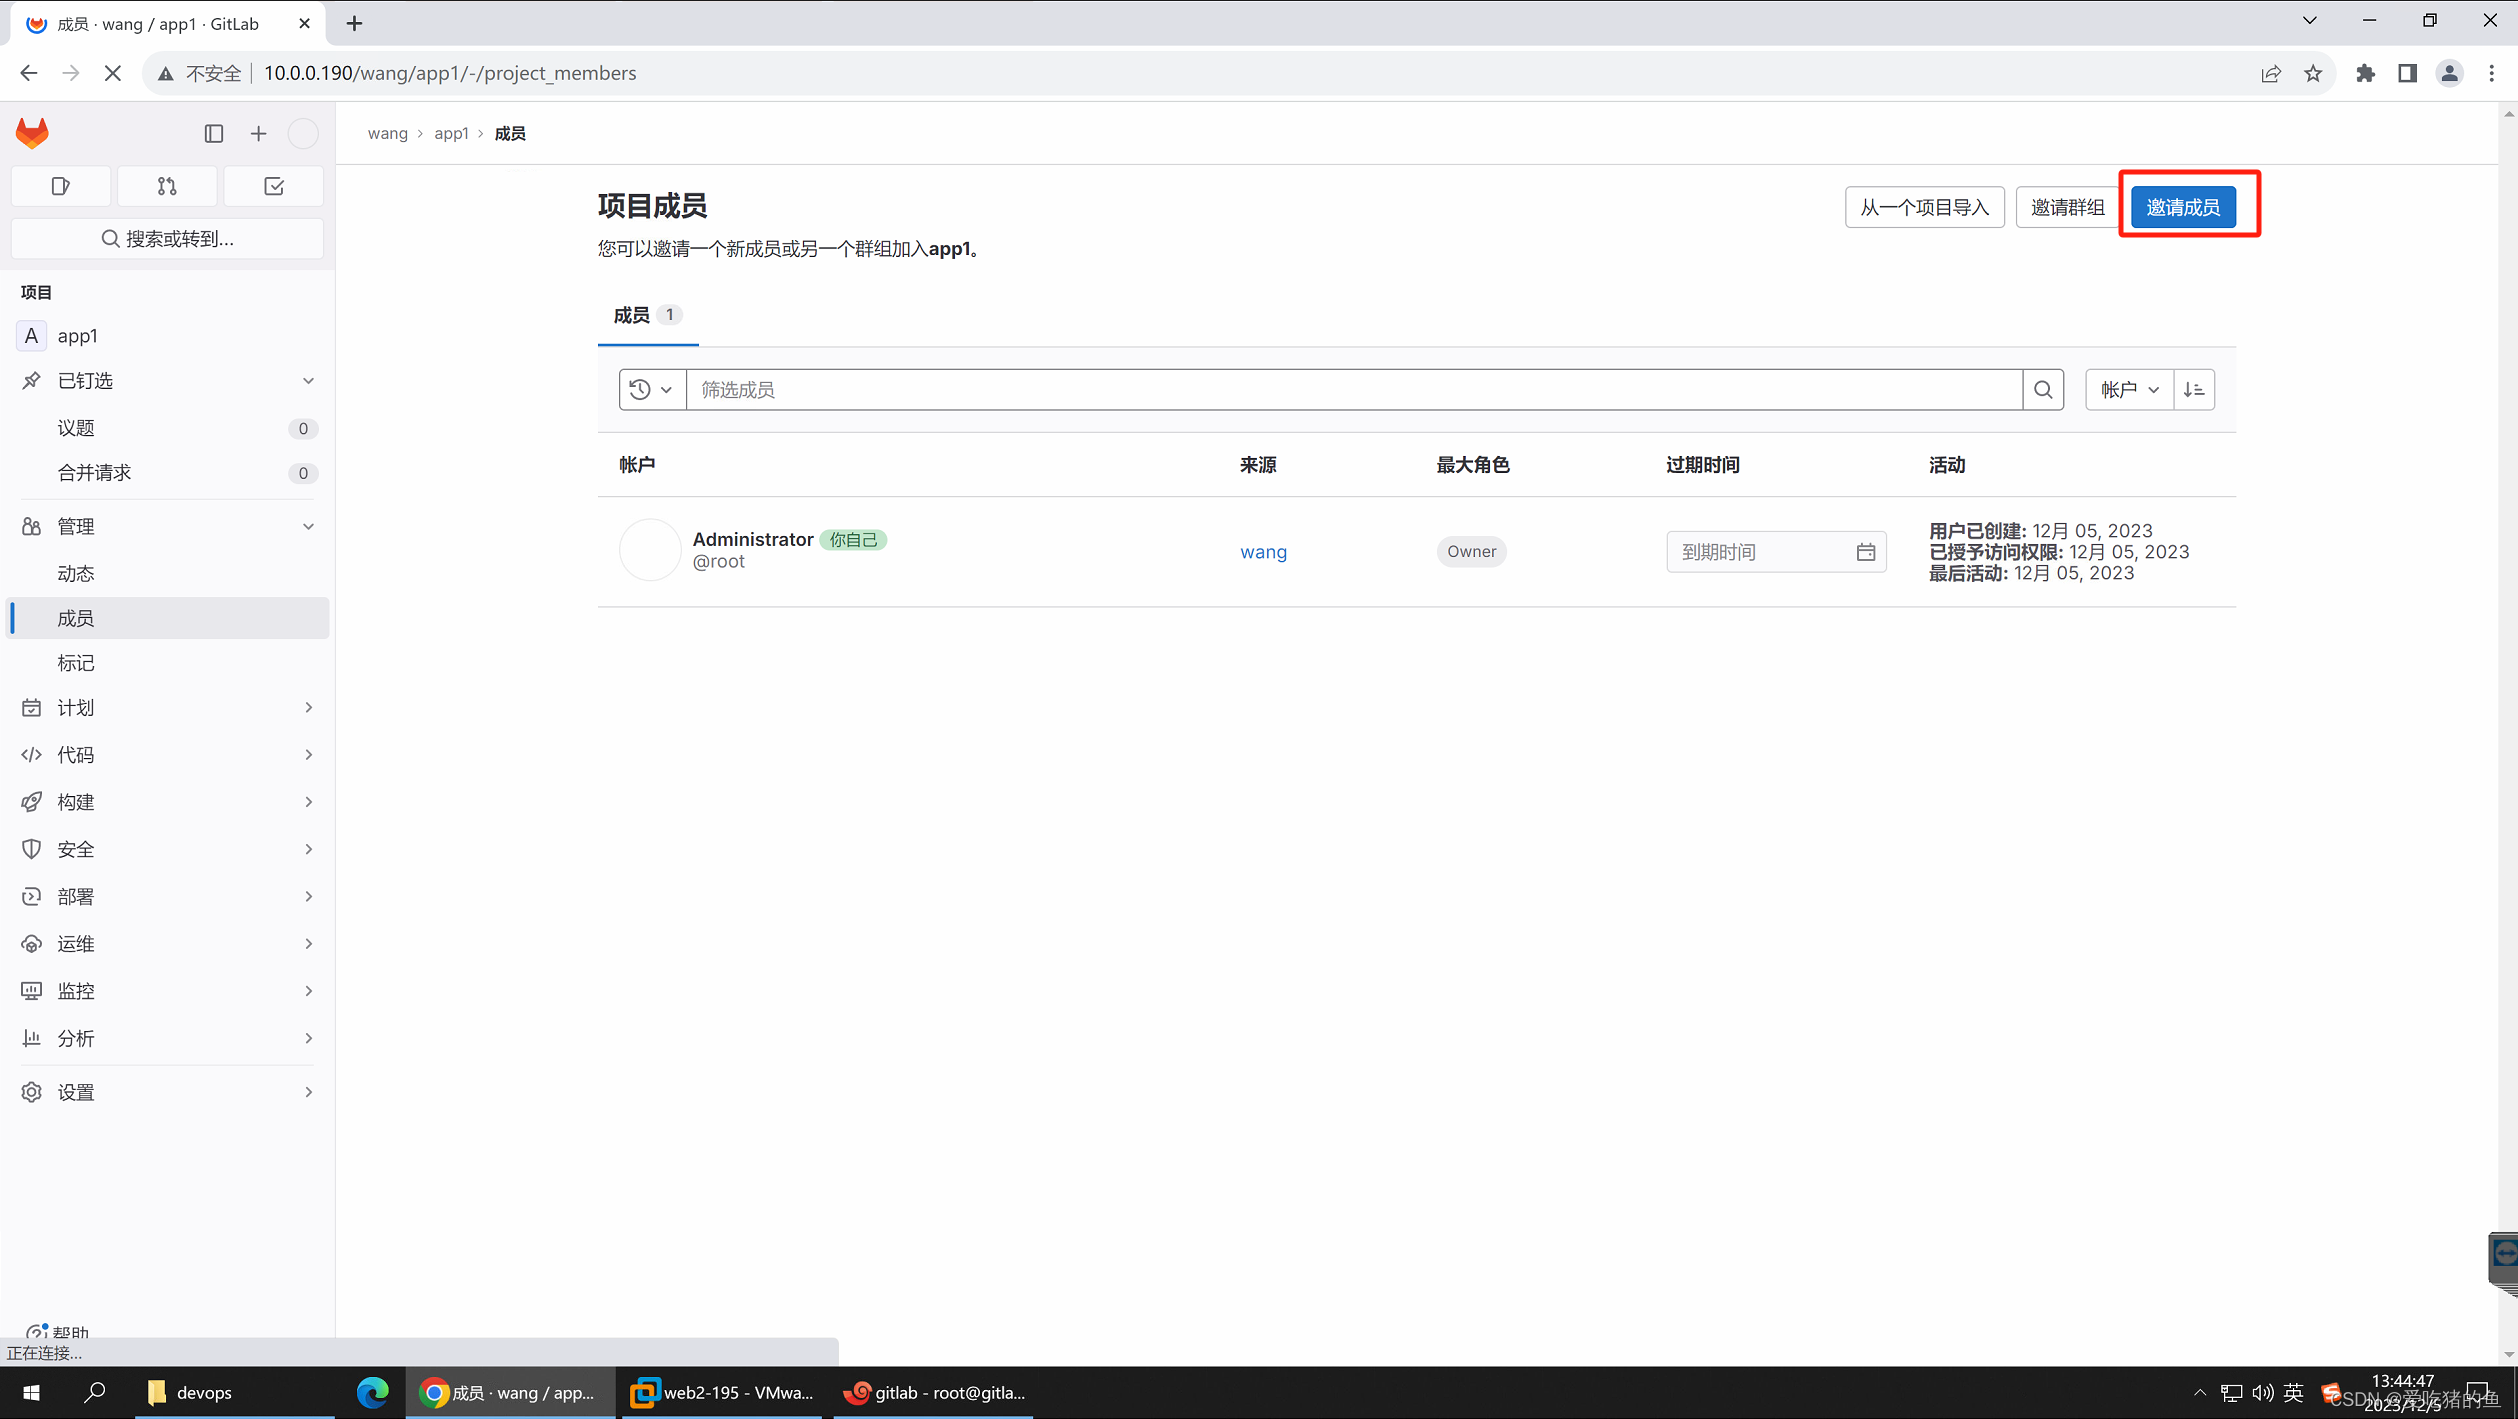
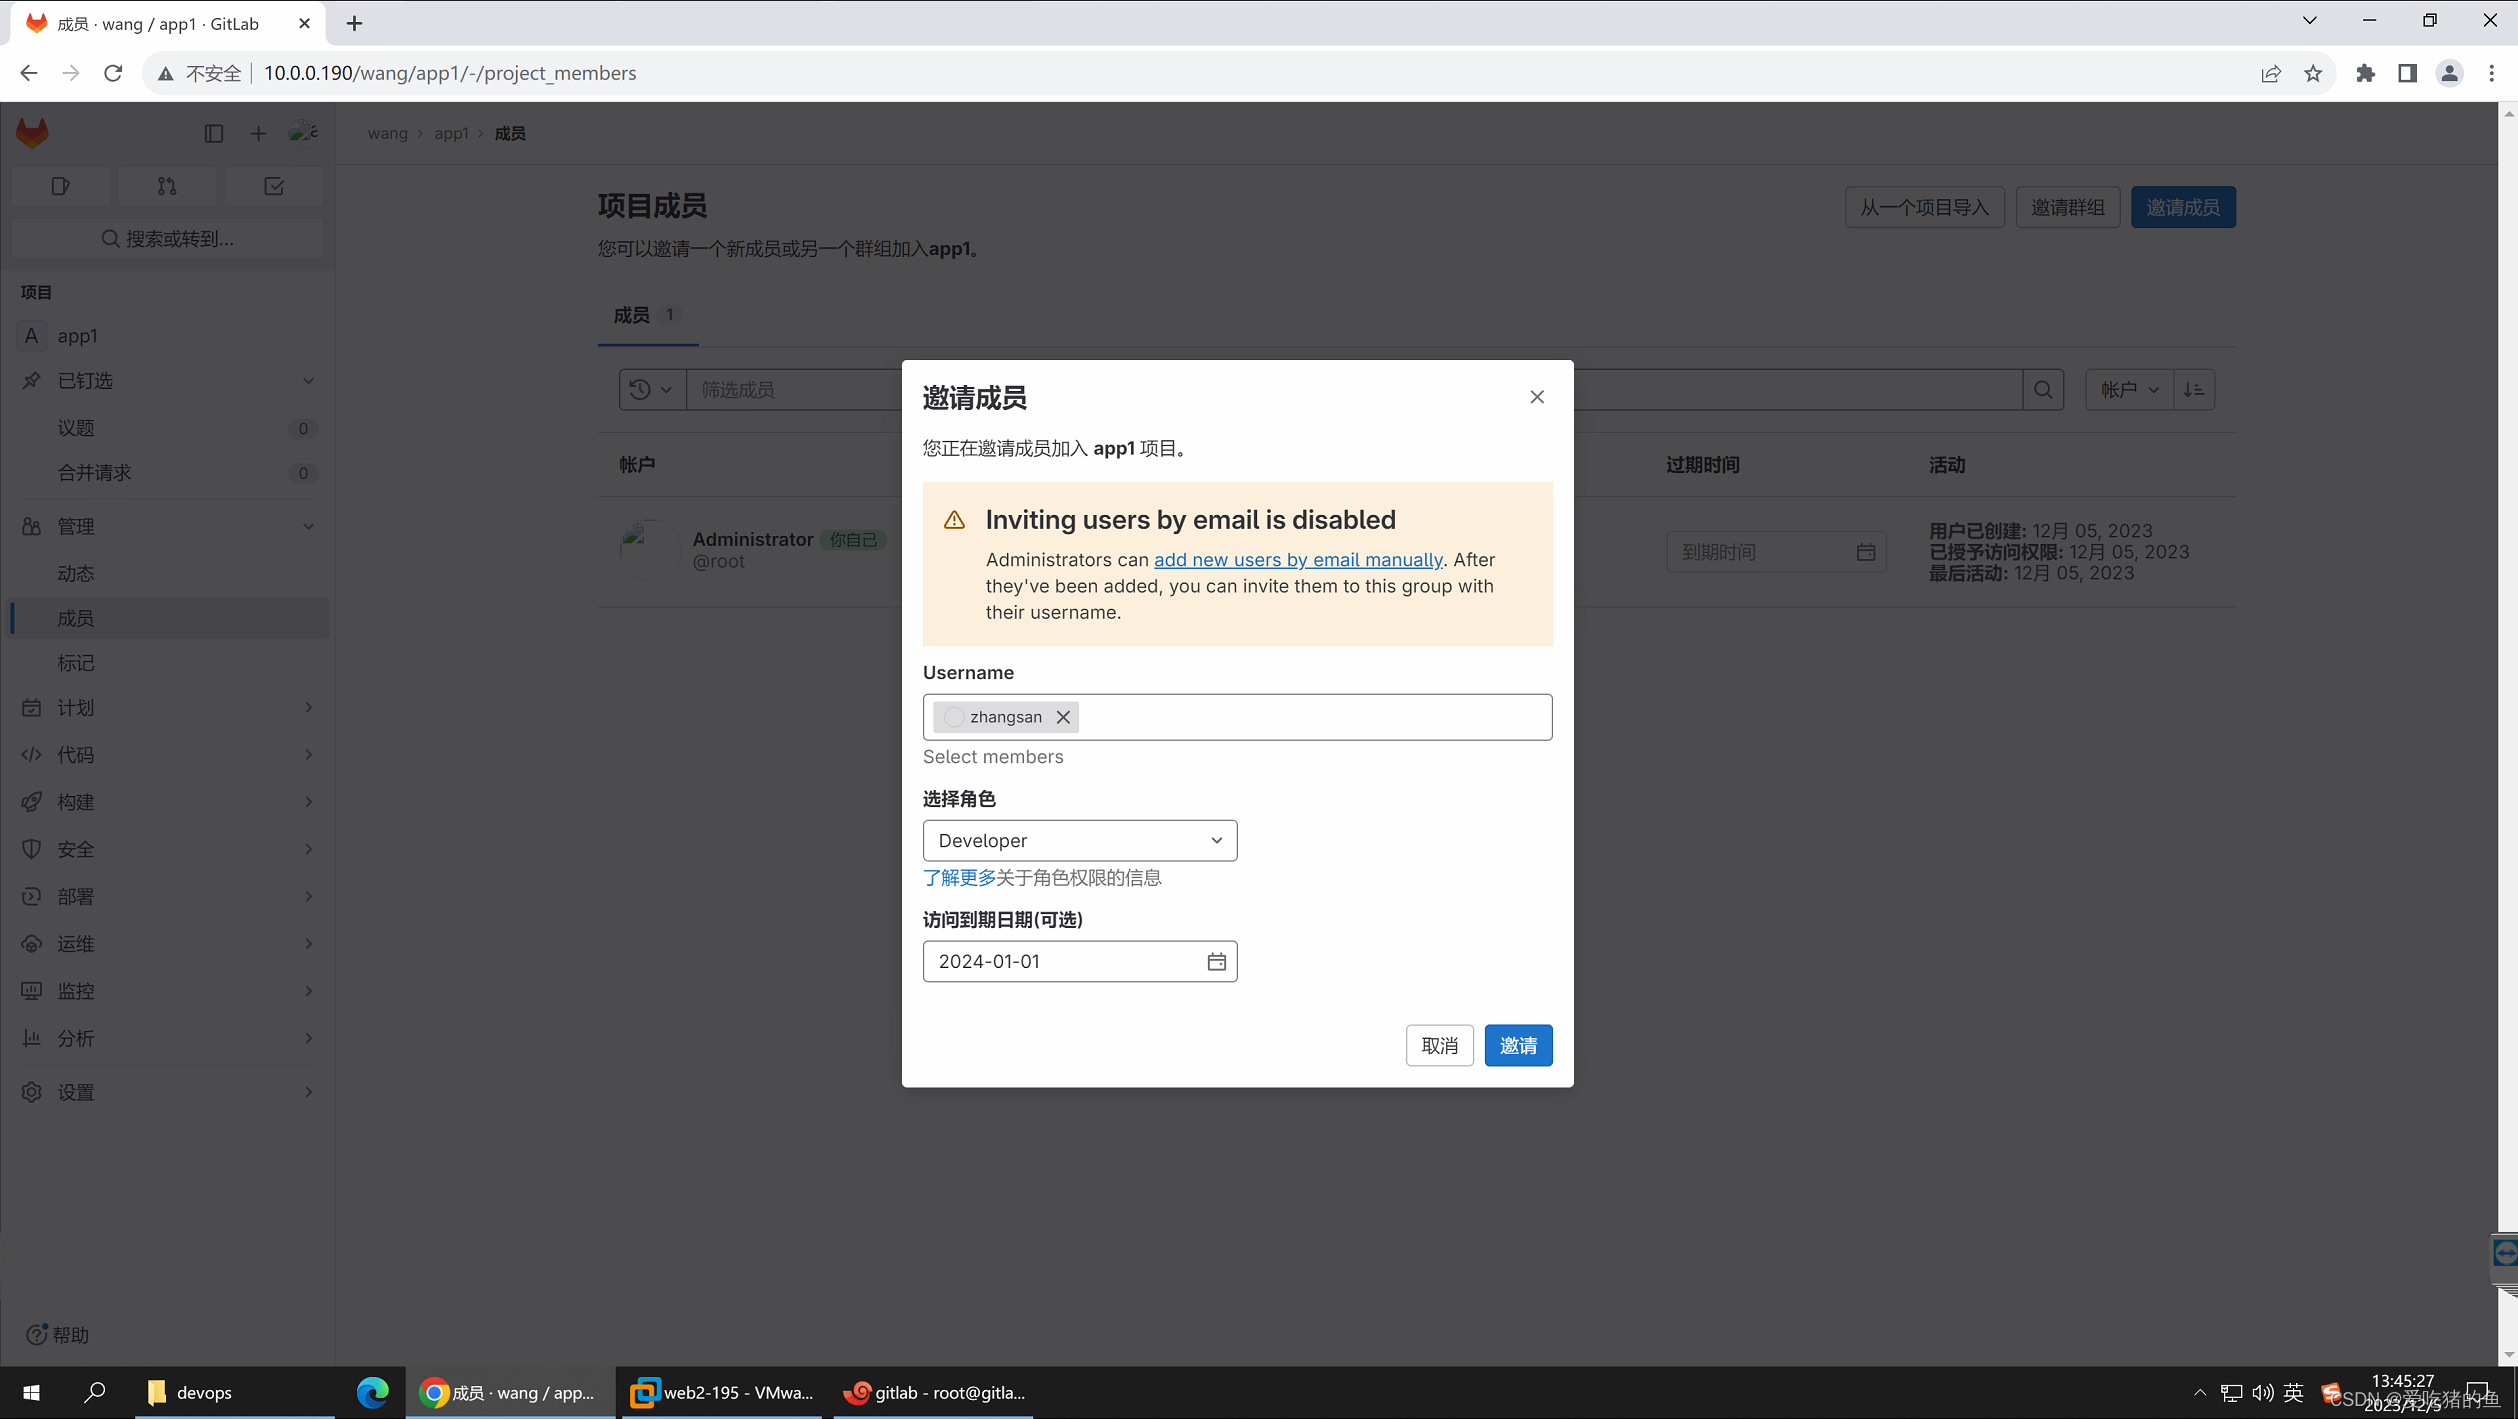
给用户赋权
熟练git命令的基本使用,通过git命令实现源代码的clone、push等基本操作
git clone #克隆代码到本地
git push #提交代码到服务器
git pull #更新其它人提交的代码到本地
git add index.html、abc/、 . #添加指定文件、目录或当前目录下所有数据到暂存区
git commit -m “xx“ #提交文件到工作

root@gitlab:~# gitlab-ctl service-list #查看所有服务
alertmanager*
gitaly*
gitlab-exporter*
gitlab-kas*
gitlab-workhorse*
logrotate*
nginx*
node-exporter*
postgres-exporter*
postgresql*
prometheus*
puma*
redis*
redis-exporter*
sidekiq*


git status #查看工作区的状;及你在工作区修改过文件,他这里会显示

root@ubuntu:/opt/app1# vim 1
root@ubuntu:/opt/app1# git status
On branch main
Your branch is up to date with 'origin/main'.

Untracked files:
  (use "git add <file>..." to include in what will be committed)
    1

nothing added to commit but untracked files present (use "git add" to track)


#git版本回滚, HEAD为当前版本,加一个^为上一个,^^为上上一个版本
git reset --hard HEAD^^
#示例;回滚只是本地回滚了,远程gitlab仓库,还是没有变化
root@ubuntu:/opt/app1# cat index.html
<h1>v11111111</h1>
<h1>v22222222</h1>
root@ubuntu:/opt/app1# git reset --hard HEAD^
HEAD is now at 397cc27 add index file
root@ubuntu:/opt/app1# cat index.html
<h1>v11111111</h1>
root@ubuntu:/opt/app1# git pull
Username for 'http://10.0.0.190': zhangsan
Password for 'http://zhangsan@10.0.0.190':
Updating 397cc27..011727b
Fast-forward
 index.html | 1 +
 1 file changed, 1 insertion(+)
root@ubuntu:/opt/app1# cat index.html
<h1>v11111111</h1>
<h1>v22222222</h1>

# #获取每次提交的ID,可以使用--hard根据提交的ID进行版本回退
git reflog
#示例,回到v1版本;还是不影响gitlab远程代码仓库
root@ubuntu:/opt/app1# cat index.html
<h1>v11111111</h1>
<h1>v22222222</h1>
<h1>v33333333</h1>

root@ubuntu:/opt/app1# git reflog
4a2626e (HEAD -> main, origin/main, origin/HEAD) HEAD@{0}: commit: v3
011727b HEAD@{1}: pull: Fast-forward
397cc27 HEAD@{2}: reset: moving to HEAD^
011727b HEAD@{3}: pull: Fast-forward
397cc27 HEAD@{4}: reset: moving to HEAD^
011727b HEAD@{5}: commit: v2
397cc27 HEAD@{6}: commit: add index file
af94077 HEAD@{7}: clone: from http://10.0.0.190/wang/app1.git
root@ubuntu:/opt/app1# git reset --hard 397cc27
HEAD is now at 397cc27 add index file
root@ubuntu:/opt/app1# cat index.html
<h1>v11111111</h1>


git config --global user.name “NAME” #设置全局用户名
git config --global user.email xxxx@yy.com #设置全局邮

git config --global --list #列出用户全局设置
root@ubuntu:/opt/app1# git config --global --list
user.email=15803057044@163.com
user.name=zhangsan

git branch #查看当前所处的分支
root@ubuntu:/opt/app1# git branch
* main

git checkout -b develop #创建并切换到一个
root@ubuntu:/opt/app1# git checkout -b liuliu
Switched to a new branch 'liuliu'
root@ubuntu:/opt/app1# git branch
* liuliu
  main

git checkout develop #切换分支
root@ubuntu:/opt/app1# git checkout main
Switched to branch 'main'
Your branch is up to date with 'origin/main'.
root@ubuntu:/opt/app1# git branch
  liuliu
* main


root@ubuntu:/opt/app1# git log #查看操作日志
commit 4a2626e5ee0f9bd510e13746ae030ed1ada02666 (HEAD -> main, origin/main, origin/HEAD, liuliu)
Author: zhangsan <15803057044@163.com>
Date:   Tue Dec 5 07:14:06 2023 +0000

    v3

commit 011727bb22f916a599f862a9d52fda74a7d3c832
Author: zhangsan <15803057044@163.com>
Date:   Tue Dec 5 07:06:45 2023 +0000

    v2

commit 397cc27a3f019bd41c72aa58594ce782e74bf126
Author: zhangsan <15803057044@163.com>
Date:   Tue Dec 5 06:36:11 2023 +0000

    add index file

commit af940776447e6529e259077cb3009b334a59191b
Author: Administrator <573496833@qq.com>
Date:   Tue Dec 5 06:32:36 2023 +0000

    Initial commit
#查看组件运行状态
root@gitlab:~# gitlab-ctl status
run: alertmanager: (pid 13329) 4458s; run: log: (pid 13074) 4504s
run: gitaly: (pid 13292) 4461s; run: log: (pid 12586) 4677s
run: gitlab-exporter: (pid 13304) 4460s; run: log: (pid 12999) 4522s
run: gitlab-kas: (pid 12760) 4657s; run: log: (pid 12772) 4656s
run: gitlab-workhorse: (pid 13262) 4462s; run: log: (pid 12891) 4541s
run: logrotate: (pid 15746) 1091s; run: log: (pid 12510) 4689s
run: nginx: (pid 13278) 4462s; run: log: (pid 12935) 4535s
run: node-exporter: (pid 13287) 4461s; run: log: (pid 12978) 4528s
run: postgres-exporter: (pid 13339) 4458s; run: log: (pid 13090) 4499s
run: postgresql: (pid 12629) 4668s; run: log: (pid 12640) 4666s
run: prometheus: (pid 13314) 4460s; run: log: (pid 13046) 4510s
run: puma: (pid 12823) 4556s; run: log: (pid 12835) 4553s
run: redis: (pid 12537) 4685s; run: log: (pid 12546) 4684s
run: redis-exporter: (pid 13306) 4460s; run: log: (pid 13023) 4517s
run: sidekiq: (pid 12840) 4550s; run: log: (pid 12855) 4547s

#查看某个组件日志
gitlab-ctl tail nginx

#停止gitlab
gitlab-ctl stop
 #启动gitlab

gitlab-ctl start

 #重启gitla
gitlab-ctl restar

#重启/关闭/开启某个组件
gitlab-ctl restar/start/stop nginx

#数据备份恢复等数据操作
gitlab-rake
gitlab基于token实现代码clone
现在gitlab,不支持账号密码clone了;要使用token了
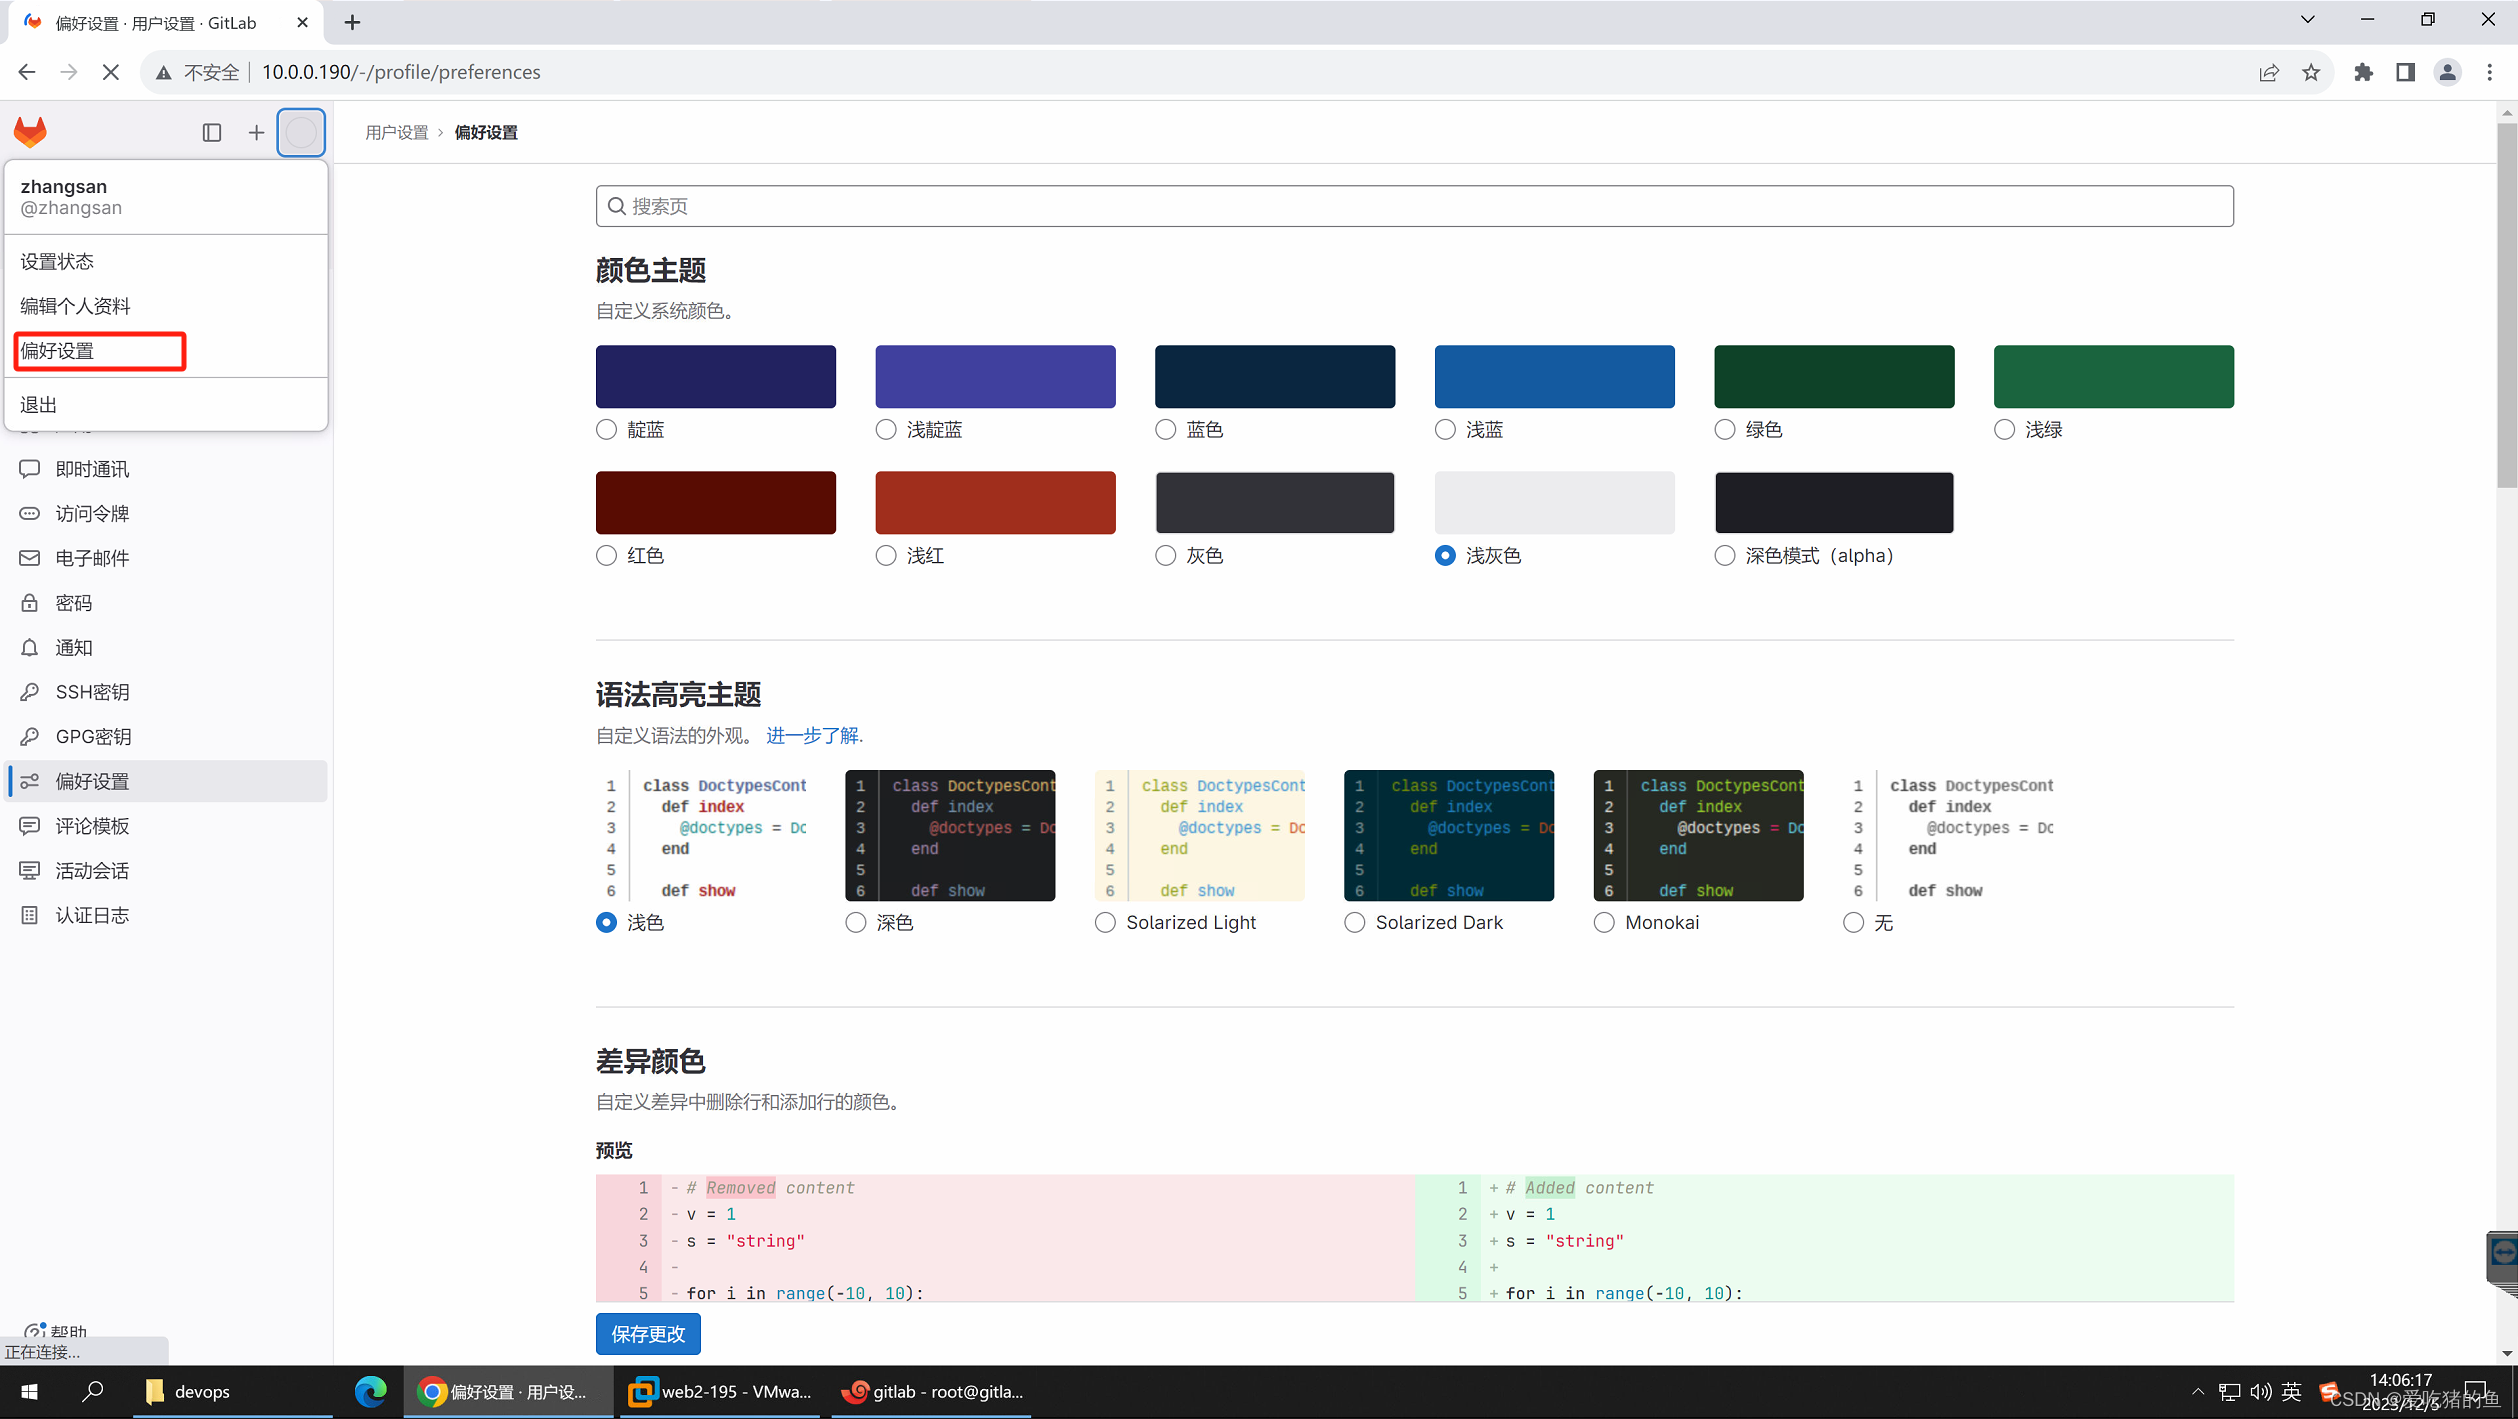
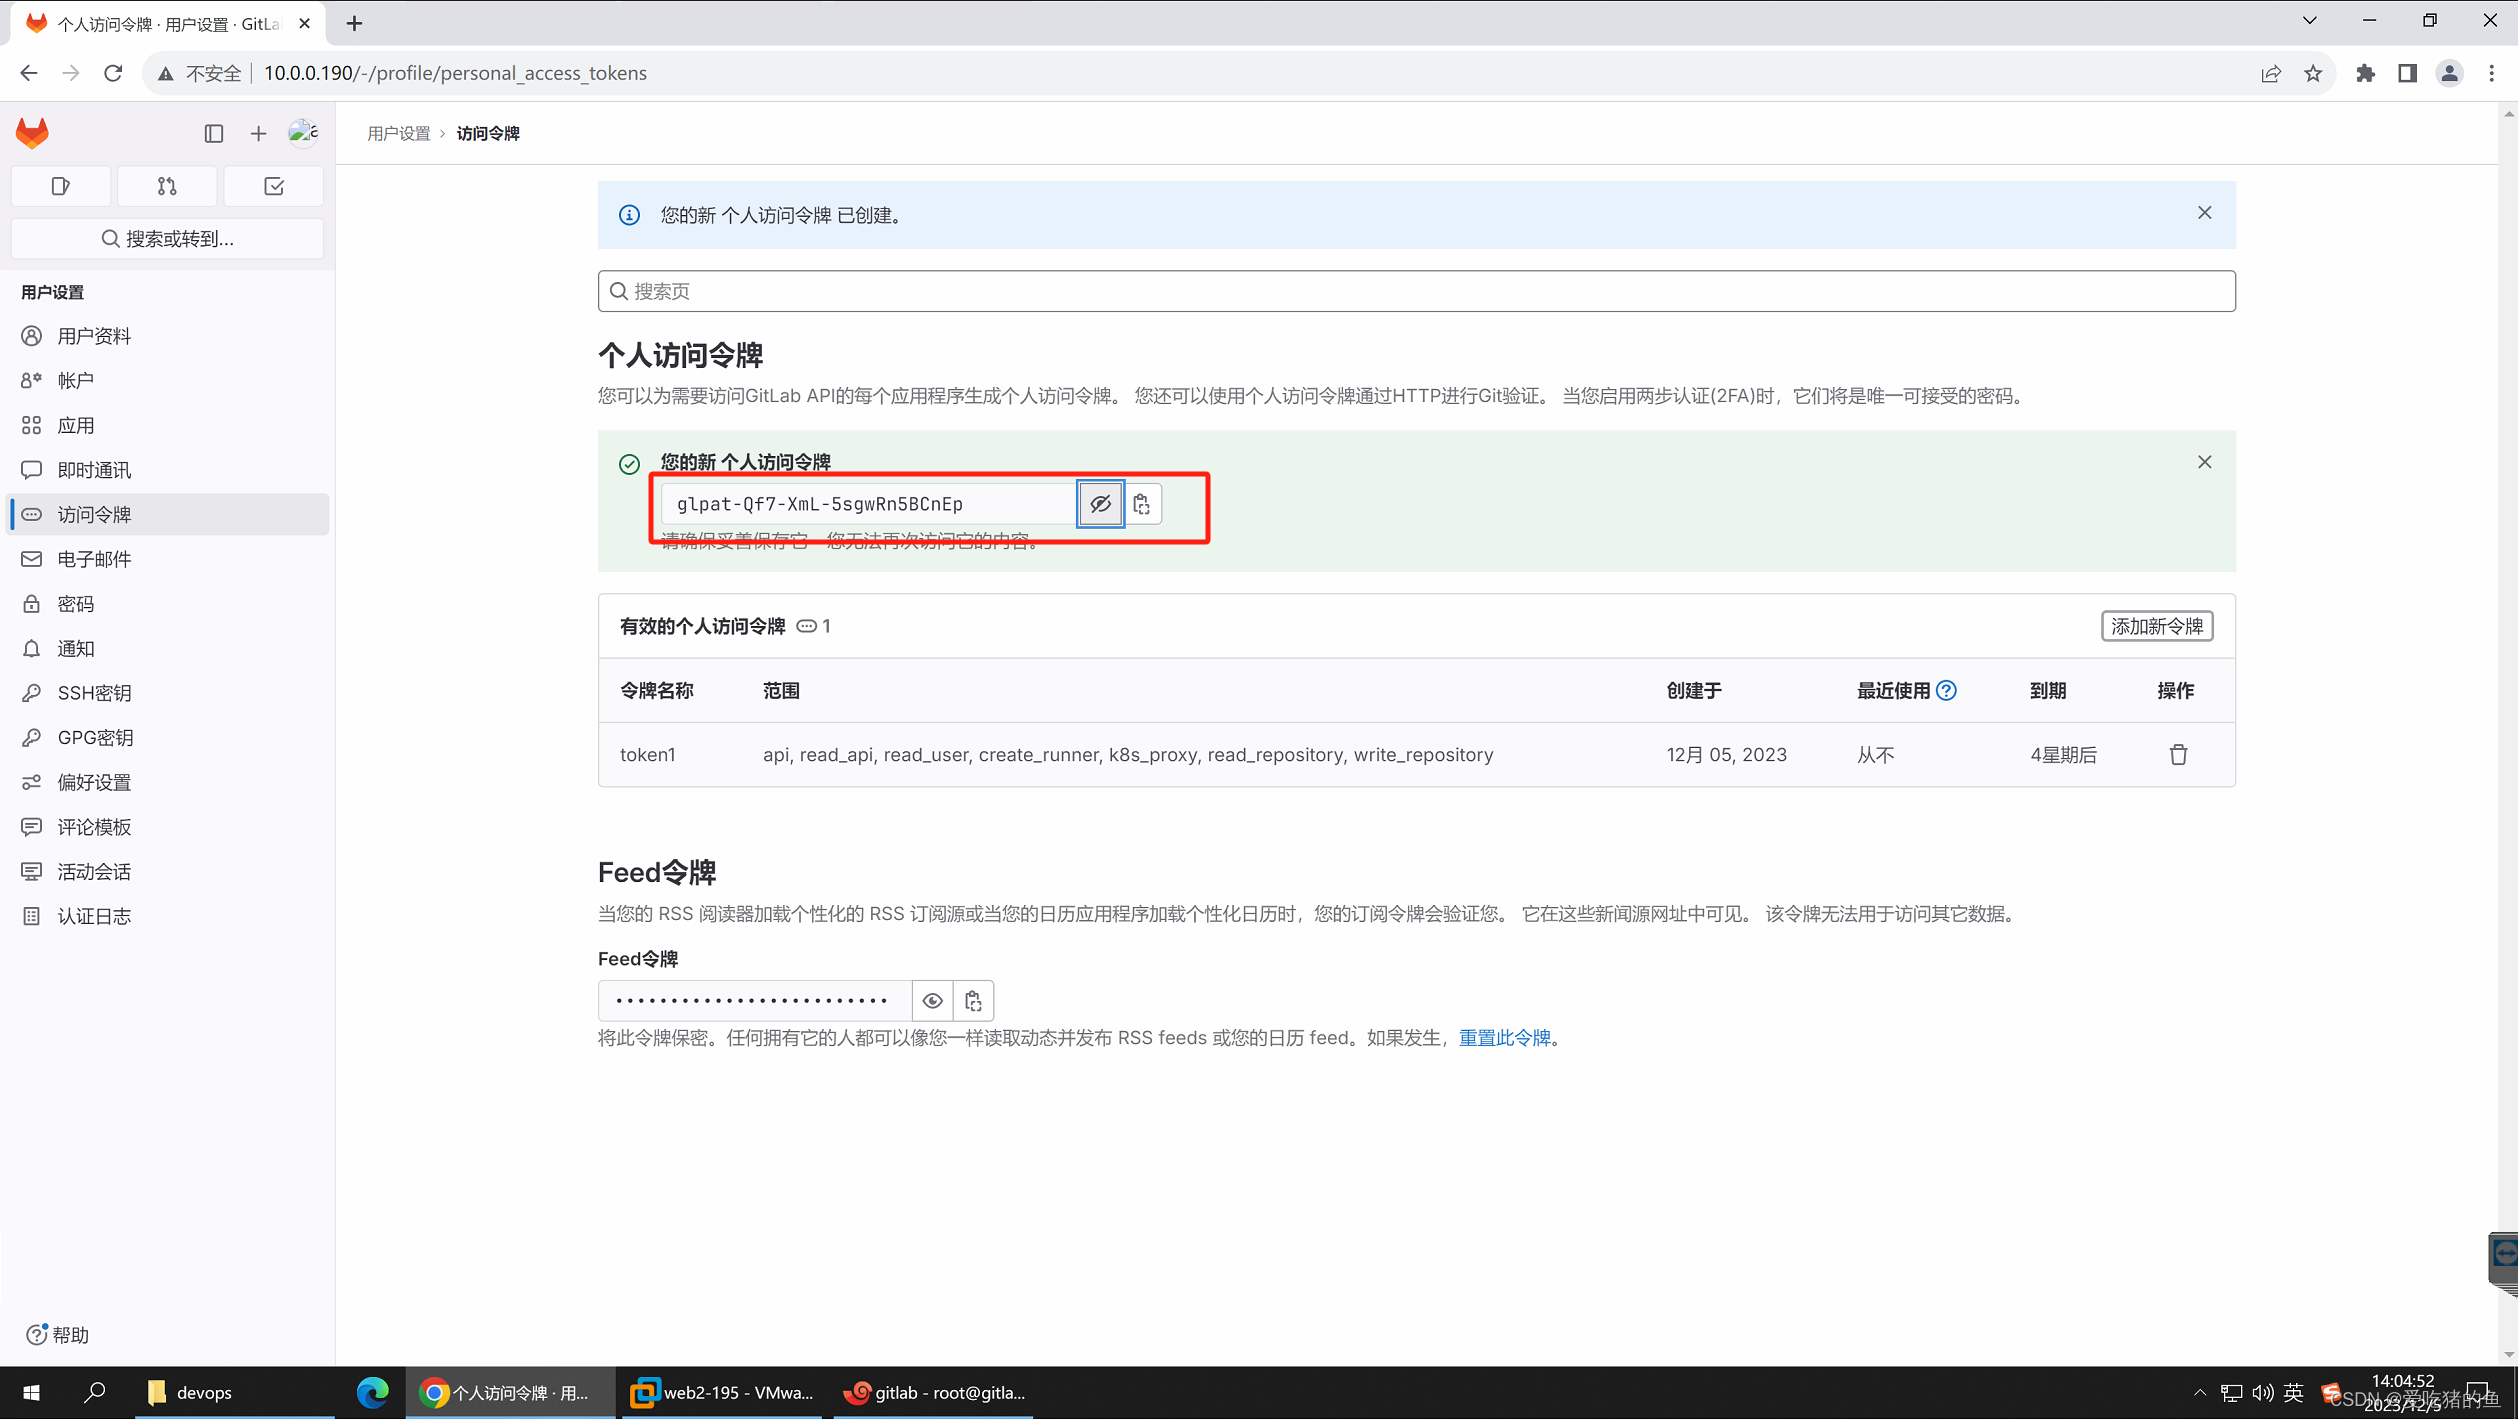
获取账号token
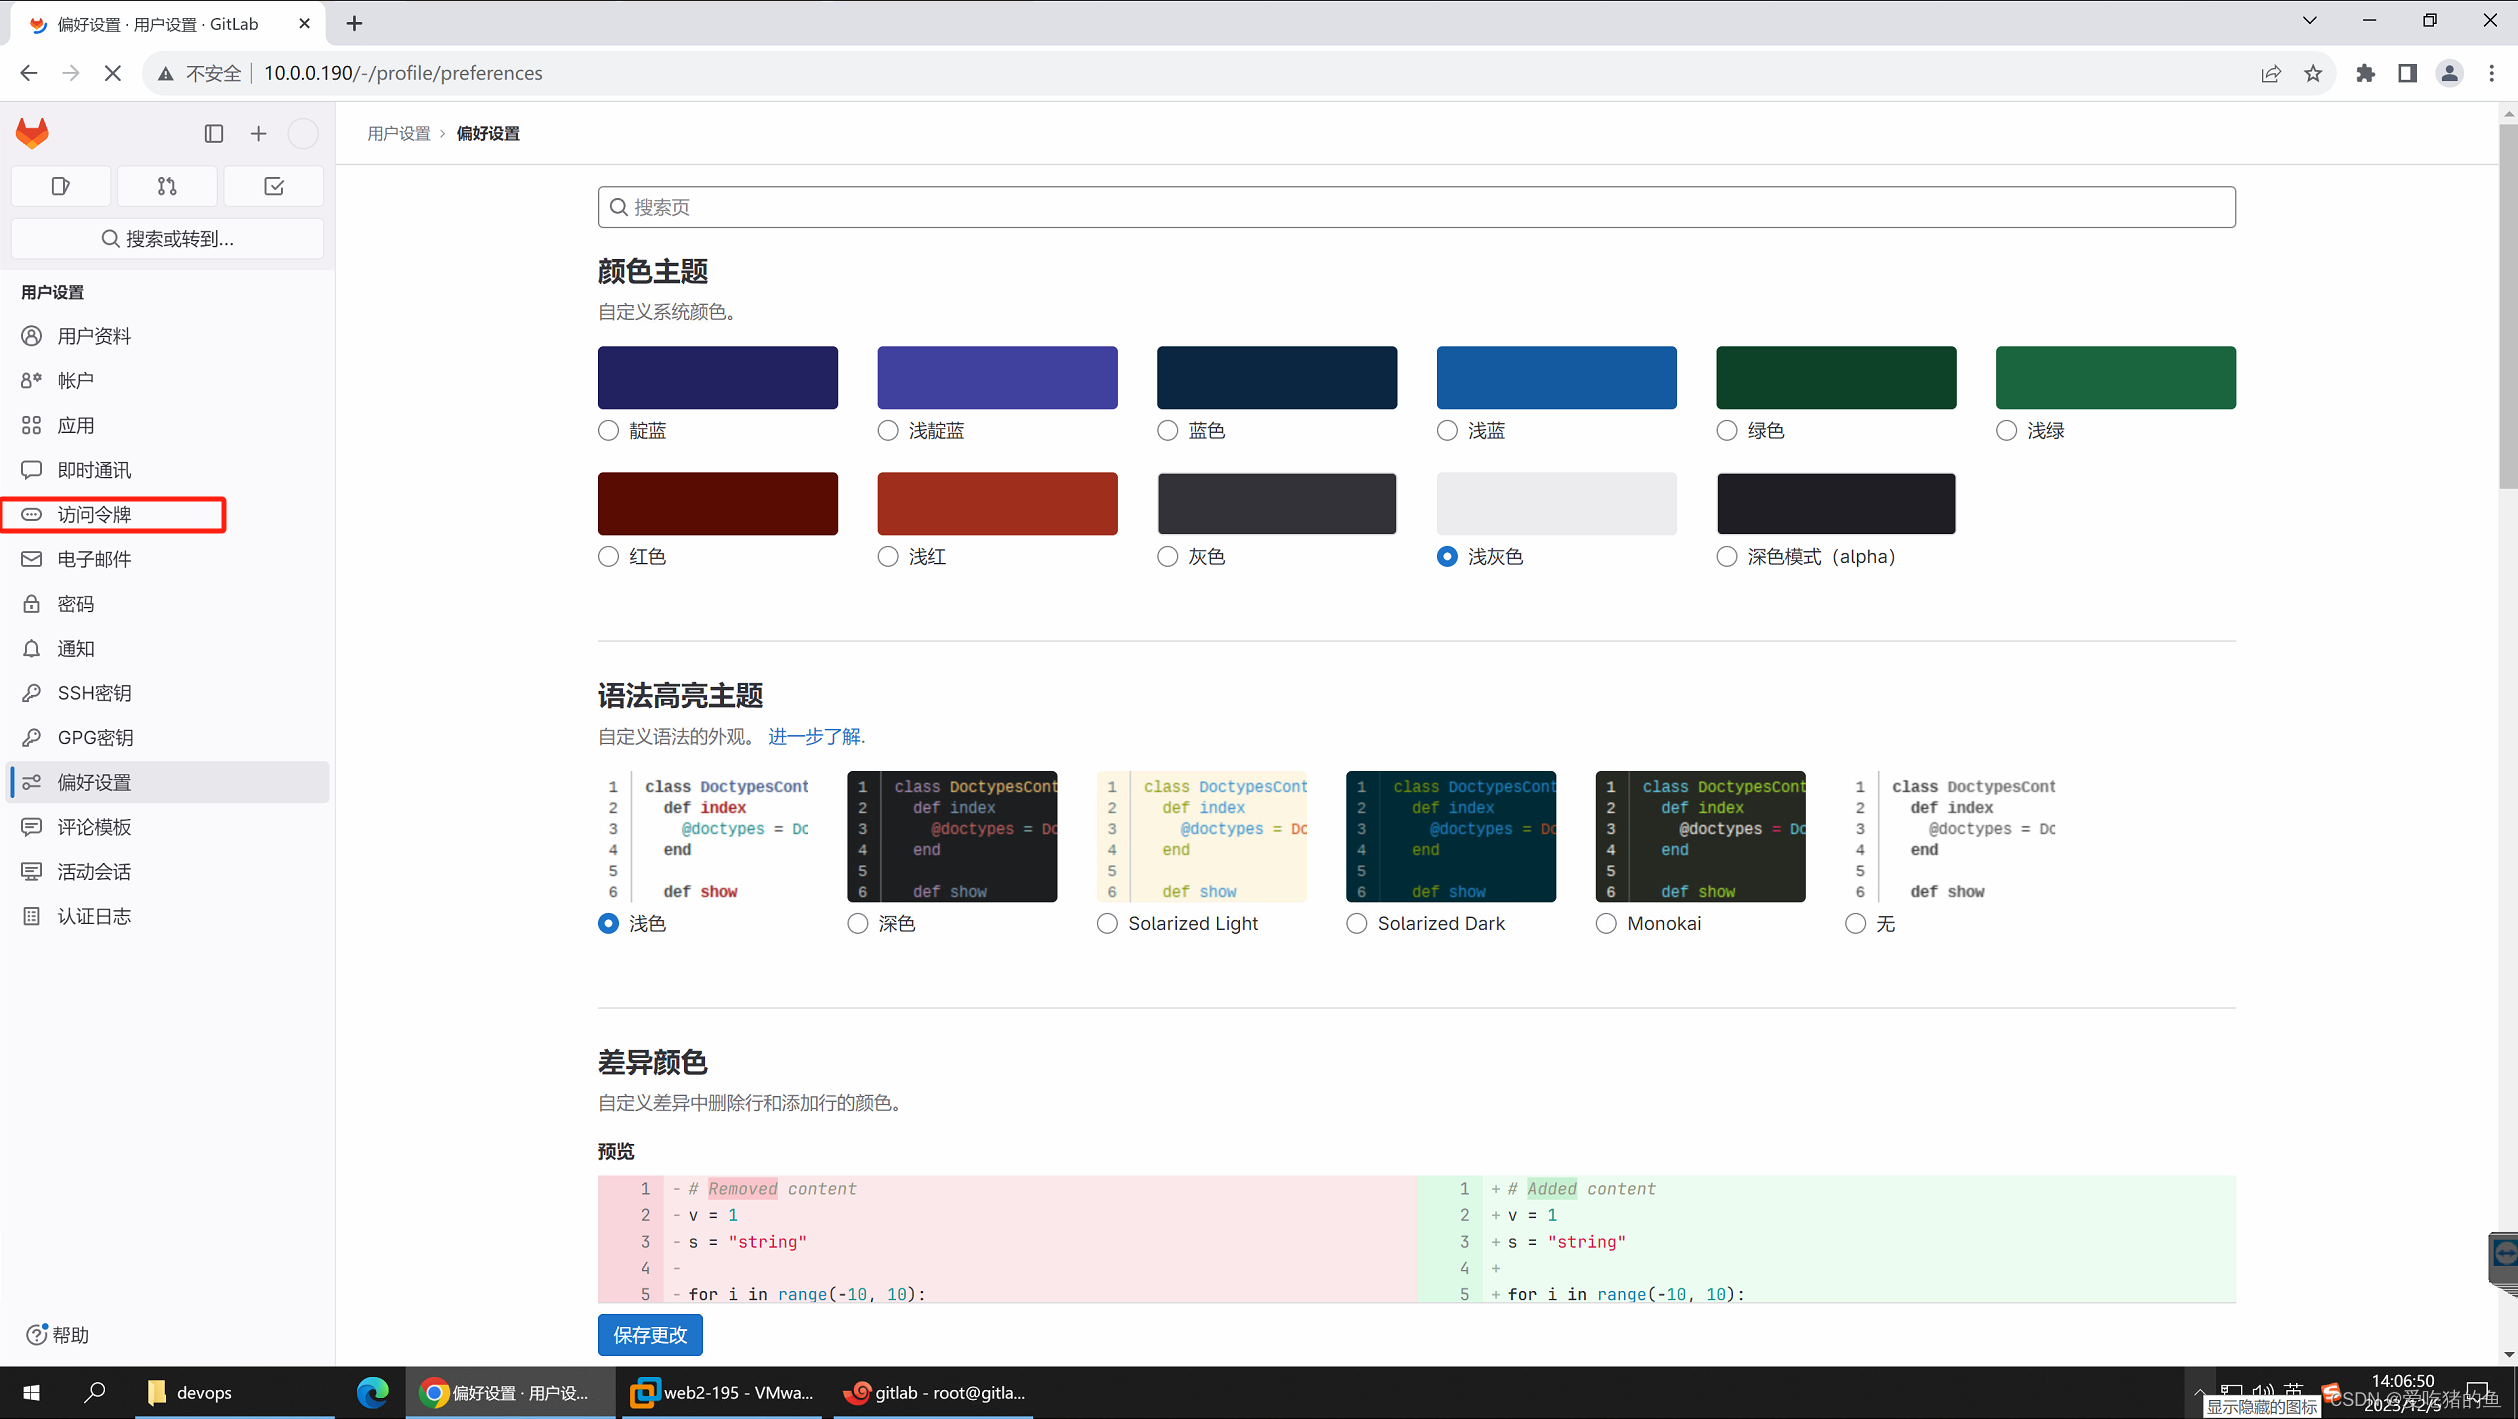
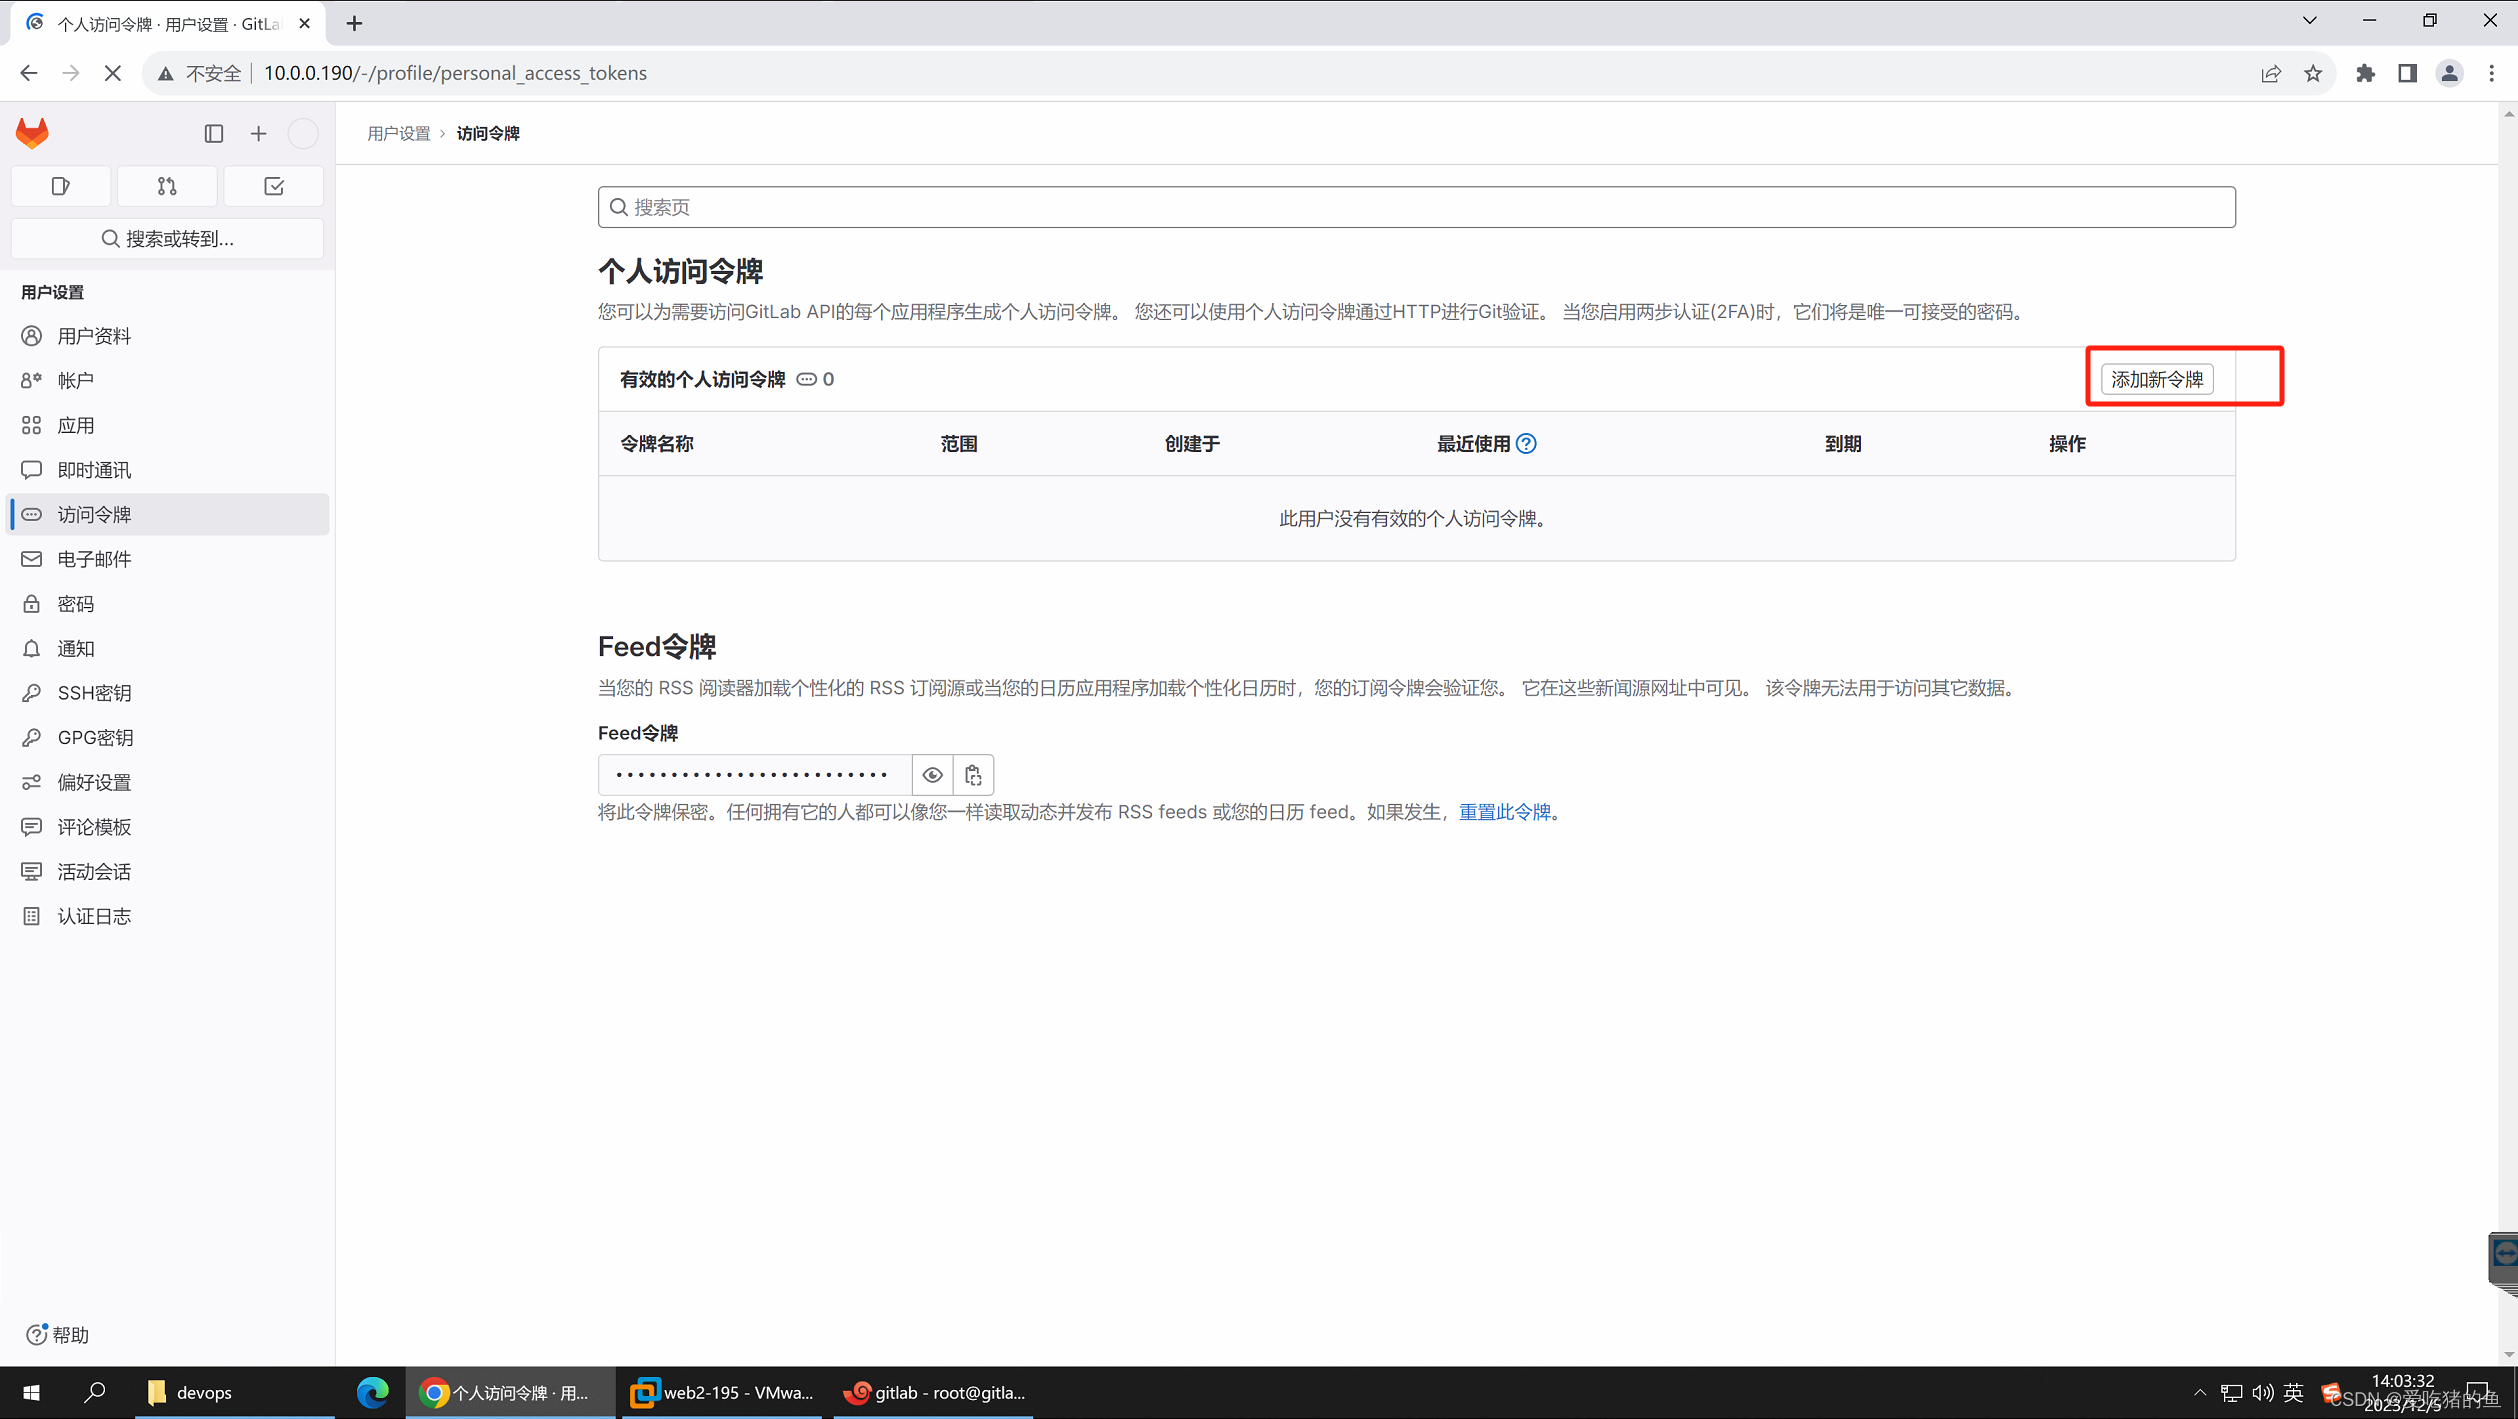

复制token并记录;glpat-Qf7-XmL-5sgwRn5BCnEp
使用token clone项目到本地
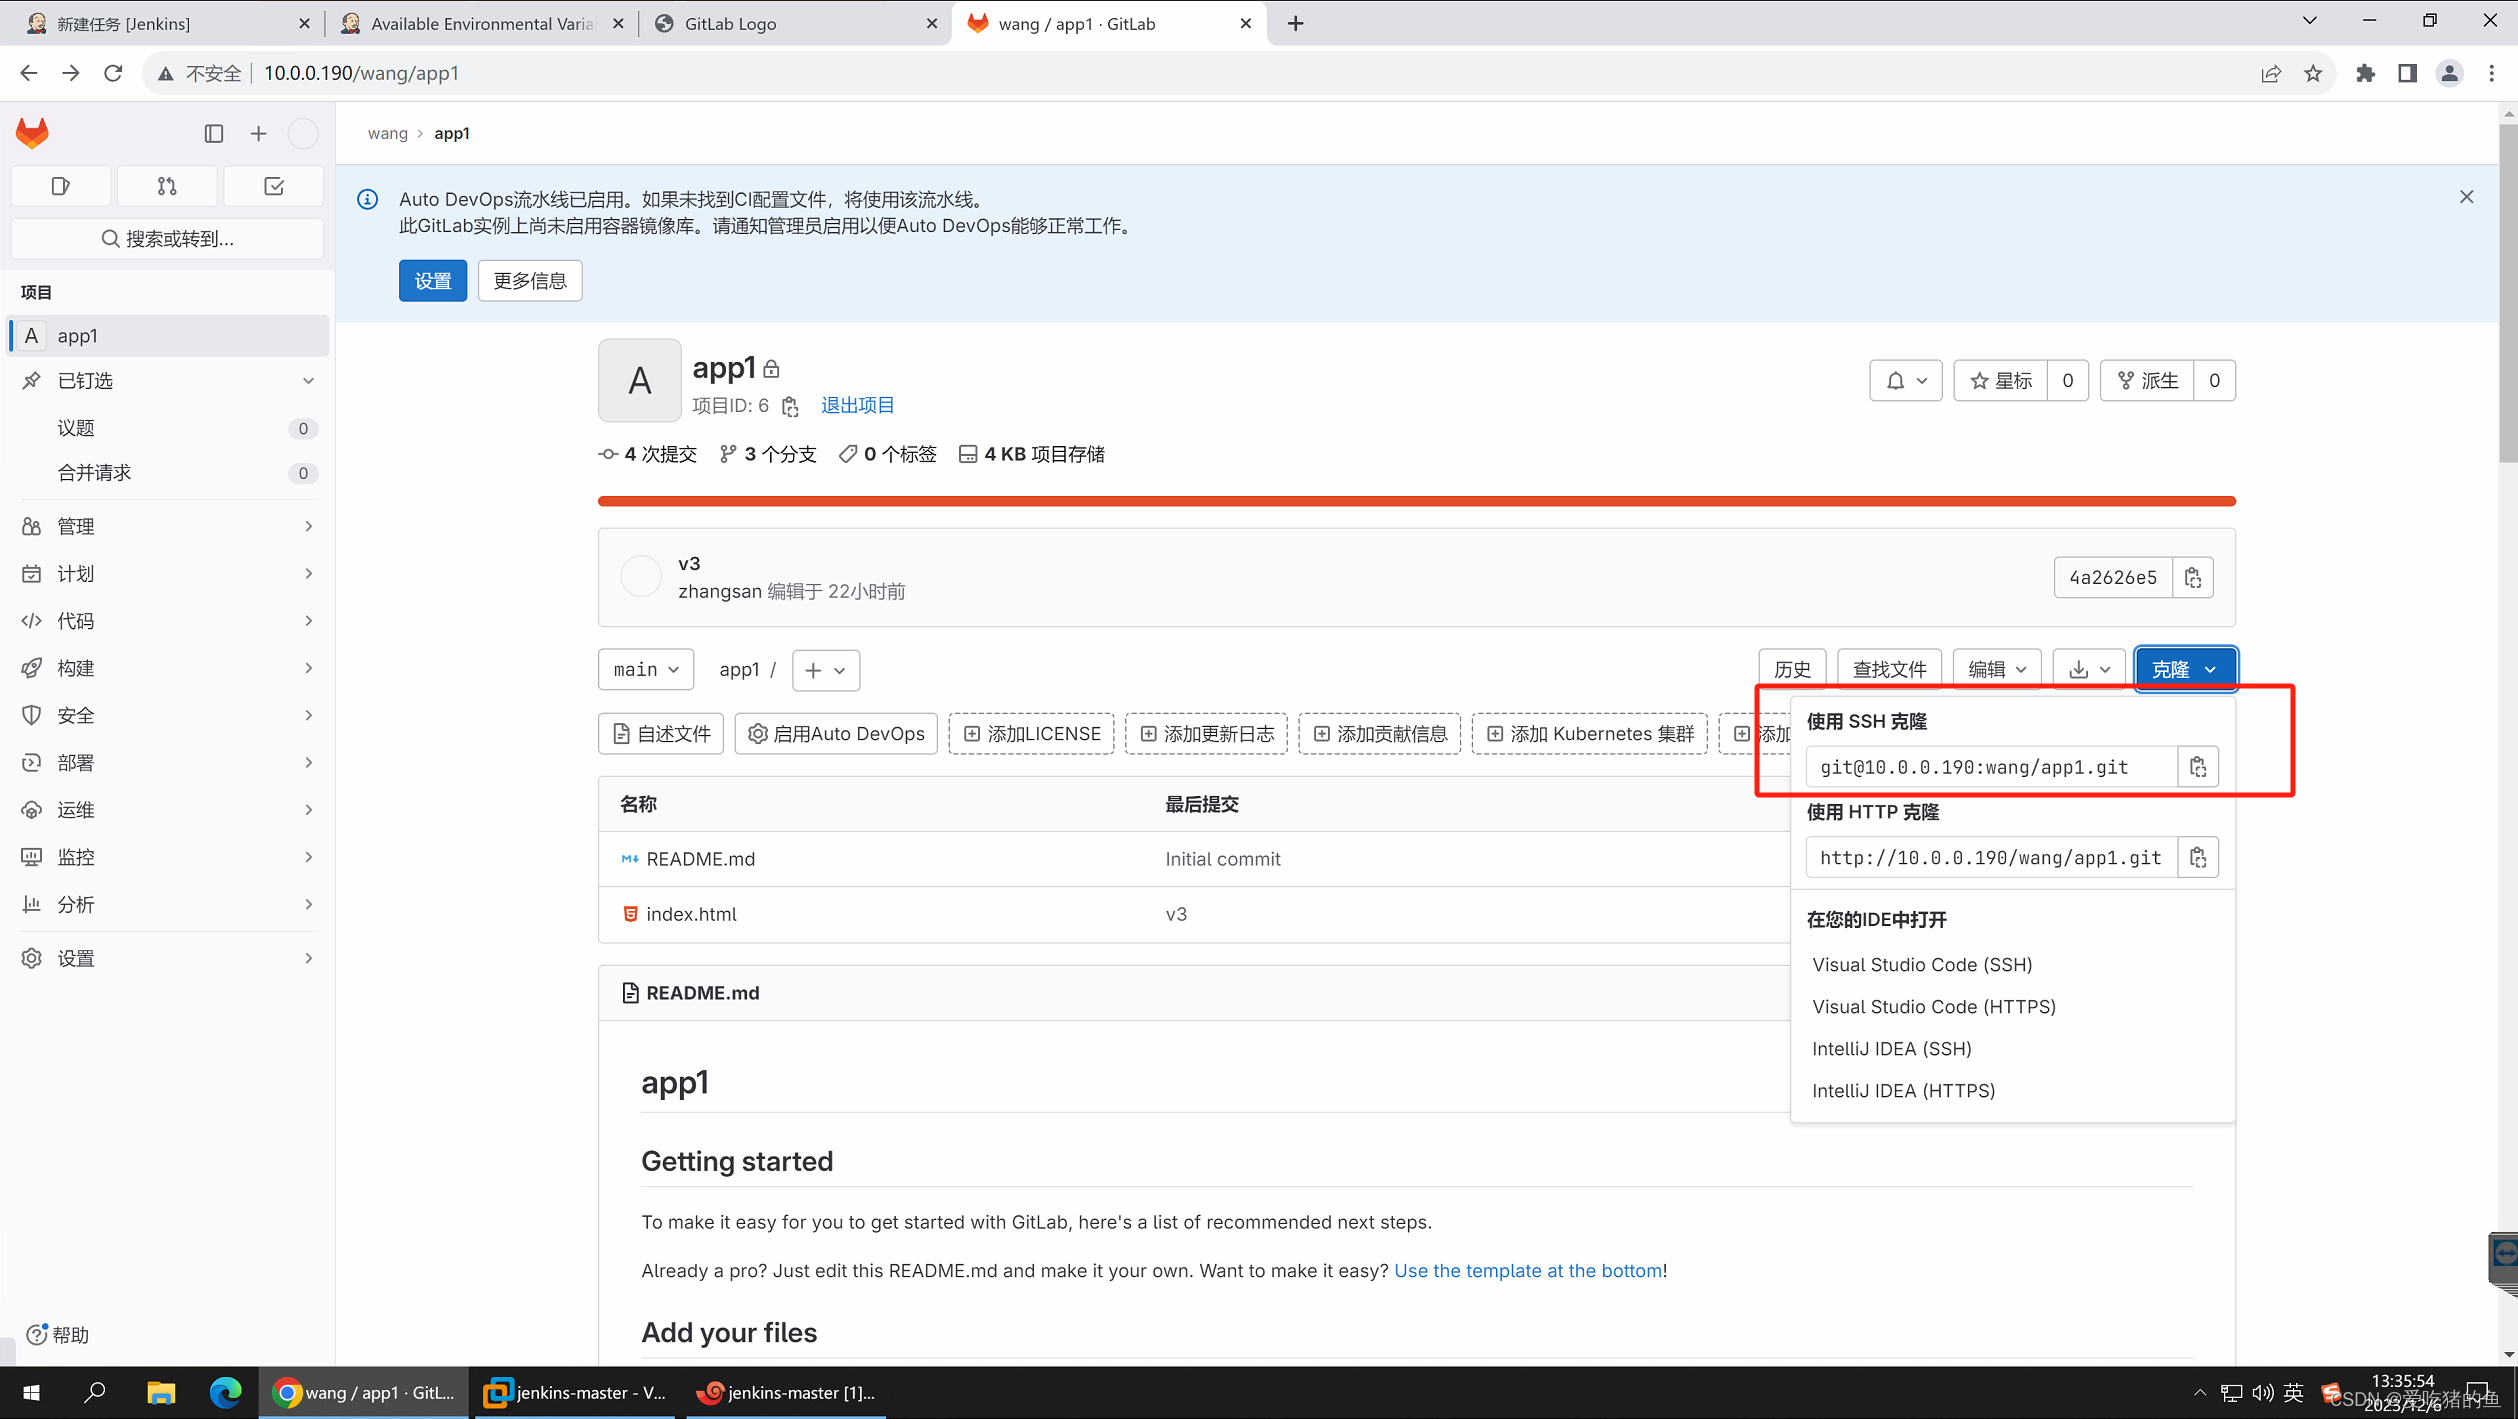
查看项目的clone地址

这里选择http克隆
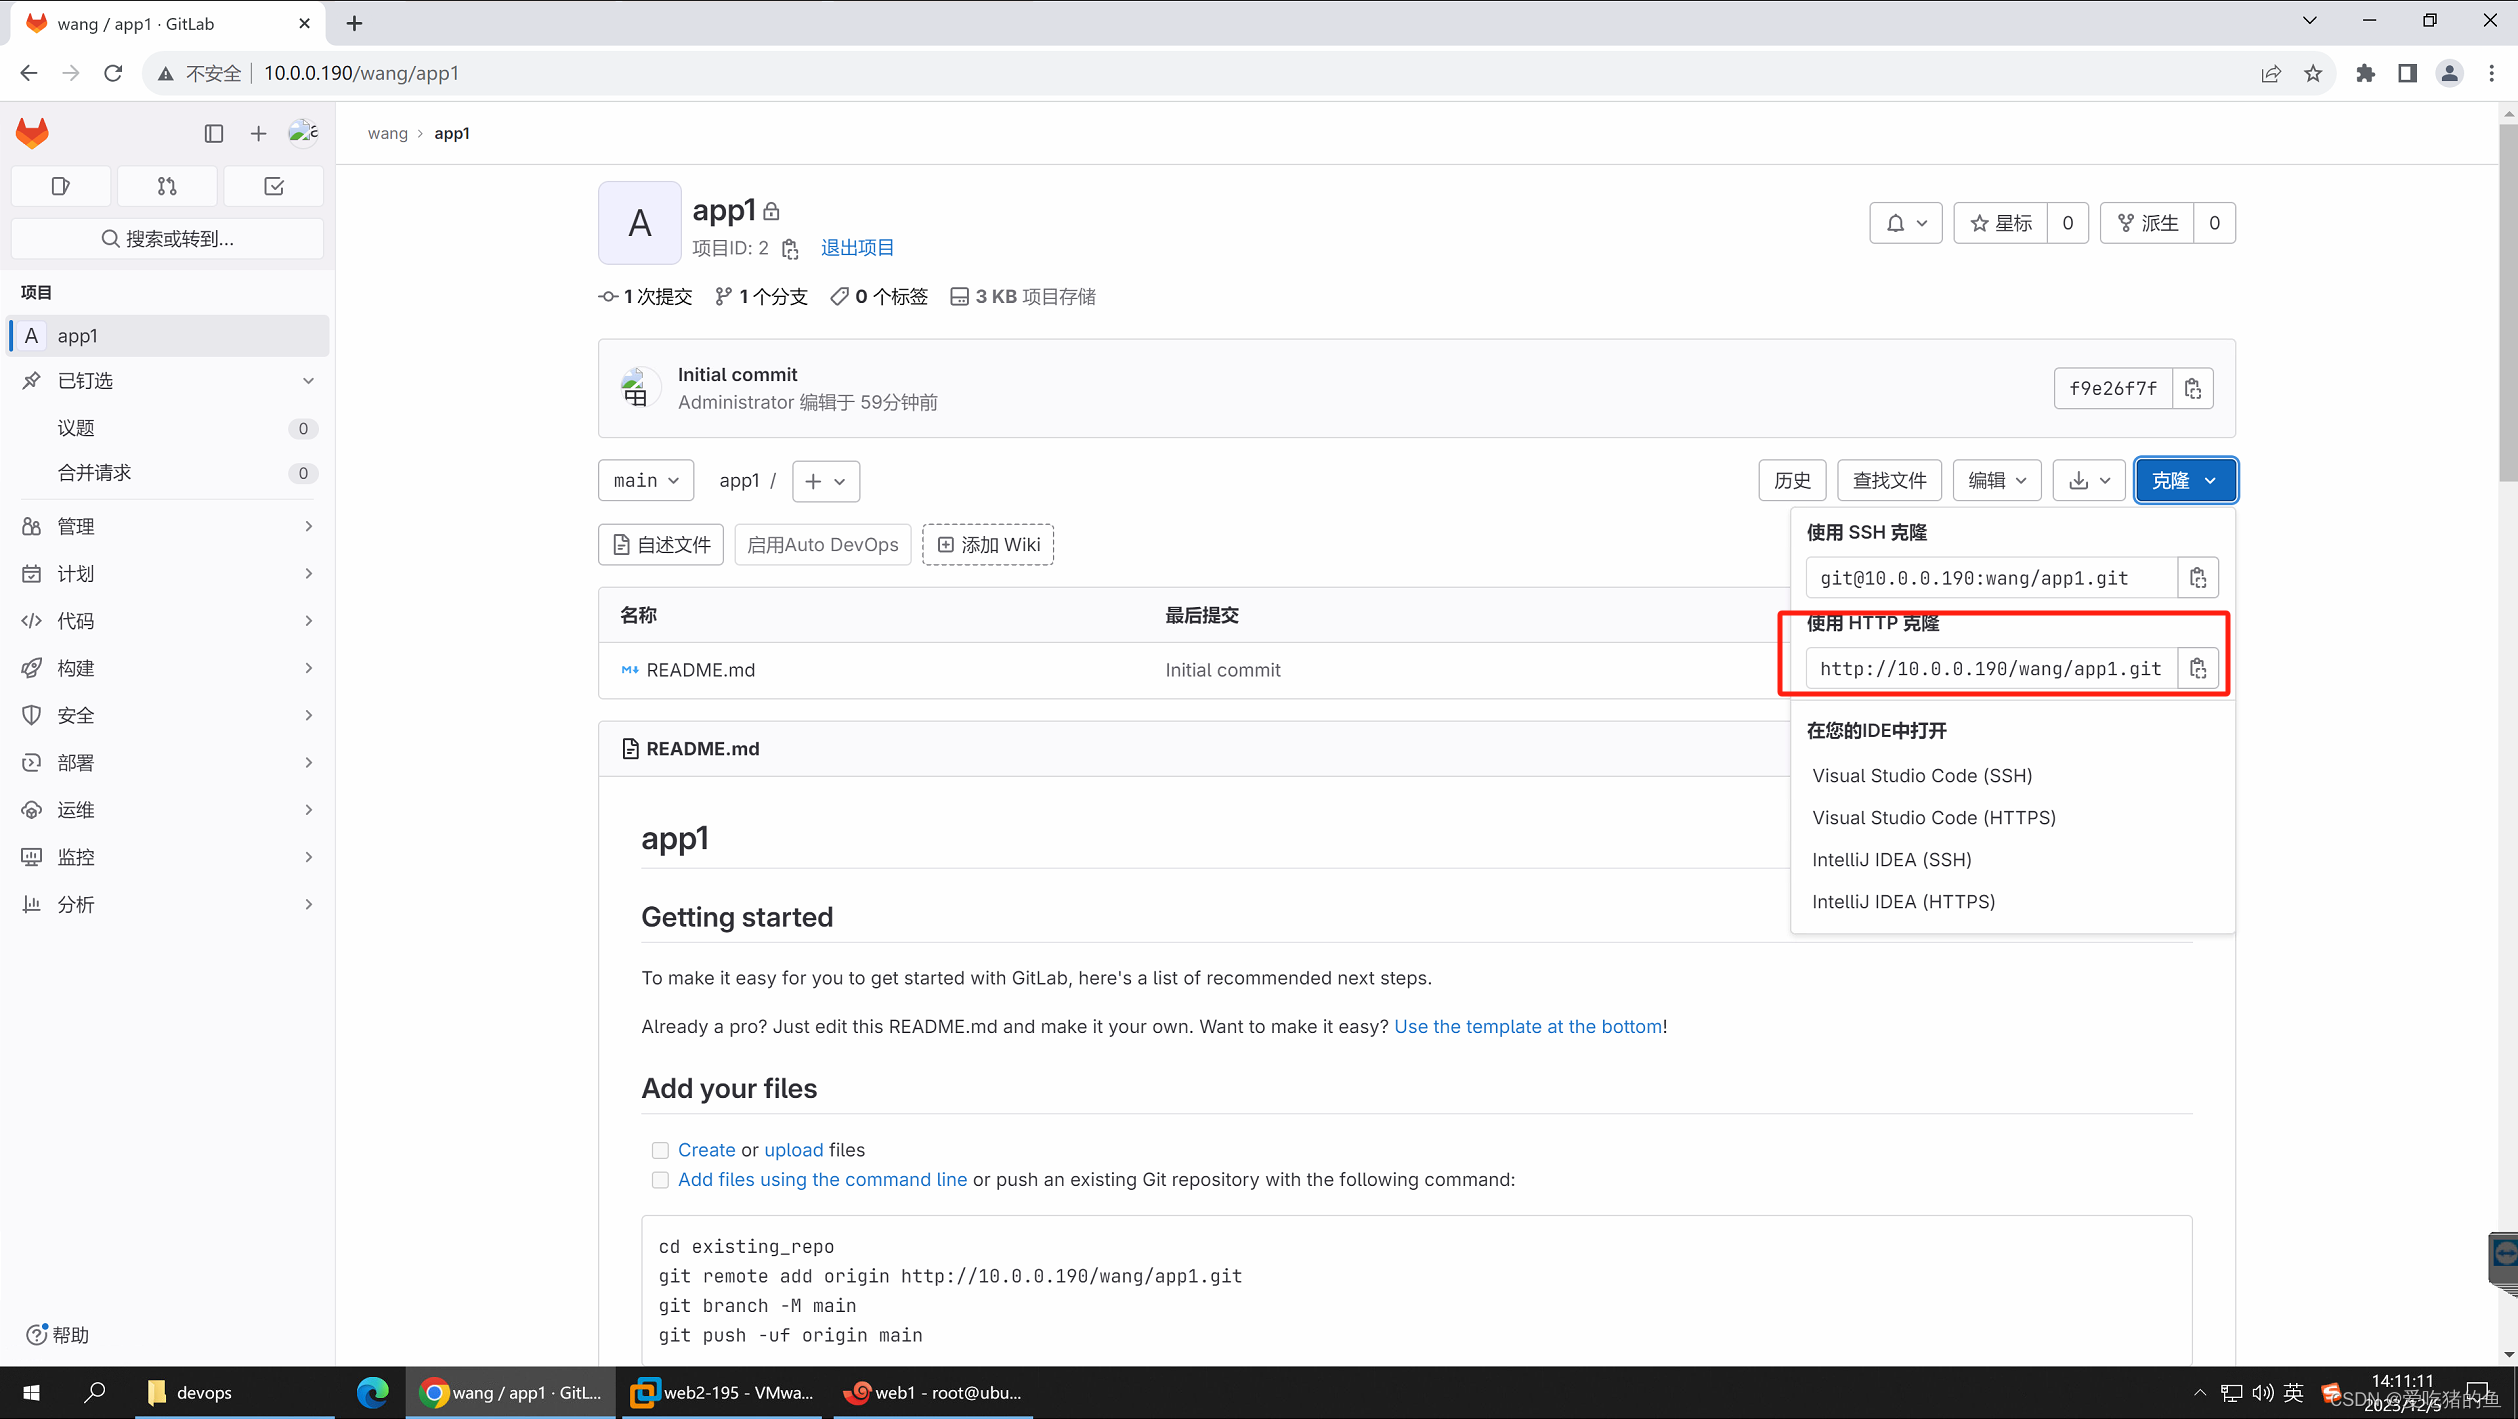
#克隆项目到web1服务器
root@ubuntu:/opt# git clone http://10.0.0.190/wang/app1.git
Cloning into 'app1'...
Username for 'http://10.0.0.190': zhangsan #账号名
Password for 'http://zhangsan@10.0.0.190':   #token令牌
remote: Enumerating objects: 3, done.
remote: Counting objects: 100% (3/3), done.
remote: Compressing objects: 100% (2/2), done.
remote: Total 3 (delta 0), reused 0 (delta 0), pack-reused 0
Receiving objects: 100% (3/3), done.

#查看项目
root@ubuntu:/opt# ll
total 12
drwxr-xr-x  3 root root 4096 Dec  5 06:12 ./
drwxr-xr-x 19 root root 4096 Aug 28 07:52 ../
drwxr-xr-x  3 root root 4096 Dec  5 06:12 app1/
root@ubuntu:/opt# cd app1/
root@ubuntu:/opt/app1# ll
total 20
drwxr-xr-x 3 root root 4096 Dec  5 06:12 ./
drwxr-xr-x 3 root root 4096 Dec  5 06:12 ../
drwxr-xr-x 8 root root 4096 Dec  5 06:12 .git/
-rw-r--r-- 1 root root 6144 Dec  5 06:12 README.md
向gitlab仓库提交代码
root@ubuntu:/opt/app1# pwd
/opt/app1
root@ubuntu:/opt/app1# ll
total 20
drwxr-xr-x 3 root root 4096 Dec  5 06:12 ./
drwxr-xr-x 3 root root 4096 Dec  5 06:12 ../
drwxr-xr-x 8 root root 4096 Dec  5 06:12 .git/
-rw-r--r-- 1 root root 6144 Dec  5 06:12 README.md
#编辑文件
root@ubuntu:/opt/app1# vim index.html
<h1>v111111111111</h1>

#提交到暂缓区
root@ubuntu:/opt/app1# git add .

#提交到本地仓库;第一次提交会让你写作者信息后才能提交
root@ubuntu:/opt/app1# git commit -m "add index file"
Author identity unknown

*** Please tell me who you are.

Run

  git config --global user.email "you@example.com"
  git config --global user.name "Your Name"

to set your account's default identity.
Omit --global to set the identity only in this repository.

fatal: unable to auto-detect email address (got 'root@ubuntu.(none)')
root@ubuntu:/opt/app1# git config --global user.email "15803057044@163.com"
root@ubuntu:/opt/app1# git config --global user.name "zhangsan"
root@ubuntu:/opt/app1# git commit -m "add index file"
[main 8b4e7de] add index file
 1 file changed, 1 insertion(+)
 create mode 100644 index.html

#提交到gitlab远程仓库
root@ubuntu:/opt/app1# git push
Username for 'http://10.0.0.190': zhangsan #账号名
Password for 'http://zhangsan@10.0.0.190': #token令牌
Enumerating objects: 4, done.
Counting objects: 100% (4/4), done.
Delta compression using up to 2 threads
Compressing objects: 100% (2/2), done.
Writing objects: 100% (3/3), 289 bytes | 144.00 KiB/s, done.
Total 3 (delta 0), reused 0 (delta 0), pack-reused 0
remote: GitLab: You are not allowed to push code to protected branches on this project.
To http://10.0.0.190/wang/app1.git
 ! [remote rejected] main -> main (pre-receive hook declined)
error: failed to push some refs to 'http://10.0.0.190/wang/app1.git'
#这个错误是因为,zhangsan这个账号是赋予developer的权限;而main分支developer权限是不能提交的。

#修改zhangsan权限为maintainer或者owner后再次提交
root@ubuntu:/opt/app1# git push
Username for 'http://10.0.0.190': zhangsan
Password for 'http://zhangsan@10.0.0.190':
Enumerating objects: 4, done.
Counting objects: 100% (4/4), done.
Delta compression using up to 2 threads
Compressing objects: 100% (2/2), done.
Writing objects: 100% (3/3), 289 bytes | 289.00 KiB/s, done.
Total 3 (delta 0), reused 0 (delta 0), pack-reused 0
To http://10.0.0.190/wang/app1.git
   af94077..397cc27  main -> main
熟练掌握对gitlab服务的数据备份与恢复
备份
#停止unicorn和sidekiq服务;在备份期间不允许写入
gitlab-ctl stop unicorn sidekiq

#执行备份
gitlab-rake gitlab:backup:create #备份的是上传的代码数据

#如下文件需要单独备份
/var/opt/gitlab/nginx/conf #nginx配置文件
/etc/gitlab/gitlab.rb #gitlab配置文件
/etc/gitlab/gitlab-secrets.json #key文件

#查看备份目录
root@gitlab:/opt/backup# ll /var/opt/gitlab/backups/
total 608
drwx------  2 git  root   4096 Dec  5 07:53 ./
drwxr-xr-x 21 root root   4096 Dec  5 04:39 ../
-rw-------  1 git  git  614400 Dec  5 07:53 1701762816_2023_12_05_16.6.1_gitlab_backup.tar

#启动unicorn和sidekiq服务
gitlab-ctl start unicorn sidekiq
恢复
#停止服务
gitlab-ctl stop unicorn sidekiq

#查看备份目录
root@gitlab:/opt/backup# ll /var/opt/gitlab/backups/
total 1208
drwx------  2 git  root   4096 Dec  5 07:57 ./
drwxr-xr-x 21 root root   4096 Dec  5 04:39 ../
-rw-------  1 git  git  614400 Dec  5 07:53 1701762816_2023_12_05_16.6.1_gitlab_backup.tar
-rw-------  1 git  git  614400 Dec  5 07:57 1701763019_2023_12_05_16.6.1_gitlab_backup.tar

#恢复备份;#unix时间戳、备份年月日、版本号
gitlab-rake gitlab:backup:restore BACKUP=1701763019_2023_12_05_16.6.1

#开启服务
gitlab-ctl start unicorn sidekiq
部署jenkins服务器
下载地址
https://mirrors.jenkins.io/
https://mirrors.jenkins.io/debian-stable/ #ubuntu下载地址
下载要下载长期支持版(LTS)的版本
安装
#下载Jenkins
wget https://mirrors.jenkins.io/debian-stable/jenkins_2.414.3_all.deb
#安装jdk和依赖包
apt install fontconfig net-tools openjdk-11-jdk -y

#安装Jenkins;安装的同时关闭它,因为ubuntu系统安装了就会启动,我们下面需要修改配置,所以要关闭。
dpkg -i jenkins_2.414.3_all.deb && systemctl stop jenkins

#编辑Jenkins的默认配置;让他使用root账号启动,也可以不修改,但是后期scp什么的会涉及权限问题,就很麻烦
vim /etc/default/jenkins
JENKINS_USER=root #修改为root
JENKINS_GROUP=root #修改为root

#编辑service文件
vim /lib/systemd/system/jenkins.service
User=root #修改为root;root账号启动就改
Group=root
 #修改为root;root账号启动就改
#添加这一栏;允许远程触发,要启用webhook,或者基于gitlab的自动化构建,这个需要加上;早期的版本不用加,后期的版本需要加上
JAVA_ARGS="-Djava.awt.headless=true -Dhudson.security.csrf.GlobalCrumbIssuerConfiguration.DISABLE_CSRF_PROTECTION=true"

#启动jenkins
systemctl daemon-reload &&  systemctl start jenkins
web界面访问Jenkins
10.0.0.191:8080
并到服务器上查看密码:df51b26d9da94482bcb9885de43c997f

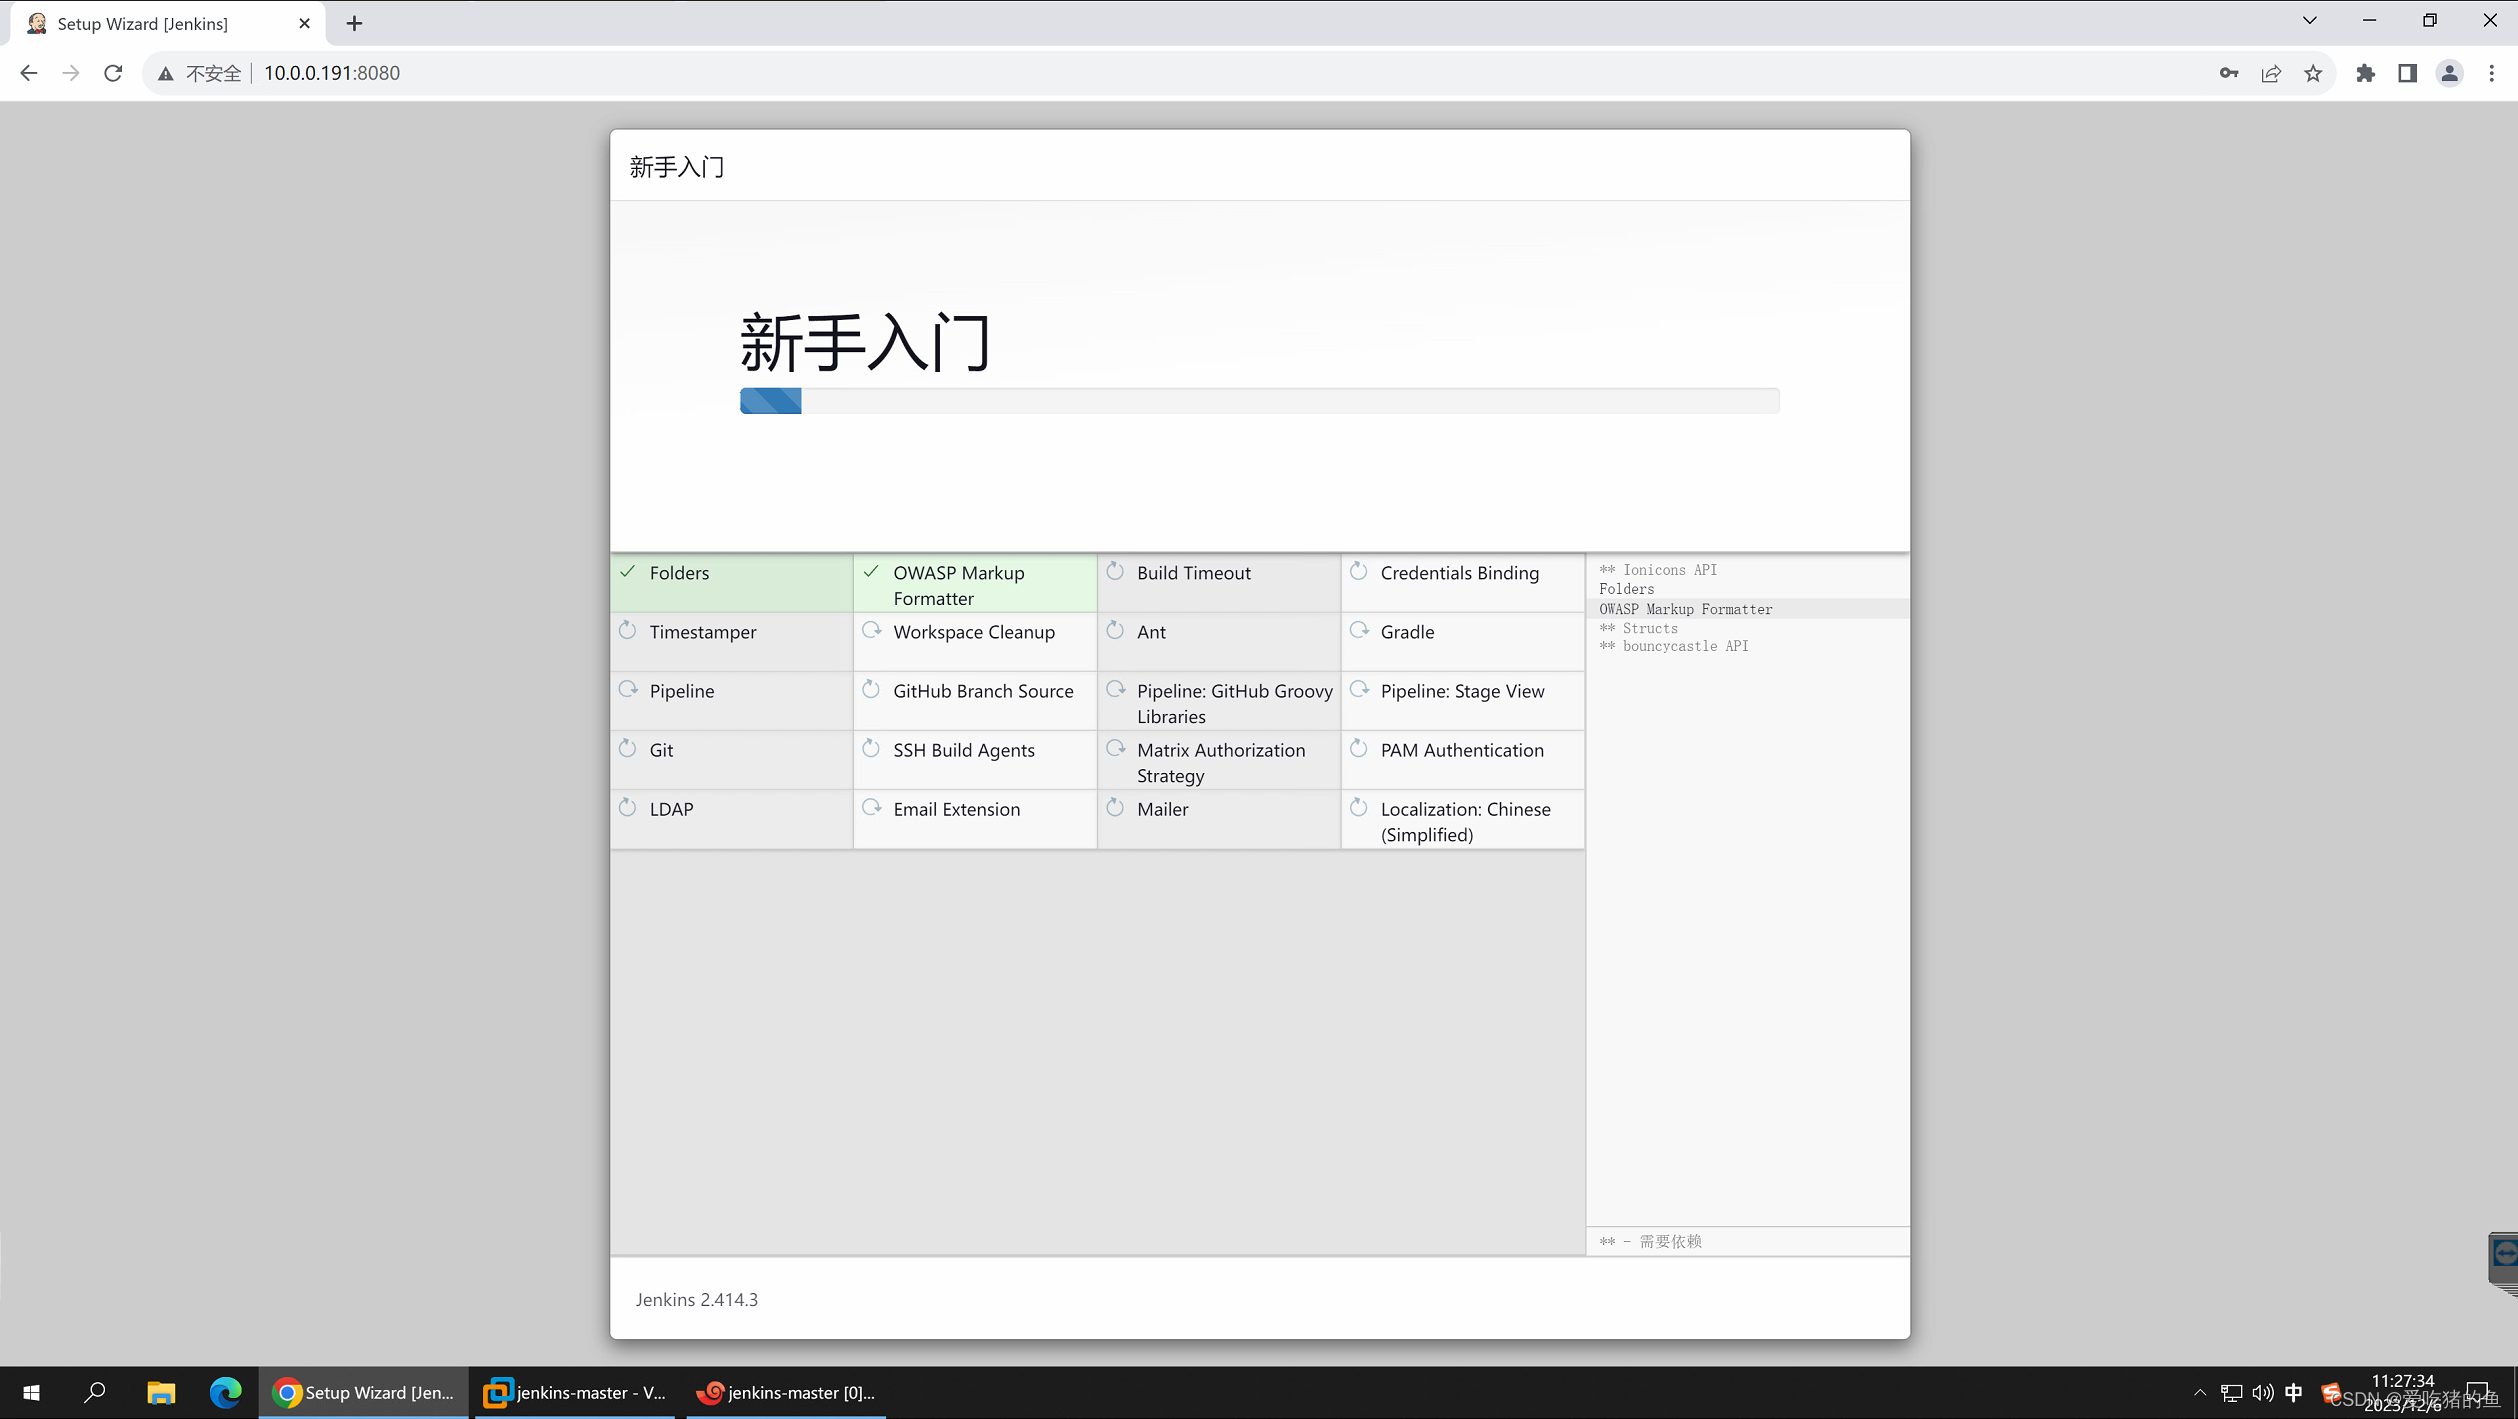
选择安装推荐插件
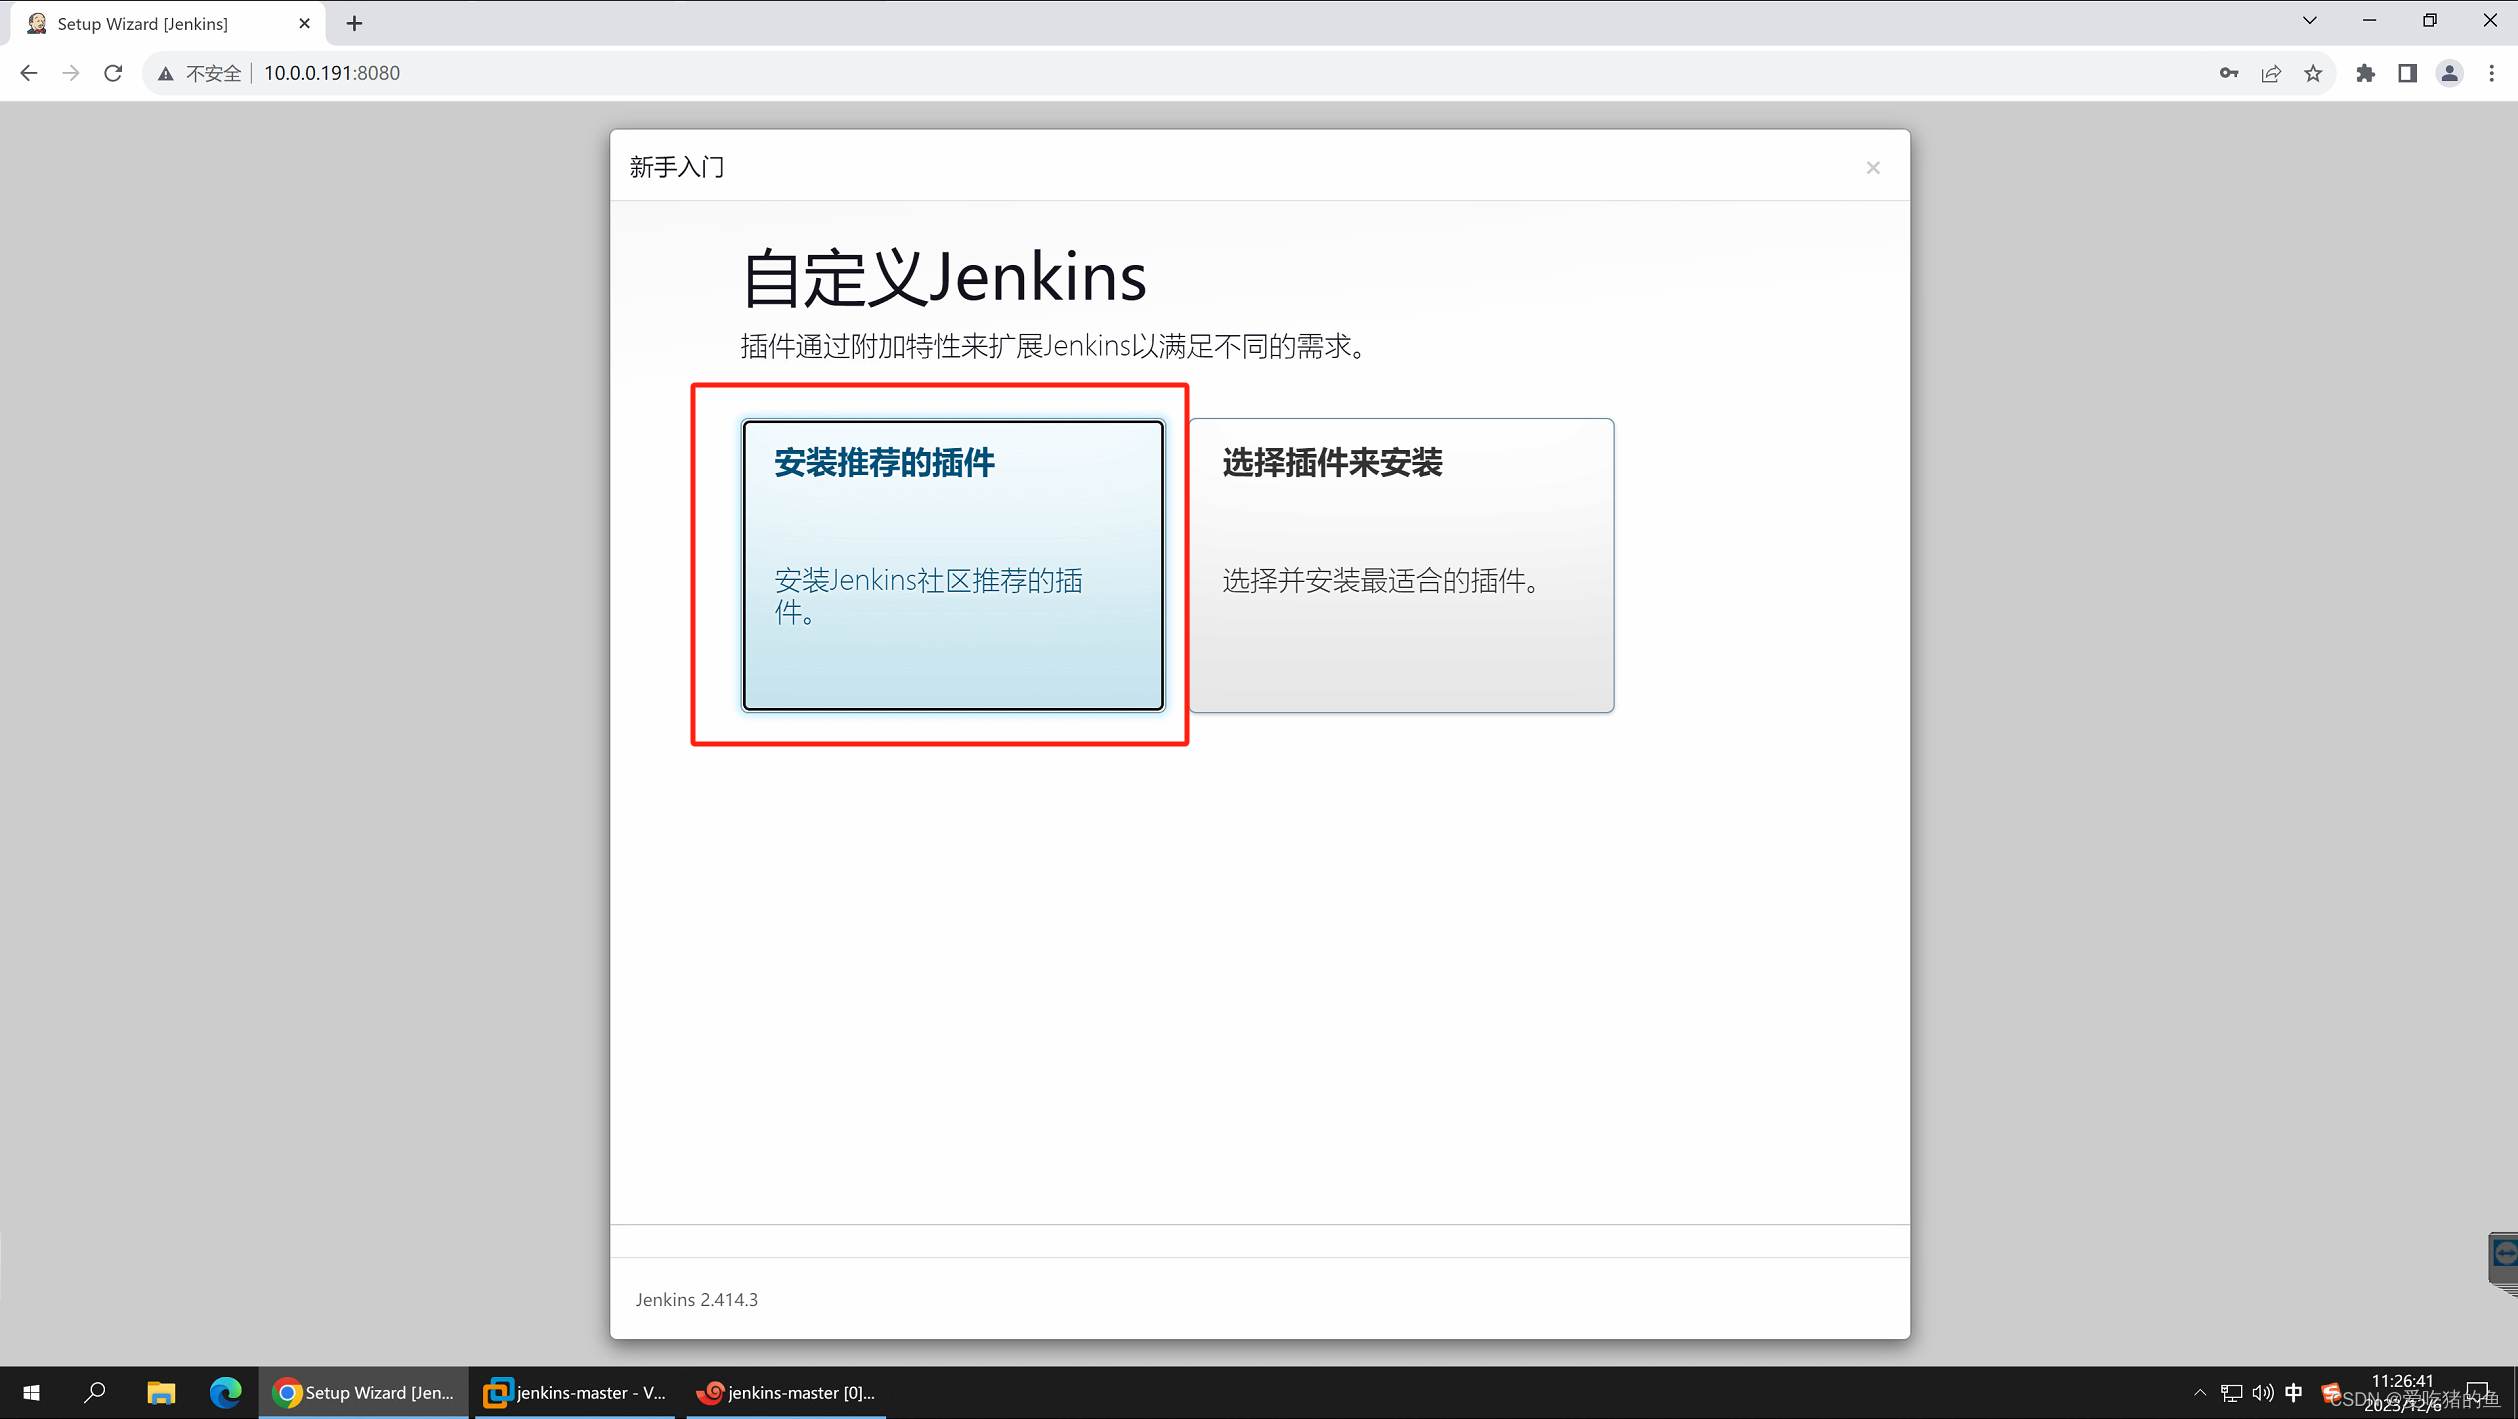
如果卡在这里的话,就是服务器网络有问题
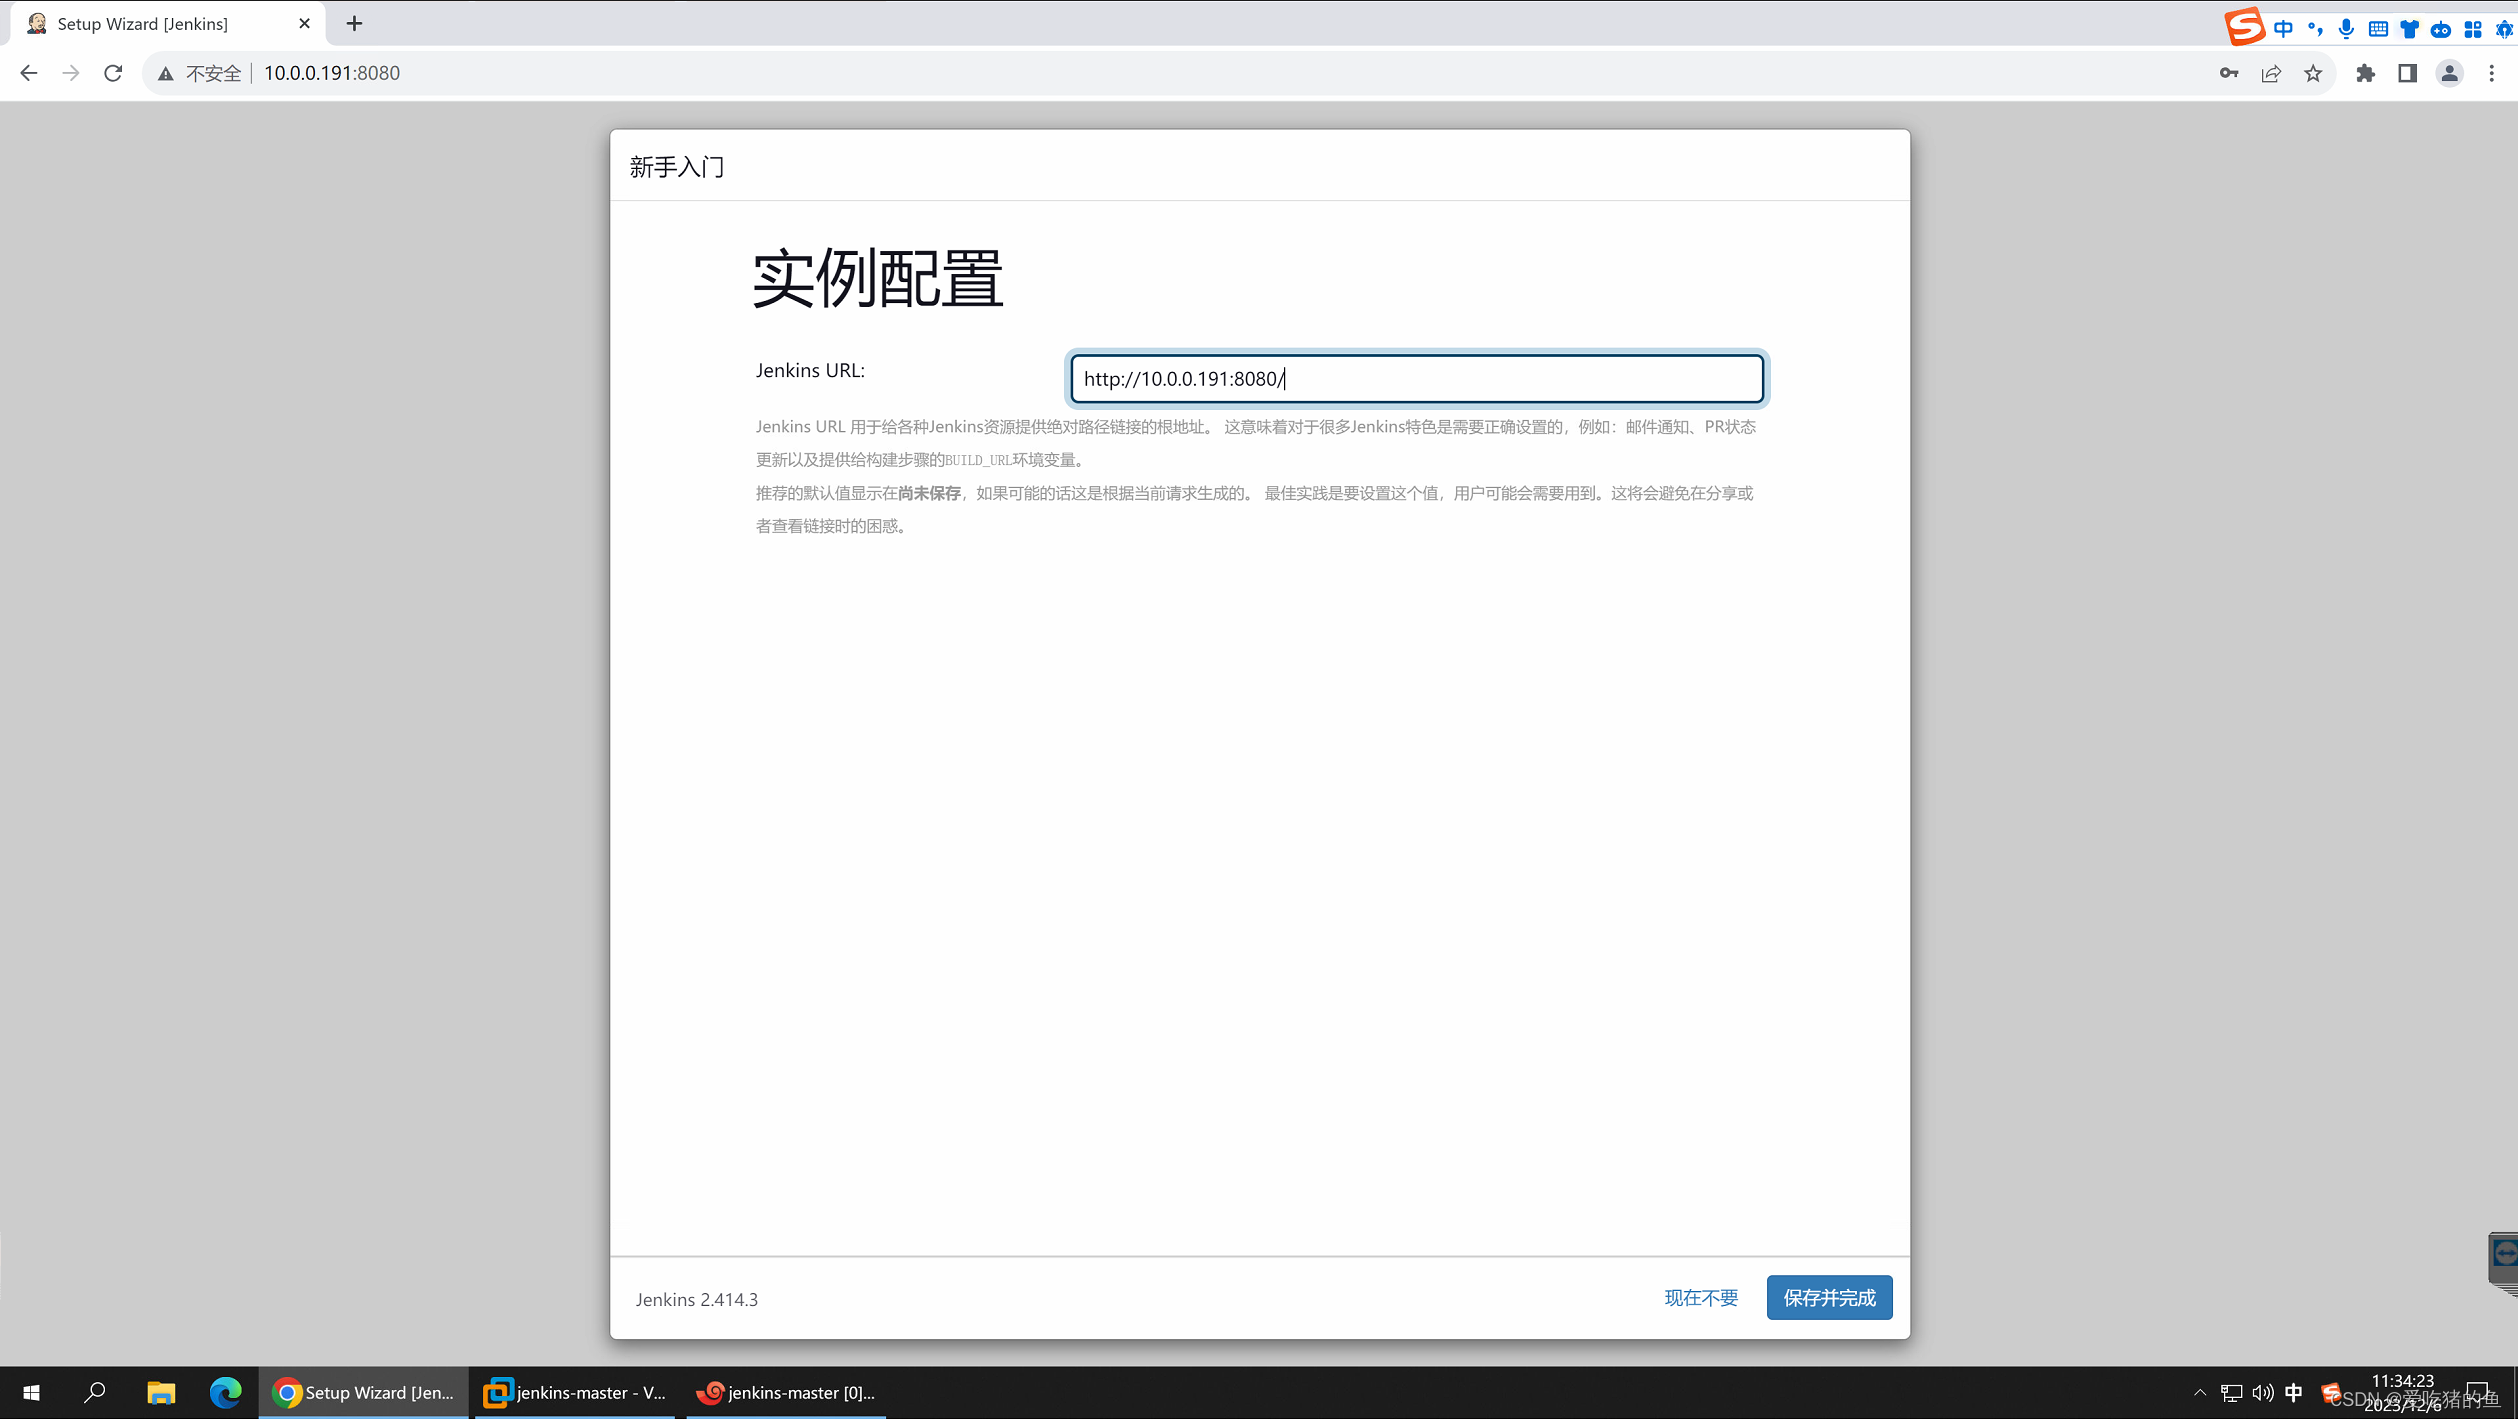
创建一个管理员账号,也可以使用默认的,一般都是新建一个账号。邮箱设置企业邮箱或者能收邮件的邮箱

这个地址一般不修改
第一次安装好后,有些插件没有生效,需要重启Jenkins后才能生效,所以要重启Jenkins

systemctl restart jenkins
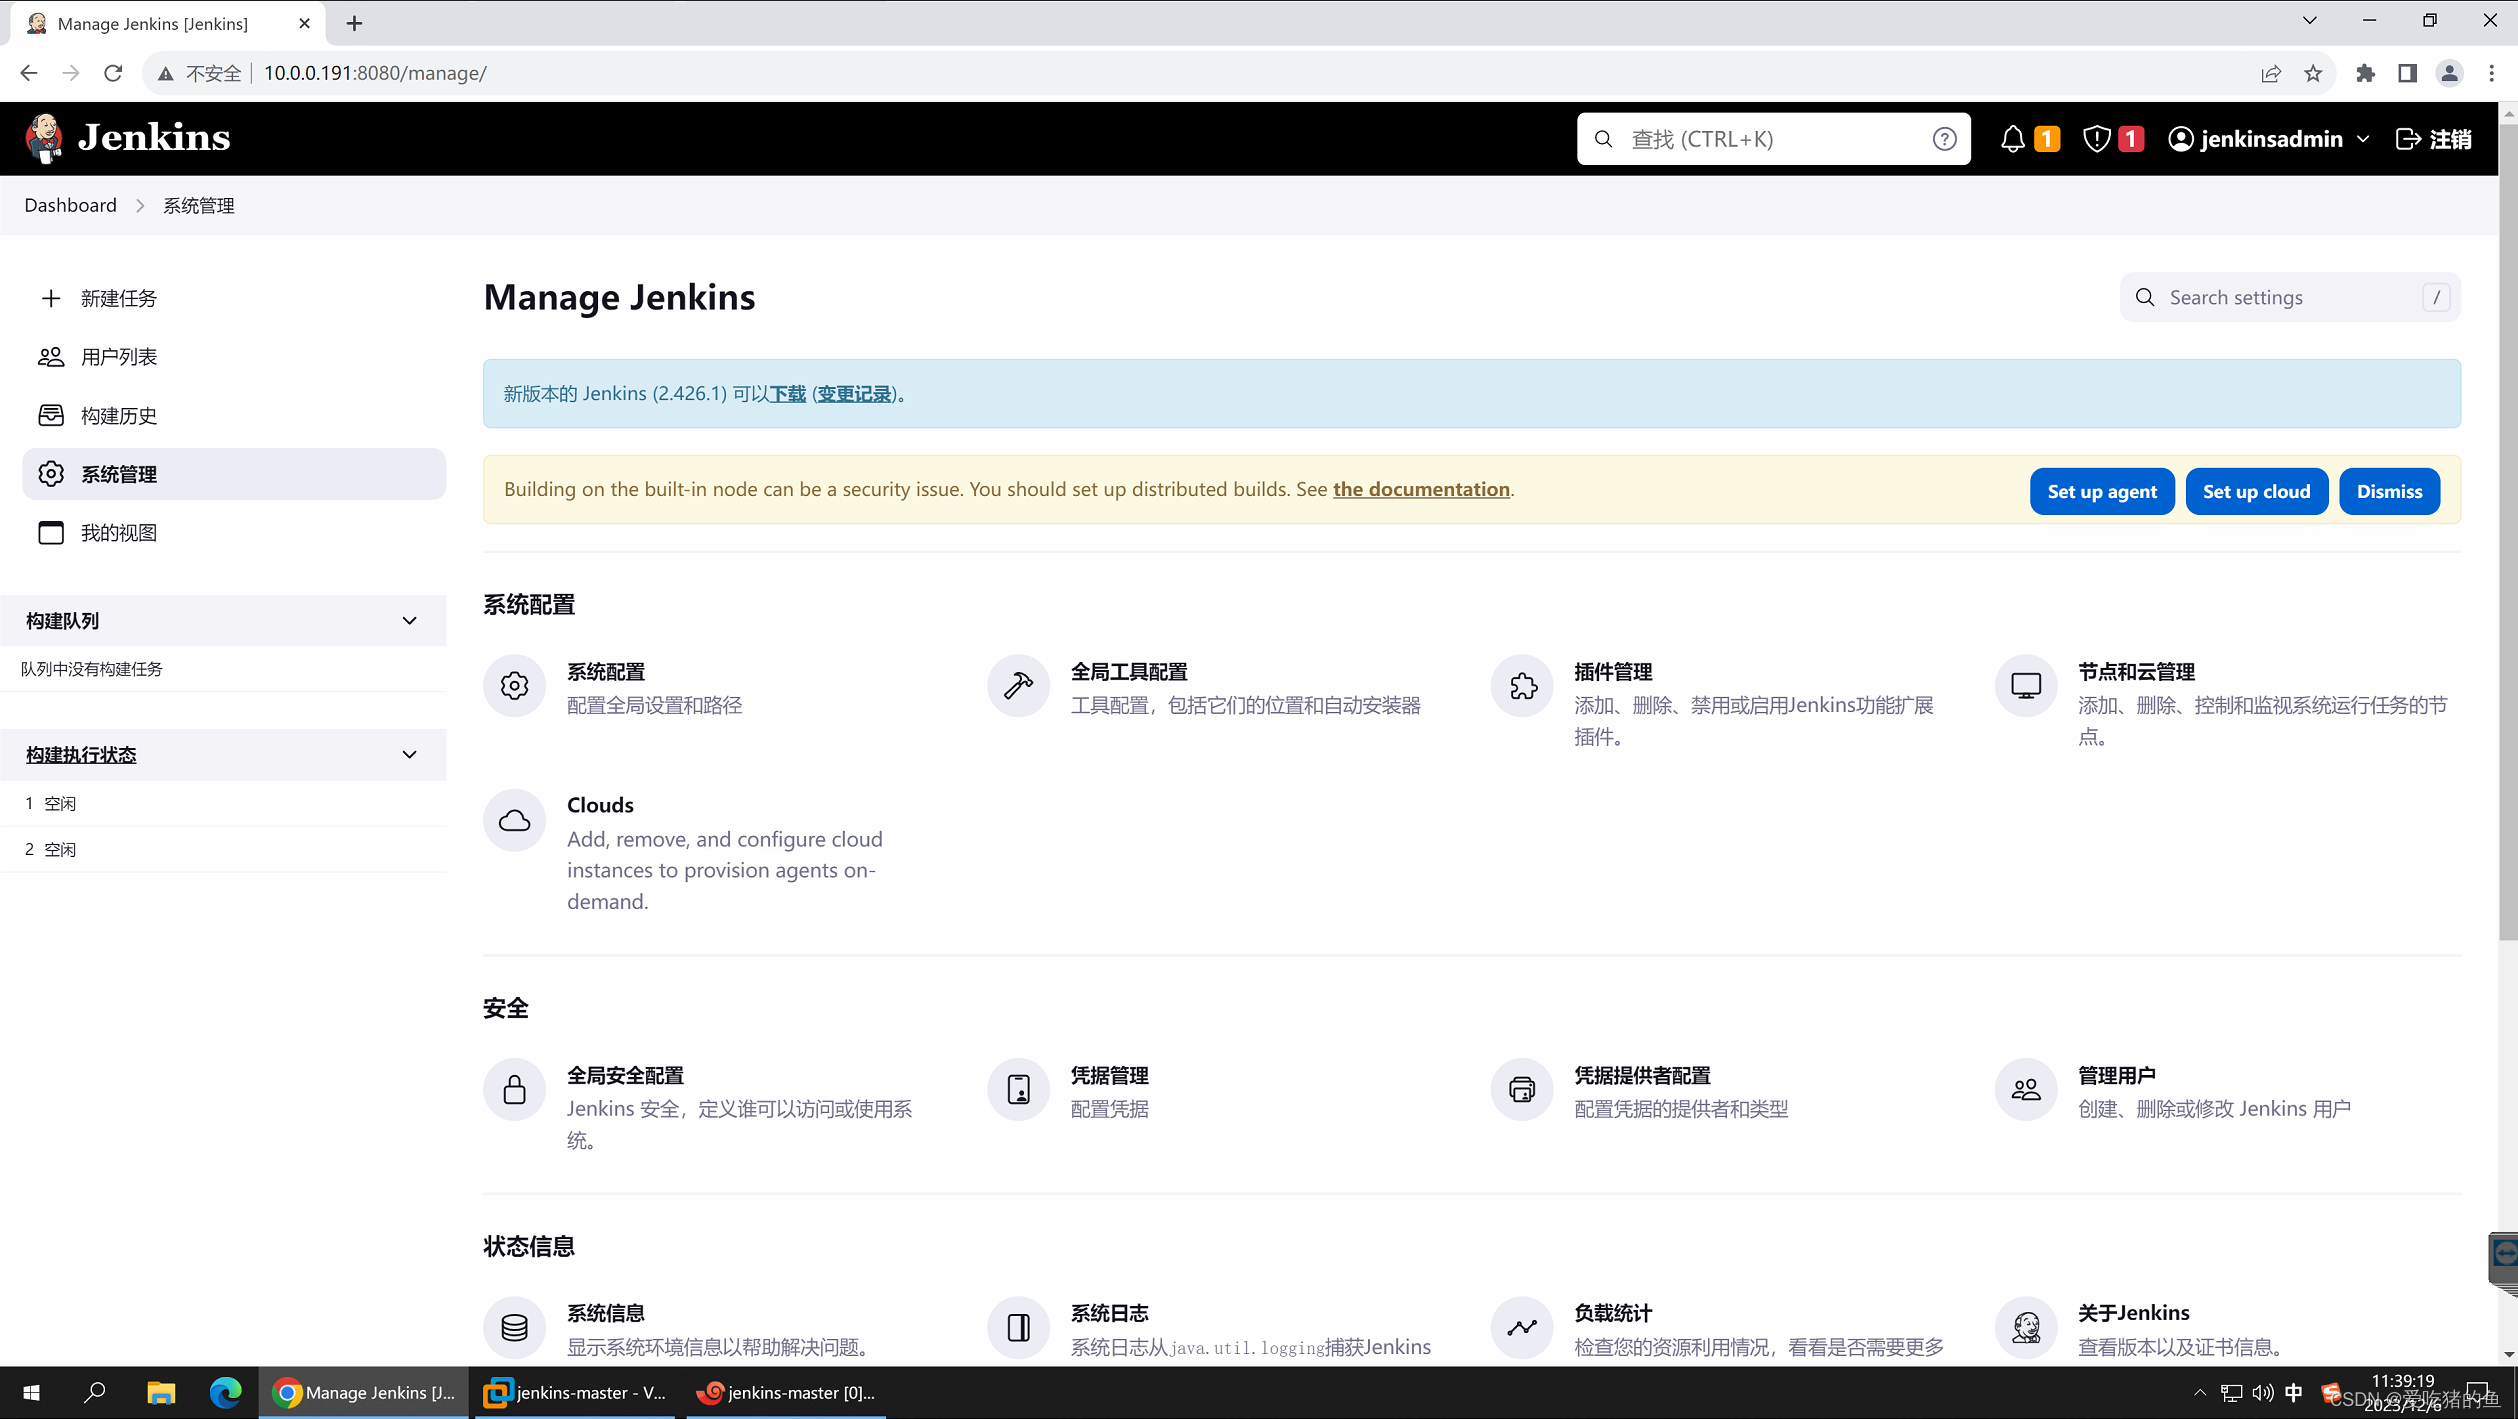
掌握jenkins的插件在线安装及离线安装
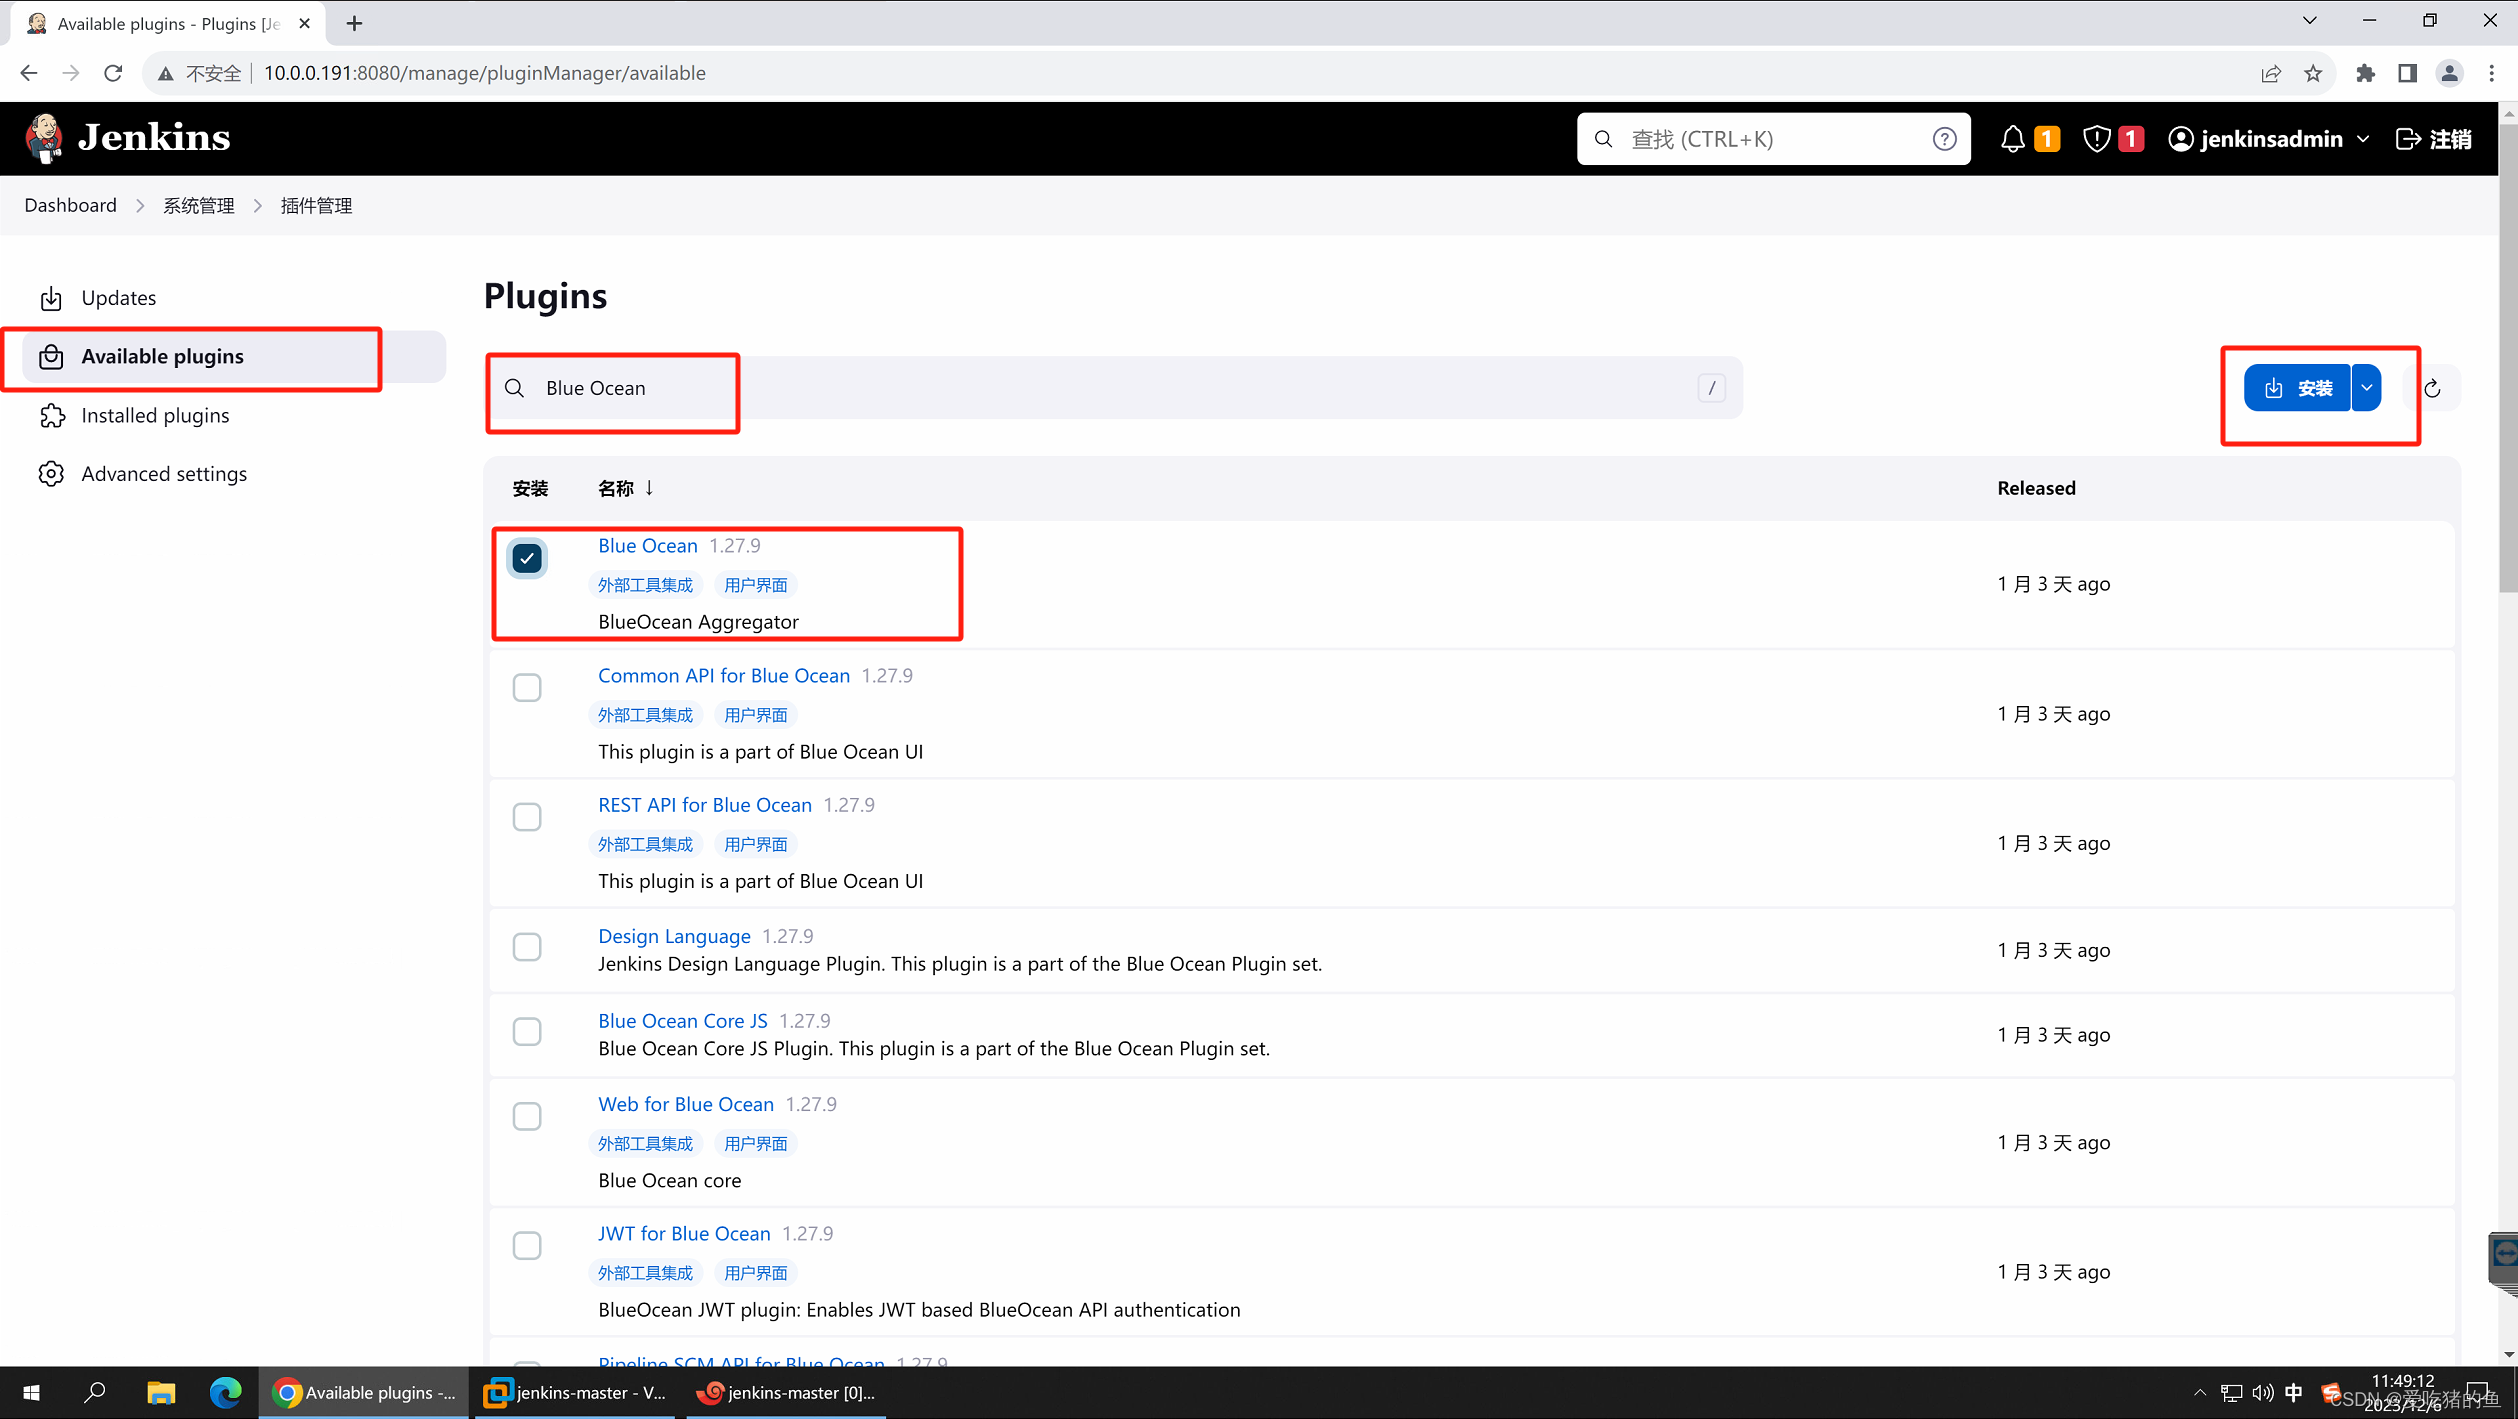
在线安装插件
Blue Ocean #强大的pipliine UI管理界面
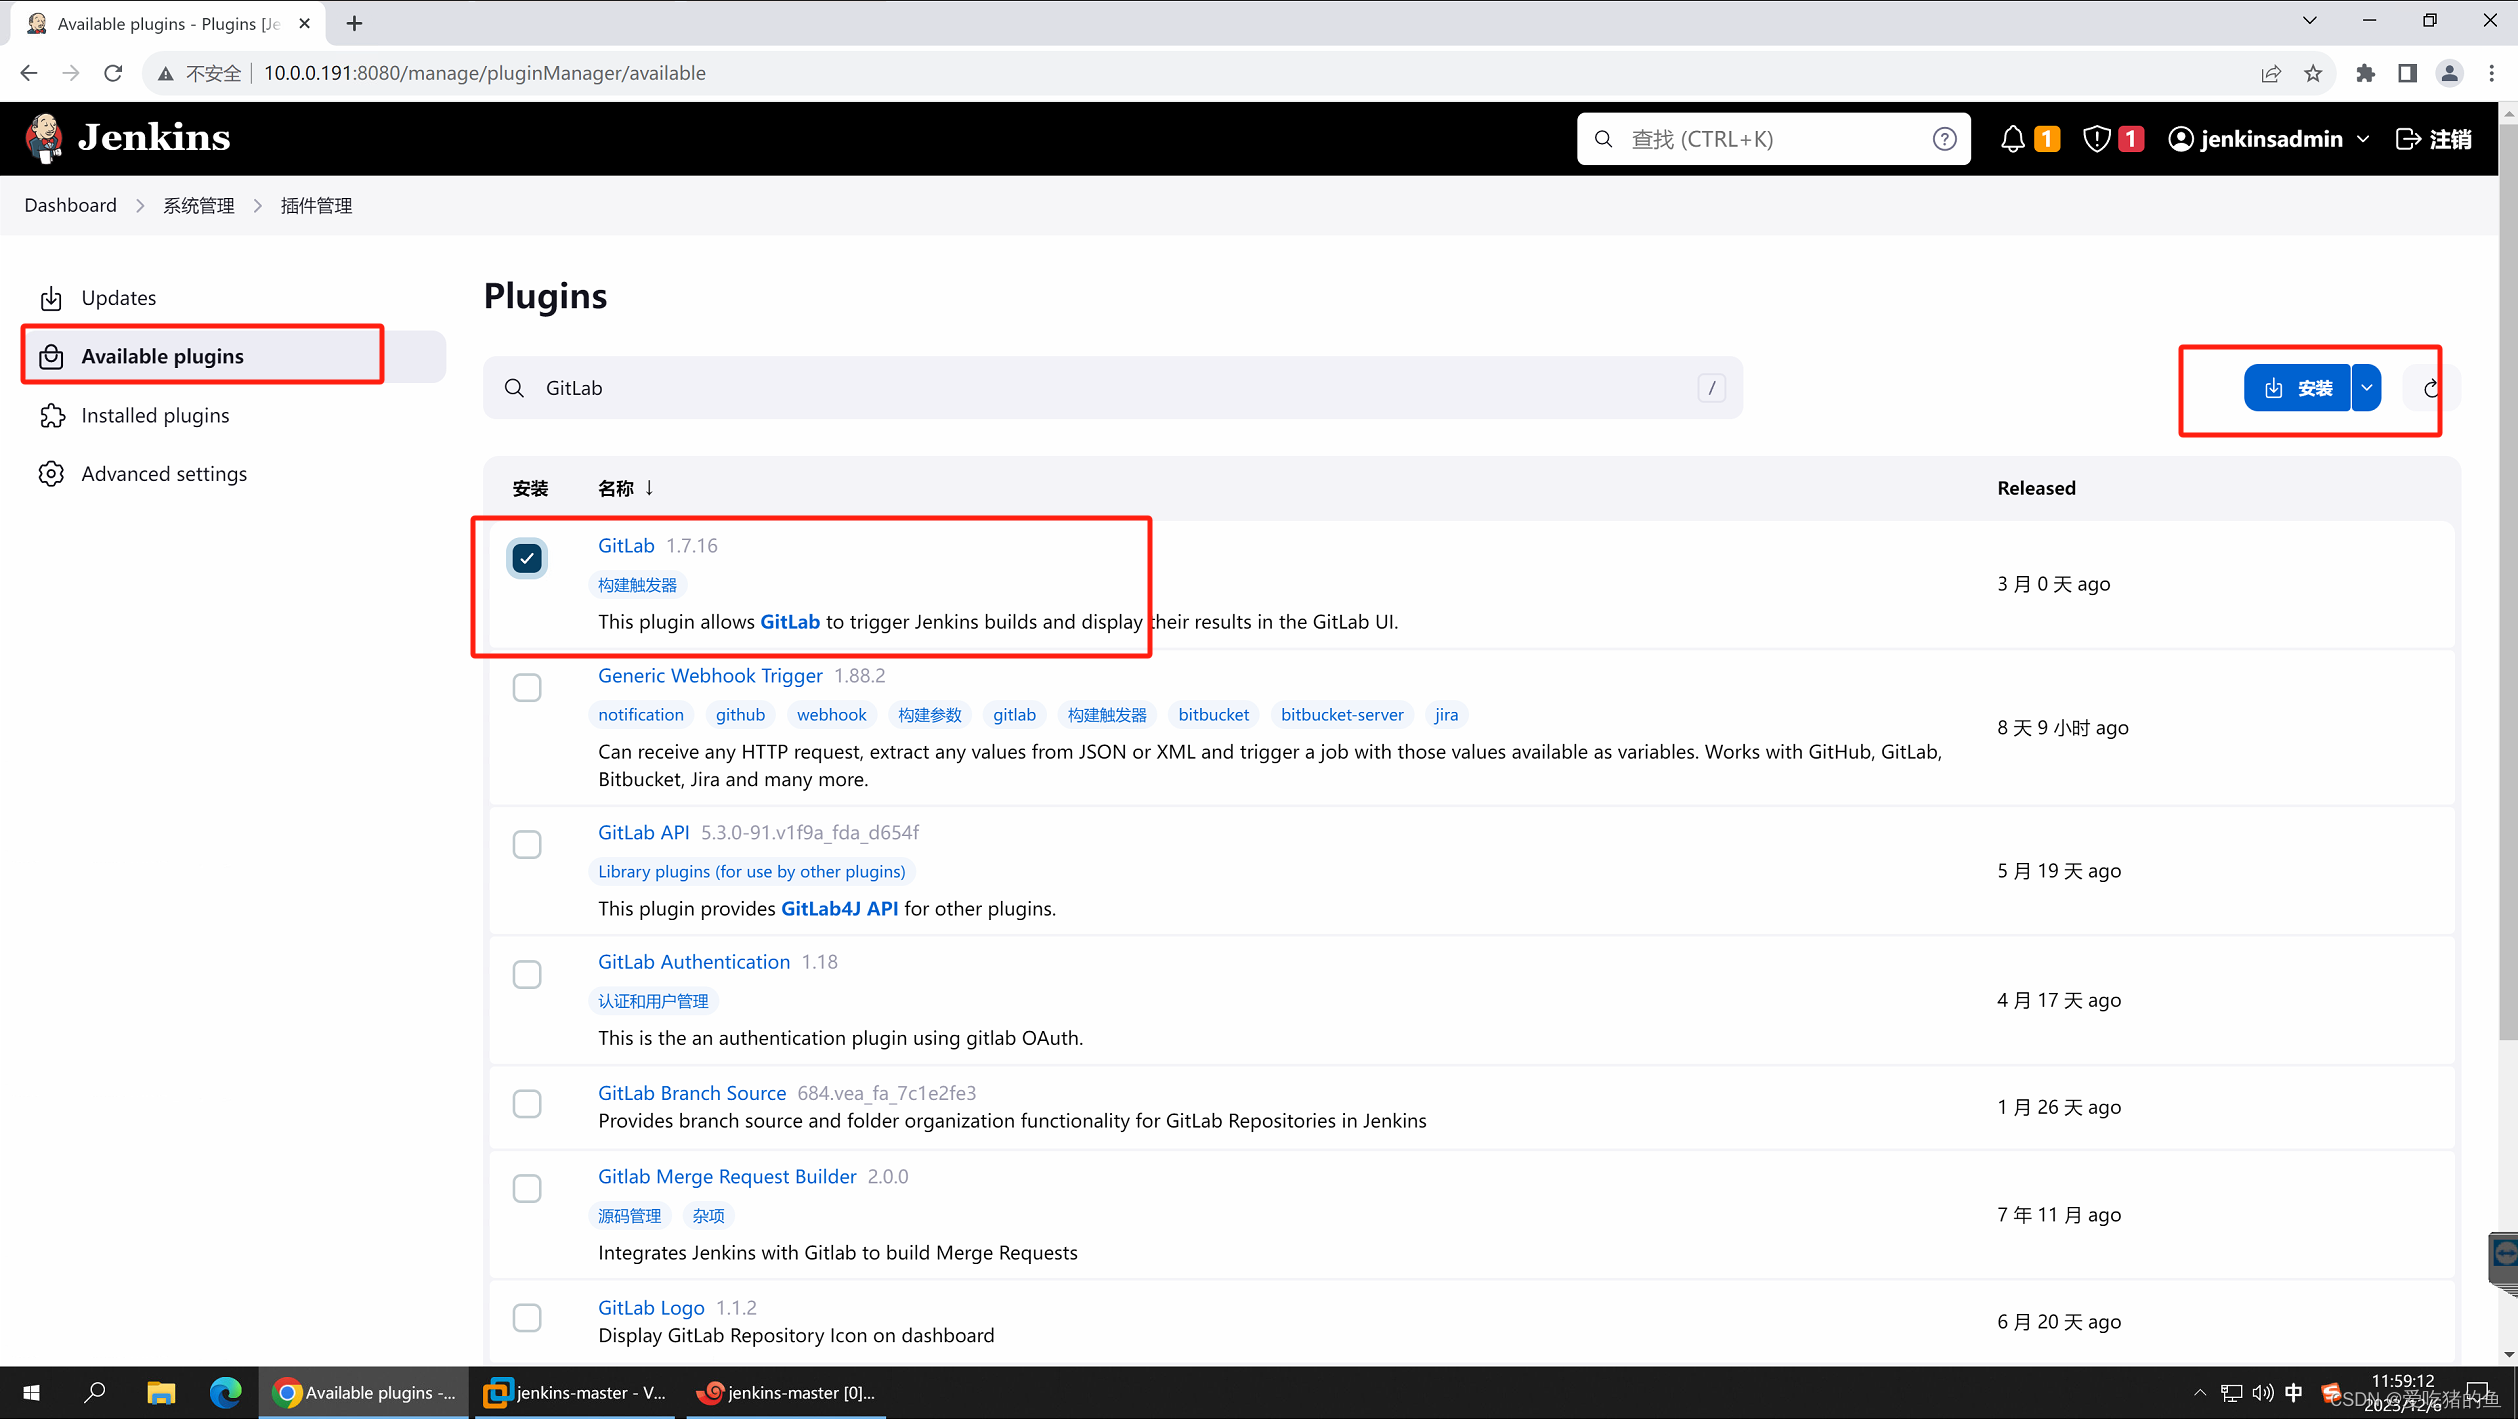
GitLab #支持gitlab远程触发jenkins任务构建
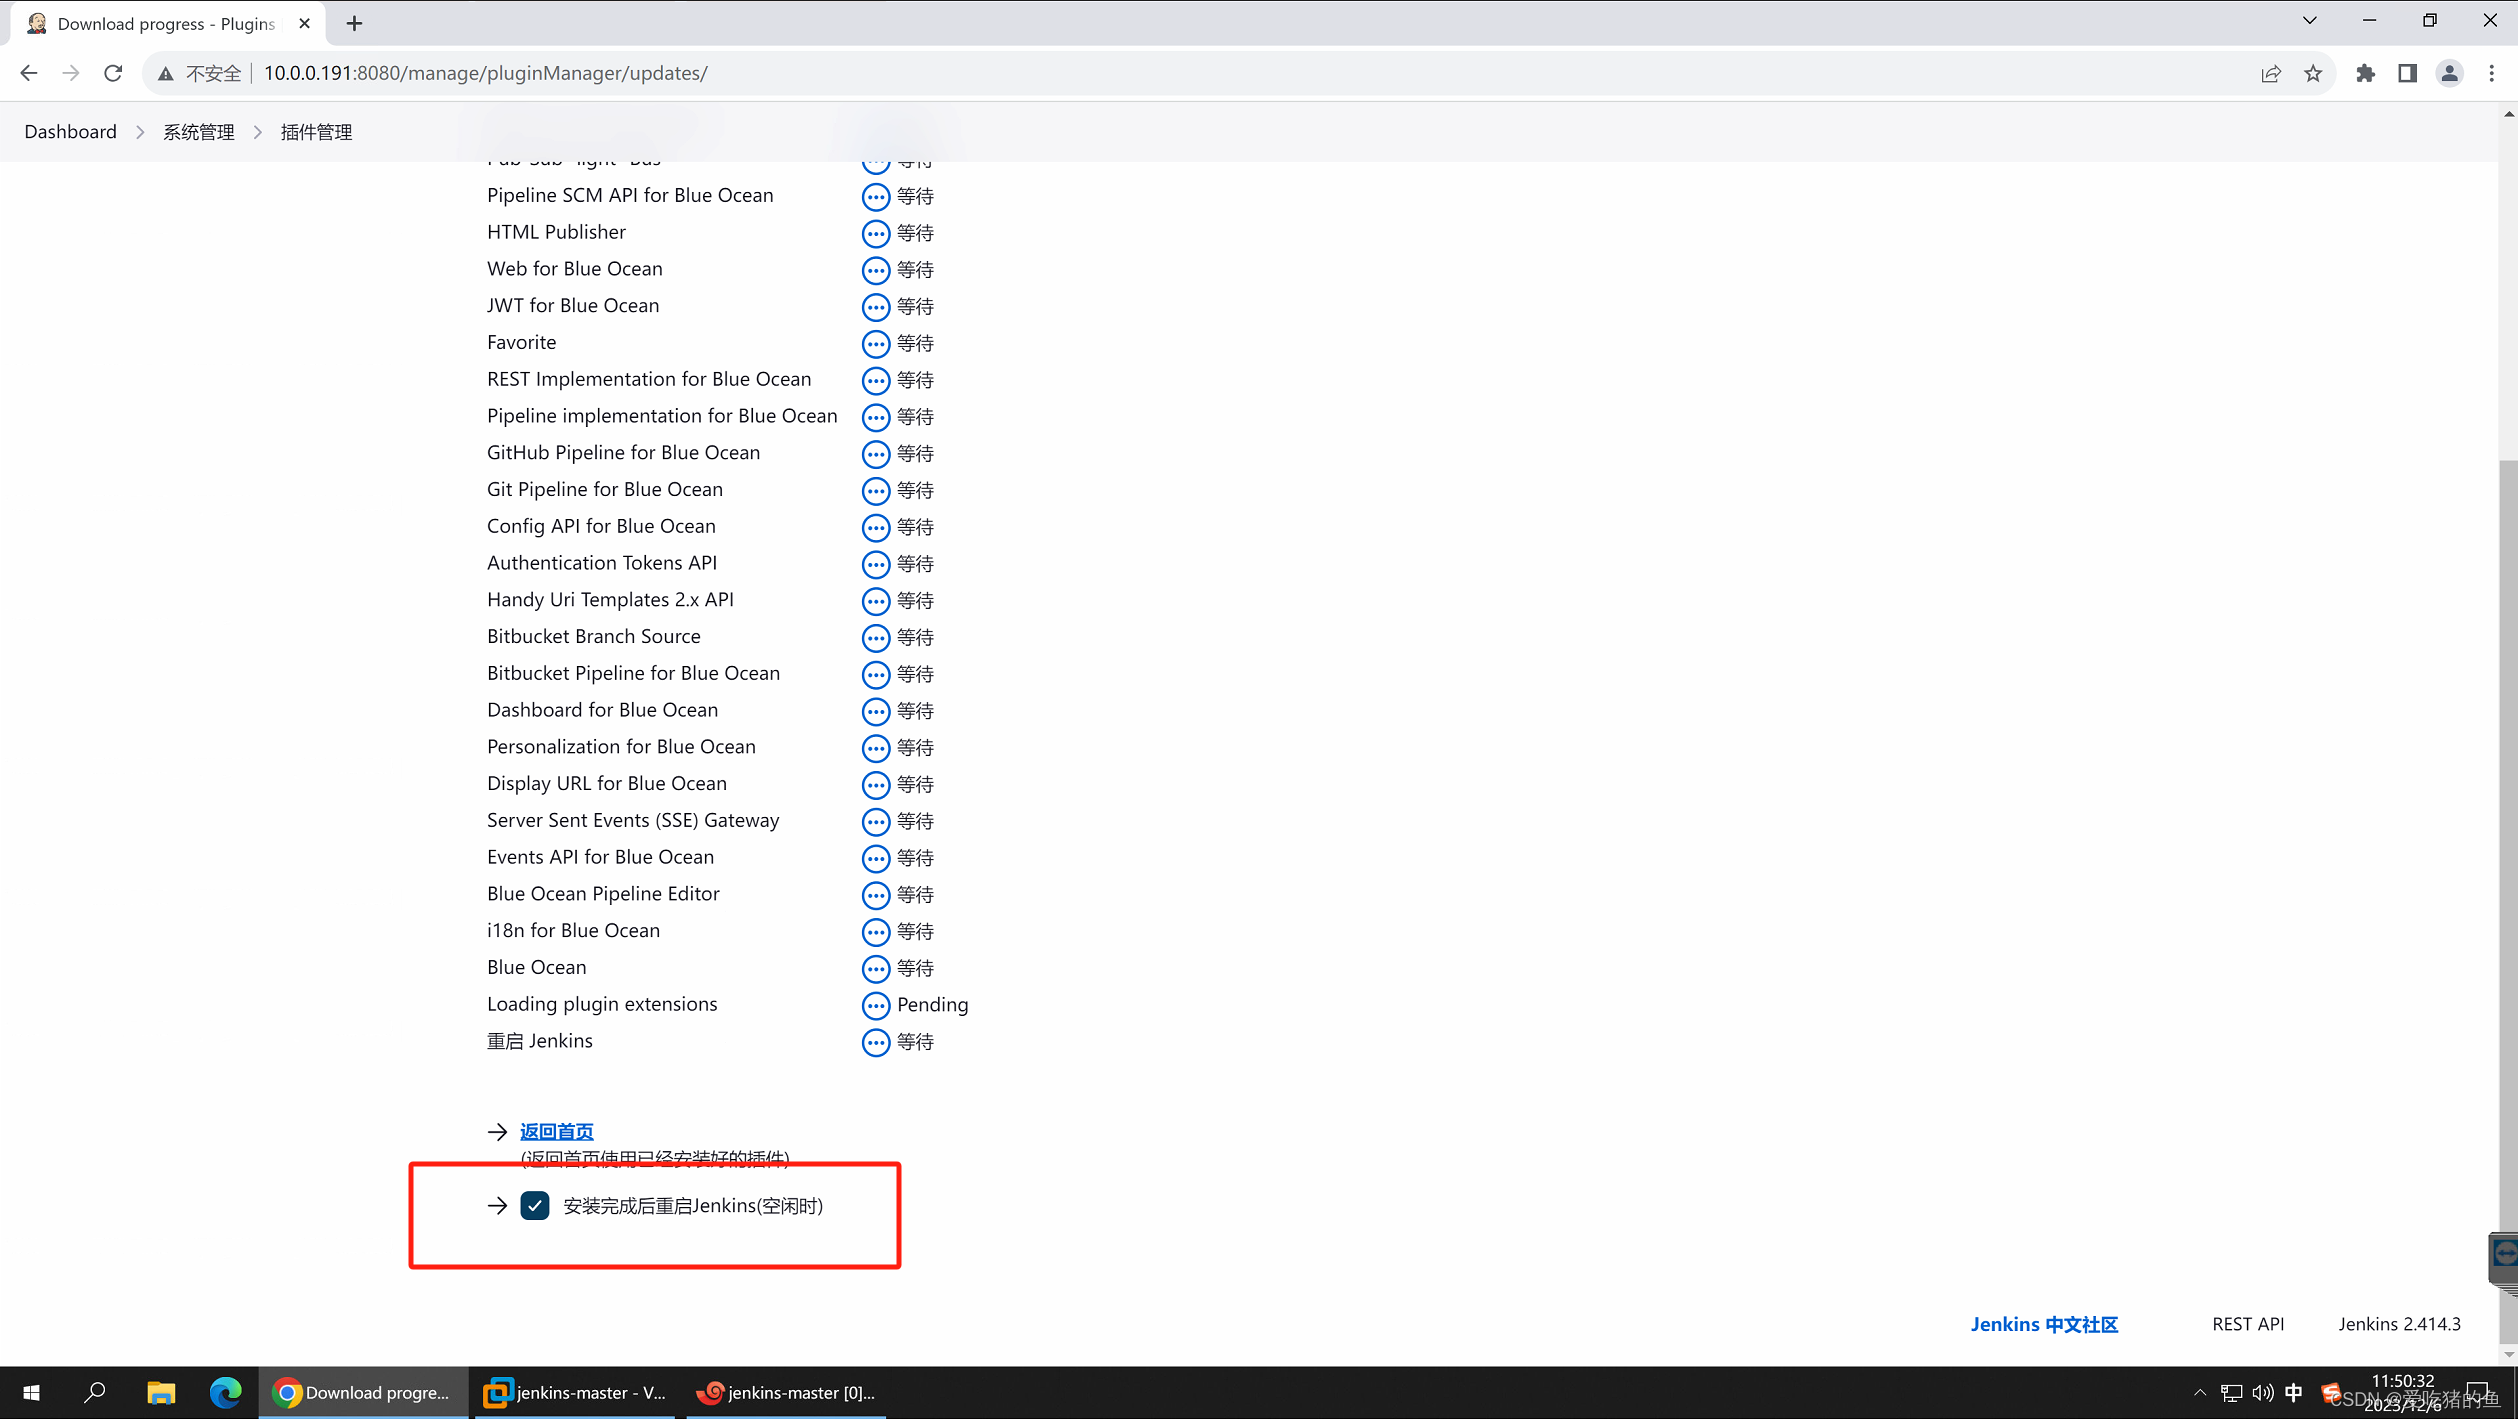
在线安装Blue Ocean
这个重启就是说在Jenkins没有执行任务的时候重启Jenkins;就相当于nginx的安全重启一样。不会影响已经执行的任务,等待他们执行完后才会重启
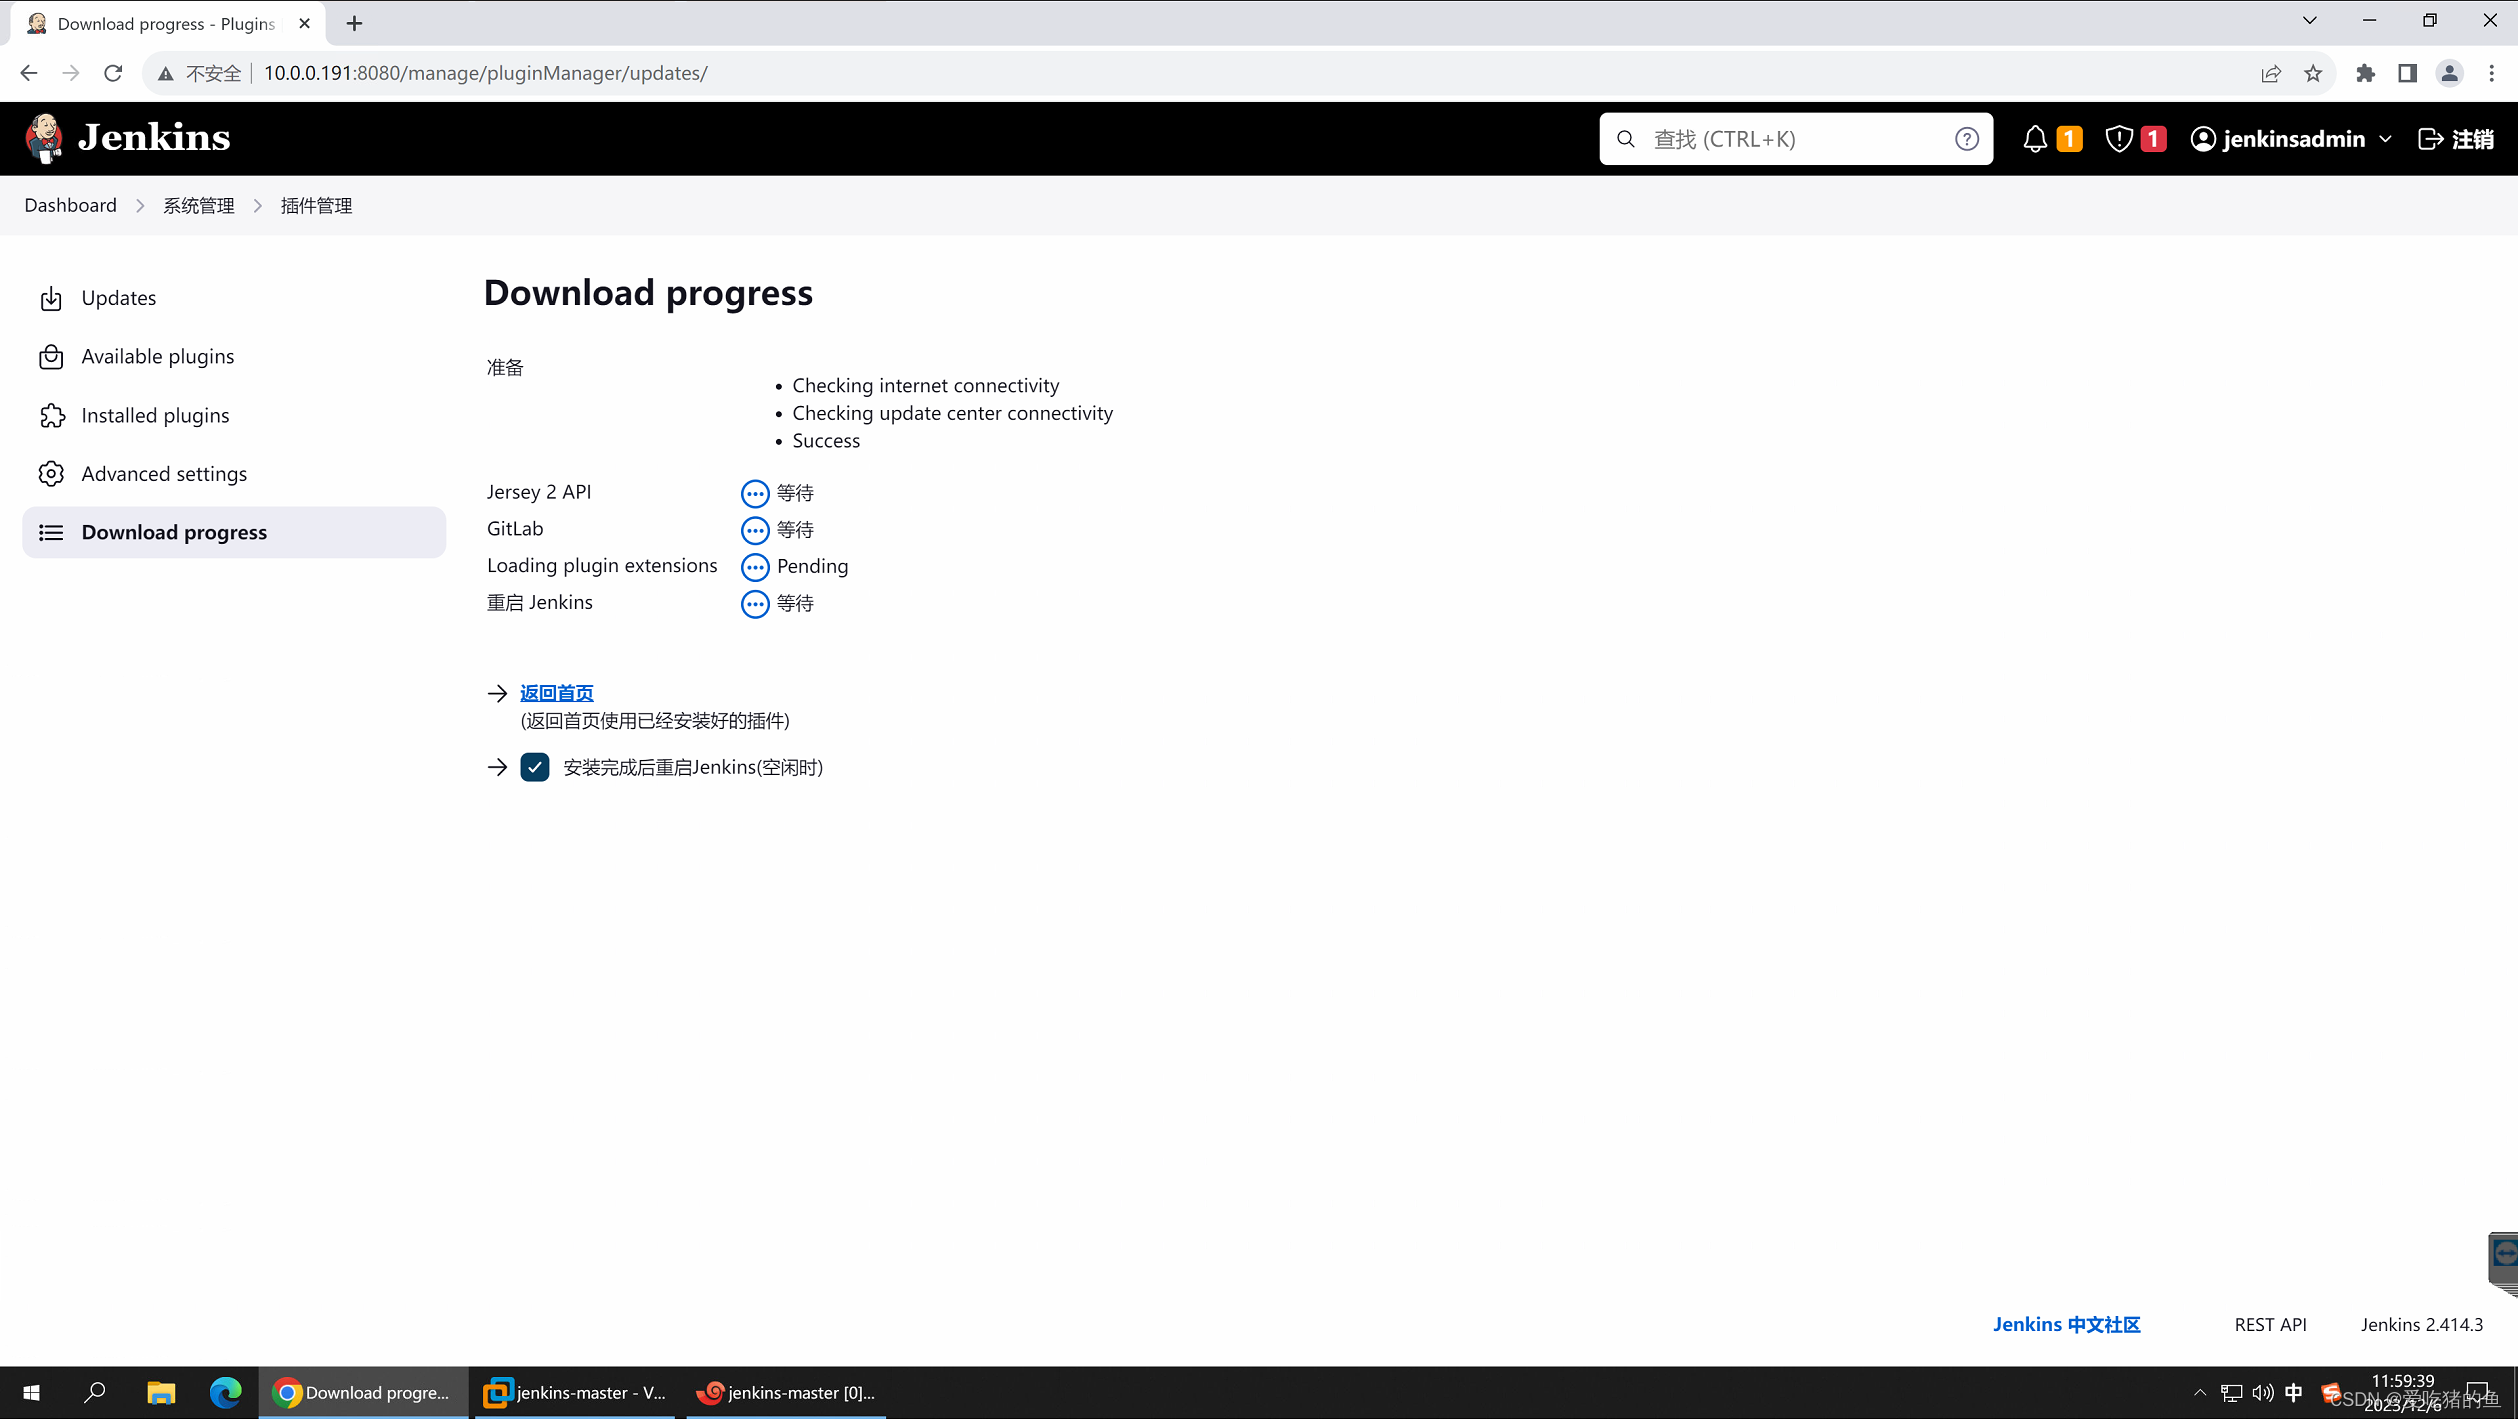
安装GitLab插件
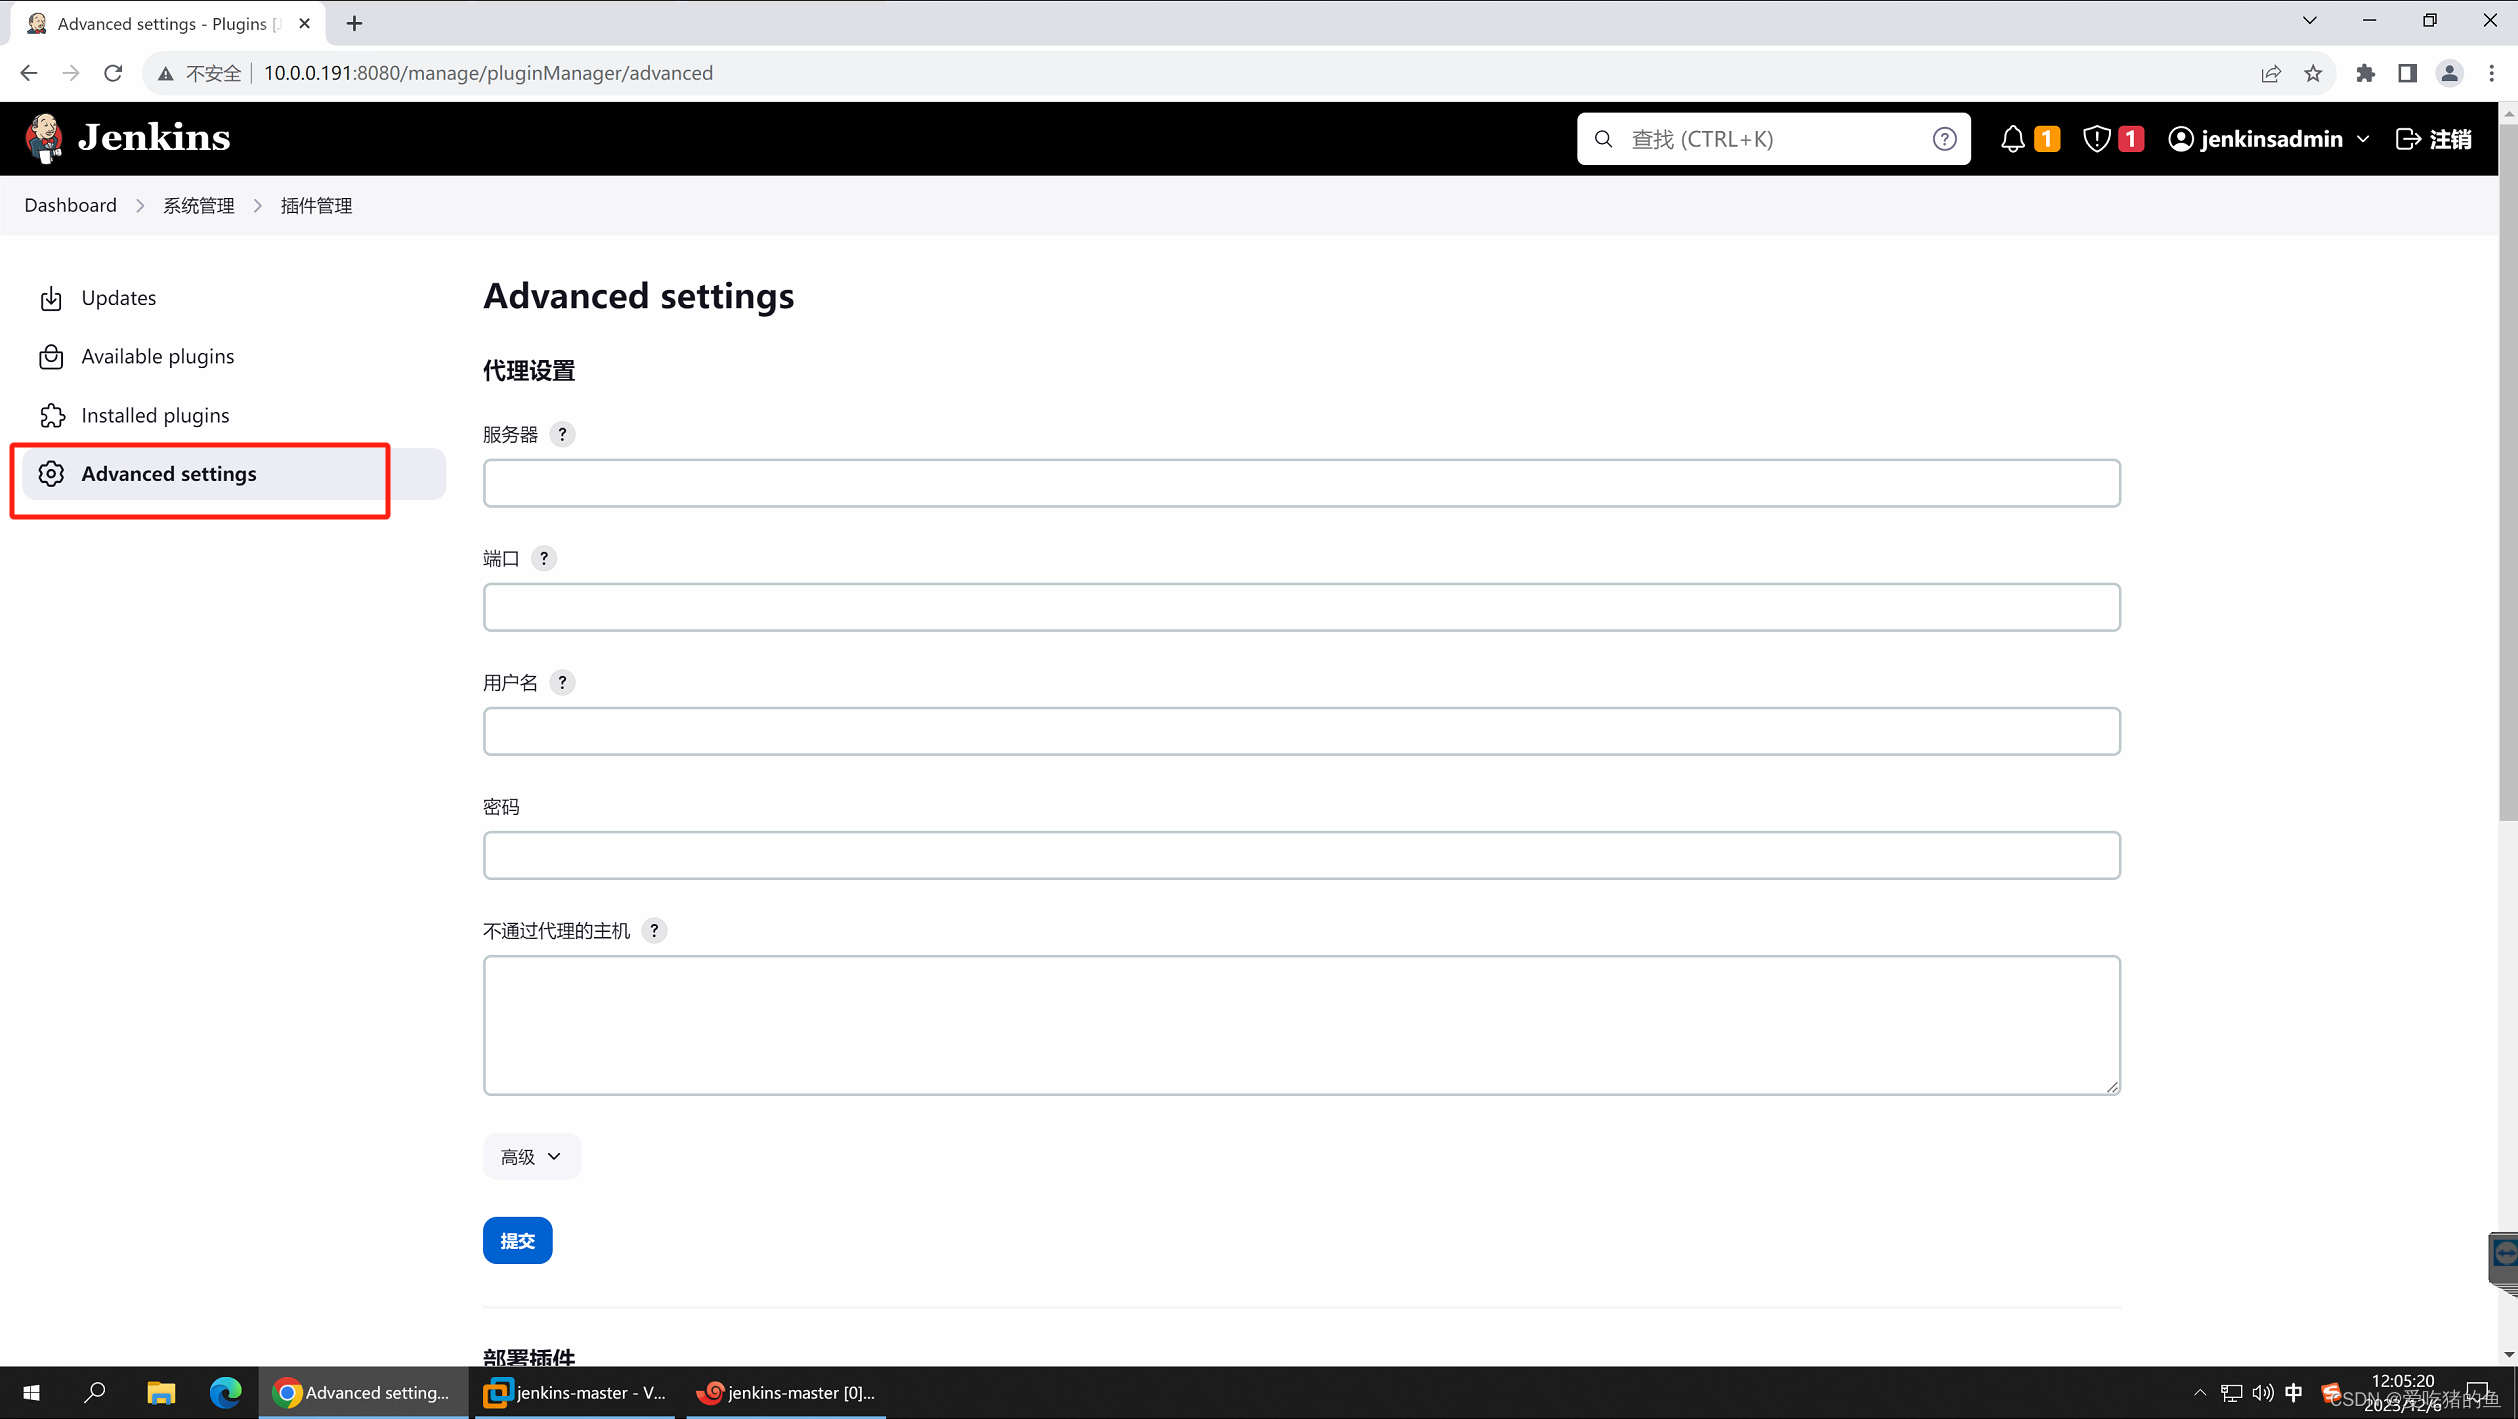
离线安装插件
插件一般有很多依赖,所以离线安装的时候要注意插件的依赖
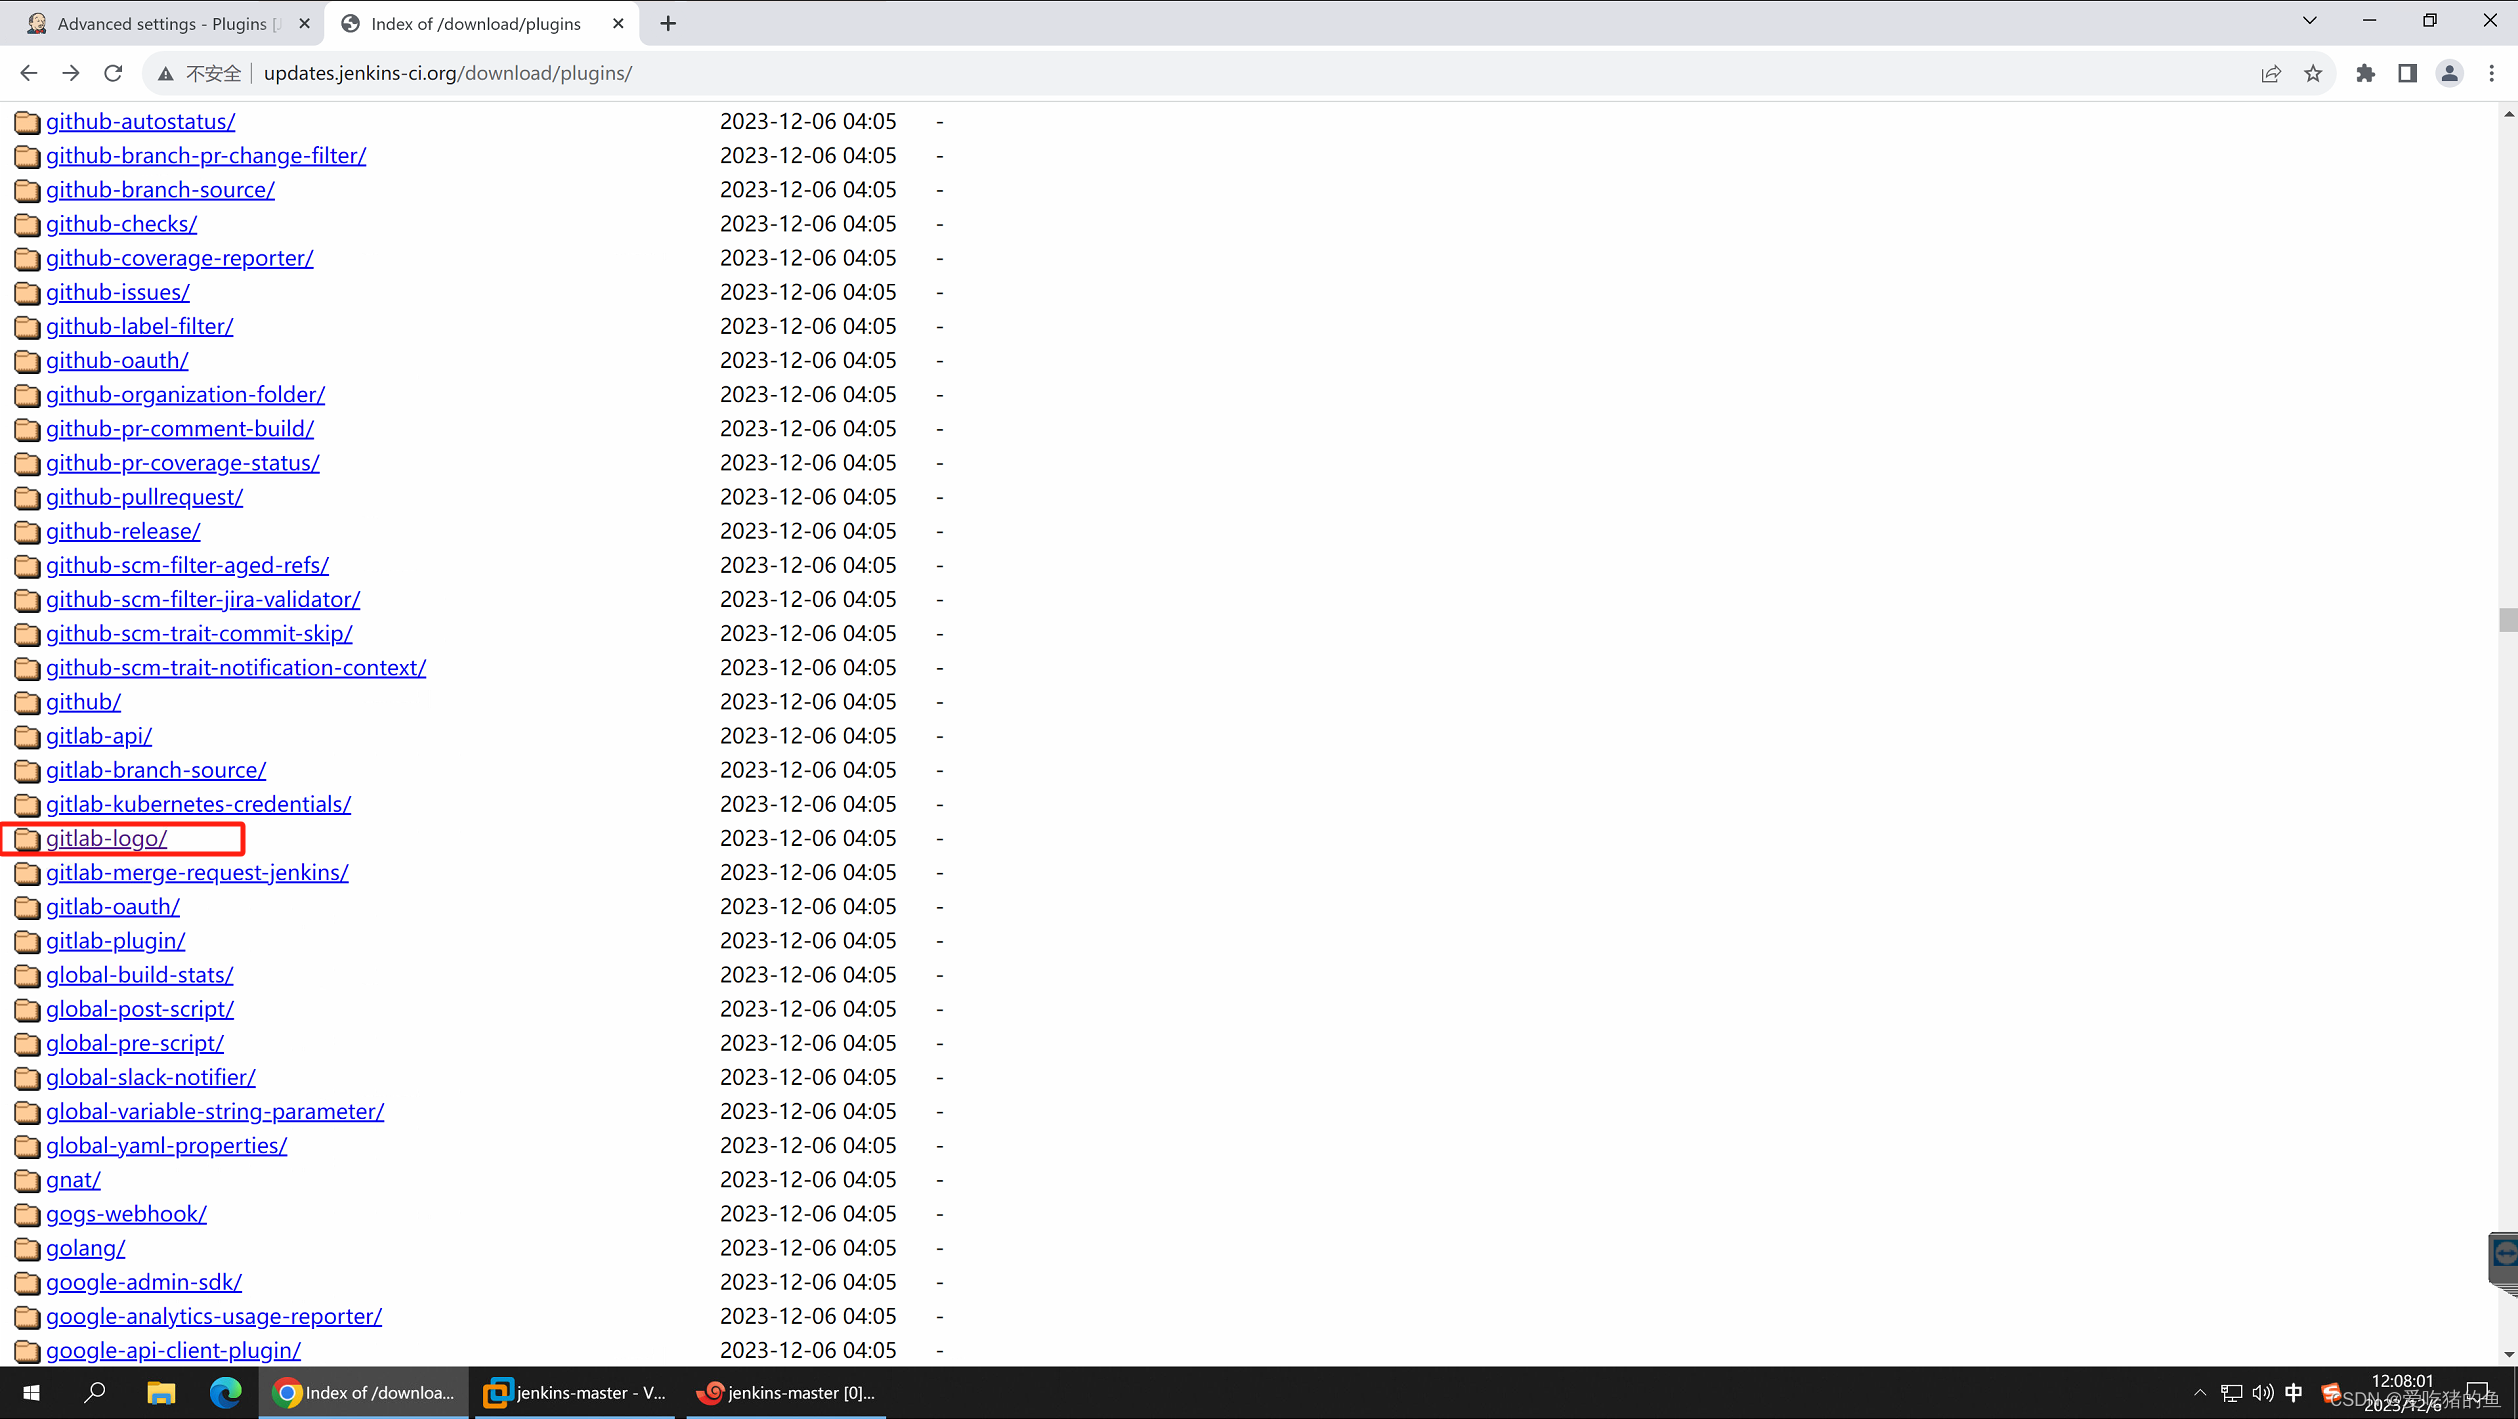
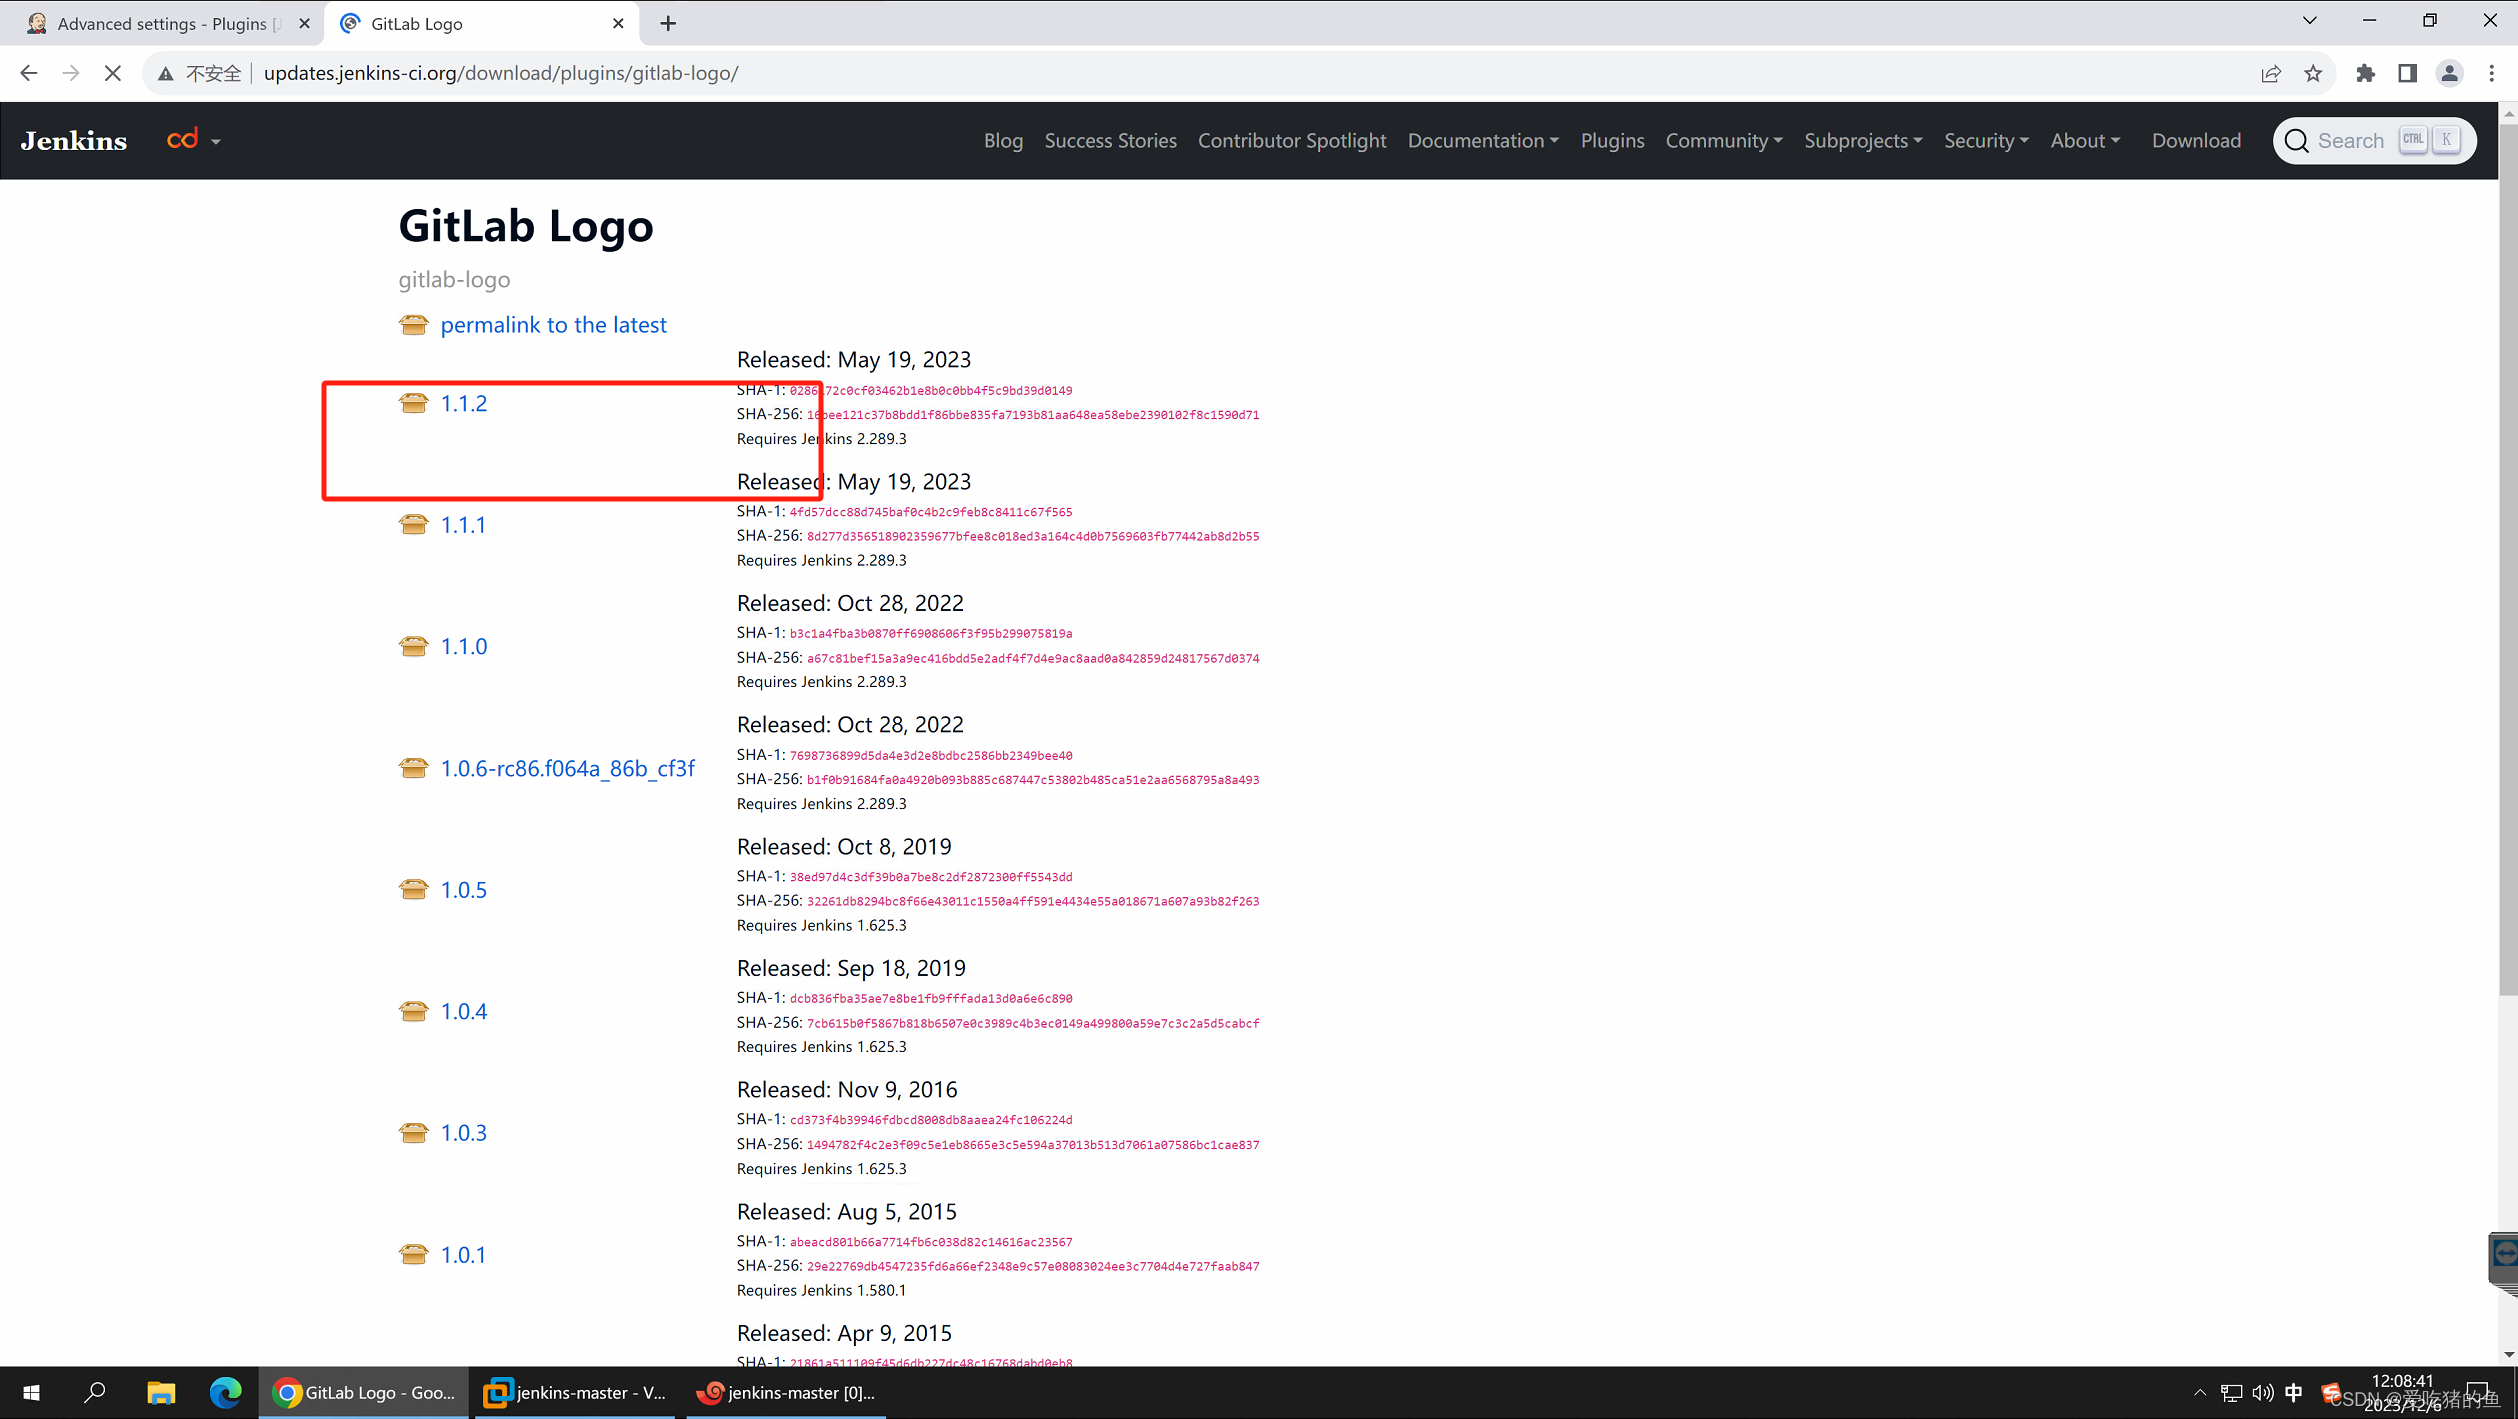
插件下载地址:http://updates.jenkins-ci.org/download/plugins/
下载插件
gitlab-logo这个插件没有依赖,用它来测试
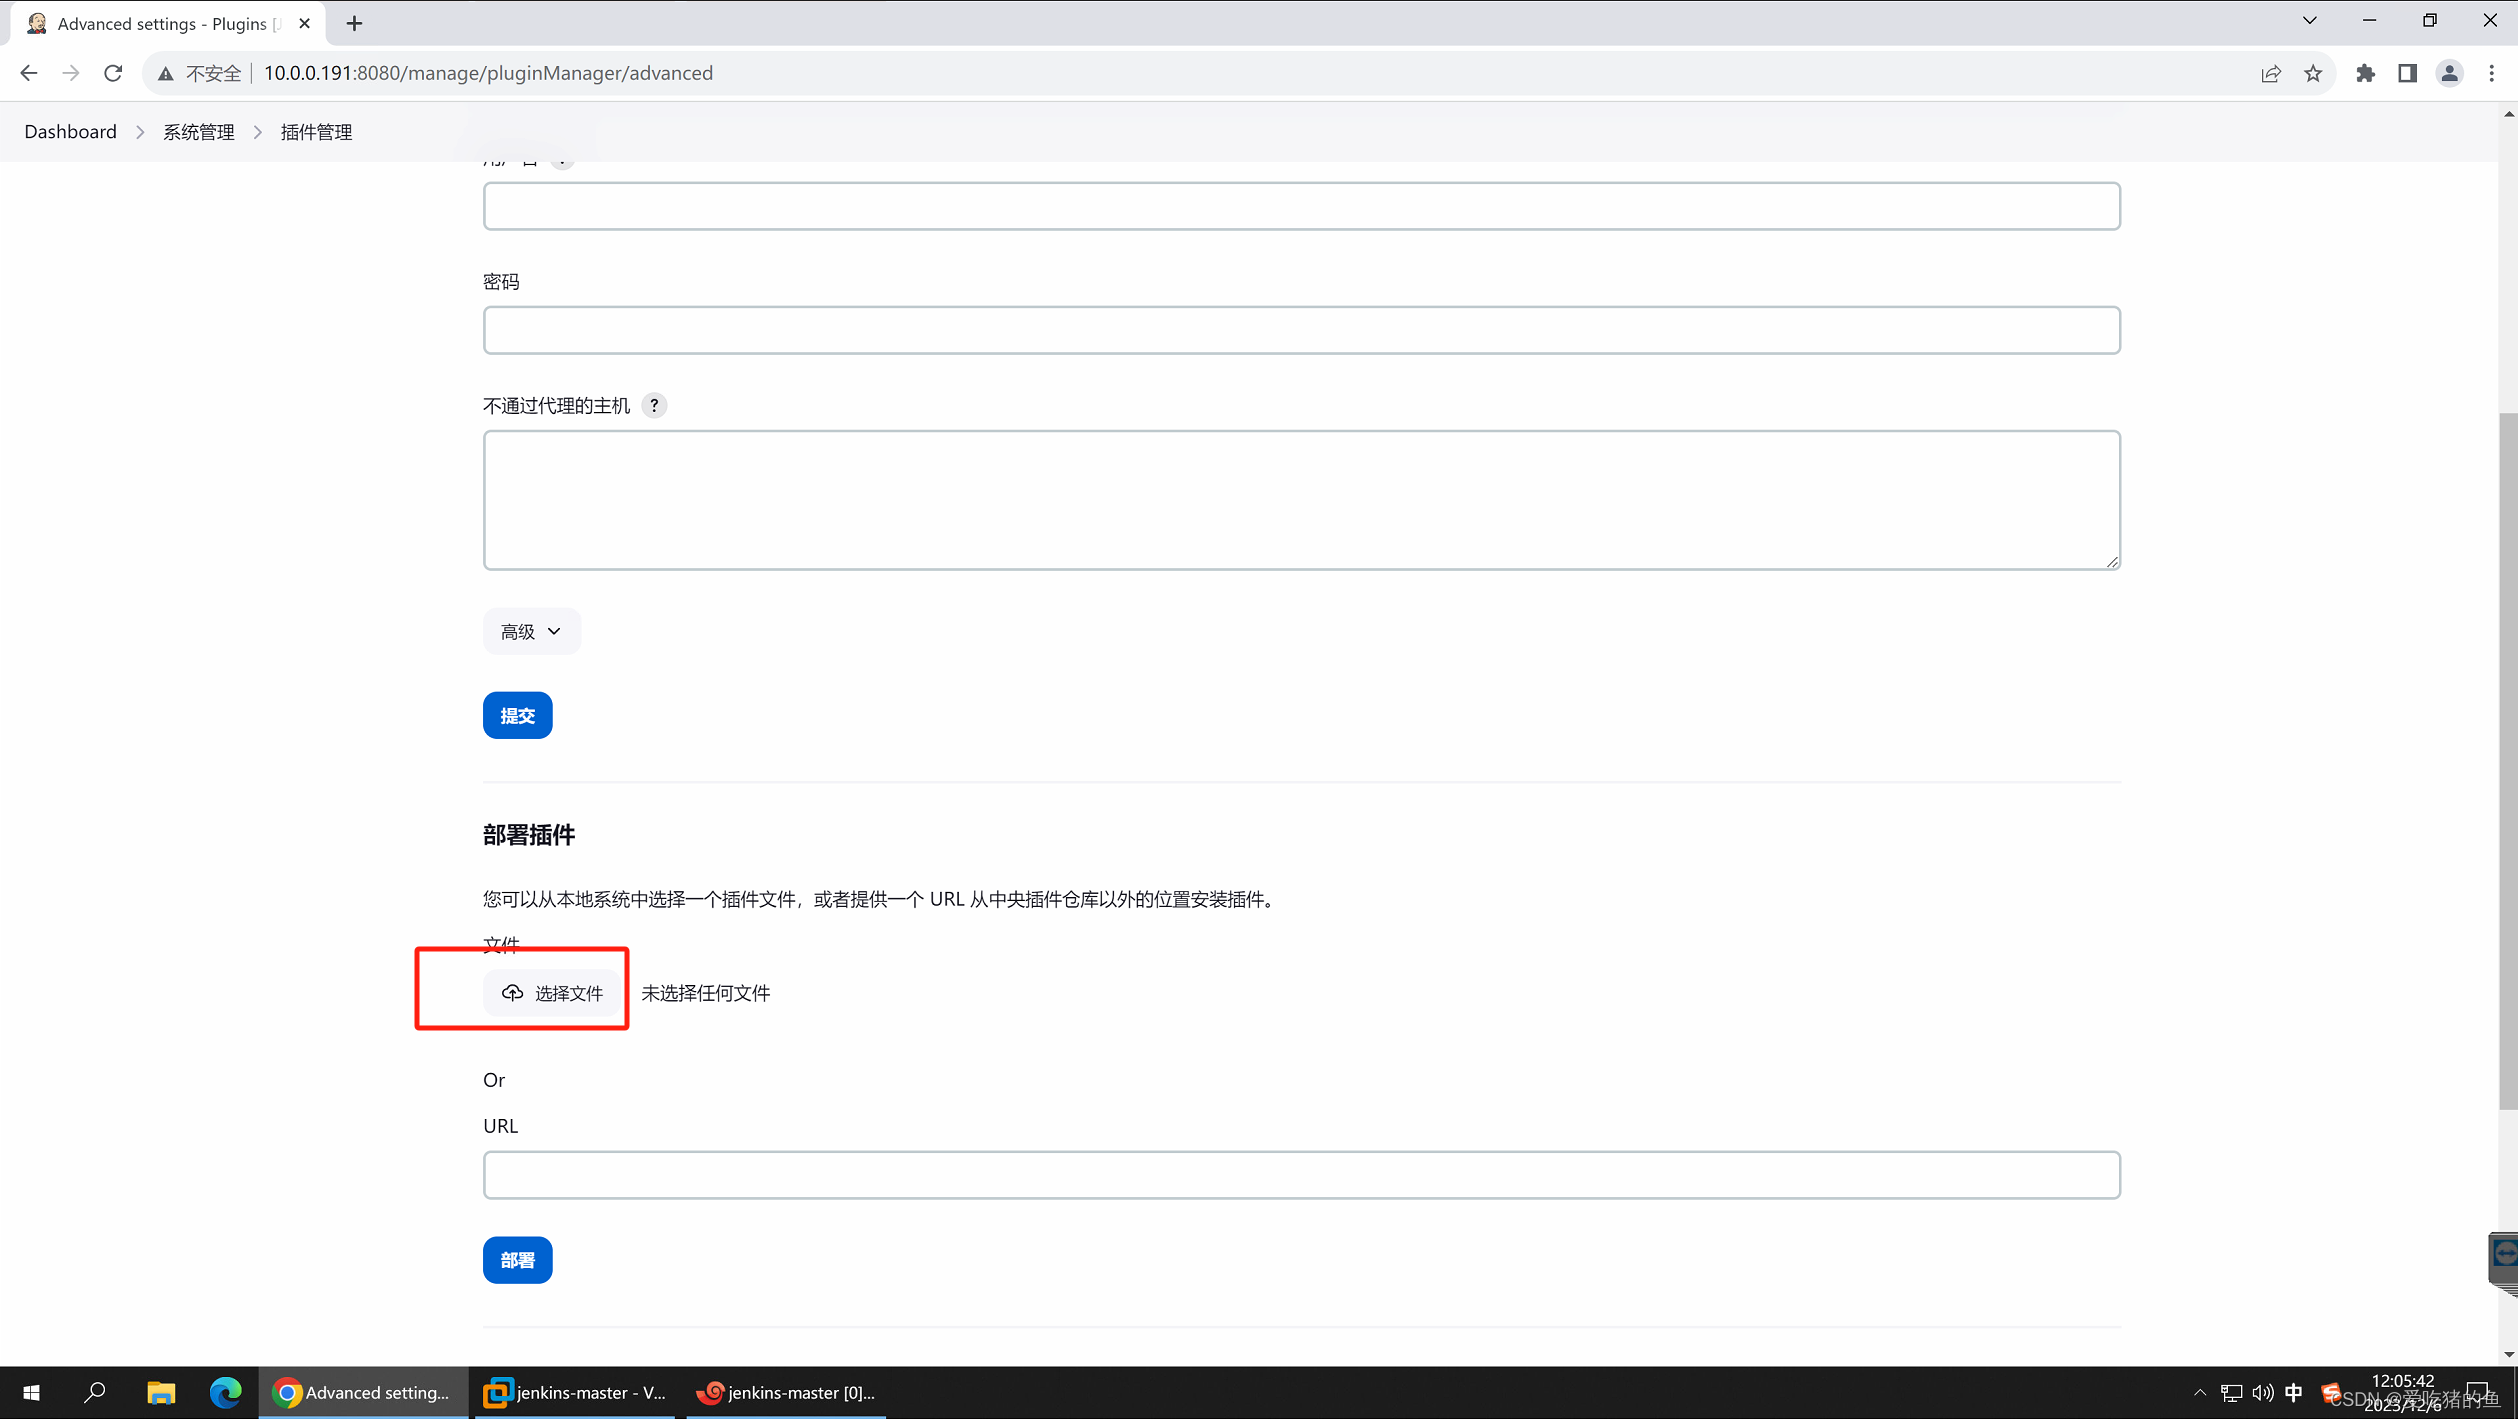
离线安装已经下载好的插件
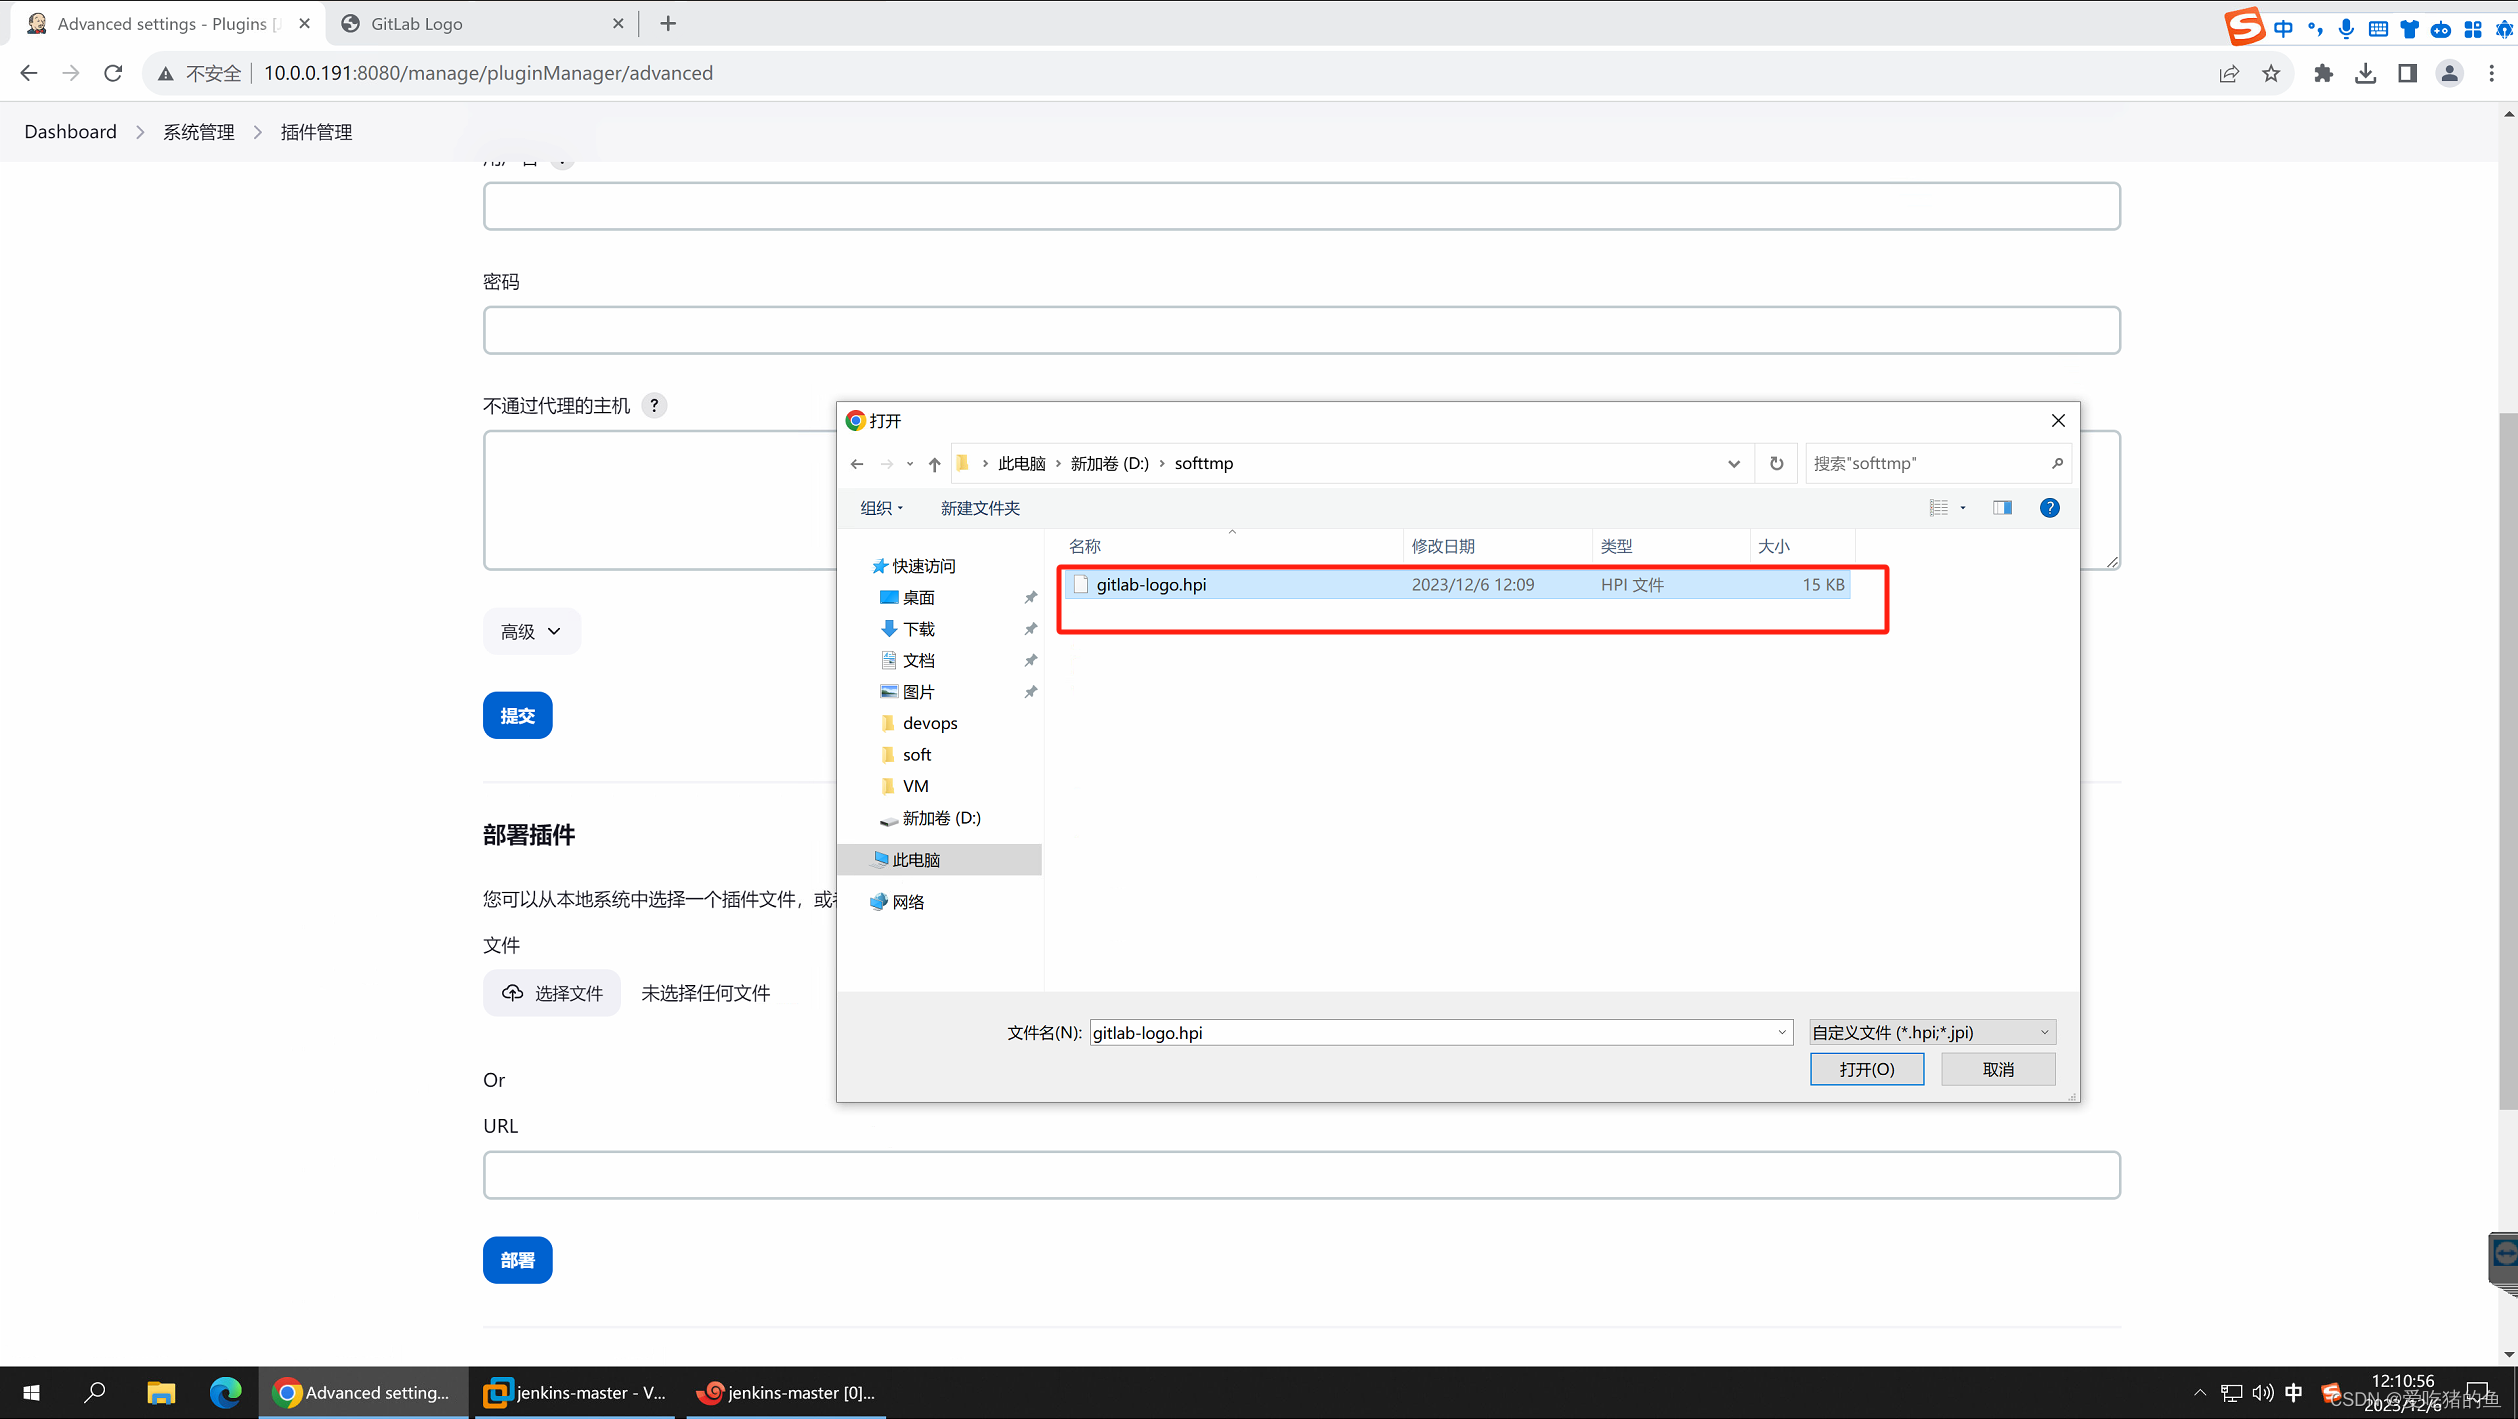

安装成功

实现基于脚本免秘钥clone代码并分发的目的web服务
gitlab服务器:10.0.0.190
Jenkins服务器:10.0.0.191
web服务器:10.0.0.194
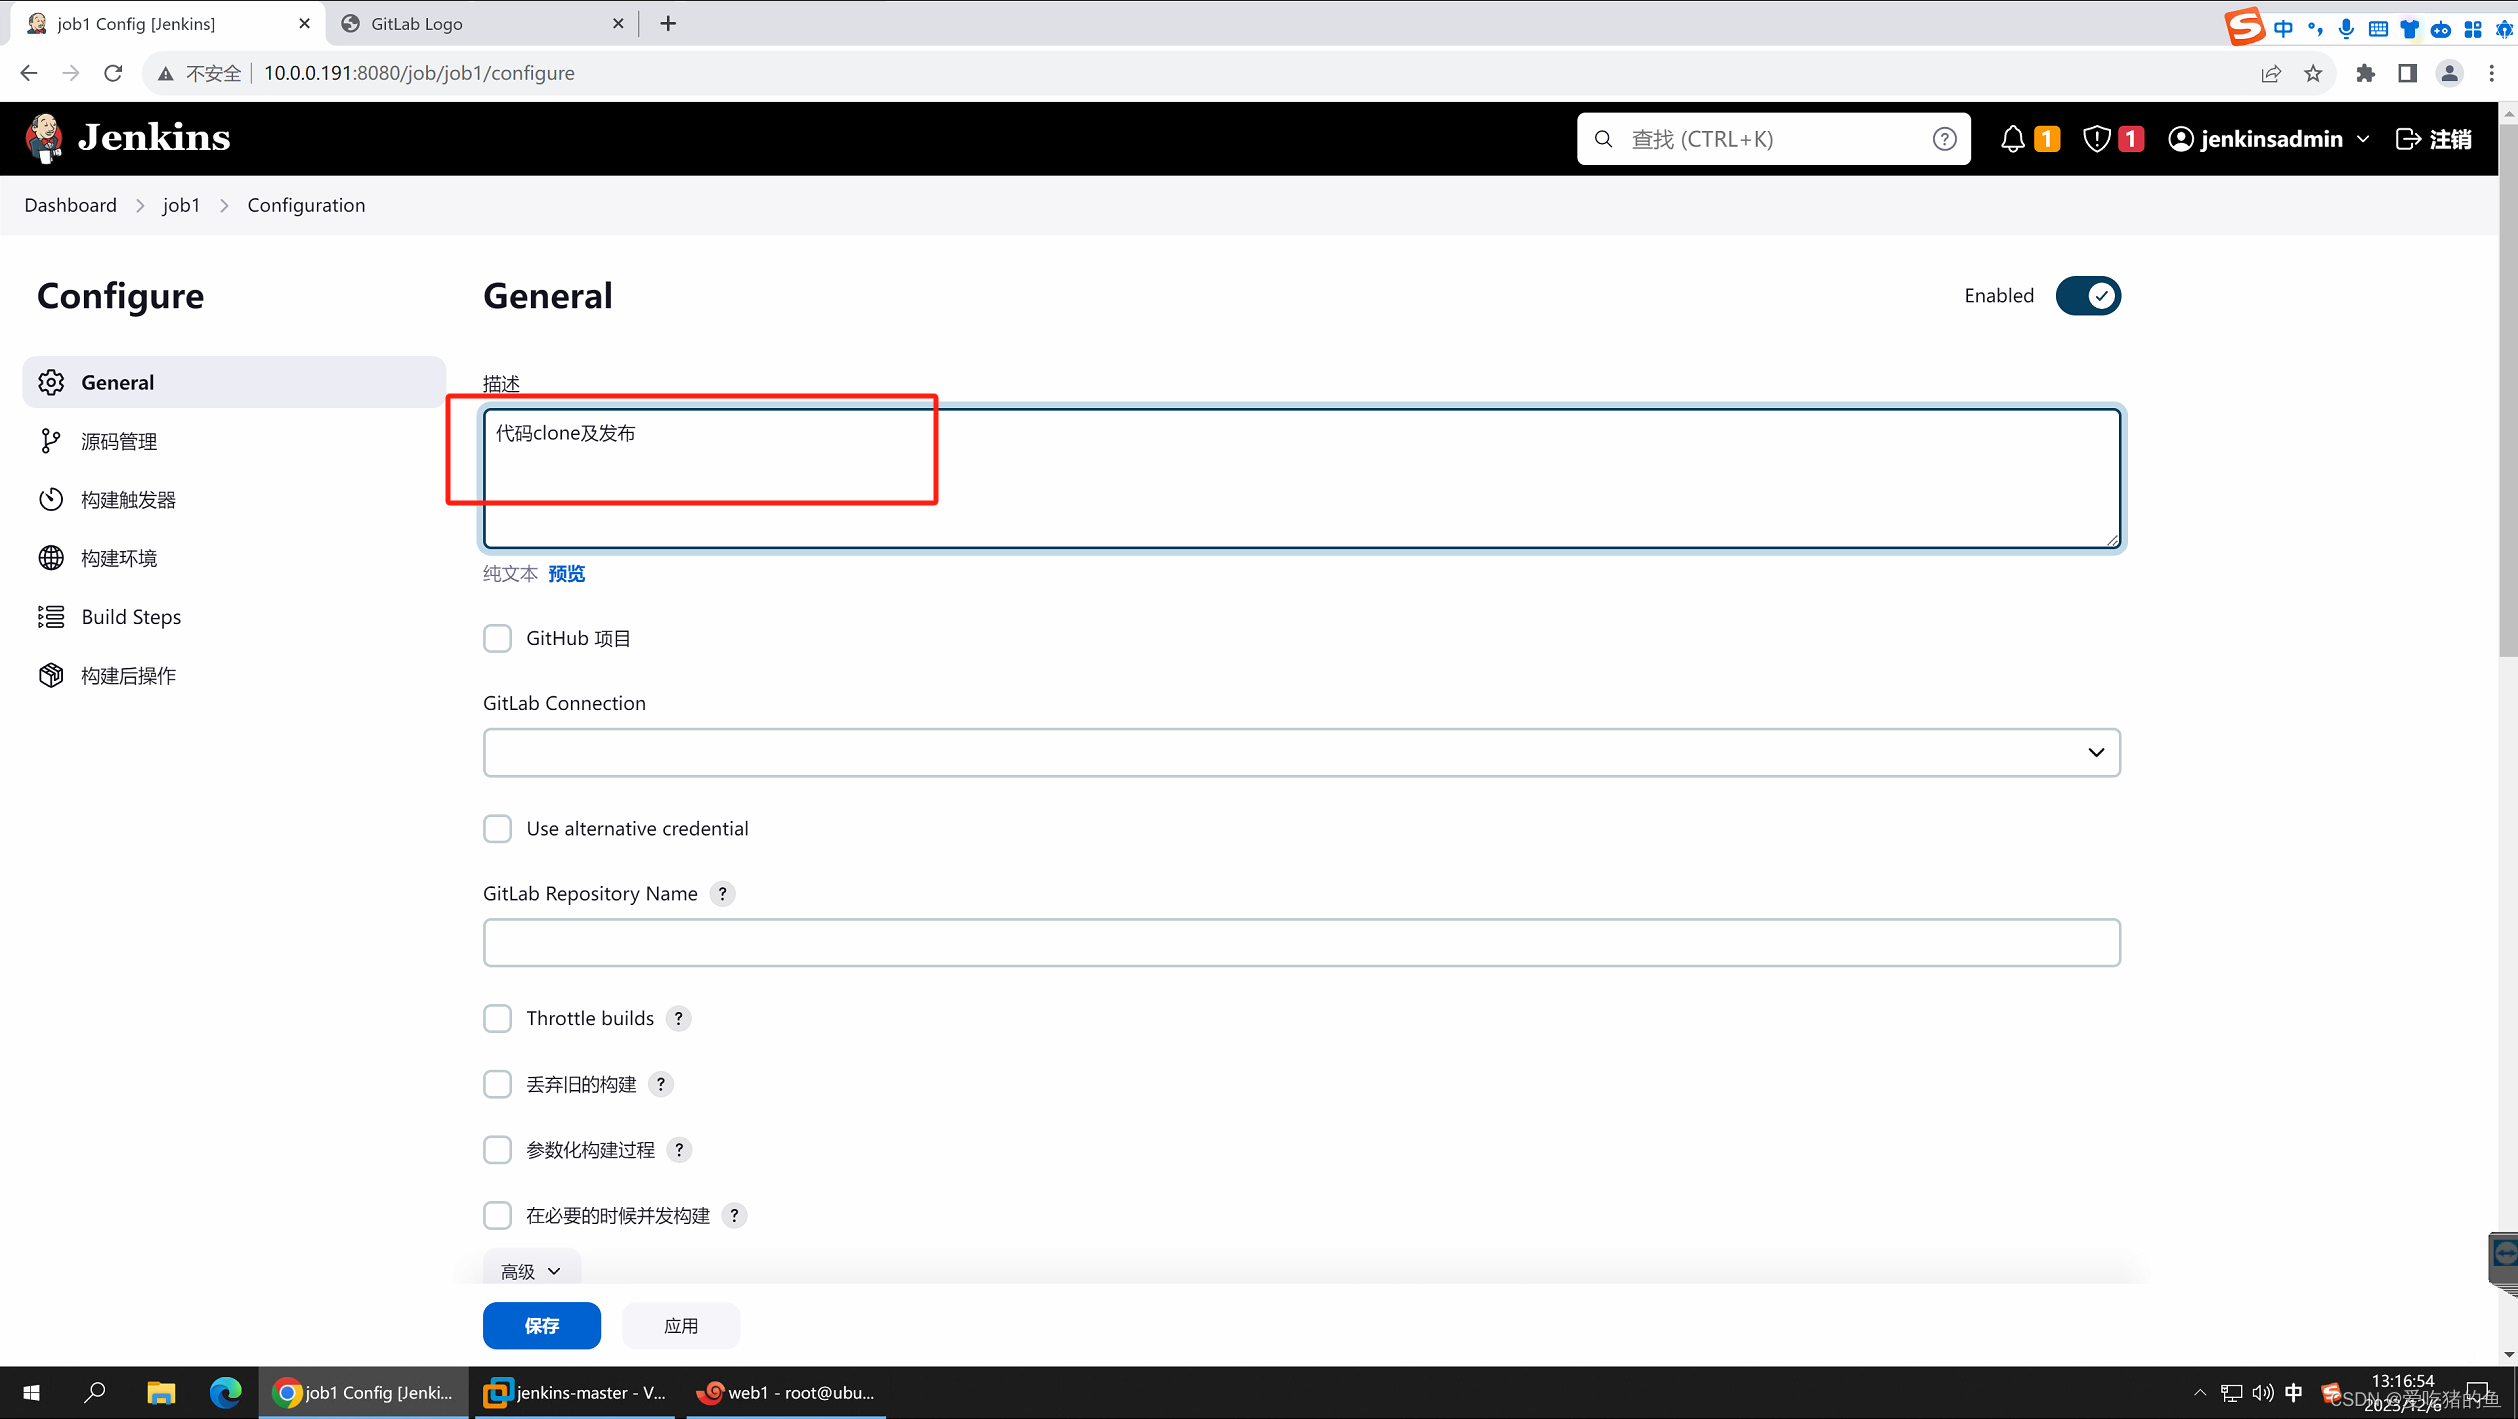
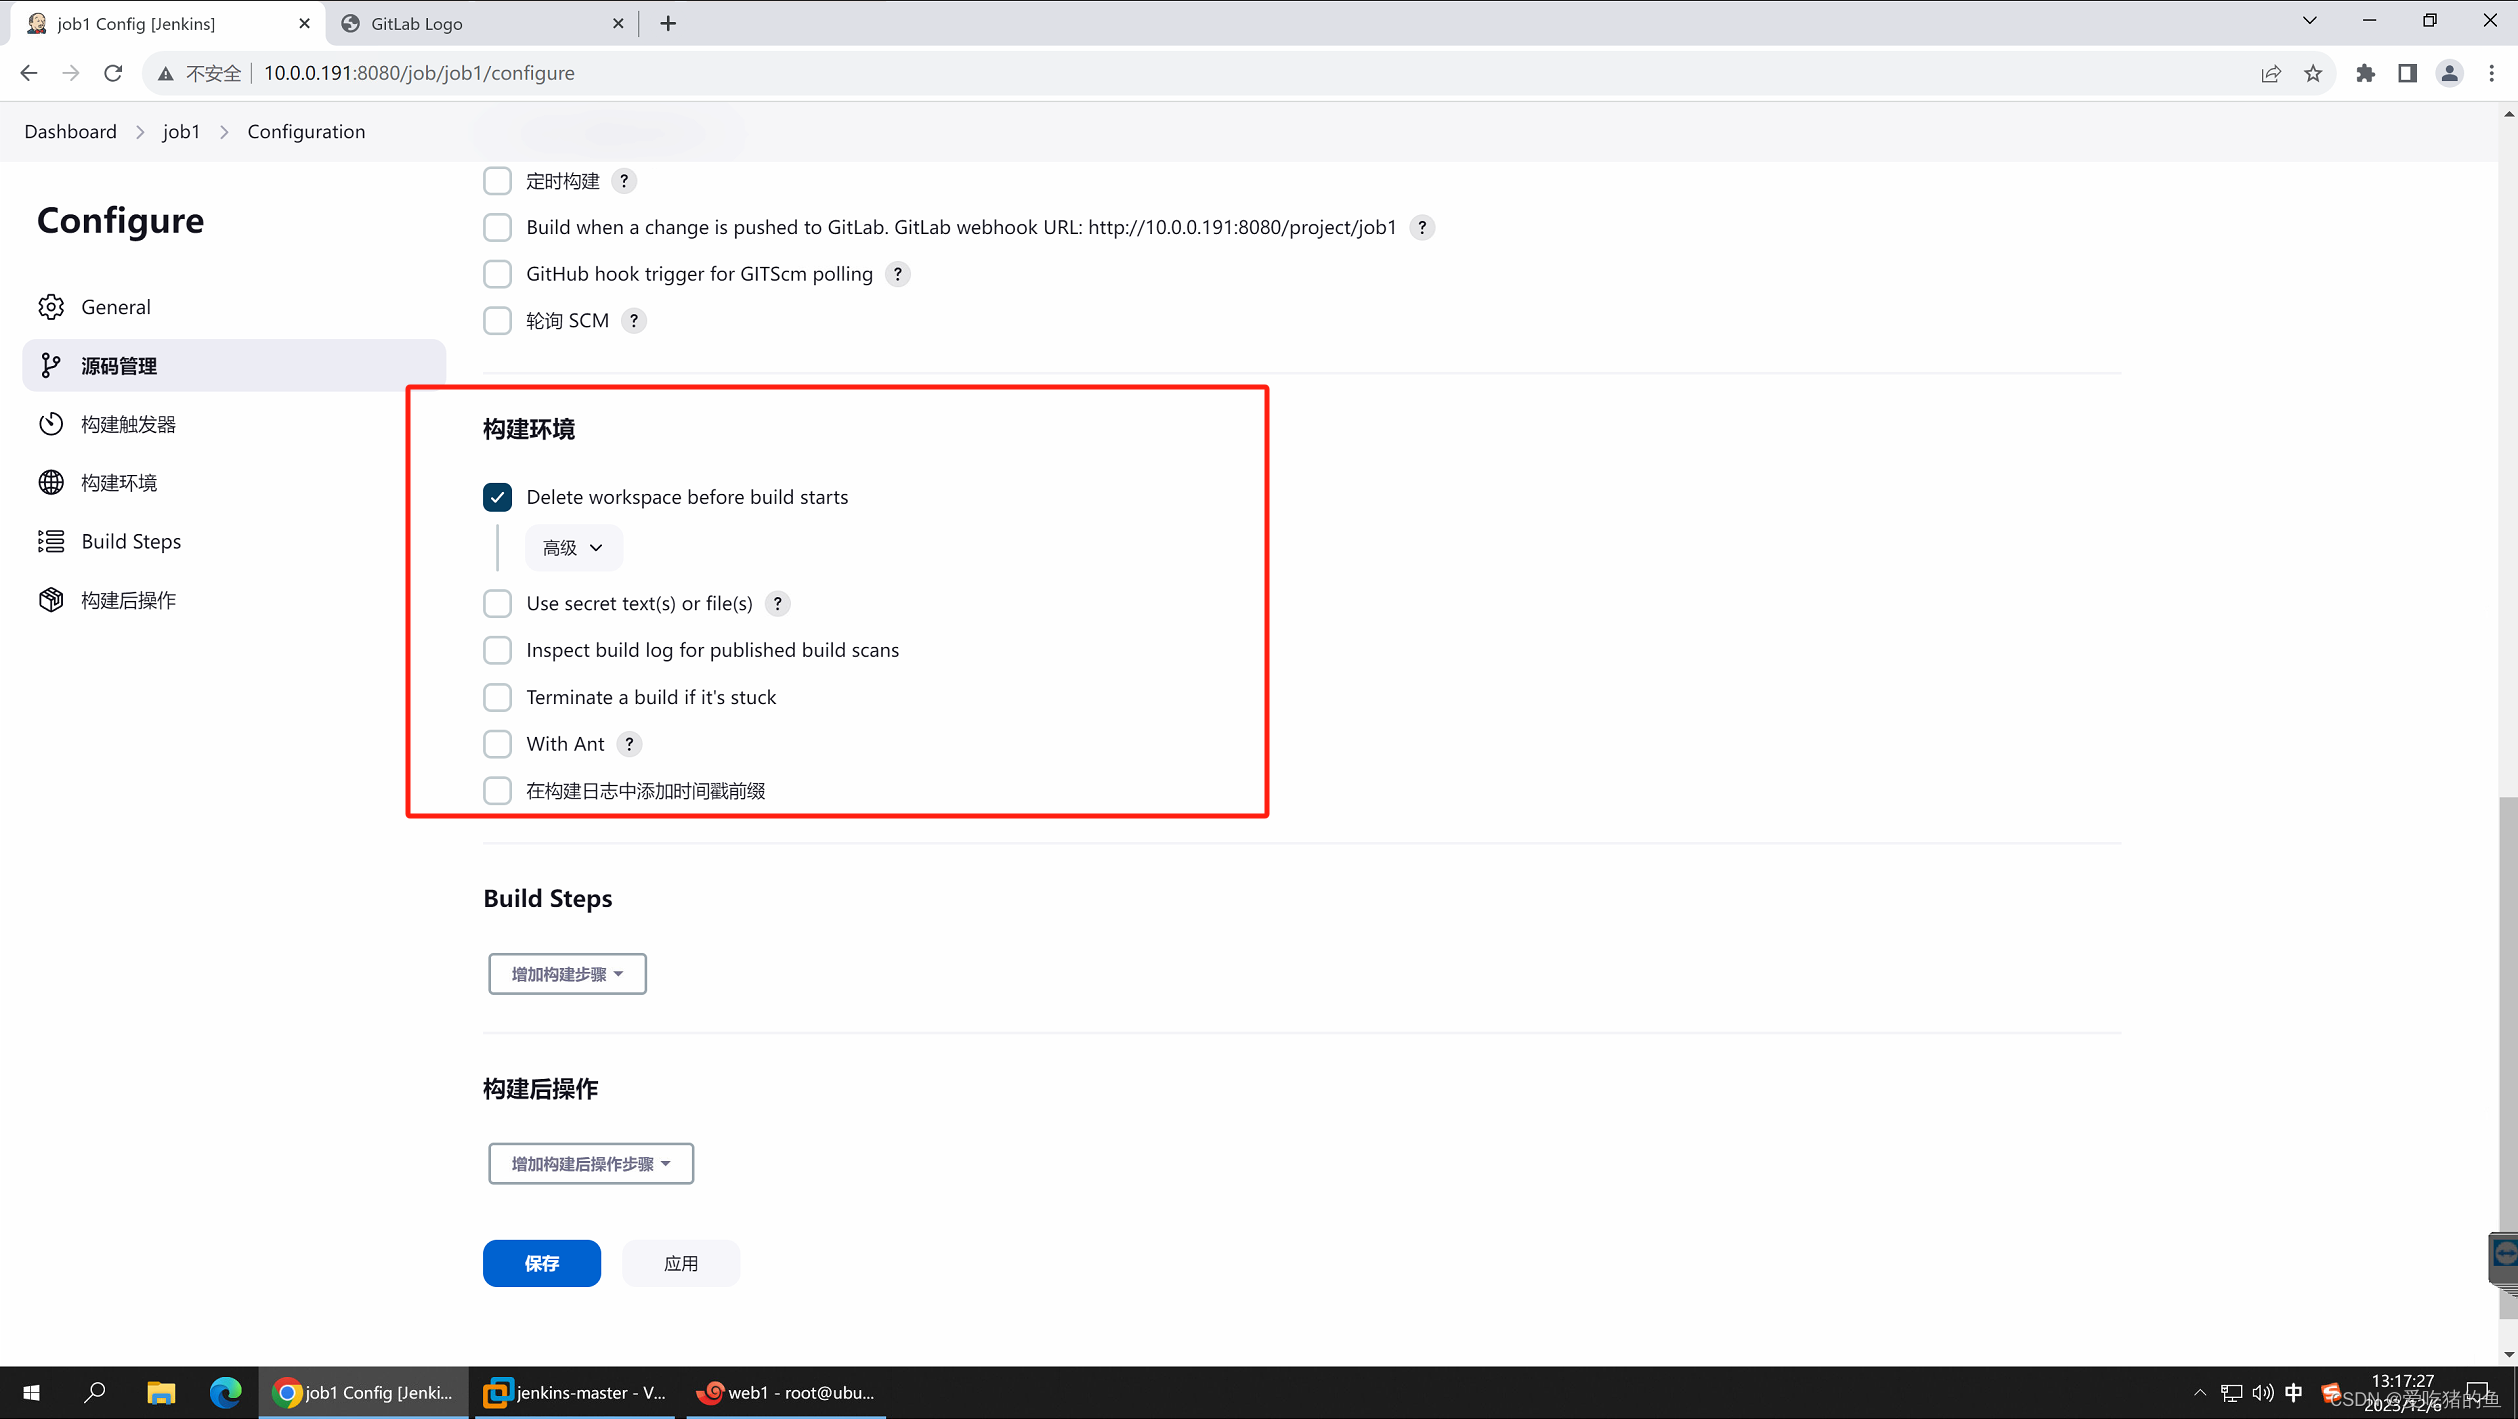
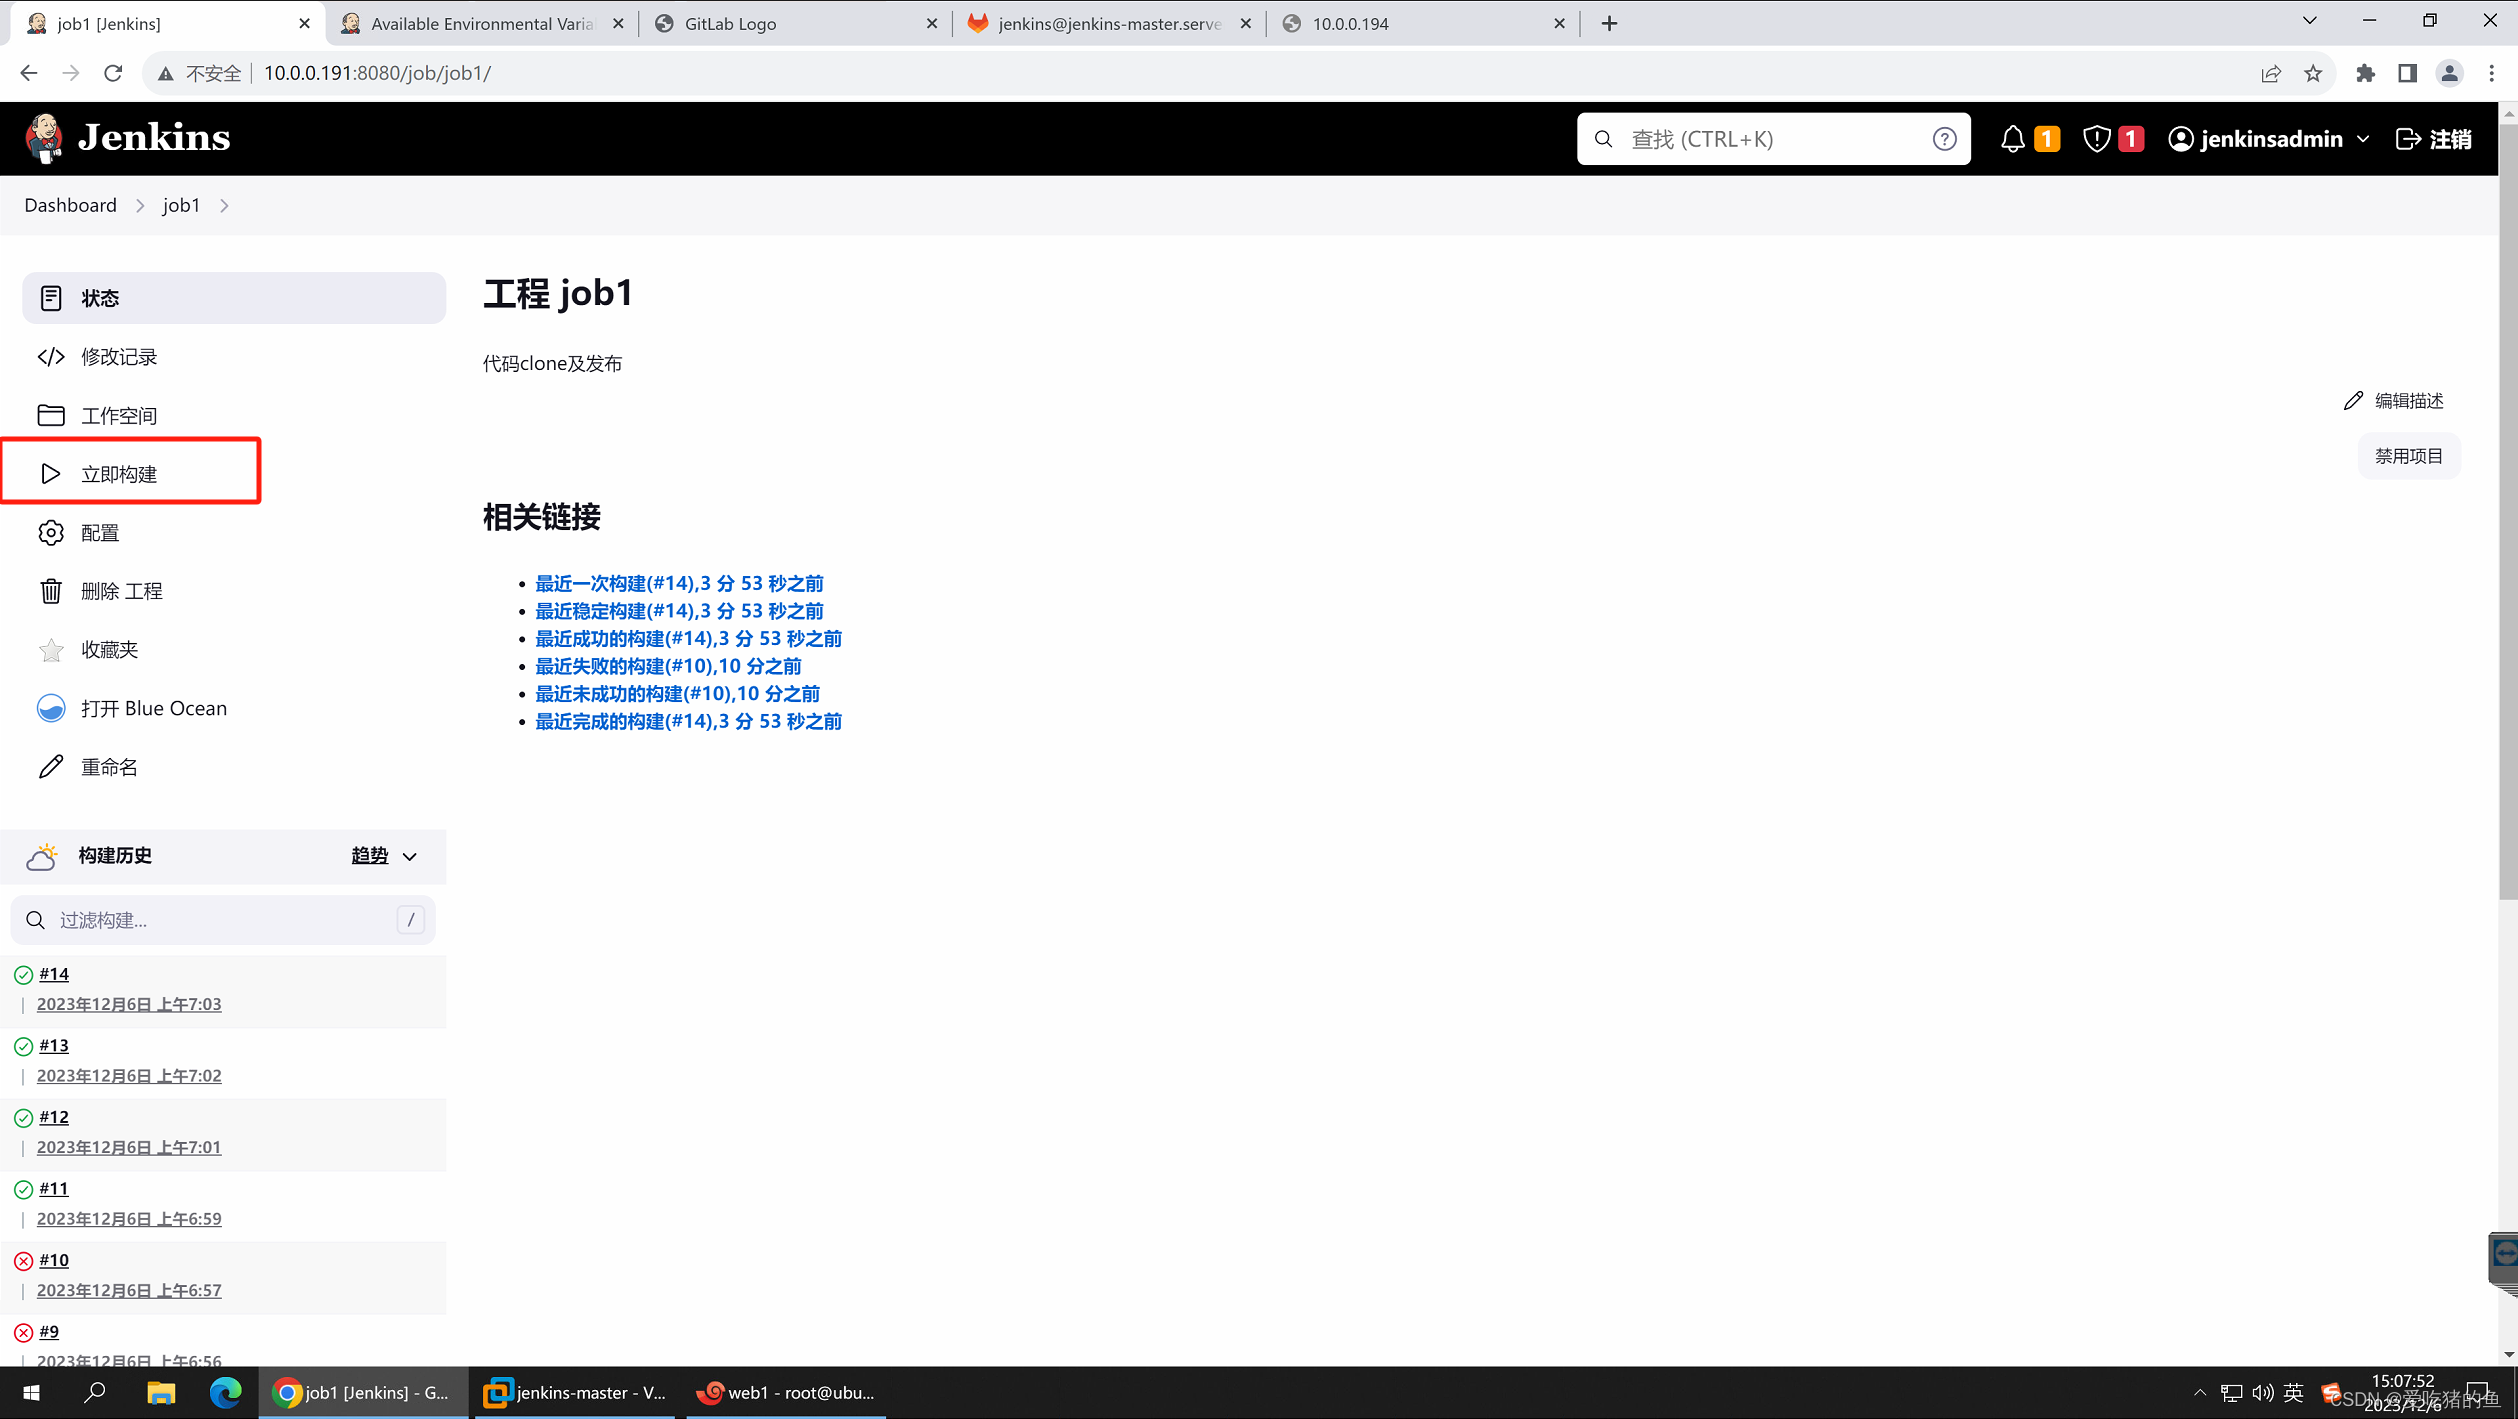
建立Jenkins任务
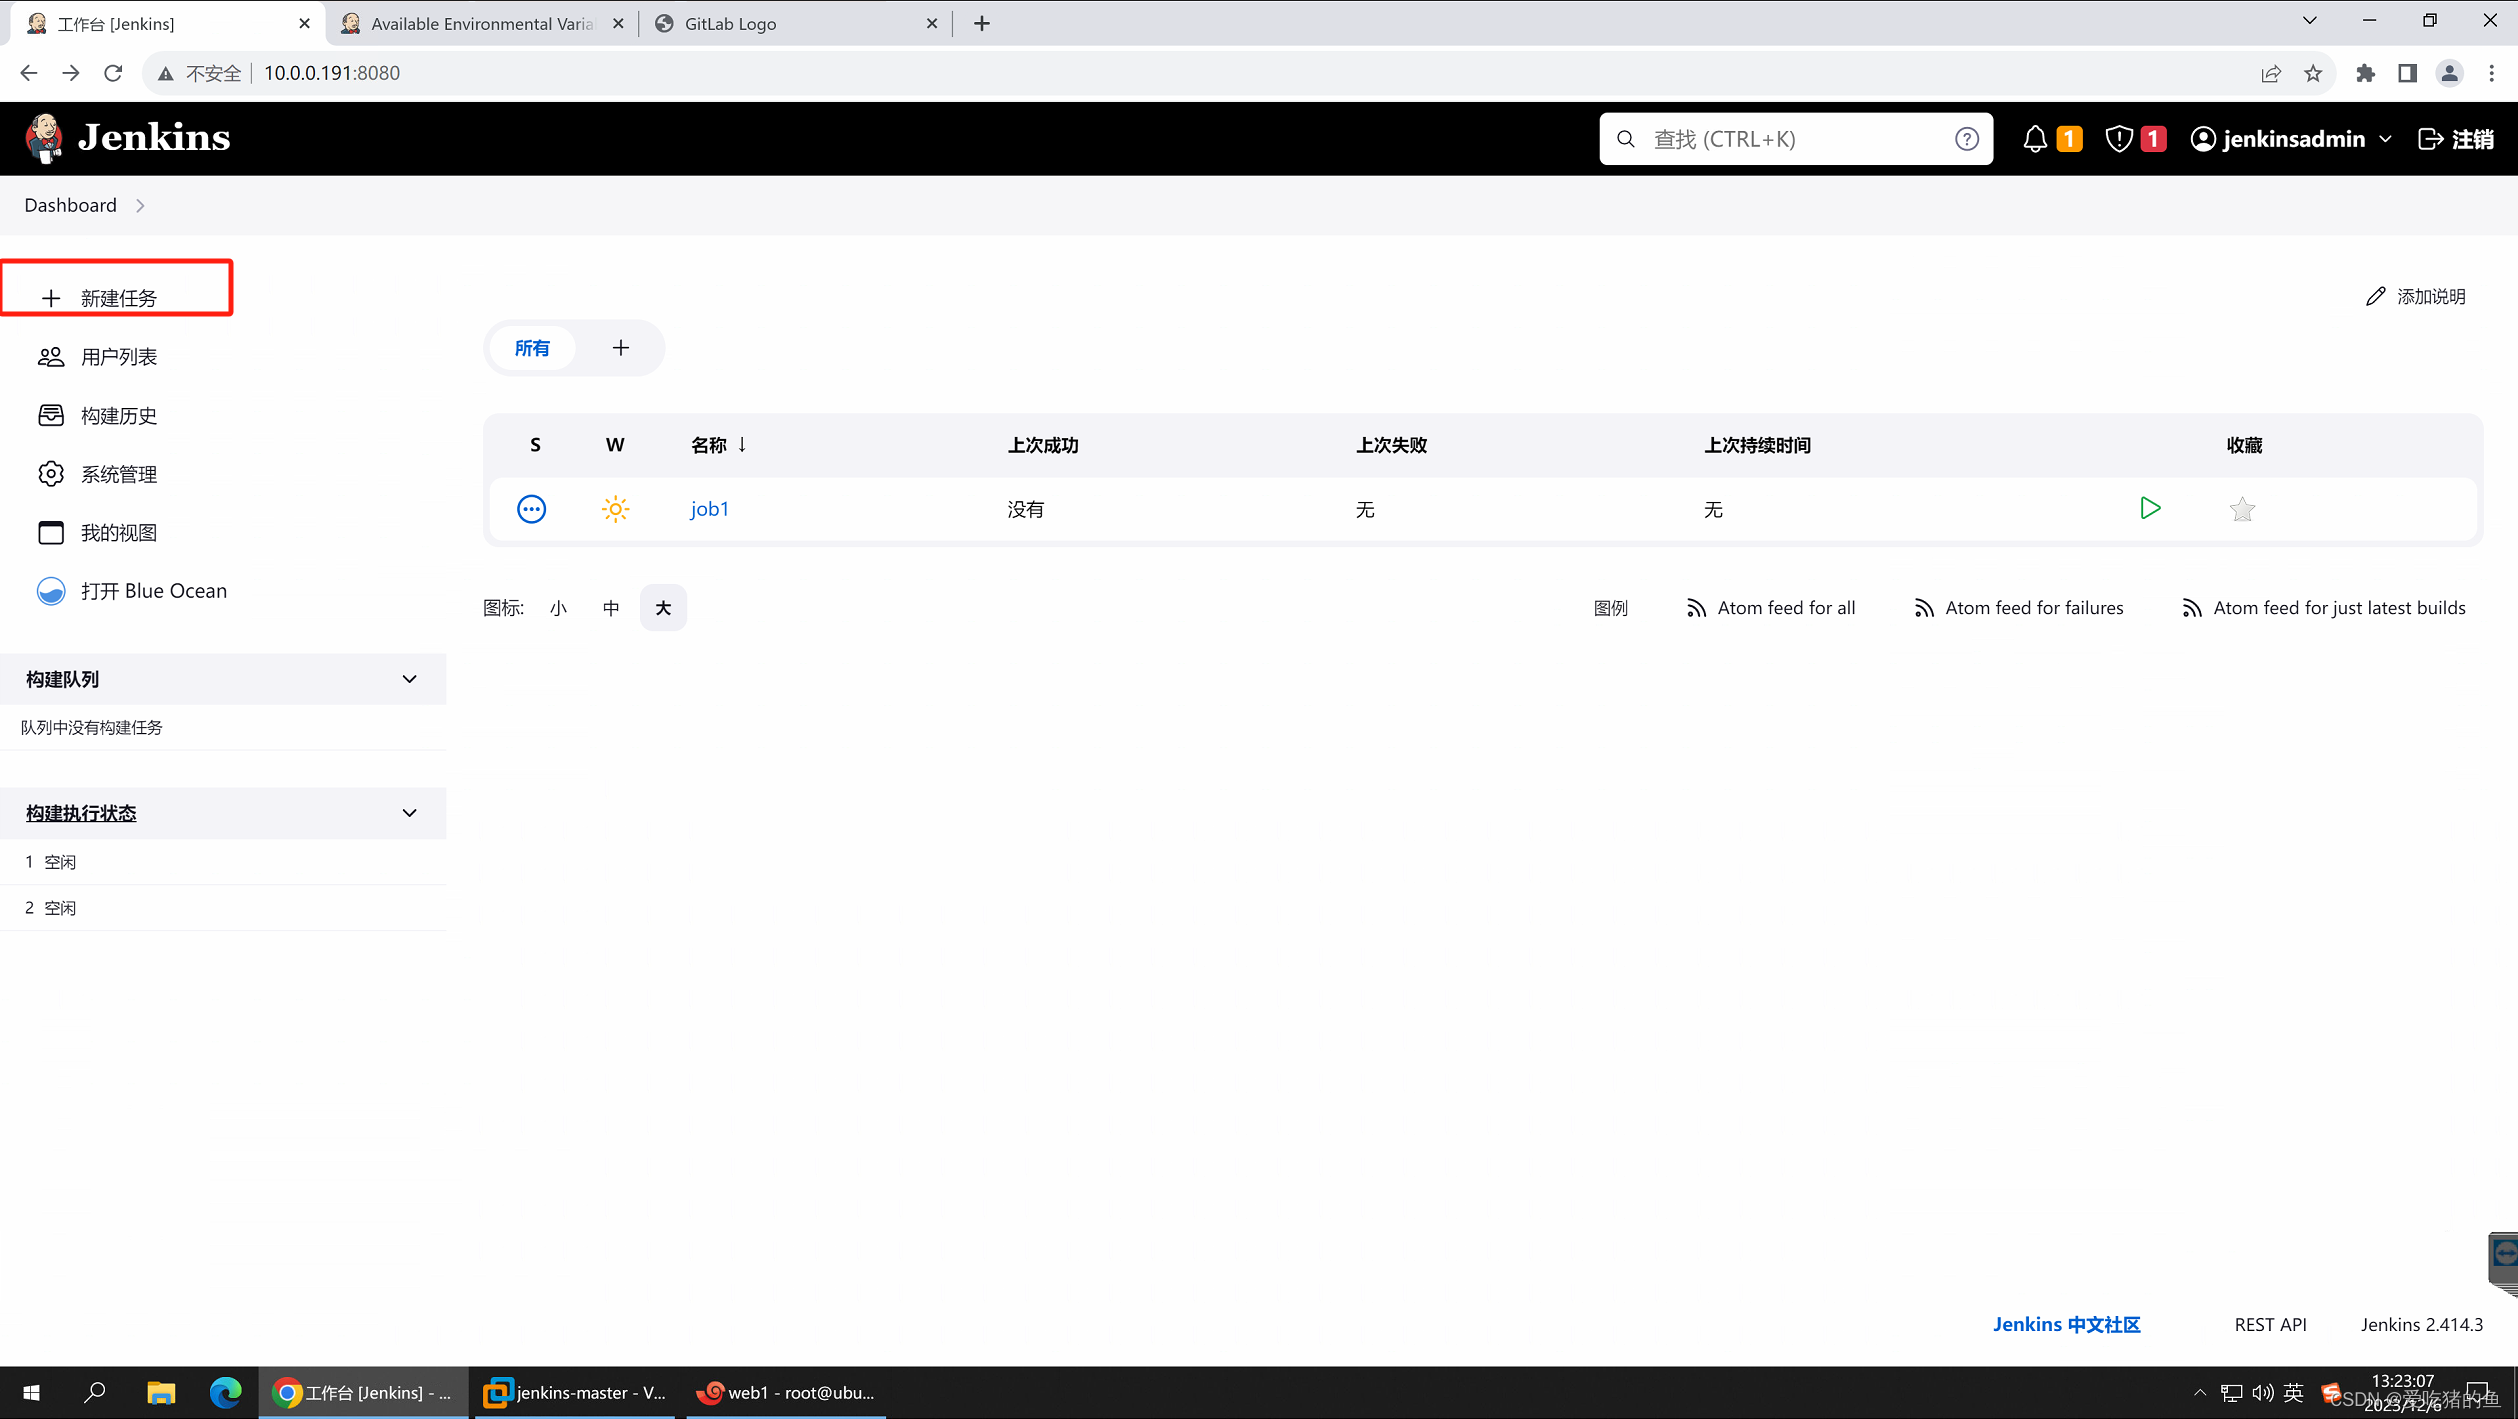

这里必须勾上,在构建之前删除原来的工作空间
Jenkins服务器生成秘钥队
在那个服务器做代码clone就在哪个服务器生成。我们在Jenkins服务器做。
#生成秘钥队
root@jenkins-master:~# ssh-keygen
Generating public/private rsa key pair.
Enter file in which to save the key (/root/.ssh/id_rsa):
Enter passphrase (empty for no passphrase): #输入密码
Enter same passphrase again: #在吃确认密码
Your identification has been saved in /root/.ssh/id_rsa
Your public key has been saved in /root/.ssh/id_rsa.pub
The key fingerprint is:
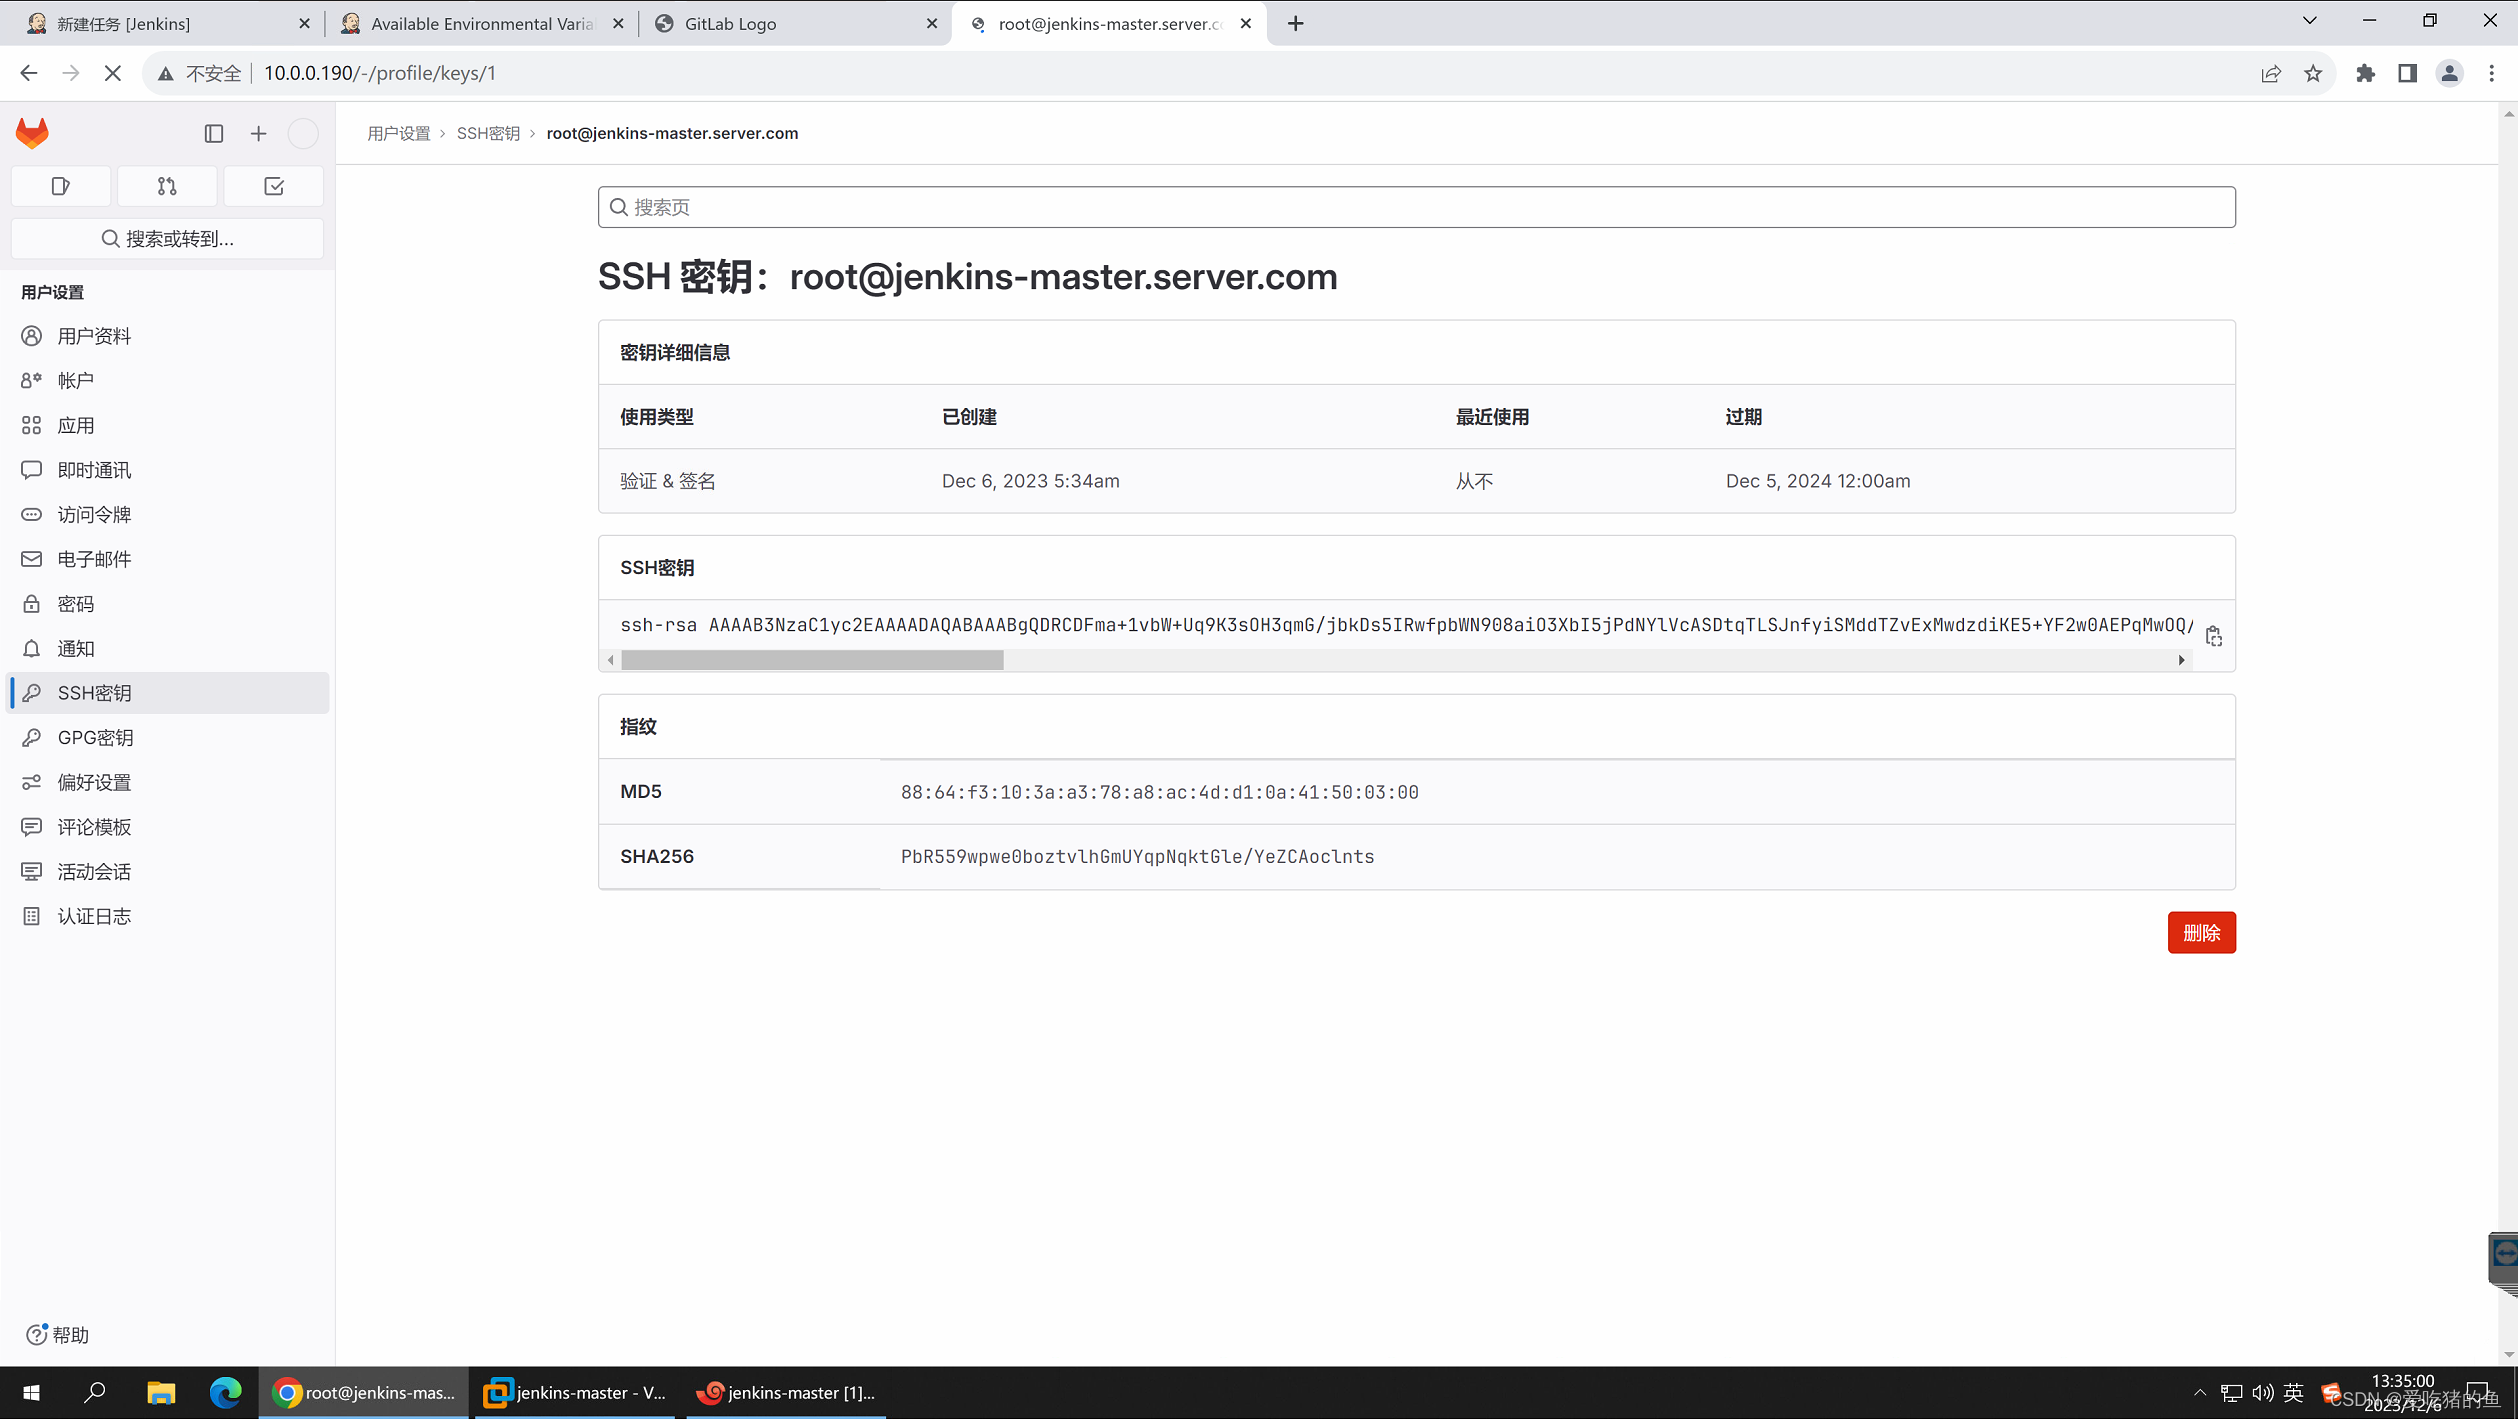
SHA256:PbR559wpwe0boztvlhGmUYqpNqktGle/YeZCAoclnts root@jenkins-master.server.com
The key's randomart image is:
+---[RSA 3072]----+
| |
| . . . |
| . = . o o |
| = . o =.o.o |
| = S.B .o=..|
| . E.*.o =oo.|
| . .* .= .o=+|
| oo o+ o.o++|
| .. . .o o*o |
+----[SHA256]-----+
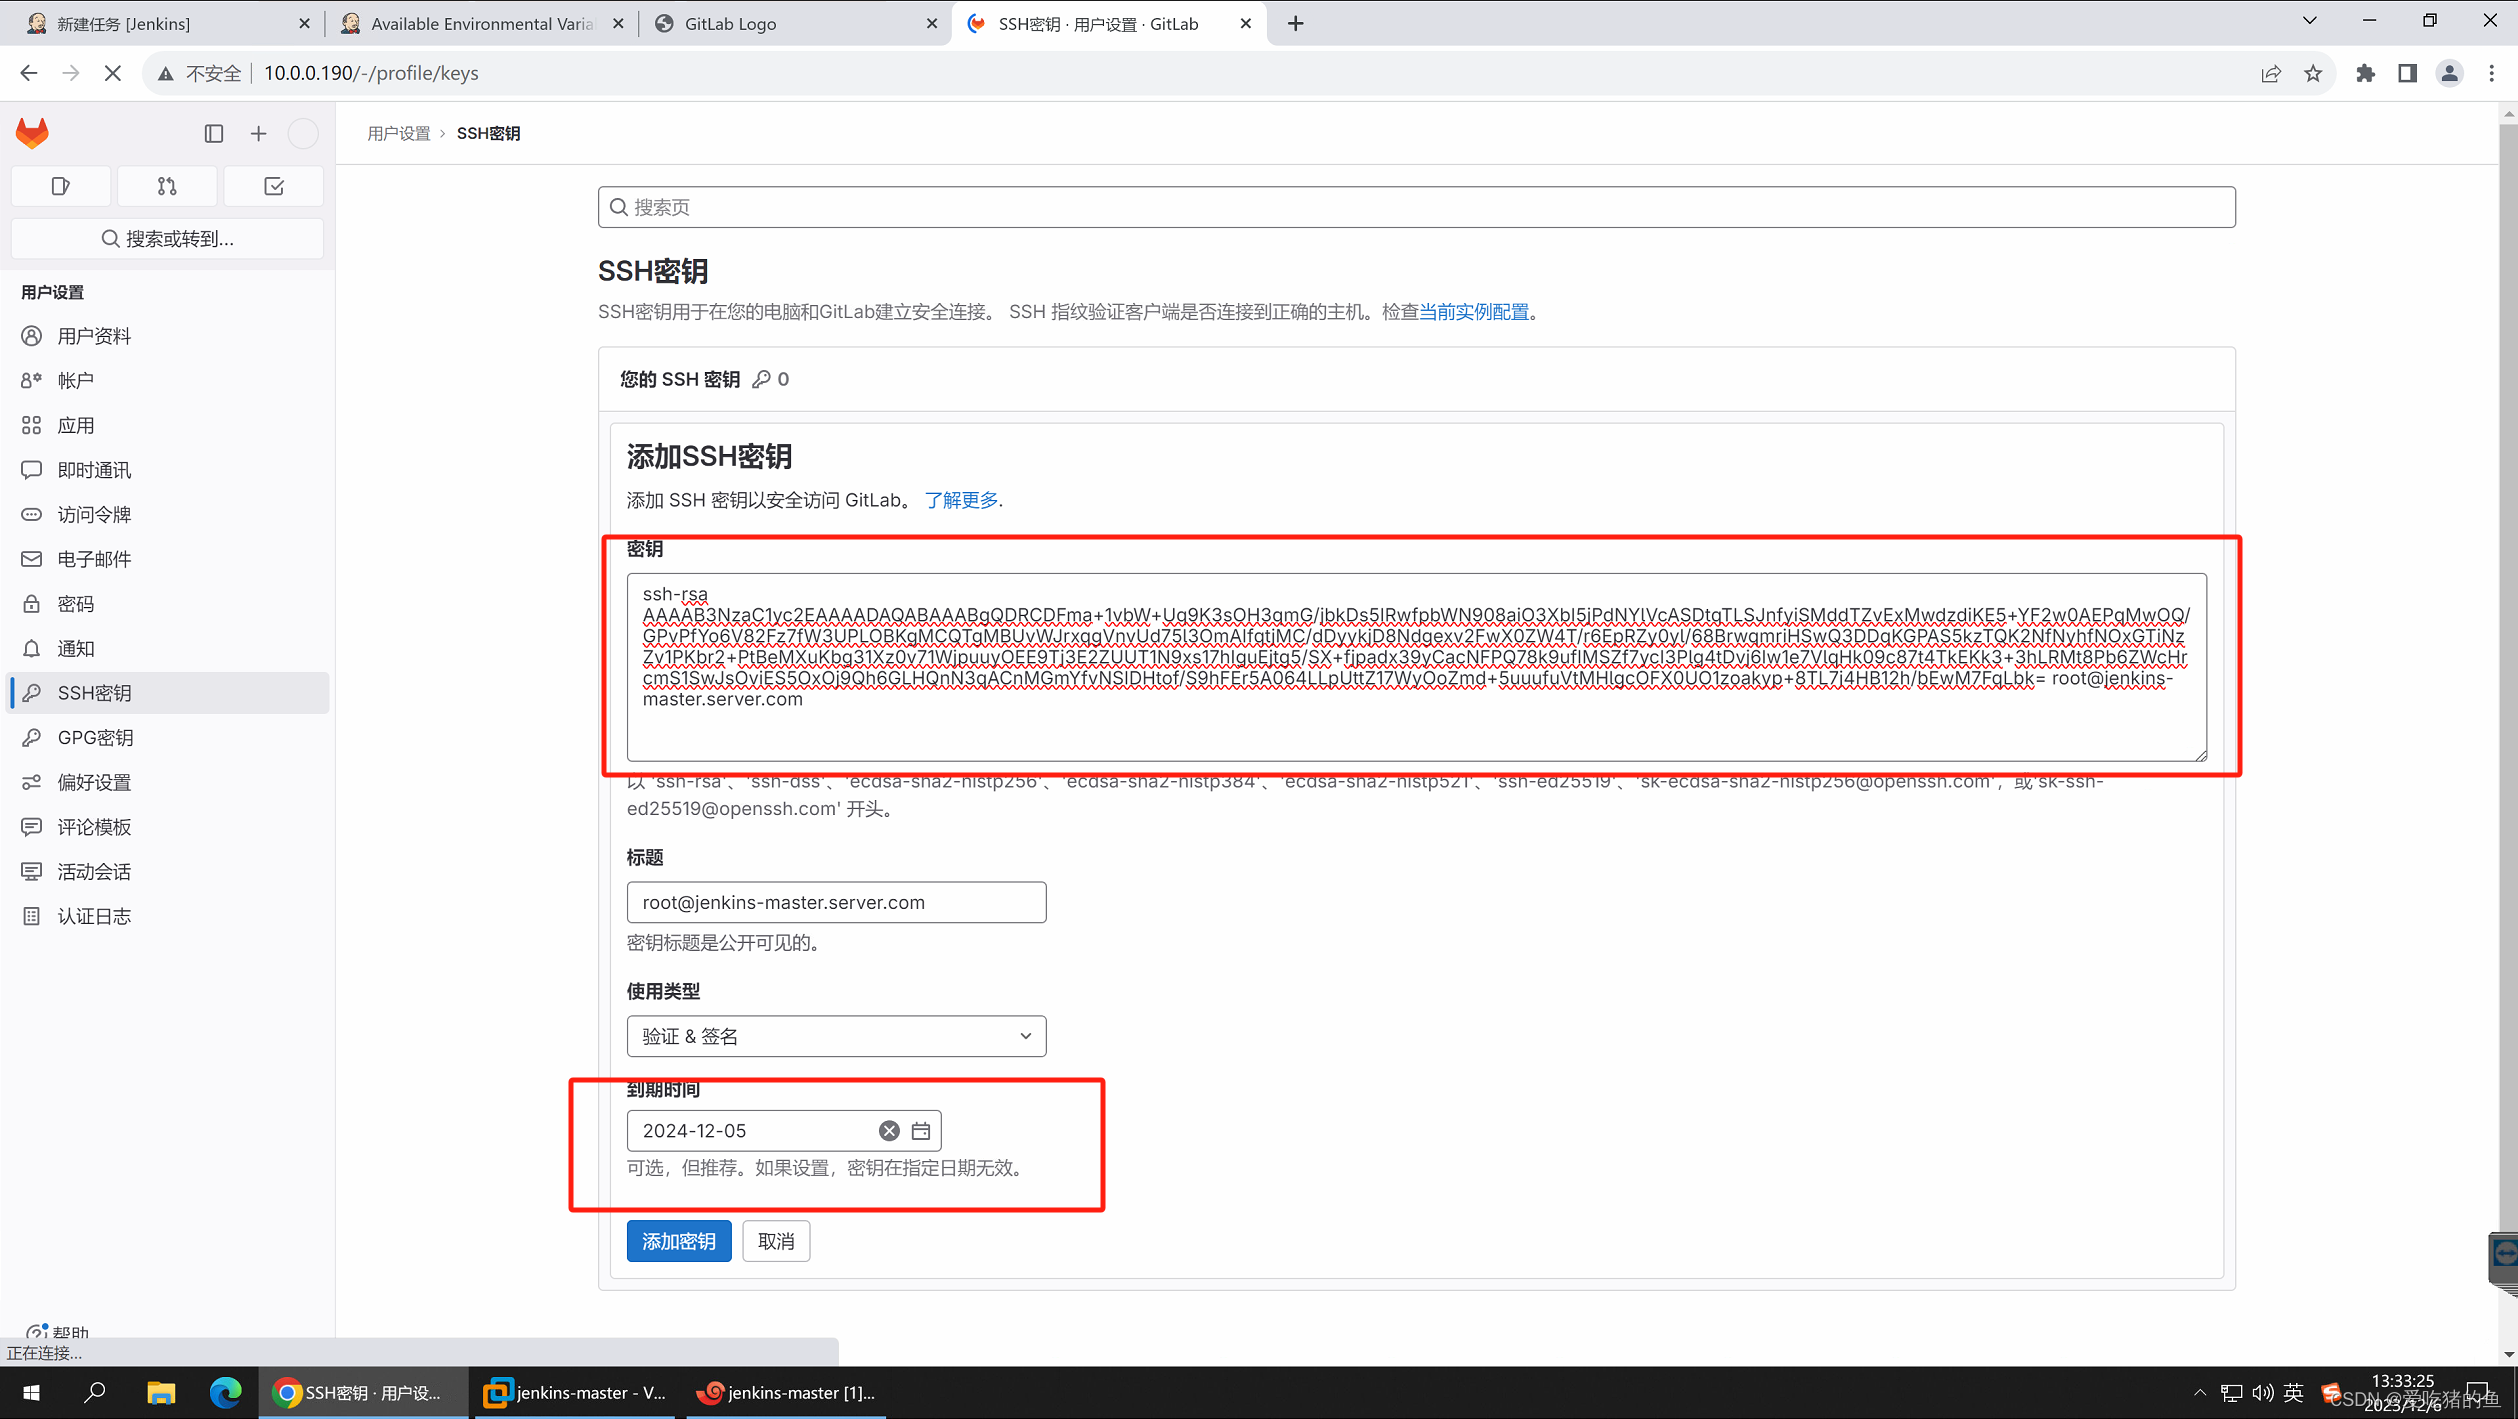
#查看秘钥队公钥
root@jenkins-master:~# cat /root/.ssh/id_rsa.pub
ssh-rsa AAAAB3NzaC1yc2EAAAADAQABAAABgQDRCDFma+1vbW+Uq9K3sOH3qmG/jbkDs5IRwfpbWN908aiO3XbI5jPdNYlVcASDtqTLSJnfyiSMddTZvExMwdzdiKE5+YF2w0AEPqMwOQ/GPvPfYo6V82Fz7fW3UPLOBKgMCQTgMBUvWJrxqgVnvUd75l3OmAIfqtjMC/dDyykjD8Ndgexv2FwX0ZW4T/r6EpRZy0yl/68BrwqmriHSwQ3DDqKGPAS5kzTQK2NfNyhfNOxGTiNzZv1PKbr2+PtBeMXuKbg31Xz0v71WjpuuyOEE9Tj3E2ZUUT1N9xs17hIguEjtg5/SX+fjpadx39yCacNFPQ78k9ufIMSZf7ycI3Plg4tDvj6Iw1e7VlqHk09c87t4TkEKk3+3hLRMt8Pb6ZWcHrcmS1SwJsOviES5OxOj9Qh6GLHQnN3qACnMGmYfvNSIDHtof/S9hFEr5A064LLpUttZ17WyOoZmd+5uuufuVtMHlgcOFX0UO1zoakyp+8TL7j4HB12h/bEwM7FqLbk= root@jenkins-master.server.com
将秘钥队公钥放到gitlab上
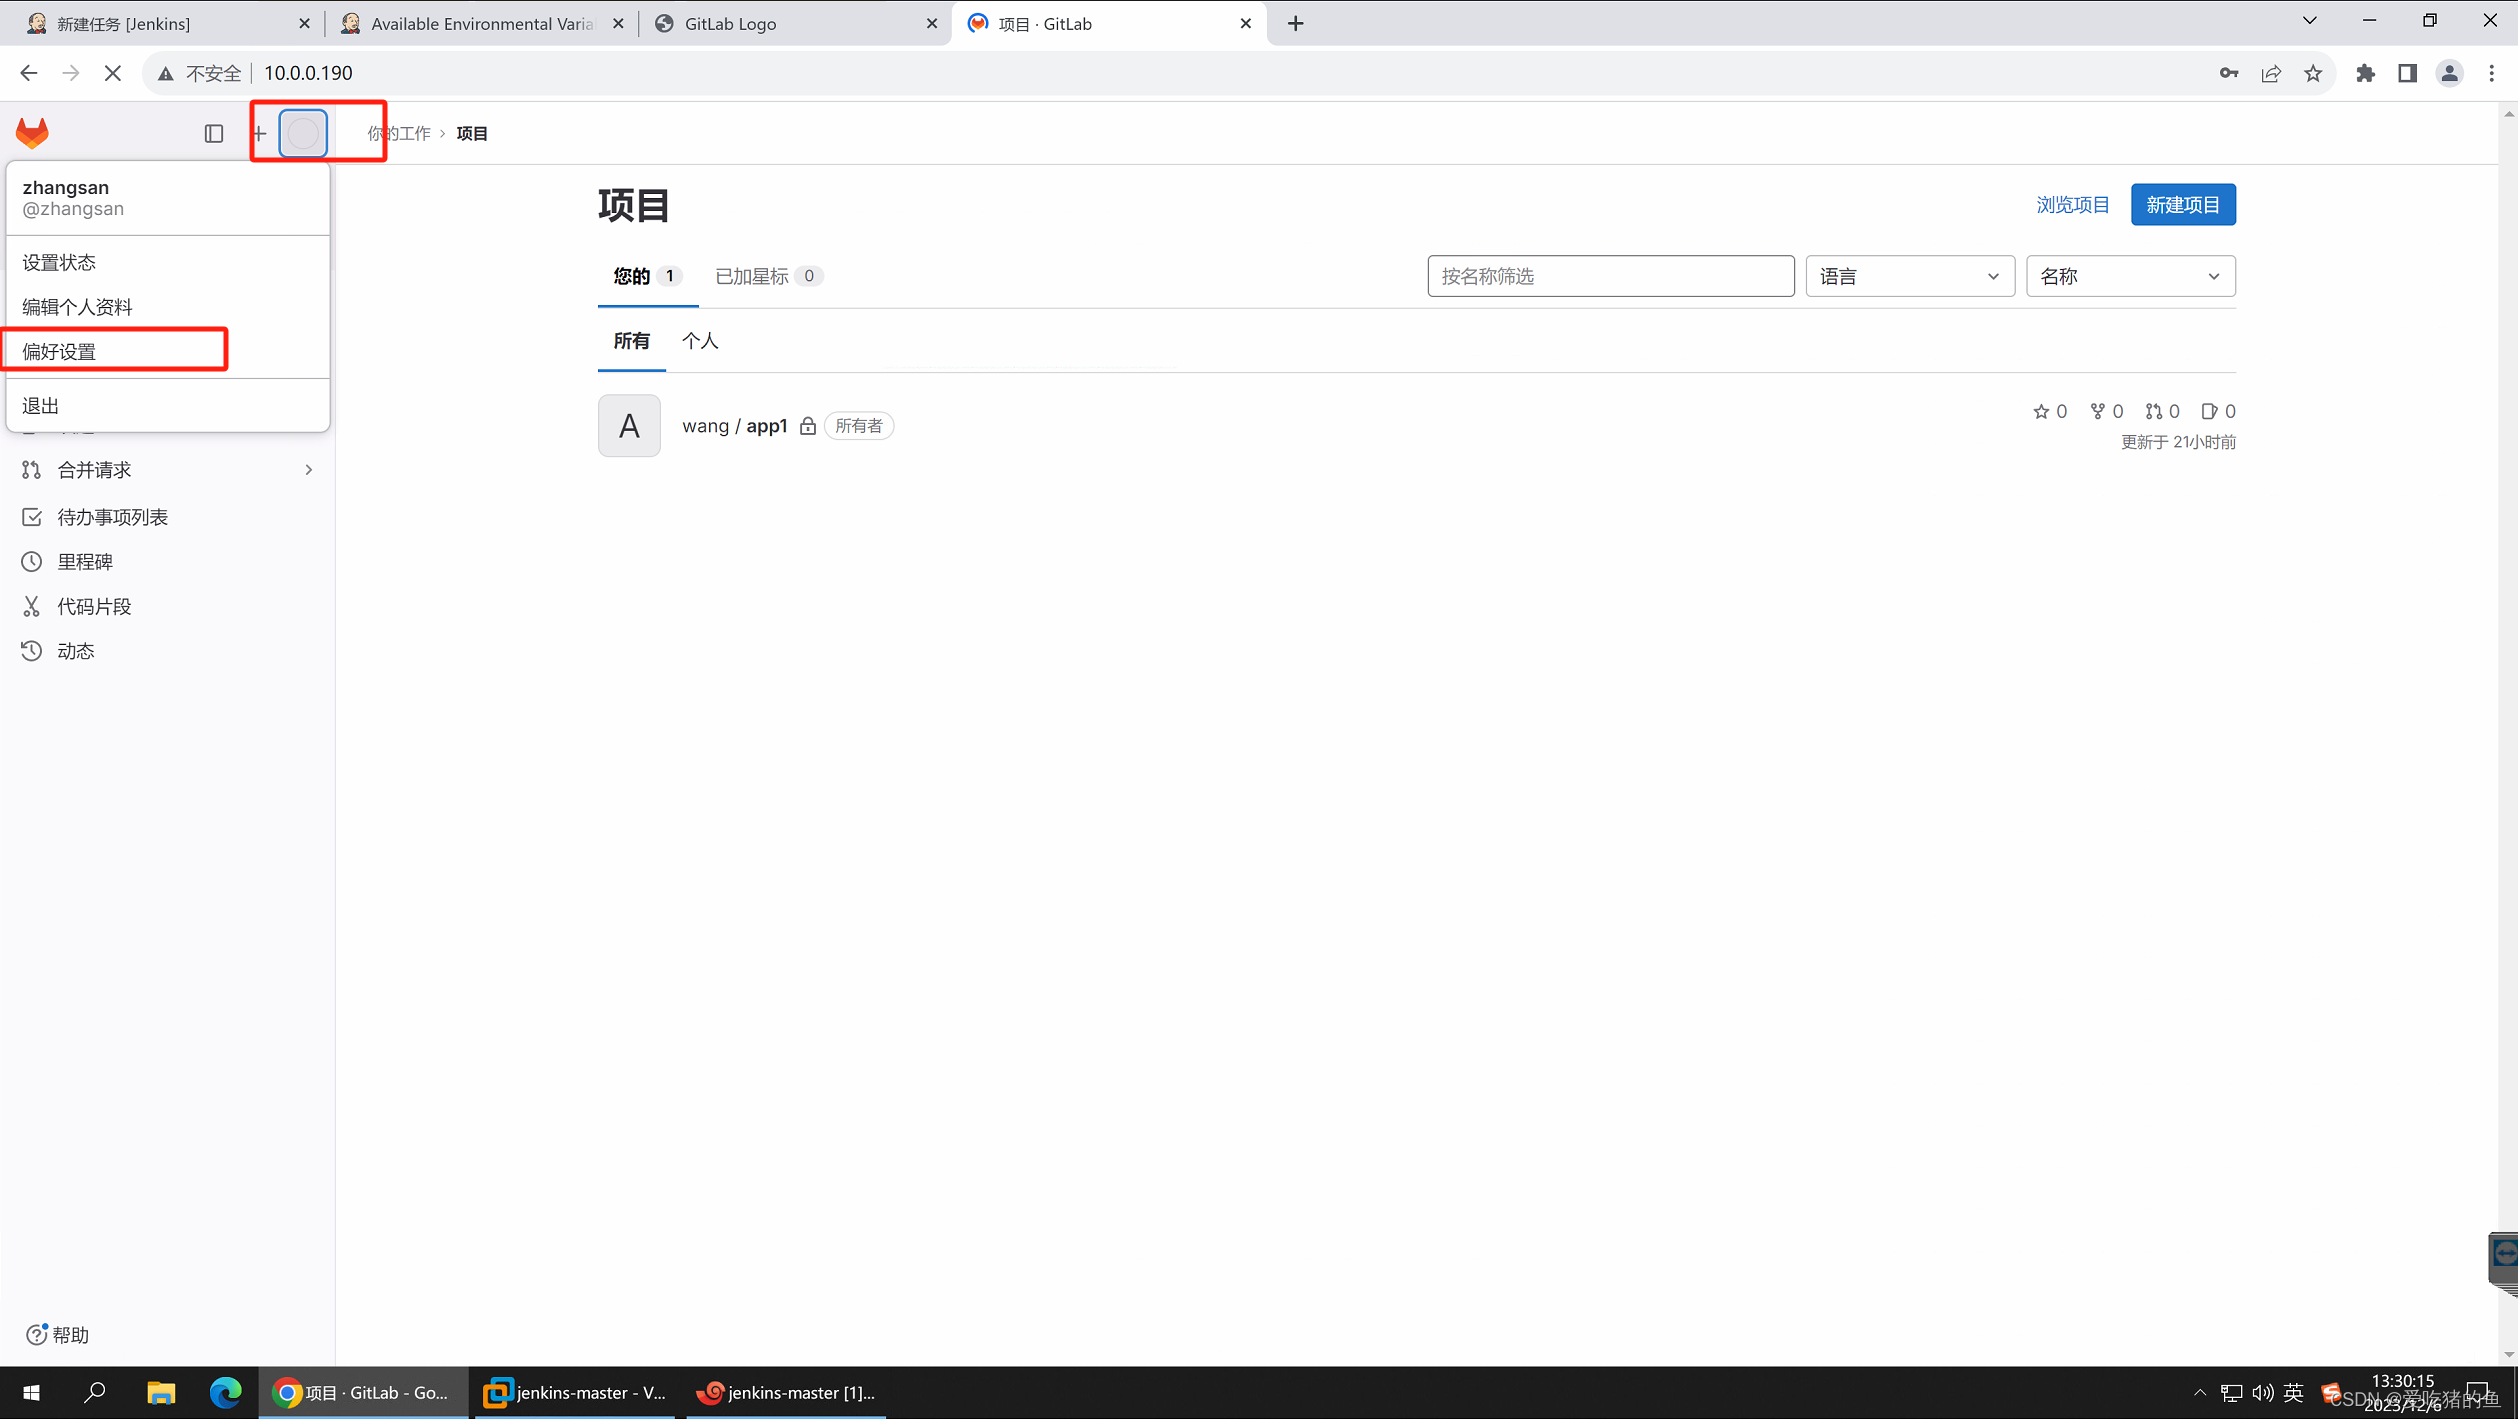
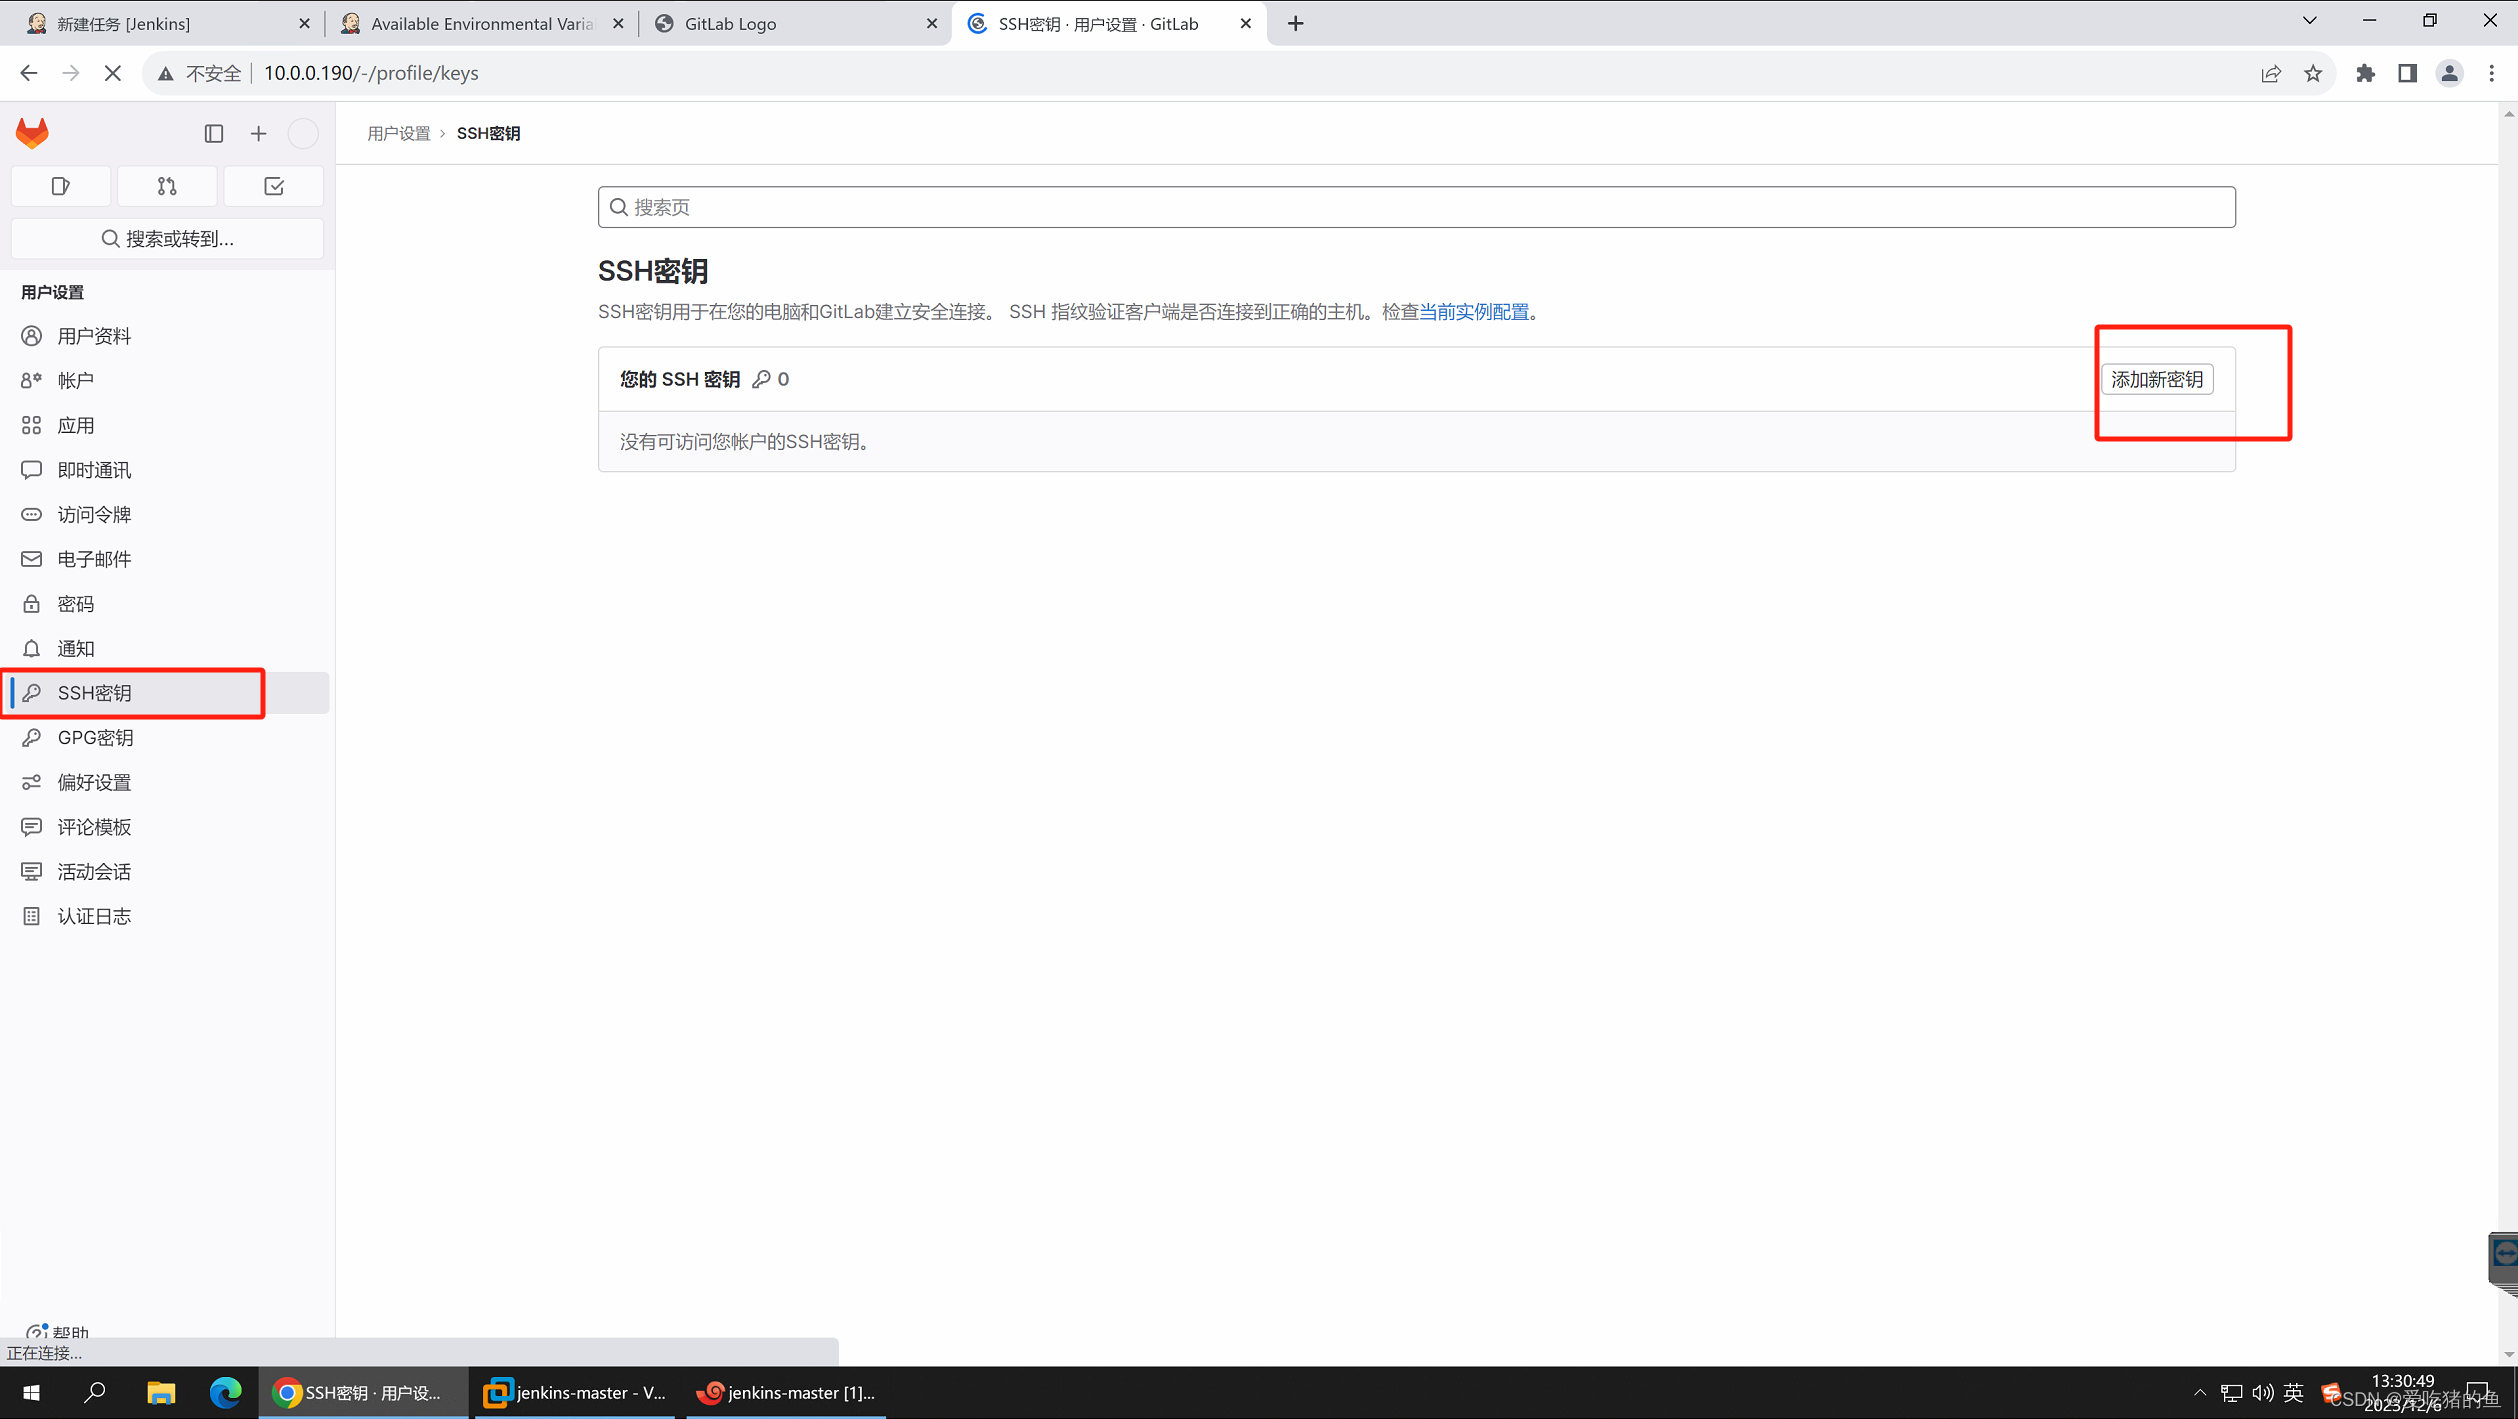
注意到期时间,到期了要重新加一次
在gitlab上获取代码ssh 克隆地址
git@10.0.0.190:wang/app1.git
在Jenkins服务器上测试免密SSH克隆
#创建项目目录
root@jenkins-master:~# mkdir -p /data/git/wang
#进入目录
root@jenkins-master:~# cd /data/git/wang/

#克隆
root@jenkins-master:/data/git/wang# git clone git@10.0.0.190:wang/app1.git
Cloning into 'app1'...
The authenticity of host '10.0.0.190 (10.0.0.190)' can't be established.
ED25519 key fingerprint is SHA256:RcqCfmd+yzEMq02+WFrpBU4r95/EmVi9n8Swrn540ww.
This key is not known by any other names
Are you sure you want to continue connecting (yes/no/[fingerprint])? yes #第一次克隆要输入yes
Warning: Permanently added '10.0.0.190' (ED25519) to the list of known hosts.
remote: Enumerating objects: 15, done.
remote: Counting objects: 100% (15/15), done.
remote: Compressing objects: 100% (11/11), done.
remote: Total 15 (delta 1), reused 15 (delta 1), pack-reused 0
Receiving objects: 100% (15/15), done.
Resolving deltas: 100% (1/1), done.
root@jenkins-master:/data/git/wang# ll
total 12
drwxr-xr-x 3 root root 4096 Dec  6 05:39 ./
drwxr-xr-x 3 root root 4096 Dec  6 05:37 ../
drwxr-xr-x 3 root root 4096 Dec  6 05:39 app1/
web1服务器配置nginx
#下载nginx源码
wget https://nginx.org/download/nginx-1.24.0.tar.gz
tar xvf nginx-1.24.0.tar.gz
cd nginx-1.24.0
#安装nginx需要的基础环境
apt install iproute2 ntpdate tcpdump telnet traceroute nfs-kernel-server nfs-common lrzsz tree openssl libssl-dev libpcre3 libpcre3-dev zlib1g-dev gcc openssh-server iotop unzip zip make

#编译
./configure --prefix=/apps/nginx \
--with-http_ssl_module \
--with-http_v2_module \
--with-http_realip_module \
--with-http_stub_status_module \
--with-http_gzip_static_module \
--with-pcre \
--with-file-aio \
--with-stream \
--with-stream_ssl_module \
--with-stream_realip_module

#安装
make && make install

#新建用户nginx,给nginx使用
useradd -m nginx -u 2023 -s /bin/bash
#设置nginx账号密码
passwd nginx
#赋权
chown -R nginx.nginx /apps/nginx/

#启动nginx
/apps/nginx/sbin/nginx
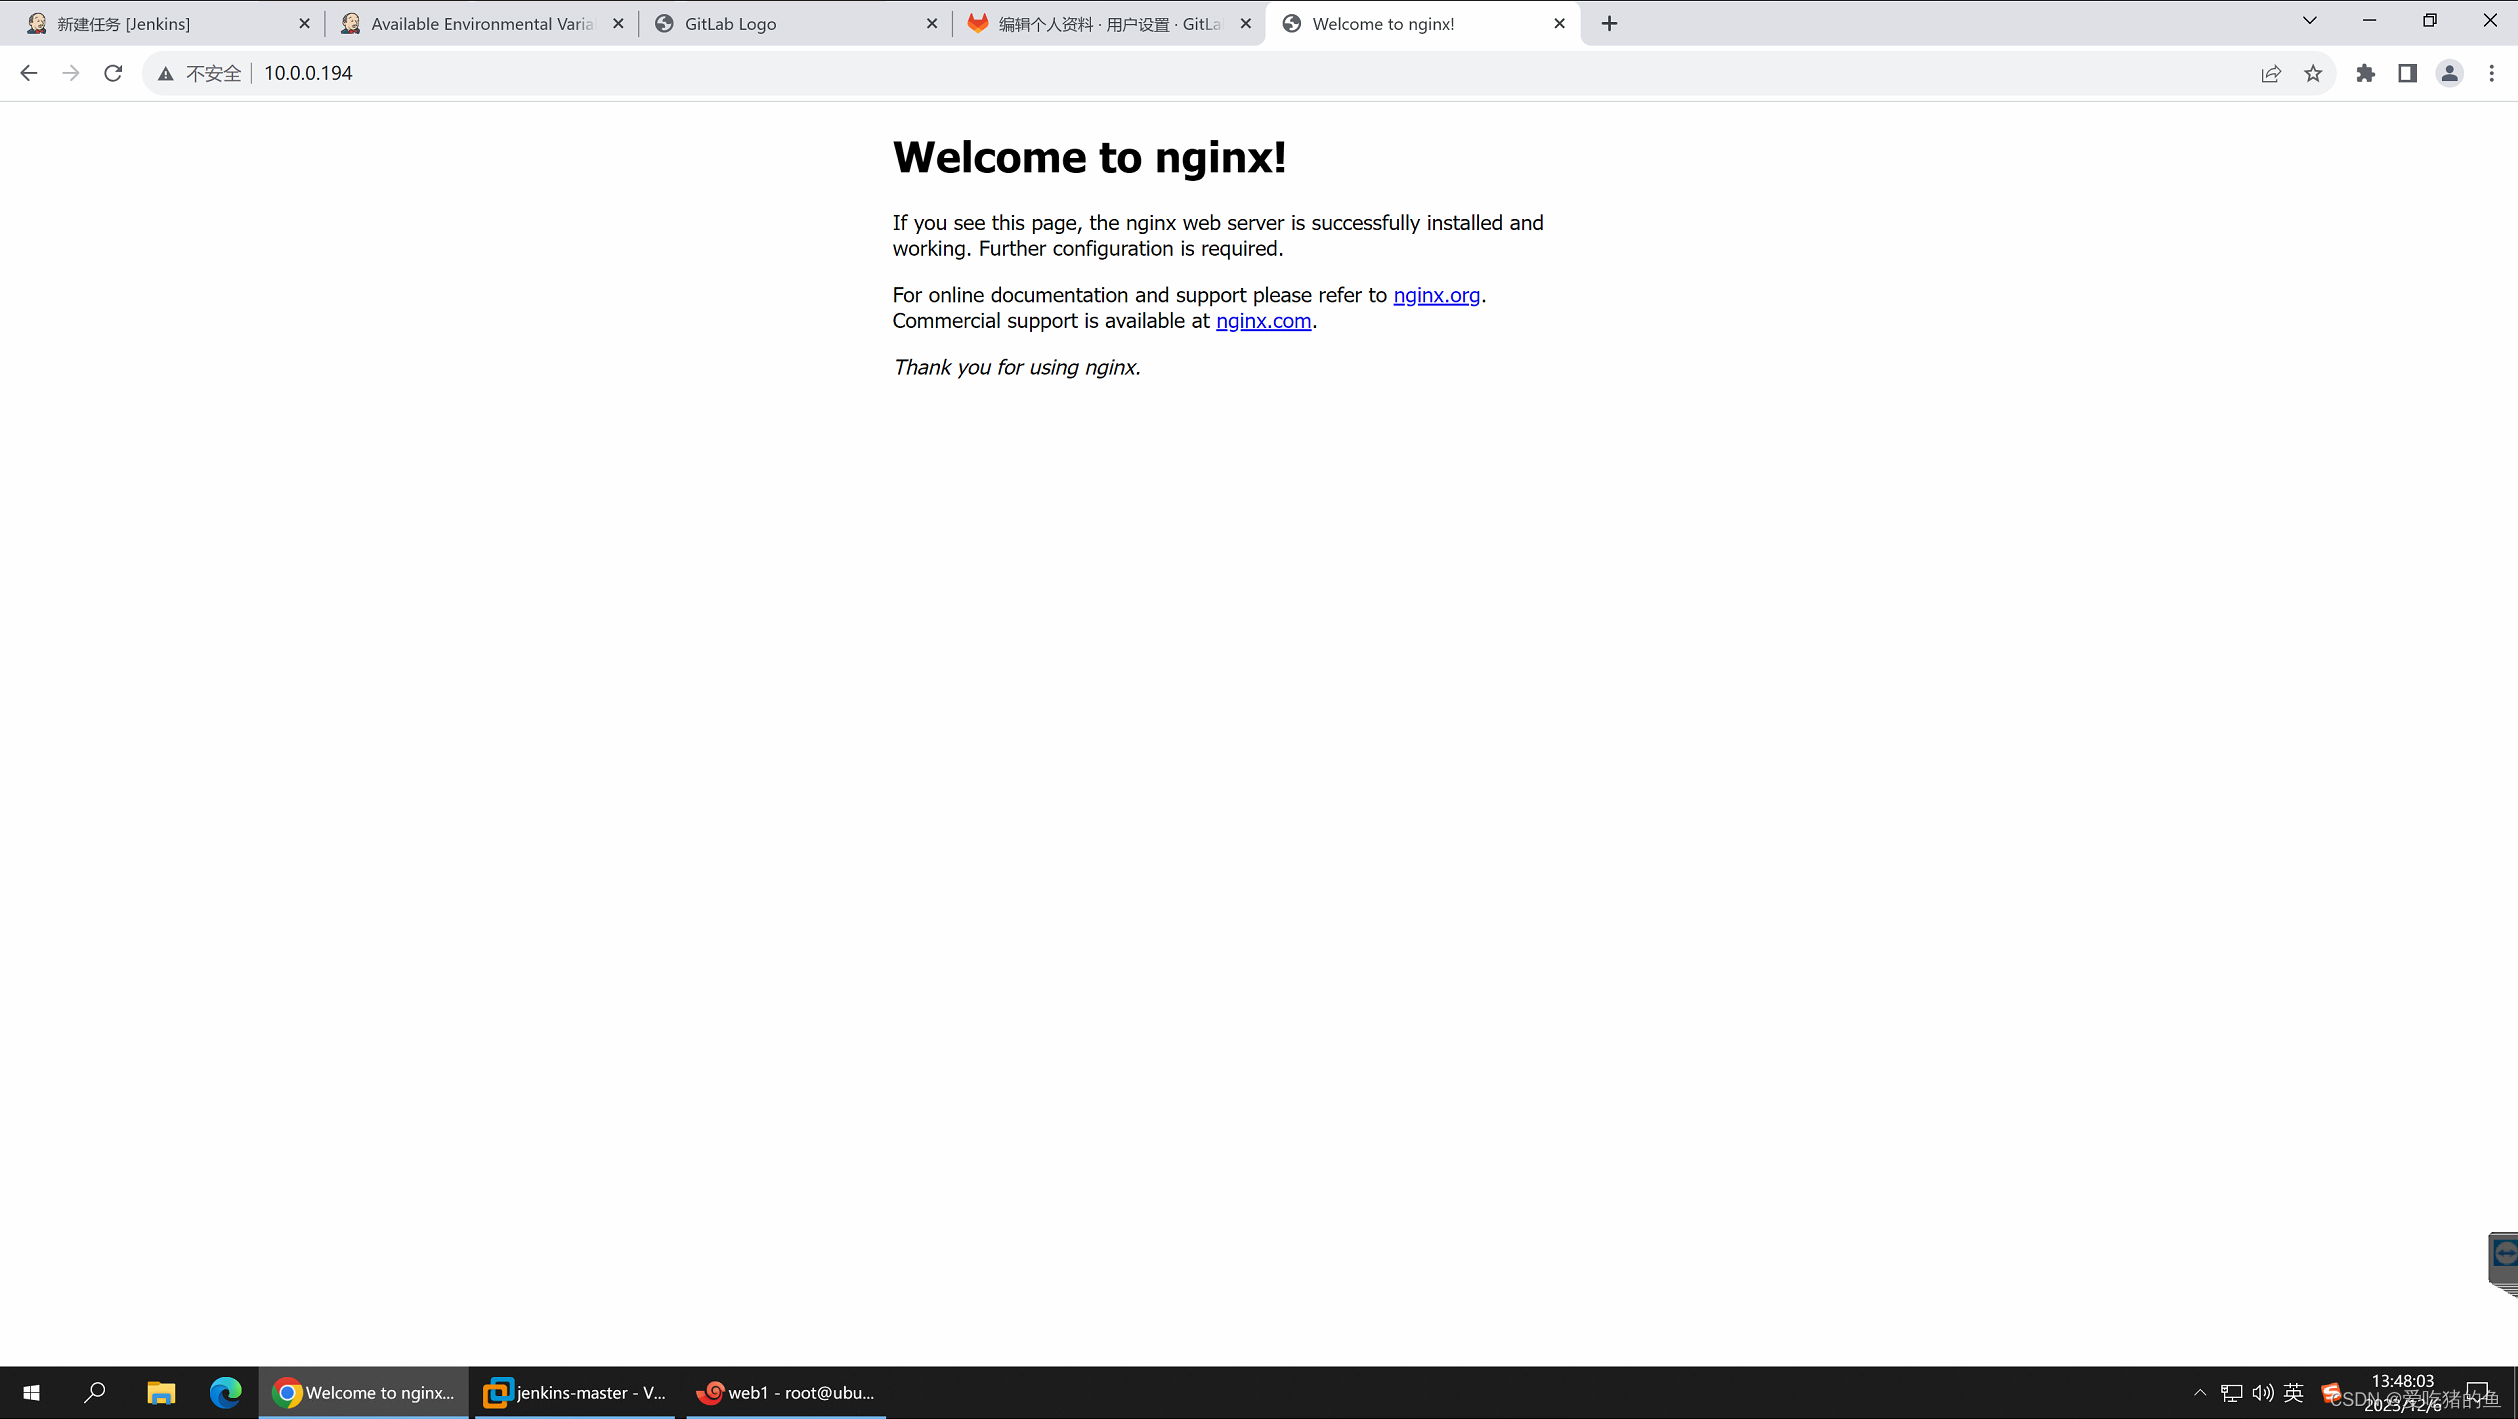
web访问测试
配置Jenkins服务器到web1的nginx账号免密钥认证
#在Jenkins服务器上执行
root@jenkins-master:/data/git/wang# ssh-copy-id 10.0.0.194
/usr/bin/ssh-copy-id: INFO: Source of key(s) to be installed: "/root/.ssh/id_rsa.pub"
The authenticity of host '10.0.0.194 (10.0.0.194)' can't be established.
ED25519 key fingerprint is SHA256:RcqCfmd+yzEMq02+WFrpBU4r95/EmVi9n8Swrn540ww.
This host key is known by the following other names/addresses:
    ~/.ssh/known_hosts:1: [hashed name]
Are you sure you want to continue connecting (yes/no/[fingerprint])? yes
/usr/bin/ssh-copy-id: INFO: attempting to log in with the new key(s), to filter out any that are already installed
/usr/bin/ssh-copy-id: INFO: 1 key(s) remain to be installed -- if you are prompted now it is to install the new keys
root@10.0.0.194's password:  #输入web1服务器密码

Number of key(s) added: 1

Now try logging into the machine, with:   "ssh '10.0.0.194'"
and check to make sure that only the key(s) you wanted were added.

#ssh登录测试
root@jenkins-master:/data/git/wang# ssh 10.0.0.194
Welcome to Ubuntu 22.04.3 LTS (GNU/Linux 5.15.0-79-generic x86_64)

 * Documentation:  https://help.ubuntu.com
 * Management:     https://landscape.canonical.com
 * Support:        https://ubuntu.com/advantage

This system has been minimized by removing packages and content that are
not required on a system that users do not log into.

To restore this content, you can run the 'unminimize' command.
Last login: Wed Dec  6 05:52:09 2023 from 10.0.0.191
root@ubuntu:~#
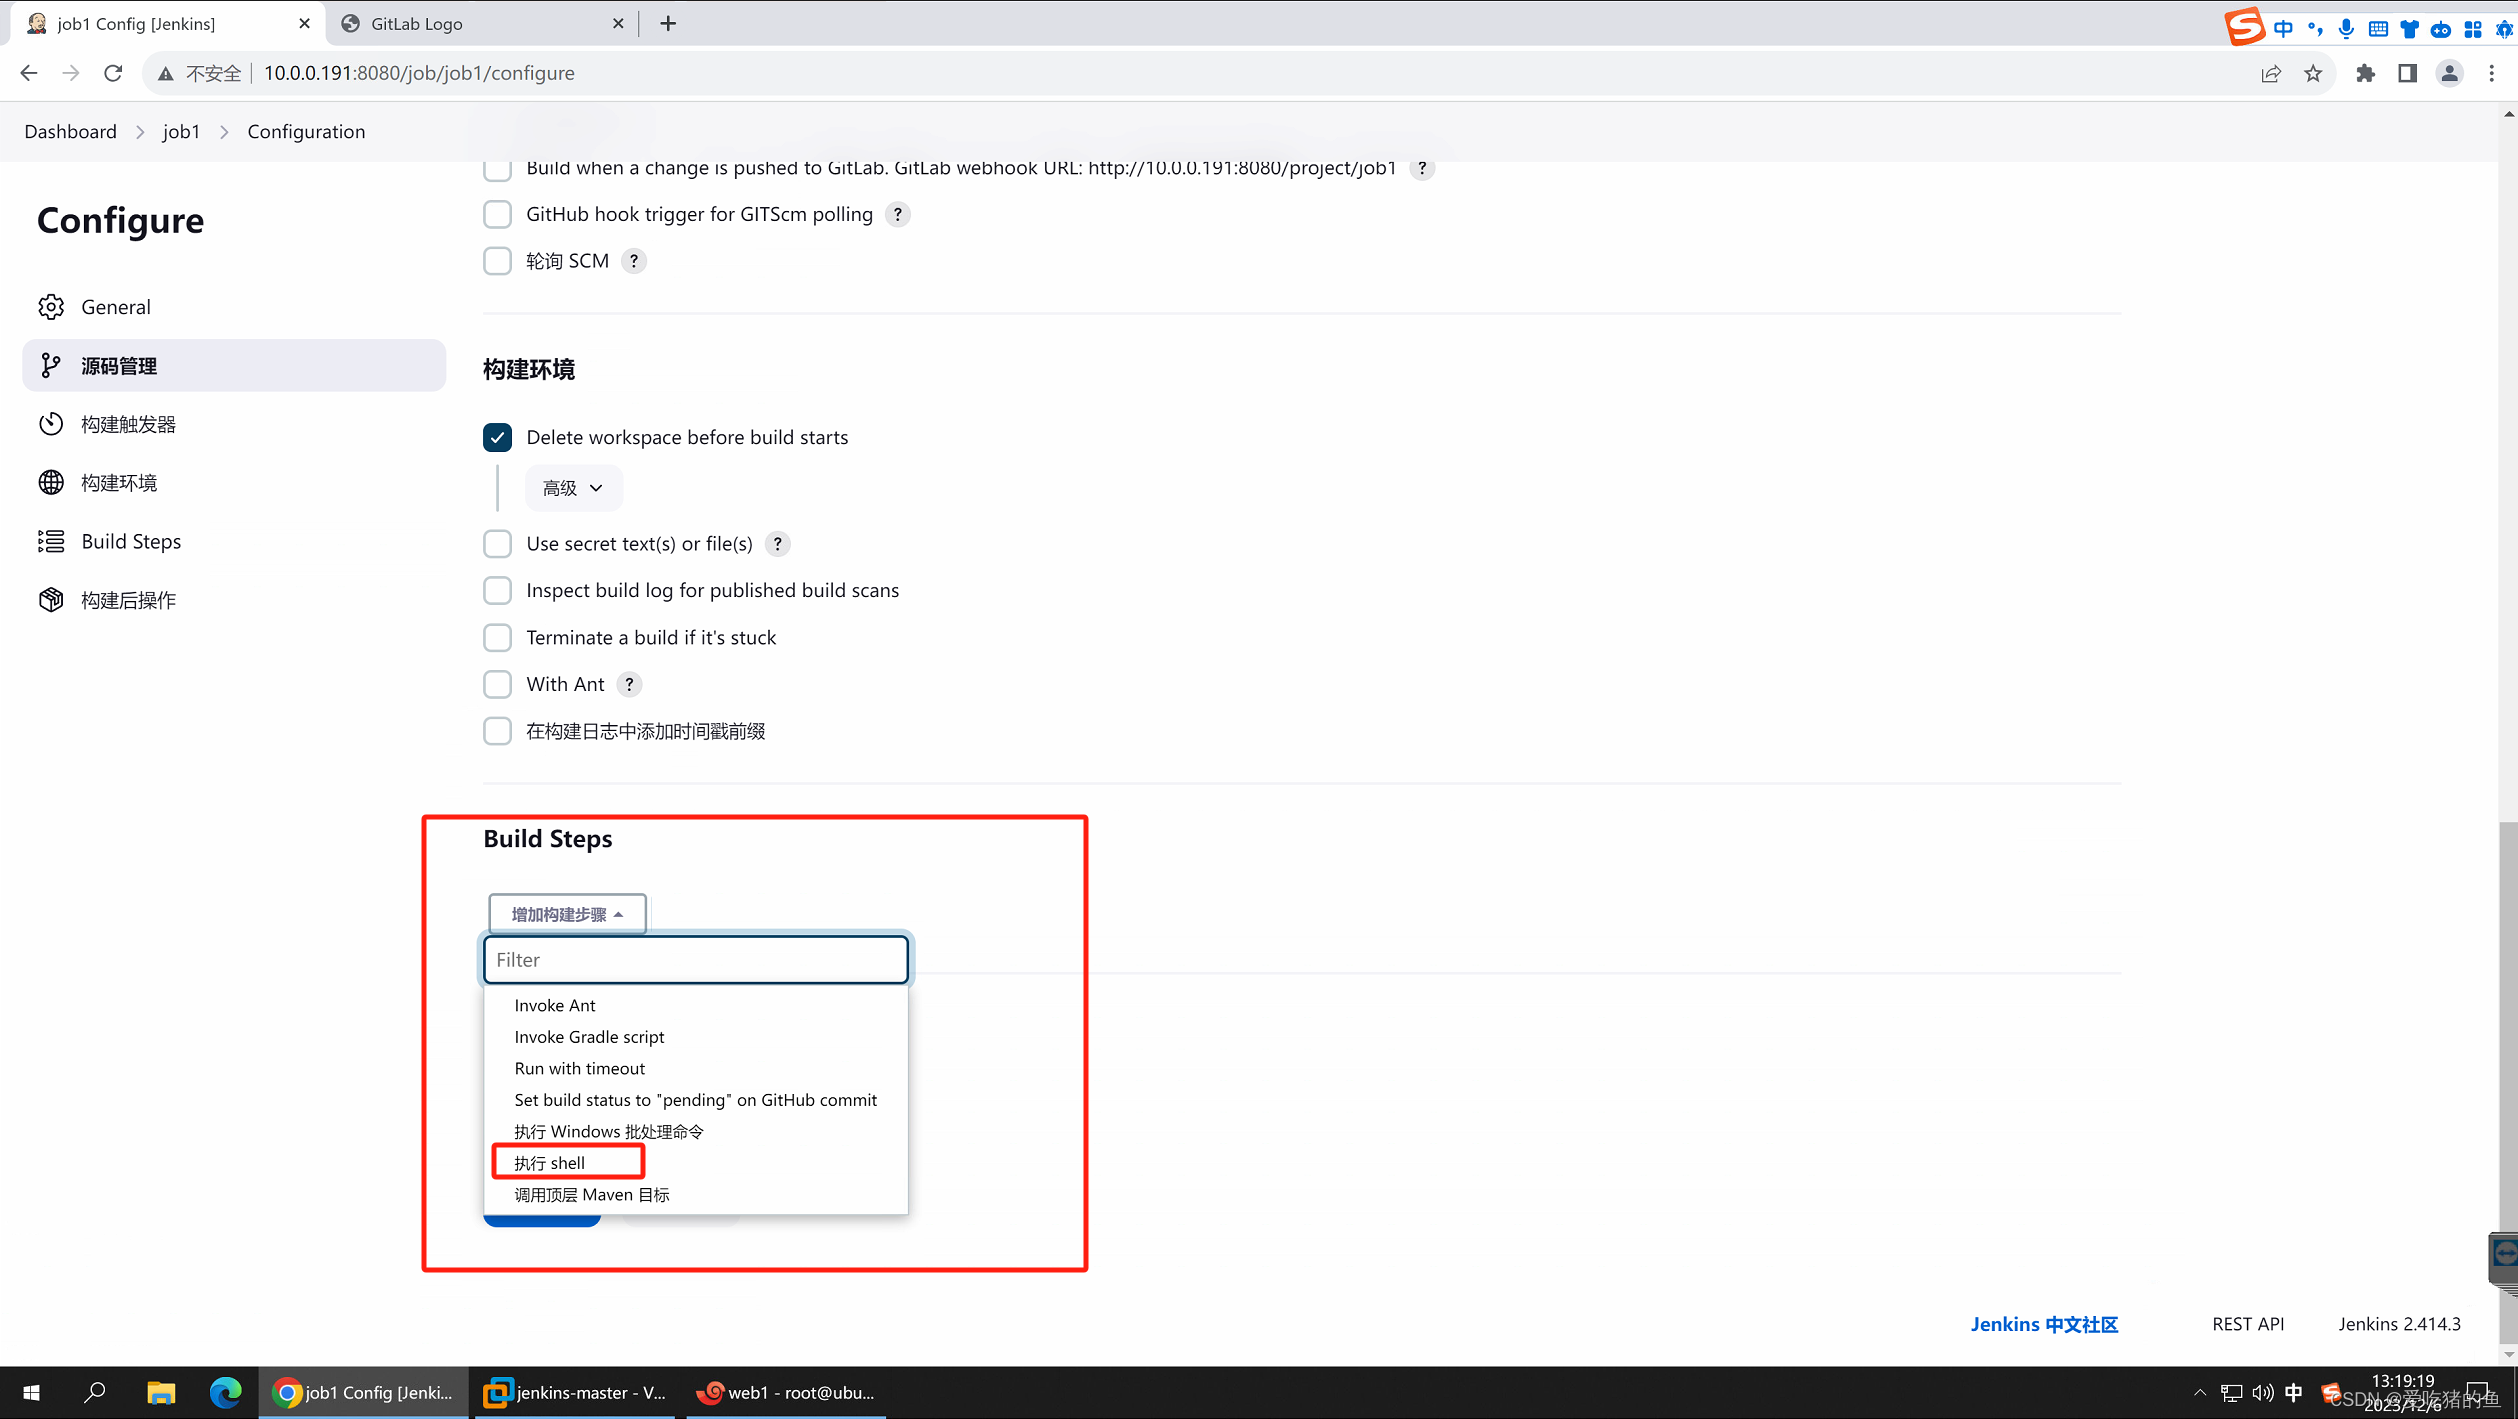
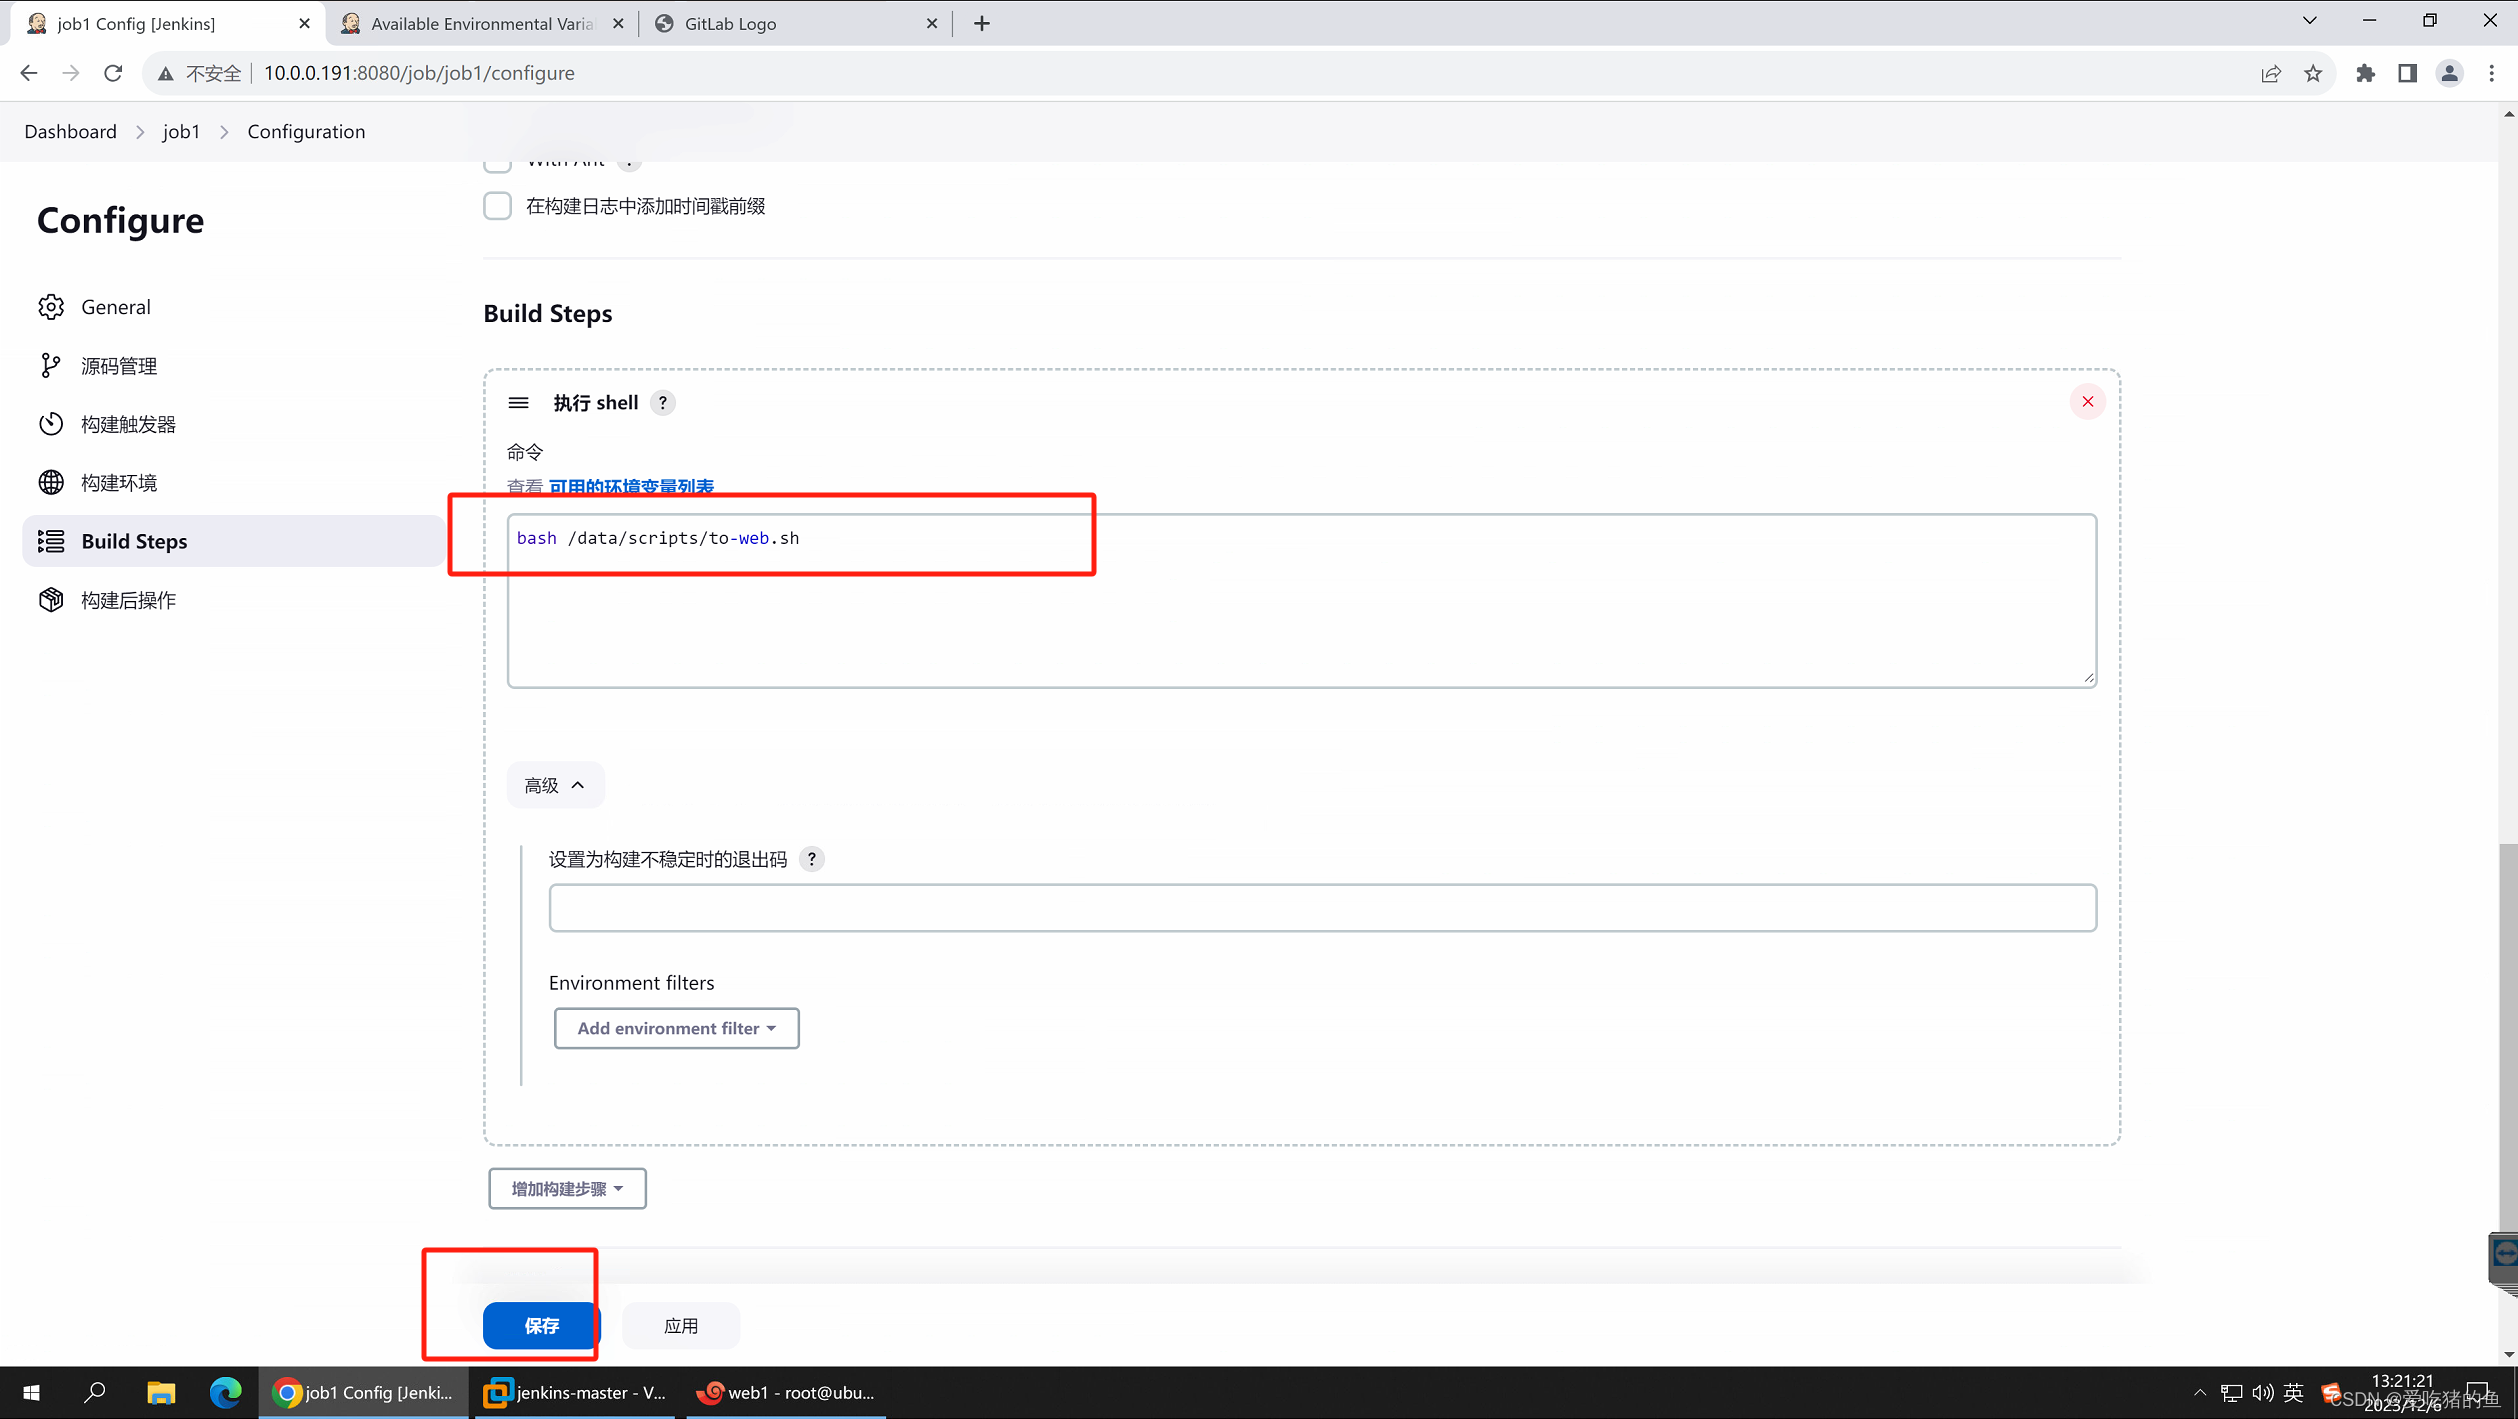
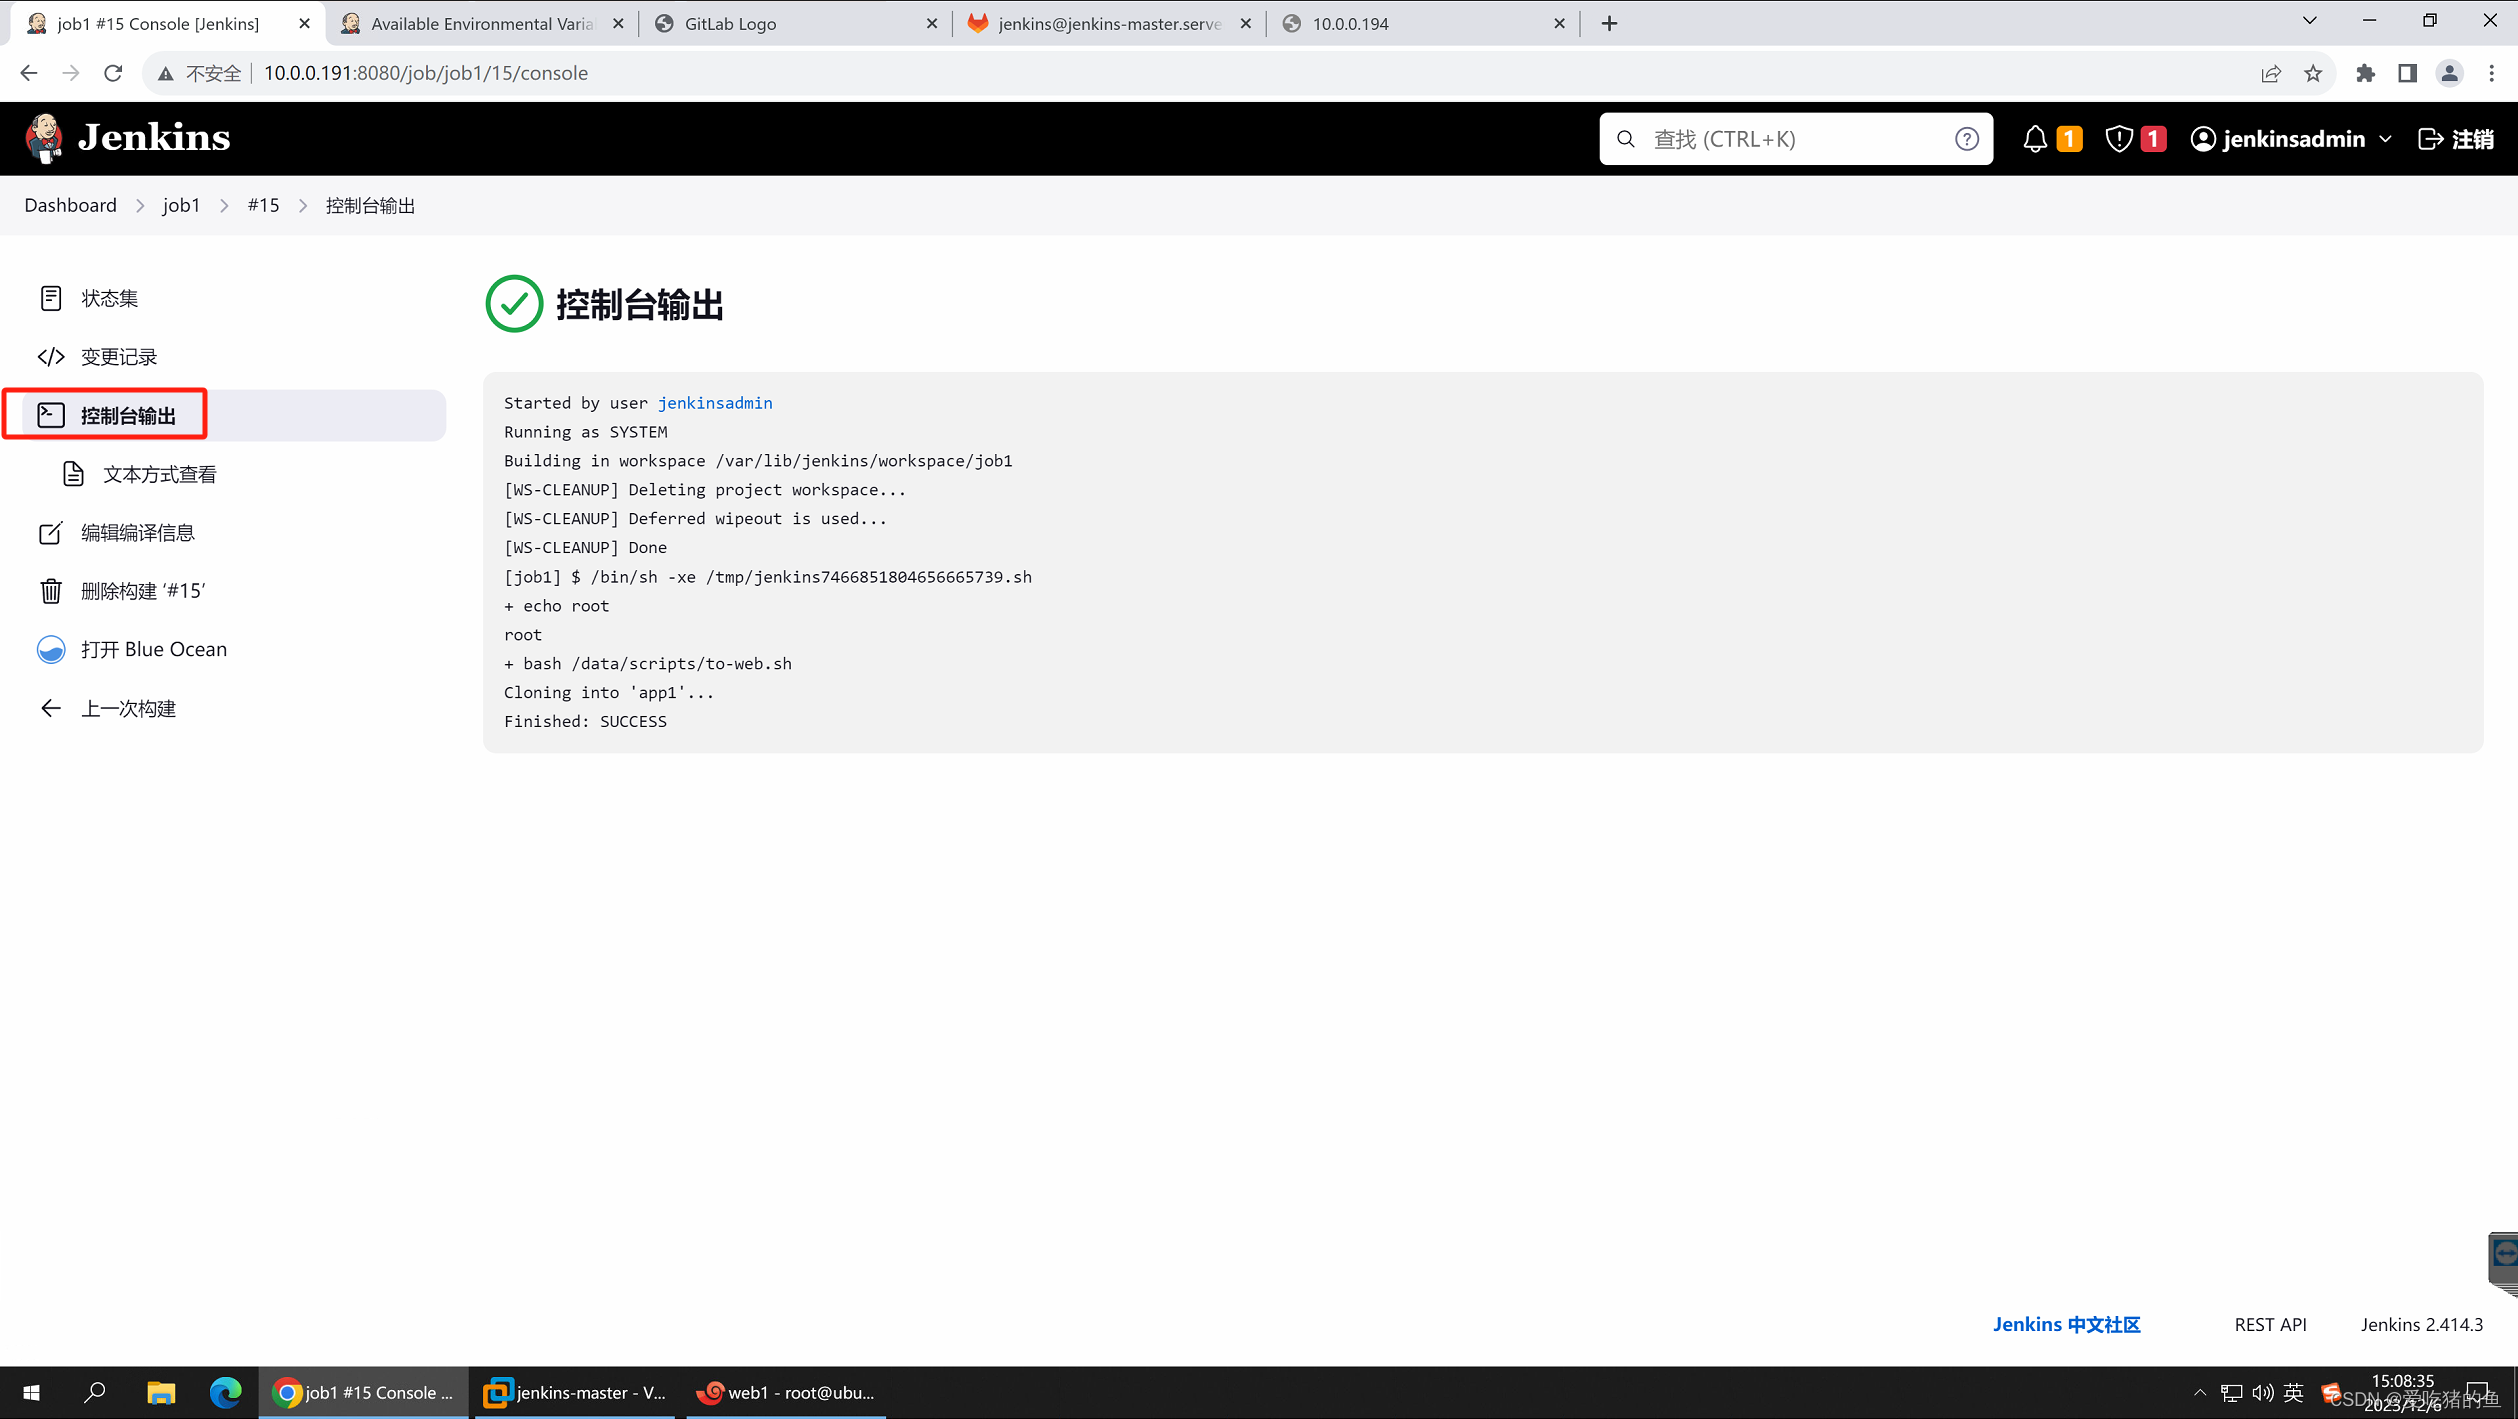
在Jenkins服务器编辑shell脚本
vim /data/scripts/to-web.sh
#!/bin/bash
cd /data/git/wang
rm -rf app1
git clone git@10.0.0.190:wang/app1.git
ssh 10.0.0.194 "/apps/nginx/sbin/nginx -s stop"
scp /data/git/wang/app1/index.html 10.0.0.194:/apps/nginx/html/index.html
ssh 10.0.0.194 "/apps/nginx/sbin/nginx"
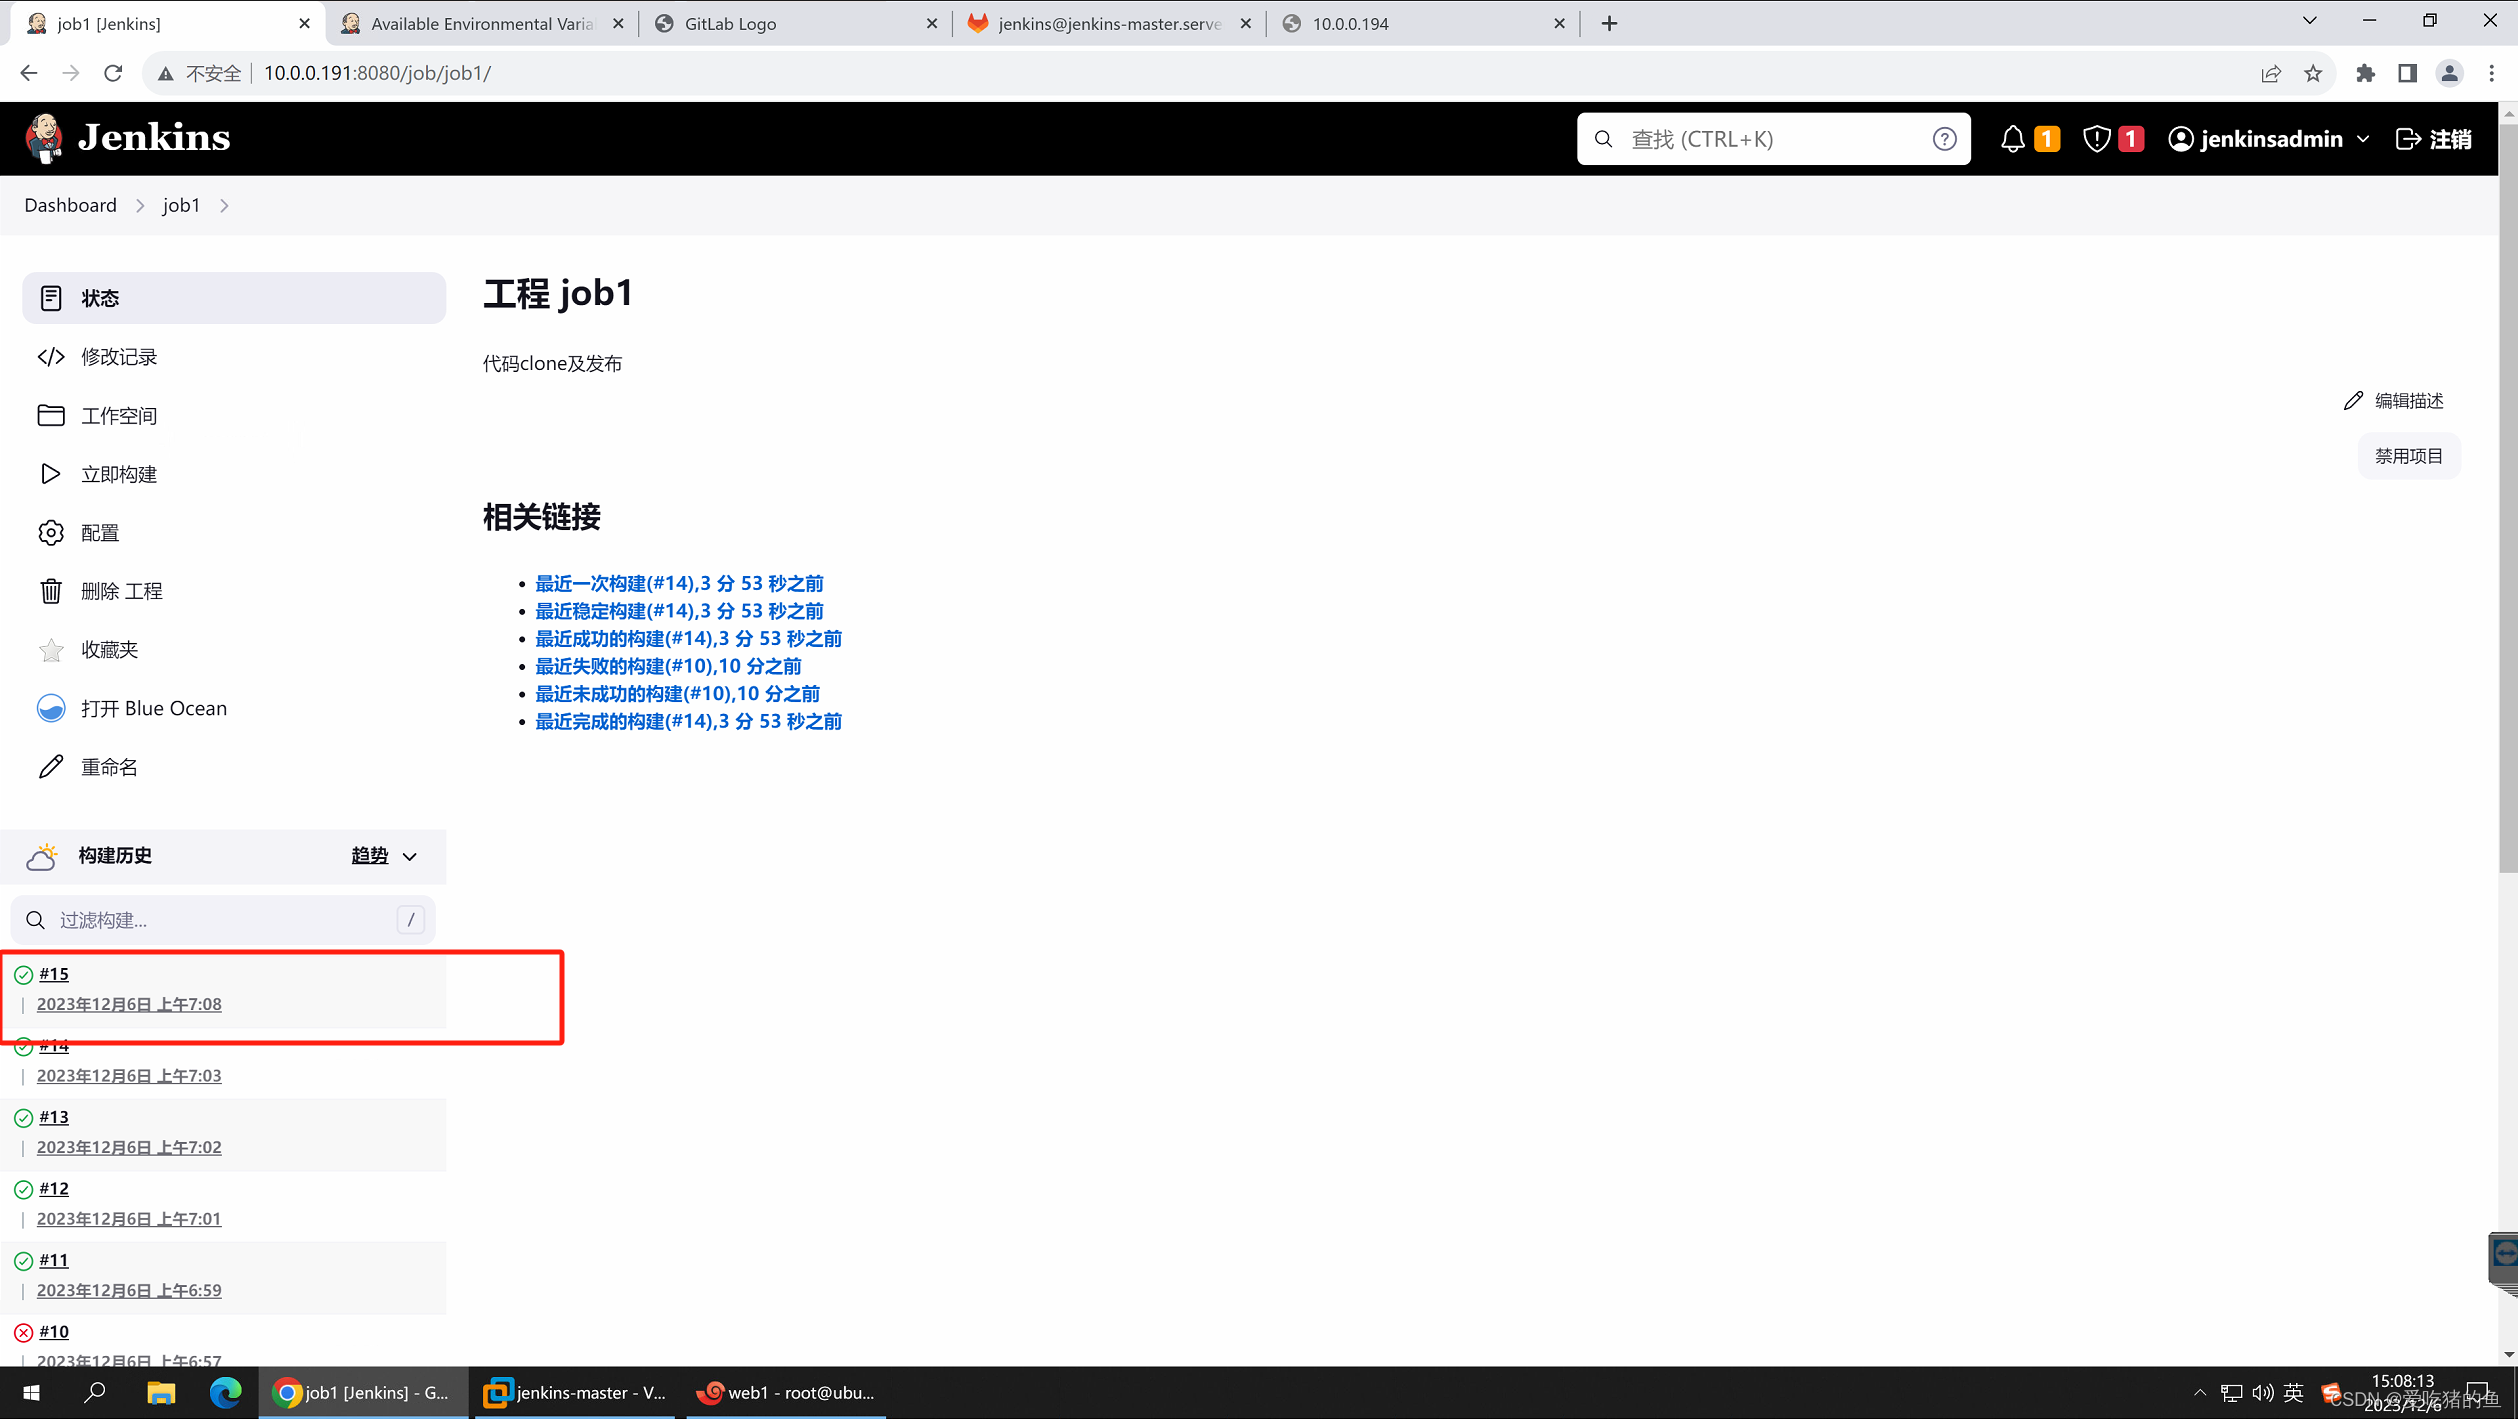
在Jenkins上执行任务构建
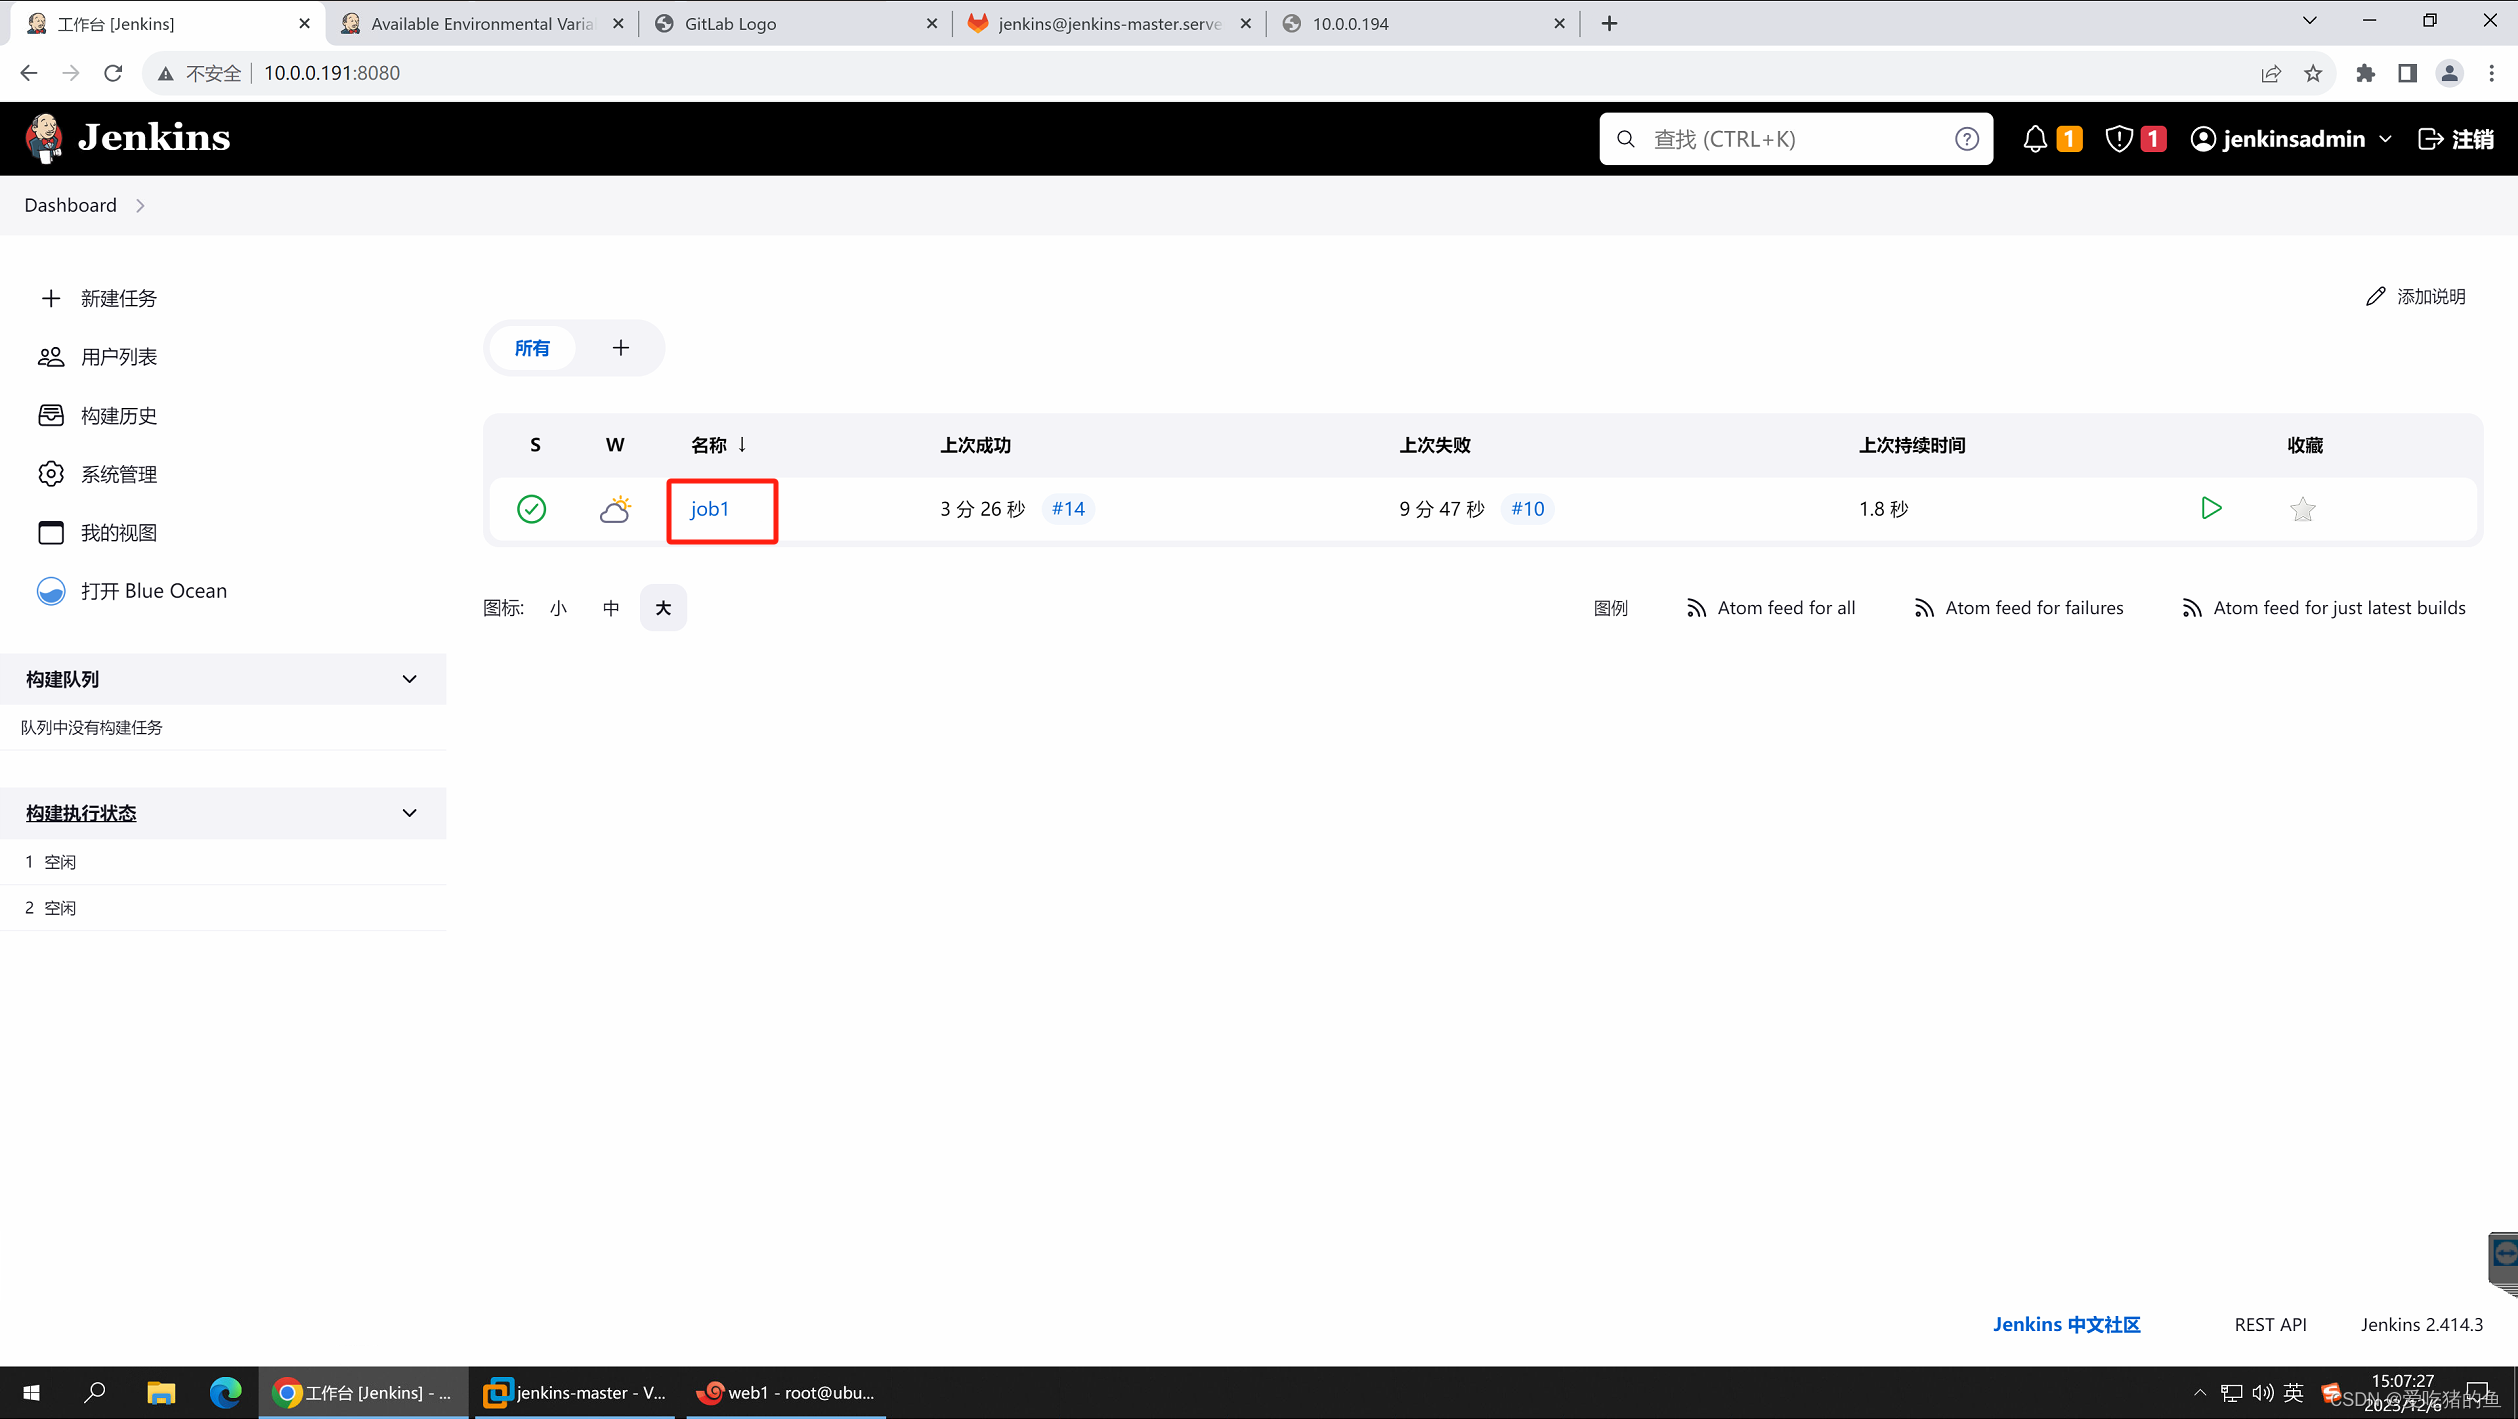
查看构建结果
测试web服务
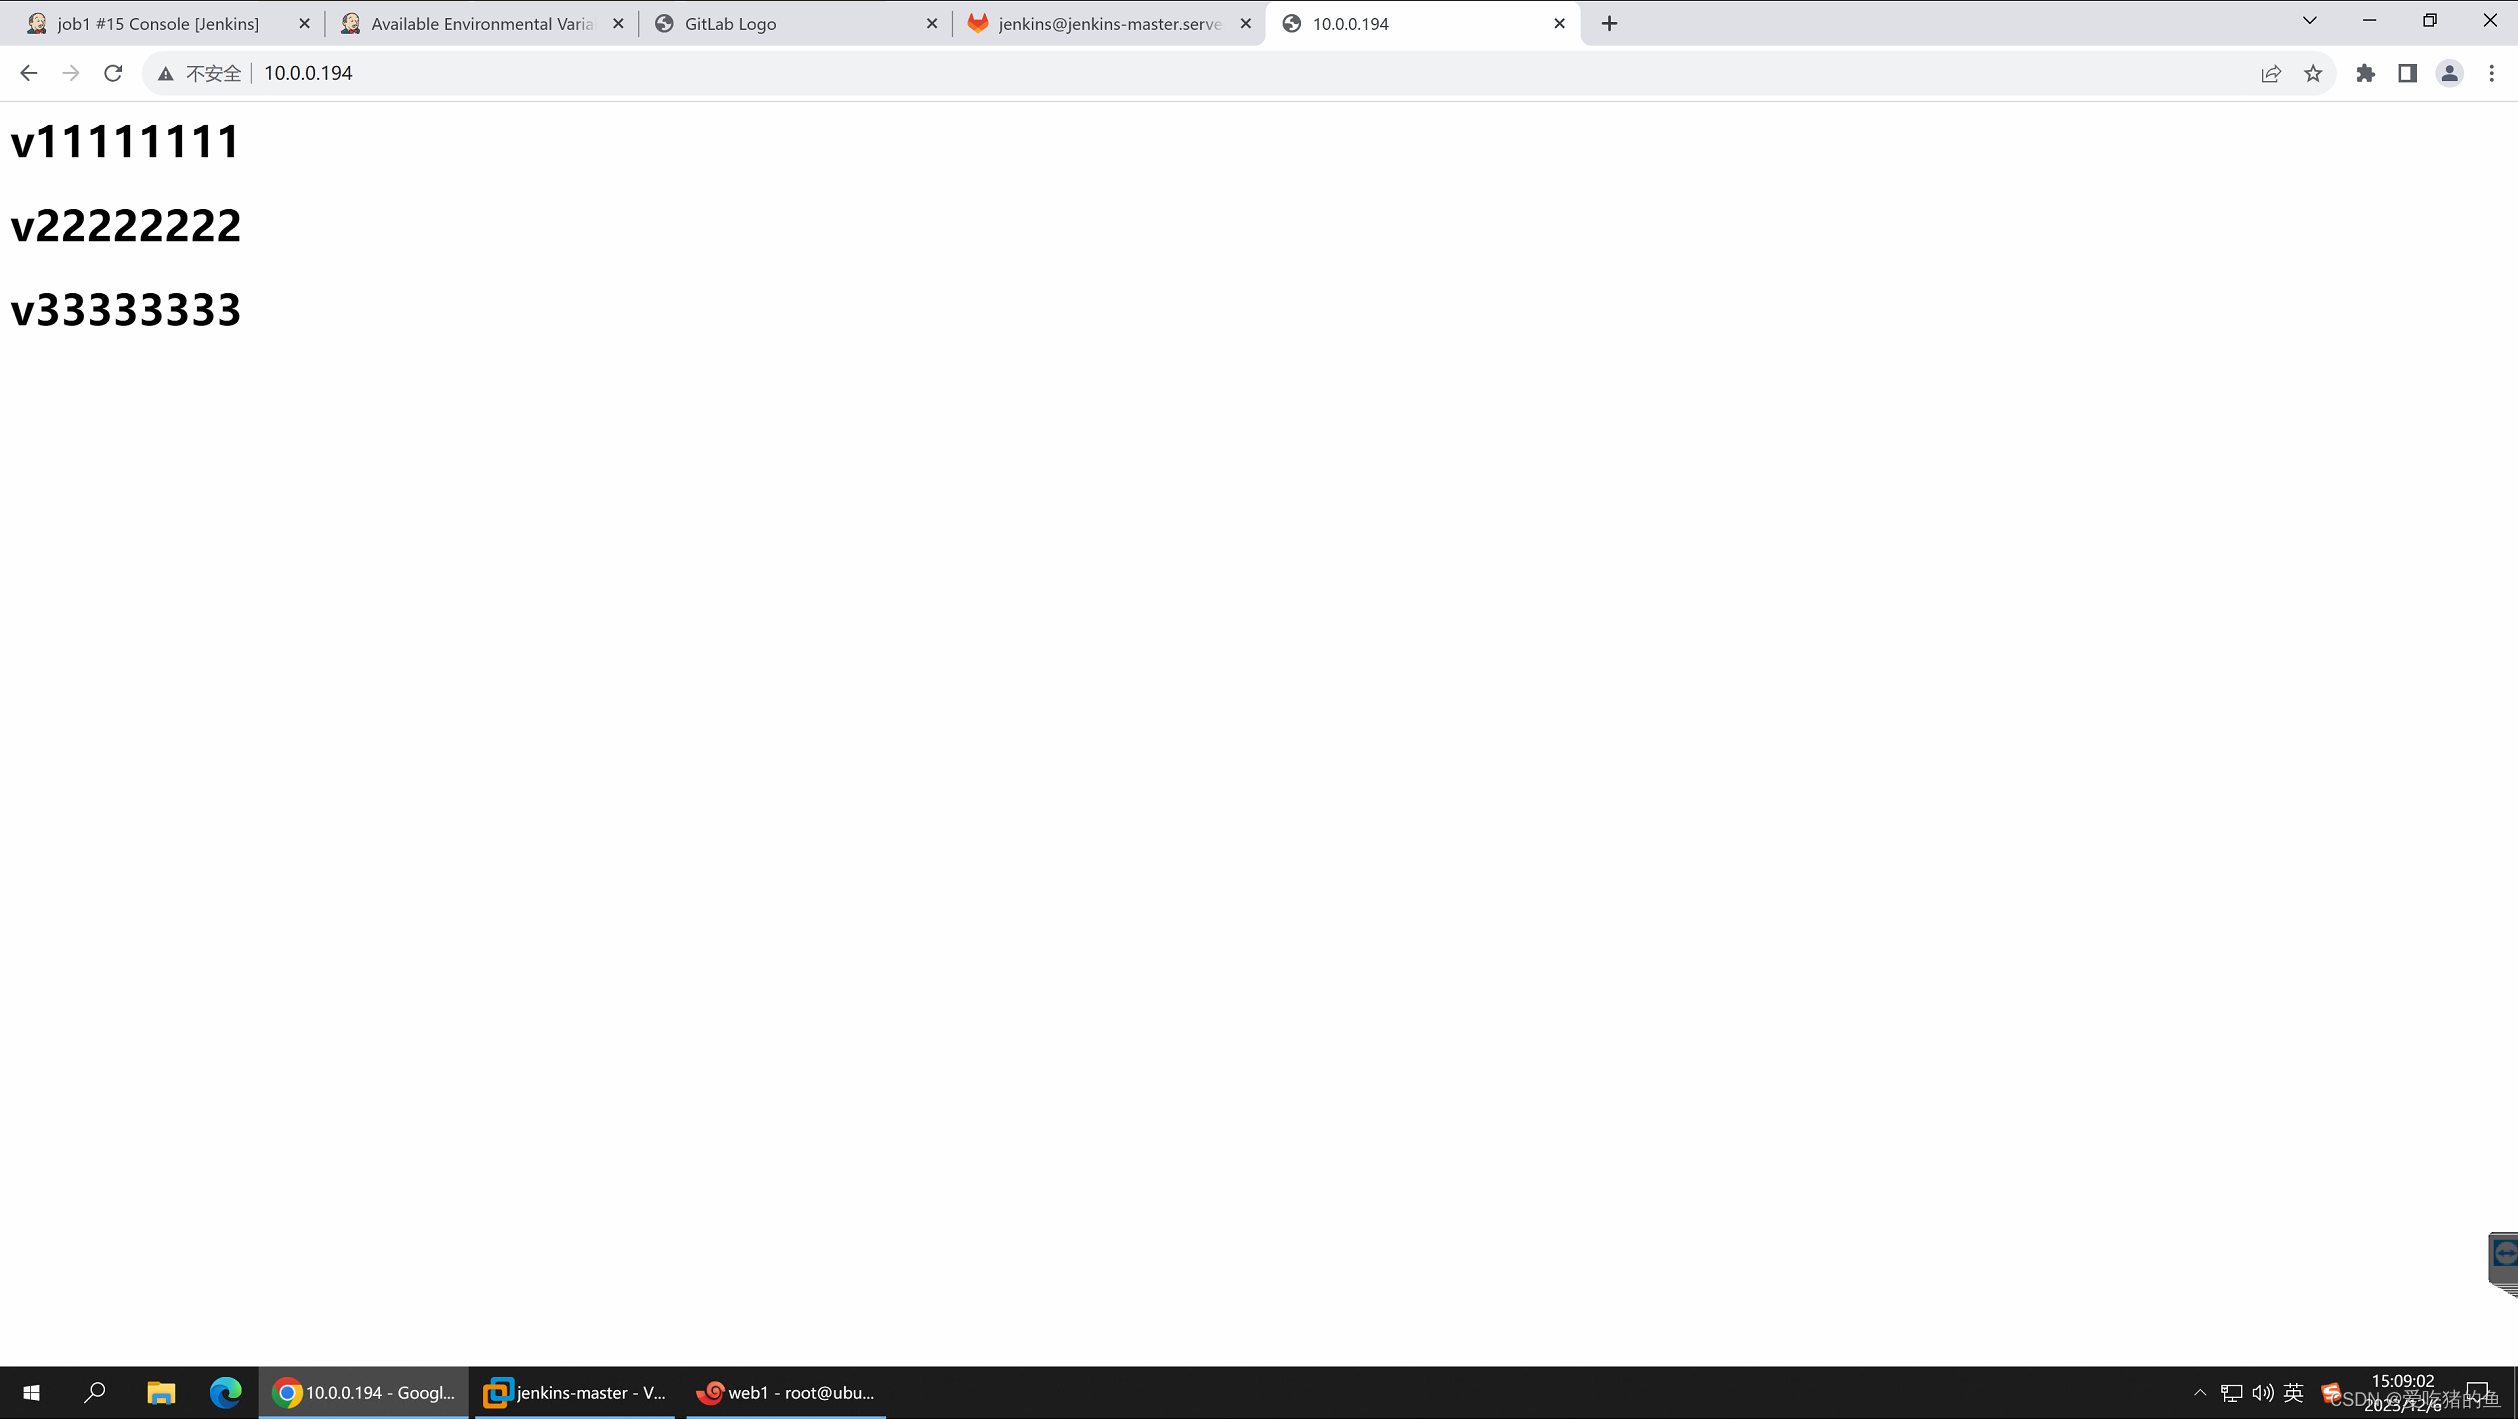


 66
66


 被折叠的 条评论
为什么被折叠?
被折叠的 条评论
为什么被折叠?
 到【灌水乐园】发言


