


1.简介
sticky和IPhash都可以实现会话保持功能,两者的区别和优劣势,百度一大堆,废话不多说,直接上demo;
2.Nginx的改造
a.nginx下载+安装+测试(Linux)
- 下载
nginx依赖环境准备
gcc:
root@centos] yum install gcc-c++pcre:
root@centos] yum install -y pcre pcre-develzlib:
root@centos] yum install -y zlib zlib-developenssl:
root@centos] yum install -y openssl openssl-develnginx软件包:
root@centos] wget http://nginx.org/download/nginx-1.22.1.tar.gz解压nginx
root@centos] tar -zvxf nginx-1.22.1.tar.gz- 安装
编译: ("\" 表示命令没有写完,需要换行)
root@centos] cd nginx-1.22.1/

root@centos] ./configure \
--prefix=/usr/local/nginx --pid-path=/var/run/nginx/nginx.pid \
--lock-path=/var/lock/nginx.lock \
--error-log-path=/var/log/nginx/error.log --http-log-path=/var/log/nginx/access.log \
--with-http_gzip_static_module --http-client-body-temp-path=/var/temp/nginx/client \
--http-proxy-temp-path=/var/temp/nginx/proxy \
--http-fastcgi-temp-path=/var/temp/nginx/fastcgi \
--http-uwsgi-temp-path=/var/temp/nginx/uwsgi \
--http-scgi-temp-path=/var/temp/nginx/scgi --with-http_stub_status_module \
--with-http_ssl_module --with-file-aio --with-http_realip_module
安装:
root@centos] make && make installnginx默认安装在服务器/usr/loacal/nginx目录下,进入该目录下查看安装结果
root@centos] cd /usr/local/nginx
root@centos] ll
total 12
drwxr-xr-x 2 root root 4096 Dec 12 16:07 conf
drwxr-xr-x 2 root root 4096 Dec 12 16:07 html
drwxr-xr-x 2 root root 4096 Dec 12 17:09 sbin- 测试
启动nginx:
进入sbin目录,执行脚本
root@centos] ./nginx验证:
浏览器输入http://192.168.1.1:80
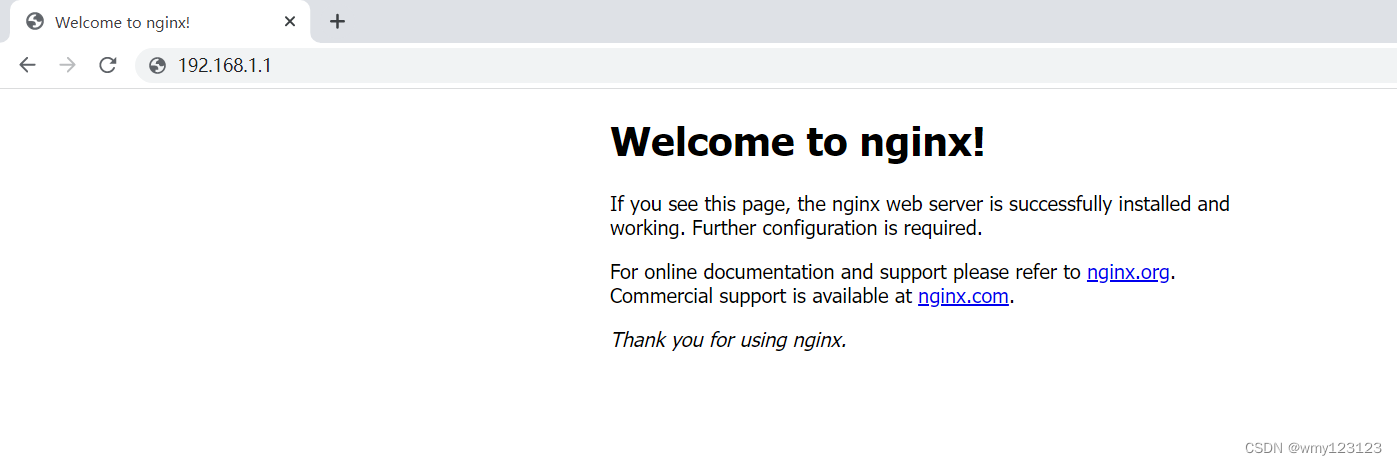
启动成功!
关闭nginx:
root@centos] ./nginx -s stopb.下载sticky+nginx改造
- 下载sticky
注意: 本人测试sticky1.0版本有bug,网上浏览其他大佬的建议,选择用sticky1.1版本,该版本下载地址:https://storage.googleapis.com/google-code-archive-downloads/v2/code.google.com/nginx-sticky-module/nginx-sticky-module-1.1.tar.gz
下载地址需要梯子,我打包到百度云盘了,下载地址:
链接: https://pan.baidu.com/s/1wWib-lPUAzj4dxg1_KcqTQ?pwd=ypbj 提取码: ypbj
上传到服务器上,解压(demo里面是上传到/usr/local/sticky/目录下):
root@centos] tar -zxvf nginx-sticky-module.tar.gz
root@centos] ll
drwxrwxr-x 4 root root    4096 Aug  9  2016 nginx-sticky-module
-rw-r--r-- 1 root root 225280 Dec 12 17:11 nginx-sticky-module.tar.gz- nginx改造
重新编译nginx,编译命令后面追加sticky组件
root@centos] cd nginx-1.22.1/

root@centos] ./configure \
--prefix=/usr/local/nginx --pid-path=/var/run/nginx/nginx.pid \
--lock-path=/var/lock/nginx.lock \
--error-log-path=/var/log/nginx/error.log --http-log-path=/var/log/nginx/access.log \
--with-http_gzip_static_module --http-client-body-temp-path=/var/temp/nginx/client \
--http-proxy-temp-path=/var/temp/nginx/proxy \
--http-fastcgi-temp-path=/var/temp/nginx/fastcgi \
--http-uwsgi-temp-path=/var/temp/nginx/uwsgi \
--http-scgi-temp-path=/var/temp/nginx/scgi --with-http_stub_status_module \
--with-http_ssl_module --with-file-aio --with-http_realip_module \
--add-module=/usr/local/sticky/nginx-sticky-module
编译完成再次安装nginx
root@centos] make && make install3.编写springboot 测试demo
注意:现在 springboot 3.0 强制要求用 jdk17 了,我这里用的是 2.2.5.RELEASE 版本
pom.xml:
<?xml version="1.0" encoding="UTF-8"?>
<project xmlns="http://maven.apache.org/POM/4.0.0" xmlns:xsi="http://www.w3.org/2001/XMLSchema-instance"
         xsi:schemaLocation="http://maven.apache.org/POM/4.0.0 https://maven.apache.org/xsd/maven-4.0.0.xsd">
    <modelVersion>4.0.0</modelVersion>
    <parent>
        <groupId>org.springframework.boot</groupId>
        <artifactId>spring-boot-starter-parent</artifactId>
        <version>2.2.5.RELEASE</version>
        <relativePath/> <!-- lookup parent from repository -->
    </parent>
    <groupId>com.demo</groupId>
    <artifactId>ng-sticky-test</artifactId>
    <version>0.0.1-SNAPSHOT</version>
    <name>ng-sticky-test</name>
    <description>ng-sticky-test</description>
    <properties>
        <java.version>1.8</java.version>
    </properties>
    <dependencies>
        <dependency>
            <groupId>org.springframework.boot</groupId>
            <artifactId>spring-boot-starter-web</artifactId>
        </dependency>

        <dependency>
            <groupId>org.springframework.boot</groupId>
            <artifactId>spring-boot-starter-test</artifactId>
            <scope>test</scope>
        </dependency>
    </dependencies>

    <build>
        <plugins>
            <plugin>
                <groupId>org.springframework.boot</groupId>
                <artifactId>spring-boot-maven-plugin</artifactId>
            </plugin>
        </plugins>
    </build>

</project>
程序入口类:
package com.demo;

import org.springframework.beans.factory.annotation.Value;
import org.springframework.boot.SpringApplication;
import org.springframework.boot.autoconfigure.SpringBootApplication;
import org.springframework.web.bind.annotation.GetMapping;
import org.springframework.web.bind.annotation.RestController;

@RestController
@SpringBootApplication
public class NgStickyTestApplication {

    public static void main(String[] args) {
        SpringApplication.run(NgStickyTestApplication.class, args);
    }

    @Value("${server.port}")
    private Integer port;

    @GetMapping("test")
    public String test() {
        return port + "";
    }
}
配置文件 application.properties:
#负载测试时修改端口号,观察输出的端口号是否有变化
server.port=8711
项目打包上传到服务器,demo中是在服务器上创建两个文件夹,分别用不同的端口号进行命名,如:
root@centos] ll
total 1288
drwxr-xr-x 2 root root    4096 Dec 12 17:54 8711
drwxr-xr-x 2 root root    4096 Dec 12 17:55 8722
在每一个文件夹中都放进程序jar包 + 配置文件 application.properties,如:
root@centos] cd 8711
root@centos] ll
total 17192
-rwxrwxrwx 1 root root       17 Dec 12 17:53 application.properties
-rw-r--r-- 1 root root     2401 Dec 12 18:41 log.log
-rwxrwxrwx 1 root root 17592546 Dec 12 17:52 ng-sticky-test-0.0.1-SNAPSHOT.jar
分别修改两个文件夹中的properties文件,将端口号一个修改为8711,一个修改为8722
再分别启动两个文件夹中的jar包
root@centos] nohup java -jar ng-sticky-test-0.0.1-SNAPSHOT.jar >log.log 2>&1 &4.修改nginx 配置+测试
a.Nginx代理配置
修改nginx配置文件(nginx.conf),配置文件在nginx安装目录/usr/local/nginx/conf/
worker_processes 1;events {
worker_connections 1024;
}
http {
include mime.types;
default_type application/octet-stream;sendfile on;
keepalive_timeout 65;
upstream test.com {
sticky;
server 127.0.0.1:8711 weight=5 max_fails=2 fail_timeout=30s;
server 127.0.0.1:8722 weight=5 max_fails=2 fail_timeout=30s;
}server {
listen 80;
server_name *.test.com;
location / {
root html;
index index.html index.htm;
proxy_set_header Host $host:$server_port;
proxy_set_header X-Real-IP $remote_addr;
proxy_pass http://test.com;
}error_page 500 502 503 504 /50x.html;
location = /50x.html {
root html;
}}
}
重启nginx
root@centos] cd /usr/local/nginx/sbin
root@centos] ./nginx -c /usr/local/nginx/conf/nginx.conf
b.页面验证
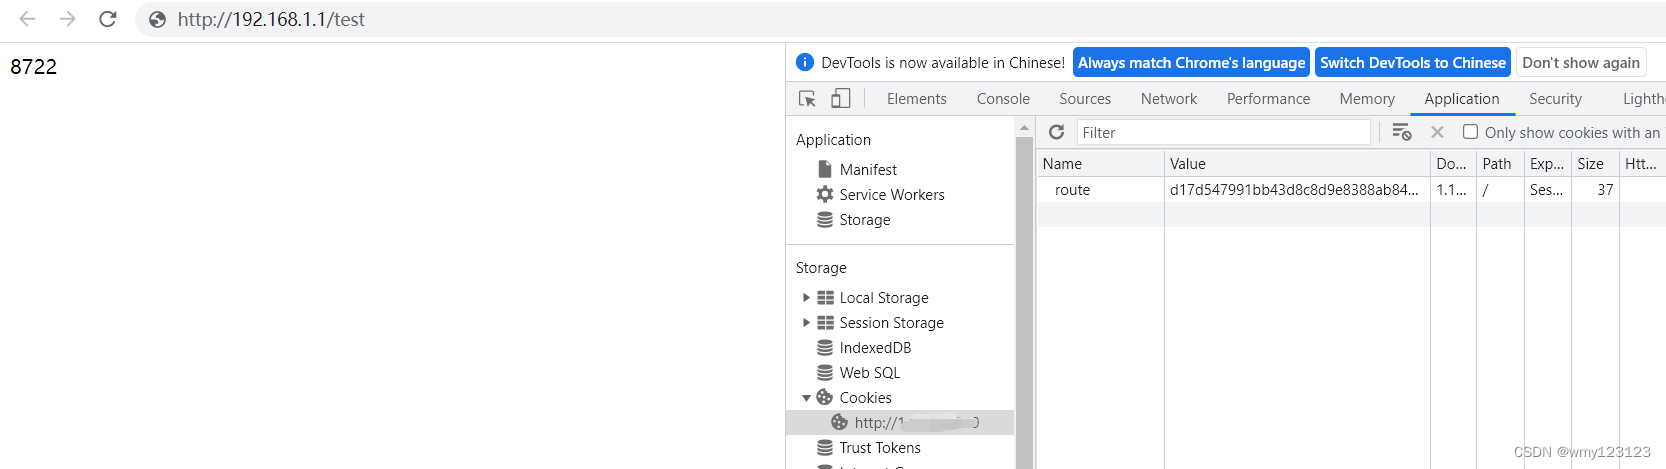
- 浏览器访问 http://192.168.1.1:80/test

可以看到输出为8711,按F12打开浏览器开发者模式,查看Application--->Cookies---> http://192.168.1.1:80/test--->Value,可以看到sticky为当前客户端生成了一个route=ab992bfabf087c363e3239a97ac0fe85的Cookie,这个Cookie就是当前客户端访问会话的标识,这时候无论怎么刷新页面都是输出8711,并且route的值不会变化;
- 清空浏览器缓存
快捷键:Ctrl+Shift+Delete 打开清除缓存操作窗口
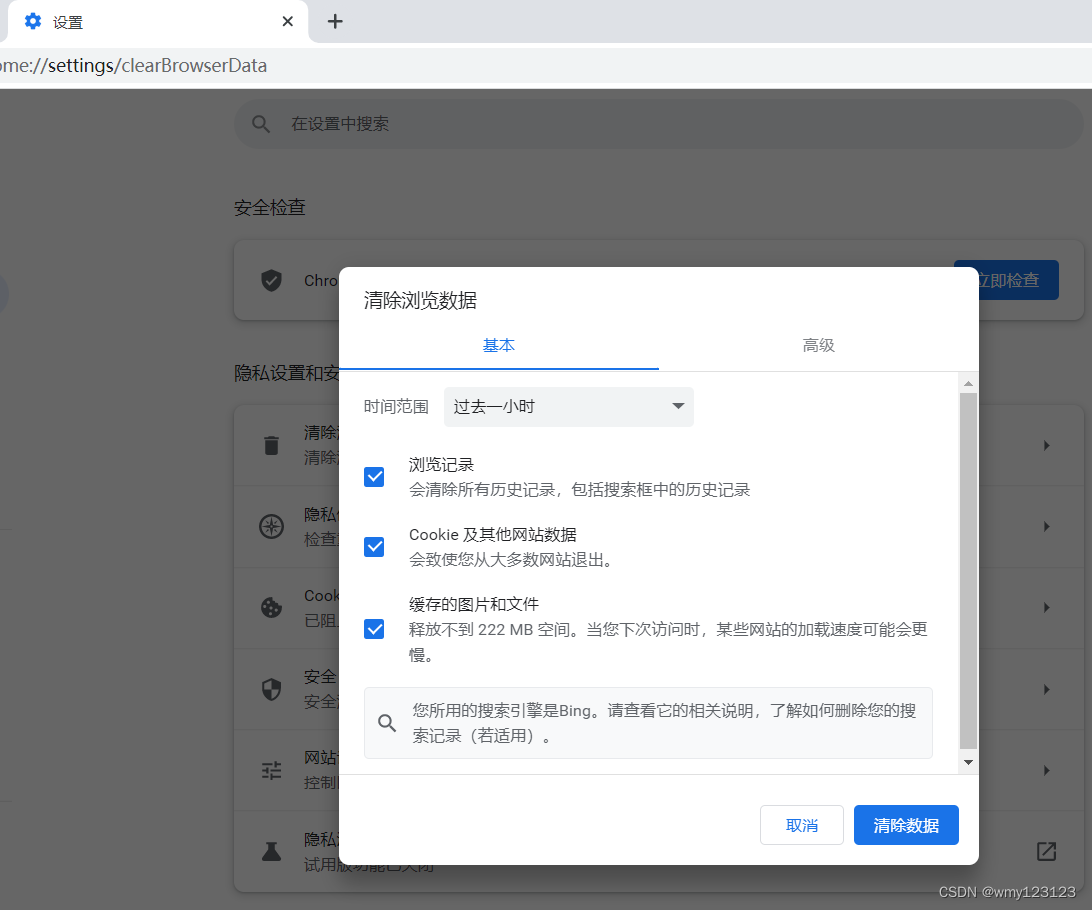
- 重新访问 http://192.168.1.1:80/test
输出了8722,此时再进行多次页面刷新,都会输出8722
注意:在配置sticky的时候给了两个服务权重是一样的,所以会进行轮询,否则有可能清除缓存之后还会访问8711端口
OK,到此demo就结束了.感谢查阅,希望可以给您带来帮助!!!!!


 6767
6767


 被折叠的 条评论
为什么被折叠?
被折叠的 条评论
为什么被折叠?
 到【灌水乐园】发言


