


目录
问题
拉取bitbucket上的代码需要配置SSH key
Configure SSH and two-step verification | Bitbucket Cloud | Atlassian Support
以Linux为例:
Set up personal SSH keys on Linux | Bitbucket Cloud | Atlassian Support
配置方法
生成SSH key
-
Open a terminal and navigate to your home or user directory using cd, for example:
$ cd ~/.ssh/ -
Generate a SSH key pair using ssh-keygen, such as:
$ ssh-keygen -t ed25519 -b 4096 -C "{username@emaildomain.com}" -f {ssh-key-name}Where:
-
{username@emaildomain.com} is the email address associated with the Bitbucket Cloud account, such as your work email account.
-
{ssh-key-name} is the output filename for the keys. We recommend using a identifiable name such as bitbucket_work.
-
添加SSH key至SSH Agent
-
To allow git to use your SSH key, an SSH agent needs to be running on your device.
To check if it is already running, run the ps command. If the ssh-agent is already running, it should appear in the output, such as:
$ ps -auxc | grep ssh-agent
myusername      3291  0.0  0.0   6028   464 ?        Ss   07:29   0:00 ssh-agent
To start the agent, run:
$ eval $(ssh-agent) -
Run the following command, replacing the {ssh-key-name} with the name of the private key:
$ ssh-add ~/.ssh/{ssh-key-name}
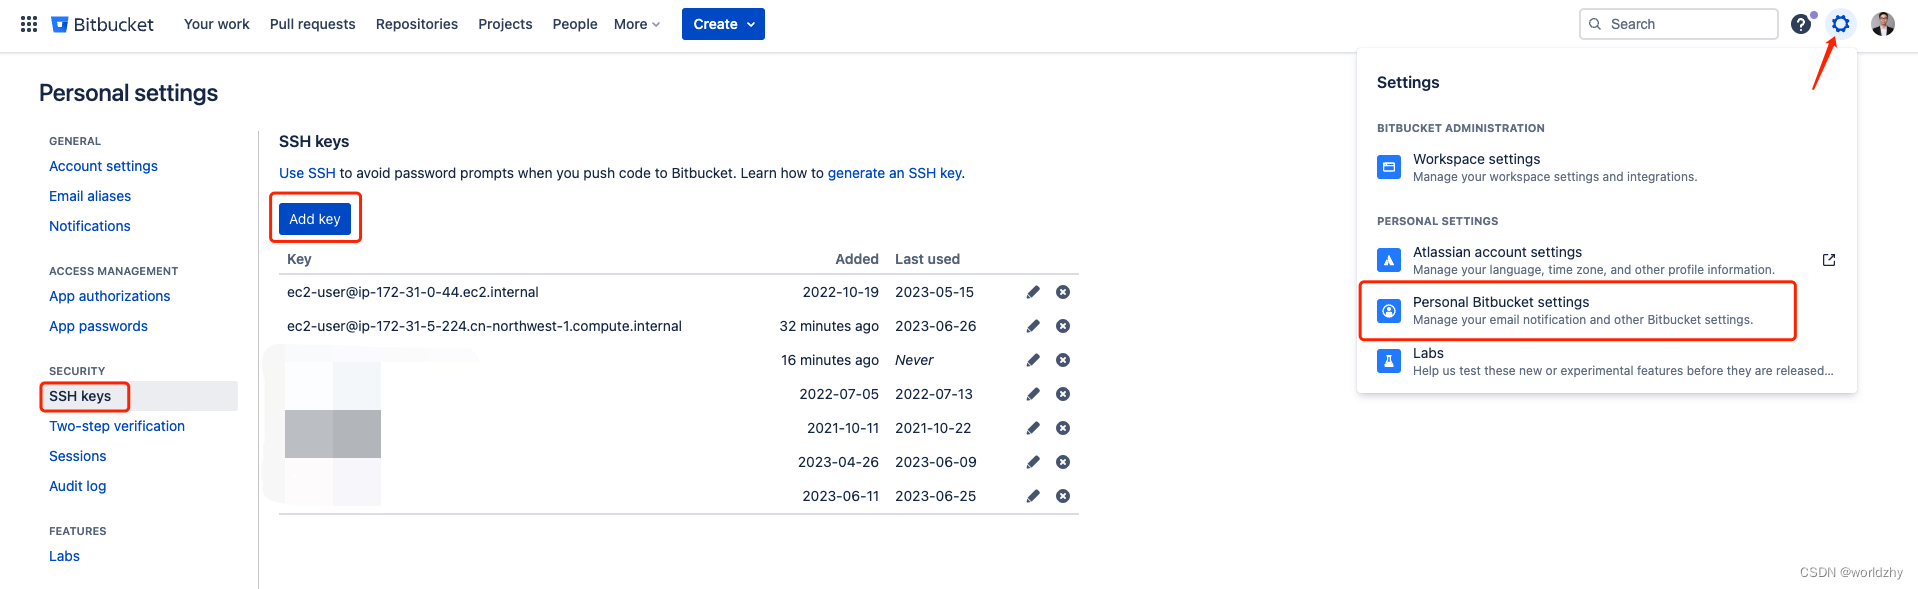
添加公钥至Bitbucket
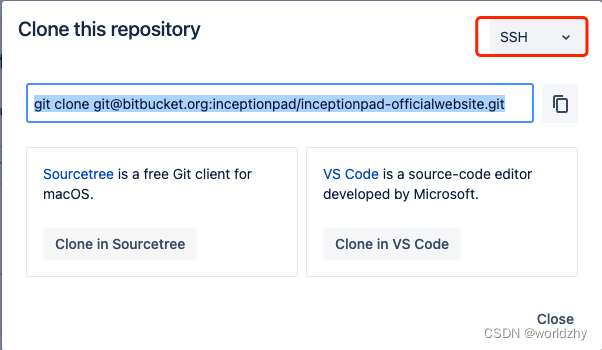
执行Git clone


 90
90

 被折叠的 条评论
为什么被折叠?
被折叠的 条评论
为什么被折叠?
 到【灌水乐园】发言


