


前言
在Android开发中,实现即时脸部侦测功能是一个具有挑战性且引人注目的任务。幸运的是,Google的MediaPipe库为我们提供了一个简单且高效的解决方案。MediaPipe是一个开源的跨平台机器学习框架,可以用于各种视觉计算任务,包括脸部侦测。在本篇教学中,我们将使用MediaPipe库来实现一个即时脸部侦测功能的Android应用。
我期待这个教学能够为Android开发者们带来新的灵感和挑战,开启更加创新和丰富多彩的应用开发之旅。让我们一同开始这个令人兴奋的探索之旅吧!
下载Tensorflow 范例代码
由于此次的教学需要用到Camera进行获取影像,因此需要应用Camera的相关App代码,我为大家推荐一个快速上手的范例 TFLite Model Maker 0.3.2,利用此范例的object_detection代码进行MediaPipe脸部侦测代码整合,即可快速获得结果。
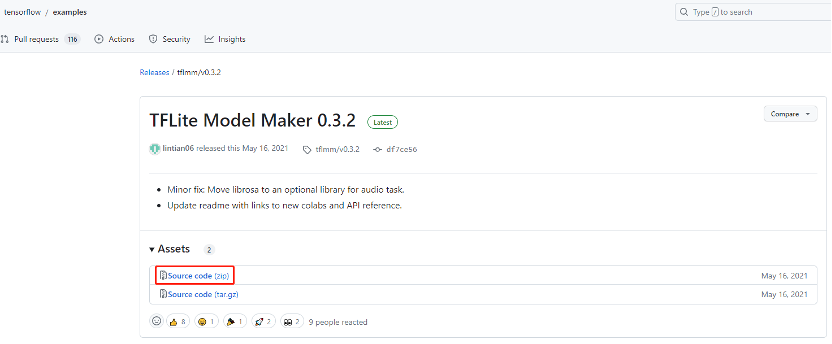
使用Android Studio开启Tensorflow范例内的object_detection专案。

Android Studio安装MediaPipe的facedetection库
以下环境是在Windows 10下建置
a. 在app -> build.gradle -> dependencies区块添加文件添加。
implementation 'com.google.mediapipe:solution-core:latest.release'
implementation 'com.google.mediapipe:facedetection:latest.release'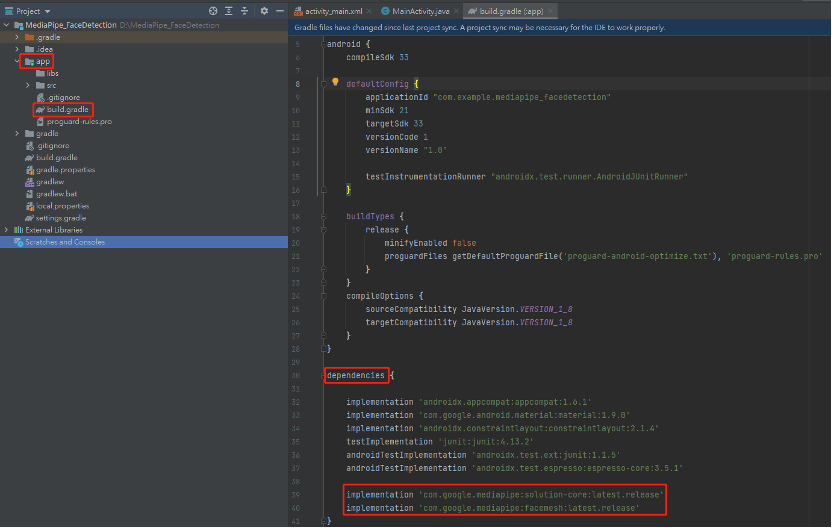
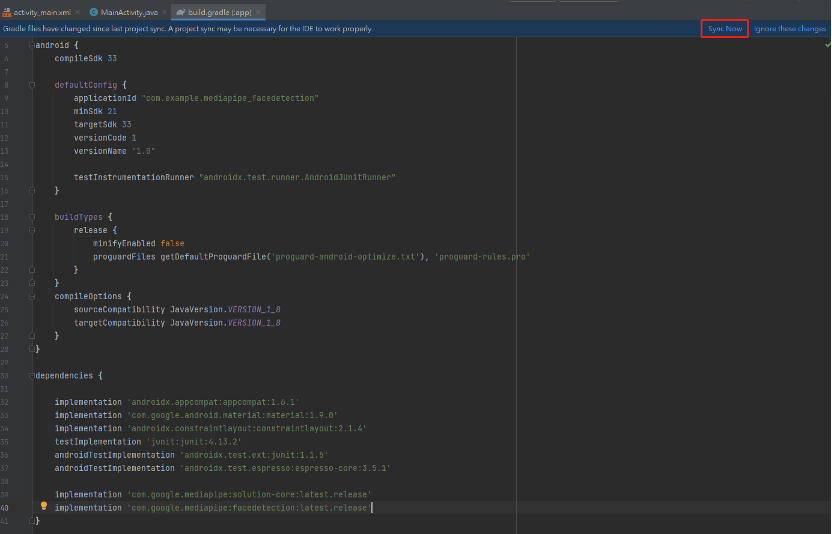
设定完后记得,点击Sync Now进行同步,完成之后,MediaPipe的facedetection库套件就成功加入项目内。
MediaPipe的facedetection Android Java范例代码
MediaPipe提供了Android Java的绘框范例代码,看官们只要按照以下几点设定及修改代码,即可成功将face detection结果呈现。
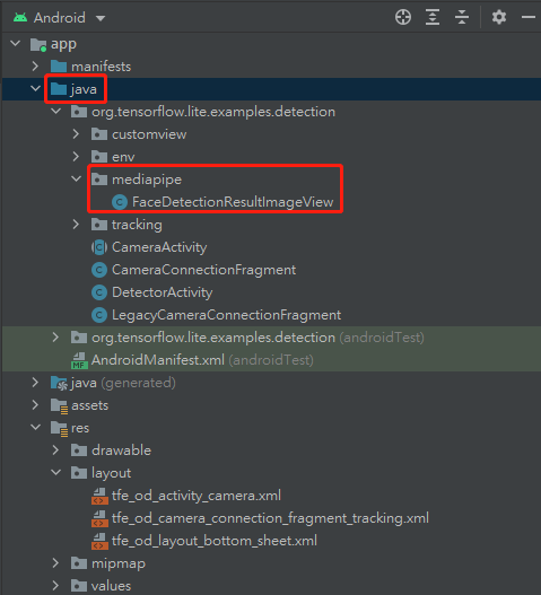
至mediapipe的Github下载FaceDetectionResultImageView.java 代码,此代码进行绘框动作。
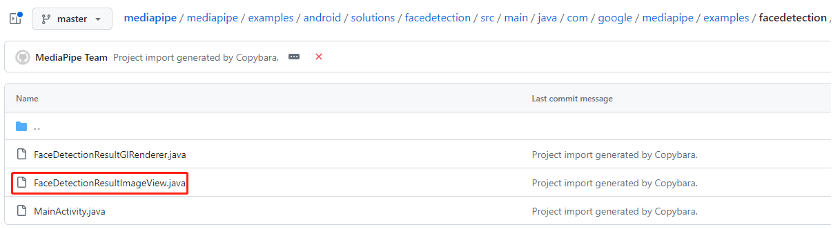
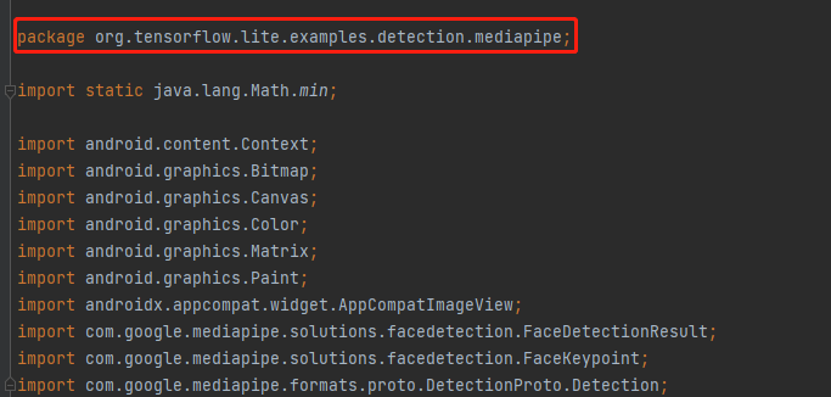
b. 在app -> java 新增一个mediapipe资料夹,并将下载的java档案添加,并修改FaceDetectionResultImageView.java档案,将原本的package com.google.mediapipe.examples.facedetection;改为package org.tensorflow.lite.examples.detection.mediapipe;。
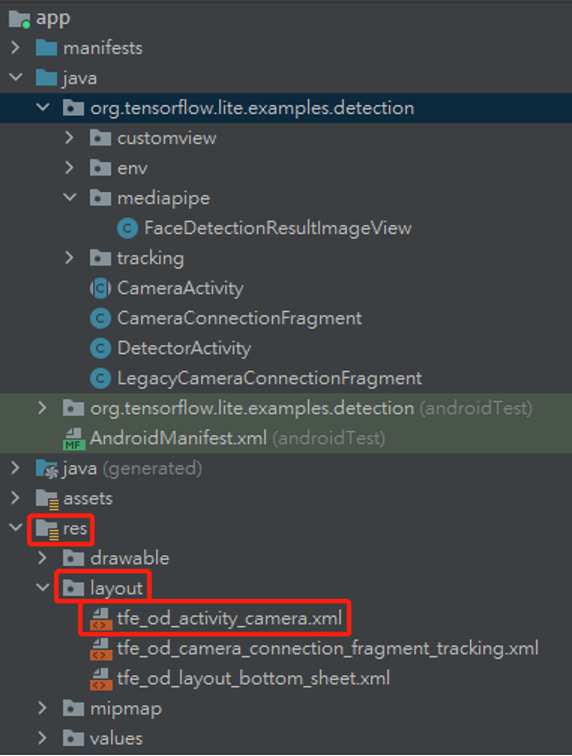
在res -> layout -> xml档案修改UI设计,增加一个FrameLayout,id为preview_display_layout 。

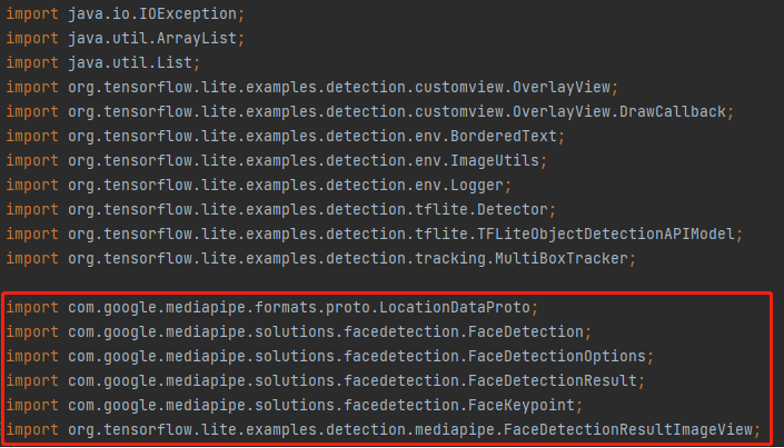
在DetectorActivity.java档案下进行以下修改
import com.google.mediapipe.formats.proto.LocationDataProto;
import com.google.mediapipe.solutions.facedetection.FaceDetection;
import com.google.mediapipe.solutions.facedetection.FaceDetectionOptions;
import com.google.mediapipe.solutions.facedetection.FaceDetectionResult;
import com.google.mediapipe.solutions.facedetection.FaceKeypoint;
Import org.tensorflow.lite.examples.detection.mediapipe.FaceDetectionResultImageView;
在DetectorActivity class内增加代码
private FaceDetection faceDetection;
private FaceDetectionResultImageView imageView;

在onPreviewSizeChosen增加代码
imageView = new FaceDetectionResultImageView(this);
setupStaticImageModePipeline();
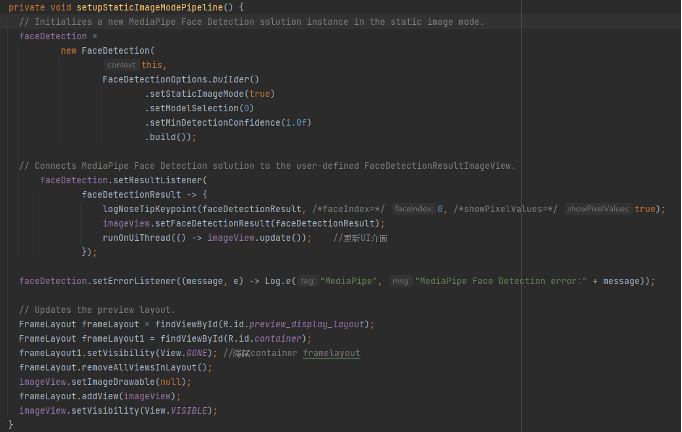
增加setupStaticImageModePipeline函式
private void setupStaticImageModePipeline() {
    // Initializes a new MediaPipe Face Detection solution instance in the static image mode.
faceDetection =
new FaceDetection(
this,
FaceDetectionOptions.builder()
.setStaticImageMode(true)
.setModelSelection(0)
.setMinDetectionConfidence(1.0f)
.build());
// Connects MediaPipe Face Detection solution to the user-defined
FaceDetectionResultImageView.
faceDetection.setResultListener(
faceDetectionResult -> {
logNoseTipKeypoint(faceDetectionResult, /*faceIndex=*/ 0, /*showPixelValues=*/ true);
imageView.setFaceDetectionResult(faceDetectionResult);
runOnUiThread(() -> imageView.update());
});
faceDetection.setErrorListener((message, e) -> Log.e("MediaPipe", "MediaPipe Face
Detection error:" + message));
// Updates the preview layout.
FrameLayout frameLayout = findViewById(R.id.preview_display_layout);
FrameLayout frameLayout1 = findViewById(R.id.container);
frameLayout1.setVisibility(View.GONE);
frameLayout.removeAllViewsInLayout();
imageView.setImageDrawable(null);
frameLayout.addView(imageView);
imageView.setVisibility(View.VISIBLE);
}
增加logNoseTipKeypoint函式
private void logNoseTipKeypoint(
          FaceDetectionResult result,
          int faceIndex,
          boolean showPixelValues
  ) {
    if (result.multiFaceDetections().isEmpty()) {
      return;
    }
    LocationDataProto.LocationData.RelativeKeypoint noseTip =
            result
                    .multiFaceDetections()
                    .get(faceIndex)
                    .getLocationData()
                    .getRelativeKeypoints(FaceKeypoint.NOSE_TIP);
    if (showPixelValues) {
      int width = result.inputBitmap().getWidth();
      int height = result.inputBitmap().getHeight();
      Log.i(
              "MediaPipe",
              String.format(
                      "MediaPipe Face Detection nose tip coordinates (pixel values): x=%f,
                      y=%f",noseTip.getX() * width, noseTip.getY() * height));
    } else {
      Log.i(
              "MediaPipe",
              String.format(
                      "MediaPipe Face Detection nose tip normalized coordinates (value range:
                [0, 1]):"+ " x=%f, y=%f",noseTip.getX(), noseTip.getY()));
    }
  }

在processImage增加代码
faceDetection.send(croppedBitmap);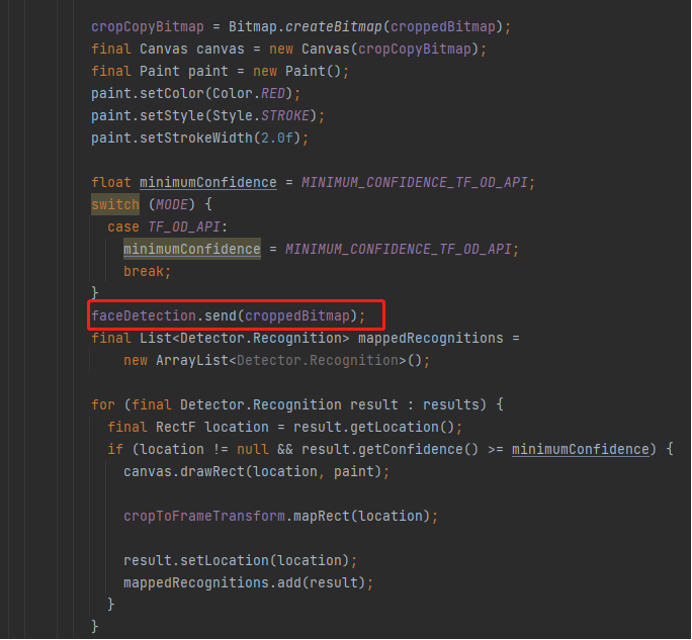
结果显示

结语
透过以上的教学,相信各位已经能够成功透过Android Studio轻松地将Tensorflow 范例与MediaPipe库进行结合,并使用脸部侦测功能;这让想使用MediaPipe进行应用的看官们提供更多的功能应用选择,希望这篇教学能够帮助各位看官们入门使用MediaPipe库,并激发看官们在Android开发中探索更多有趣应用的想像力,有问题的看官们欢迎联系我,我们一同讨论。
喜欢我的帖子,请帮我按个”收藏”,我们下回见。
Q&A
1.MediaPipe库支援的Android版本是多少?
Ans:MediaPipe库支援Android 5.0及以上版本。
2.如何在Android项目中添加其他视觉计算任务,例如手部跟踪?
Ans:添加其他视觉计算任务与本篇教学类似。首先,你需要查找MediaPipe库中相应的模型,然后在Android项目中集成并使用这些模型。具体步骤与脸部侦测类似,此部分下一篇博文会介绍,近请期待。
3.MediaPipe库在运行时是否需要联网?
Ans:MediaPipe库不需要联网,因为它使用的模型和资源都包含在项目中,透过Edge端进行推论。
4.MediaPipe库的运行效率如何?
Ans:MediaPipe库在设计上注重运行效率,并且可以利用GPU来加速计算,因此通常具有较高的处理速度和良好的实时性能。
5.是否可以在MediaPipe库的基础上扩展更多视觉计算任务?
Ans:是的,你可以在MediaPipe库的基础上扩展更多视觉计算任务,只需要添加相应的模型和处理代码。


 4426
4426

 被折叠的 条评论
为什么被折叠?
被折叠的 条评论
为什么被折叠?
 到【灌水乐园】发言


