


start
- 看了很多大佬写的对 axios 的源码解读。
- 有逐行代码分析的,有对整体逻辑进行梳理的,也有对 axios 架构设计思考的。
- 写的都超棒。
- 与我而言,只能在现有的能力下尽可能的去掌握一些内容。
- 我就以问题的形式,记录一下我理解到的知识。
1.axios 执行的整体逻辑是什么?
// 从上往下依次:
入口文件

createInstance

Axios 构造函数

Axios.prototype.request

interceptors 请求拦截器

dispatchRequest

transformRequest

adapter

transformResponse

interceptors 响应拦截器
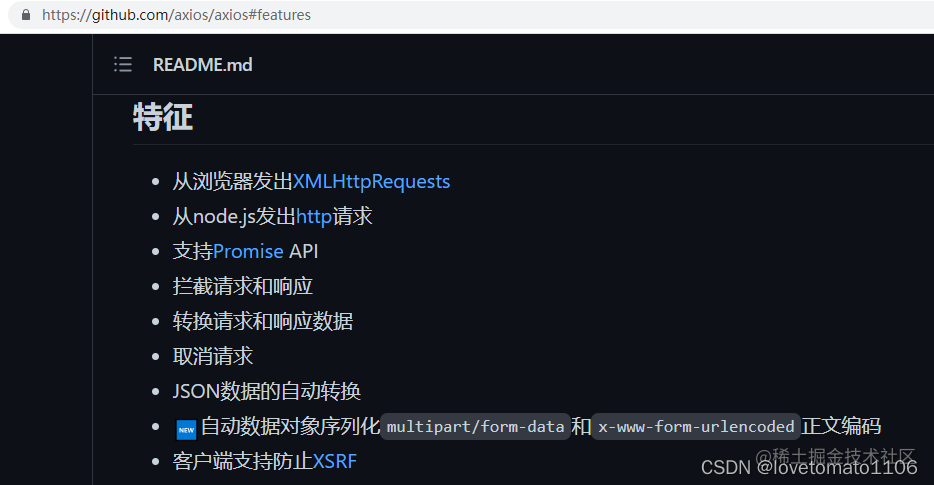
2. 记录一下 axios 的特点
3. axios 是如何支持多种使用方式?
使用方式例如:
axios
  .post('/user', {
    firstName: 'Fred',
    lastName: 'Flintstone',
  })
  .then(function (response) {
    console.log(response)
  })
  .catch(function (error) {
    console.log(error)
  })
axios({
  method: 'post',
  url: '/user/12345',
  data: {
    firstName: 'Fred',
    lastName: 'Flintstone',
  },
})
核心的实现原理在于这个方法:createInstance
createInstance的源码
/**
 * Create an instance of Axios
 *
 * @param {Object} defaultConfig The default config for the instance
 * @return {Axios} A new instance of Axios
 */
function createInstance(defaultConfig) {
  // 2. Axios 不管是什么,看到 new ,可以想到 context 是一个对象。
  var context = new Axios(defaultConfig)

  // 3. bind来自helpers/bind,可以理解为axios自己写的bind方法,和原生的bind方法类似。返回一个this指向指向 context 的 Axios.prototype.request方法
  var instance = bind(Axios.prototype.request, context)

  // Copy axios.prototype to instance
  // 4. utils工具 extend 方法简单来说, 把Axios.prototype上的属性拷贝给instance。(如果Axios.prototype的某个属性是函数,那么把拷贝给instance的函数this指向context)
  utils.extend(instance, Axios.prototype, context)

  // Copy context to instance
  // 5. 同4, 把context上的属性拷贝给instance
  utils.extend(instance, context)

  // Factory for creating new instances
  // 6. instance上加一个 create 属性,用来创建一个新 实例
  instance.create = function create(instanceConfig) {
    return createInstance(mergeConfig(defaultConfig, instanceConfig))
  }

  return instance
}

// 1. 开始
var axios = createInstance(defaults)
总结
- 我们得到的 axios,本质是 Axios 原型上的 request 方法
- 通过 utils 中的 extend 方法,将 Axios.prototype 和 Axios 实例上的属性方法,扩展到 axios 上。
4. 研究一下 Axios.prototype.request
看了源码才知道,我们不论是 get 还是 post 请求,都是基于Axios.prototype.request方法.
所以很有必要去看一下Axios.prototype.request里面写的什么,首先我把源码做了精简,只看主干逻辑。完整版路径 node_modules\axios\lib\core\Axios.js第 25 行
Axios.prototype.request = function request(configOrUrl, config) {
  /* ... */

  // 请求拦截器列表
  var requestInterceptorChain = []

  /**
   1. this.interceptors.request可以看做是一个数组,包含了所有请求拦截器

   2. interceptor格式是这样:
    {
      fulfilled: fulfilled,
      rejected: rejected
    }

   3. fulfilled和rejected都是函数

   4. 响应拦截器同理
   */
  this.interceptors.request.forEach(function unshiftRequestInterceptors(
    interceptor
  ) {
    requestInterceptorChain.unshift(interceptor.fulfilled, interceptor.rejected)
  })

  // 响应拦截器列表
  var responseInterceptorChain = []

  // 逻辑类似请求拦截器
  this.interceptors.response.forEach(function pushResponseInterceptors(
    interceptor
  ) {
    responseInterceptorChain.push(interceptor.fulfilled, interceptor.rejected)
  })

  var promise

  // 定义一个数组,预先存入dispatchRequest 就是真正去请求接口的逻辑;这里都是两两一组
  var chain = [dispatchRequest, undefined]

  // 请求拦截器放在 数组chain 的前面
  Array.prototype.unshift.apply(chain, requestInterceptorChain)

  // 响应拦截器放在 数组chain 的后面
  chain = chain.concat(responseInterceptorChain)

  // 初始化一个Promise,并且传入config,正是因为这里传入了config,所以响应和请求拦截器可以拿到配置
  promise = Promise.resolve(config)

  // 开始循环
  while (chain.length) {
    // 就这样 从最后添加的请求拦截器开始执行,到请求接口 直到最后一个响应拦截器
    promise = promise.then(chain.shift(), chain.shift())
  }

  return promise
}
5. InterceptorManager
看了Axios.prototype.request,对它的 this.interceptors感兴趣。
node_modules\axios\lib\core\Axios.js
function Axios(instanceConfig) {
  this.defaults = instanceConfig
  this.  = {
    request: new InterceptorManager(),
    response: new InterceptorManager(),
  }
}
node_modules\axios\lib\core\InterceptorManager.js
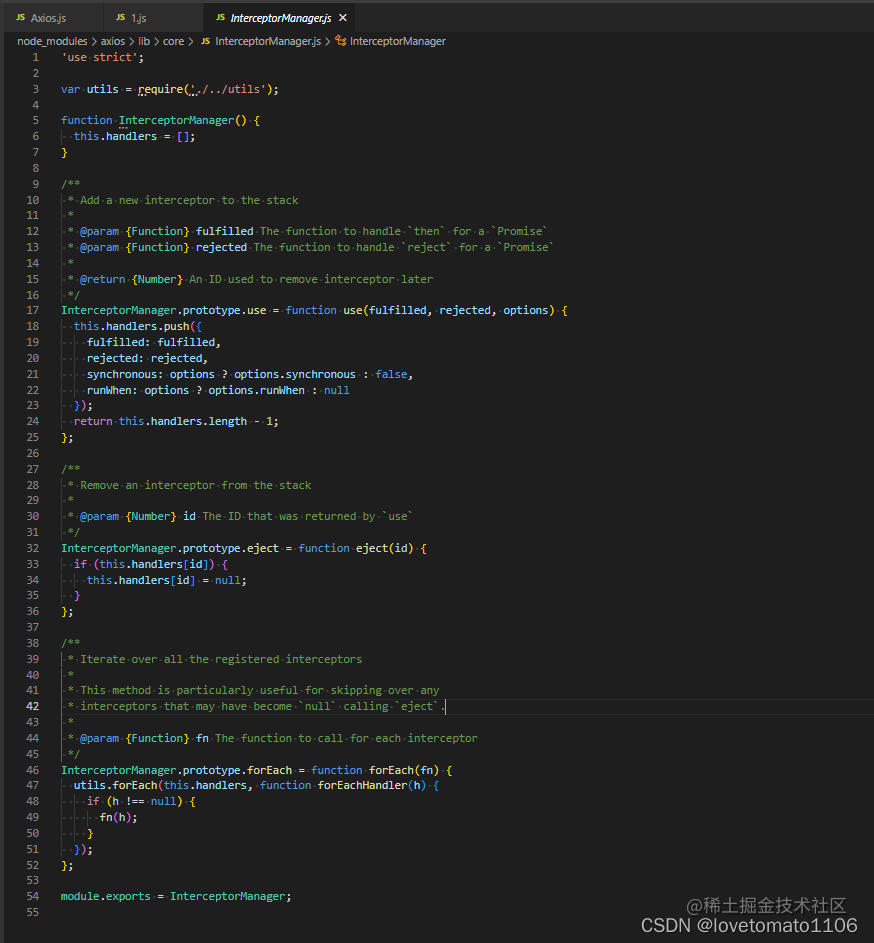
总结
- 构造函数 InterceptorManager 中有一个 handlers,用来记录着所有添加进来的拦截器,拦截器以对象形式存储,其中存储着成功的回调和失败的回调。
6. JSON 数据的自动转换
第二点的官方文档上,就说了这么一个特点JSON数据的自动转换;怎么实现的呢?
node_modules\axios\lib\defaults\index.js
var defaults = {
  /* ... */
  transformRequest: [
    function transformRequest(data, headers) {
      normalizeHeaderName(headers, 'Accept')
      normalizeHeaderName(headers, 'Content-Type')

      if (
        utils.isFormData(data) ||
        utils.isArrayBuffer(data) ||
        utils.isBuffer(data) ||
        utils.isStream(data) ||
        utils.isFile(data) ||
        utils.isBlob(data)
      ) {
        return data
      }
      if (utils.isArrayBufferView(data)) {
        return data.buffer
      }
      if (utils.isURLSearchParams(data)) {
        setContentTypeIfUnset(
          headers,
          'application/x-www-form-urlencoded;charset=utf-8'
        )
        return data.toString()
      }

      var isObjectPayload = utils.isObject(data)
      var contentType = headers && headers['Content-Type']

      var isFileList

      if (
        (isFileList = utils.isFileList(data)) ||
        (isObjectPayload && contentType === 'multipart/form-data')
      ) {
        var _FormData = this.env && this.env.FormData
        return toFormData(
          isFileList ? { 'files[]': data } : data,
          _FormData && new _FormData()
        )
      } else if (isObjectPayload || contentType === 'application/json') {
        setContentTypeIfUnset(headers, 'application/json')
        return stringifySafely(data)
      }

      return data
    },
  ],
}
function stringifySafely(rawValue, parser, encoder) {
  if (utils.isString(rawValue)) {
    try {
      ;(parser || JSON.parse)(rawValue)
      return utils.trim(rawValue)
    } catch (e) {
      if (e.name !== 'SyntaxError') {
        throw e
      }
    }
  }

  return (encoder || JSON.stringify)(rawValue)
}
总结
- 单纯只看
stringifySafely(), 默认情况下 传入一个对象都会 JSON.stringify(data)
7. 验证
-
验证一下第 5 点说的逻辑,看拦截器执行的顺序。
随即验证了一下拦截器的执行顺序,执行顺序
执行顺序:
最后定义的请求拦截器 =》 最先定义的请求拦截器 =》 请求 =》 最先定义的响应拦截器 => 最后定义的响应拦截器 -
验证一下第 6 点说的逻辑,看请求数据的格式化。
-
我自己验证了一下,如果使用默认的配置对象 default,在接口调用时传入一个对象作为参数,就会调用
JSON.stringify() -
这里算是彻底解决了我的疑惑:
请求接口的参数例如
new Date()会变成2022-08-10T11:33:56.849Zundedfined会变成被忽略。 (ps 为此我还特意深入学习了一下 JSON.stringify() o(╥﹏╥)o)
-
axios相关的优质博客
end
加油啦


 194
194


 被折叠的 条评论
为什么被折叠?
被折叠的 条评论
为什么被折叠?
 到【灌水乐园】发言


