


前言
SAM 2可以分割以前从未遇到过的物体,表现出强大的零样本泛化能力。它在17个零样本视频数据集的交互式视频分割方面明显优于以前的方法,并且需要的人工交互大约减少三倍。
SAM 2在其23个数据集的零样本基准测试套件上优于SAM,同时速度快 6倍。
与之前最先进的模型相比,SAM 2在现有的视频对象分割基准测试(DAVIS、MOSE、LVOS、YouTube-VOS)方面表现出色。
模型实现了实时推理速度,每秒处理大约44帧。这使得SAM 2适用于需要即时反馈的应用,例如视频编辑和增强现实。
用于视频分割注释的SAM 2比使用SAM进行手动每帧注释快 8.4倍。
一、平台环境准备
卡选择:MLU370系列
驱动选择:6.2.5以上
本次操作镜像如下:
pytorch:v24.10-torch2.4.0-torchmlu1.23.1-ubuntu22.04-py310
二、代码下载
git clone https://github.com/facebookresearch/sam2.git
三、模型下载
cd sam2/ && cd checkpoints && ./download_ckpts.sh && cd ..
也可以直接url下载模型
#https://dl.fbaipublicfiles.com/segment_anything_2/092824/sam2.1_hiera_tiny.pt
#https://dl.fbaipublicfiles.com/segment_anything_2/092824/sam2.1_hiera_small.pt
#https://dl.fbaipublicfiles.com/segment_anything_2/092824/sam2.1_hiera_base_plus.pt
#https://dl.fbaipublicfiles.com/segment_anything_2/092824/sam2.1_hiera_large.pt
模型全部放在checkpoints下即可
四、环境安装
cd sam2 && pip install --no-build-isolation -e . #源码编译sam2
五、预测代码准备
import torch
import torch_mlu
import torch_mlu.utils.gpu_migration#注意前三行
from sam2.build_sam import build_sam2
from sam2.sam2_image_predictor import SAM2ImagePredictor
from PIL import Image
import numpy as np
import matplotlib.pyplot as plt
import os

# 路径已使用相对路径
checkpoint = "./checkpoints/sam2.1_hiera_large.pt"
model_cfg = "configs/sam2.1/sam2.1_hiera_l.yaml"
predictor = SAM2ImagePredictor(build_sam2(model_cfg, checkpoint))
# 保存图片与掩码
def save_image_with_masks(image, masks, file_path):
    masked_image = image.copy()
    for mask in masks:
        mask = mask.astype(bool)
        color = np.random.randint(0, 255, size=(1, 3), dtype=np.uint8)#随机颜色
        masked_image[mask] = color
    Image.fromarray(masked_image).save(file_path)
    print(f"图像已保存至: {file_path}")
# 修改为mlu与fp16格式
with torch.inference_mode(), torch.autocast("mlu", dtype=torch.float16):
    # 按如下格式,注意此处不是图片路径,按官方演示需要转化
    #predictor.set_image(<your_image>)
    #masks, _, _ = predictor.predict(<input_prompts>)

    image_path = './notebooks/images/1.jpg'
    output_path = './notebooks/images/groceries_mask.jpg'
    image = Image.open(image_path)
    image = np.array(image.convert("RGB"))
    # 此处设置输入点和标签
    input_point = np.array([[1000, 375]])#点的位置
    input_label = np.array([1])
     # 设置图像到预测器
    predictor.set_image(image)
    # 调用模型进行预测
    masks, scores, logits = predictor.predict(
            point_coords=input_point,
            point_labels=input_label,
            multimask_output=True,
        )

save_image_with_masks(image, masks, output_path)
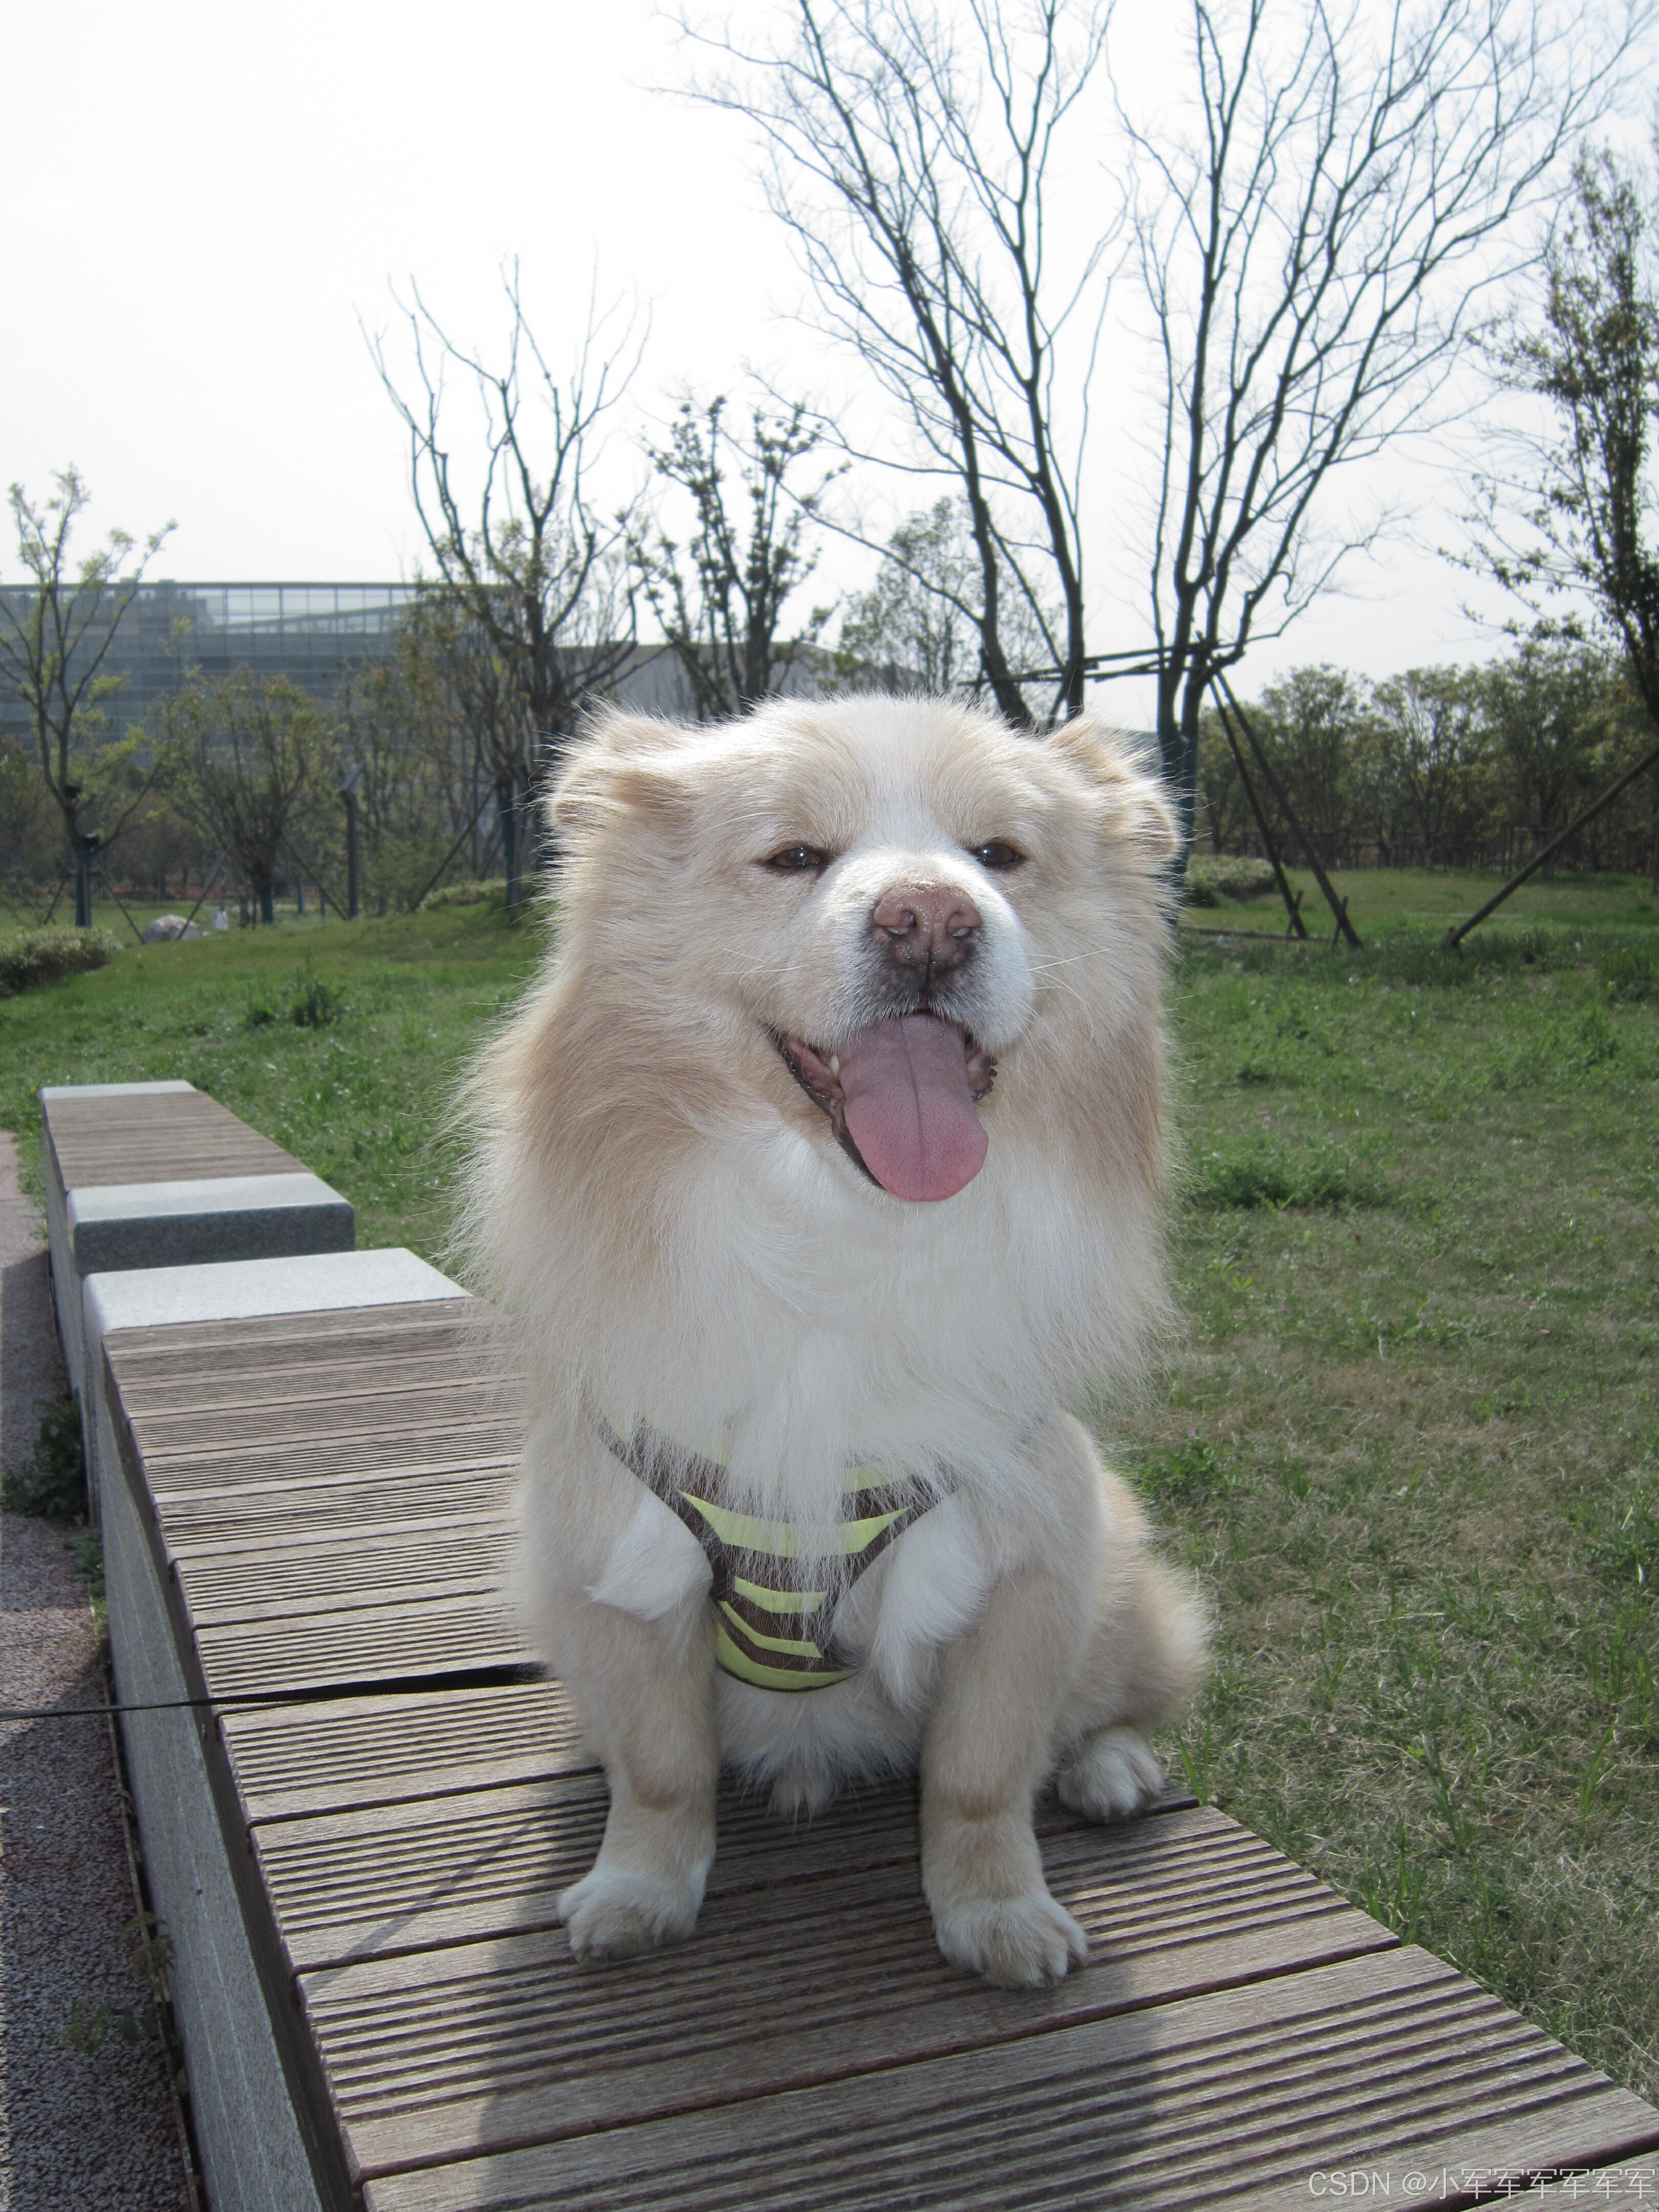
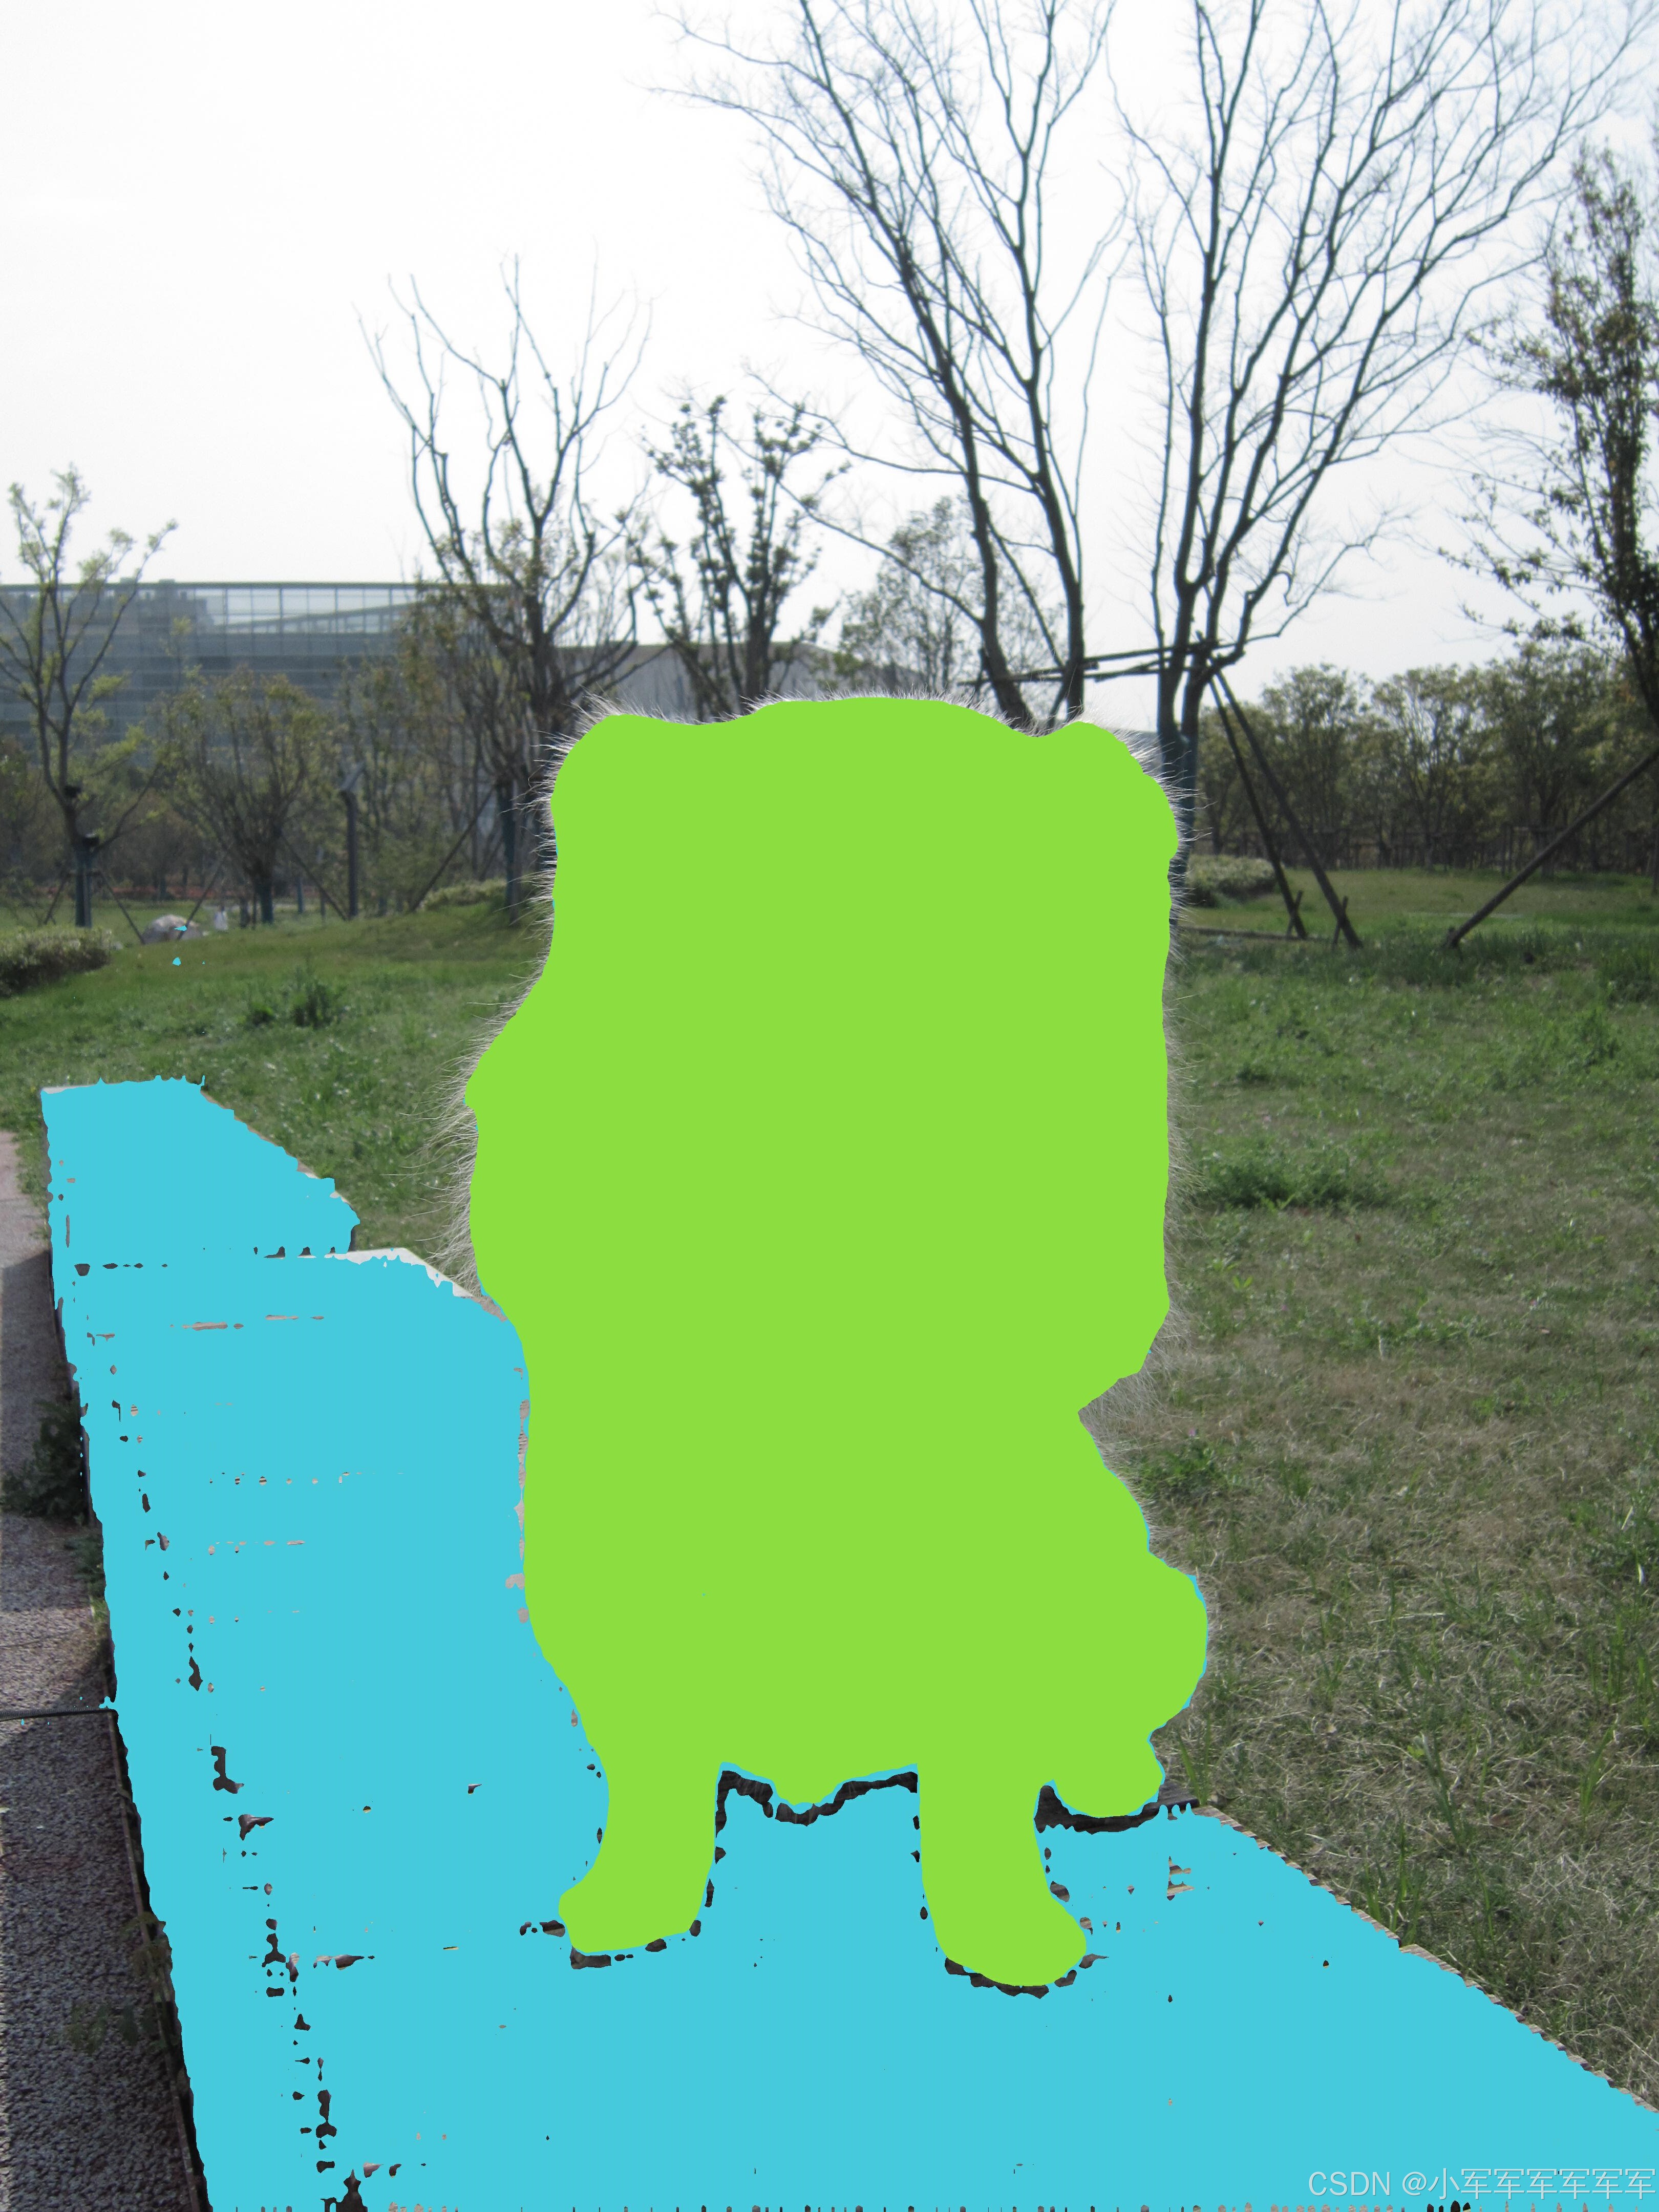
6.结果展示
在这里我们来分割一下,狗狗的位置
输入图片
7.总结
细心的人应该能发现,我在这些操作中只对推理代码加入了
import torch
import torch_mlu
import torch_mlu.utils.gpu_migration
这三行,就可以让cuda的代码在mlu运行了


 1万+
1万+

 被折叠的 条评论
为什么被折叠?
被折叠的 条评论
为什么被折叠?
 到【灌水乐园】发言


