


文章目录
前言
本文只是对hadoop进行单机版简单安装使用,并使用脚本快速安装hadoop单机版,有一些配置如yarn配置没有修改,但是会进行简单说明。全程使用root用户。
一、准备工作
1、下载hadoop-3.3.1
阿里镜像hadoop3.3.1
下载安装jdk:略
2、修改环境变量配置文件
vim /etc/profile
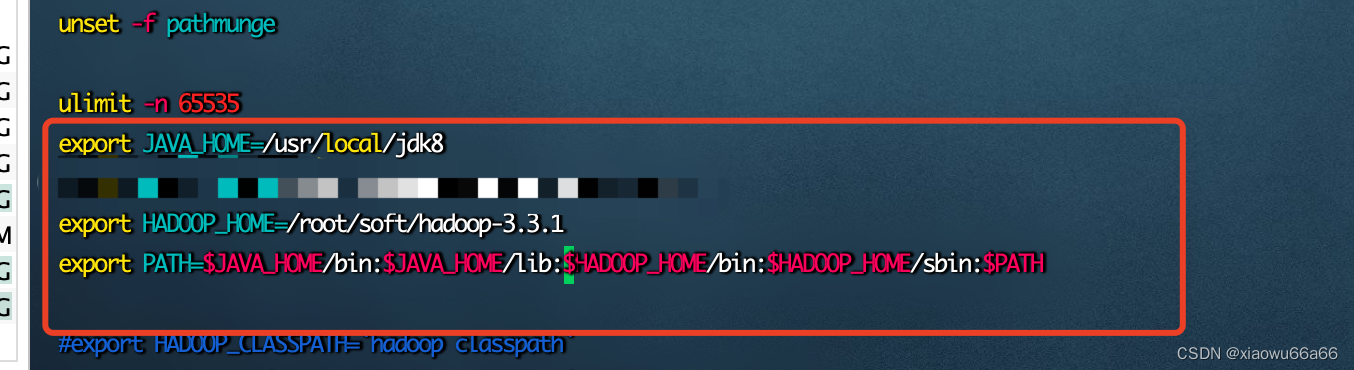
移动到文件末尾,按小写字母i进入插入模式,添加或修改下面的内容:
export HADOOP_HOME=/root/soft/hadoop-3.3.1
export PATH=$PATH:$JAVA_HOME/bin:$HADOOP_HOME/bin
注意:PATH是修改之前配置JDK的那个,仅较之前添加了:$HADOOP_HOME/bin!
修改完大概是这样的:
使环境变量生效
source /etc/profile
3、服务器免密登录
ssh-keygen -t rsa -P '' -f ~/.ssh/id_rsa
cat ~/.ssh/id_rsa.pub >> ~/.ssh/authorized_keys
chmod 0600 ~/.ssh/authorized_keys
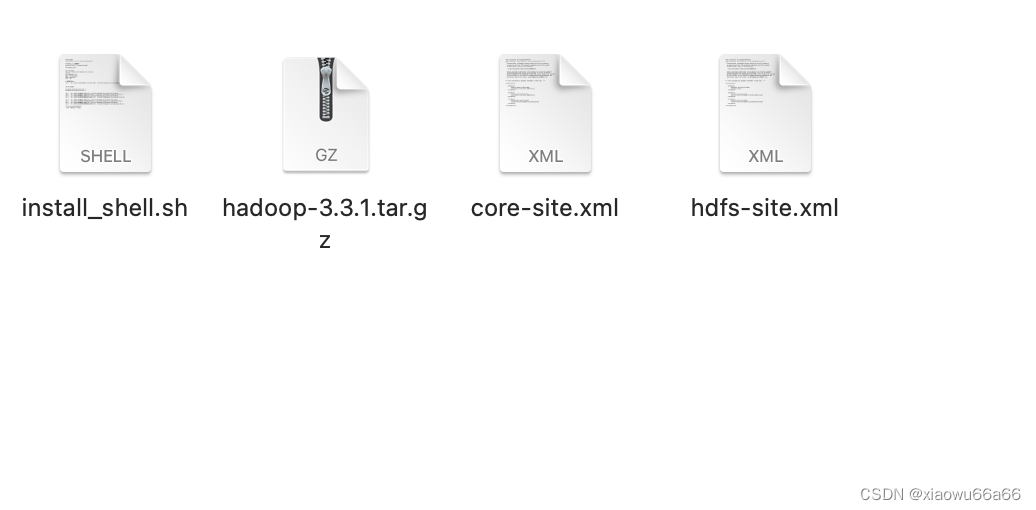
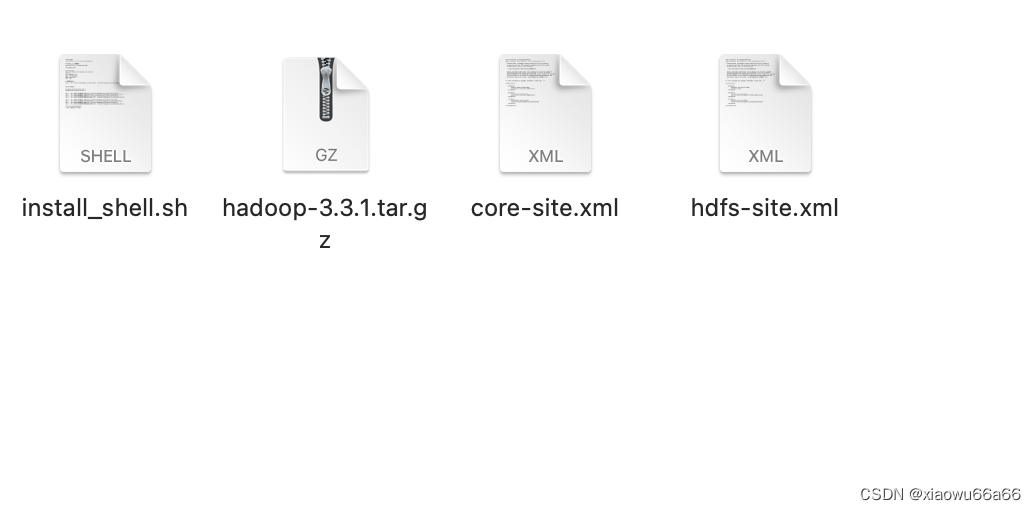
4、脚本文件在文件夹信息
文件内容(需上传到服务器或虚拟机上)
二、安装
创建/修改配置文件
在要上传的文件夹下操作
1、创建core-site.xml文件
<?xml version="1.0" encoding="UTF-8"?>
<?xml-stylesheet type="text/xsl" href="configuration.xsl"?>
<!--
  Licensed under the Apache License, Version 2.0 (the "License");
  you may not use this file except in compliance with the License.
  You may obtain a copy of the License at

    http://www.apache.org/licenses/LICENSE-2.0

  Unless required by applicable law or agreed to in writing, software
  distributed under the License is distributed on an "AS IS" BASIS,
  WITHOUT WARRANTIES OR CONDITIONS OF ANY KIND, either express or implied.
  See the License for the specific language governing permissions and
  limitations under the License. See accompanying LICENSE file.
-->

<!-- Put site-specific property overrides in this file. -->

<configuration>

    <property>
        <name>fs.default.name</name>
        <value>hdfs://127.0.0.1:9000</value>
    </property>

    <property>
        <name>fs.defaultFS</name>
        <value>hdfs://127.0.0.1:9000</value>
    </property>

    <property>
        <name>hadoop.tmp.dir</name>
        <value>/root/soft/hadoop-3.3.1/tmp</value>
    </property>

</configuration>
2、创建hdfs-site.xml文件
<?xml version="1.0" encoding="UTF-8"?>
<?xml-stylesheet type="text/xsl" href="configuration.xsl"?>
<!--
  Licensed under the Apache License, Version 2.0 (the "License");
  you may not use this file except in compliance with the License.
  You may obtain a copy of the License at

    http://www.apache.org/licenses/LICENSE-2.0

  Unless required by applicable law or agreed to in writing, software
  distributed under the License is distributed on an "AS IS" BASIS,
  WITHOUT WARRANTIES OR CONDITIONS OF ANY KIND, either express or implied.
  See the License for the specific language governing permissions and
  limitations under the License. See accompanying LICENSE file.
-->

<!-- Put site-specific property overrides in this file. -->

<configuration>

    <property>
        <name>dfs.replication</name>
        <value>1</value>
    </property>

    <property>
        <name>dfs.name.dir</name>
        <value>/root/soft/hadoop-3.3.1/hdfs/name</value>
    </property>

    <property>
        <name>dfs.data.dir</name>
        <value>/root/soft/hadoop-3.3.1/hdfs/data</value>
    </property>

</configuration>
3、创建运行脚本文件install_shell.sh
注意:启动脚本需要加入自己本地的jdk路径,默认hadoop安装路径为
/root/soft
#!/bin/bash
echo "Hello, we will install hadoop3.3.1"

# hadoop 3.3.1安装脚本文件夹的位置
path_shell=$(cd `dirname $0`;pwd)

echo $path_shell

# hadoop安装目录,这个是固定的,要是修改也要改hdfs-site.xml和 core-site.xml
cd /root/soft
tar -zxvf $path_shell/hadoop-3.3.1.tar.gz
sleep 1
cd ./hadoop-3.3.1
mkdir -p hdfs/data
mkdir hdfs/name
mkdir tmp

# 设置自己的jvm,这里要修改为自己的jdk位置
sed -i '38 i export JAVA_HOME=/usr/local/jdk8' /root/soft/hadoop-3.3.1/etc/hadoop/hadoop-env.sh


cd etc/hadoop

mv $path_shell/core-site.xml ./
mv $path_shell/hdfs-site.xml ./

# root 用户启动要修改启动文件的权限
sed -i '33 i HDFS_DATANODE_USER=root' /root/soft/hadoop-3.3.1/sbin/start-dfs.sh
sed -i '33 i HDFS_DATANODE_SECURE_USER=hdfs' /root/soft/hadoop-3.3.1/sbin/start-dfs.sh
sed -i '33 i HDFS_NAMENODE_USER=root' /root/soft/hadoop-3.3.1/sbin/start-dfs.sh
sed -i '33 i HDFS_SECONDARYNAMENODE_USER=root' /root/soft/hadoop-3.3.1/sbin/start-dfs.sh

sed -i '33 i HDFS_DATANODE_USER=root' /root/soft/hadoop-3.3.1/sbin/stop-dfs.sh
sed -i '33 i HDFS_DATANODE_SECURE_USER=hdfs' /root/soft/hadoop-3.3.1/sbin/stop-dfs.sh
sed -i '33 i HDFS_NAMENODE_USER=root' /root/soft/hadoop-3.3.1/sbin/stop-dfs.sh
sed -i '33 i HDFS_SECONDARYNAMENODE_USER=root' /root/soft/hadoop-3.3.1/sbin/stop-dfs.sh

cd /root/soft/hadoop/bin
./hdfs namenode -format
4、上传并运行脚本
①压缩文件
②上传 rz 或 scp
③ 解压缩 unzip ./hadoop-install.zip
④ 运行 cd hadoop-install, sh install_shell.sh
5、访问NameNode的网页界面
http://localhost:9870/
注意:老版本的Hadoop应该访问http://localhost:50070/
借鉴文章:https://www.cnblogs.com/crpfs/articles/15474488.html#3-%E9%85%8D%E7%BD%AEhadoop


 354
354


 被折叠的 条评论
为什么被折叠?
被折叠的 条评论
为什么被折叠?
 到【灌水乐园】发言


