


1. 游戏介绍
本游戏主要逻辑为在一个停车场内通过挪动车辆来让汽车离开停车场,以所有车辆都离开停车场为游戏胜利目标。具体玩法可参考微信小程序《挪车冲冲冲》.
本项目通过python中的pygame库来实现这个小游戏的基本玩法。
1.1 游戏流程介绍
首先,运行程序之后我们会看到一个主界面,点击主界面的开始游戏之后,我们来到游戏界面,游戏界面为一个停车场,停车场中摆放着很多的车辆,车辆的移动只有前进以及倒车两个选择,车辆会在行驶途中遇到障碍物或者出口。当遇到出口时会离开(即消失),遇到障碍物时会停下。当我们将所有的车辆移出停车场后,游戏胜利。
以上是这个项目的基本游戏流程。当然,我们也可以添加其他的功能来完善我们的游戏,例如,限制玩家移动的步数以及时间,未在规定步数或时间内完成游戏则游戏失败;在停车场内添加一些障碍物等等。
1.2 开始界面
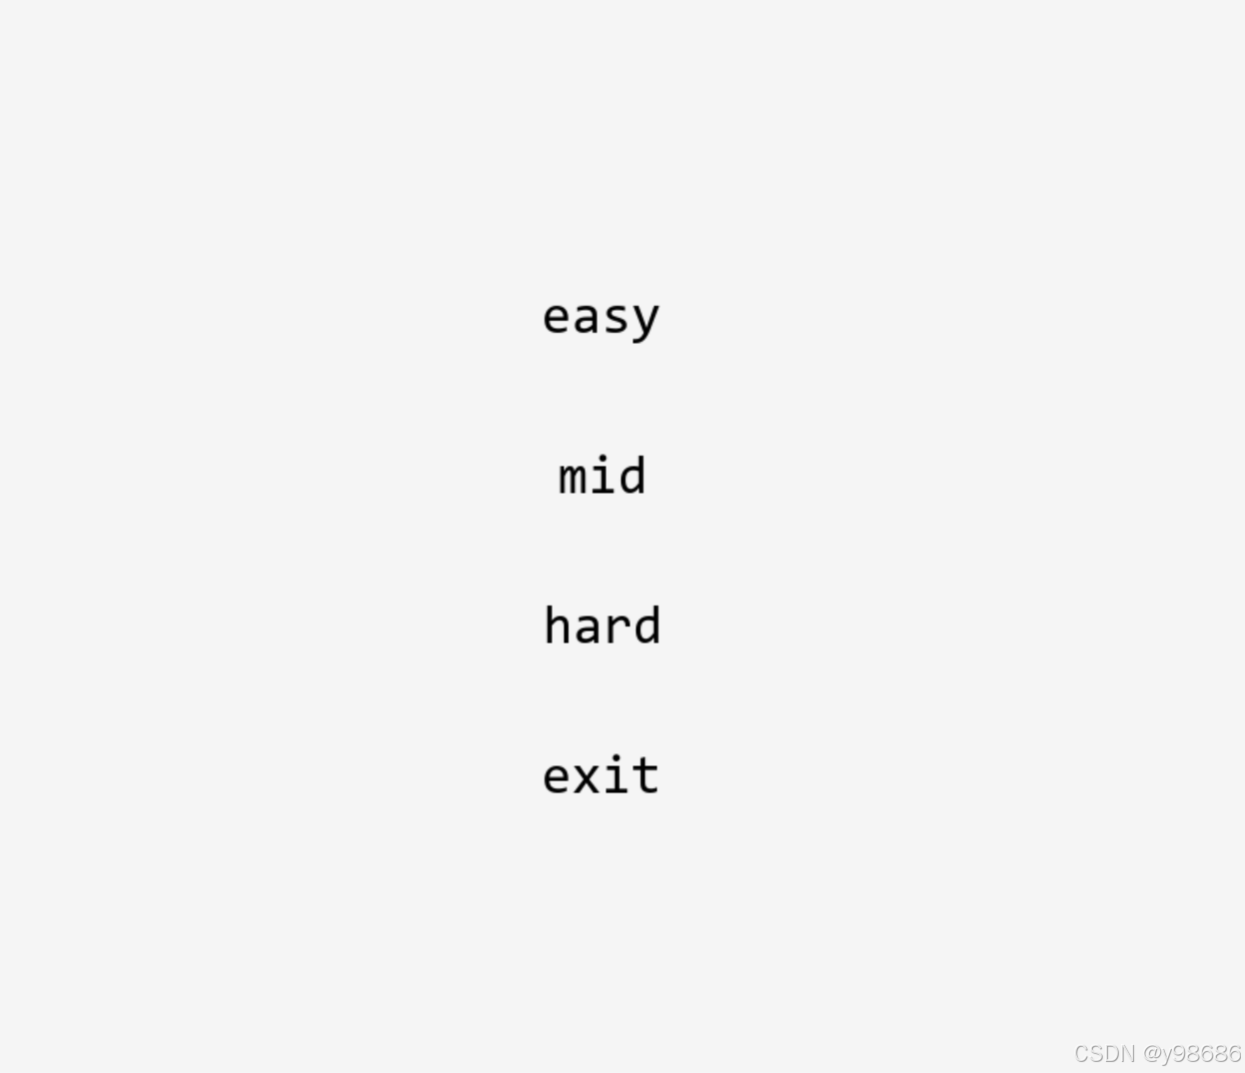
主界面中有四个按钮,其中前三个为难度设置,分别为简单、适中、困难,最后一行为退出按钮。难度设置即为在初始化停车场中的车辆时控制车辆的数量,随难度的升高车辆数量依次增加。
1.3 游戏界面

边缘的阴影部分即为停车场出口,只有碰见这些出口车辆才会离开。需要注意的是,我们要保证每一行和每一列都需要有至少一个出口,因为车辆只能在它所在的这一行或这一列移动,如果它所在的这一行或这一列没有出口,游戏就会出现死局,即这辆车永远无法离开停车场。
移动方法为玩家滑动车辆,滑动方向即为车辆移动方向。当然,车辆只能进行前进和后退的操作,例如我们对一辆横向放置的车辆进行上下移动的操作则操作无效。
2. 主要模块介绍
通过以上信息,相信大家对于整个游戏的流程有了大致的了解。下面我们给出实现功能所需的代码以及讲解。
首先,我们当然需要进行导入库以及初始化的操作,因为我们用到的库数量较少,因此这一步比较容易。
之后,我们需要对主界面进行渲染。我们的主界面一共有四个按钮,前三个为游戏难度选择,最后一个为退出按钮。我们需要在按下相应的按钮之后产生对应的功能
最后,是游戏界面。这部分包括游戏界面的渲染,车辆的初始化,出口初始化,移动车辆模块,
2.1 导入库和初始化
import pygame
import pygame.freetype
import random
import sys

pygame.init()

# 全局常量
GRID_WIDTH = 30
GRID_HEIGHT = 30
CELL_SIZE = 30

#设置字体
font = pygame.freetype.Font("C:/Windows/Fonts/simsun.ttc", 36)
# 获取屏幕信息并设置全屏窗口
infoObject = pygame.display.Info()
SCREEN_WIDTH, SCREEN_HEIGHT = infoObject.current_w, infoObject.current_h
screen = pygame.display.set_mode((SCREEN_WIDTH, SCREEN_HEIGHT), pygame.FULLSCREEN)
pygame.display.set_caption("挪车游戏")

# 颜色定义
WHITE = (255, 255, 255)
GRAY = (100, 100, 100)
BLACK = (0, 0, 0)

# 状态定义
STATE_MENU = 0
STATE_PLAY = 1
# 游戏变量初始化
state = STATE_MENU
difficulty = None
grid = []
cars = []
exits = []
selected_car = None
dragging = False
last_mouse_pos = None
clock = pygame.time.Clock()- 导入
pygame游戏库,pygame.freetype用于渲染文字,random用于随机数生成,sys用于系统操作(如退出程序)。 pygame.init()初始化 Pygame 库的所有模块。- 三个全局常量分布代表停车场的宽度,长度,以及每个格子的大小
- 设置字体,“simsun.ttc”是宋体的字体文件,这个字体一般是电脑自带的,如果没有或者不喜欢也可以使用其他的字体。(在windows11系统下,具体的做法为在C:/Windows/Fonts目录下找到你想要选择的字体,右键选中,点击属性,查看该字体对应的名称。)
- 状态定义和游戏变量初始化将会在之后的代码中涉及到。
2.2 主界面
2.2.1 主界面渲染
button_width = 400
button_height = 100
difficulty_buttons = {
    "easy": pygame.Rect(400, 200, button_width, button_height),
    "mid": pygame.Rect(400, 300, button_width, button_height),
    "hard": pygame.Rect(400, 400, button_width, button_height),
}
exit_button_menu = pygame.Rect(400, 500, button_width, button_height)
background_image = load_and_scale_image("background.png", SCREEN_WIDTH, SCREEN_HEIGHT)
#将背景图片绘制到屏幕上,并在每个按钮区域使用 font.render_to 渲染文字。按钮背景未绘制,实现透明效果,文字颜色为黑色。
def draw_menu():
    screen.blit(background_image, (0, 0))
    for text, rect in list(difficulty_buttons.items()) + [("exit", exit_button_menu)]:
        text_rect = font.get_rect(text)
        text_rect.center = rect.center
        font.render_to(screen, text_rect.topleft, text, BLACK)
按钮区域设置,在主界面渲染出四个按钮和背景图片。
2.2.2 开始游戏按钮
在前面,我们已经定义了一个全局变量state,通过这个变量可以进行主界面和游戏界面的切换。并且在一开始将这个变量设置为0,即主界面。在选择游戏选项时,会生成难度对应数量的车辆,并且将状态切换为1,即游戏界面。如果点击退出,即退出程序
    while True:
        if state == STATE_MENU:
            for event in pygame.event.get():
                if event.type == pygame.QUIT:
                    pygame.quit()
                    sys.exit()
                if event.type == pygame.MOUSEBUTTONDOWN:
                    mx, my = pygame.mouse.get_pos()
                    for level, rect in difficulty_buttons.items():
                        if rect.collidepoint(mx, my):
                            if level == "easy":
                                difficulty = 50
                            elif level == "mid":
                                difficulty = 100
                            elif level == "hard":
                                difficulty = 400
                            initialize_game(difficulty)
                            state = STATE_PLAY
                    if exit_button_menu.collidepoint(mx, my):
                        pygame.quit()
                        sys.exit()

            draw_menu()
            pygame.display.flip()
2.3 游戏界面
我们点击一个难度选项之后,即可开始我们的游戏。
2.3.1 车辆贴图渲染
观察我们的游戏界面图,可以看出我们一共有四种类型的车辆,大小分别是1*2,1*3,2*1,3*1。我们可以使用找4张车辆的贴图来代表这四种类型的车辆,也可以创建四个车辆库,每个车辆库中放几张不同的车辆贴图,使得车辆的种类看起来更加丰富。
images = {
    ("vertical", 2): load_and_scale_image("vertical_2.png", CELL_SIZE, CELL_SIZE * 2),
    ("horizontal", 2): load_and_scale_image("horizontal_2.png", CELL_SIZE * 2, CELL_SIZE),
    ("vertical", 3): load_and_scale_image("vertical_3.png", CELL_SIZE, CELL_SIZE * 3),
    ("horizontal", 3): load_and_scale_image("horizontal_3.png", CELL_SIZE * 3, CELL_SIZE),
}
exit_image = load_and_scale_image("exit.png", CELL_SIZE, CELL_SIZE)
2.3.2 绘制网格线
def draw_grid():
    screen.fill(WHITE)
    for x in range(0, CELL_SIZE * GRID_WIDTH + 1, CELL_SIZE):
        pygame.draw.line(screen, GRAY, (x, 0), (x, CELL_SIZE * GRID_HEIGHT))
    for y in range(0, CELL_SIZE * GRID_HEIGHT + 1, CELL_SIZE):
        pygame.draw.line(screen, GRAY, (0, y), (CELL_SIZE * GRID_WIDTH, y))
    for ex, ey in exits:
        screen.blit(exit_image, (ex * CELL_SIZE, ey * CELL_SIZE))
清屏并绘制网格线,然后在所有出口位置绘制出口图片。
2.3.3 出口生成函数
def generate_exits():
    exits_set = set()
    # 为每一行选择一个唯一出口
    for y in range(GRID_HEIGHT):
        if random.choice([True, False]):
            exits_set.add((0, y))
        else:
            exits_set.add((GRID_WIDTH - 1, y))
    # 为每一列选择一个唯一出口
    for x in range(GRID_WIDTH):
        if random.choice([True, False]):
            exits_set.add((x, 0))
        else:
            exits_set.add((x, GRID_HEIGHT - 1))
return list(exits_set)- 对于每一行,随机选择左边界
(0, y)或右边界(GRID_WIDTH - 1, y)作为出口。 - 对于每一列,随机选择上边界
(x, 0)或下边界(x, GRID_HEIGHT - 1)作为出口。 - 使用集合以避免重复的出口,最后返回出口列表。
- 这种方式能够保证每行每列至少有一个出口
2.3.4 车辆生成函数
def generate_single_car(grid):
    orientation = random.choice(["vertical", "horizontal"])
    length = random.choice([2, 3])
    if orientation == "vertical":
        x = random.randint(2, GRID_WIDTH - 3)
        y = random.randint(2, GRID_HEIGHT - length - 2)
    else:
        x = random.randint(2, GRID_WIDTH - length - 2)
        y = random.randint(2, GRID_HEIGHT - 3)
    new_car = Car(x, y, length, orientation)
    if can_place(new_car, x, y, grid):
        place_car(new_car, x, y, grid)
        return new_car
    return None
该函数尝试随机生成一个符合条件的车辆,并在成功时返回该车辆对象,否则返回 None。此函数使用现有的 can_place 和 place_car 函数来验证和放置车辆。
该方法过于简单粗暴,读者可以探索更好的生成车辆方法。
2.3.5 Car类
class Car:
    def __init__(self, grid_x, grid_y, length, orientation):
        self.x = grid_x
        self.y = grid_y
        self.length = length
        self.orientation = orientation
        self.image = images[(orientation, length)]
        self.moving = False
        self.move_dir = (0, 0)

    def cells_occupied(self):
        cells = []
        for i in range(self.length):
            if self.orientation == "vertical":
                cells.append((self.x, self.y + i))
            else:
                cells.append((self.x + i, self.y))
        return cells

    def draw(self, surface):
        surface.blit(self.image, (self.x * CELL_SIZE, self.y * CELL_SIZE))
Car 类初始化时设置车辆起始网格位置 (x, y)、长度、方向,并从 images 字典中获取对应的图片。moving 表示车辆是否正在移动,move_dir 为移动方向。
cells_occupied() 方法返回车辆占据的所有网格坐标列表,依据车辆长度和方向计算。
draw() 方法负责在指定格子上绘制车辆图片,位置由车辆的网格坐标和单元格大小决定。
3. 完整代码展示
import pygame
import pygame.freetype
import random
import sys

pygame.init()

# -------------------- 全局设置与初始化 --------------------

# 全局常量定义:停车场网格宽度、高度及单元格像素大小
GRID_WIDTH = 30
GRID_HEIGHT = 30
CELL_SIZE = 30

# 初始化字体,使用系统中的中文字体(此处使用宋体)和字号 36
font = pygame.freetype.Font("C:/Windows/Fonts/simsun.ttc", 36)

# 获取屏幕信息并设置全屏模式窗口
infoObject = pygame.display.Info()
SCREEN_WIDTH, SCREEN_HEIGHT = infoObject.current_w, infoObject.current_h
screen = pygame.display.set_mode((SCREEN_WIDTH, SCREEN_HEIGHT), pygame.FULLSCREEN)
pygame.display.set_caption("停车场车辆移动游戏")

# 定义常用颜色
WHITE = (255, 255, 255)
GRAY = (100, 100, 100)
BLACK = (0, 0, 0)

# 游戏状态常量定义
STATE_MENU = 0
STATE_PLAY = 1

# 按钮尺寸设置
button_width = 400
button_height = 100

# 定义难度选择按钮的位置和尺寸
difficulty_buttons = {
    "easy": pygame.Rect(400, 200, button_width, button_height),
    "mid": pygame.Rect(400, 300, button_width, button_height),
    "hard": pygame.Rect(400, 400, button_width, button_height),
}

# 定义退出按钮的位置和尺寸
exit_button_menu = pygame.Rect(400, 500, button_width, button_height)

# 初始化游戏状态和变量
state = STATE_MENU  # 当前状态初始为主菜单
difficulty = None  # 难度等级变量
grid = []  # 停车场网格,后续初始化
cars = []  # 存放所有车辆对象的列表
exits = []  # 存放出口位置的列表
selected_car = None  # 当前被选中的车辆
dragging = False  # 是否处于拖动状态
last_mouse_pos = None  # 上一次鼠标位置
clock = pygame.time.Clock()  # 用于控制游戏帧率


# -------------------- 资源加载函数 --------------------

def load_and_scale_image(filename, width, height):
    """
    加载指定文件名的图片并缩放到给定的宽和高。
    如果加载失败则输出错误信息并退出程序。
    """
    try:
        image = pygame.image.load(filename).convert_alpha()
        return pygame.transform.scale(image, (width, height))
    except pygame.error as e:
        print(f"无法加载图片 {filename}: {e}")
        pygame.quit()
        sys.exit()


# -------------------- 资源加载 --------------------

# 加载背景图片并缩放到屏幕大小
background_image = load_and_scale_image("background.png", SCREEN_WIDTH, SCREEN_HEIGHT)

# 加载不同类型和长度的车辆图片,并缩放到相应大小
images = {
    ("vertical", 2): load_and_scale_image("vertical_2.png", CELL_SIZE, CELL_SIZE * 2),
    ("horizontal", 2): load_and_scale_image("horizontal_2.png", CELL_SIZE * 2, CELL_SIZE),
    ("vertical", 3): load_and_scale_image("vertical_3.png", CELL_SIZE, CELL_SIZE * 3),
    ("horizontal", 3): load_and_scale_image("horizontal_3.png", CELL_SIZE * 3, CELL_SIZE),
}

# 加载出口图片并缩放到单元格大小
exit_image = load_and_scale_image("exit.png", CELL_SIZE, CELL_SIZE)


# -------------------- 类定义 --------------------

class Car:
    """
    车辆类,表示停车场中的一辆车,包括位置、长度、方向、图片以及移动状态。
    """

    def __init__(self, grid_x, grid_y, length, orientation):
        self.x = grid_x
        self.y = grid_y
        self.length = length
        self.orientation = orientation
        self.image = images[(orientation, length)]  # 根据方向和长度选择对应图片
        self.moving = False
        self.move_dir = (0, 0)  # 初始化移动方向为 (0,0)

    def cells_occupied(self):
        """
        返回车辆占据的网格单元列表。
        根据车辆的方向和长度计算车辆覆盖的所有单元格坐标。
        """
        cells = []
        for i in range(self.length):
            if self.orientation == "vertical":
                cells.append((self.x, self.y + i))
            else:
                cells.append((self.x + i, self.y))
        return cells

    def draw(self, surface):
        """
        在指定的 surface 上绘制车辆。
        车辆图片的位置由其网格坐标和单元格大小决定。
        """
        surface.blit(self.image, (self.x * CELL_SIZE, self.y * CELL_SIZE))


# -------------------- 工具函数 --------------------

def is_valid_position(x, y):
    """检查给定的网格坐标 (x, y) 是否在有效范围内。"""
    return 0 <= x < GRID_WIDTH and 0 <= y < GRID_HEIGHT


def can_place(car, x, y, grid):
    """
    检查从位置 (x, y) 开始放置车辆 car 是否可行。
    要求车辆不越界且不与其他车辆重叠。
    """
    for i in range(car.length):
        nx = x + i if car.orientation == "horizontal" else x
        ny = y + i if car.orientation == "vertical" else y
        if not is_valid_position(nx, ny):
            return False
        if grid[nx][ny] is not None and grid[nx][ny] != car:
            return False
    return True


def place_car(car, x, y, grid):
    """
    将车辆 car 放置在新的位置 (x, y) 上,并更新网格状态。
    首先清除车辆原先占据的单元格,然后设置新位置占据的单元格。
    """
    # 清除原位置
    for (cx, cy) in car.cells_occupied():
        if is_valid_position(cx, cy) and grid[cx][cy] == car:
            grid[cx][cy] = None
    # 更新车辆坐标
    car.x, car.y = x, y
    # 设置新位置
    for (cx, cy) in car.cells_occupied():
        grid[cx][cy] = car


def at_exit(car):
    """
    检查车辆 car 是否有任何部分位于出口位置上。
    """
    for cell in car.cells_occupied():
        if cell in exits:
            return True
    return False


def generate_exits():
    """
    生成停车场的出口位置。
    为每一行和每一列随机选择一个边界出口,保证每行每列至少有一个出口。
    """
    exits_set = set()
    # 为每一行选择一个唯一出口
    for y in range(GRID_HEIGHT):
        if random.choice([True, False]):
            exits_set.add((0, y))  # 左边界
        else:
            exits_set.add((GRID_WIDTH - 1, y))  # 右边界
    # 为每一列选择一个唯一出口
    for x in range(GRID_WIDTH):
        if random.choice([True, False]):
            exits_set.add((x, 0))  # 顶边界
        else:
            exits_set.add((x, GRID_HEIGHT - 1))  # 底边界
    return list(exits_set)


def generate_single_car(grid):
    """
    尝试在网格上生成一个新的随机车辆。
    如果成功放置车辆,则返回该车辆对象,否则返回 None。
    """
    orientation = random.choice(["vertical", "horizontal"])
    length = random.choice([2, 3])
    # 根据方向随机选择位置
    if orientation == "vertical":
        x = random.randint(1, GRID_WIDTH - 2)
        y = random.randint(1, GRID_HEIGHT - length - 2)
    else:
        x = random.randint(1, GRID_WIDTH - length - 2)
        y = random.randint(1, GRID_HEIGHT - 2)
    new_car = Car(x, y, length, orientation)
    # 检查是否可以放置该车辆
    if can_place(new_car, x, y, grid):
        place_car(new_car, x, y, grid)
        return new_car
    return None


def initialize_game(num_cars):
    """
    初始化游戏状态,生成指定数量的车辆。
    重置网格、车辆列表、出口位置等,并尝试生成指定数量的车辆。
    """
    global grid, cars, exits, selected_car, dragging, last_mouse_pos
    grid = [[None for _ in range(GRID_HEIGHT)] for _ in range(GRID_WIDTH)]
    cars = []
    exits = generate_exits()  # 生成出口位置
    selected_car = None
    dragging = False
    last_mouse_pos = None

    attempts = 0
    # 尝试多次生成车辆,直到达到所需数量或超过最大尝试次数
    while len(cars) < num_cars and attempts < num_cars * 50:
        attempts += 1
        new_car = generate_single_car(grid)
        if new_car:
            cars.append(new_car)


# -------------------- 绘制函数 --------------------

def draw_grid():
    """
    绘制停车场的网格线和出口区域。
    """
    screen.fill(WHITE)
    # 绘制垂直网格线
    for x in range(0, CELL_SIZE * GRID_WIDTH + 1, CELL_SIZE):
        pygame.draw.line(screen, GRAY, (x, 0), (x, CELL_SIZE * GRID_HEIGHT))
    # 绘制水平网格线
    for y in range(0, CELL_SIZE * GRID_HEIGHT + 1, CELL_SIZE):
        pygame.draw.line(screen, GRAY, (0, y), (CELL_SIZE * GRID_WIDTH, y))
    # 在所有出口位置绘制出口图片
    for ex, ey in exits:
        screen.blit(exit_image, (ex * CELL_SIZE, ey * CELL_SIZE))


def draw_menu():
    """
    绘制主菜单界面,包括背景和难度选择文本按钮。
    """
    screen.blit(background_image, (0, 0))
    # 遍历每个按钮,渲染按钮文本
    for text, rect in list(difficulty_buttons.items()) + [("exit", exit_button_menu)]:
        text_rect = font.get_rect(text)
        text_rect.center = rect.center
        font.render_to(screen, text_rect.topleft, text, BLACK)


def draw_return_button():
    """
    在游戏界面左上角绘制一个“back”按钮,用于返回主菜单。
    返回该按钮的矩形区域以供点击检测。
    """
    button_rect = pygame.Rect(900, 100, 360, 120)
    ret_text = "back"
    text_rect = font.get_rect(ret_text)
    text_rect.center = button_rect.center
    font.render_to(screen, text_rect.topleft, ret_text, BLACK)
    return button_rect


# -------------------- 主循环 --------------------

def main():
    global state, difficulty, selected_car, dragging, last_mouse_pos
    while True:
        if state == STATE_MENU:
            for event in pygame.event.get():
                if event.type == pygame.QUIT:
                    pygame.quit()
                    sys.exit()
                if event.type == pygame.MOUSEBUTTONDOWN:
                    mx, my = pygame.mouse.get_pos()
                    # 检查是否点击了任一难度按钮
                    for level, rect in difficulty_buttons.items():
                        if rect.collidepoint(mx, my):
                            if level == "easy":
                                difficulty = 50
                            elif level == "mid":
                                difficulty = 100
                            elif level == "hard":
                                difficulty = 400
                            initialize_game(difficulty)
                            state = STATE_PLAY
                    # 检查是否点击了退出按钮
                    if exit_button_menu.collidepoint(mx, my):
                        pygame.quit()
                        sys.exit()

            draw_menu()
            pygame.display.flip()

        elif state == STATE_PLAY:
            for event in pygame.event.get():
                if event.type == pygame.QUIT:
                    pygame.quit()
                    sys.exit()

                if event.type == pygame.MOUSEBUTTONDOWN:
                    mx, my = pygame.mouse.get_pos()
                    # 绘制返回按钮并检测点击是否在按钮上
                    return_button_rect = draw_return_button()
                    if return_button_rect.collidepoint(mx, my):
                        state = STATE_MENU
                        continue

                    # 检测是否点击在某个车辆上开始拖动
                    grid_x = mx // CELL_SIZE
                    grid_y = my // CELL_SIZE
                    if is_valid_position(grid_x, grid_y):
                        candidate = grid[grid_x][grid_y]
                        if candidate:
                            selected_car = candidate
                            dragging = True
                            last_mouse_pos = (mx, my)

                if event.type == pygame.MOUSEBUTTONUP:
                    if dragging and selected_car:
                        mx, my = pygame.mouse.get_pos()
                        dx = mx - last_mouse_pos[0]
                        dy = my - last_mouse_pos[1]
                        # 根据车辆方向确定移动方向
                        if selected_car.orientation == "vertical":
                            direction = -1 if dy < 0 else 1
                            selected_car.moving = True
                            selected_car.move_dir = (0, direction)
                        else:
                            direction = -1 if dx < 0 else 1
                            selected_car.moving = True
                            selected_car.move_dir = (direction, 0)
                    dragging = False
                    selected_car = None

            # 更新正在移动的车辆状态
            for car in cars[:]:
                if car.moving:
                    if at_exit(car):
                        # 如果车辆到达出口,清理网格并移除车辆
                        for (cx, cy) in car.cells_occupied():
                            if is_valid_position(cx, cy):
                                grid[cx][cy] = None
                        cars.remove(car)
                        continue

                    dx, dy = car.move_dir
                    new_x = car.x + dx
                    new_y = car.y + dy
                    # 尝试移动车辆,如果可行则更新位置
                    if can_place(car, new_x, new_y, grid):
                        place_car(car, new_x, new_y, grid)
                        if at_exit(car):
                            for (cx, cy) in car.cells_occupied():
                                if is_valid_position(cx, cy):
                                    grid[cx][cy] = None
                            cars.remove(car)
                    else:
                        # 无法继续移动则停止该车辆移动
                        car.moving = False

            draw_grid()
            # 绘制返回按钮
            return_button_rect = draw_return_button()
            # 绘制所有车辆
            for car in cars:
                car.draw(screen)
            pygame.display.flip()

            # 如果所有车辆都移出,返回主菜单
            if not cars:
                state = STATE_MENU

        clock.tick(60)


if __name__ == "__main__":
    main()
通过上述代码即可实现一个挪车游戏的雏形。


 1478
1478

 被折叠的 条评论
为什么被折叠?
被折叠的 条评论
为什么被折叠?
 到【灌水乐园】发言


