


前记:
目录
2.加载从Analog官网下载的AD8065 Spice模型。
严文年 -- 记于苏州
软件版本:
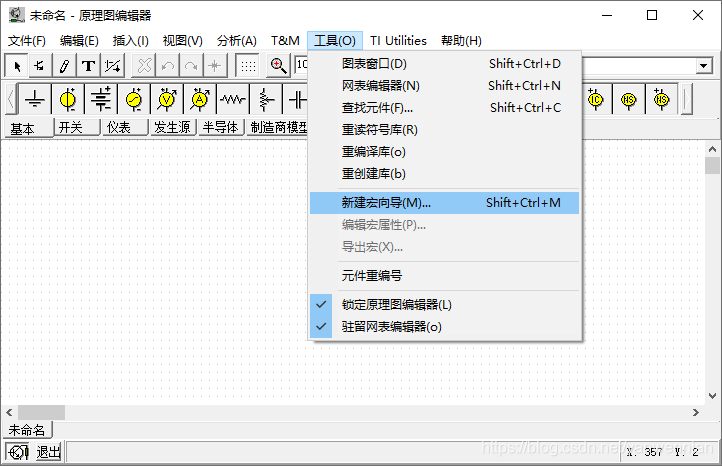
第一. 在【工具】菜单选择新建宏向导。
第二. 开始创建宏模块(仿真元器件)。
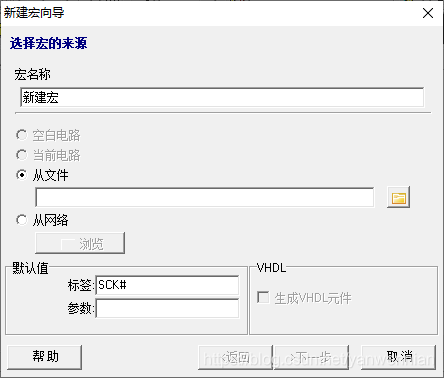
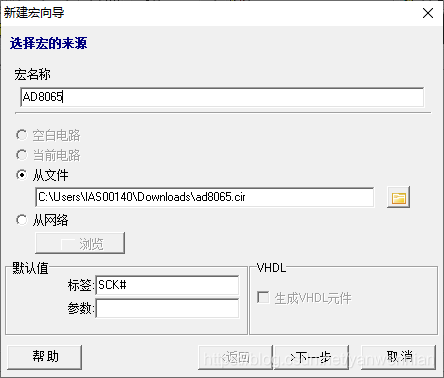
1.填写创建的宏名称。
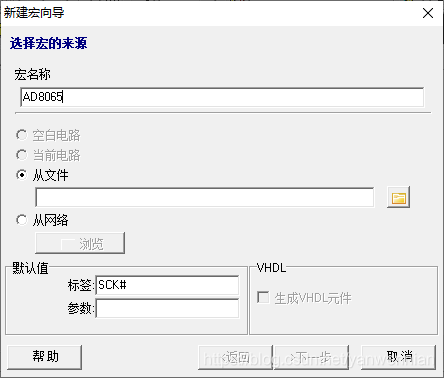
2.加载从Analog官网下载的AD8065 Spice模型。
备注:
2.1 AD8065 Spice模型下载地址:https://www.analog.com/cn/products/ad8065.html#product-overview

2.2 AD8065 Spice模型加载:
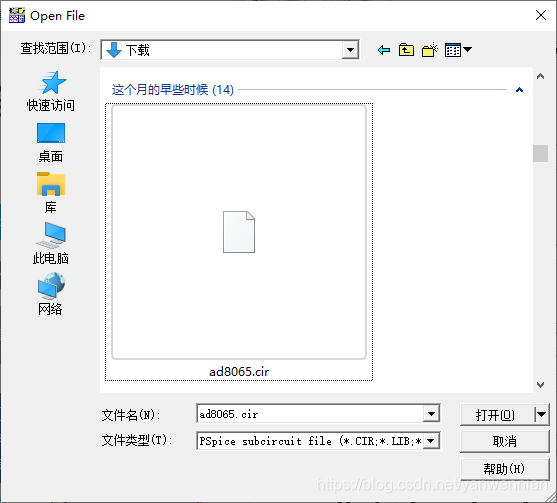
2.3 模型加载完成:
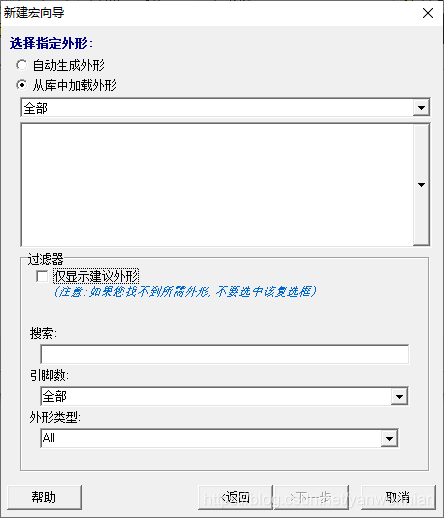
3.点击【下一步】开始配置宏外形。
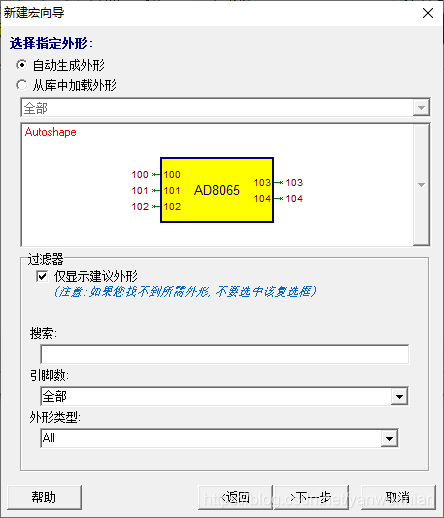
3.1 选择【从库中加载外形】。
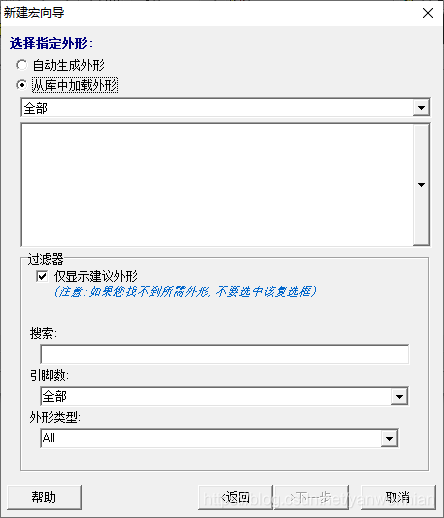
3.2 取消【过滤器】中的【仅显示建议外形】,可以按照自己的需求来选择外形。
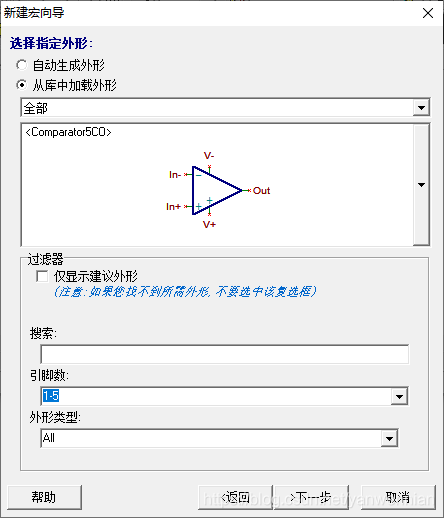
3.3 选择引脚数为【1-5】,根据AD8065规格书查询,AD8065为5个引脚【5-Lead SOT-23】。
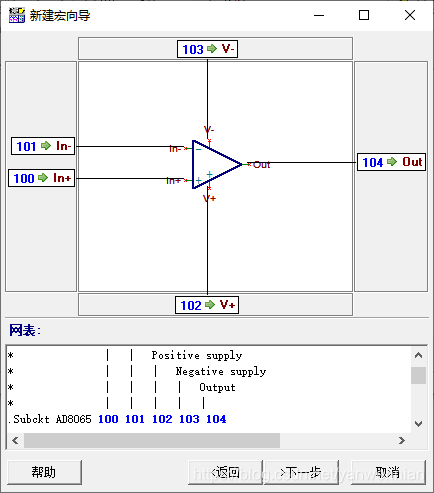
4.点击【下一步】开始配置宏引脚。
备注:引脚名称和外形的对应关系可以通过鼠标拖动调整。
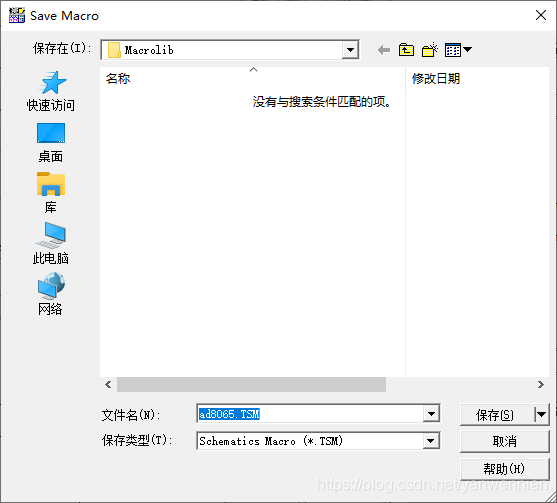
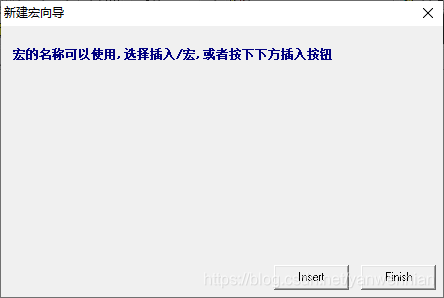
5.点击【下一步】保存创建好的宏。
6.点击【Insert】在仿真图纸中添加新创建的宏。
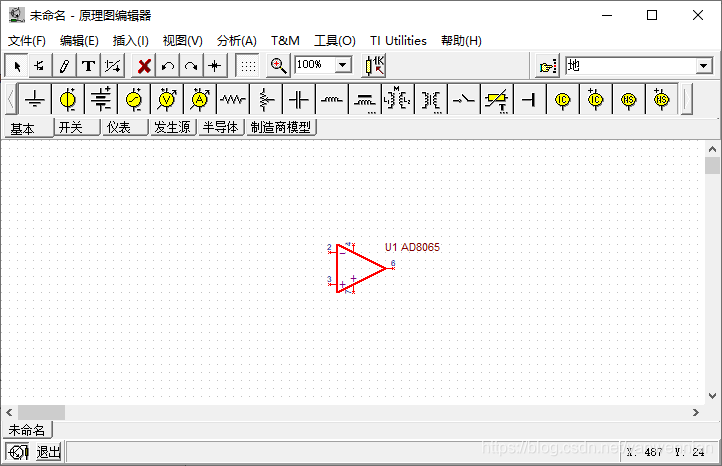
7.宏模块添加到原理图。
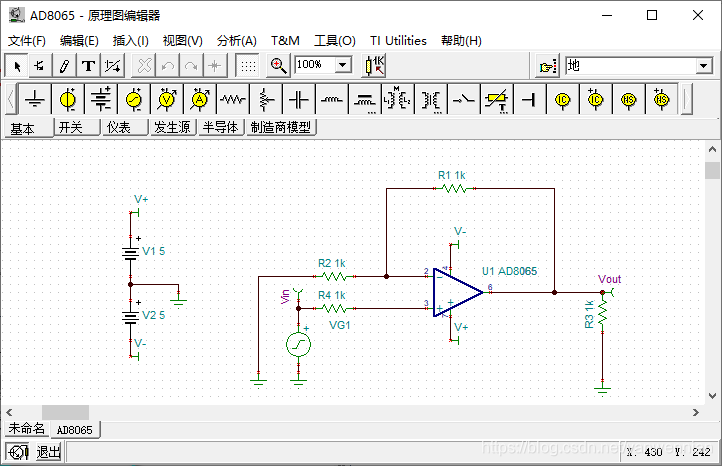
第三. 绘制仿真原理图。

备注:原理图
第四.原理图仿真。
1.电压发生器【VG1】设置。
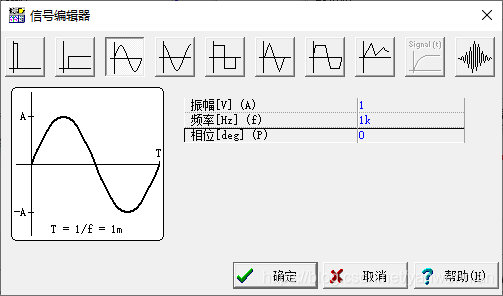
1.1 点击信号行最右侧的【...】。
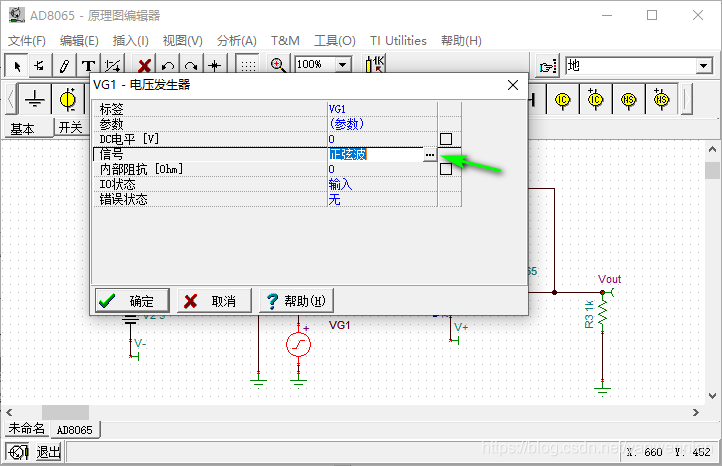
1.2 选择正弦波。
振幅:1V
频率:1KHz
相位:0
2. 选择【分析】菜单中的【瞬时现象】。
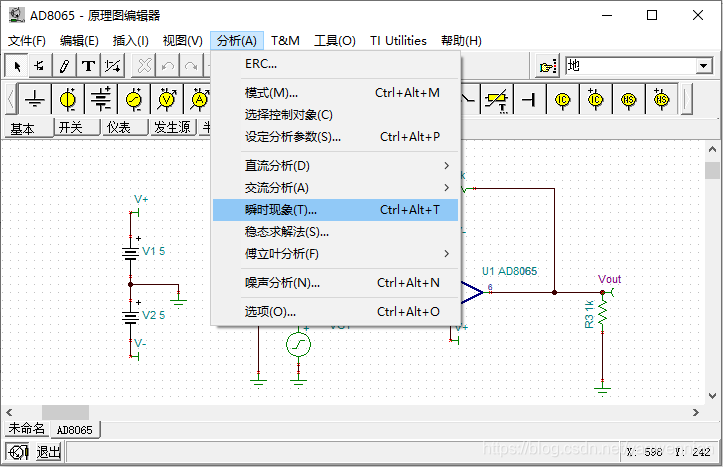
2.1 设置瞬时分析时长为2ms(毫秒)。
备注:【VG1】正弦波频率为1KHz,周期为1ms,在此看2个周期的波形,验证AD6501工作状态。

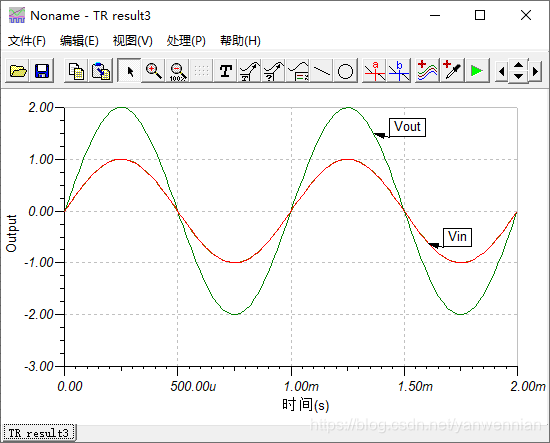
3. 仿真结果。
备注:
Vout = (1 + 1K / 1K)* Vin
Vin = VG1 :振幅 +/- 1V 正弦波
Vout = 2 Vin:振幅+/- 2V 正弦波
后记:


 303
303

 被折叠的 条评论
为什么被折叠?
被折叠的 条评论
为什么被折叠?
 到【灌水乐园】发言


