<template>
  <div>
    <el-container>
      <el-main>
        <div class="box-card-left">
          <div id="threejs"></div>
        </div>
      </el-main>
    </el-container>
  </div>
</template>s
<script>
// 引入轨道控制器扩展库OrbitControls.js
import { OrbitControls } from "three/examples/jsm/controls/OrbitControls.js";
import { GLTFLoader } from "three/examples/jsm/loaders/GLTFLoader.js";
import TWEEN from '@tweenjs/tween.js';
export default {
  data() {
    return {
      scene: null,
      camera: null,
      renderer: null,
      res1: null,
      res2: null,
      clock: null,
      keyState: {
        W: false,
        S: false,
        A: false,
        D: false,
      },
      left_rotation: true, // 向左旋转的标志
      right_rotation: true, // 向右旋转的标志
      VW: new this.$three.Vector3(0, 0, 0),
      VS: new this.$three.Vector3(0, 0, 0),
      curr_v: new this.$three.Vector3(0, 0, 0),
      person: null,
      deltaTime: 0,
      a: 30, // 加速度
      damping: -0.04,
    };
  },
  created() {},
  mounted() {
    this.name = this.$route.query.name;
    this.init();
  },
  methods: {
    goBack() {
      this.$router.go(-1);
    },
    init() {
      this.clock = new this.$three.Clock();
      // 创建场景
      this.scene = new this.$three.Scene();
      // 创建辅助坐标轴对象
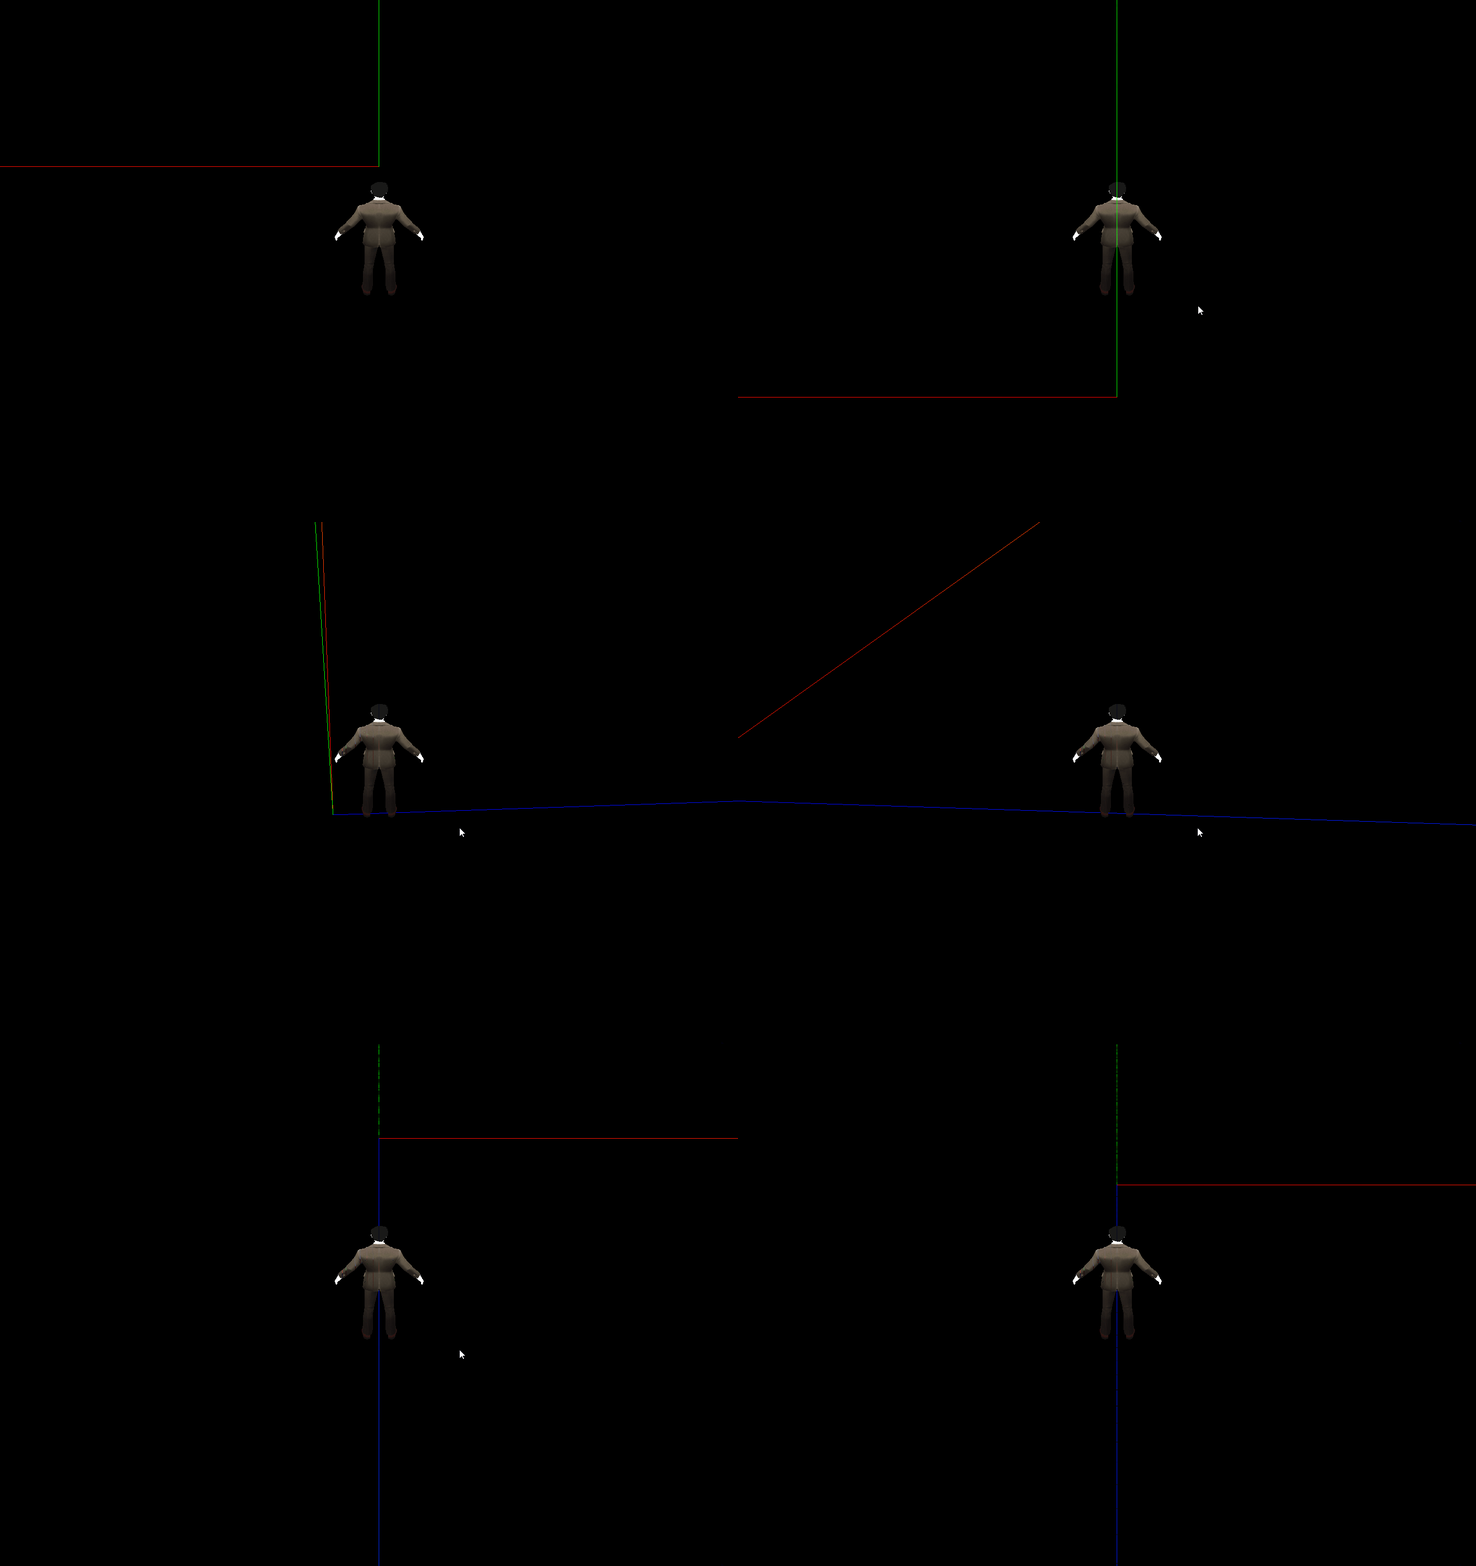
      const axesHelper = new this.$three.AxesHelper(100);
      this.scene.add(axesHelper);
      // 创建环境光

      const ambientLight = new this.$three.AmbientLight(0xffffff, 10);
      this.scene.add(ambientLight);
      // 创建相机对象
      this.camera = new this.$three.PerspectiveCamera(60,1,0.01,2000);

      // 创建渲染器对象
      this.renderer = new this.$three.WebGLRenderer();
      this.renderer.setSize(1500,1200);
      // 创建GLTFLoader对象;加载人物模型
      const gltfLoader = new GLTFLoader();
      gltfLoader.load("models/gltf/person2/scene.gltf", gltf => {
        gltf.scene.position.set(0,0,-10);
        gltf.scene.scale.set(2,2,2);
        this.person = gltf.scene;

        gltf.scene.add(this.camera);
        let p = gltf.scene.position;
        let person_p = p.clone();
        person_p.add(new this.$three.Vector3(0,5,3));
        this.camera.position.copy(person_p);

        this.camera.lookAt(p.x, p.y, p.z);

        this.scene.add(gltf.scene);

        this.renderer.render(this.scene, this.camera);
        window.document.getElementById("threejs").appendChild(this.renderer.domElement);
      })
      this.addEventListenerFn();
      this.renderLoop();

    },
    renderLoop() {
      const deltaTime = this.clock.getDelta();
      if(this.keyState.W) {
        if(this.VW.length() < 5) {
          this.VW.add(new this.$three.Vector3(0,0,1).multiplyScalar(this.a * deltaTime));
          this.curr_v = this.VW.clone();
        }
        let pos = this.VW.clone().multiplyScalar(deltaTime);
        this.person.position.add(pos);
      }

      if(this.keyState.S) {
        if(this.VS.length() < 5) {
          this.VS.add(new this.$three.Vector3(0,0,-1).multiplyScalar(this.a * deltaTime));
          this.curr_v = this.VS.clone();
        }
        let pos = this.VS.clone().multiplyScalar(deltaTime);
        this.person.position.add(pos);
      }
      if(this.keyState.A) {
      }
      if(this.person) {
        // .addScaledVector ( v : Vector3, s : Float ) : 将所传入的v与s相乘所得的乘积和这个向量相加。
        this.curr_v.addScaledVector(this.curr_v, this.damping);
        let pos = this.curr_v.clone().multiplyScalar(deltaTime);
        this.person.position.add(pos);
      }
      this.renderer.render(this.scene, this.camera);

      TWEEN.update();
      requestAnimationFrame(this.renderLoop);
    },
    addEventListenerFn() {
      // 监听按下的 W 键
      document.addEventListener("keydown", e => {
        if(e.code == "KeyW") {
          this.keyState.W = true;
        }
        if(e.code == "KeyS") {
          this.keyState.S = true;
        }
        if(e.code == "KeyA") {
          this.keyState.A = true;
          if(!this.left_rotation)return false;
          const tween0 = new TWEEN.Tween(this.person.rotation);
          let deg = this.$three.MathUtils.radToDeg(this.person.rotation.y);
          let rad = this.$three.MathUtils.degToRad(deg + 90);

          if(rad != null) {
            tween0.to({x:0, y: rad, z:0}, 1000);
            tween0.start();
            tween0.onStart(() => {
              this.left_rotation = false;
            });
            tween0.onComplete(() => {
              this.left_rotation = true;
            });
          }
        }
        if(e.code == "KeyD") {
          this.keyState.D = true;
          if(!this.right_rotation)return false;
          const tween0 = new TWEEN.Tween(this.person.rotation);
          let deg = this.$three.MathUtils.radToDeg(this.person.rotation.y);
          let rad = this.$three.MathUtils.degToRad(deg - 90);

          if(rad != null) {
            tween0.to({x:0, y: rad, z:0}, 1000);
            tween0.start();
            tween0.onStart(() => {
              this.right_rotation = false;
            });
            tween0.onComplete(() => {
              this.right_rotation = true;
            });
          }
        }
      })
      document.addEventListener("keyup", e => {
        if(e.code == "KeyW") {
          this.keyState.W = false;
          this.VW = new this.$three.Vector3(0, 0, 0);
        }
        if(e.code == "KeyS") {
          this.keyState.S = false;
          this.VS = new this.$three.Vector3(0, 0, 0);
        }
        if(e.code == "KeyA") {
          this.keyState.A = false;
        }
        if(e.code == "KeyD") {
          this.keyState.D = false;
        }
      })
    }
  },
};
</script>
<style lang="less" scoped>
.box-card-left {
  display: flex;
  align-items: flex-start;
  flex-direction: row;
  width: 100%;
  .box-right {
    img {
      width: 500px;
      user-select: none;
    }
  }
}
</style>


 1万+
1万+


 被折叠的 条评论
为什么被折叠?


