


FashionMNIST时装分类
- 10个类别
- 包含已经预先划分好的训练集和测试集,其中训练集共60,000张图像,测试集共10,000张图像。每张图像均为单通道黑白图像,大小为28*28,分属10个类别。
# -*- coding: utf-8 -*-
"""
Created on Fri Oct 22 19:20:28 2021
@author: 86493
"""
import os
import numpy as np
import pandas as pd
import torch
import torch.nn as nn
import torch.optim as optim
from torch.utils.data import Dataset, DataLoader
from torchvision import transforms
from torchvision import datasets
import matplotlib.pyplot as plt
# 配置训练环境和超参数
# 配置GPU,这里有两种方式
## 方案一:使用os.environ
os.environ['CUDA_VISIBLE_DEVICES'] = '0'
## 方案二:使用device,后续对要使用GPU的变量使用to(device)即可
device = torch.device("cuda:0" if torch.cuda.is_available() else "cpu")
# 配置其他超参数,如batch_size等
batch_size = 256
num_workers = 0
lr = 1e-4
epochs = 20
# 数据读入和加载
# 首先设置数据变换
image_size = 28
data_transform = transforms.Compose([
# 这一步取决于后续的数据读取方式,如果使用内置数据集则不需要
# transforms.ToPILImage(),
transforms.Resize(image_size),
transforms.ToTensor()
])
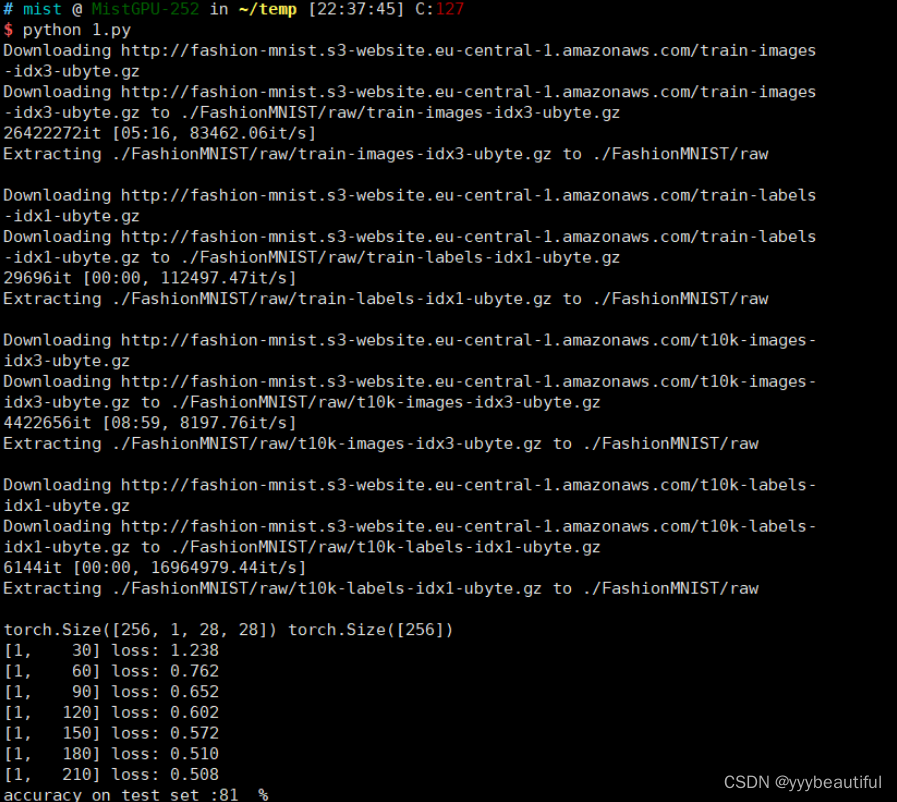
# 读取方式一:使用torchvision自带数据集,下载需要一段时间
train_data = datasets.FashionMNIST(root = './',
train = True,
download = True,
transform = data_transform)
test_data = datasets.FashionMNIST(root = './',
train = False,
download = True,
transform = data_transform)
# 定义dataloader类,以便在训练和测试时加载数据
train_loader = DataLoader(train_data,
batch_size = batch_size,
shuffle = True,
num_workers = num_workers,
drop_last = True)
# 没有像训练数据集一样有drop_last
test_loader = DataLoader(test_data,
batch_size = batch_size,
shuffle = False,
num_workers = num_workers)
# 数据可视化,验证读入的数据是否正确
image, label = next(iter(train_loader))
print(image.shape, label.shape)
"""
plt.imshow(image[0][0], cmap = "gray")
"""
# 搭建一个CNN,后面将模型放到GPU上训练
class CNNnet(nn.Module):
def __init__(self):
super(CNNnet, self).__init__()
self.conv = nn.Sequential(
# 黑白图片的in_channels = 1
nn.Conv2d(1, 32, 5),
nn.ReLU(),
nn.MaxPool2d(2, stride = 2),
# 防止过拟合
nn.Dropout(0.3),
nn.Conv2d(32, 64, 5),
nn.ReLU(),
# 下面第一个2为kernel_size的大小
nn.MaxPool2d(2, stride = 2),
nn.Dropout(0.3)
)
self.fc = nn.Sequential(
nn.Linear(64 * 4 * 4, 512),
nn.ReLU(),
nn.Linear(512, 10)
)
def forward(self, x):
x = self.conv(x)
x = x.view(-1, 64 * 4 * 4)
x = self.fc(x)
# x = nn.functional.normalize(x)
return x
"""
model = CNNnet()
print(model)
"""
model = CNNnet()
model = model.cuda()
# 多卡训练还可以这样写
model = nn.DataParallel(model).cuda()
# 设计损失函数
criterion = nn.CrossEntropyLoss()
# criterion = nn.CrossEntropyLoss(weight = [1, 1, 1, 1, 3, 1, 1, 1, 1, 1])
# 设计优化器
optimizer = optim.Adam(model.parameters(),
lr = 0.001)
def train(epoch):
model.train()
running_loss = 0.0
for batch_idx, data in enumerate(train_loader, 0):
# 1.准备数据
inputs, target = data
# 迁移到GPU
inputs, target = inputs.to(device), target.to(device)
# 2.前向传递
outputs = model(inputs)
loss = criterion(outputs, target)
# 3.反向传播
optimizer.zero_grad()
loss.backward()
# 4.更新参数
optimizer.step()
running_loss += loss.item()
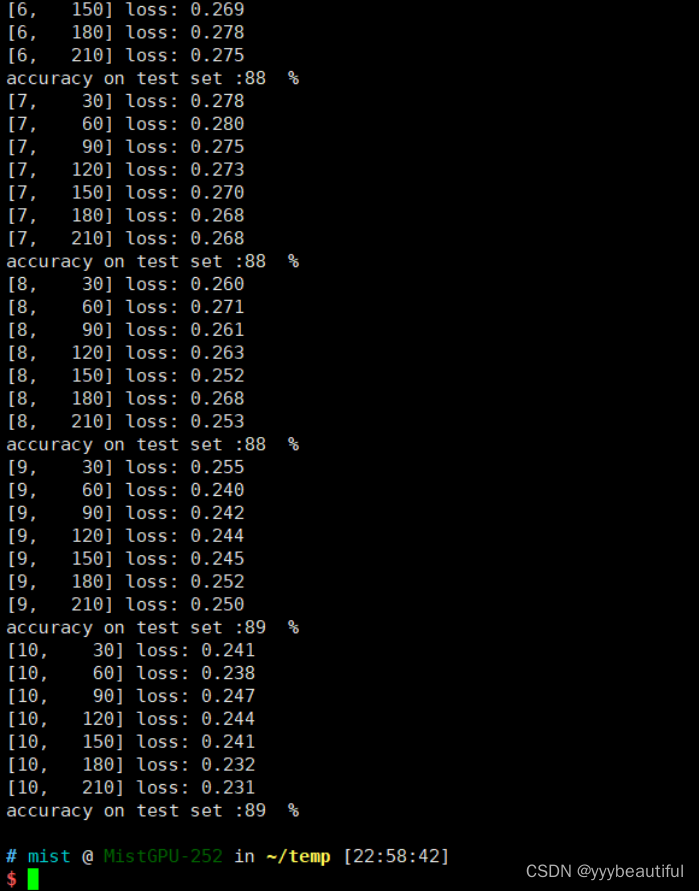
if batch_idx % 30 == 29:
print('[%d, %5d] loss: %.3f'%(
epoch + 1,
batch_idx + 1,
running_loss / 30))
running_loss = 0.0
def test():
correct = 0
total = 0
with torch.no_grad():
for data in test_loader:
images, labels = data
images, labels = images.to(device), labels.to(device)
outputs = model(images)
# 求出每一行(样本)的最大值的下标,dim=1即行的维度
# 返回最大值和最大值所在的下标
_, predicted = torch.max(outputs.data, dim = 1)
# label矩阵为N × 1
total += labels.size(0)
correct += (predicted == labels).sum().item()
print('accuracy on test set :%d %% ' % (100 * correct / total))
return correct / total
if __name__ == '__main__':
epoch_list = []
acc_list = []
for epoch in range(10):
train(epoch)
acc = test()
epoch_list.append(epoch)
acc_list.append(acc)
plt.plot(epoch_list, acc_list)
plt.ylabel('accuracy')
plt.xlabel('epoch')
plt.show()


 1931
1931


 被折叠的 条评论
为什么被折叠?
被折叠的 条评论
为什么被折叠?
 到【灌水乐园】发言


