


前言
gRPC作为Google开源的高性能RPC框架,在微服务架构中扮演着重要角色。本文将详细介绍在Windows平台下,使用Visual Studio 2022和Vcpkg进行gRPC开发的完整流程,包括环境配置、项目搭建、常见问题解决等实用内容。
环境准备
1. 安装必要组件
首先确保已安装以下软件:
-
Visual Studio 2022(需勾选"C++桌面开发"工作负载)
-
Git(用于Vcpkg管理)
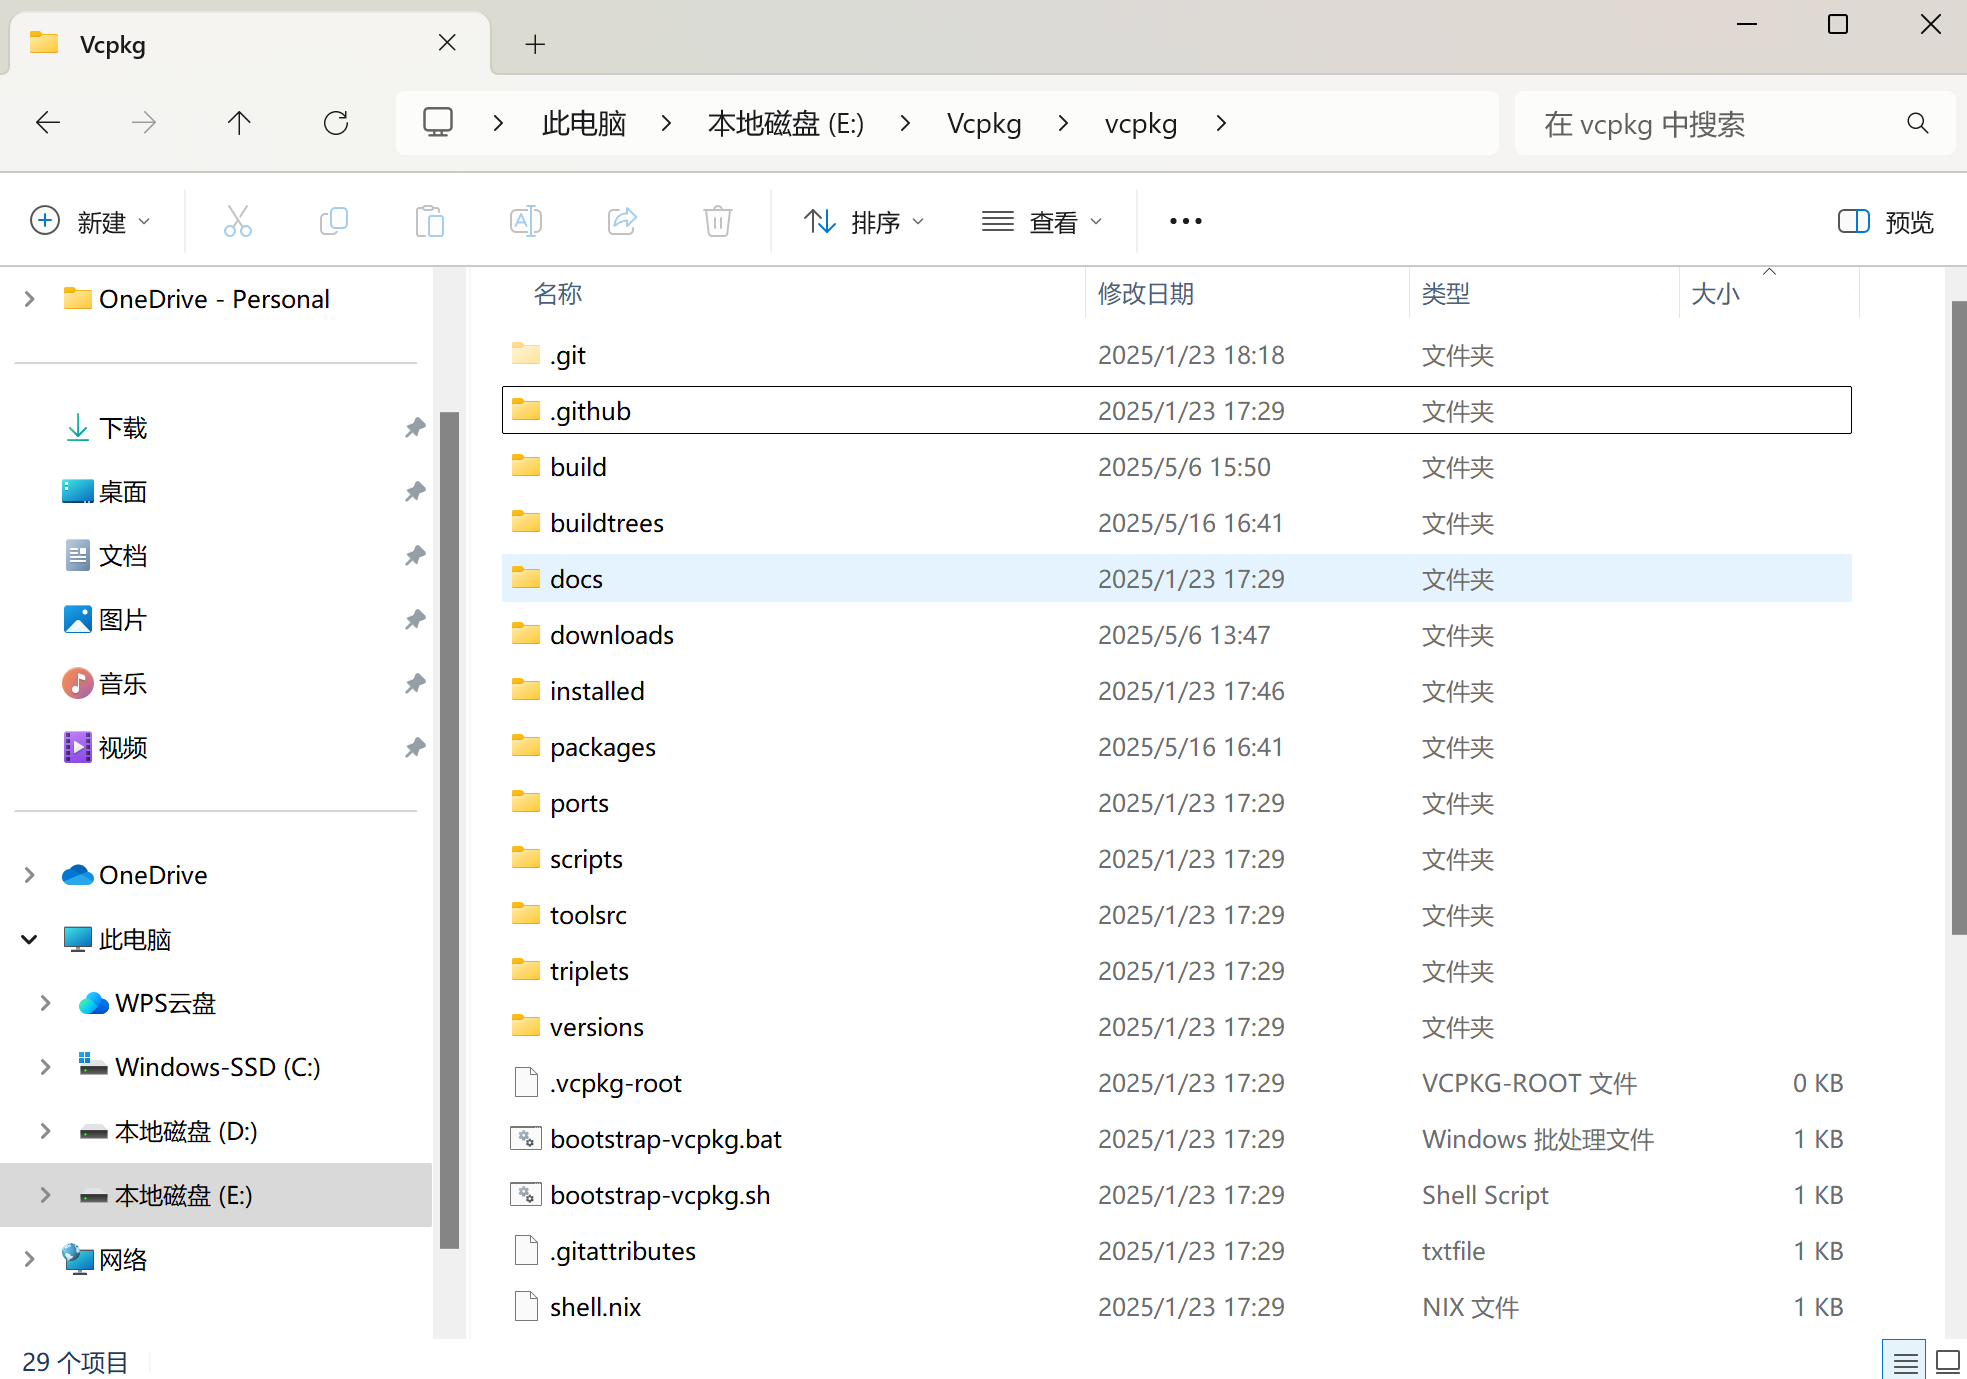
2. 配置Vcpkg(具体可以参考这个C ++第三方库安装工具)
# 克隆Vcpkg仓库
git clone https://github.com/microsoft/vcpkg.git
cd vcpkg

# 安装Vcpkg
.\bootstrap-vcpkg.bat

# 集成到全局(需要管理员权限)
.\vcpkg integrate install
二、安装gRPC依赖
在vcpkg的根目录下打开cmd
# 安装gRPC和Protobuf
vcpkg install grpc:x64-windows protobuf:x64-windows

# 可选:安装测试工具
vcpkg install grpc:x64-windows protobuf:x64-windows gtest:x64-windows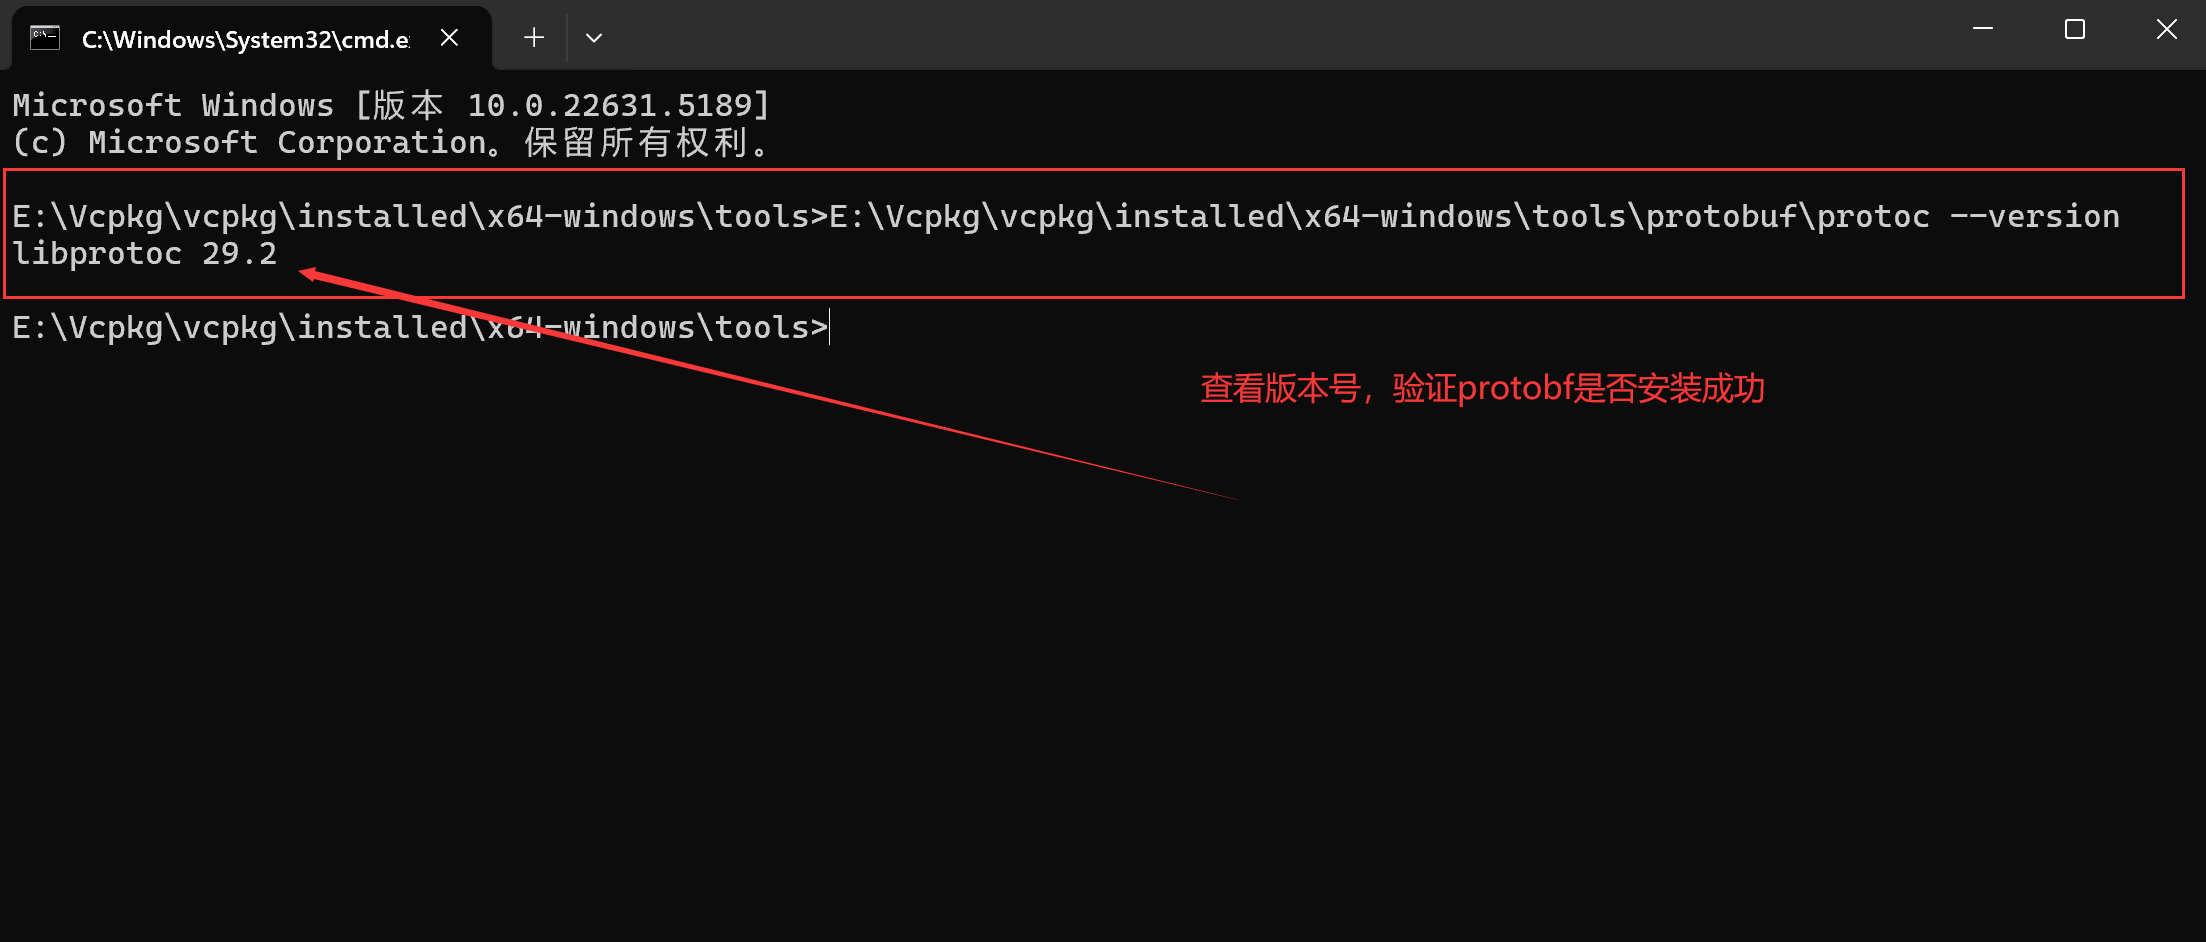
三、使用 protoc 编译 .proto 文件
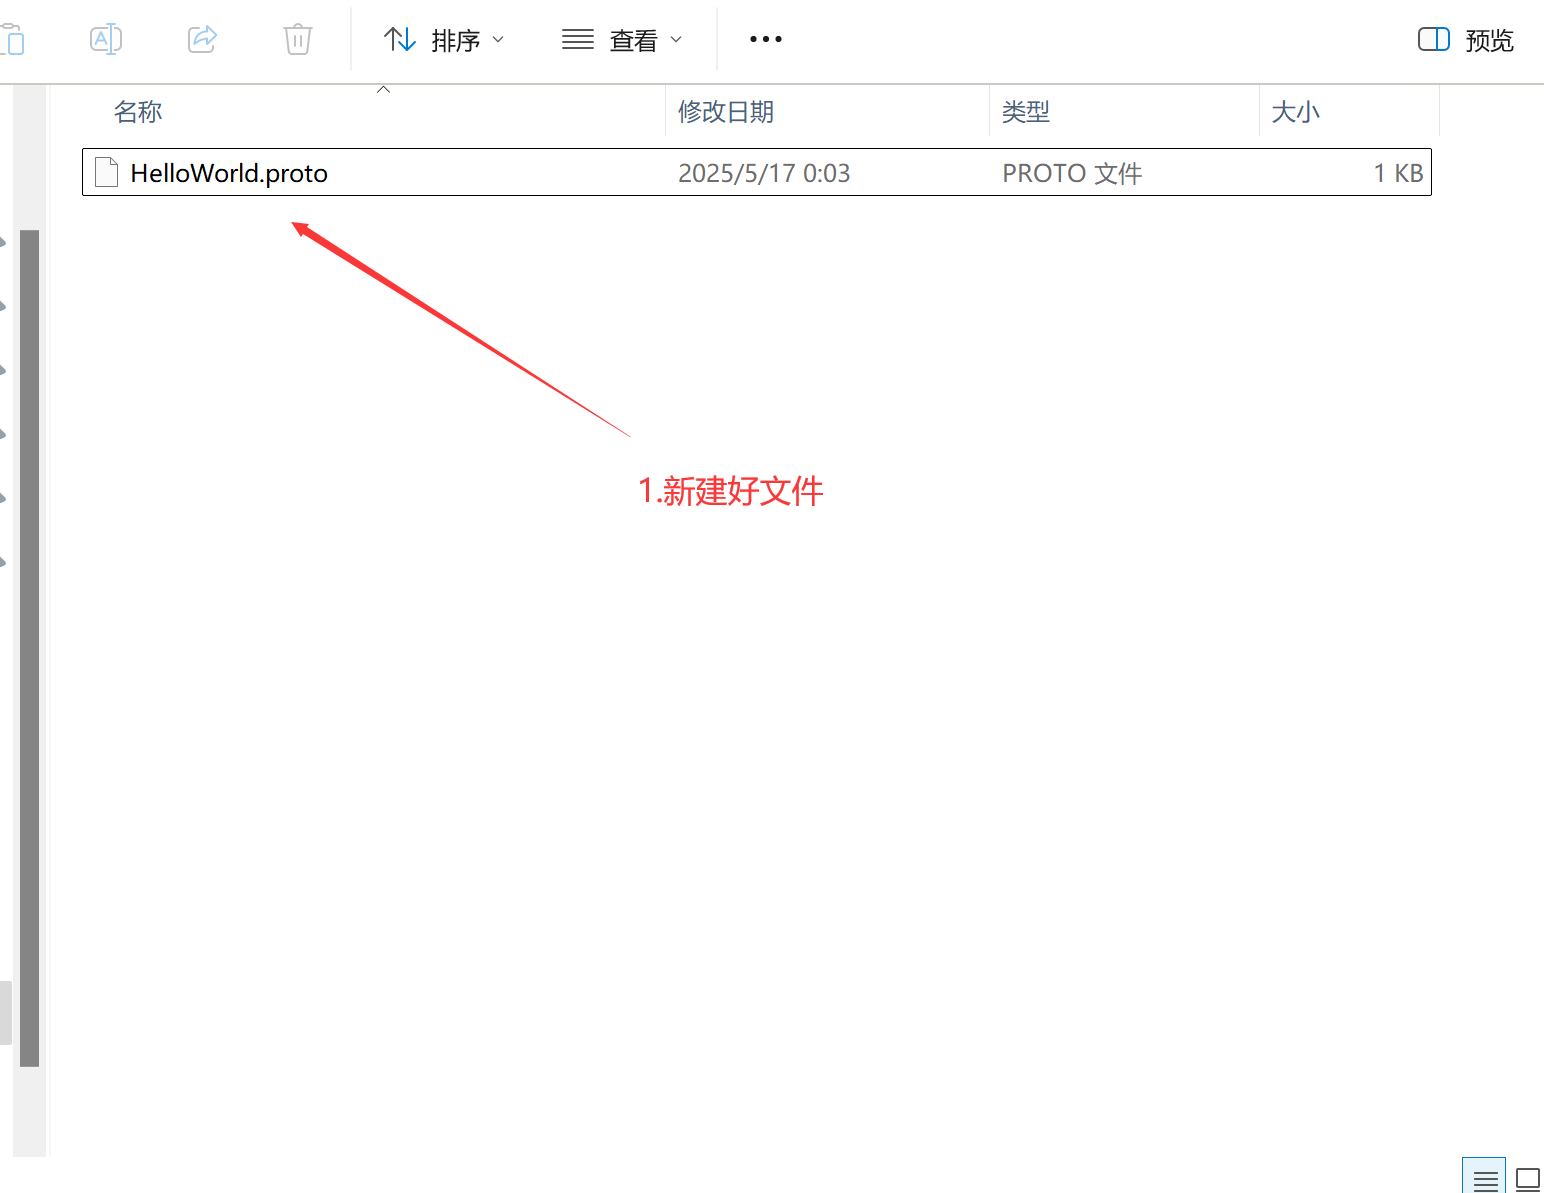
1.在任意位置新建文件夹,并新建.proto 文件,如HelloWorld.proto,并编辑文件类容。
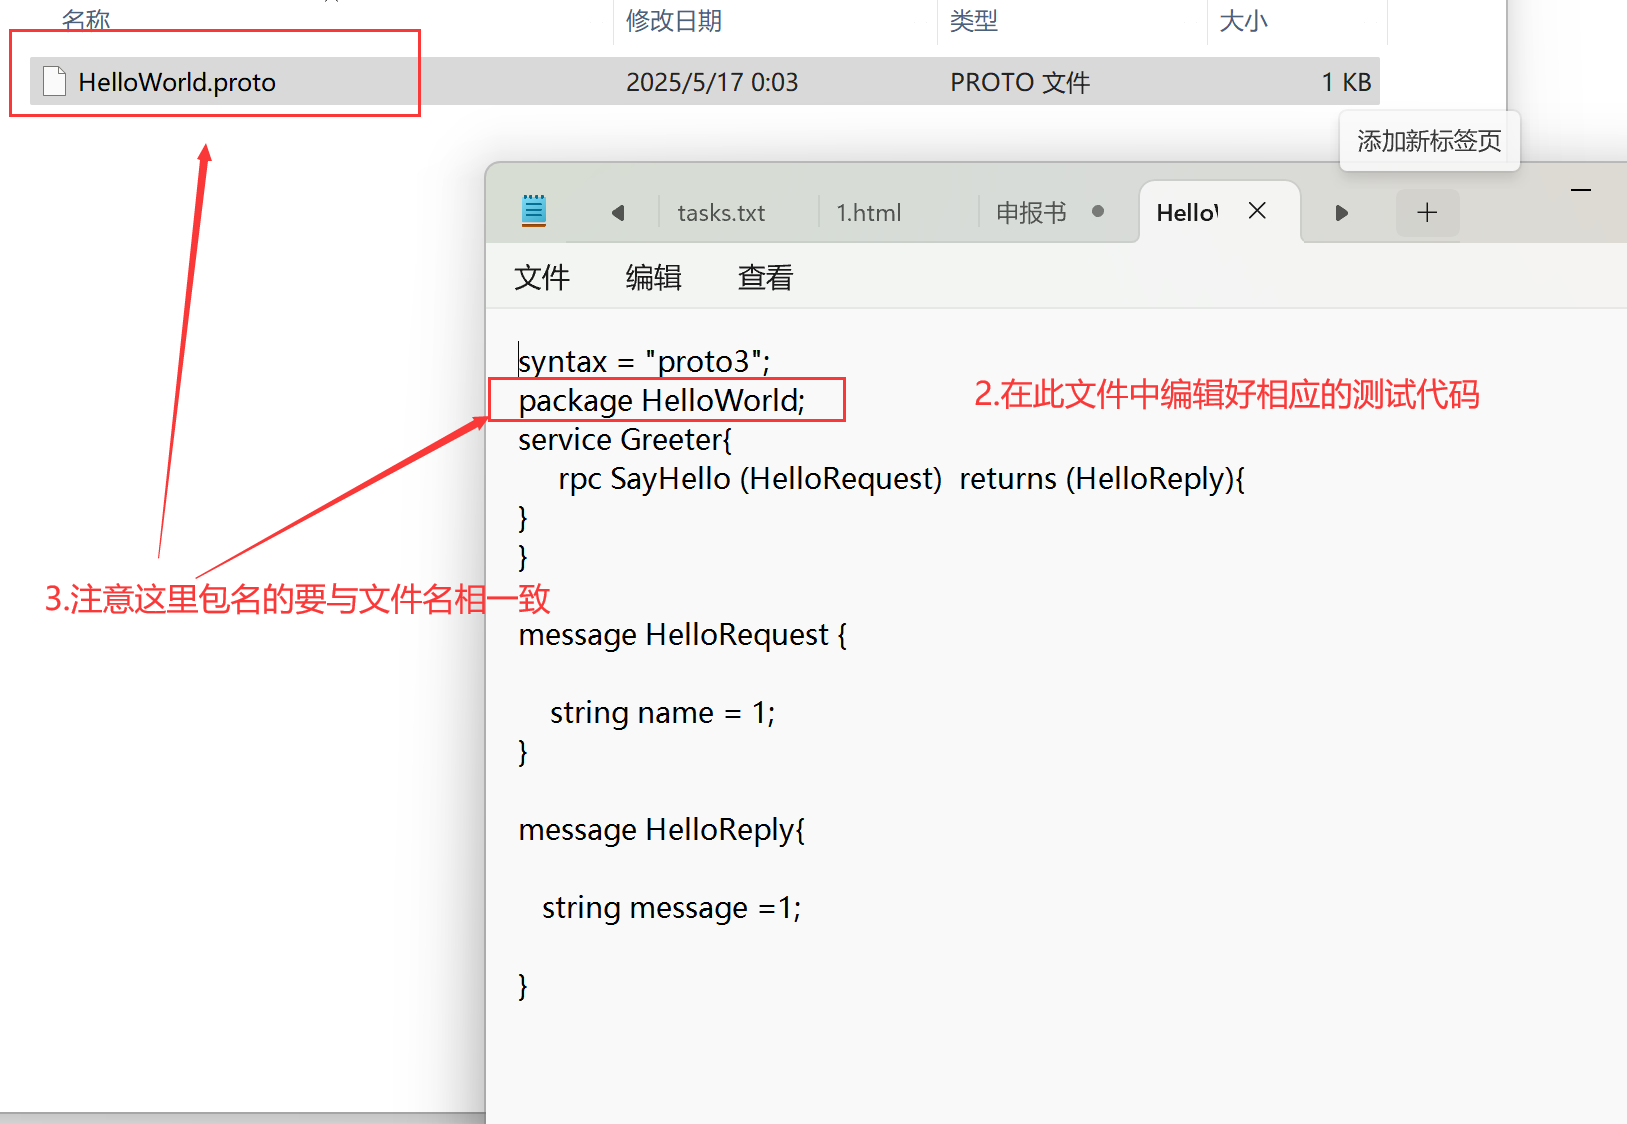
syntax = "proto3";
package HelloWorld;
service Greeter{
     rpc SayHello (HelloRequest)  returns (HelloReply){
}
}

message HelloRequest {

    string name = 1;
}

message HelloReply{

   string message =1;

}
2.在相应的当前目录下打开cmd,编译此 .proto 文件(生成 .pb.h 和 .pb.cc)
protoc --proto_path=你的proto文件目录 --cpp_out=输出目录 HelloWorld.proto比如我的位置
protoc --proto_path=. --cpp_out=. HelloWorld.proto

protoc --proto_path=. --grpc_out=. --plugin=protoc-gen-grpc="E:\Vcpkg\vcpkg\installed\x64-windows\tools\grpc\grpc_cpp_plugin.exe" HelloWorld.proto
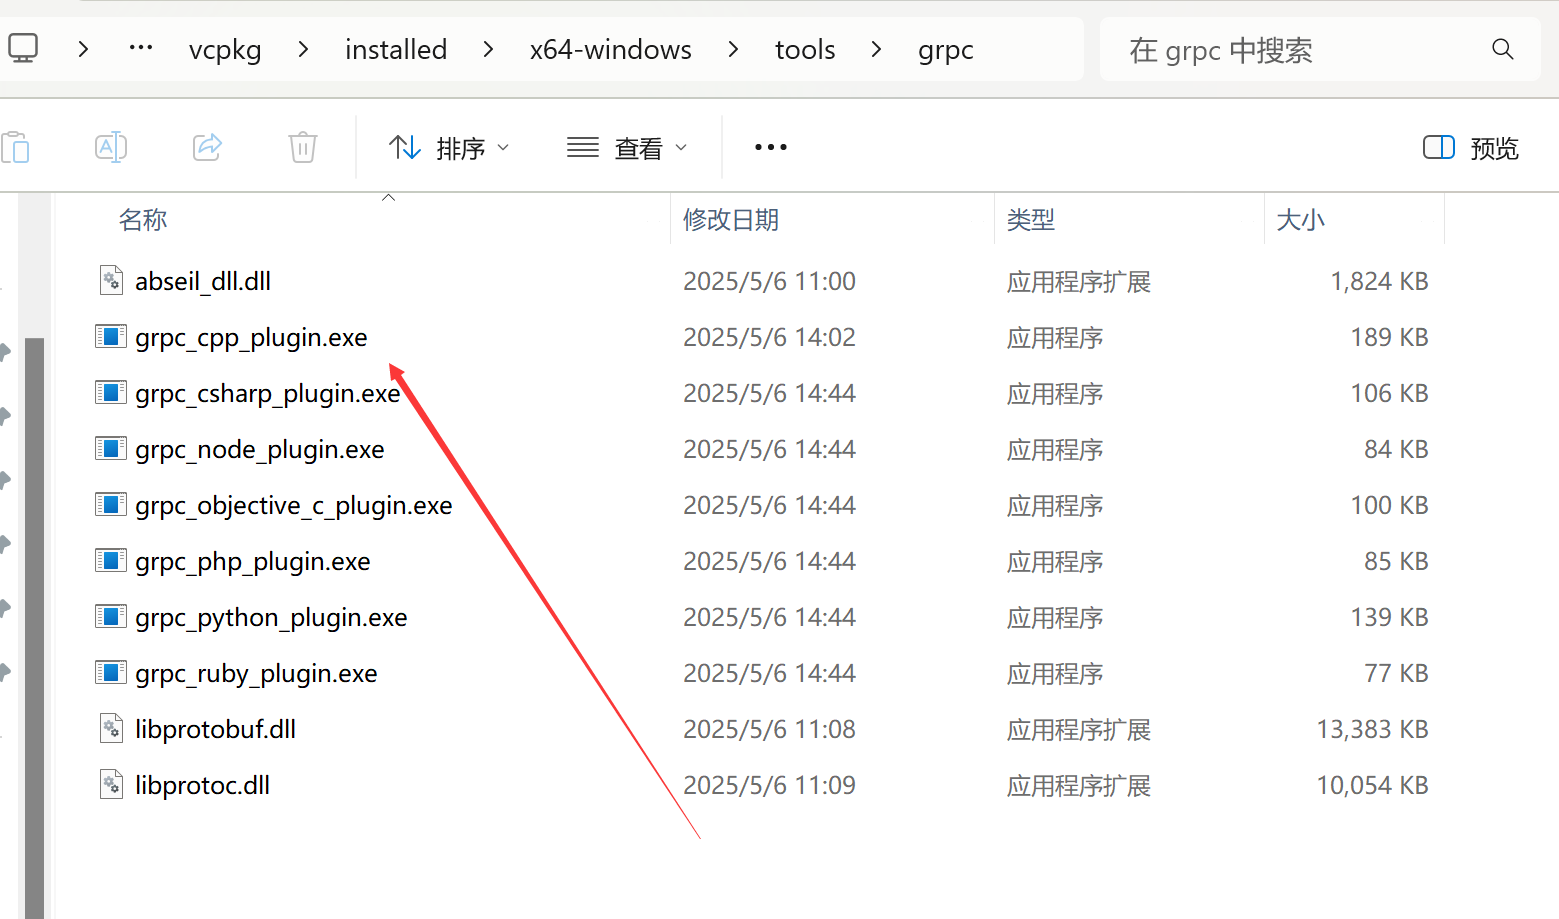
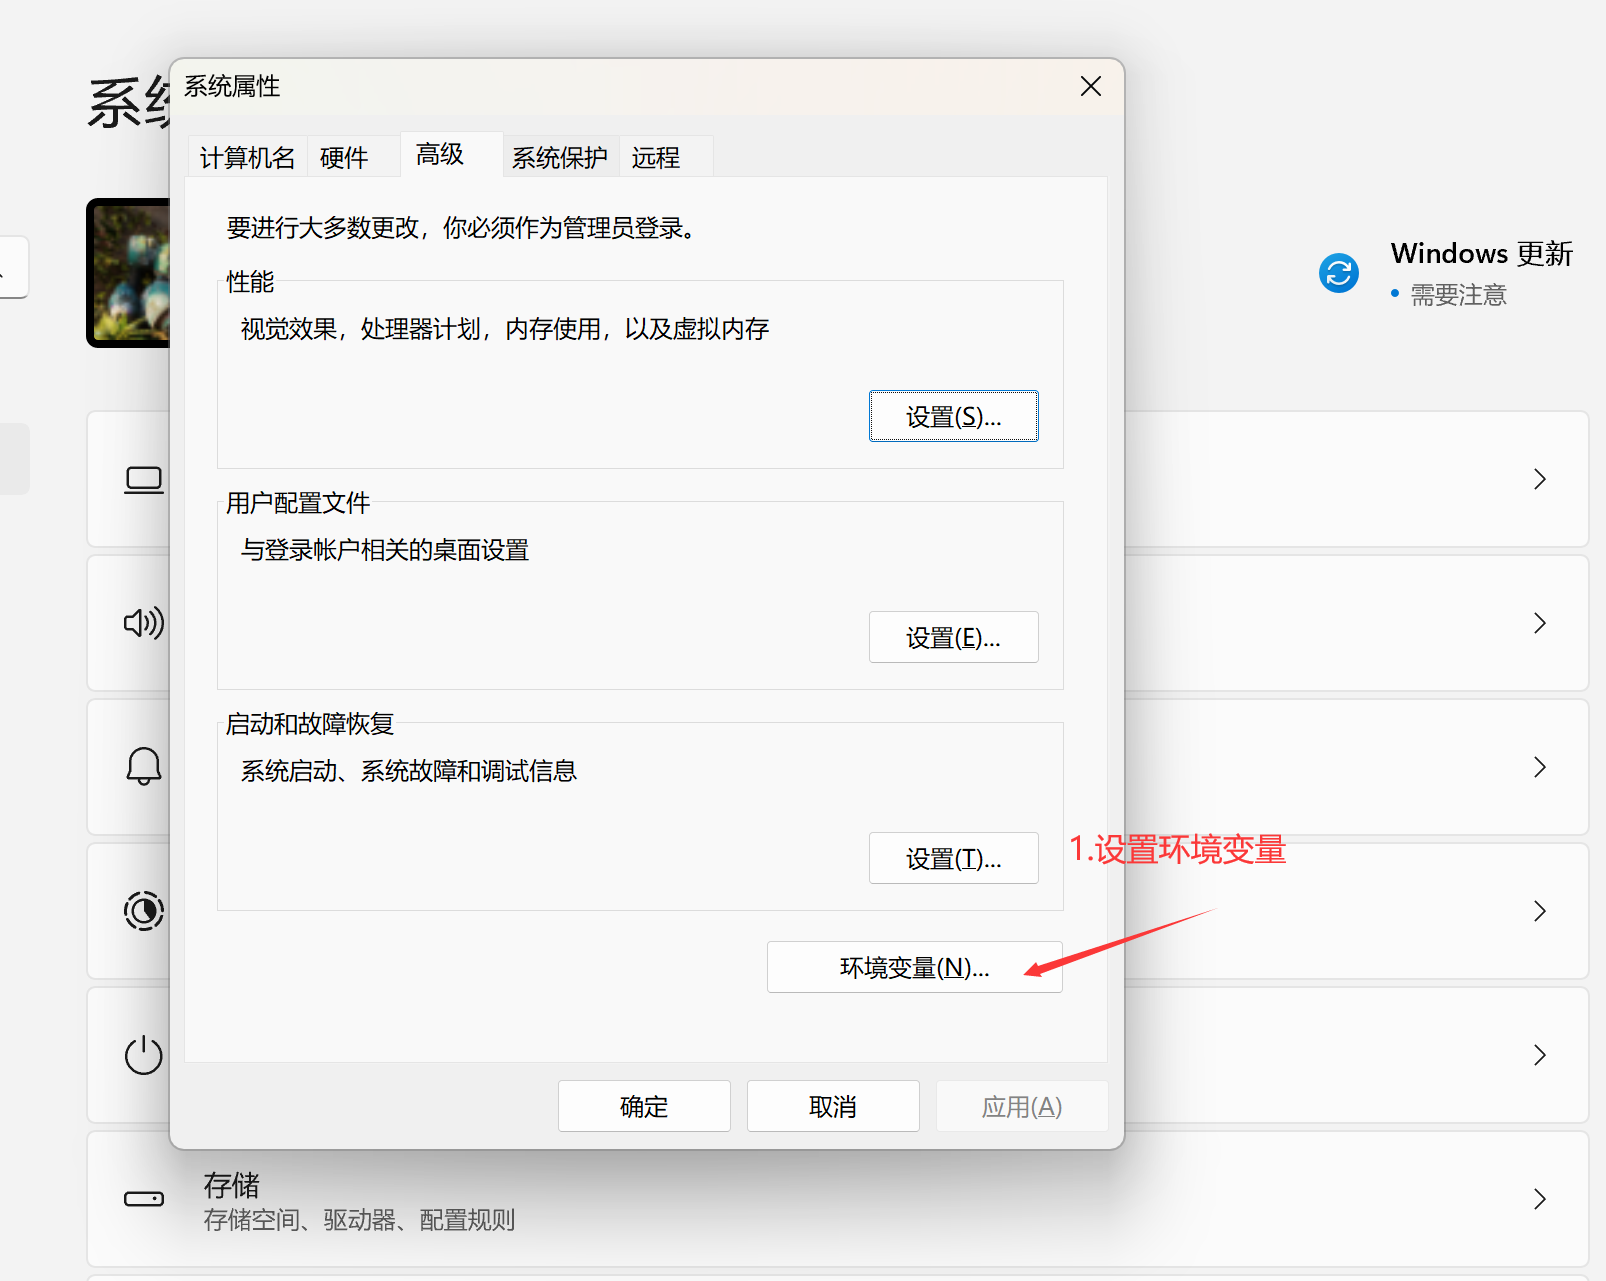
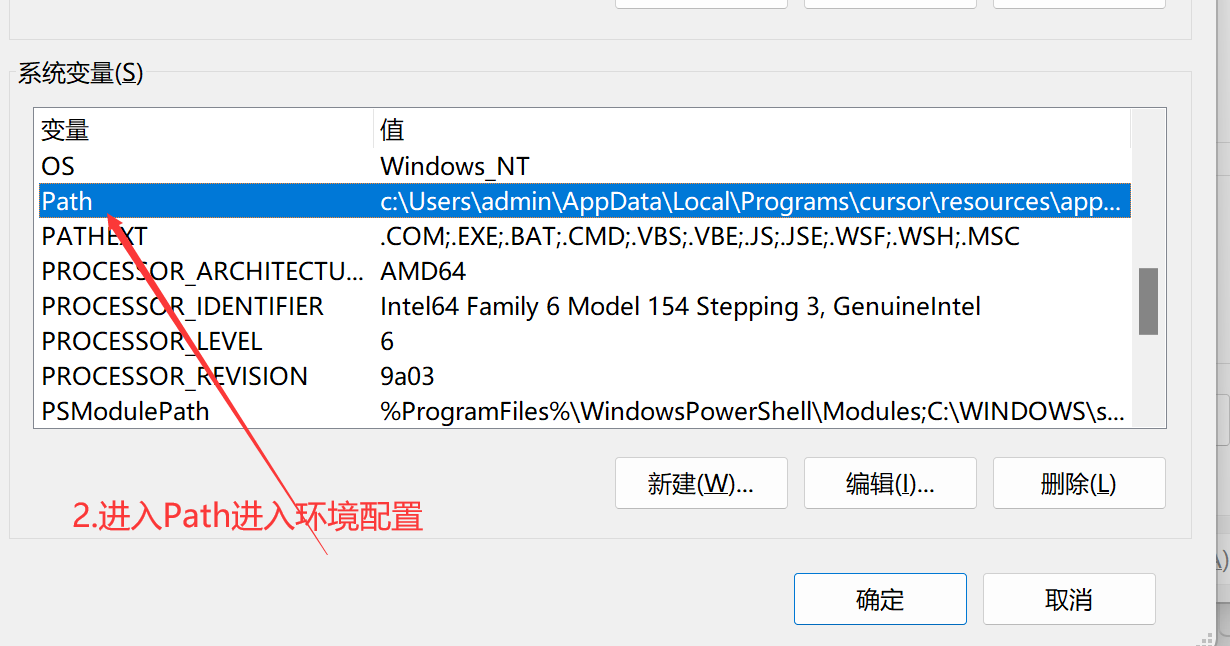
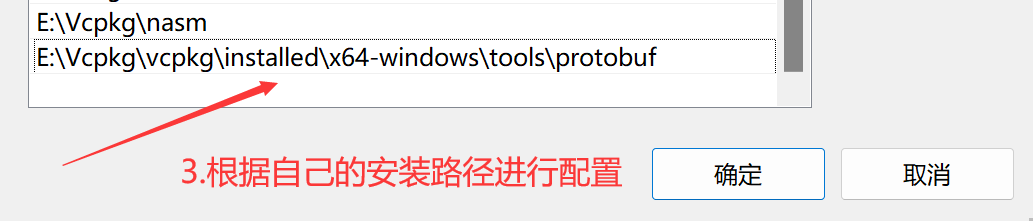
2.1如果protoc -- 编译失败,可能是编译路径不对,可以将protoc 编译环境变量配置到全局变量中。
3.再编译完成之后,会在你的测试文件夹下生成相应的编译文件
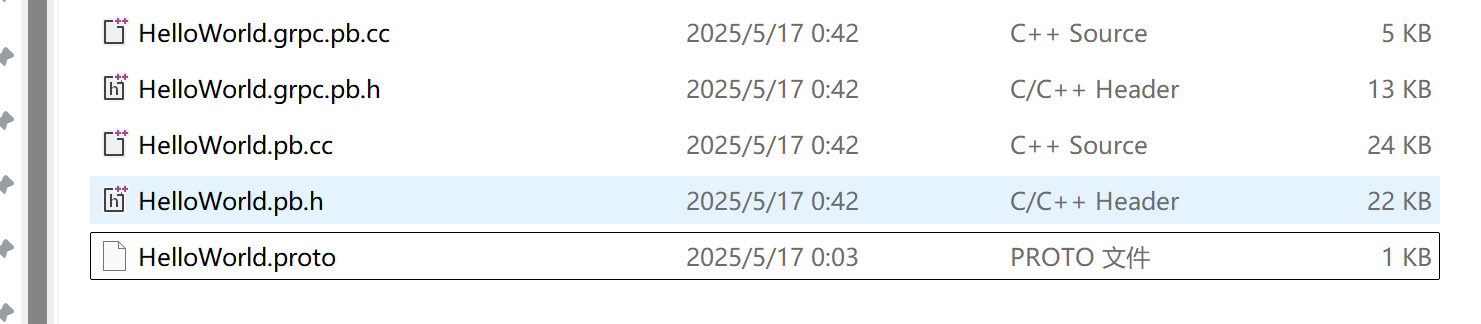
三、在vs2022中创建客户端与服务端项目进行测试
设置项目结构如下,服务端和客户端工程目录结构一样。
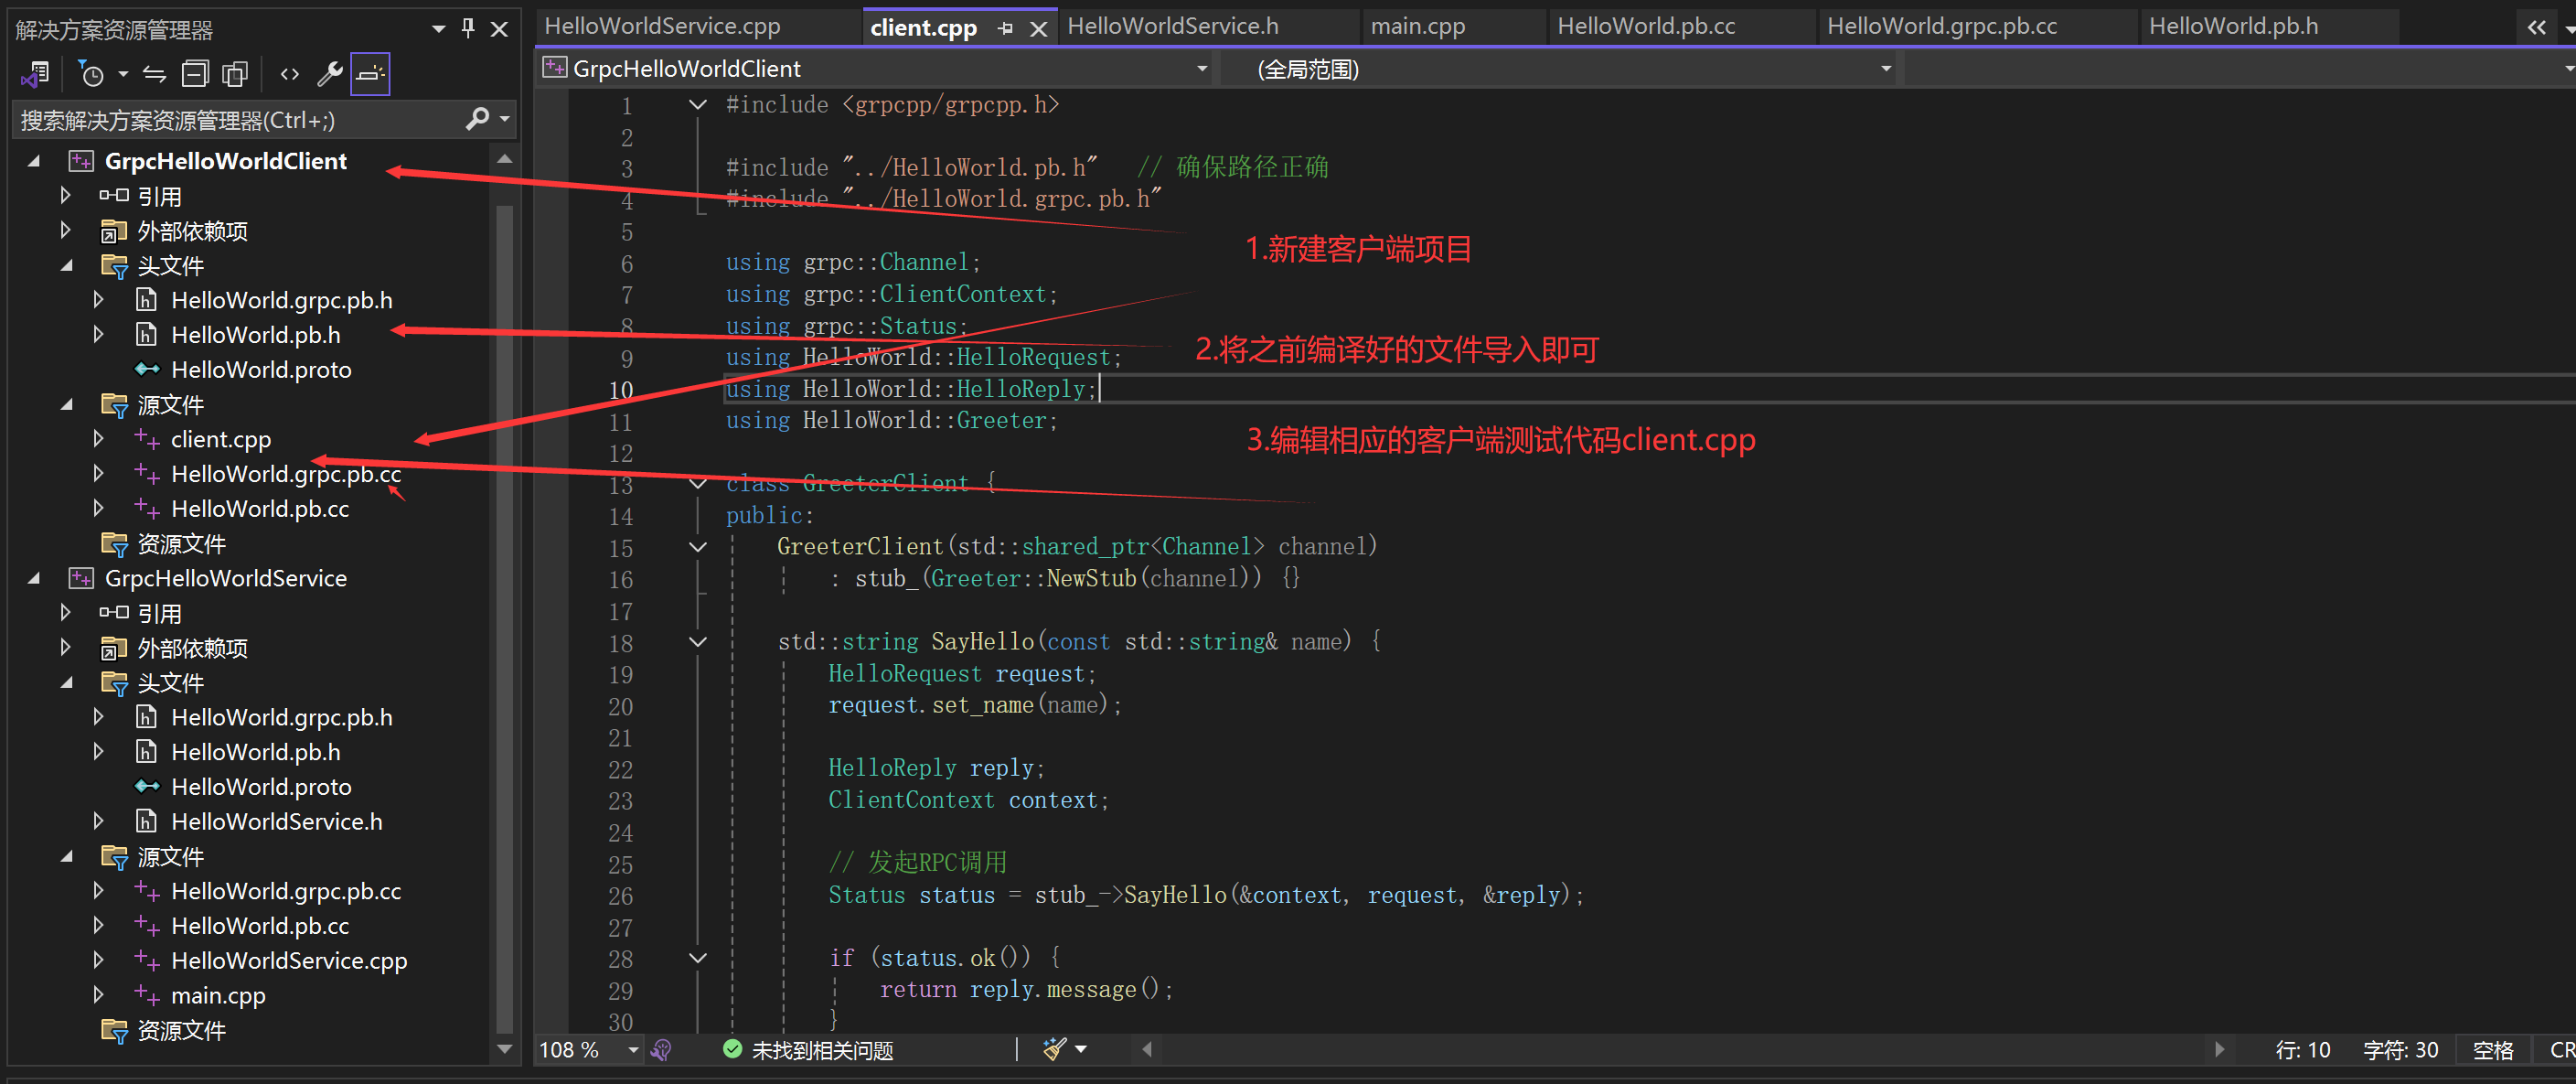
(1)客户端代码如下
#include <grpcpp/grpcpp.h>

#include "../HelloWorld.pb.h"   // 确保路径正确
#include "../HelloWorld.grpc.pb.h"

using grpc::Channel;
using grpc::ClientContext;
using grpc::Status;
using HelloWorld::HelloRequest;
using HelloWorld::HelloReply;
using HelloWorld::Greeter;

class GreeterClient {
public:
    GreeterClient(std::shared_ptr<Channel> channel)
        : stub_(Greeter::NewStub(channel)) {}

    std::string SayHello(const std::string& name) {
        HelloRequest request;
        request.set_name(name);

        HelloReply reply;
        ClientContext context;

        // 发起RPC调用
        Status status = stub_->SayHello(&context, request, &reply);

        if (status.ok()) {
            return reply.message();
        }
        else {
            std::cerr << "RPC failed: " << status.error_message() << std::endl;
            return "RPC Error";
        }
    }

private:
    std::unique_ptr<Greeter::Stub> stub_;
};

int main() {

    // 连接到服务端(地址需与服务端一致)
    std::string server_address("localhost:50059");
    GreeterClient client(
        grpc::CreateChannel(
            server_address,
            grpc::InsecureChannelCredentials()  // 测试用非安全连接
        )
    );

    // 发起请求
    std::string name("World");
    std::string response = client.SayHello(name);
    std::cout << "Server responded: " << response << std::endl;

    return 0;
}
(2)服务端代码如下
HelloWorldService.h
#pragma once
#include <grpcpp/grpcpp.h>
#include "../HelloWorld.pb.h"
#include "../HelloWorld.grpc.pb.h"

using grpc::Server;
using grpc::ServerBuilder;
using grpc::ServerContext;
using grpc::Status;
using HelloWorld::HelloRequest;
using HelloWorld::HelloReply;
using HelloWorld::Greeter;

// 添加RunServer函数声明
void RunServer();  //

class GreeterServiceImpl final : public Greeter::Service {
public:
    Status SayHello(ServerContext* context,
        const HelloRequest* request,
        HelloReply* reply) override;
};
HelloWorldService.cpp
#include "HelloWorldService.h"

Status GreeterServiceImpl::SayHello(ServerContext* context,
    const HelloRequest* request,
    HelloReply* reply) {
    std::string prefix("Hello ");
    reply->set_message(prefix + request->name());
    return Status::OK;
}

void RunServer() {
    std::string server_address("0.0.0.0:50059");
    GreeterServiceImpl service;

    ServerBuilder builder;
    builder.AddListeningPort(server_address, grpc::InsecureServerCredentials());
    builder.RegisterService(&service);

    std::unique_ptr<Server> server(builder.BuildAndStart());
    std::cout << "Server listening on " << server_address << std::endl;
    server->Wait();
}
main.cpp
// 只包含头文件,不要包含.cpp文件!
#include "HelloWorldService.h"
int main() {
RunServer();
return 0;
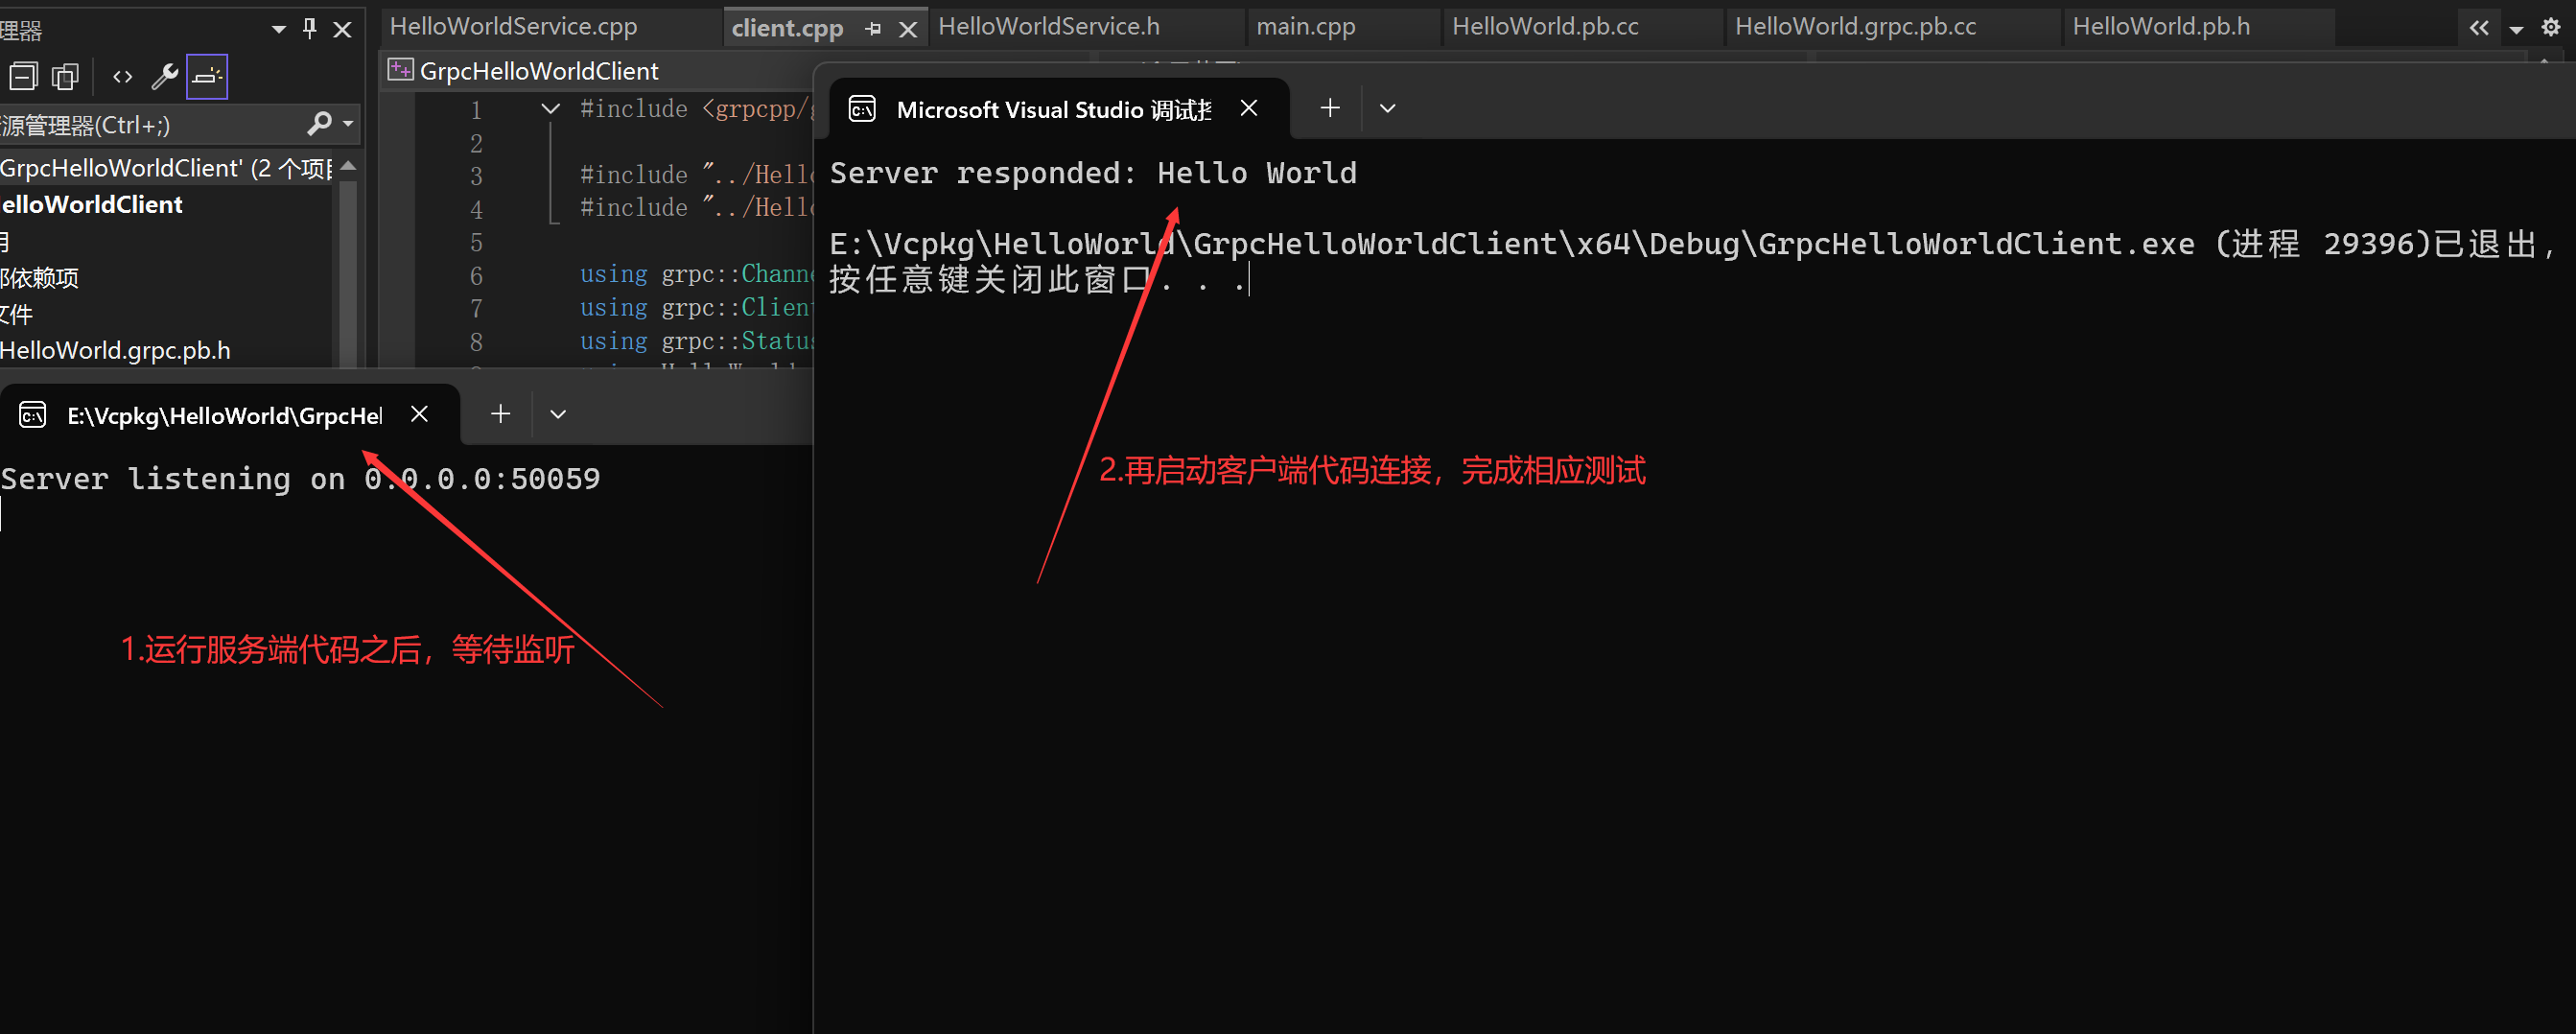
}同时启动项目,结果如下。


 1135
1135

 被折叠的 条评论
为什么被折叠?
被折叠的 条评论
为什么被折叠?
 到【灌水乐园】发言


