


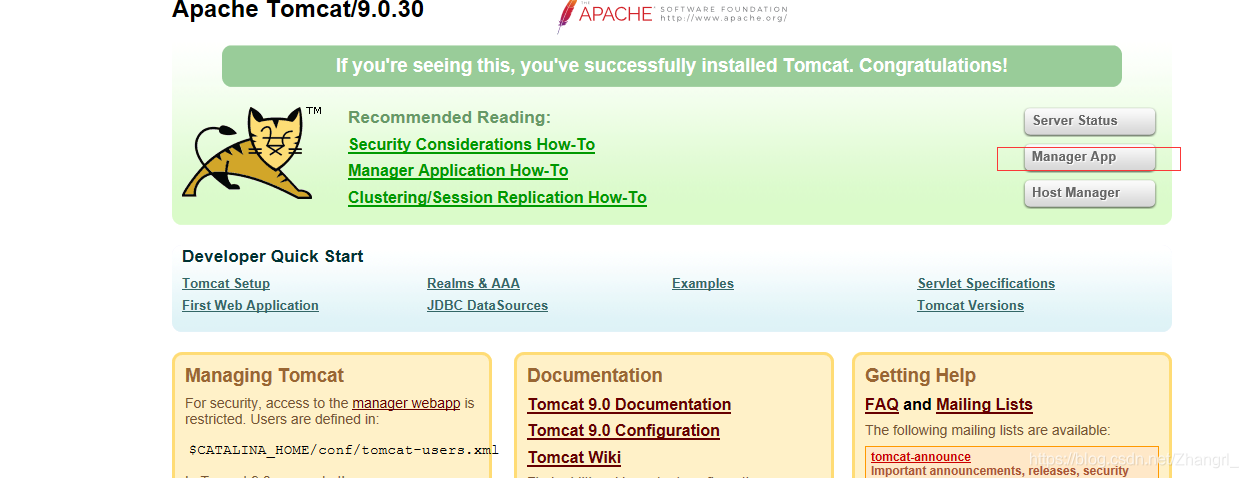
tomcat
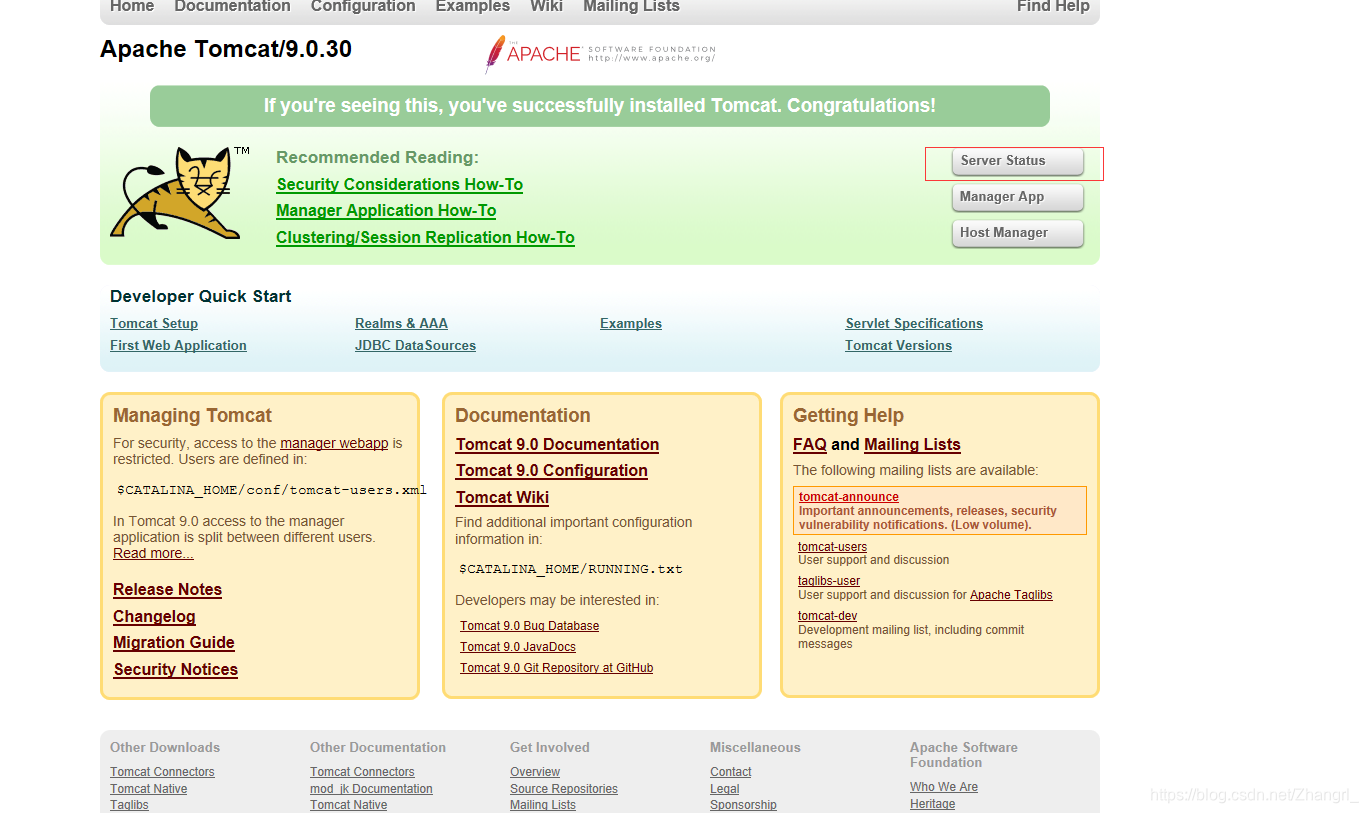
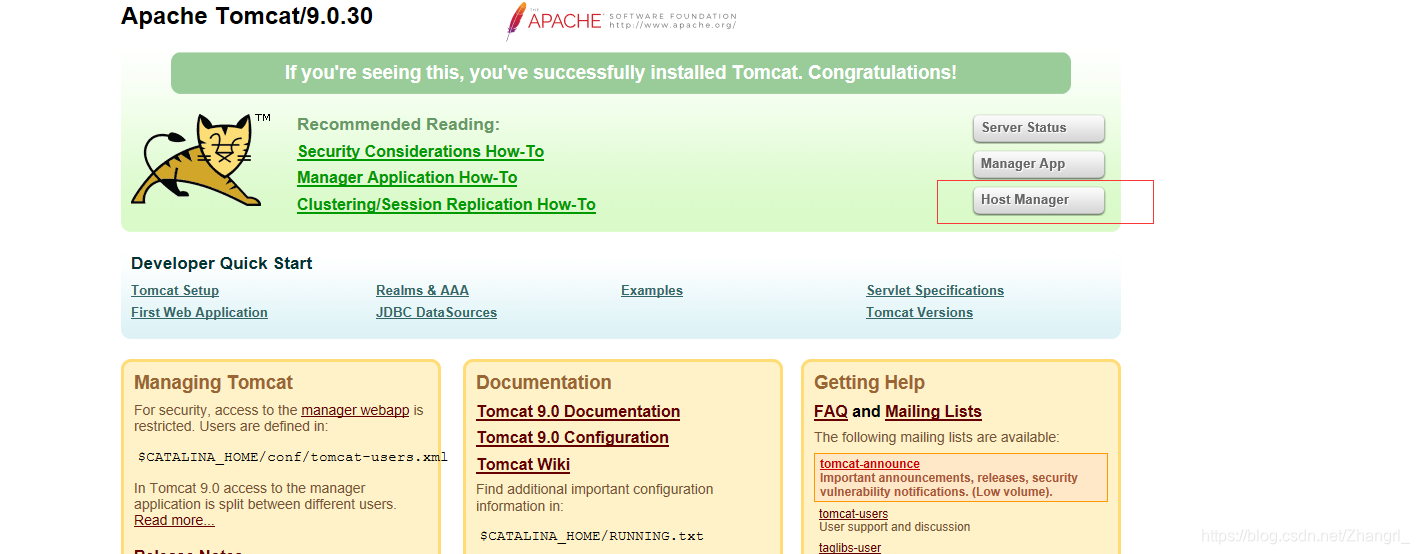
- 1.点击tomcat的server status,发现会出现403,需要在配置文件上完成他的提示
- 3.还需要在usr/local/tomcat/webapps/manager/META-INF/ context.xml加上本网段地址
- 4.点击host manager也出来了403,需要在配置文件配置他的提示
- 5.在/usr/local/tomcat/conf/tomcat-users.xml上配置
- 6.然后在/usr/local/tomcat/webapps/host-manager/META-INF/context.xml加上配置
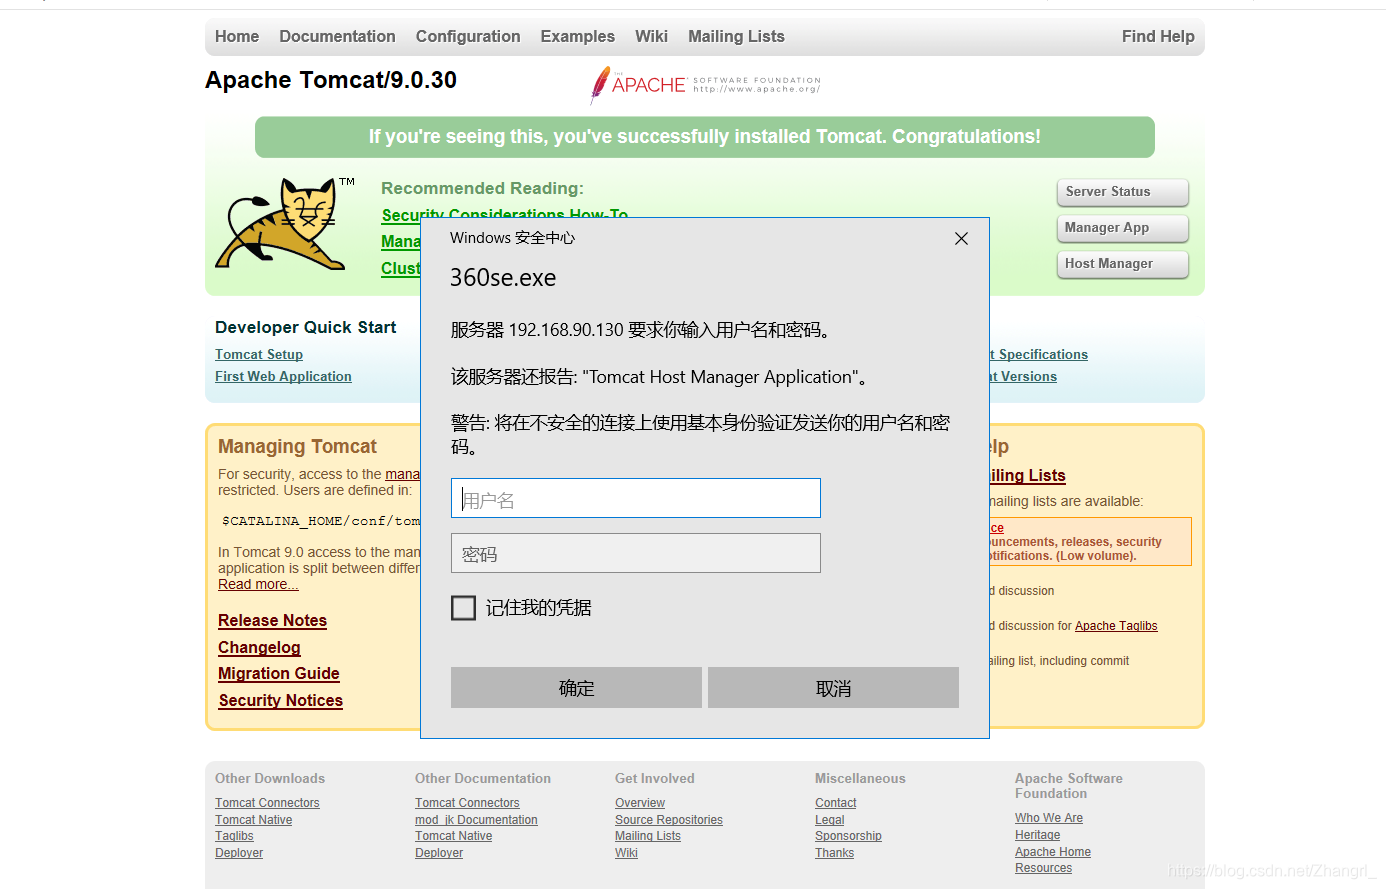
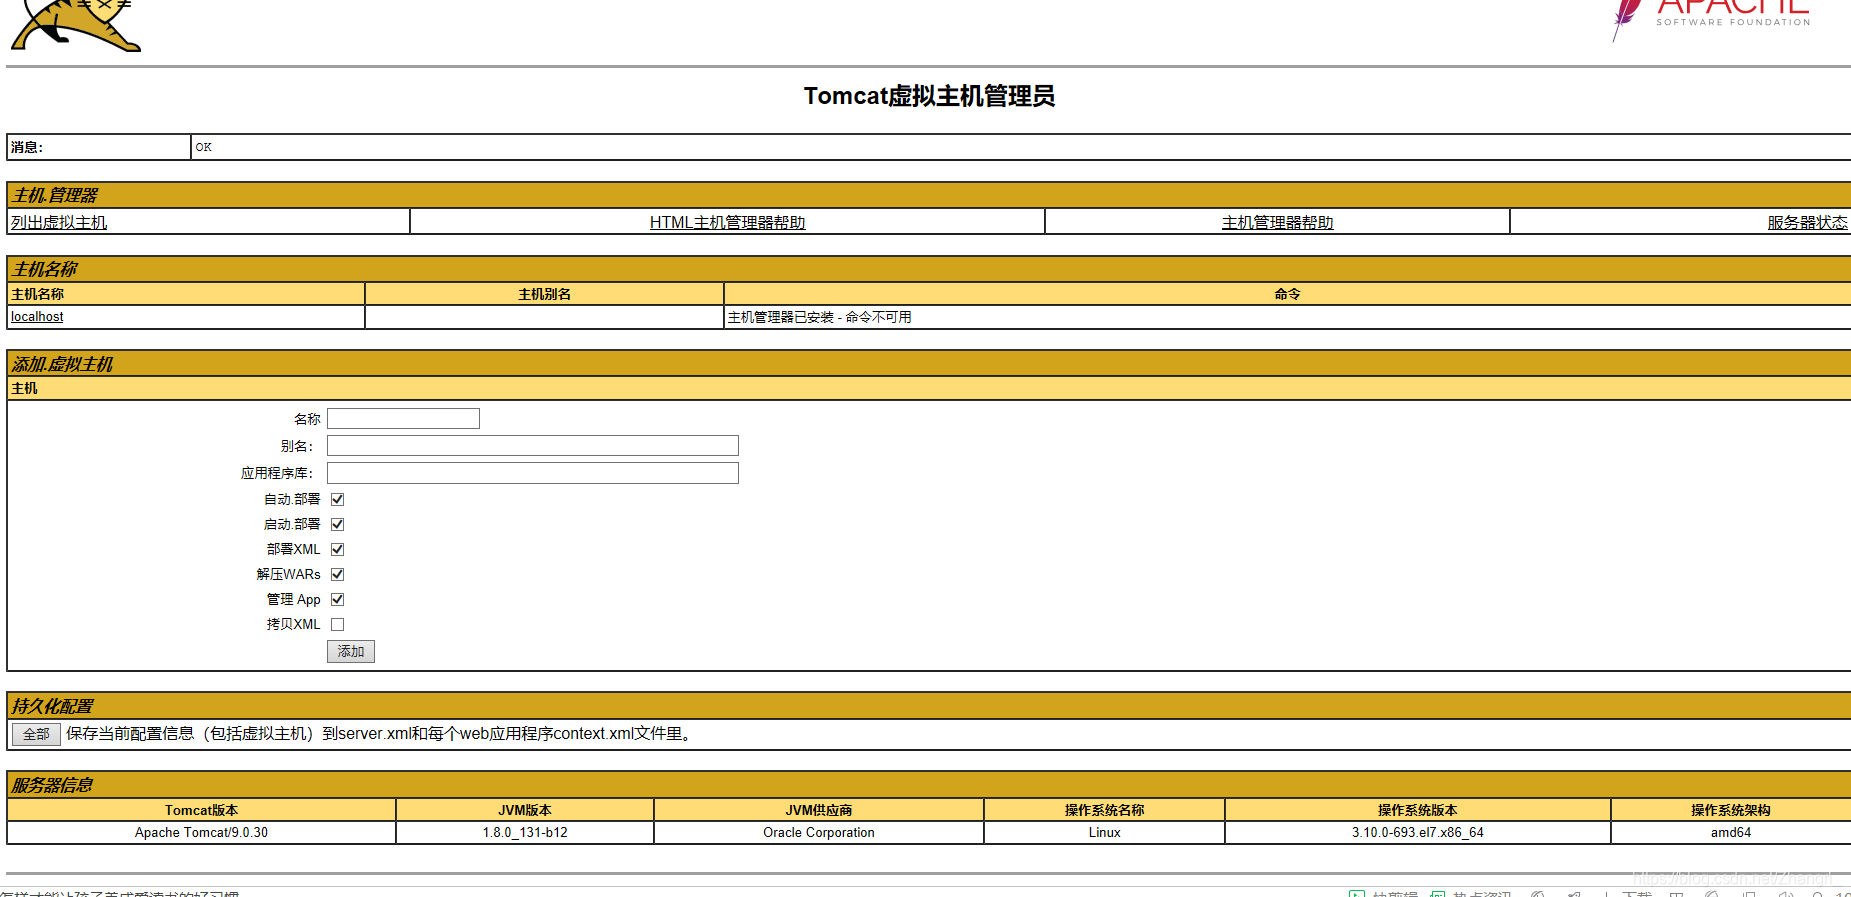
- 7.测试,输入用户名密码就可以进入到host manager
- 8.jekins部署
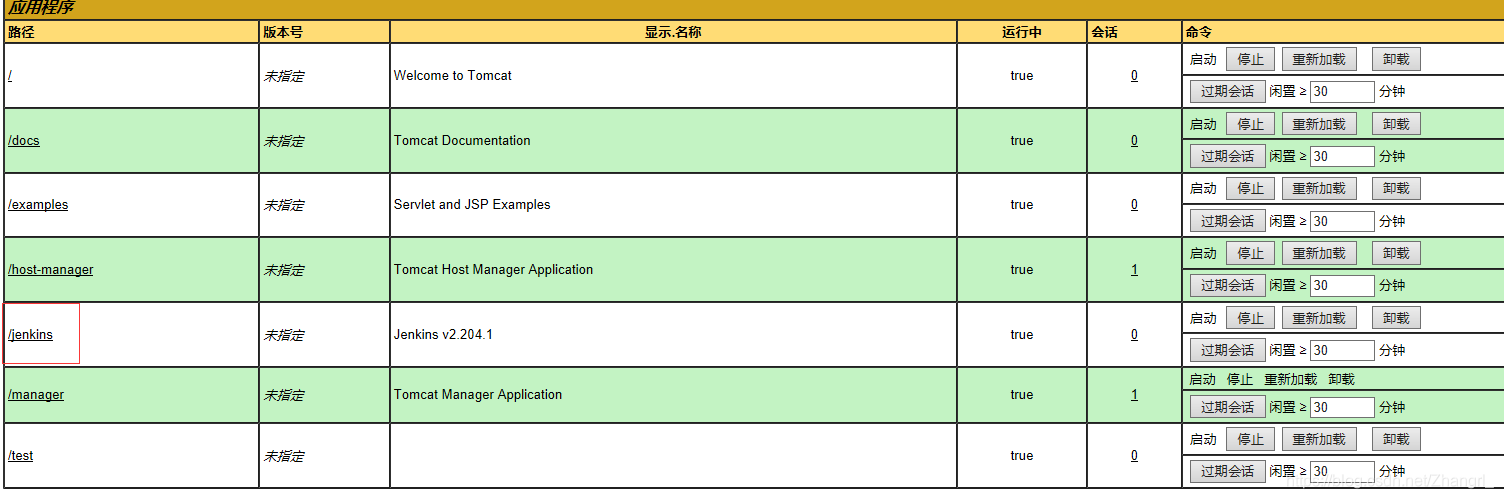
- 9.然后打开manager app下面就会多出一个jenkins
- 10.在web上输入http:192.168.90.130:8080/jenkins
- 11.按照提示查看/root/.jenkins/secrets/initialAdminPassword密码写进去
- 12.然后就可以了
- 测试
1.点击tomcat的server status,发现会出现403,需要在配置文件上完成他的提示
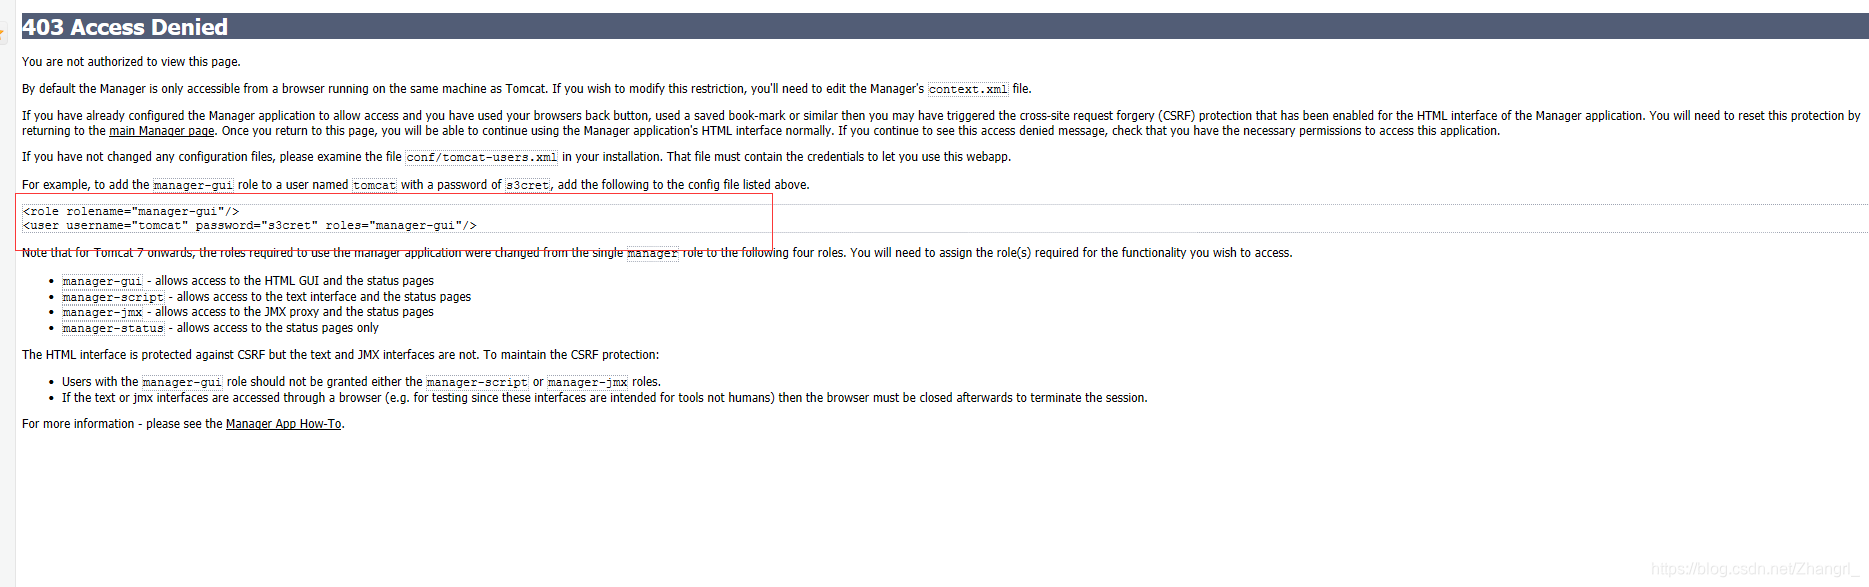
2.server status配置
在/usr/local/ tomcat/conf的tomcat-users.xml上面配置
[root@localhost ~]# cd /usr/local/ tomcat/conf
[root@localhost conf]# vim tomcat-users.xml
[root@localhost conf]# tail -3 tomcat-users.xml
  <role rolename="manager-gui"/>
  <user username="tomcat" password="123456" roles="manager-gui"/>
</tomcat-users>
[root@localhost ~]# /usr/local/tomcat/bin/catalina.sh stop
Using CATALINA_BASE:   /usr/local/tomcat
Using CATALINA_HOME:   /usr/local/tomcat
Using CATALINA_TMPDIR: /usr/local/tomcat/temp
Using JRE_HOME:        /usr
Using CLASSPATH:       /usr/local/tomcat/bin/bootstrap.jar:/usr/local/tomcat/bin/tomcat-juli.jar
[root@localhost ~]# /usr/local/tomcat/bin/catalina.sh start
Using CATALINA_BASE:   /usr/local/tomcat
Using CATALINA_HOME:   /usr/local/tomcat
Using CATALINA_TMPDIR: /usr/local/tomcat/temp
Using JRE_HOME:        /usr
Using CLASSPATH:       /usr/local/tomcat/bin/bootstrap.jar:/usr/local/tomcat/bin/tomcat-juli.jar
Tomcat started.
[root@localhost ~]# ss -antl
State       Recv-Q Send-Q   Local Address:Port                  Peer Address:Port
LISTEN      0      128                  *:22                               *:*
LISTEN      0      100          127.0.0.1:25                               *:*
LISTEN      0      100                 :::8080                            :::*
LISTEN      0      128                 :::22                              :::*
LISTEN      0      100                ::1:25                              :::*
LISTEN      0      1         ::ffff:127.0.0.1:8005                            :::*
LISTEN      0      100                 :::8009
3.还需要在usr/local/tomcat/webapps/manager/META-INF/ context.xml加上本网段地址
[root@localhost ~]# cd /usr/local/tomcat/webapps/manager/META-INF/
[root@localhost META-INF]# ls
context.xml
[root@localhost META-INF]# vim context.xml
<Context antiResourceLocking="false" privileged="true" >
  <Valve className="org.apache.catalina.valves.RemoteAddrValve"
         allow="192\.168\.90\.\d+|127\.\d+\.\d+\.\d+|::1|0:0:0:0:0:0:0:1" />          #### 在里面加上本网段地址
  <Manager sessionAttributeValueClassNameFilter="java\.lang\.(?:Boolean|Integer|Long|Number|String)|org\.apache\.catalina\.filters\.CsrfPreventionFilter\$LruCache(?:\$1)?|java\.util\.(?:Linked)?HashMap"/>
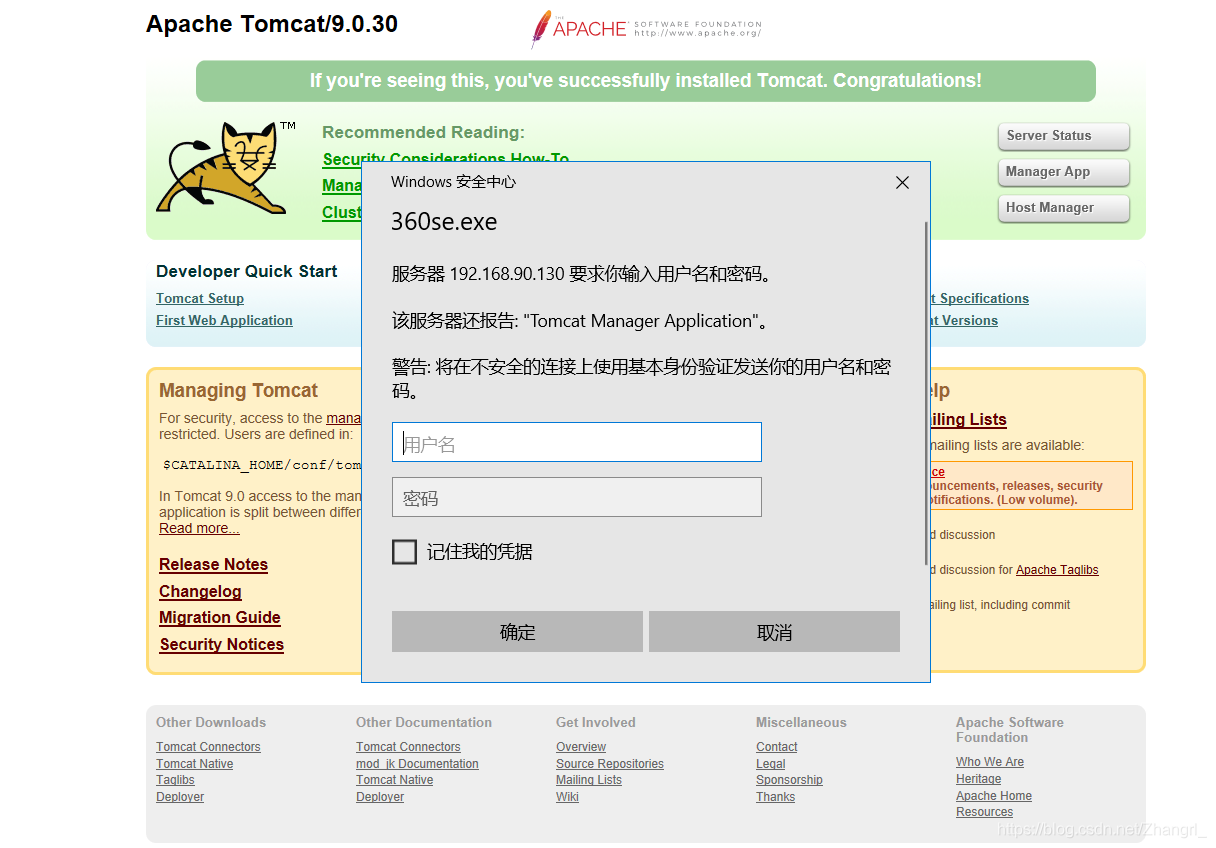
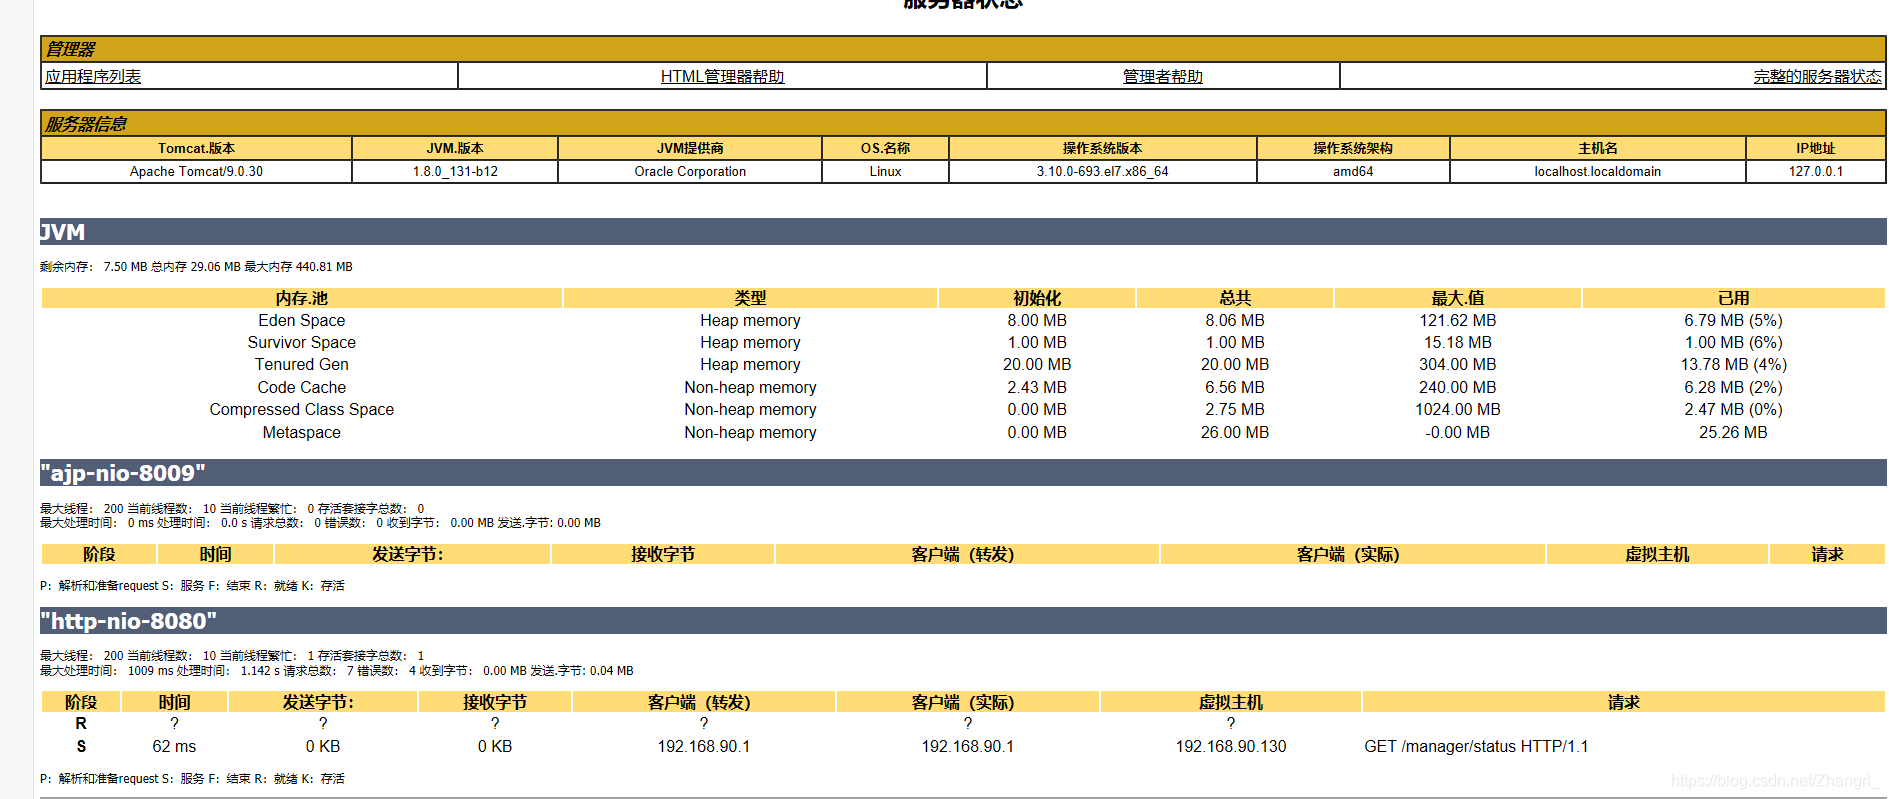
测试,然后既可以输入用户和密码进去,然后进去看到其状态
4.点击host manager也出来了403,需要在配置文件配置他的提示
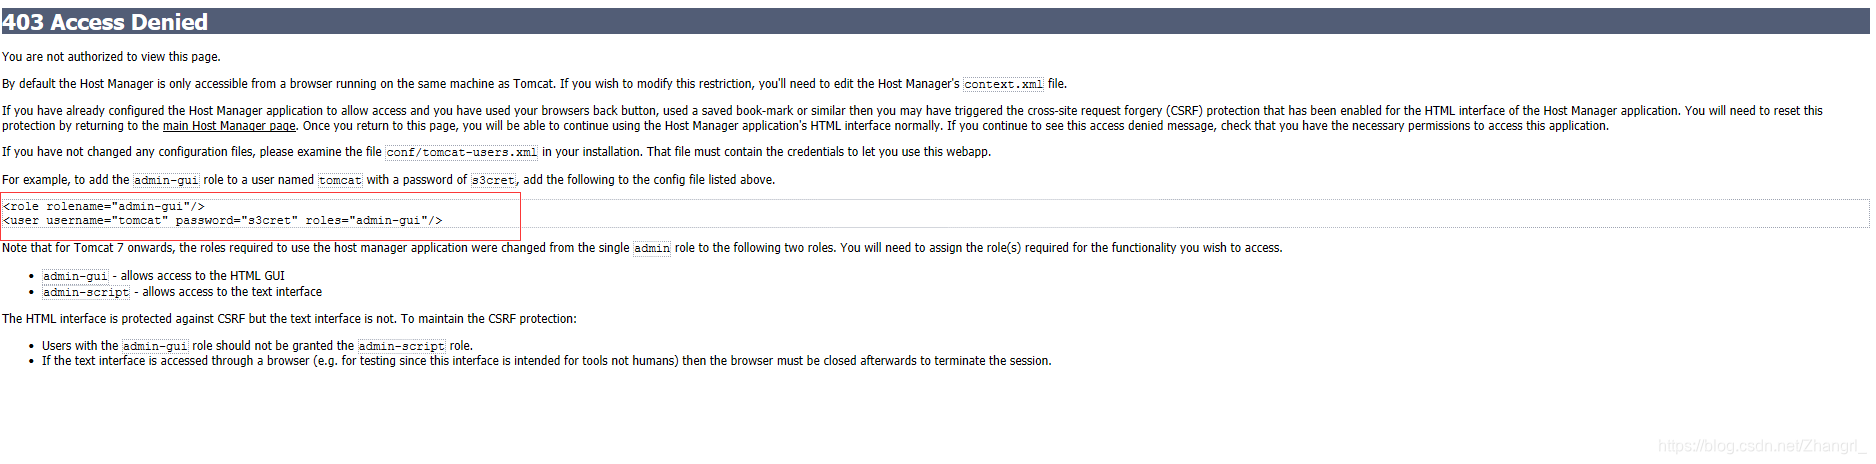
5.在/usr/local/tomcat/conf/tomcat-users.xml上配置
[root@localhost ~]# cd /usr/local/tomcat/conf/
[root@localhost conf]# ls
Catalina             context.xml           logging.properties  tomcat-users.xsd
catalina.policy      jaspic-providers.xml  server.xml          web.xml
catalina.properties  jaspic-providers.xsd  tomcat-users.xml
[root@localhost conf]# vim tomcat-users.xml
-->
  <role rolename="manager-gui"/>
  <role rolename="admin-gui"/>                                ### 在原有的基础上加上admin-gui
 <user username="tomcat" password="123456" roles="manager-gui,admin-gui"/>    ### 在这上面加上admin-gui
6.然后在/usr/local/tomcat/webapps/host-manager/META-INF/context.xml加上配置
[root@localhost ~]# cd /usr/local/tomcat/webapps/host-manager/META-INF/
[root@localhost META-INF]# ls
context.xml
[root@localhost META-INF]# vim context.xml
<Context antiResourceLocking="false" privileged="true" >
  <Valve className="org.apache.catalina.valves.RemoteAddrValve"
         allow="192\.168\.90\.\d+|127\.\d+\.\d+\.\d+|::1|0:0:0:0:0:0:0:1" />  					### j加上本网段的ip
  <Manager sessionAttributeValueClassNameFilter="java\.lang\.(?:Boolean|Integer|Long|Number|String)|org\.apache\.catalina\.filters\.CsrfPreventionFilter\$LruCache(?:\$1)?|java\.util\.(?:Linked)?HashMap"/>
</Context>
7.测试,输入用户名密码就可以进入到host manager
8.jekins部署
下载jenkins.war,将其移动到/usr/local/tomcat/webapps/下面,重启服务,然后机会出现 jenkins项目
[root@localhost ~]# mv jenkins.war /usr/local/tomcat/webapps/
[root@localhost ~]# cd /usr/local/tomcat/webapps/
[root@localhost webapps]# ls
docs  examples  host-manager  jenkins.war  manager  ROOT  test
[root@localhost ~]# /usr/local/tomcat/bin/catalina.sh stop
Using CATALINA_BASE:   /usr/local/tomcat
Using CATALINA_HOME:   /usr/local/tomcat
Using CATALINA_TMPDIR: /usr/local/tomcat/temp
Using JRE_HOME:        /usr
Using CLASSPATH:       /usr/local/tomcat/bin/bootstrap.jar:/usr/local/tomcat/bin/tomcat-juli.jar
[root@localhost ~]# /usr/local/tomcat/bin/catalina.sh start
Using CATALINA_BASE:   /usr/local/tomcat
Using CATALINA_HOME:   /usr/local/tomcat
Using CATALINA_TMPDIR: /usr/local/tomcat/temp
Using JRE_HOME:        /usr
Using CLASSPATH:       /usr/local/tomcat/bin/bootstrap.jar:/usr/local/tomcat/bin/tomcat-juli.jar
Tomcat started.
[root@localhost ~]# cd /usr/local/tomcat/webapps/
[root@localhost webapps]# ls
docs  examples  host-manager  jenkins  jenkins.war  manager  ROOT  test
9.然后打开manager app下面就会多出一个jenkins
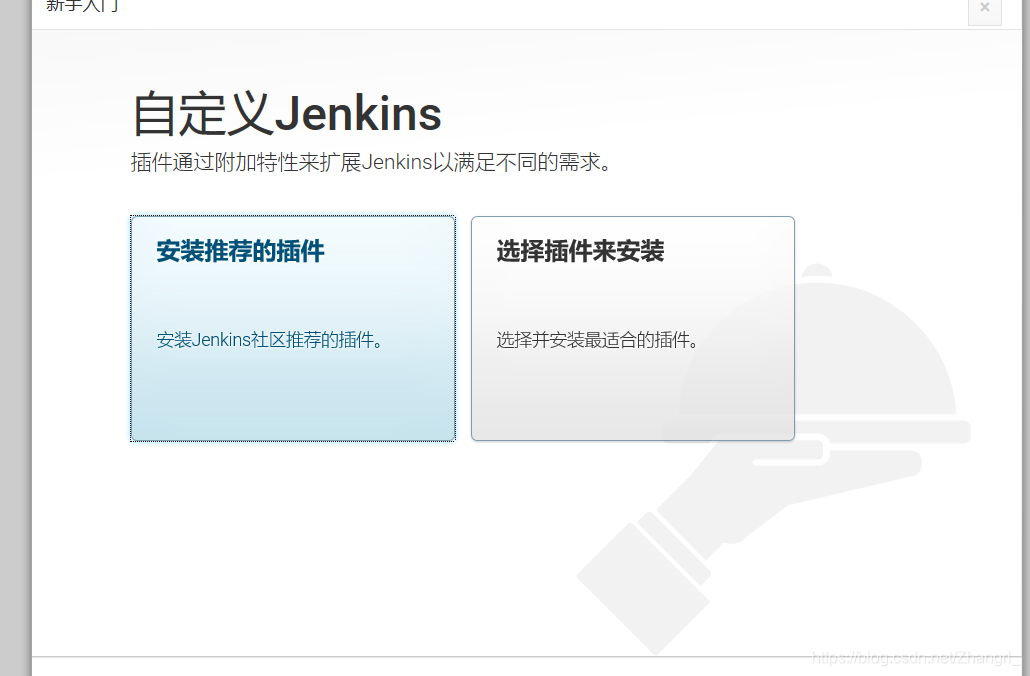
10.在web上输入http:192.168.90.130:8080/jenkins
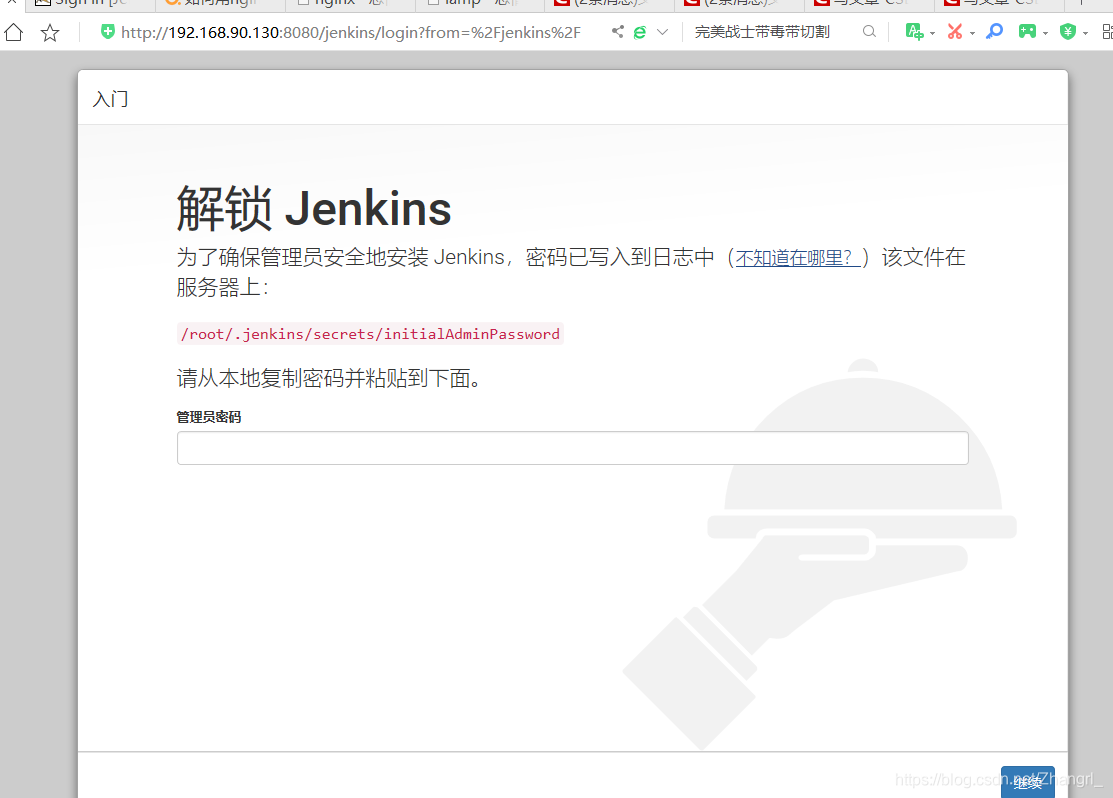
11.按照提示查看/root/.jenkins/secrets/initialAdminPassword密码写进去
[root@localhost ~]# cat /root/.jenkins/secrets/initialAdminPassword
e1739589bacd447b933aa048af507dda
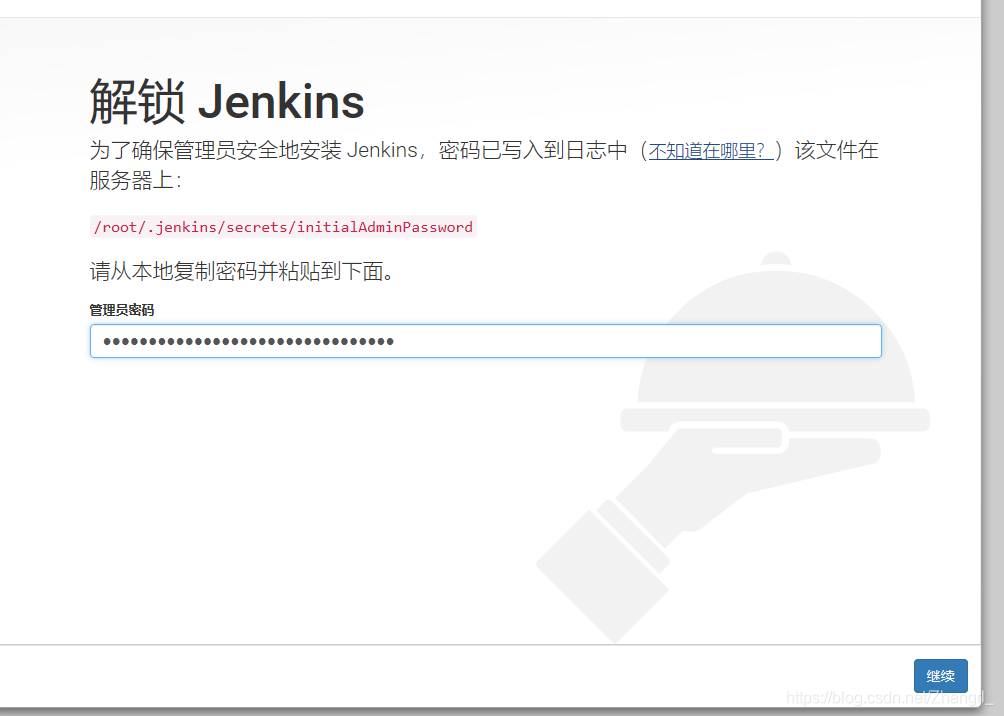
12.然后就可以了
13.lnmt部署
搭建nginx
//创建系统用户nginx
[root@localhost ~]# useradd -r -M -s /sbin/nologin nginx

//安装依赖环境
[root@localhost ~]# yum -y install pcre-devel openssl openssl-devel gd-devel gcc gcc-c++
安装过程略....
[root@localhost ~]# yum -y groups mark install 'Development Tools'
Loaded plugins: product-id, search-disabled-repos, subscription-manager
This system is not registered with an entitlement server. You can use subscription-manager to register.
There is no installed groups file.
Maybe run: yum groups mark convert (see man yum)
Marked install: Development Tools

//创建日志存放目录
[root@localhost ~]# mkdir -p /var/log/nginx
[root@localhost ~]# chown -R nginx.nginx /var/log/nginx

//下载nginx
[root@localhost ~]# cd /usr/src/
[root@localhost src]# wget http://nginx.org/download/nginx-1.12.0.tar.gz
--2018-08-20 11:19:09--  http://nginx.org/download/nginx-1.12.0.tar.gz
Resolving nginx.org (nginx.org)... 95.211.80.227, 206.251.255.63, 2606:7100:1:69::3f, ...
Connecting to nginx.org (nginx.org)|95.211.80.227|:80... connected.
HTTP request sent, awaiting response... 200 OK
Length: 980831 (958K) [application/octet-stream]
Saving to: ‘nginx-1.12.0.tar.gz’

100%[======================================================>] 980,831     15.9KB/s   in 43s

2018-08-20 11:19:52 (22.3 KB/s) - ‘nginx-1.12.0.tar.gz’ saved [980831/980831]


//编译安装
[root@localhost src]# ls
debug  kernels  nginx-1.12.0.tar.gz
[root@localhost src]# tar xf nginx-1.12.0.tar.gz
[root@localhost src]# cd nginx-1.12.0
[root@localhost nginx-1.12.0]# ./configure \
--prefix=/usr/local/nginx \
--user=nginx \
--group=nginx \
--with-debug \
--with-http_ssl_module \
--with-http_realip_module \
--with-http_image_filter_module \
--with-http_gunzip_module \
--with-http_gzip_static_module \
--with-http_stub_status_module \
--http-log-path=/var/log/nginx/access.log \
--error-log-path=/var/log/nginx/error.log

[root@localhost nginx-1.12.0]# make -j $(grep 'processor' /proc/cpuinfo | wc -l) && make install
安装过程略....
###nginx安装后配置
//配置环境变量
[root@localhost ~]# echo 'export PATH=/usr/local/nginx/sbin:$PATH' > /etc/profile.d/nginx.sh
[root@localhost ~]# . /etc/profile.d/nginx.sh

//服务控制方式,使用nginx命令
    -t  //检查配置文件语法
    -v  //输出nginx的版本
    -c  //指定配置文件的路径
    -s  //发送服务控制信号,可选值有{stop|quit|reopen|reload}

//启动nginx
[root@localhost ~]# nginx
[root@localhost ~]# ss -antl
State      Recv-Q Send-Q   Local Address:Port                  Peer Address:Port
LISTEN     0      128                  *:80                               *:*
LISTEN     0      128                  *:22                               *:*
LISTEN     0      100          127.0.0.1:25                               *:*
LISTEN     0      128                 :::22                              :::*
LISTEN     0      100                ::1:25                              :::*
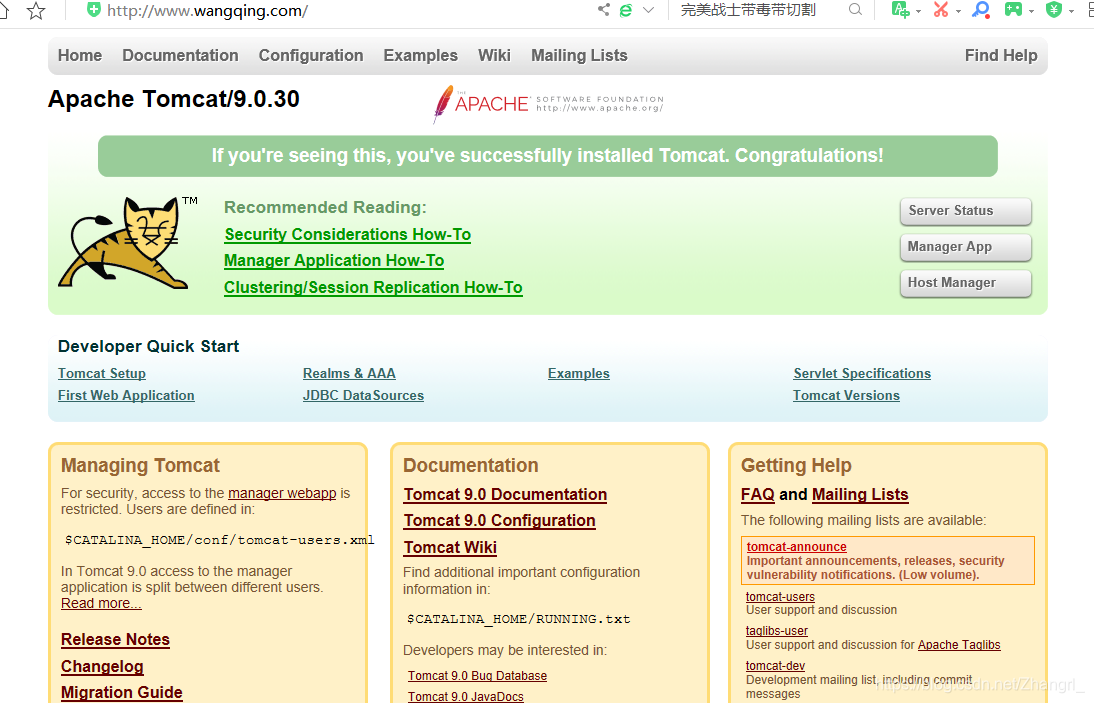
14.nginx的反向代理
[root@localhost ~]# vim /usr/local/nginx/conf/nginx.conf


    server {
        listen       80;
        server_name  www.wangqing.com;

        #charset koi8-r;

        #access_log  logs/host.access.log  main;

        location / {
                proxy_pass http://192.168.90.130:8080;
        }
[root@localhost ~]# nginx -s reload
测试
输入域名就可以直接进来


 63万+
63万+


 被折叠的 条评论
为什么被折叠?
被折叠的 条评论
为什么被折叠?
 到【灌水乐园】发言


