


【原文:http://blog.csdn.net/yangtrees/article/details/9115321】
==============================================
版权所有:小熊不去实验室CSDN博客
==============================================
熟悉photoshop的朋友都知道,把彩色图片打造成素描的效果仅仅需要几步操作:
1、去色;
2、复制去色图层,并且反色;反色为Y(i,j)=255-X(i,j)
3、对反色图像进行高斯模糊;
4、模糊后的图像叠加模式选择颜色减淡效果。
减淡公式:C =MIN( A +(A×B)/(255-B),255),其中C为混合结果,A为去色后的像素点,B为高斯模糊后的像素点。
- #include <math.h>
- #include <opencv/cv.h>
- #include <opencv/highgui.h>
- using namespace cv;
- using namespace std;
- int main()
- {
- Mat src = imread("D:/arrow.jpg",1);
- int width=src.cols;
- int heigh=src.rows;
- Mat gray0,gray1;
- //去色
- cvtColor(src,gray0,CV_BGR2GRAY);
- //反色
- addWeighted(gray0,-1,NULL,0,255,gray1);
- //高斯模糊,高斯核的Size与最后的效果有关
- GaussianBlur(gray1,gray1,Size(11,11),0);
- //融合:颜色减淡
- Mat img(gray1.size(),CV_8UC1);
- for (int y=0; y<heigh; y++)
- {
- uchar* P0 = gray0.ptr<uchar>(y);
- uchar* P1 = gray1.ptr<uchar>(y);
- uchar* P = img.ptr<uchar>(y);
- for (int x=0; x<width; x++)
- {
- int tmp0=P0[x];
- int tmp1=P1[x];
- P[x] =(uchar) min((tmp0+(tmp0*tmp1)/(256-tmp1)),255);
- }
- }
- imshow("素描",img);
- waitKey();
- imwrite("D:/素描.jpg",img);
- }
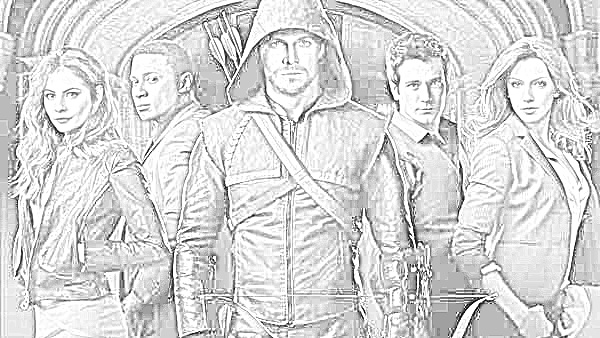
原图:

素描:
Reference:http://blog.csdn.net/wsfdl/article/details/7610634


 797
797

 被折叠的 条评论
为什么被折叠?
被折叠的 条评论
为什么被折叠?
 到【灌水乐园】发言


