


由于安装与配置一个适合开发的vim环境比较复杂,本文将自己安装配置vim及其插件的过程进行记录,以便以后查看。希望也能对喜欢vim的同学提供一些帮助。
目的:在CentOS7上安装配置vim8.1,打造一个适合开发的编辑环境。
说明:相关配置文件可以在我的github中获取:
https://github.com/stevenzscn/vim_install
一、准备工作
1. 安装dircolors:
git clone https://github.com/seebi/dircolors-solarized.git
cd dircolors-solarized/
mv dircolors.ansi-dark ~/.dircolors
在bash_profile中添加:
export TERM=xterm-256color
if [ -x /usr/bin/dircolors ]; then
alias ls='ls --color=auto'
alias dir='dir --color=auto'
alias vdir='vdir --color=auto'
alias grep='grep --color=auto'
alias fgrep='fgrep --color=auto'
alias egrep='egrep --color=auto'
alias tree='tree -C'
fi
重新登录后,生效。
2. 安装依赖:
yum install libXt-devel gtk2-devel
yum -y install python-devel ruby ruby-devel perl perl-devel perl-ExtUtils-Embed
yum install ncurses-devel
yum install ctags
需要依赖python3:
下载Python-3.7.3.tgz
tar -zxv -f Python-3.7.3.tgz
cd Python-3.7.3
./configure --prefix=/usr/local/python3 --enable-shared
make
sudo make install
3. 关闭SELinux
修改/etc/selinux/config 文件
将SELINUX=enforcing改为SELINUX=disabled
重启机器。
二、安装vim8.1
git clone https://github.com/vim/vim.git
cd vim
./configure --disable-selinux --enable-perlinterp=yes --enable-python3interp=yes --with-python-config-dir=/usr/local/python3/lib/python3.7/config-3.7m-x86_64-linux-gnu --enable-rubyinterp=yes --enable-cscope --enable-gui=auto --with-features=huge --enable-multibyte --enable-xim --with-x --with-gnome --with-compiledby="Steven Zhang" --prefix=/usr/local/vim8
make
make install
到此vim8.1安装完成,查看version信息:

三、安装vim插件
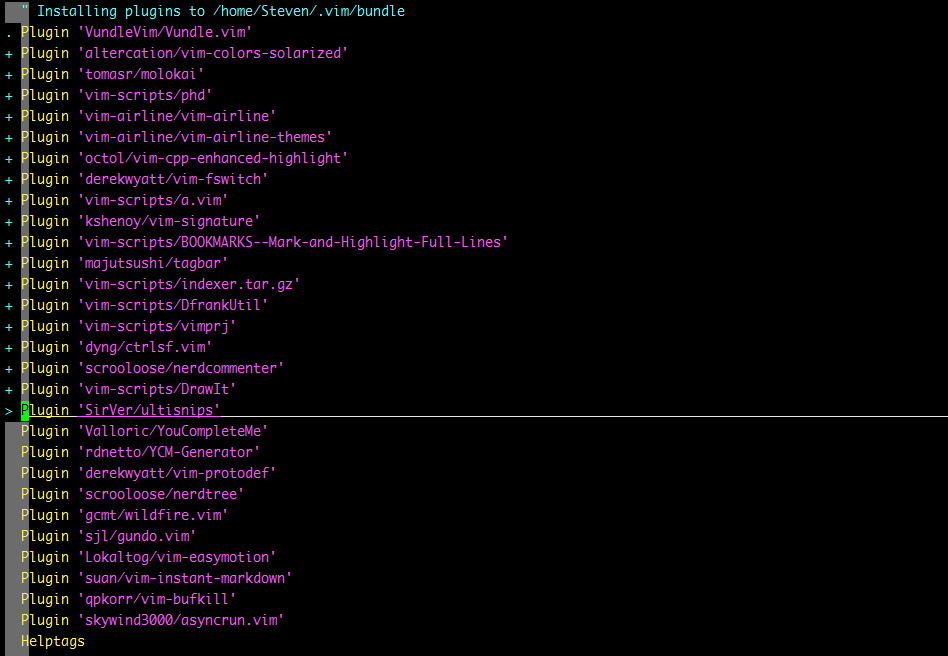
下面将安装vim插件,使用vundle管理插件:
Plugin 'VundleVim/Vundle.vim'
Plugin 'altercation/vim-colors-solarized'
Plugin 'tomasr/molokai'
Plugin 'vim-scripts/phd'
Plugin 'vim-airline/vim-airline'
Plugin 'vim-airline/vim-airline-themes'
Plugin 'octol/vim-cpp-enhanced-highlight'
Plugin 'derekwyatt/vim-fswitch'
Plugin 'vim-scripts/a.vim'
Plugin 'kshenoy/vim-signature'
Plugin 'vim-scripts/BOOKMARKS--Mark-and-Highlight-Full-Lines'
Plugin 'majutsushi/tagbar'
Plugin 'vim-scripts/indexer.tar.gz'
Plugin 'vim-scripts/DfrankUtil'
Plugin 'vim-scripts/vimprj'
Plugin 'dyng/ctrlsf.vim'
Plugin 'scrooloose/nerdcommenter'
Plugin 'vim-scripts/DrawIt'
Plugin 'SirVer/ultisnips'
Plugin 'Valloric/YouCompleteMe'
Plugin 'rdnetto/YCM-Generator'
Plugin 'derekwyatt/vim-protodef'
Plugin 'scrooloose/nerdtree'
Plugin 'gcmt/wildfire.vim'
Plugin 'sjl/gundo.vim'
Plugin 'Lokaltog/vim-easymotion'
Plugin 'suan/vim-instant-markdown'
Plugin 'qpkorr/vim-bufkill'
Plugin 'skywind3000/asyncrun.vim'
下面是我的vim配置 .vimrc 可以在我的github获取。
1. 安装vundle
vundle会自动下载插件,除YouCompleteMe以外不需要额外的安装操作,YouCompleteMe的安装将在后面说明。
git clone https://github.com/VundleVim/Vundle.vim.git ~/.vim/bundle/Vundle.vim
vundle会管理.vim下的插件。
打开vim,执行 :BundleInstall ,vundle将自动下载配置的插件。
有时会出现显示异常,比如NERDTree的分支箭头。一般在Linux GNome里是显示正常的,但是使用xshell等终端可能就显示异常,这时可以将分支显示修改成传统的“+ 、~” 符号。

查看.vim/bundle/nerdtree/plugin/NERD_tree.vim
看到 if !nerdtree#runningWindows() 判断后是出现显示异常的地方,可以去掉条件判断:
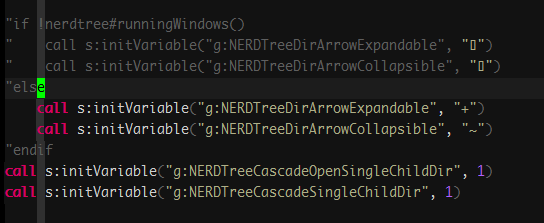
这样除了YouCompleteMe以外,都搞定了。
2. 安装YouCompleteMe
1) 安装cmake
cmake 2版本安装YCM会有问题,所以这里需要升级cmake。如果使用yum安装了2版本的,请先yum remove cmake 。
下载cmake-3.9.1.tar.gz,安装:
tar -zxv -f cmake-3.9.1.tar.gz
cd cmake-3.9.1/
./bootstrap && make && make install
2) 安装YouCompleteMe
cd .vim/bundle/YouCompleteMe
修改install.sh中PYTHON_BINARY为python,注释掉python2判断即可。
./install.sh --clang-completer --system-libclang
安装完成后,打开vim会显示python import ycm_core 找不到libclang.so.3.9
复制一份.ycm_extra_conf.py到用户目录下:
cp YouCompleteMe/third_party/ycmd/examples/.ycm_extra_conf.py ~/
.ycm_extra_conf.py是YCM的配置文件,可以根据自己的项目情况进行配置。
也可以使用YCM-Generator插件,根据项目去生成:
./config_gen.py PROJECT_DIRECTORY
或在vim中使用:YcmGenerateConfig
详细用法请查看YCM-Generator文档。
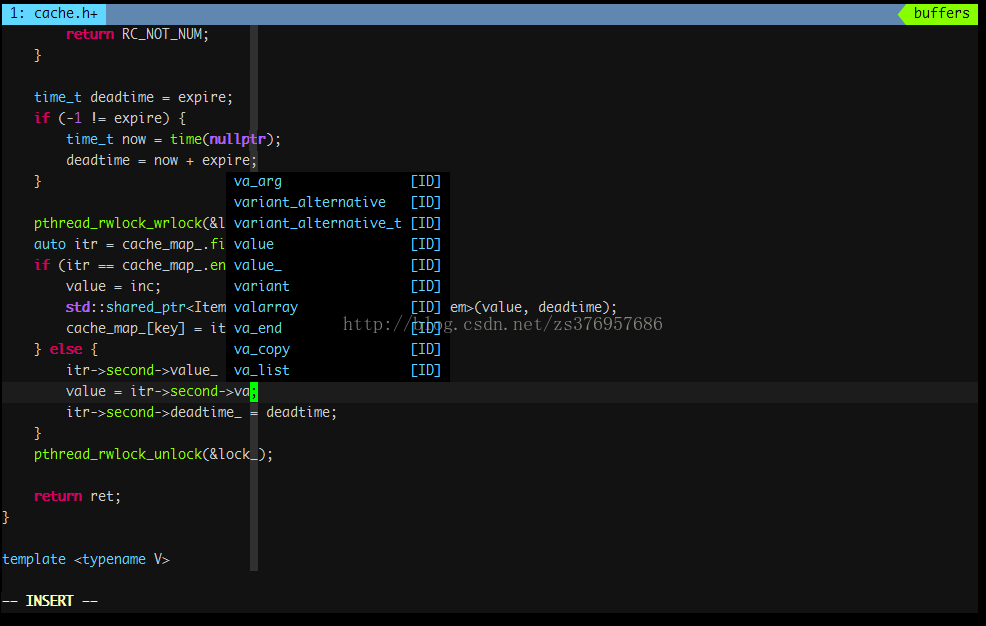
至此YCM安装完成,效果如下:
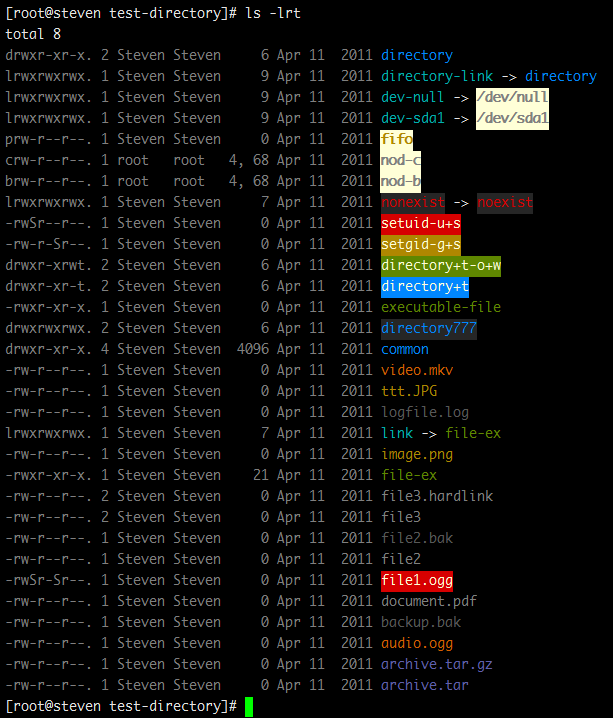
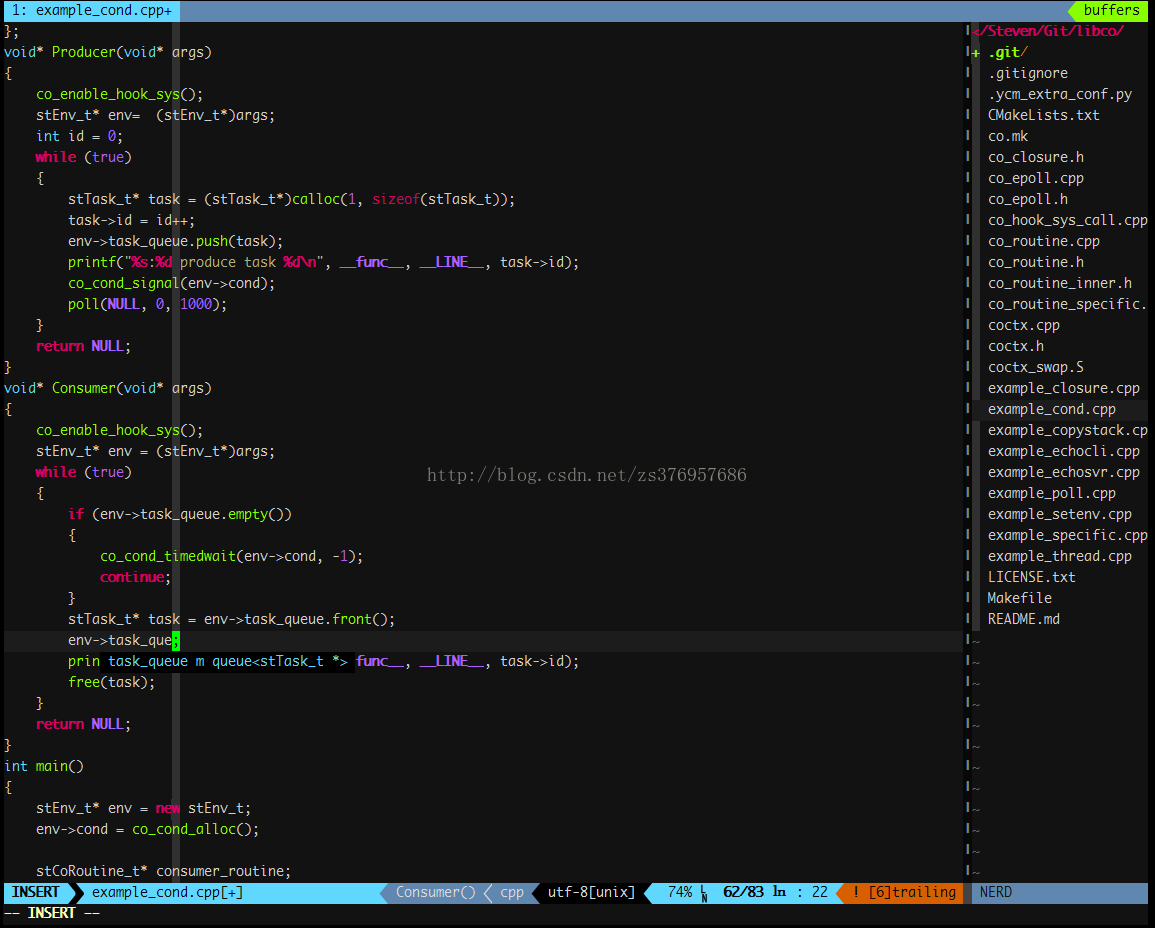
现在,vim8.1就安装配置完成了。上几张安装后的图:


 465
465

 被折叠的 条评论
为什么被折叠?
被折叠的 条评论
为什么被折叠?
 到【灌水乐园】发言


