


本系列文章均为A2BGeek原创,转载务必在明显处注明:
转载自A2BGeek的【Android每周专题】系列,原文链接:http://blog.csdn.net/benbmw2008/article/details/11143893
每个专题的实验代码会在文章的最后放上下载链接!下面开始第一个专题——触摸屏事件。
Android系统的用户事件有触屏事件和按键事件,今天的重点放在触屏事件上,先来看一下实验代码的结构:

布局如下:
<com.example.gesturedemo.MyRelativeLayout xmlns:android="http://schemas.android.com/apk/res/android"
android:layout_width="match_parent"
android:layout_height="match_parent" >
<com.example.gesturedemo.MyTextView
android:id="@+id/tv"
android:layout_width="200dip"
android:layout_height="200dip"
android:layout_centerInParent="true"
android:background="#33B5E5"
android:gravity="center"
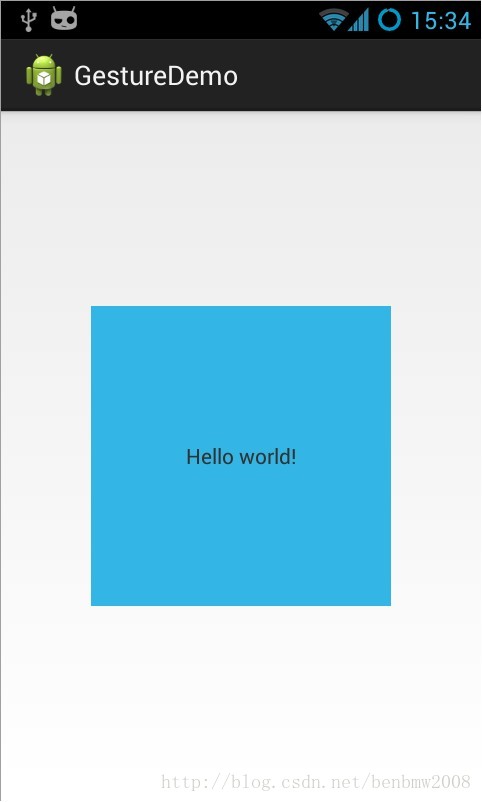
android:text="@string/hello_world" />
</com.example.gesturedemo.MyRelativeLayout>样子大概就是这样的:
其中布局文件中的MyRelativeLayout和MyTextView也没有什么特别的,只是实现了和事件分发有关的几个回调方法——dispatchTouchEvent、onInterceptTouchEvent、onTouchEvent。在MainActivity中也实现了dispatchTouchEvent和onTouchEvent。好了,该说明的都说明了,下面实验开始,如果对代码还是不清楚的话可以先下载代码再结合代码来看文章。
实验1——点击一下蓝色区
 最低0.47元/天 解锁文章


 991
991


 被折叠的 条评论
为什么被折叠?
被折叠的 条评论
为什么被折叠?
 到【灌水乐园】发言


