


昨天腾讯课堂有一堂关于安装包性能优化的文章,联系到前段时间做的主题管理功能,发现一种更简便的方法,特此记录一下。
想这样一个问题,我要开发一个类似华为的主题管理功能,客户先给了一套主题做为默认的主题,说有好看的主题的时候你在给我加,这时候我们如果直接把默认的主题加到launcher里面这样可以满足暂时满足客户需求,但是当客户要加新主题的时候怎么办不能在把那堆新的图片放到launcher里面吧,而且说不定这时候早就出货了,想加就要更新软件,这个成本老板肯定是不会同意的,这时候我们就需要用到动态加载资源这个技术了。
我们做一个主题管理*app,他负责和launcher交互,在做一个主题app里面放主题图片,默认的时候我们只有一个主题,当客户有新的主题的时候 我们可以把它做成一个新的主题app,通过服务器把这个新的主题推送到主题管理*的app里面,当用户想要用这个新的主题的时候只要去下载这个主题app就可以更新主题。
用一个简单里demo模拟一下: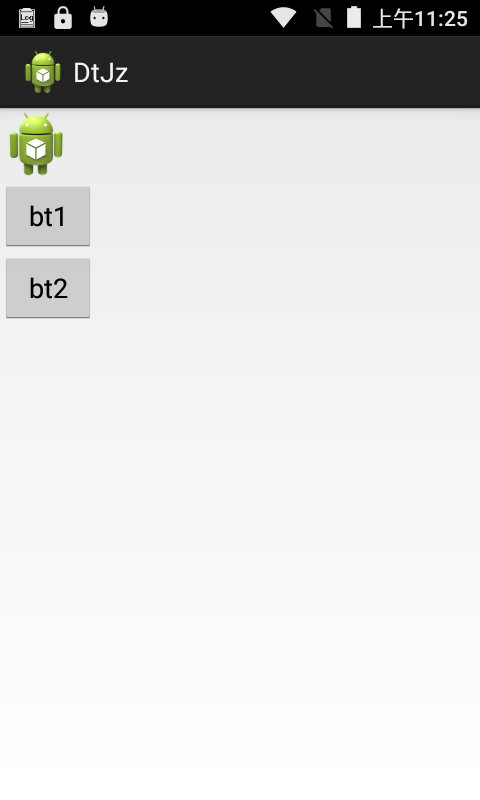

bt1是默认效果,但点击bt2时会去加载我们另一个app的资源 并显示出来
这个主要技术是如何加载别的app的资源
我们知道获取资源一般会用getResources()方法,
通过跟踪发现getResources()他是context.java的一个虚方法,所以我们要去找他的实现类
接触过源码的一定都知道context的实现类是ContextImpl.java
我们看她如何实现getResources()方法
    @Override
    public Resources getResources() {
        return mResources;
    }
mResources是这样定义的
private final Resources mResources;我们看下mResources是怎么赋值的,看ContextImpl.java的构造方法
private ContextImpl(ContextImpl container, ActivityThread mainThread,
            LoadedApk packageInfo, IBinder activityToken, UserHandle user, boolean restricted,
            Display display, Configuration overrideConfiguration) {
       ...
        mResourcesManager = ResourcesManager.getInstance();
       ...
        if (resources != null) {
            if (activityToken != null
                    || displayId != Display.DEFAULT_DISPLAY
                    || overrideConfiguration != null
                    || (compatInfo != null && compatInfo.applicationScale
                            != resources.getCompatibilityInfo().applicationScale)) {
                resources = mResourcesManager.getTopLevelResources(packageInfo.getResDir(),
                        packageInfo.getSplitResDirs(), packageInfo.getOverlayDirs(),
                        packageInfo.getApplicationInfo().sharedLibraryFiles, displayId,
                        overrideConfiguration, compatInfo, activityToken);
            }
        }
        mResources = resources;
        ....
     }
它会调用getTopLevelResources(packageInfo.getResDir(),….)
这里可以看到传入了一个packageInfo.getResDir(),
看下getTopLevelResources
     public Resources getTopLevelResources(String resDir, String[] splitResDirs,
            String[] overlayDirs, String[] libDirs, int displayId,
            Configuration overrideConfiguration, CompatibilityInfo compatInfo, IBinder token) {
        final float scale = compatInfo.applicationScale;
        ResourcesKey key = new ResourcesKey(resDir, displayId, overrideConfiguration, scale, token);
        Resources r;
        synchronized (this) {
            // Resources is app scale dependent.
            if (false) {
                Slog.w(TAG, "getTopLevelResources: " + resDir + " / " + scale);
            }
            WeakReference<Resources> wr = mActiveResources.get(key);
            r = wr != null ? wr.get() : null;
            //if (r != null) Slog.i(TAG, "isUpToDate " + resDir + ": " + r.getAssets().isUpToDate());
            if (r != null && r.getAssets().isUpToDate()) {
                if (false) {
                    Slog.w(TAG, "Returning cached resources " + r + " " + resDir
                            + ": appScale=" + r.getCompatibilityInfo().applicationScale);
                }
                return r;
            }
        }
        AssetManager assets = new AssetManager();
        // resDir can be null if the 'android' package is creating a new Resources object.
        // This is fine, since each AssetManager automatically loads the 'android' package
        // already.
        if (resDir != null) {
            if (assets.addAssetPath(resDir) == 0) {
                return null;
            }
        }

      ...
      r = new Resources(assets, dm, config, compatInfo, token);
      ...
    }
发现这里用了弱引用的技术如果r在缓存中存在就直接放回,不存在就调用new Resources(assets, dm, config, compatInfo, token);新建
这里主要关注获取资源的方法 很明显就是assets.addAssetPath(resDir) 这个了。
继续跟的话 会发现
 public final int addAssetPath(String path) {
        synchronized (this) {
            int res = addAssetPathNative(path);
            makeStringBlocks(mStringBlocks);

            return res;
        }
    }
    private native final int addAssetPathNative(String path);
要调到native了 我们跟到这里就可以知道为什么用getResources()获取的是自己app的资源文件 因为这里传的是packageInfo.getResDir(),这是我们自己apk的的路径。
所以要获取别的apk的资源 ,我们可以在我们的app里面调用这个方法传入想要获取的apk路径,就可以获取别的apk资源,
想法是好的,但是我们会发现
不管AssetManager 还是addAssetPath
 /**
     ...
     * {@hide}
     */
     public AssetManager() {
      ...
    }
     /**
   ...
     * {@hide}
     */
    public final int addAssetPath(String path) {
       ...
    }
尼玛都是隐藏的,不让我们用,
但是万能的程序员什么不能搞定,所以这里我们用万能的反射搞定这个问题,别的就很简单了。
下面看下 主要用到的方法:
String dexpath= "";
    try {
        dexpath = getPackageManager().getApplicationInfo("com.lly.plugin", 0).sourceDir;
        Toast.makeText(this, dexpath, Toast.LENGTH_SHORT).show();
    } catch (NameNotFoundException e) {
        // TODO Auto-generated catch block
        e.printStackTrace();
}首先通过getPackageManager().getApplicationInfo("com.lly.plugin", 0).sourceDir 获取我们所需的资源apk的apk路径
private void loadRes(String path) {
        try {
            am = AssetManager.class.newInstance();
            Method addAssPath = AssetManager.class.getMethod("addAssetPath", String.class);
            addAssPath.invoke(am, path);
        } catch (Exception e) {
            e.printStackTrace();
        }
        rs = new Resources(am, super.getResources().getDisplayMetrics(), super.getResources().getConfiguration());
}通过AssetManager.class.newInstance(); 我们可以得到AssetManager实例
通过AssetManager.class.getMethod(“addAssetPath”, String.class); 我们可以得到addAssetPath方法,
然后调用addAssPath.invoke(am, path);把需要的apk路径传进去
最后new Resources(am, super.getResources().getDisplayMetrics(), super.getResources().getConfiguration());
new一个Resources类,这里我们就已经获取了需要的apk的资源了,
整个MainActivity.java如下
package com.lly.dtjz;

import java.lang.reflect.Method;
import java.util.ResourceBundle;

import dalvik.system.DexClassLoader;

import android.app.Activity;
import android.content.pm.PackageManager.NameNotFoundException;
import android.content.res.AssetManager;
import android.content.res.Resources;
import android.os.Bundle;
import android.view.View;
import android.view.View.OnClickListener;
import android.widget.Button;
import android.widget.ImageView;
import android.widget.Toast;


public class MainActivity extends Activity implements OnClickListener {

    ImageView iv;
    Button bt1,bt2;
    private Resources rs;
    private AssetManager am;

    @Override
    protected void onCreate(Bundle savedInstanceState) {
        super.onCreate(savedInstanceState);
        setContentView(R.layout.activity_main);
        iv = (ImageView) findViewById(R.id.img);
        bt1 = (Button) findViewById(R.id.bt1);
        bt2 = (Button) findViewById(R.id.bt2);
        bt1.setOnClickListener(this);
        bt2.setOnClickListener(this);
    }
    @Override
    public void onClick(View v) {

        switch(v.getId()){

        case R.id.bt1:
            am =null;
            rs = null;
            iv.setImageDrawable(getResources().getDrawable(R.drawable.ic_launcher, null));
            break;
        case R.id.bt2:
            String dexpath= "";
            try {
                dexpath = getPackageManager().getApplicationInfo("com.lly.plugin", 0).sourceDir;
                Toast.makeText(this, dexpath, Toast.LENGTH_SHORT).show();
            } catch (NameNotFoundException e) {
                // TODO Auto-generated catch block
                e.printStackTrace();
            }
            loadRes(dexpath);
            setImage(dexpath);
            break;

        }

    }
    private void loadRes(String path) {
        try {
            am = AssetManager.class.newInstance();
            Method addAssPath = AssetManager.class.getMethod("addAssetPath", String.class);
            addAssPath.invoke(am, path);
        } catch (Exception e) {
            e.printStackTrace();
        }
        rs = new Resources(am, super.getResources().getDisplayMetrics(), super.getResources().getConfiguration());
    }

    public Resources getResourcs(){
        return rs == null ? super.getResources():rs;

    }

    public AssetManager getAssets(){
        return am == null ? super.getAssets():am;
    }
    private void setImage(String dexpath){
        DexClassLoader loader = new DexClassLoader(dexpath, getApplicationInfo().dataDir, null, this.getClass().getClassLoader());
        try {
            Class<?> clazz = loader.loadClass("com.lly.plugin.MainActivity");
            Method getImageId = clazz.getMethod("getImageId");
            int ic_launcher = (Integer) getImageId.invoke(clazz);
            iv.setImageDrawable(getResourcs().getDrawable(ic_launcher));
        } catch (Exception e) {
            // TODO Auto-generated catch block
            e.printStackTrace();
        }
    }


}
plugin 里面主要就是个getImageId方法 另外加个资源图片 为我们宿主apk服务的
public class MainActivity extends Activity {

    @Override
    protected void onCreate(Bundle savedInstanceState) {
        super.onCreate(savedInstanceState);
    }

    public static int getImageId(){
        return R.drawable.icon_flaying_favorite;
    }
}
demo源码地址
资源apk比较简单 就不传了。


 5万+
5万+

 被折叠的 条评论
为什么被折叠?
被折叠的 条评论
为什么被折叠?
 到【灌水乐园】发言


