


因为要用OpenCV3.1的dnn 它训练部分要用到caffe 所以简单用一下 http://blog.csdn.net/ycheng_sjtu/article/details/39693655?utm_source=tuicool&utm_medium=referral
http://www.2cto.com/kf/201605/505639.html
一、CUDA
1、首先在CUDA官网下载CUDA7.5 https://developer.nvidia.com/cuda-downloads然后按照 http://www.2cto.com/kf/201605/505639.html和http://wenku.baidu.com/link?url=iDoyy01I7Q-4D6GJQZjocilfYIbwPdbr3n3fgH4QXdpFjtkEBM6DiiJbDhpInrl7MpuOV7D1LWAWZofmICVxvT_p5dTmiDvngT7oS_Z_9_a进行安装


2、点击 开始-----所有程序-------DVIDIA Corporation-----GeFroce Experience


二、caffe
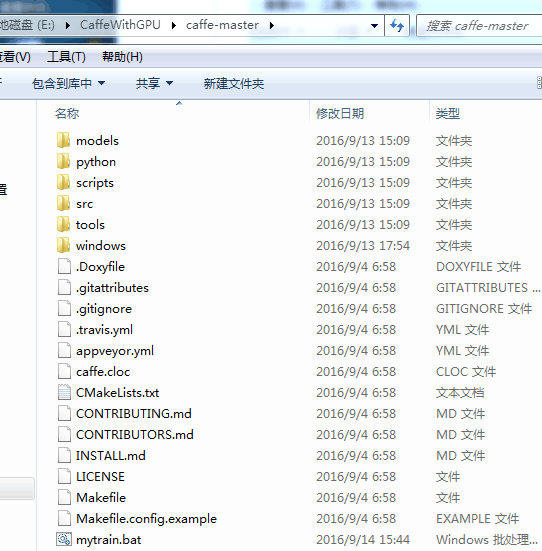
1、下载caffe和第三方库http://www.unjeep.com/q/288291084.htm并解压
2、在编译时候遇到问题http://www.2cto.com/kf/201605/505639.html如其所说打开加载失败


3、修改目录 按照http://blog.csdn.net/tjusxh/article/details/48463409和http://www.2cto.com/kf/201605/505639.html斟酌


///
重新配置按照http://blog.csdn.net/zb1165048017/article/details/51355143的进行


//
最后运行一个实例http://blog.csdn.net/zb1165048017/article/details/51476516因为我用caffe就是训练出模型和配置文件 然后opencv3.1的dnn中调用。结果证明正确!!!!!!!!!!!!!!!!!!!!!大功初步告成!仰天大笑200次哈哈哈!!!!!!!!!


///
现在是北京时间下午四点四十几


/
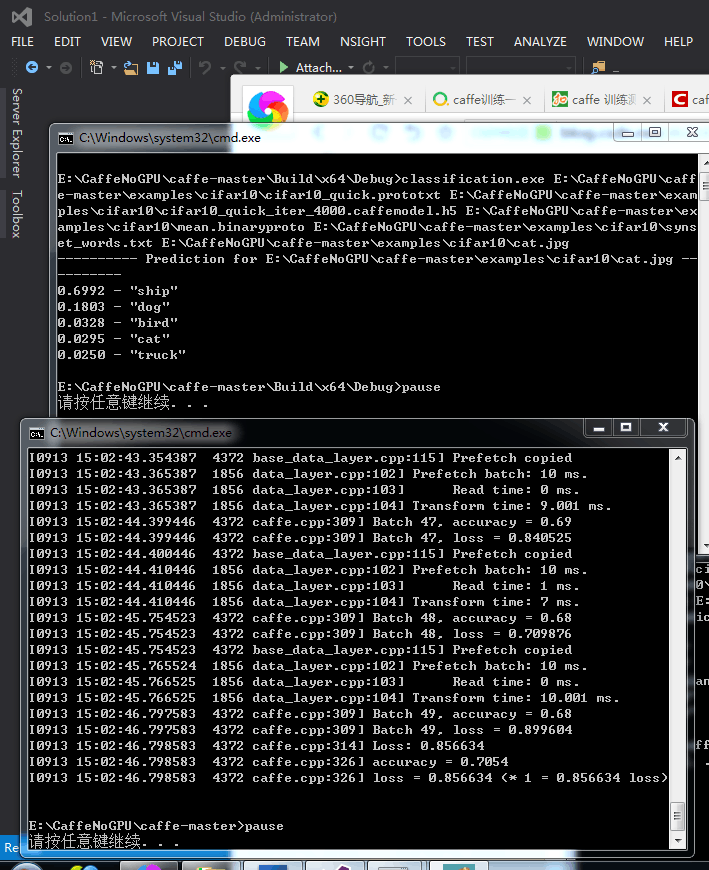
继续按照他的 http://blog.csdn.net/zb1165048017/article/category/6369975 生成model后使用 来进行分类 计算准确率:
想用caffe训练我自己的特征矩阵而非图像 另外标签是2类一个行向量 特征矩阵是nXdim 要把特征矩阵转为leveldb格式 就像上面的例子把cifar图像集转成leveldb格式一样 生成的训练数据和测试数据 推荐几个网址 看我自己能用来做自己的数据不http://www.bubuko.com/infodetail-1418684.html http://stackoverflow.com/questions/32707393/whats-caffes-input-format https://github.com/BVLC/caffe/issues/745 http://deepdish.io/2015/04/28/creating-lmdb-in-python/
另外看下参数意义:

///
另外装了下Python 单独装的 不是和opencv装的 按照《机器学习实战》附录A的步骤 

//
话说opencv的深度神经网络dnn真的好麻烦啊 !!!心都累了!!!训练部分要用caffe ---然后caffe又要依赖CUDA+Python还有Boost之类的-------测试完了这每一个运行自己的特征矩阵时候-----还得把自己的特征矩阵用Python转成leveldb--------心都醉醉的了---------
/
话说我的caffe虽然已经配置好了 可是是配置的无GPU版本的-----估计还是得配置GPU版本的好些-------------
/
推荐关于caffe的博客:
http://blog.csdn.net/ycheng_sjtu/article/details/39693655
http://blog.csdn.net/zb1165048017/article/details/51476516
http://deepdish.io/2015/04/28/creating-lmdb-in-python/
http://www.zhihu.com/question/39110335
http://research.beenfrog.com/code/2015/12/30/write-read-lmdb-example.html
http://www.bubuko.com/infodetail-1418684.html
http://blog.csdn.net/happynear/article/details/45372231
http://blog.csdn.net/tjusxh/article/details/48463409
http://www.2cto.com/kf/201605/505639.html
http://download.csdn.net/detail/sisansiy/9376266
http://www.fromwww.net/40579.html
http://www.cnblogs.com/anmengcv/p/5368235.html
//
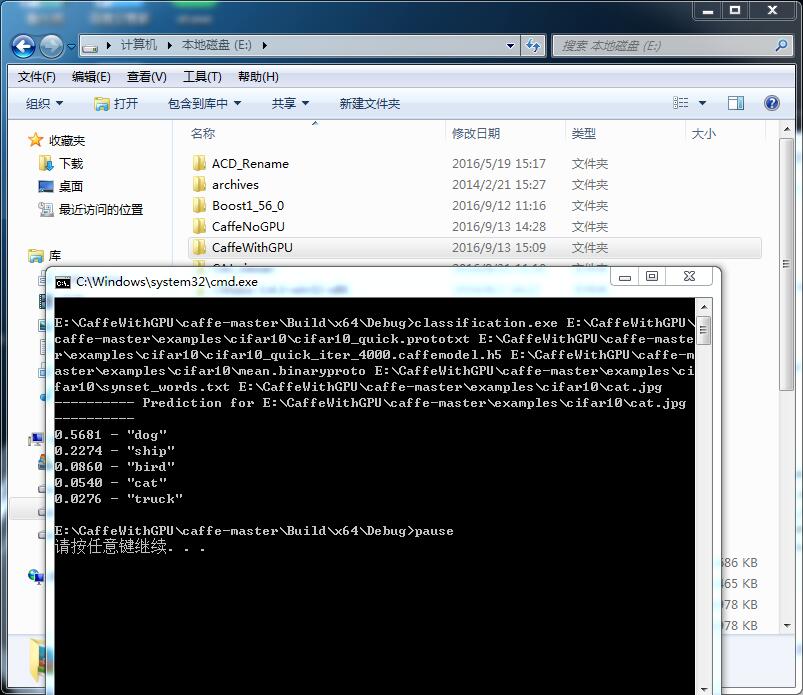
欧耶!我今天终于配置了GPU+caffe版本 哈哈 速度真是快cifar 只训练了几分钟 感觉!
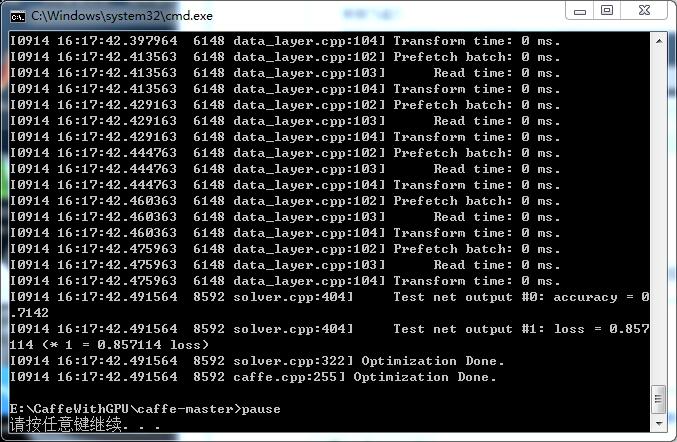
快到飞起!
http://blog.csdn.net/zb1165048017/article/details/51549105他的配置教程写得很好!
//
用caffe训练自己的图片出模型测试自己的图片 还是按照他的教程http://blog.csdn.net/zb1165048017/article/details/52447567#comments
一、转换成leveldb或lmdb
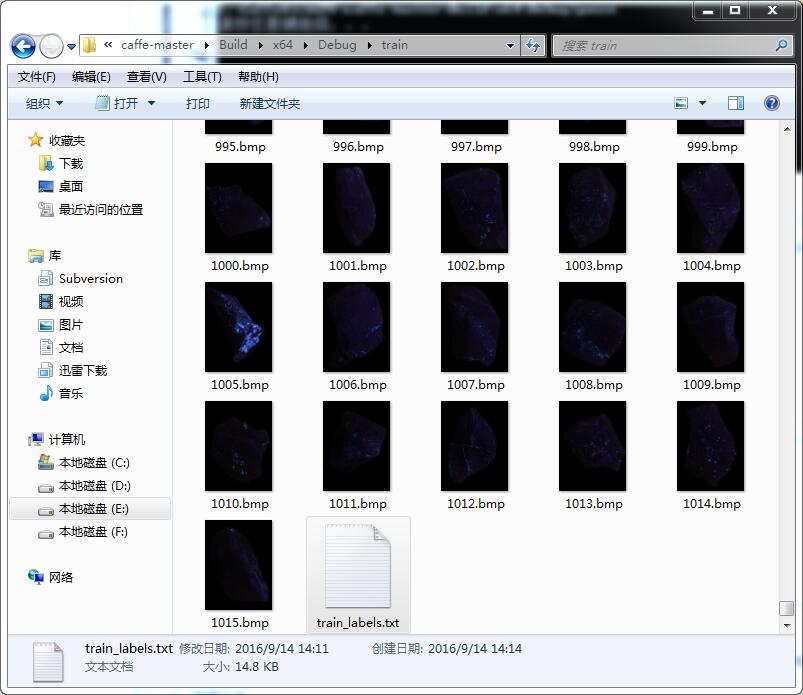
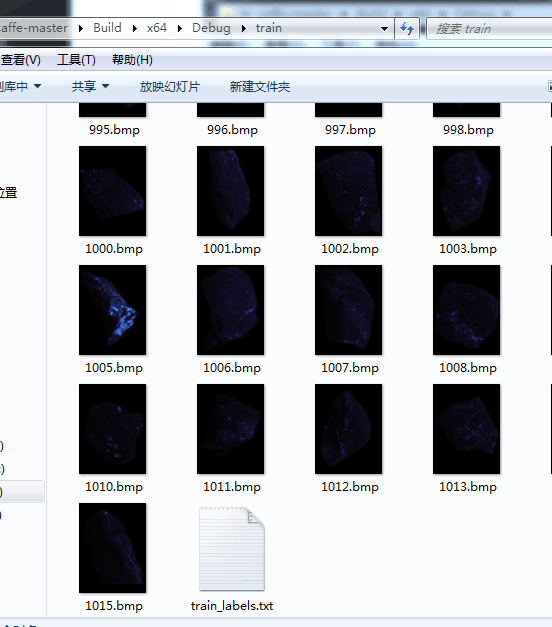
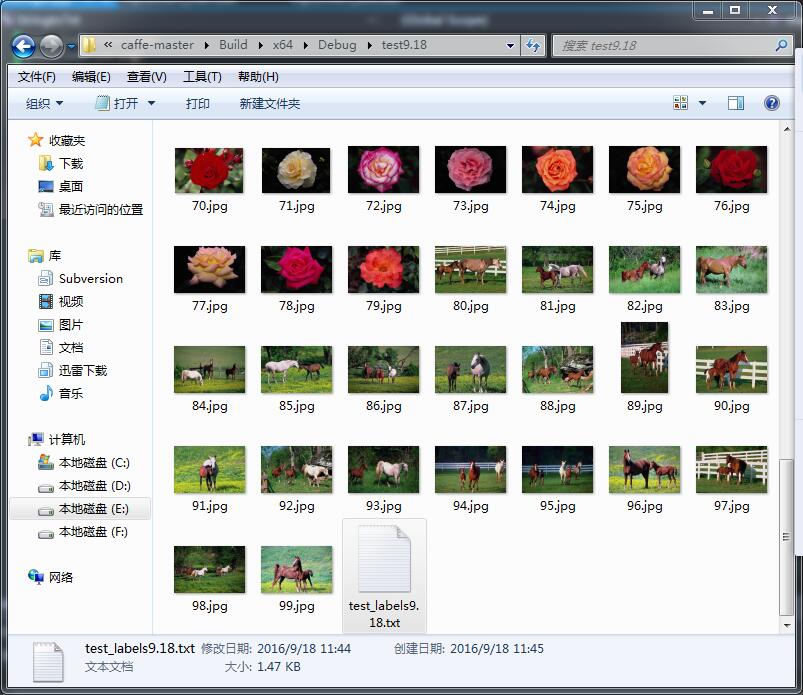
首先创建train文件夹 放图片和label.txt:
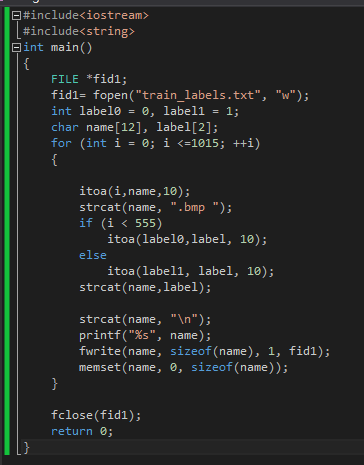

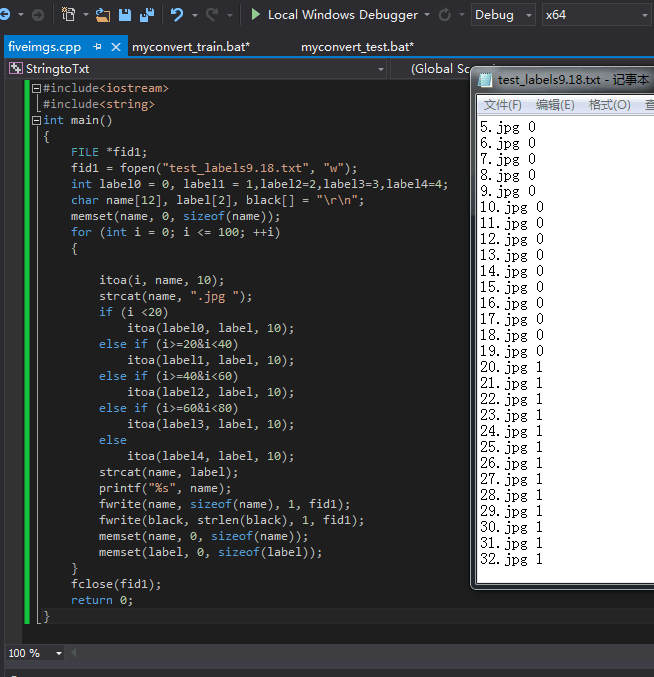
#include<iostream>
#include<string>
int main()
{
FILE *fid1;
fid1 = fopen("train_labels.txt", "w");
int label0 = 0, label1 = 1;
char name[12], label[2],black[]="\r\n";
memset(name, 0, sizeof(name));
for (int i = 0; i <= 1015; ++i)
{
itoa(i, name, 10);
strcat(name, ".bmp ");
if (i < 555)
itoa(label0, label, 10);
else
itoa(label1, label, 10);
strcat(name, label);
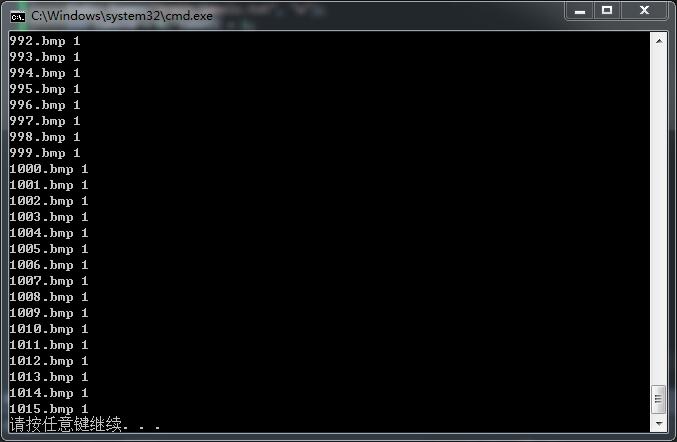
printf("%s", name);
fwrite(name, sizeof(name), 1, fid1);
fwrite(black, strlen(black), 1, fid1);
memset(name, 0, sizeof(name));
memset(label, 0, sizeof(label));
}
fclose(fid1);
return 0;
}结果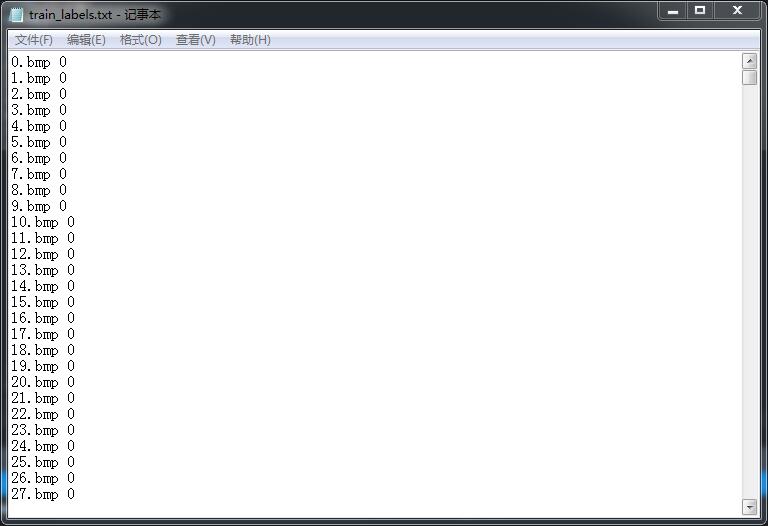
把这个生成的txt放到train文件夹里:
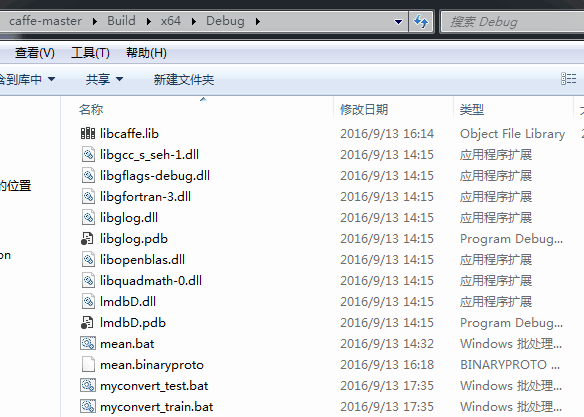
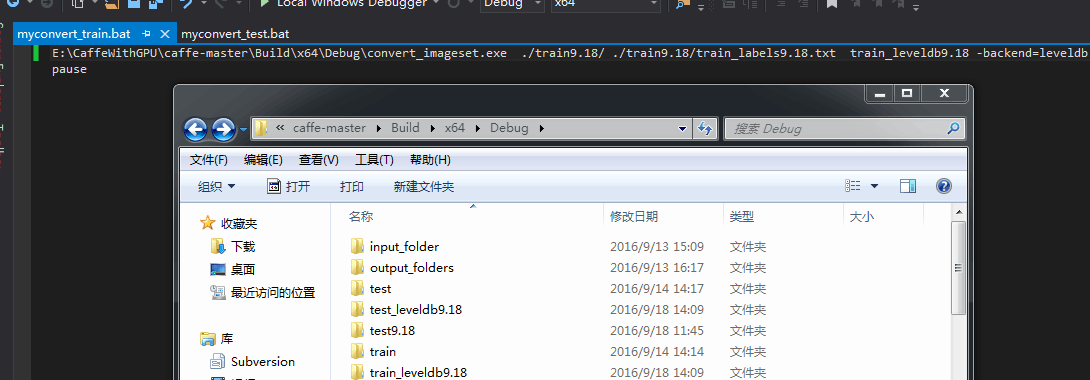
接下来按照这个教程所说 建立convert.bat 并运行:
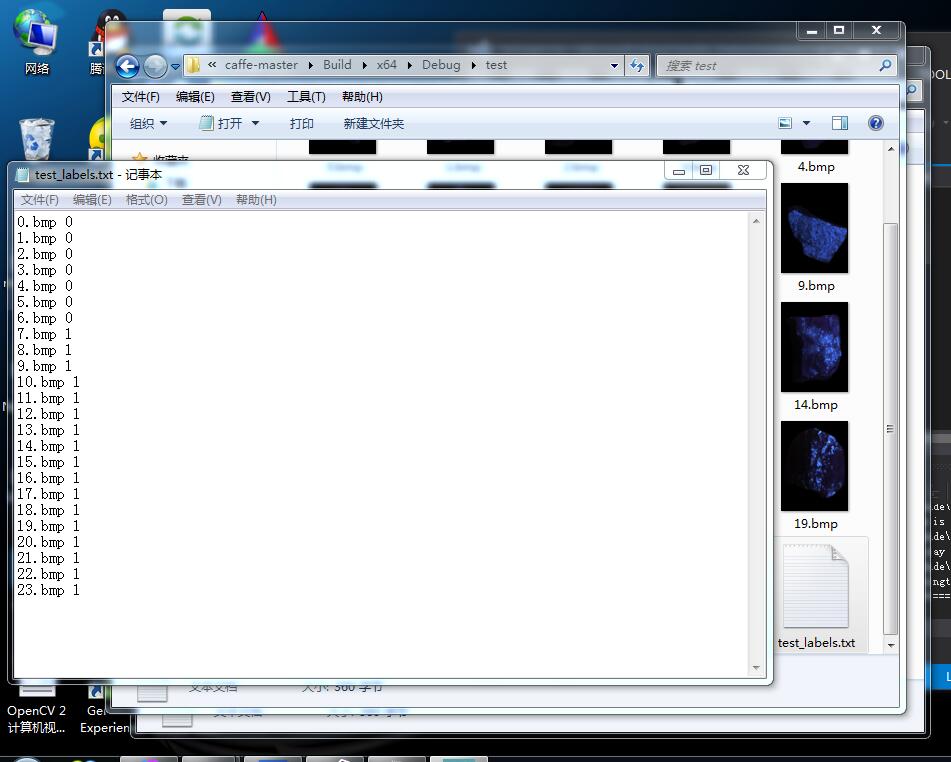
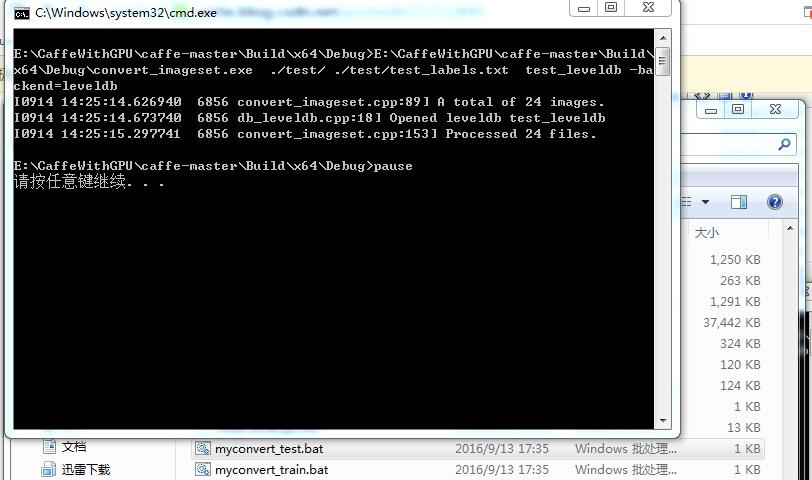
然后运行test的convert.bat:
二、训练模型
根据http://www.mamicode.com/info-detail-1080218.html第二步 CNN网络配置文件

我按照http://www.mamicode.com/info-detail-1080218.html http://blog.csdn.net/zb1165048017/article/details/51770333改成:
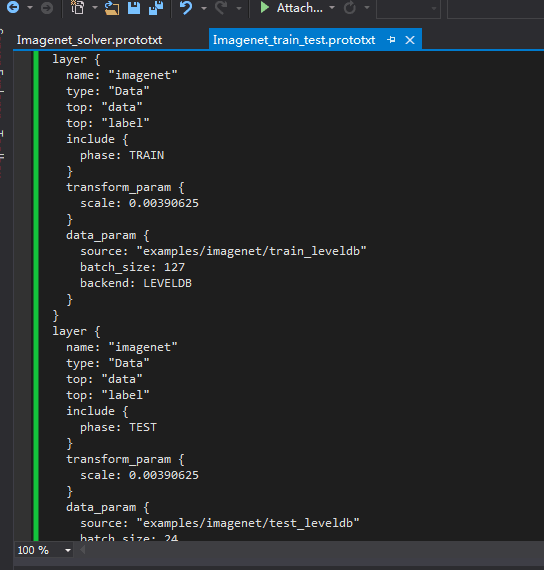
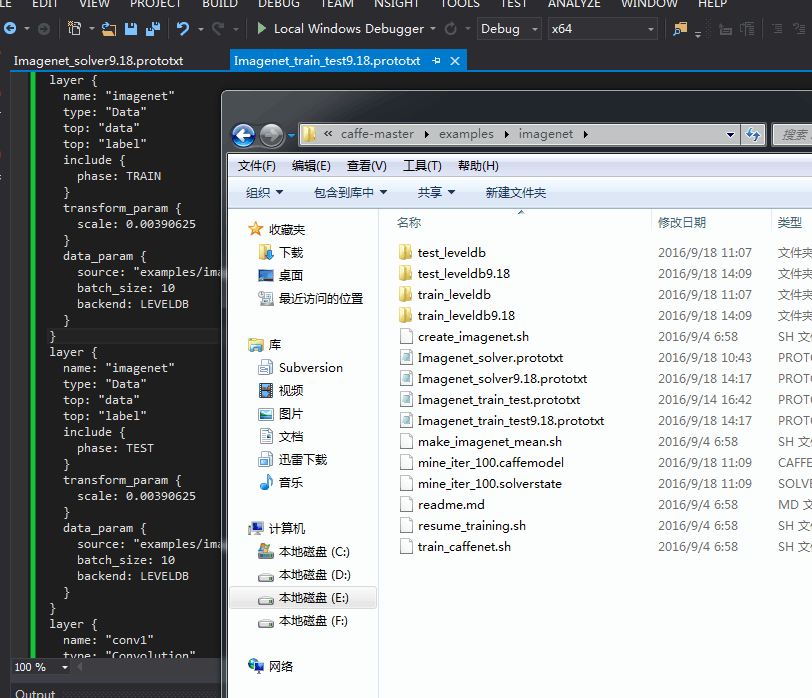
即层属性的参数设置文件Imagenet_trian_test.prototxt为:
layer {
  name: "imagenet"
  type: "Data"
  top: "data"
  top: "label"
  include {
    phase: TRAIN
  }
  transform_param {
    scale: 0.00390625
  }
  data_param {
    source: "examples/imagenet/train_leveldb"
    batch_size: 127
    backend: LEVELDB
  }
}
layer {
  name: "imagenet"
  type: "Data"
  top: "data"
  top: "label"
  include {
    phase: TEST
  }
  transform_param {
    scale: 0.00390625
  }
  data_param {
    source: "examples/imagenet/test_leveldb"
    batch_size: 24
    backend: LEVELDB
  }
}
layer {
  name: "conv1"
  type: "Convolution"
  bottom: "data"
  top: "conv1"
  param {
    lr_mult: 1
  }
  param {
    lr_mult: 2
  }
  convolution_param {
    num_output: 32
    pad: 2
    kernel_size: 5
    stride: 1
    weight_filler {
      type: "gaussian"
      std: 0.0001
    }
    bias_filler {
      type: "constant"
    }
  }
}
layer {
  name: "pool1"
  type: "Pooling"
  bottom: "conv1"
  top: "pool1"
  pooling_param {
    pool: MAX
    kernel_size: 3
    stride: 2
  }
}
layer {
  name: "relu1"
  type: "ReLU"
  bottom: "pool1"
  top: "pool1"
}
layer {
  name: "conv2"
  type: "Convolution"
  bottom: "pool1"
  top: "conv2"
  param {
    lr_mult: 1
  }
  param {
    lr_mult: 2
  }
  convolution_param {
    num_output: 32
    pad: 2
    kernel_size: 5
    stride: 1
    weight_filler {
      type: "gaussian"
      std: 0.01
    }
    bias_filler {
      type: "constant"
    }
  }
}
layer {
  name: "relu2"
  type: "ReLU"
  bottom: "conv2"
  top: "conv2"
}
layer {
  name: "pool2"
  type: "Pooling"
  bottom: "conv2"
  top: "pool2"
  pooling_param {
    pool: AVE
    kernel_size: 3
    stride: 2
  }
}
layer {
  name: "conv3"
  type: "Convolution"
  bottom: "pool2"
  top: "conv3"
  param {
    lr_mult: 1
  }
  param {
    lr_mult: 2
  }
  convolution_param {
    num_output: 64
    pad: 2
    kernel_size: 5
    stride: 1
    weight_filler {
      type: "gaussian"
      std: 0.01
    }
    bias_filler {
      type: "constant"
    }
  }
}
layer {
  name: "relu3"
  type: "ReLU"
  bottom: "conv3"
  top: "conv3"
}
layer {
  name: "pool3"
  type: "Pooling"
  bottom: "conv3"
  top: "pool3"
  pooling_param {
    pool: AVE
    kernel_size: 3
    stride: 2
  }
}
layer {
  name: "ip1"
  type: "InnerProduct"
  bottom: "pool3"
  top: "ip1"
  param {
    lr_mult: 1
  }
  param {
    lr_mult: 2
  }
  inner_product_param {
    num_output: 64
    weight_filler {
      type: "gaussian"
      std: 0.1
    }
    bias_filler {
      type: "constant"
    }
  }
}
layer {
  name: "ip2"
  type: "InnerProduct"
  bottom: "ip1"
  top: "ip2"
  param {
    lr_mult: 1
  }
  param {
    lr_mult: 2
  }
  inner_product_param {
    num_output: 2
    weight_filler {
      type: "gaussian"
      std: 0.1
    }
    bias_filler {
      type: "constant"
    }
  }
}
layer {
  name: "accuracy"
  type: "Accuracy"
  bottom: "ip2"
  bottom: "label"
  top: "accuracy"
  include {
    phase: TEST
  }
}
layer {
  name: "loss"
  type: "SoftmaxWithLoss"
  bottom: "ip2"
  bottom: "label"
  top: "loss"
}
net: "examples/imagenet/Imagenet_train_test.prototxt"
test_iter: 24
test_interval: 500
base_lr: 0.01
momentum: 0.9
weight_decay: 0.0005
lr_policy: "inv"
gamma: 0.0001
power: 0.75
display: 100
max_iter: 10000
snapshot: 5000
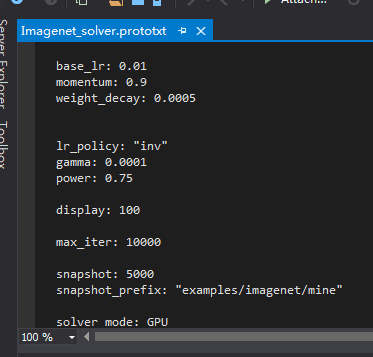
snapshot_prefix: "examples/imagenet/mine"
solver_mode: GPU
层和参数属性设置好后 创建train.bat文件:
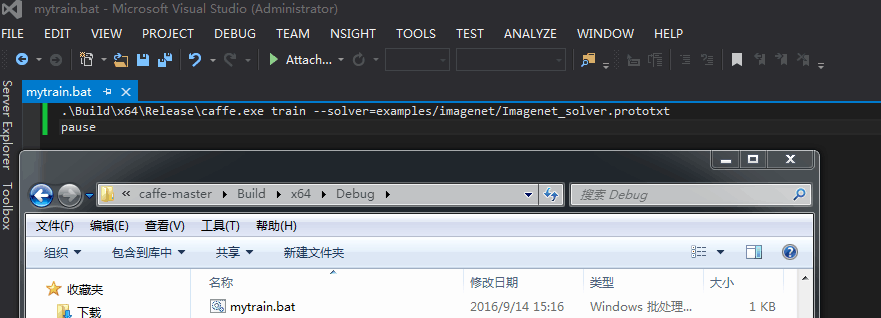
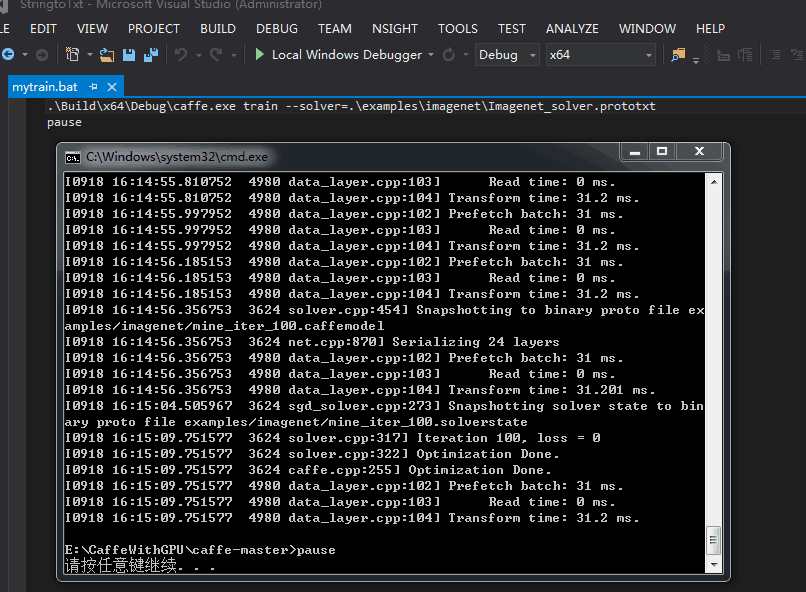
哦我看到我写错了mytrain.bat 里 Debug写成了Release:
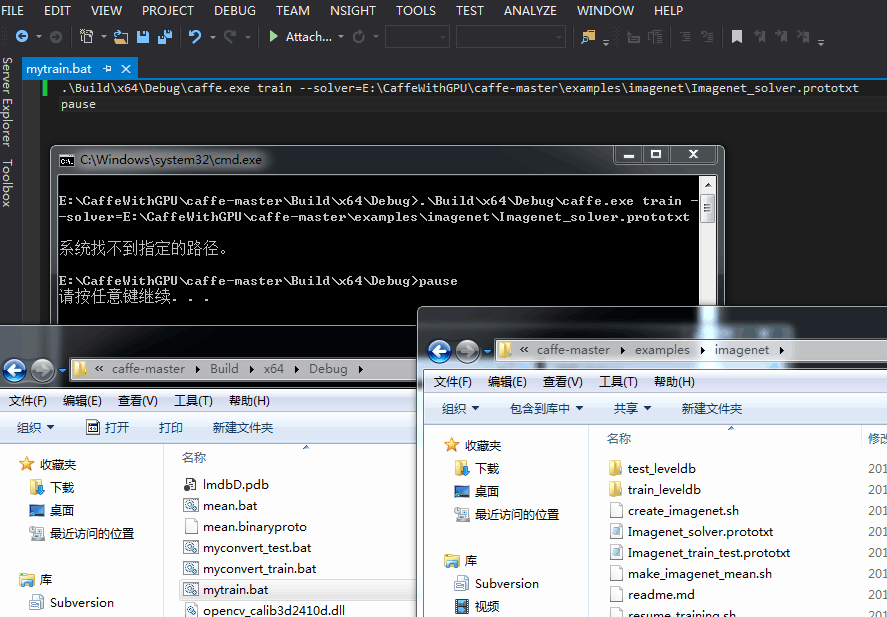
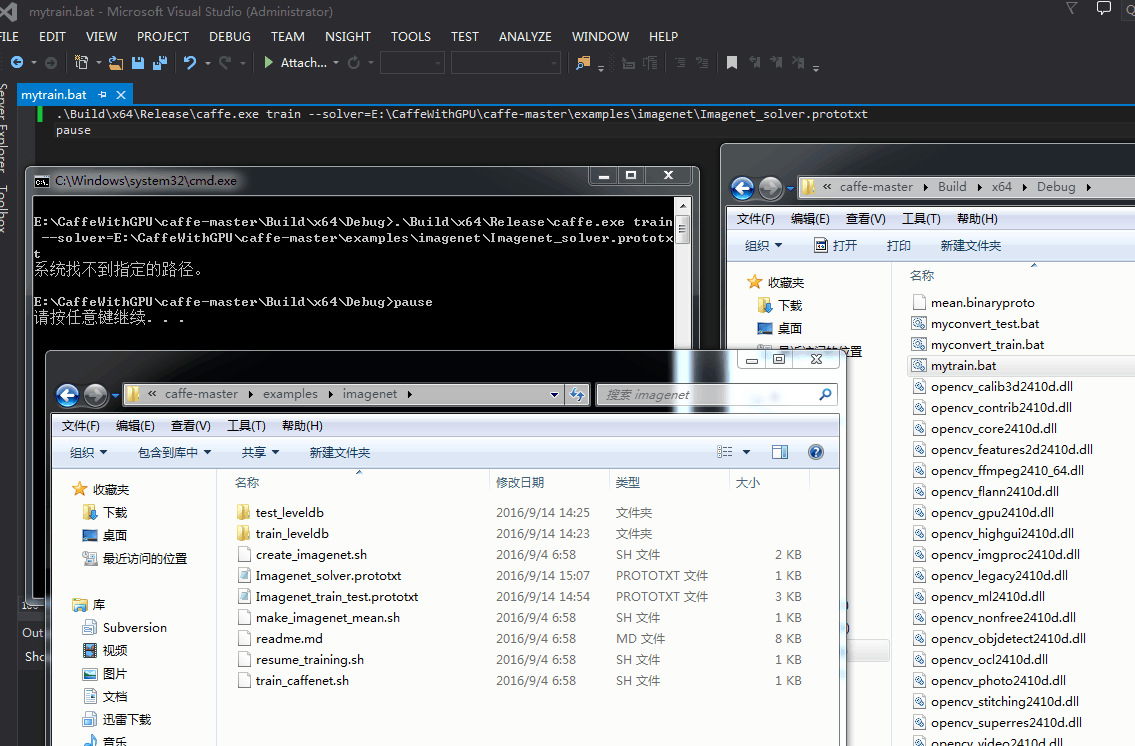
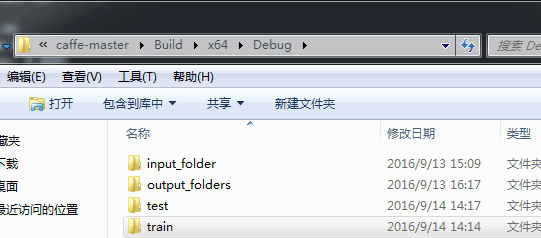
自己试了下 放到caffe-master根目录下:

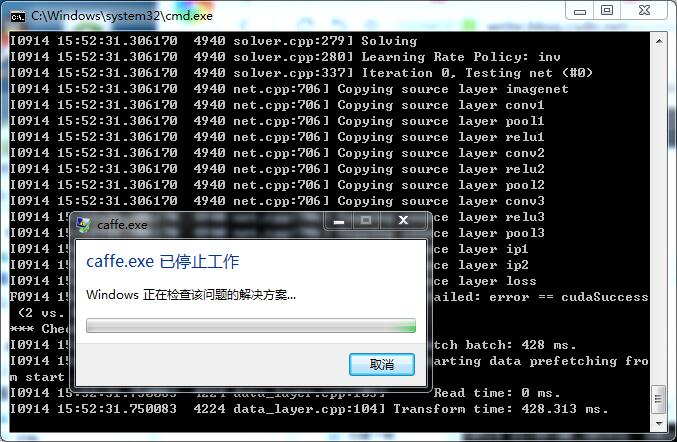
因为我是1016张train图片 所以改小batchsize成了8 然后还是错误:
最后 按照http://blog.csdn.net/zb1165048017/article/details/52447567的建议 改成了:
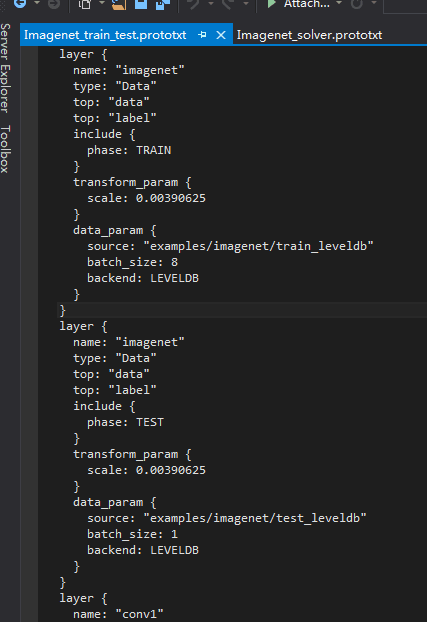
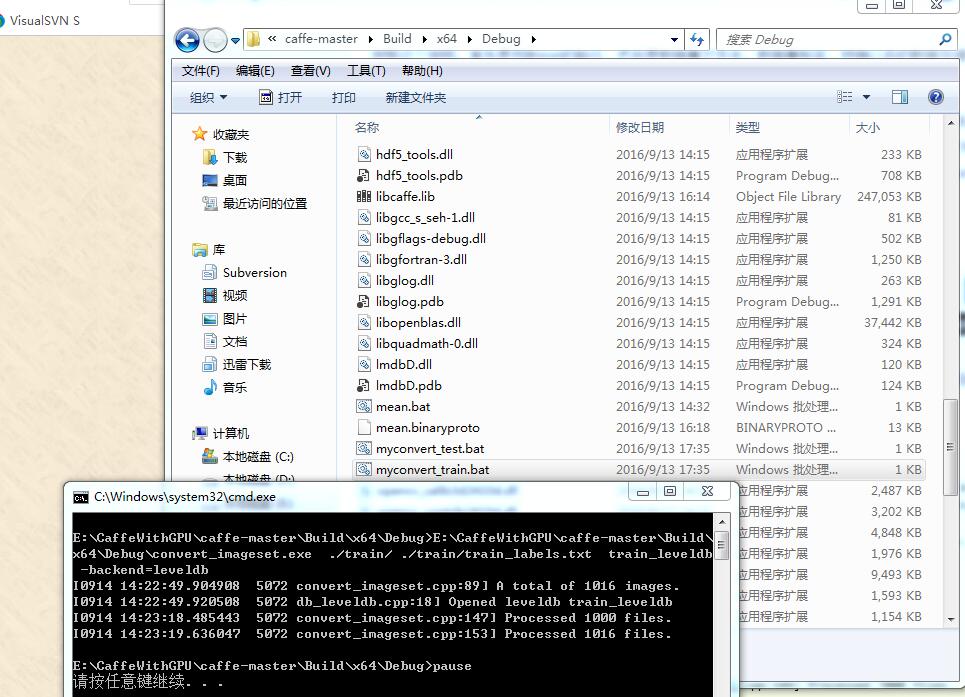
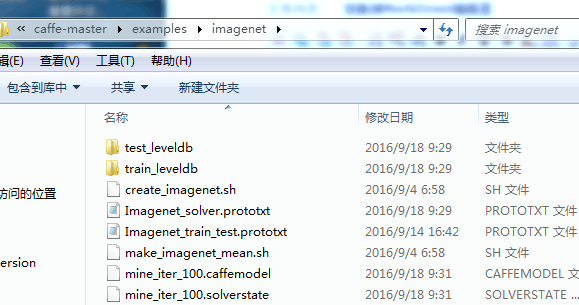
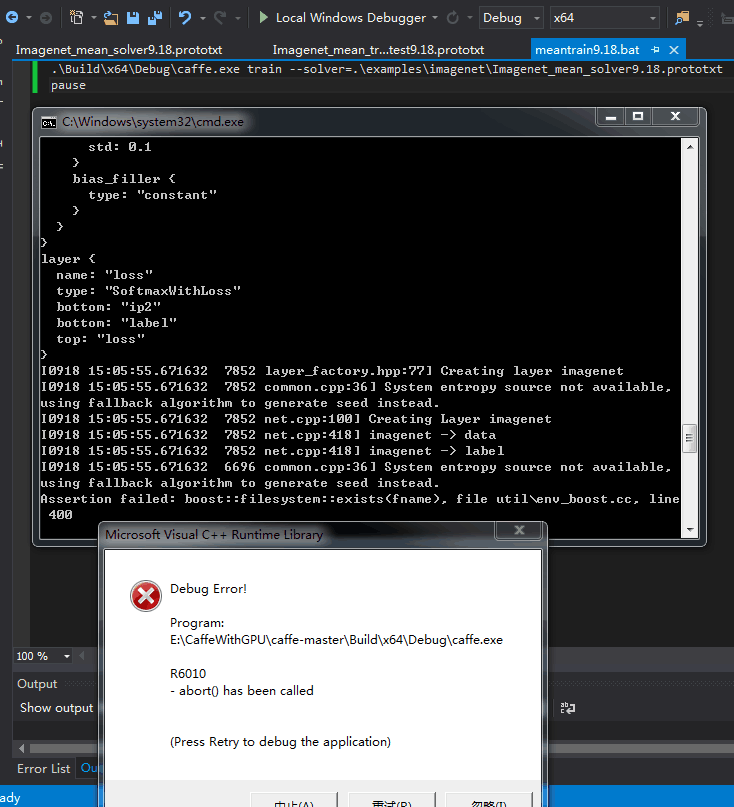
两个prototxt文件改成了上面这样。因为我的图片都是400X533大小的 所以建议batchsize改小了。然后运行mytrain.bat后:
另外经别人解释 也知道了caffe与opencv3.1的dnn模块是什么关系了 之前看dnn的例子 只知道它只是一个利用caffe的结果进行测试的一个例子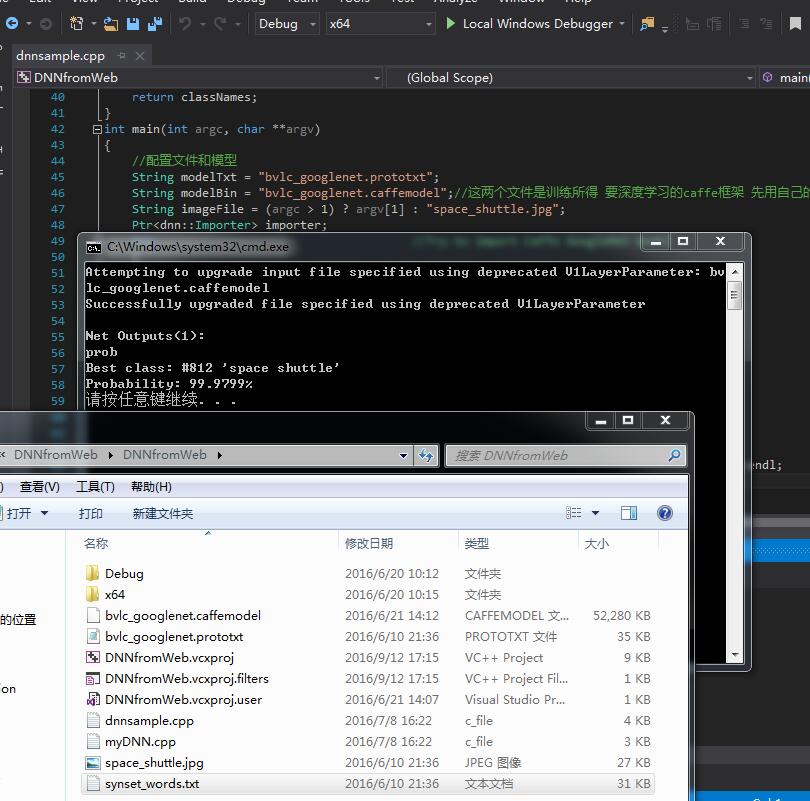
话说刚刚把生成的2个文件删掉 重新训练 我看了下 只需要3分钟 但对于1040张还是太久了 应该是还得改参数和层 不够合理
//
总结下caffe训练自己的图片的流程:怕自己忘记
1、准备图片和标签
2、准备转换图片成leveldb或lmdb格式:

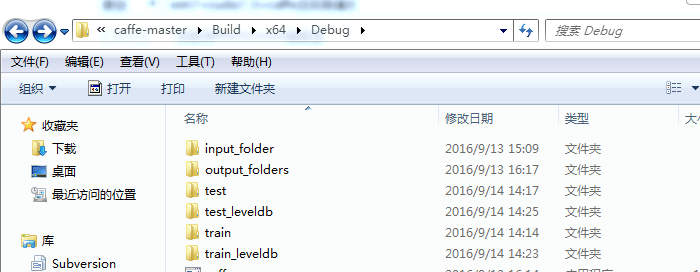
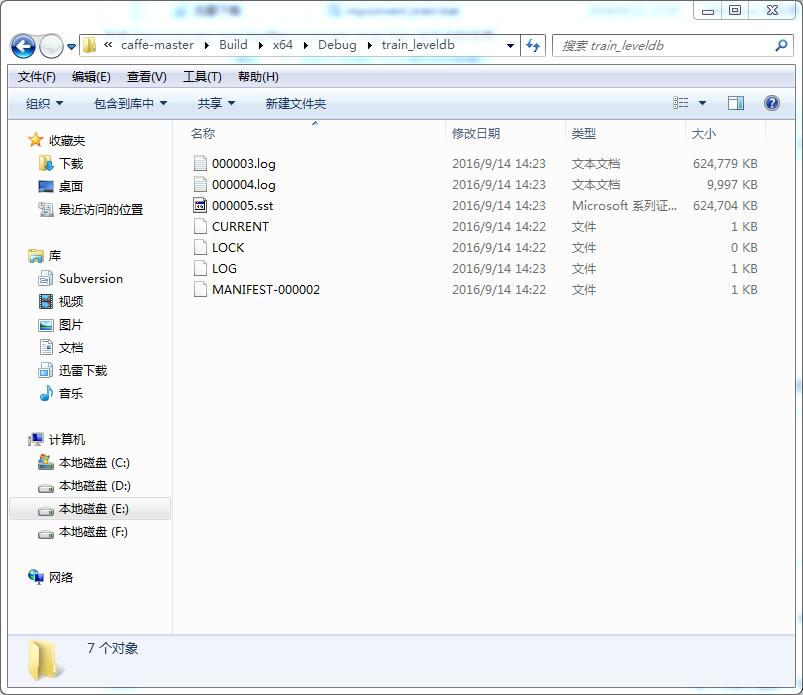
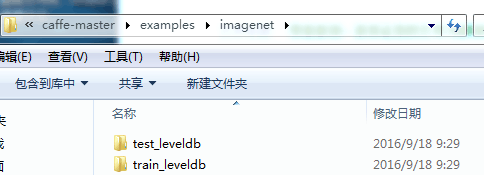
通过myconvert_train.bat和myconvert_test.bat生成所需格式的文件:即:
3、写设置层和属性参数prototxt 两个即可:
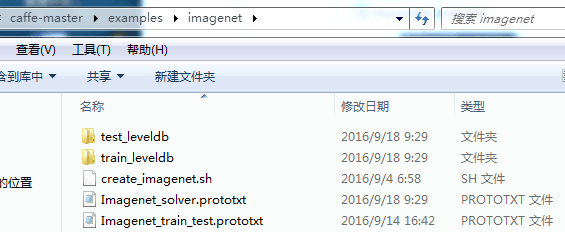
4、写训练文件train.bat并运行开始训练:
///
//上面是我没计算均值的例子
看到http://www.cnblogs.com/denny402/p/5083300.html 据说计算均值了准确率高 :
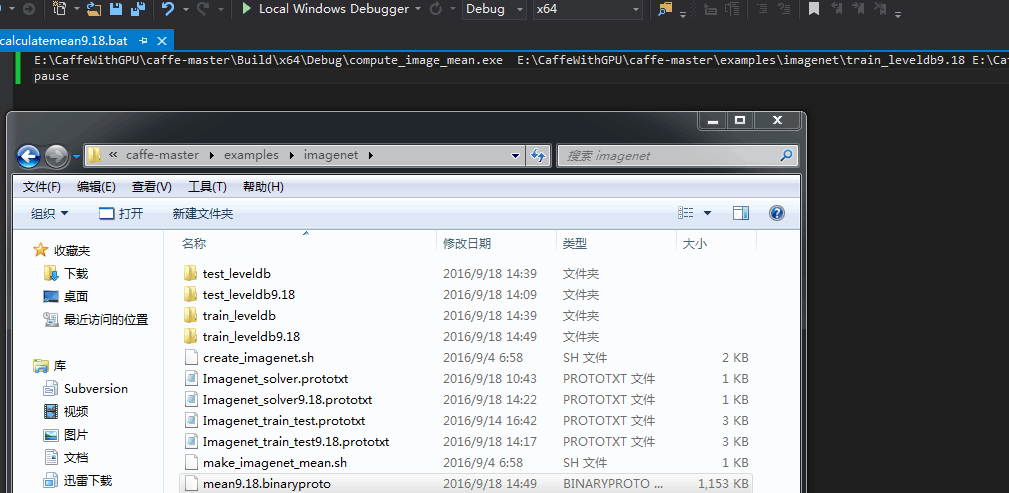
E:\CaffeWithGPU\caffe-master\Build\x64\Debug\compute_image_mean.exe  E:\CaffeWithGPU\caffe-master\examples\imagenet\train_leveldb E:\CaffeWithGPU\caffe-master\examples\imagenet\meanforme.binaryproto
pause 
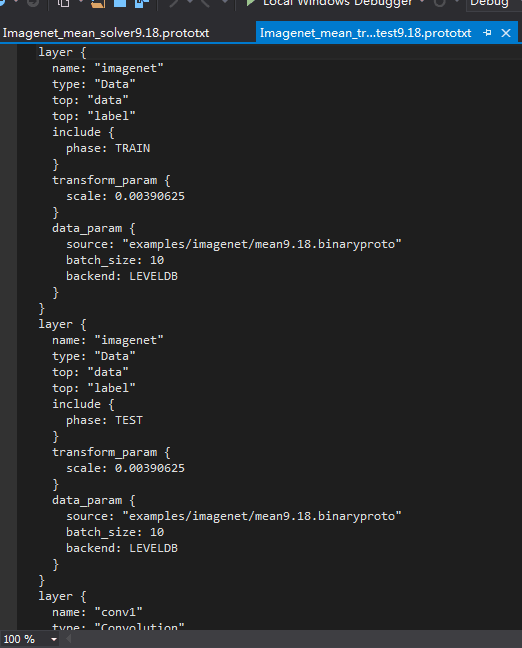
然后重写两个prototxt文件:依旧是分2类
name: "CaffeNet"
layer {
  name: "data"
  type: "Data"
  top: "data"
  top: "label"
  include {
    phase: TRAIN
  }
  transform_param {
    mirror: true
    crop_size: 227
    mean_file: "examples/imagenet/meanforme.binaryproto"
  }
  data_param {
    source: "examples/imagenet/train_leveldb"
    batch_size: 8
    backend: LEVELDB
  }
}
layer {
  name: "data"
  type: "Data"
  top: "data"
  top: "label"
  include {
    phase: TEST
  }
  transform_param {
    mirror: false
    crop_size: 227
    mean_file: "examples/imagenet/meanforme.binaryproto"
  }
  data_param {
    source: "examples/imagenet/test_leveldb"
    batch_size: 1
    backend: LEVELDB
  }
}
layer {
  name: "conv1"
  type: "Convolution"
  bottom: "data"
  top: "conv1"
  param {
    lr_mult: 1
    decay_mult: 1
  }
  param {
    lr_mult: 2
    decay_mult: 0
  }
  convolution_param {
    num_output: 96
    kernel_size: 11
    stride: 4
    weight_filler {
      type: "gaussian"
      std: 0.01
    }
    bias_filler {
      type: "constant"
      value: 0
    }
  }
}
layer {
  name: "relu1"
  type: "ReLU"
  bottom: "conv1"
  top: "conv1"
}
layer {
  name: "pool1"
  type: "Pooling"
  bottom: "conv1"
  top: "pool1"
  pooling_param {
    pool: MAX
    kernel_size: 3
    stride: 2
  }
}
layer {
  name: "norm1"
  type: "LRN"
  bottom: "pool1"
  top: "norm1"
  lrn_param {
    local_size: 5
    alpha: 0.0001
    beta: 0.75
  }
}
layer {
  name: "conv2"
  type: "Convolution"
  bottom: "norm1"
  top: "conv2"
  param {
    lr_mult: 1
    decay_mult: 1
  }
  param {
    lr_mult: 2
    decay_mult: 0
  }
  convolution_param {
    num_output: 256
    pad: 2
    kernel_size: 5
    group: 2
    weight_filler {
      type: "gaussian"
      std: 0.01
    }
    bias_filler {
      type: "constant"
      value: 1
    }
  }
}
layer {
  name: "relu2"
  type: "ReLU"
  bottom: "conv2"
  top: "conv2"
}
layer {
  name: "pool2"
  type: "Pooling"
  bottom: "conv2"
  top: "pool2"
  pooling_param {
    pool: MAX
    kernel_size: 3
    stride: 2
  }
}
layer {
  name: "norm2"
  type: "LRN"
  bottom: "pool2"
  top: "norm2"
  lrn_param {
    local_size: 5
    alpha: 0.0001
    beta: 0.75
  }
}
layer {
  name: "conv3"
  type: "Convolution"
  bottom: "norm2"
  top: "conv3"
  param {
    lr_mult: 1
    decay_mult: 1
  }
  param {
    lr_mult: 2
    decay_mult: 0
  }
  convolution_param {
    num_output: 384
    pad: 1
    kernel_size: 3
    weight_filler {
      type: "gaussian"
      std: 0.01
    }
    bias_filler {
      type: "constant"
      value: 0
    }
  }
}
layer {
  name: "relu3"
  type: "ReLU"
  bottom: "conv3"
  top: "conv3"
}
layer {
  name: "conv4"
  type: "Convolution"
  bottom: "conv3"
  top: "conv4"
  param {
    lr_mult: 1
    decay_mult: 1
  }
  param {
    lr_mult: 2
    decay_mult: 0
  }
  convolution_param {
    num_output: 384
    pad: 1
    kernel_size: 3
    group: 2
    weight_filler {
      type: "gaussian"
      std: 0.01
    }
    bias_filler {
      type: "constant"
      value: 1
    }
  }
}
layer {
  name: "relu4"
  type: "ReLU"
  bottom: "conv4"
  top: "conv4"
}
layer {
  name: "conv5"
  type: "Convolution"
  bottom: "conv4"
  top: "conv5"
  param {
    lr_mult: 1
    decay_mult: 1
  }
  param {
    lr_mult: 2
    decay_mult: 0
  }
  convolution_param {
    num_output: 256
    pad: 1
    kernel_size: 3
    group: 2
    weight_filler {
      type: "gaussian"
      std: 0.01
    }
    bias_filler {
      type: "constant"
      value: 1
    }
  }
}
layer {
  name: "relu5"
  type: "ReLU"
  bottom: "conv5"
  top: "conv5"
}
layer {
  name: "pool5"
  type: "Pooling"
  bottom: "conv5"
  top: "pool5"
  pooling_param {
    pool: MAX
    kernel_size: 3
    stride: 2
  }
}
layer {
  name: "fc6"
  type: "InnerProduct"
  bottom: "pool5"
  top: "fc6"
  param {
    lr_mult: 1
    decay_mult: 1
  }
  param {
    lr_mult: 2
    decay_mult: 0
  }
  inner_product_param {
    num_output: 4096
    weight_filler {
      type: "gaussian"
      std: 0.005
    }
    bias_filler {
      type: "constant"
      value: 1
    }
  }
}
layer {
  name: "relu6"
  type: "ReLU"
  bottom: "fc6"
  top: "fc6"
}
layer {
  name: "drop6"
  type: "Dropout"
  bottom: "fc6"
  top: "fc6"
  dropout_param {
    dropout_ratio: 0.5
  }
}
layer {
  name: "fc7"
  type: "InnerProduct"
  bottom: "fc6"
  top: "fc7"
  param {
    lr_mult: 1
    decay_mult: 1
  }
  param {
    lr_mult: 2
    decay_mult: 0
  }
  inner_product_param {
    num_output: 4096
    weight_filler {
      type: "gaussian"
      std: 0.005
    }
    bias_filler {
      type: "constant"
      value: 1
    }
  }
}
layer {
  name: "relu7"
  type: "ReLU"
  bottom: "fc7"
  top: "fc7"
}
layer {
  name: "drop7"
  type: "Dropout"
  bottom: "fc7"
  top: "fc7"
  dropout_param {
    dropout_ratio: 0.5
  }
}
layer {
  name: "fc8"
  type: "InnerProduct"
  bottom: "fc7"
  top: "fc8"
  param {
    lr_mult: 1
    decay_mult: 1
  }
  param {
    lr_mult: 2
    decay_mult: 0
  }
  inner_product_param {
    num_output: 2
    weight_filler {
      type: "gaussian"
      std: 0.01
    }
    bias_filler {
      type: "constant"
      value: 0
    }
  }
}
layer {
  name: "accuracy"
  type: "Accuracy"
  bottom: "fc8"
  bottom: "label"
  top: "accuracy"
  include {
    phase: TEST
  }
}
layer {
  name: "loss"
  type: "SoftmaxWithLoss"
  bottom: "fc8"
  bottom: "label"
  top: "loss"
}
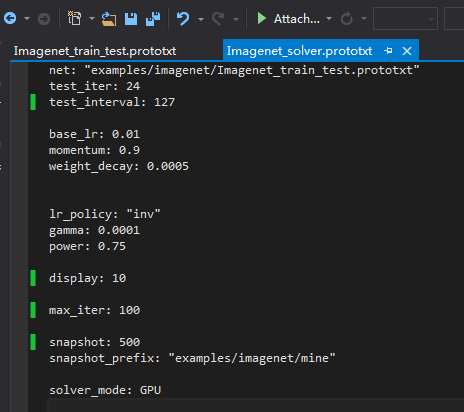
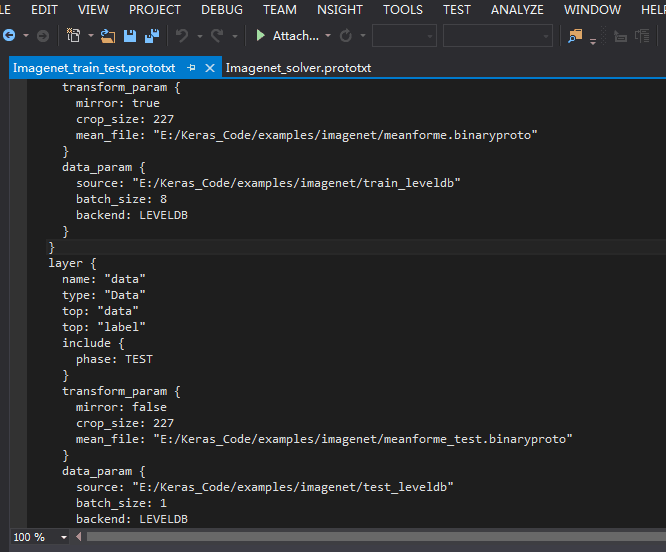
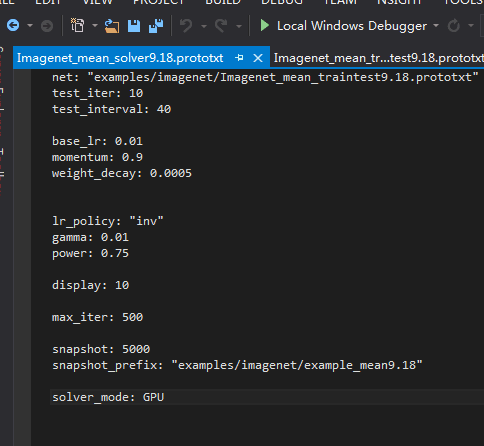
上面是Imagenet_train_test.prototxt文件 下面是solver.prototxt
net: "examples/imagenet/Imagenet_train_test.prototxt"
test_iter: 24
test_interval: 127

base_lr: 0.01
momentum: 0.9
weight_decay: 0.0005


lr_policy: "inv"
gamma: 0.0001
power: 0.75

display: 10

max_iter: 100

snapshot: 5000
snapshot_prefix: "examples/imagenet/mine"

solver_mode: GPU
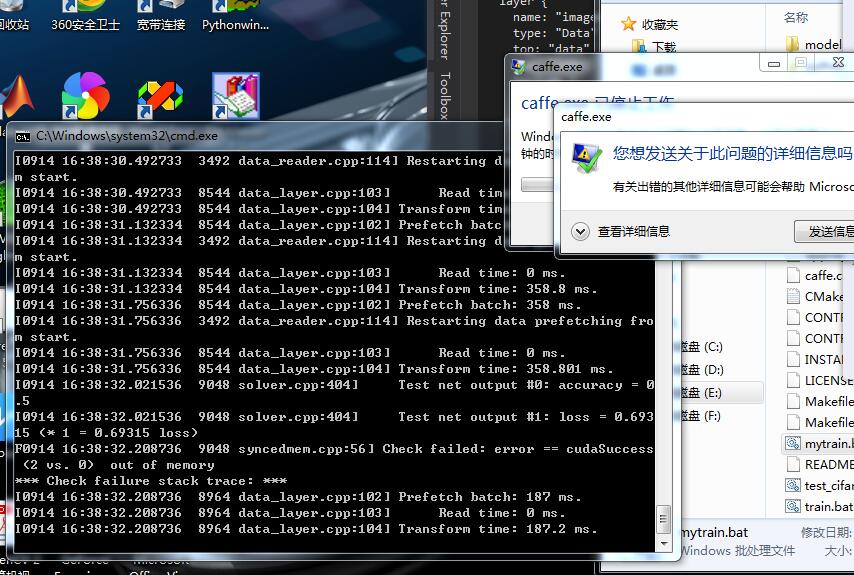
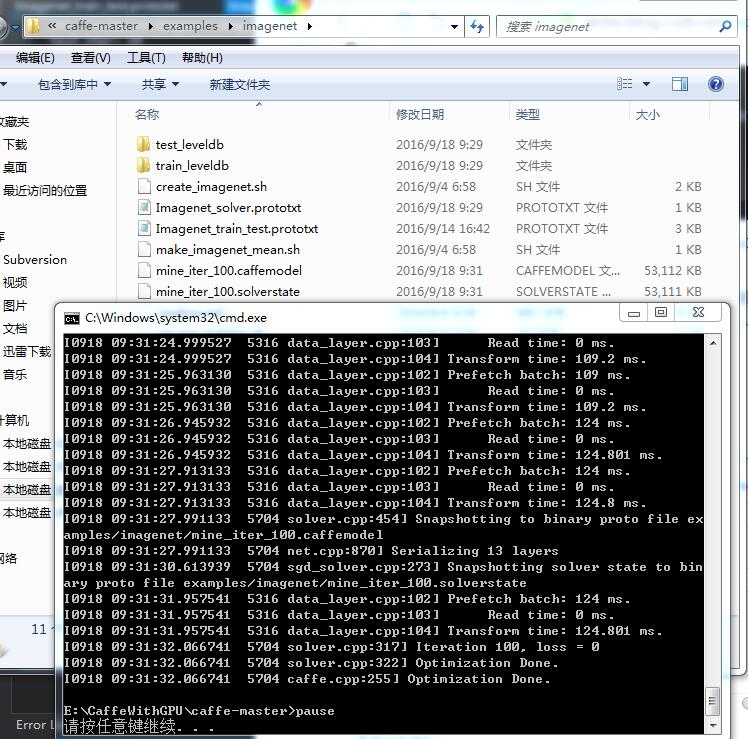
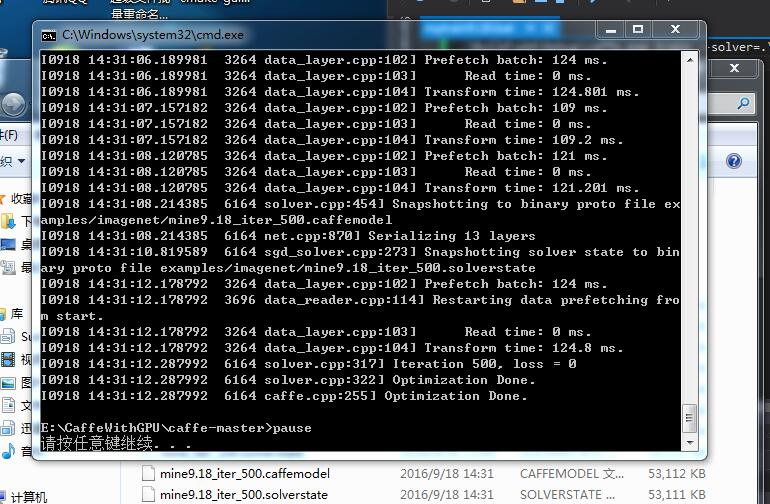
训练结束 生成了caffemodel 可是这个出来的cmd怎么只是在运行过程中我倒是看到accuracy一闪而过。。。但太快了 我都没看清是多少 。。。上面是TEST的准确率
我改成了TRAIN 重新运行 调小了lr:
再往上翻


再翻
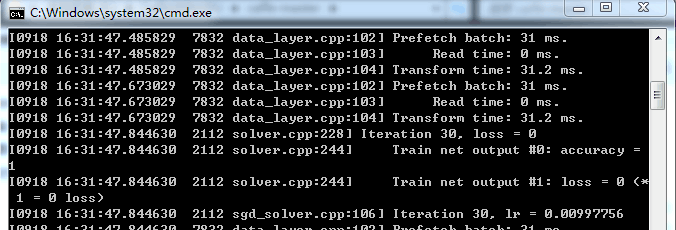
为什么???我是用的自带的E:\CaffeWithGPU\caffe-master\models\bvlc_reference_caffenet\train_val.prototxt模型 怎么这么不稳定??也不应该这么极端啊 据说是因为iter要以万为单位 所以我改大了迭代次数:


虽然依旧有好多0和1 但已经会出现零点几了 应该是要增加到万!
上面有一点要更正:就是均值文件 mean.prototxt 训练集和测试集要分别计算 如这样:
///
对我的gpu版本的caffe配置python接口:(此处艰辛 下次再补充)
//
配置好python接口的caffe后 就可以将cmd下闪过的accuracy和loss图画出来了!
我是按照http://blog.csdn.net/u011519892/article/details/9745069 下载NotePad++
然后:输入画图程序.py:
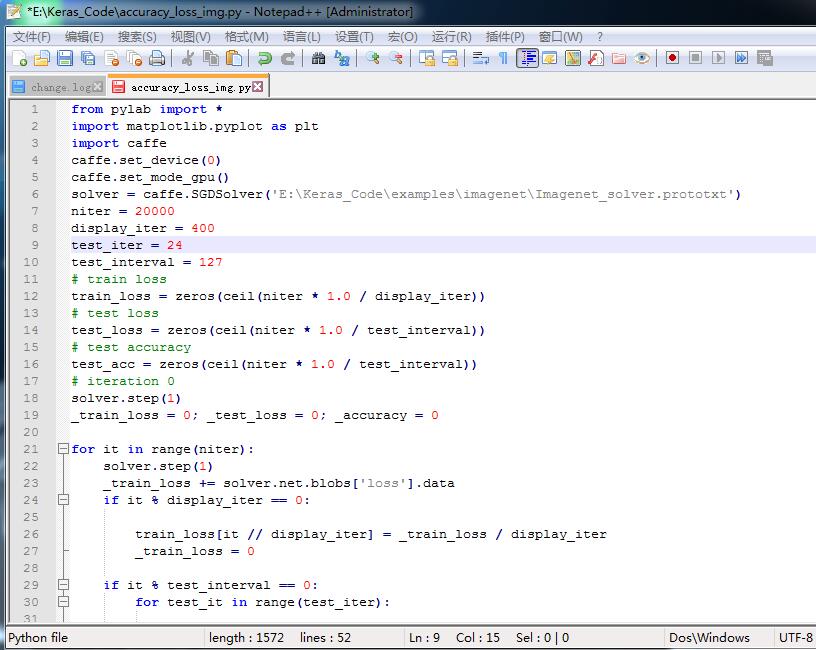
即:
from pylab import *
import matplotlib.pyplot as plt
import caffe
caffe.set_device(0)
caffe.set_mode_gpu()
solver = caffe.SGDSolver('E:\Keras_Code\examples\imagenet\Imagenet_solver.prototxt')
niter = 20000
display_iter = 400
test_iter = 24
test_interval = 127
# train loss
train_loss = zeros(ceil(niter * 1.0 / display_iter))
# test loss
test_loss = zeros(ceil(niter * 1.0 / test_interval))
# test accuracy
test_acc = zeros(ceil(niter * 1.0 / test_interval))
# iteration 0
solver.step(1)
_train_loss = 0; _test_loss = 0; _accuracy = 0

for it in range(niter):
    solver.step(1)
    _train_loss += solver.net.blobs['loss'].data
    if it % display_iter == 0:

        train_loss[it // display_iter] = _train_loss / display_iter
        _train_loss = 0

    if it % test_interval == 0:
        for test_it in range(test_iter):

            solver.test_nets[0].forward()

            _test_loss += solver.test_nets[0].blobs['loss'].data
        test_loss[it / test_interval] = _test_loss / test_iter

        test_acc[it / test_interval] = _accuracy / test_iter
        _test_loss = 0
        _accuracy = 0

print '\nplot the train loss and test accuracy\n'
_, ax1 = plt.subplots()
ax2 = ax1.twinx()

ax1.plot(display_iter * arange(len(train_loss)), train_loss, 'g')
ax1.plot(test_interval * arange(len(test_loss)), test_loss, 'y')
ax2.plot(test_interval * arange(len(test_acc)), test_acc, 'r')
ax1.set_xlabel('iteration')
ax1.set_ylabel('loss')
ax2.set_ylabel('accuracy')
plt.show()
然后运行 即可 结果:
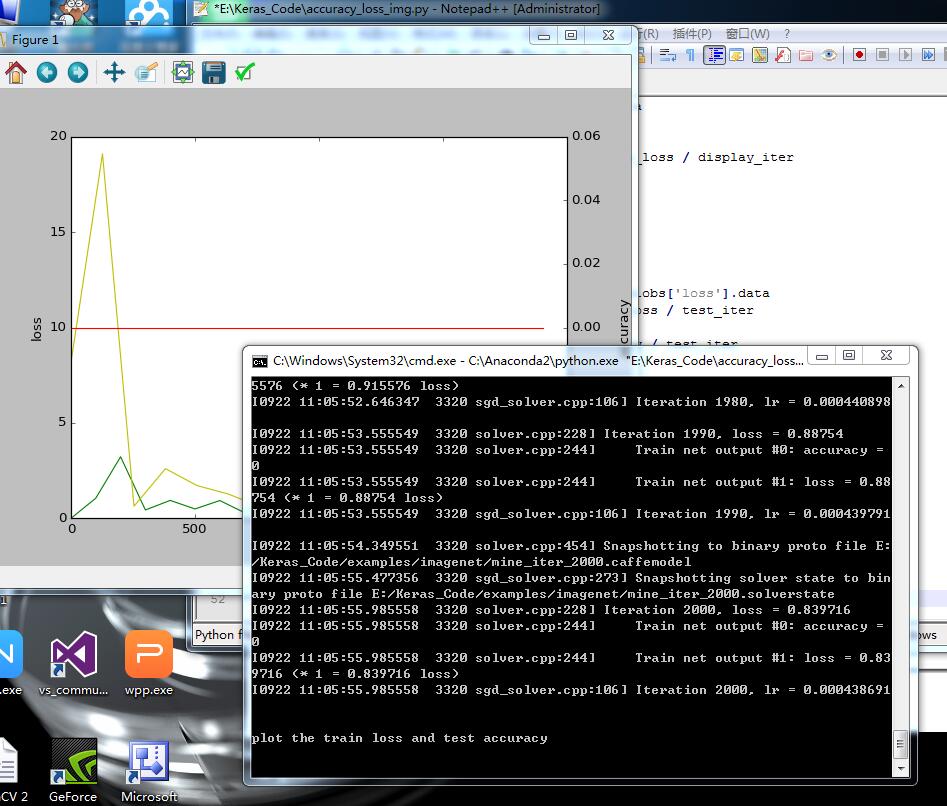
也会在目录下 生成:

大功告成!
///
/分界线//
不用自己的图片 用http://www.cnblogs.com/denny402/p/5083300.html他的图片试试 他的图片大小不一 竟然?
它的例子 于是下载了它的图片试试:先试试不计算均值的 按照我上面自己的例子的步骤:
这样就生成了leveldb:
然后写配置文件prototxt两个:
最后写train.bat:


///
再试试计算均值的:在转换成leveldb后计算均值
然后写两个prototxt:一样分5类
最后写train.bat:


 1003
1003

 被折叠的 条评论
为什么被折叠?
被折叠的 条评论
为什么被折叠?
 到【灌水乐园】发言


