


- featurewise_center: Boolean. 对输入的图片每个通道减去每个通道对应均值。
- samplewise_center: Boolan. 每张图片减去样本均值, 使得每个样本均值为0。
- featurewise_std_normalization(): Boolean()
- samplewise_std_normalization(): Boolean()
- zca_epsilon(): Default 12-6
- zca_whitening: Boolean. 去除样本之间的相关性
- rotation_range(): 旋转范围
- width_shift_range(): 水平平移范围
- height_shift_range(): 垂直平移范围
- shear_range(): float, 透视变换的范围
- zoom_range(): 缩放范围
- fill_mode: 填充模式, constant, nearest, reflect
- cval: fill_mode == 'constant’的时候填充值
- horizontal_flip(): 水平反转
- vertical_flip(): 垂直翻转
- preprocessing_function(): user提供的处理函数
- data_format(): channels_first或者channels_last
- validation_split(): 多少数据用于验证集
本例使用的图像增强代码如下:
train_datagen = ImageDataGenerator(featurewise_center=True,
featurewise_std_normalization=True,
rotation_range=20,
width_shift_range=0.2,
height_shift_range=0.2,
horizontal_flip=True)
val_datagen = ImageDataGenerator() # 验证集不做图片增强
train_generator = train_datagen.flow(trainX, trainY, batch_size=batch_size, shuffle=True)
val_generator = val_datagen.flow(valX, valY, batch_size=batch_size, shuffle=True)
ModelCheckpoint:用来保存成绩最好的模型。
语法如下:
keras.callbacks.ModelCheckpoint(filepath, monitor=‘val_loss’, verbose=0, save_best_only=False, save_weights_only=False, mode=‘auto’, period=1)
该回调函数将在每个epoch后保存模型到filepath
filepath可以是格式化的字符串,里面的占位符将会被epoch值和传入on_epoch_end的logs关键字所填入
例如,filepath若为weights.{epoch:02d-{val_loss:.2f}}.hdf5,则会生成对应epoch和验证集loss的多个文件。
参数
- filename:字符串,保存模型的路径
- monitor:需要监视的值
- verbose:信息展示模式,0或1
- save_best_only:当设置为True时,将只保存在验证集上性能最好的模型
- mode:‘auto’,‘min’,‘max’之一,在save_best_only=True时决定性能最佳模型的评判准则,例如,当监测值为val_acc时,模式应为max,当检测值为val_loss时,模式应为min。在auto模式下,评价准则由被监测值的名字自动推断。
- save_weights_only:若设置为True,则只保存模型权重,否则将保存整个模型(包括模型结构,配置信息等)
- period:CheckPoint之间的间隔的epoch数
ReduceLROnPlateau:当评价指标不在提升时,减少学习率,语法如下:
keras.callbacks.ReduceLROnPlateau(monitor=‘val_loss’, factor=0.1, patience=10, verbose=0, mode=‘auto’, epsilon=0.0001, cooldown=0, min_lr=0)
当学习停滞时,减少2倍或10倍的学习率常常能获得较好的效果。该回调函数检测指标的情况,如果在patience个epoch中看不到模型性能提升,则减少学习率
参数
- monitor:被监测的量
- factor:每次减少学习率的因子,学习率将以lr = lr*factor的形式被减少
- patience:当patience个epoch过去而模型性能不提升时,学习率减少的动作会被触发
- mode:‘auto’,‘min’,‘max’之一,在min模式下,如果检测值触发学习率减少。在max模式下,当检测值不再上升则触发学习率减少。
- epsilon:阈值,用来确定是否进入检测值的“平原区”
- cooldown:学习率减少后,会经过cooldown个epoch才重新进行正常操作
- min_lr:学习率的下限
本例代码如下:
checkpointer = ModelCheckpoint(filepath=‘weights_best_Deset_model.hdf5’,
monitor=‘val_accuracy’, verbose=1, save_best_only=True, mode=‘max’)
reduce = ReduceLROnPlateau(monitor=‘val_accuracy’, patience=10,
verbose=1,
factor=0.5,
min_lr=1e-6)
model = DenseNet121(weights=None,input_shape=(norm_size, norm_size, 3), classes=classnum)
optimizer = Adam(lr=INIT_LR)
model.compile(optimizer=optimizer, loss=‘sparse_categorical_crossentropy’, metrics=[‘accuracy’])
history = model.fit_generator(train_generator,
steps_per_epoch=trainX.shape[0] / batch_size,
validation_data=val_generator,
epochs=EPOCHS,
validation_steps=valX.shape[0] / batch_size,
callbacks=[checkpointer, reduce],
verbose=1, shuffle=True)
model.save(‘my_model_Desnet.h5’)
loss_trend_graph_path = r"WW_loss.jpg"
acc_trend_graph_path = r"WW_acc.jpg"
import matplotlib.pyplot as plt
print(“Now,we start drawing the loss and acc trends graph…”)
summarize history for accuracy
fig = plt.figure(1)
plt.plot(history.history[“accuracy”])
plt.plot(history.history[“val_accuracy”])
plt.title(“Model accuracy”)
plt.ylabel(“accuracy”)
plt.xlabel(“epoch”)
plt.legend([“train”, “test”], loc=“upper left”)
plt.savefig(acc_trend_graph_path)
plt.close(1)
summarize history for loss
fig = plt.figure(2)
plt.plot(history.history[“loss”])
plt.plot(history.history[“val_loss”])
plt.title(“Model loss”)
plt.ylabel(“loss”)
plt.xlabel(“epoch”)
plt.legend([“train”, “test”], loc=“upper left”)
plt.savefig(loss_trend_graph_path)
plt.close(2)
print(“We are done, everything seems OK…”)
#windows系统设置10关机
os.system(“shutdown -s -t 10”)
===============================================================
1、导入依赖
import cv2
import numpy as np
from tensorflow.keras.preprocessing.image import img_to_array
from tensorflow.keras.models import load_model
import time
2、设置全局参数
这里注意,字典的顺序和训练时的顺序保持一致
norm_size=100
imagelist=[]
emotion_labels = {
0: ‘cat’,
1: ‘dog’
}
3、加载模型
emotion_classifier=load_model(“my_model_Desnet.h5”)
t1=time.time()
4、处理图片
处理图片的逻辑和训练集也类似,步骤:
-
读取图片
-
将图片resize为norm_size×norm_size大小。
-
将图片转为数组。
-
放到imagelist中。
-
imagelist整体除以255,把数值缩放到0到1之间。
image = cv2.imdecode(np.fromfile(‘test/8.jpg’, dtype=np.uint8), -1)
load the image, pre-process it, and store it in the data list
image = cv2.resize(image, (norm_size, norm_size), interpolation=cv2.INTER_LANCZOS4)
image = img_to_array(image)
imagelist.append(image)
imageList = np.array(imagelist, dtype=“float”) / 255.0
5、预测类别
预测类别,并获取最高类别的index。
pre=np.argmax(emotion_classifier.predict(imageList))
emotion = emotion_labels[pre]
t2=time.time()
print(emotion)
t3=t2-t1
print(t3)
批量预测和单张预测的差别主要在读取数据上,以及预测完成后,对预测类别的处理。其他的没有变化。
步骤:
-
加载模型。
-
定义测试集的目录
-
获取目录下的图片
-
循环循环图片
-
读取图片
-
resize图片
-
转数组
-
放到imageList中
-
缩放到0到255.
-
预测
emotion_classifier=load_model(“my_model_Desnet.h5”)
t1=time.time()
predict_dir = ‘data/test’
自我介绍一下,小编13年上海交大毕业,曾经在小公司待过,也去过华为、OPPO等大厂,18年进入阿里一直到现在。
深知大多数Python工程师,想要提升技能,往往是自己摸索成长或者是报班学习,但对于培训机构动则几千的学费,着实压力不小。自己不成体系的自学效果低效又漫长,而且极易碰到天花板技术停滞不前!
因此收集整理了一份《2024年Python开发全套学习资料》,初衷也很简单,就是希望能够帮助到想自学提升又不知道该从何学起的朋友,同时减轻大家的负担。


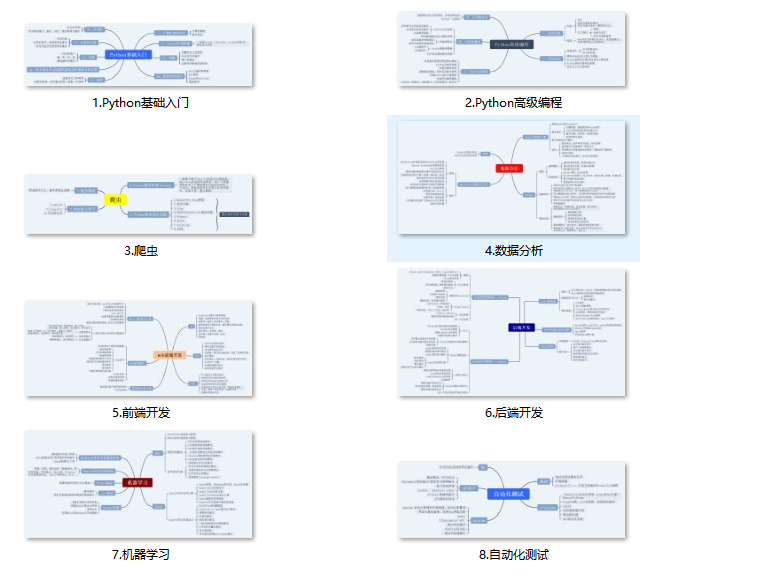
既有适合小白学习的零基础资料,也有适合3年以上经验的小伙伴深入学习提升的进阶课程,基本涵盖了95%以上前端开发知识点,真正体系化!
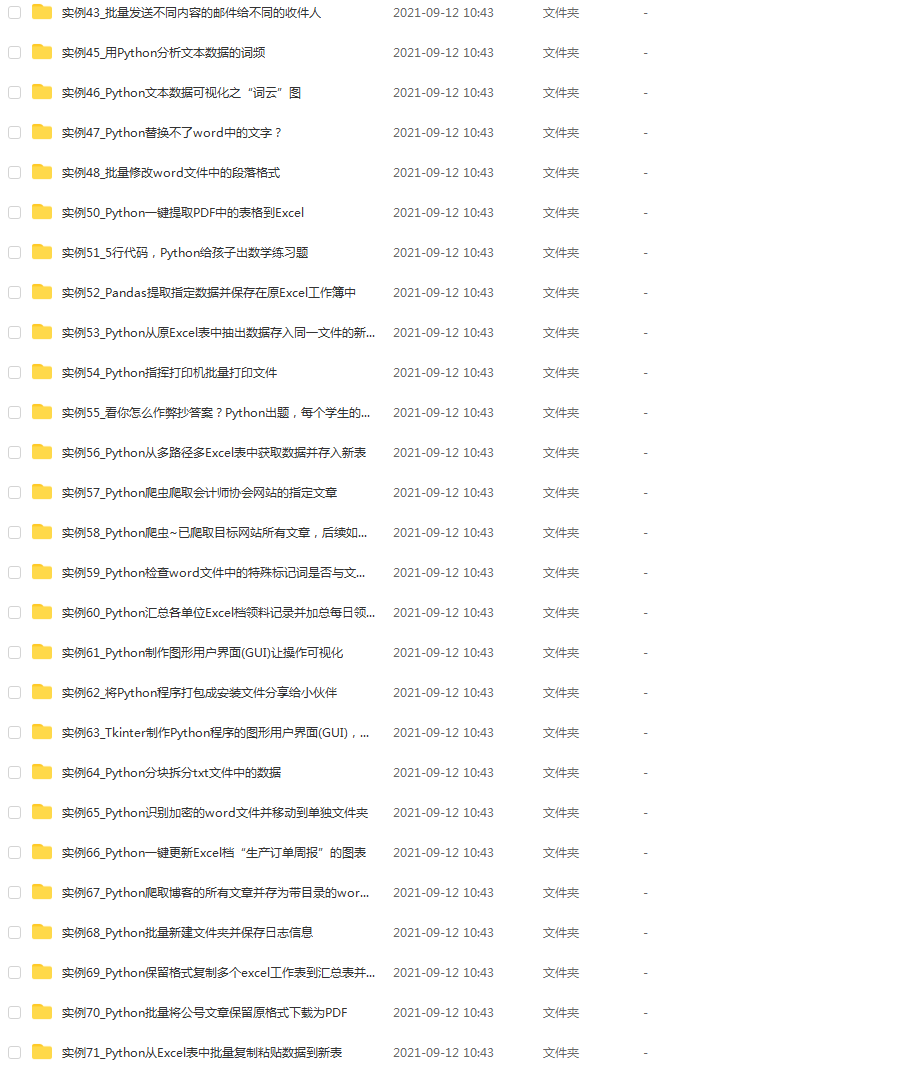
由于文件比较大,这里只是将部分目录大纲截图出来,每个节点里面都包含大厂面经、学习笔记、源码讲义、实战项目、讲解视频,并且后续会持续更新
如果你觉得这些内容对你有帮助,可以扫码获取!!!(备注Python)
g.cn/img_convert/46506ae54be168b93cf63939786134ca.png)
既有适合小白学习的零基础资料,也有适合3年以上经验的小伙伴深入学习提升的进阶课程,基本涵盖了95%以上前端开发知识点,真正体系化!
由于文件比较大,这里只是将部分目录大纲截图出来,每个节点里面都包含大厂面经、学习笔记、源码讲义、实战项目、讲解视频,并且后续会持续更新
如果你觉得这些内容对你有帮助,可以扫码获取!!!(备注Python)


 1162
1162

 被折叠的 条评论
为什么被折叠?
被折叠的 条评论
为什么被折叠?
 到【灌水乐园】发言


