


本人配置:
windows x64系统
cuda12.6
rtx4070
一、下载fish-speech模型
注意:提前配置好git,教程可在自行搜索
git clone https://gitclone.com/github.com/fishaudio/fish-speech.git
cd fish-speech
或者直接进GitHub中下载也可以
GitHub地址如下:GitHub - fishaudio/fish-speech: SOTA Open Source TTS
二、模型权重下载
huggingface-cli download fishaudio/fish-speech-1.5 --local-dir checkpoints/fish-speech-1.5
# 或者
git clone https://hf-mirror.com/fishaudio/fish-speech-1.5
如果huggingface-cli报错如网络问题等,可先执行 set HF_ENDPOINT=https://hf-mirror.com
注意:如果使用git clone的话记得新建一个checkpoints文件夹,并且把fish-speech-1.5下载到checkpoints文件夹中
三、conda环境配置
1.conda环境创建
conda create -n fish-speech python=3.10
conda activate fish-speech
2.torch安装
注意:以下torch安装的是cuda12.1的版本,可根据自己的cuda版本安装对应版本的torch,或者保证自己的cuda版本在12.1以上
pip3 install torch torchvision torchaudio --index-url https://download.pytorch.org/whl/cu1213.安装fish-speech
pip3 install -e .四、webui运行测试
在命令行中运行:
python tools/run_webui.py --llama-checkpoint-path checkpoints/fish-speech-1.5 --decoder-checkpoint-path checkpoints/fish-speech-1.5/firefly-gan-vq-fsq-8x1024-21hz-generator.pth运行成功后会弹出网址,进入网址可进行tts测试
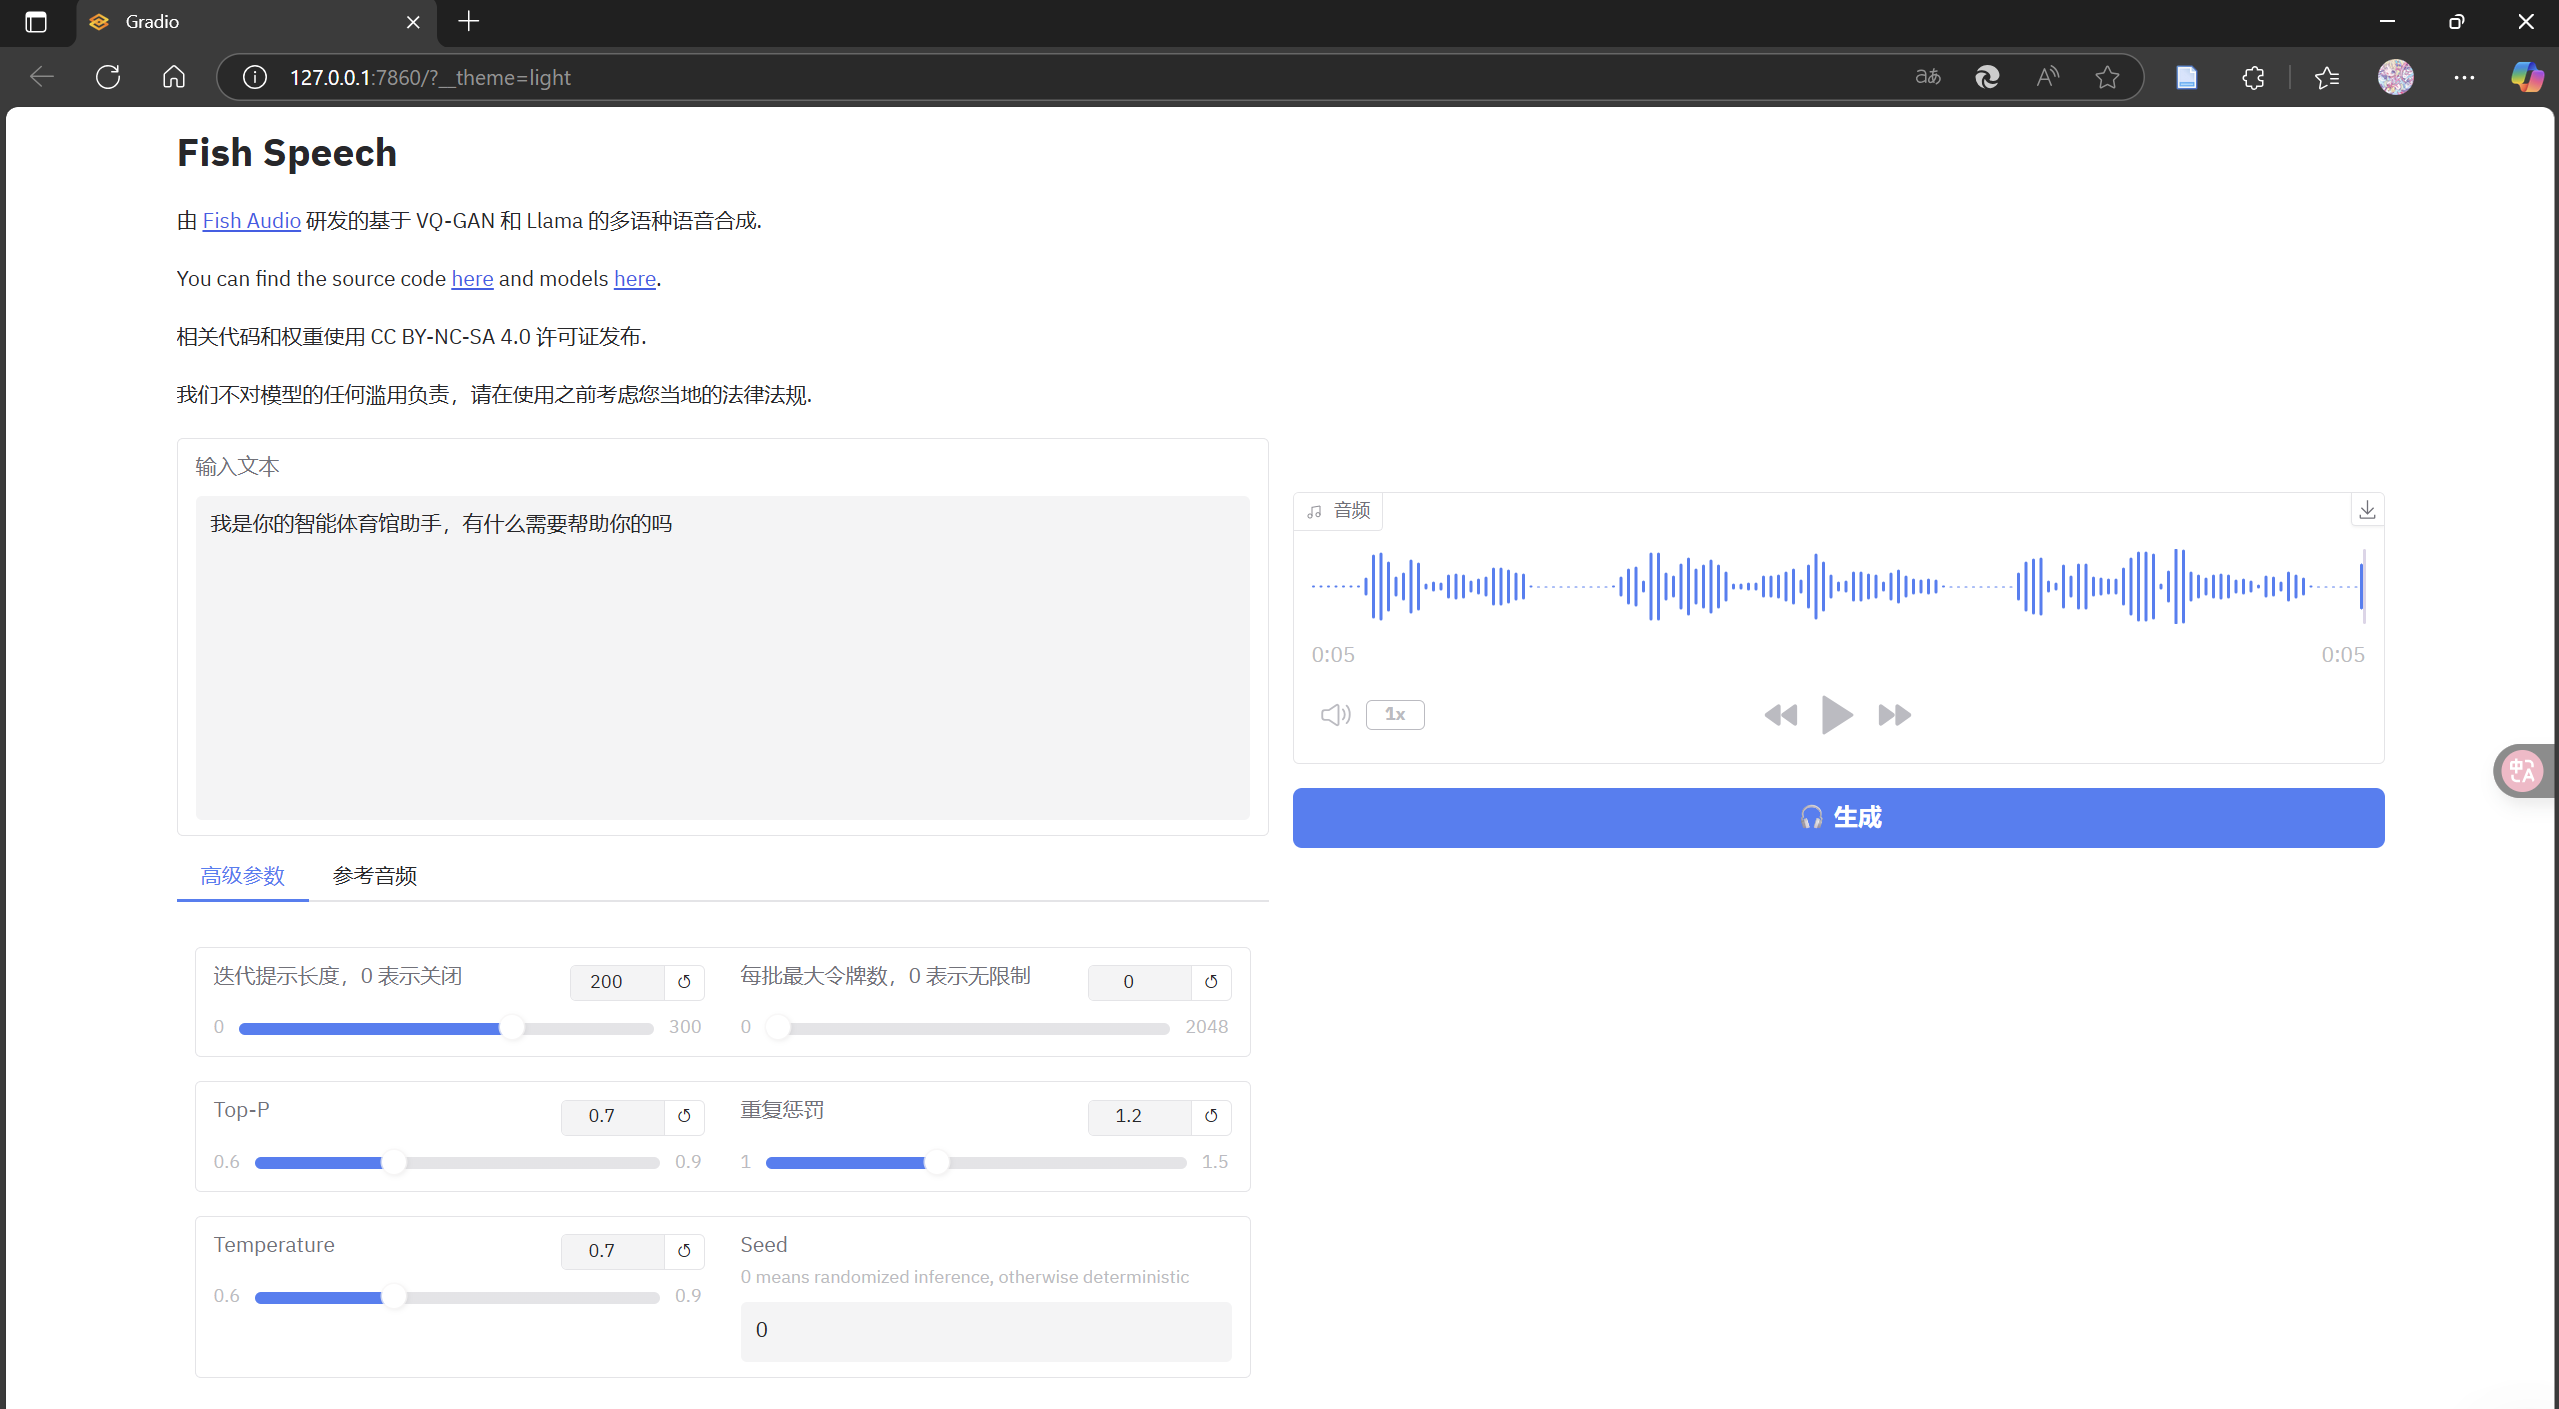
左侧是输入文本,输入后在右侧点击运行即可得到语音输出
有一些其他参数可以在左边进行调试,如果有兴趣的话可以自己玩一玩,这里不做过多介绍。
五、代码测试
网上没有相应的单独代码测试,此处给出python代码
import time
import os
from pathlib import Path
import numpy as np
import pyrootutils
import torch
from loguru import logger
import scipy.io.wavfile as wav

pyrootutils.setup_root(__file__, indicator=".project-root", pythonpath=True)

from fish_speech.inference_engine import TTSInferenceEngine
from fish_speech.models.text2semantic.inference import launch_thread_safe_queue
from fish_speech.models.vqgan.inference import load_model as load_decoder_model
from fish_speech.utils.schema import ServeTTSRequest

# 配置参数
llama_checkpoint_path = Path("checkpoints/fish-speech-1.5")
# llama_checkpoint_path = Path("checkpoints/fish-speech-1.5/female-voice-model")

decoder_checkpoint_path = Path("checkpoints/fish-speech-1.5/firefly-gan-vq-fsq-8x1024-21hz-generator.pth")
decoder_config_name = "firefly_gan_vq"
device = "cuda" if torch.cuda.is_available() else "mps" if torch.backends.mps.is_available() else "cpu"
precision = torch.float16  # 可改为 torch.bfloat16 或 torch.float32
compile_model = False

# 日志
logger.info(f"Using device: {device}")

# 加载模型
logger.info("Loading Llama model...")
llama_queue = launch_thread_safe_queue(
    checkpoint_path=llama_checkpoint_path,
    device=device,
    precision=precision,
    compile=compile_model,
)

logger.info("Loading VQ-GAN model...")
decoder_model = load_decoder_model(
    config_name=decoder_config_name,
    checkpoint_path=decoder_checkpoint_path,
    device=device,
)

# 构建推理引擎
inference_engine = TTSInferenceEngine(
    llama_queue=llama_queue,
    decoder_model=decoder_model,
    compile=compile_model,
    precision=precision,
)

# 输入文本
text_input = "你好"

# 构造请求
request = ServeTTSRequest(
    text=text_input,
    references=[],
    reference_id=None,
    max_new_tokens=1024,
    chunk_length=200,
    top_p=0.7,
    repetition_penalty=1.5,
    temperature=0.7,
    format="wav",
)

# 执行推理并记录时间
start_time = time.time()  # 记录开始时间

output_dir = Path("output_audio")
output_dir.mkdir(exist_ok=True)

logger.info("Running inference...")
results = list(inference_engine.inference(request))

# 计算推理时间
end_time = time.time()  # 记录结束时间
elapsed_time = end_time - start_time  # 计算经过的时间

logger.info(f"Inference completed in {elapsed_time:.2f} seconds.")

# 打印 results 以调试其结构
for i, result in enumerate(results):
    logger.info(f"Result {i}: {result}")  # 打印结果对象

    # 提取音频数据
    if isinstance(result.audio, tuple):
        _, audio_data = result.audio  # 提取音频数据
    else:
        audio_data = result.audio  # 如果不是元组,直接获取音频数据

    # 将音频数据归一化到 [-1, 1] 范围,并转换为 16-bit 整数
    audio_data = np.int16(audio_data / np.max(np.abs(audio_data)) * 32767)

    # 保存为 .wav 文件
    output_path = output_dir / f"output_{i}.wav"
    wav.write(str(output_path), 44100, audio_data)  # 44100 是采样率
    logger.info(f"Saved audio to {output_path}")
在输入文本处修改需要进行语音转换的文字,相应的.wav文件会保存在output_audio文件夹中
运行效果如下:
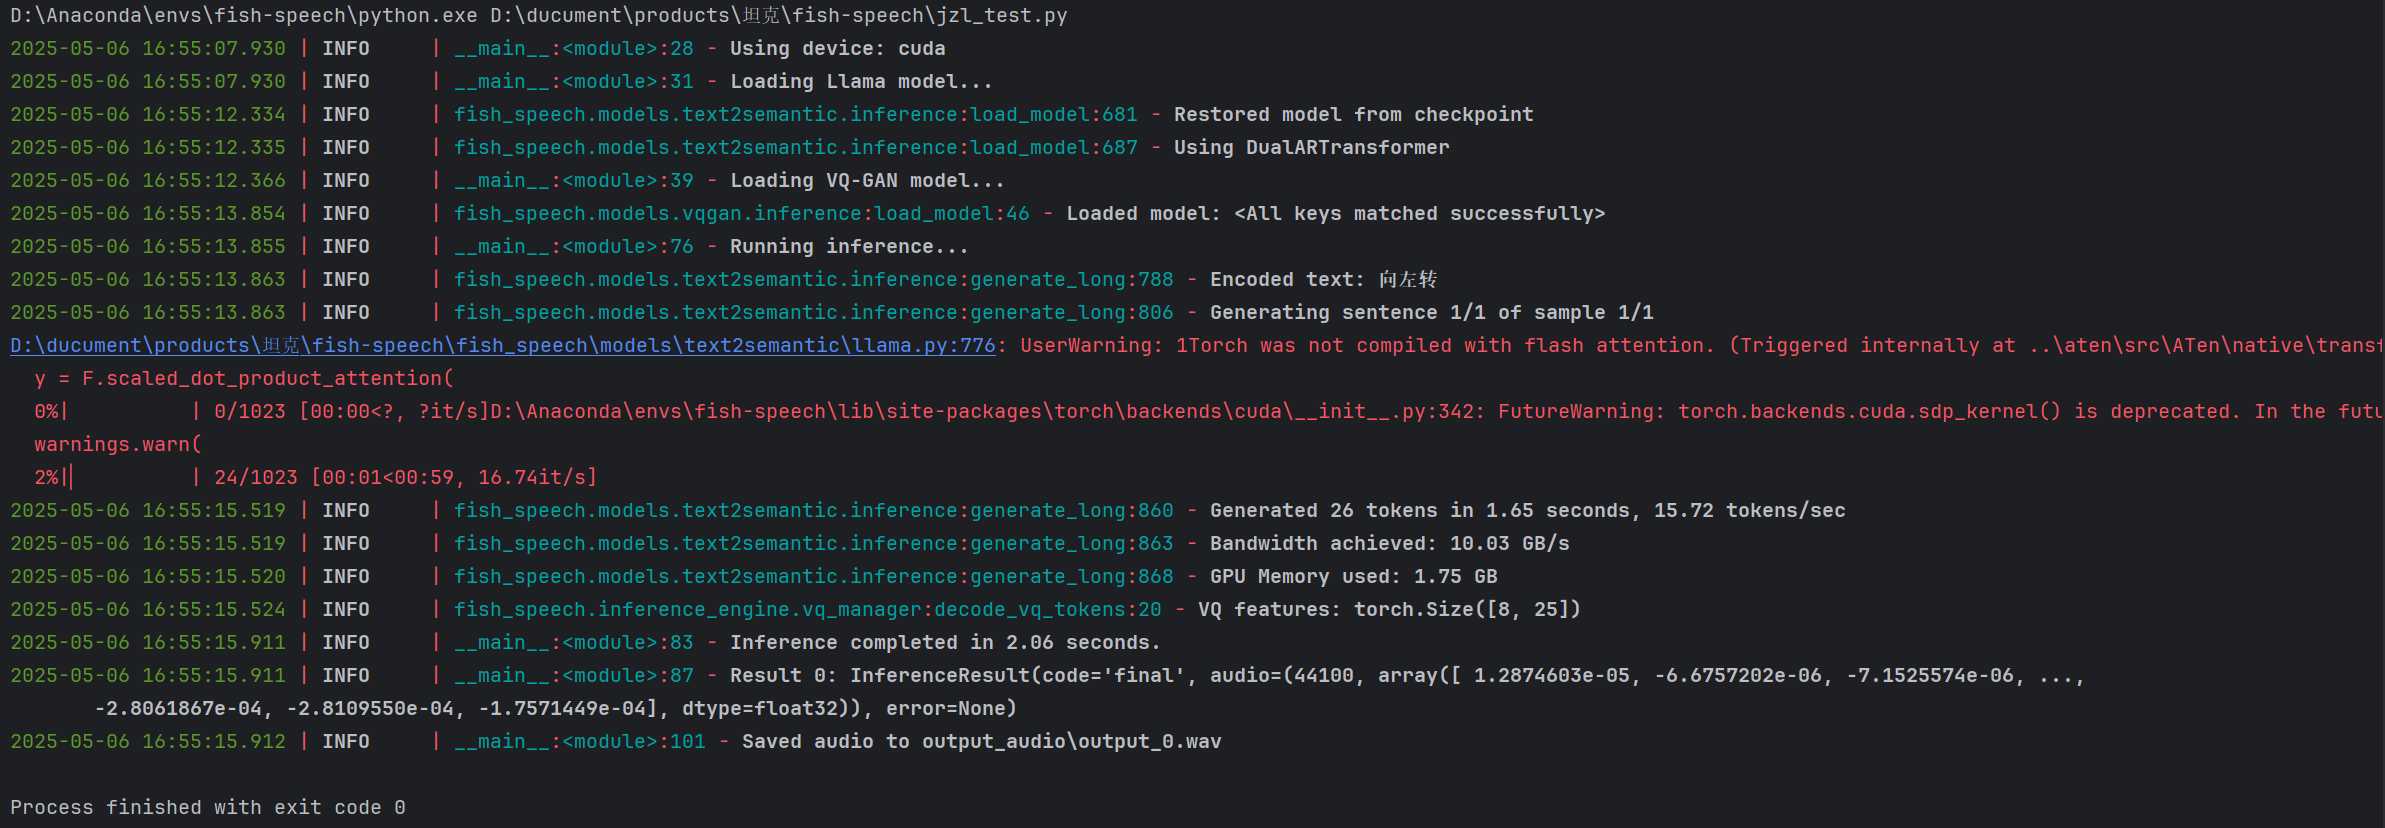
运行“你好,这是一个语音合成测试。”需要3.98s


 3515
3515

 被折叠的 条评论
为什么被折叠?
被折叠的 条评论
为什么被折叠?
 到【灌水乐园】发言


