


 本文详细描述了RabbitMQ中如何处理生产者产生的超时订单,涉及直连、主题和扇形交换机的使用,以及死信队列的处理策略。展示了SpringBoot在配置直连交换机和消费者接收消息的例子。
订单超时处理:

生产者生产一条1分钟后超时的订单信息到正常交换机exchange-a中,消息匹配到队列queue-a,但一分钟后仍未消费。
消息会被投递到死信交换机dlx-exchange中,并发送到私信队列中。
死信队列dlx-queue的消费者拿到信息后,根据消息去查询订单的状态,如果仍然是未支付状态,将订单状态更新为超时状态。
三、交换机的属性
========
**Name:**交换机名称
Type:交换机类型,direct,topic,fanout,headers
Durability:是否需要持久化,如果持久性,则RabbitMQ重启后,交换机还存在
Auto Delete:当最后一个绑定到Exchange上的队列删除后,自动删除该Exchange
Internal:当前Exchange是否用于RabbitMQ内部使用,默认为false。
Arguments:扩展参数,用于扩展AMQP协议定制使用
四、演示直连交换机(生产者)
==============
1、导入yml文件
server:
port: 8081
spring:
application:
name: provider
rabbitmq:
host: 192.168.218.130
password: 123456
port: 5672
username: springboot
virtual-host: my_vhost
2、创建队列,交换机以及绑定
DirectConfig :
package com.lv.code.mq;
import org.springframework.amqp.core.Binding;
import org.springframework.amqp.core.BindingBuilder;
import org.springframework.amqp.core.DirectExchange;
import org.springframework.amqp.core.Queue;
import org.springframework.context.annotation.Bean;
import org.springframework.context.annotation.Configuration;
@Configuration
public class DirectConfig {
// 创建队列
@Bean
public Queue directQueueA(){
return new Queue(“directQueueA”,true);
}
@Bean
public Queue directQueueB(){
return new Queue(“directQueueB”,true);
}
@Bean
public Queue directQueueC(){
return new Queue(“directQueueC”,true);
}
// 创建交换机
@Bean
public DirectExchange directExchange(){
return new DirectExchange(“directExchange”);
}
// 进行交换机和队列的绑定:设置bindingkey
@Bean
public Binding bingingA(){
return BindingBuilder.bind(directQueueA()).to(directExchange()).with(“AA”);
}
@Bean
public Binding bingingB(){
return BindingBuilder.bind(directQueueB()).to(directExchange()).with(“BB”);
}
@Bean
public Binding bingingC(){
return BindingBuilder.bind(directQueueC()).to(directExchange()).with(“CC”);
}
}
3、ProviderController
package com.lv.code;
import org.springframework.amqp.rabbit.core.RabbitTemplate;
import org.springframework.beans.factory.annotation.Autowired;
import org.springframework.web.bind.annotation.RequestMapping;
import org.springframework.web.bind.annotation.RestController;
@RestController
public class ProviderController {
@Autowired
private RabbitTemplate template;
@RequestMapping(“/directSend”)
public String directSend(String routingKey){
template.convertAndSend(“directExchange”,routingKey,“hello world”);
return “yes”;
}
}
启动时出现以下错误:进程结束快

解决方案:
导入依赖:
org.springframework.boot
spring-boot-starter-web
成功解决:


五、演示直连交换机(消费者)
==============
1、导入yml文件
server:
port: 8082
spring:
application:
name: consumer
rabbitmq:
host: 192.168.218.130
password: 123456
port: 5672
username: springboot
virtual-host: my_vhost
2、在消费者内创建三个接收者
package com.lv.consumer1.mq;
import lombok.extern.slf4j.Slf4j;
import org.springframework.amqp.rabbit.annotation.RabbitHandler;
import org.springframework.amqp.rabbit.annotation.RabbitListener;
import org.springframework.stereotype.Component;
@Component
@SuppressWarnings(“all”)
//消息队的监听器
@RabbitListener(queues = “directQueueA”)
@Slf4j
public class DirectReceiverA {
@RabbitHandler
public void process(String message){
log.info(“A接到”+message);
}
}
package com.lv.consumer1.mq;
import lombok.extern.slf4j.Slf4j;
import org.springframework.amqp.rabbit.annotation.RabbitHandler;
import org.springframework.amqp.rabbit.annotation.RabbitListener;
import org.springframework.stereotype.Component;
@Component
@SuppressWarnings(“all”)
//消息队的监听器
@RabbitListener(queues = “directQueueB”)
@Slf4j
public class DirectReceiverB {
@RabbitHandler
public void process(String message){
log.info(“B接到”+message);
}
}
package com.lv.consumer1.mq;
import lombok.extern.slf4j.Slf4j;
import org.springframework.amqp.rabbit.annotation.RabbitHandler;
import org.springframework.amqp.rabbit.annotation.RabbitListener;
import org.springframework.stereotype.Component;
@Component
@SuppressWarnings(“all”)
//消息队的监听器
@RabbitListener(queues = “directQueueC”)
@Slf4j
public class DirectReceiverC {
@RabbitHandler
public void process(String message){
log.info(“C接到”+message);
}
}

接收到:

六、主题交换机
=======
1、在生产者内定义键,创建队列,创建交换机以及进行绑定
package com.lv.code.mq;
import org.springframework.amqp.core.Binding;
import org.springframework.amqp.core.BindingBuilder;
import org.springframework.amqp.core.TopicExchange;
import org.springframework.amqp.core.Queue;
import org.springframework.context.annotation.Bean;
import org.springframework.context.annotation.Configuration;
@Configuration
public class TopicConfig {
// 定义键
public final static String KEY_A=“.orange.”;
public final static String KEY_B=“..rabbit”;
public final static String KEY_C=“lazy.#”;
// 创建队列
@Bean
public Queue topicQueueA(){
return new Queue(“topicQueueA”,true);
}
@Bean
public Queue topicQueueB(){
return new Queue(“topicQueueB”,true);
}
@Bean
public Queue topicQueueC(){
return new Queue(“topicQueueC”,true);
}
// 创建交换机
@Bean
public TopicExchange topicExchange(){
return new TopicExchange(“topicExchange”);
}
// 进行交换机和队列的绑定:设置bindingkey
@Bean
public Binding topicBingingA(){
return BindingBuilder.bind(topicQueueA()).to(topicExchange()).with(KEY_A);
}
@Bean
public Binding topicBingingB(){
return BindingBuilder.bind(topicQueueB()).to(topicExchange()).with(KEY_B);
}
@Bean
public Binding topicBingingC(){
return BindingBuilder.bind(topicQueueC()).to(topicExchange()).with(KEY_C);
}
}
2、在ProviderController内增加方法
@RequestMapping(“/topicSend”)
public String topicSend(String routingKey){
template.convertAndSend(“topicExchange”,routingKey,“hello world”);
return “yes”;
}
3、消费者接收信息
package com.lv.consumer1.mq;
import lombok.extern.slf4j.Slf4j;
import org.springframework.amqp.rabbit.annotation.RabbitHandler;
import org.springframework.amqp.rabbit.annotation.RabbitListener;
import org.springframework.stereotype.Component;
@Component
@SuppressWarnings(“all”)
//消息队的监听器
@RabbitListener(queues = “topicQueueA”)
@Slf4j
public class TopicReceiverA {
@RabbitHandler
public void process(String message){
log.info(“A接到”+message);
}
}
package com.lv.consumer1.mq;
import lombok.extern.slf4j.Slf4j;
import org.springframework.amqp.rabbit.annotation.RabbitHandler;
import org.springframework.amqp.rabbit.annotation.RabbitListener;
import org.springframework.stereotype.Component;
@Component
@SuppressWarnings(“all”)
//消息队的监听器
@RabbitListener(queues = “topicQueueB”)
@Slf4j
public class TopicReceiverB {
@RabbitHandler
public void process(String message){
log.info(“B接到”+message);
}
}
package com.lv.consumer1.mq;
import lombok.extern.slf4j.Slf4j;
import org.springframework.amqp.rabbit.annotation.RabbitHandler;
import org.springframework.amqp.rabbit.annotation.RabbitListener;
import org.springframework.stereotype.Component;
@Component
@SuppressWarnings(“all”)
//消息队的监听器
@RabbitListener(queues = “topicQueueC”)
@Slf4j
public class TopicReceiverC {
@RabbitHandler
public void process(String message){
log.warn(“C接到”+message);
}
}
4、执行
规则:

aa不符合规则,不产生任何数据:


符合规则:出现数据


启动消费者,接收数据:

七、扇形交换机
=======
1、在生产者内创建队列,创建交换机以及进行绑定,绑定时不需要键
FanoutConfig :
package com.lv.code.mq;
import org.springframework.amqp.core.Binding;
import org.springframework.amqp.core.BindingBuilder;
import org.springframework.amqp.core.FanoutExchange;
import org.springframework.amqp.core.Queue;
import org.springframework.context.annotation.Bean;
import org.springframework.context.annotation.Configuration;
@Configuration
public class FanoutConfig {
// 创建队列
@Bean
public Queue fanoutQueueA(){
return new Queue(“fanoutQueueA”,true);
}
@Bean
public Queue fanoutQueueB(){
return new Queue(“fanoutQueueB”,true);
}
@Bean
public Queue fanoutQueueC(){
return new Queue(“fanoutQueueC”,true);
}
// 创建交换机
@Bean
public FanoutExchange fanoutExchange(){
return new FanoutExchange(“fanoutExchange”);
}
// 进行交换机和队列的绑定:不需要键
@Bean
public Binding fanoutBingingA(){
return BindingBuilder.bind(fanoutQueueA()).to(fanoutExchange());
}
@Bean
public Binding fanoutBingingB(){
return BindingBuilder.bind(fanoutQueueB()).to(fanoutExchange());
}
@Bean
public Binding fanoutBingingC(){
return BindingBuilder.bind(fanoutQueueC()).to(fanoutExchange());
}
}
最后
自我介绍一下,小编13年上海交大毕业,曾经在小公司待过,也去过华为、OPPO等大厂,18年进入阿里一直到现在。
深知大多数Java工程师,想要提升技能,往往是自己摸索成长,自己不成体系的自学效果低效漫长且无助。
因此收集整理了一份《2024年Java开发全套学习资料》,初衷也很简单,就是希望能够帮助到想自学提升又不知道该从何学起的朋友,同时减轻大家的负担。

既有适合小白学习的零基础资料,也有适合3年以上经验的小伙伴深入学习提升的进阶课程,基本涵盖了95%以上Java开发知识点,不论你是刚入门Android开发的新手,还是希望在技术上不断提升的资深开发者,这些资料都将为你打开新的学习之门!
如果你觉得这些内容对你有帮助,需要这份全套学习资料的朋友可以戳我获取!!
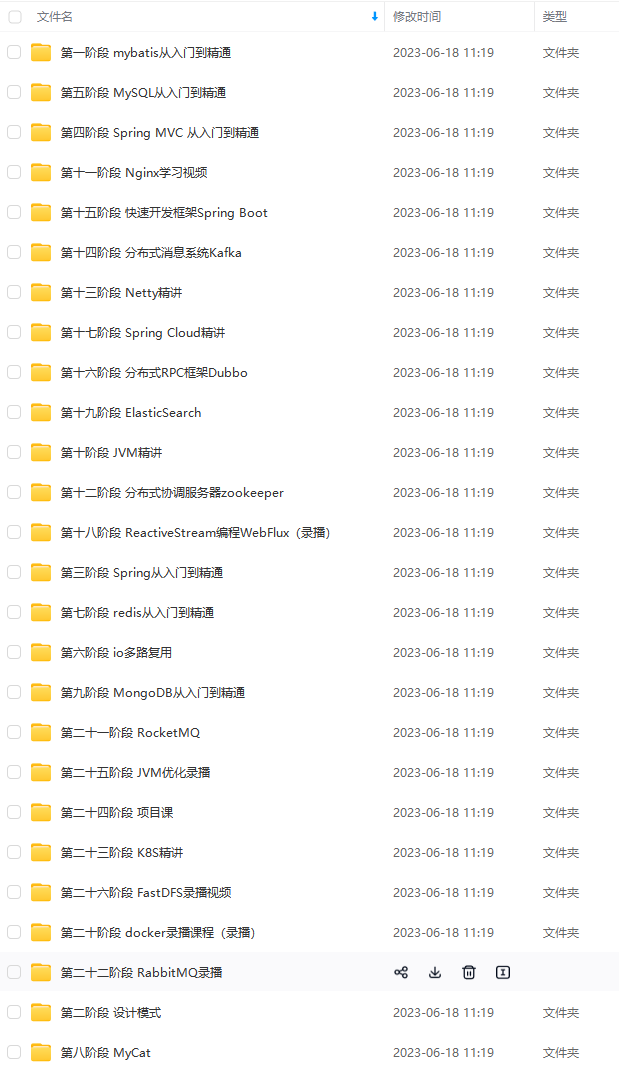
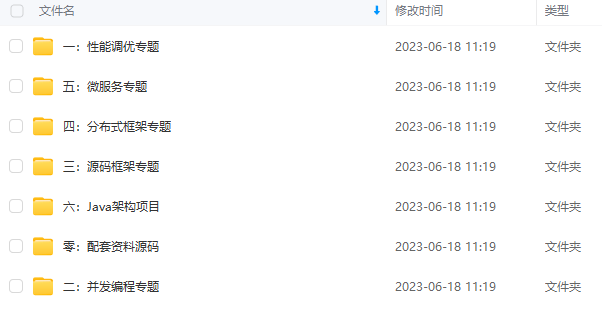
由于文件比较大,这里只是将部分目录截图出来,每个节点里面都包含大厂面经、学习笔记、源码讲义、实战项目、讲解视频,并且会持续更新!
tBingingA(){
return BindingBuilder.bind(fanoutQueueA()).to(fanoutExchange());
}
@Bean
public Binding fanoutBingingB(){
return BindingBuilder.bind(fanoutQueueB()).to(fanoutExchange());
}
@Bean
public Binding fanoutBingingC(){
return BindingBuilder.bind(fanoutQueueC()).to(fanoutExchange());
}
}
最后
自我介绍一下,小编13年上海交大毕业,曾经在小公司待过,也去过华为、OPPO等大厂,18年进入阿里一直到现在。
深知大多数Java工程师,想要提升技能,往往是自己摸索成长,自己不成体系的自学效果低效漫长且无助。
因此收集整理了一份《2024年Java开发全套学习资料》,初衷也很简单,就是希望能够帮助到想自学提升又不知道该从何学起的朋友,同时减轻大家的负担。
[外链图片转存中…(img-EYwAEElZ-1714943501888)]
[外链图片转存中…(img-dnNlt5ta-1714943501889)]
[外链图片转存中…(img-6Cwn6oOs-1714943501889)]
既有适合小白学习的零基础资料,也有适合3年以上经验的小伙伴深入学习提升的进阶课程,基本涵盖了95%以上Java开发知识点,不论你是刚入门Android开发的新手,还是希望在技术上不断提升的资深开发者,这些资料都将为你打开新的学习之门!
如果你觉得这些内容对你有帮助,需要这份全套学习资料的朋友可以戳我获取!!
由于文件比较大,这里只是将部分目录截图出来,每个节点里面都包含大厂面经、学习笔记、源码讲义、实战项目、讲解视频,并且会持续更新!


 9511
9511


 被折叠的 条评论
为什么被折叠?
被折叠的 条评论
为什么被折叠?
 到【灌水乐园】发言


