


这里我将这个功能抽象成一个面具加载服务,请跟随我的代码一窥究竟吧。
- 1.导入对应的工具包
from time import sleep
import cv2
import numpy as np
from PIL import Image
from imutils import face_utils, resize
try:
from dlib import get_frontal_face_detector, shape_predictor
except ImportError:
raise
- 创建面具加载服务类
DynamicStreamMaskService及其对应的初始化属性:
class DynamicStreamMaskService(object):
“”"
动态黏贴面具服务
“”"
def init(self, saved=False):
self.saved = saved # 是否保存图片
self.listener = True # 启动参数
self.video_capture = cv2.VideoCapture(0) # 调用本地摄像头
self.doing = False # 是否进行面部面具
self.speed = 0.1 # 面具移动速度
self.detector = get_frontal_face_detector() # 面部识别器
self.predictor = shape_predictor(“shape_predictor_68_face_landmarks.dat”) # 面部分析器
self.fps = 4 # 面具存在时间基础时间
self.animation_time = 0 # 动画周期初始值
self.duration = self.fps * 4 # 动画周期最大值
self.fixed_time = 4 # 画图之后,停留时间
self.max_width = 500 # 图像大小
self.deal, self.text, self.cigarette = None, None, None # 面具对象
- 按照上面介绍,我们先实现读取视频流转换图片的函数:
def read_data(self):
“”"
从摄像头获取视频流,并转换为一帧一帧的图像
:return: 返回一帧一帧的图像信息
“”"
_, data = self.video_capture.read()
return data
- 接下来我们实现人脸定位函数,及眼镜和烟卷的定位:
def get_glasses_info(self, face_shape, face_width):
“”"
获取当前面部的眼镜信息
:param face_shape:
:param face_width:
:return:
“”"
left_eye = face_shape[36:42]
right_eye = face_shape[42:48]
left_eye_center = left_eye.mean(axis=0).astype(“int”)
right_eye_center = right_eye.mean(axis=0).astype(“int”)
y = left_eye_center[1] - right_eye_center[1]
x = left_eye_center[0] - right_eye_center[0]
eye_angle = np.rad2deg(np.arctan2(y, x))
deal = self.deal.resize(
(face_width, int(face_width * self.deal.size[1] / self.deal.size[0])),
resample=Image.LANCZOS)
deal = deal.rotate(eye_angle, expand=True)
deal = deal.transpose(Image.FLIP_TOP_BOTTOM)
left_eye_x = left_eye[0, 0] - face_width // 4
left_eye_y = left_eye[0, 1] - face_width // 6
return {“image”: deal, “pos”: (left_eye_x, left_eye_y)}
def get_cigarette_info(self, face_shape, face_width):
“”"
获取当前面部的烟卷信息
:param face_shape:
:param face_width:
:return:
“”"
mouth = face_shape[49:68]
mouth_center = mouth.mean(axis=0).astype(“int”)
cigarette = self.cigarette.resize(
(face_width, int(face_width * self.cigarette.size[1] / self.cigarette.size[0])),
resample=Image.LANCZOS)
x = mouth[0, 0] - face_width + int(16 * face_width / self.cigarette.size[0])
y = mouth_center[1]
return {“image”: cigarette, “pos”: (x, y)}
def orientation(self, rects, img_gray):
“”"
人脸定位
:return:
“”"
faces = []
for rect in rects:
face = {}
face_shades_width = rect.right() - rect.left()
predictor_shape = self.predictor(img_gray, rect)
face_shape = face_utils.shape_to_np(predictor_shape)
face[‘cigarette’] = self.get_cigarette_info(face_shape, face_shades_width)
face[‘glasses’] = self.get_glasses_info(face_shape, face_shades_width)
faces.append(face)
return faces
- 刚才我们提到了键盘监听事件,这里我们实现一下这个函数:
def listener_keys(self):
“”"
设置键盘监听事件
:return:
“”"
key = cv2.waitKey(1) & 0xFF
if key == ord(“q”):
self.listener = False
self.console(“程序退出”)
sleep(1)
self.exit()
if key == ord(“d”):
self.doing = not self.doing
- 接下来我们来实现加载面具信息的函数:
def init_mask(self):
“”"
加载面具
:return:
“”"
self.console(“加载面具…”)
self.deal, self.text, self.cigarette = (
Image.open(x) for x in [“images/deals.png”, “images/text.png”, “images/cigarette.png”]
)
- 上面基本的功能都实现了,我们该实现画图函数了,这个函数原理和之前我写的那篇用AI人脸识别技术实现抖音特效实现是一样的,这里我就不赘述了,可以去github或Python中文社区微信公众号查看。
自我介绍一下,小编13年上海交大毕业,曾经在小公司待过,也去过华为、OPPO等大厂,18年进入阿里一直到现在。
深知大多数Python工程师,想要提升技能,往往是自己摸索成长或者是报班学习,但对于培训机构动则几千的学费,着实压力不小。自己不成体系的自学效果低效又漫长,而且极易碰到天花板技术停滞不前!
因此收集整理了一份《2024年Python开发全套学习资料》,初衷也很简单,就是希望能够帮助到想自学提升又不知道该从何学起的朋友,同时减轻大家的负担。
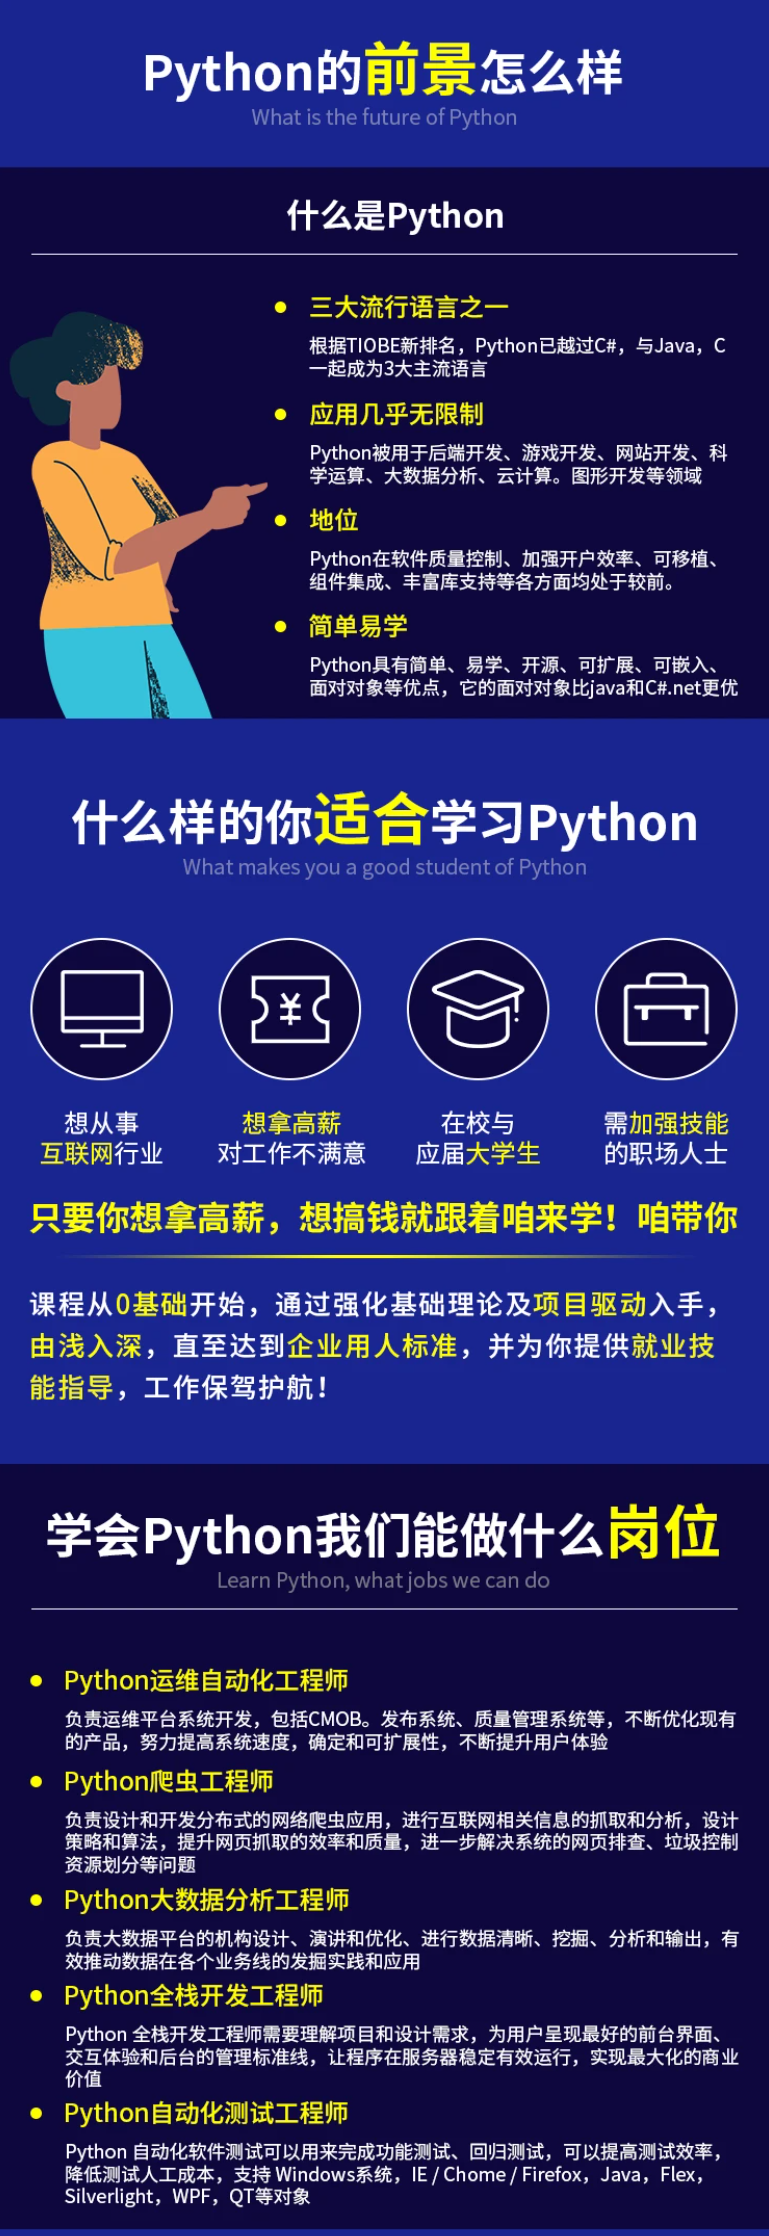

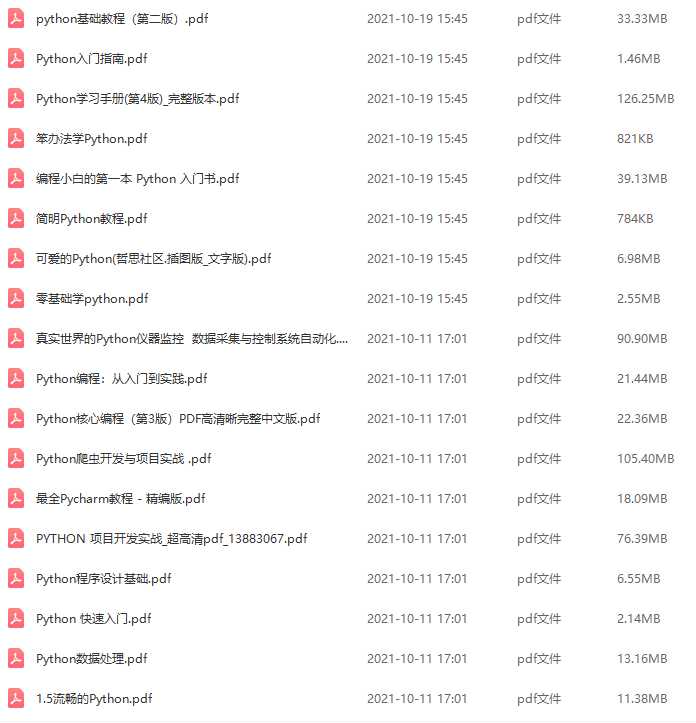

既有适合小白学习的零基础资料,也有适合3年以上经验的小伙伴深入学习提升的进阶课程,基本涵盖了95%以上前端开发知识点,真正体系化!
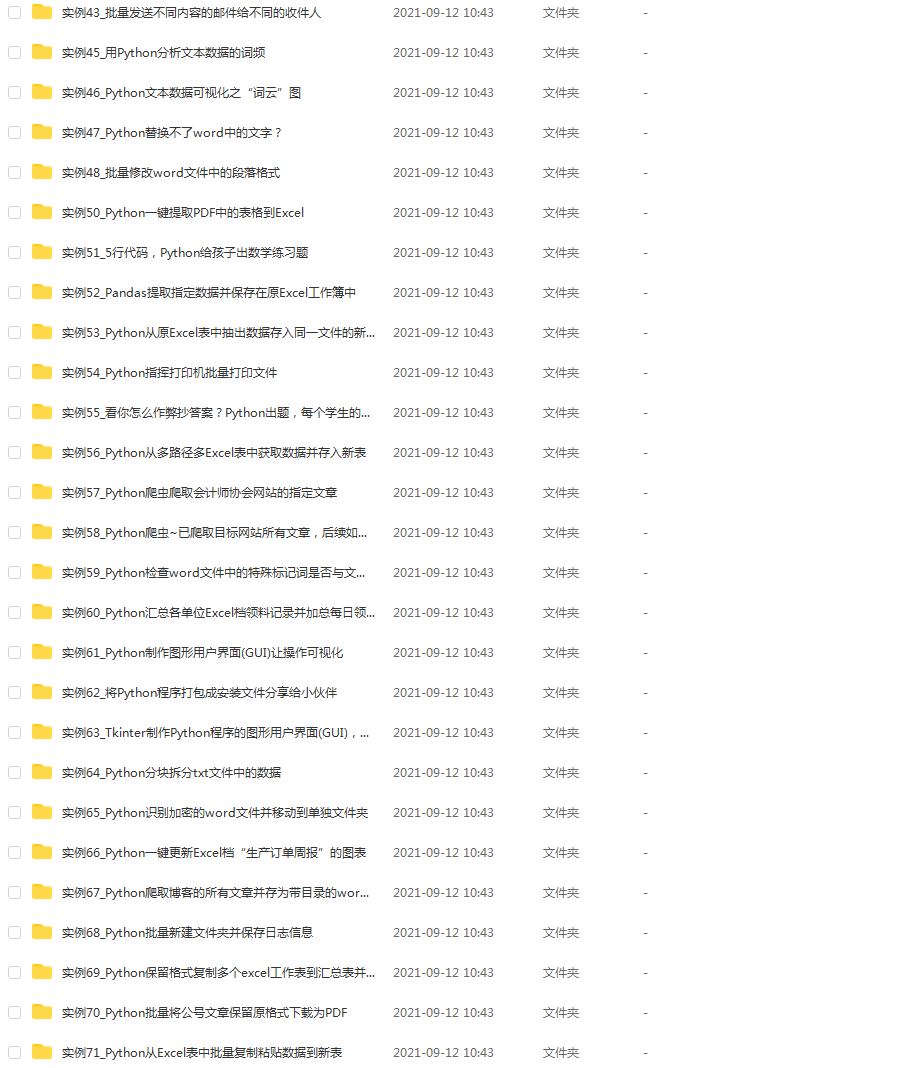
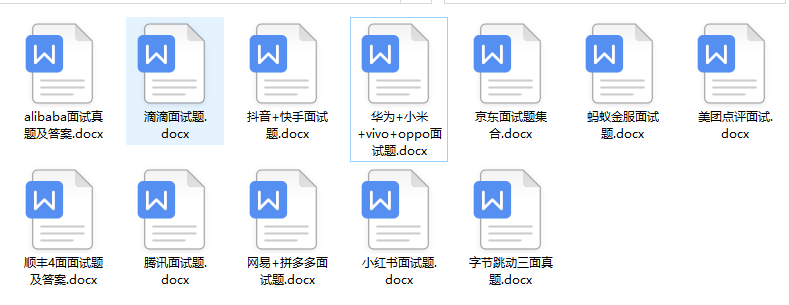
由于文件比较大,这里只是将部分目录大纲截图出来,每个节点里面都包含大厂面经、学习笔记、源码讲义、实战项目、讲解视频,并且后续会持续更新
如果你觉得这些内容对你有帮助,可以扫码获取!!!(备注Python)
g-blog.csdnimg.cn/img_convert/6c361282296f86381401c05e862fe4e9.png)
既有适合小白学习的零基础资料,也有适合3年以上经验的小伙伴深入学习提升的进阶课程,基本涵盖了95%以上前端开发知识点,真正体系化!
由于文件比较大,这里只是将部分目录大纲截图出来,每个节点里面都包含大厂面经、学习笔记、源码讲义、实战项目、讲解视频,并且后续会持续更新
如果你觉得这些内容对你有帮助,可以扫码获取!!!(备注Python)


 387
387


 被折叠的 条评论
为什么被折叠?
被折叠的 条评论
为什么被折叠?
 到【灌水乐园】发言


