


 文章详细介绍了Netty框架中的ByteBuf类的API测试,包括创建、写入、读取、丢弃内容、扩容机制以及Unsafe的使用,展示了ByteBuf在处理数据流时的强大和灵活性。
-
标记和重置
-
引用计数和释放
我们可以对这些api做一些测试,如下:
package io.netty.example.echo;
import java.util.Arrays;
import io.netty.buffer.ByteBuf;
import io.netty.buffer.Unpooled;
/**
-
@author daniel
-
@version 1.0.0
-
@date 2021/12/20
*/
public class ApiTest {
public static void main(String[] args) {
//1.创建一个非池化的ByteBuf,大小为10字节
ByteBuf buf = Unpooled.buffer(10);
System.out.println(“原始ByteBuf为:” + buf.toString());
System.out.println(“1.ByteBuf中的内容为:” + Arrays.toString(buf.array()));
System.out.println();
//2.写入一段内容
byte[] bytes = {1,2,3,4,5};
buf.writeBytes(bytes);
System.out.println(“写入的bytes为:” + Arrays.toString(bytes));
System.out.println(“写入一段内容后ByteBuf为:” + buf);
System.out.println(“2.ByteBuf中的内容为:” + Arrays.toString(buf.array()));
System.out.println();
//3.读取一段内容
byte b1 = buf.readByte();
byte b2 = buf.readByte();
System.out.println(“读取的bytes为:” + Arrays.toString(new byte[]{b1, b2}));
System.out.println(“读取一段内容后ByteBuf为:” + buf);
System.out.println(“3.ByteBuf中的内容为:” + Arrays.toString(buf.array()));
System.out.println();
//4.将读取的内容丢弃
buf.discardReadBytes();
System.out.println(“丢弃已读取的内容后ByteBuf为:” + buf);
System.out.println(“4.ByteBuf中的内容为:” + Arrays.toString(buf.array()));
System.out.println();
//5.清空读写指针
buf.clear();
System.out.println(“清空读写指针后ByteBuf为:” + buf);
System.out.println(“5.ByteBuf中的内容为:” + Arrays.toString(buf.array()));
System.out.println();
//6.再次写入一段内容,比第一段内容少
byte[] bytes2 = {1,2,3};
buf.writeBytes(bytes2);
System.out.println(“再写入的bytes2为:” + Arrays.toString(bytes2));
System.out.println(“再写入一段内容后ByteBuf为:” + buf);
System.out.println(“6.ByteBuf中的内容为:” + Arrays.toString(buf.array()));
System.out.println();
//7.将ByteBuf清空
buf.setZero(0, buf.capacity());
System.out.println(“内容清空后ByteBuf为:” + buf);
System.out.println(“7.ByteBuf中的内容为:” + Arrays.toString(buf.array()));
System.out.println();
//8.再次写入一段超过容量的内容
byte[] bytes3 = {1,2,3,4,5,6,7,8,9,10,11};
buf.writeBytes(bytes3);
System.out.println(“写入超量的bytes3为:” + Arrays.toString(bytes3));
System.out.println(“写入超量内容后ByteBuf为:” + buf);
System.out.println(“8.ByteBuf中的内容为:” + Arrays.toString(buf.array()));
System.out.println();
}
}
复制代码
从这些api的使用中就可以体会到ByteBuf比ByteBuffer的强大之处,我们可以深入研究一下它在写入超量数据时的扩容机制,也就是buf.writeBytes(byte[])方法
ByteBuf动态扩容
容量默认值为256字节,最大值为Integer.MAX_VALUE,也就是2GB
实际调用AbstractByteBuf.writeBytes,如下:
AbstractByteBuf.writeBytes
@Override
public ByteBuf writeBytes(byte[] src) {
writeBytes(src, 0, src.length);
return this;
}
复制代码
AbstractByteBuf.writeBytes(src, 0, src.length);
@Override
public ByteBuf writeBytes(byte[] src, int srcIndex, int length) {
ensureWritable(length); //检查是否有足够的可写空间,是否需要扩容
setBytes(writerIndex, src, srcIndex, length);
writerIndex += length;
return this;
}
复制代码
AbstractByteBuf.ensureWritable(length);
@Override
public ByteBuf ensureWritable(int minWritableBytes) {
ensureWritable0(checkPositiveOrZero(minWritableBytes, “minWritableBytes”));
return this;
}
复制代码
AbstractByteBuf.ensureWritable0(checkPositiveOrZero(minWritableBytes, “minWritableBytes”));
final void ensureWritable0(int minWritableBytes) {
final int writerIndex = writerIndex(); //获取当前写下标
final int targetCapacity = writerIndex + minWritableBytes; //计算最少需要的容量
// using non-short-circuit & to reduce branching - this is a hot path and targetCapacity should rarely overflow
if (targetCapacity >= 0 & targetCapacity <= capacity()) { //判断当前容量是否够用
ensureAccessible(); //检查ByteBuf的引用计数,如果为0则不允许继续操作
return;
}
if (checkBounds && (targetCapacity < 0 || targetCapacity > maxCapacity)) { //判断需要的容量是否是合法值,不合法为true直接抛出越界异常
ensureAccessible();//检查ByteBuf的引用计数,如果为0则不允许继续操作
throw new IndexOutOfBoundsException(String.format(
“writerIndex(%d) + minWritableBytes(%d) exceeds maxCapacity(%d): %s”,
writerIndex, minWritableBytes, maxCapacity, this));
}
// Normalize the target capacity to the power of 2.(标准化为2的次幂)
final int fastWritable = maxFastWritableBytes();
-
int newCapacity = fastWritable >= minWritableBytes ? writerIndex + fastWritable
- alloc().calculateNewCapacity(targetCapacity, maxCapacity); //计算扩容后容量(只要扩容最小64)
// Adjust to the new capacity.
capacity(newCapacity); //设置新的容量
}
复制代码
alloc().calculateNewCapacity(targetCapacity, maxCapacity) -> AbstractByteBufAllocator
@Override
public int calculateNewCapacity(int minNewCapacity, int maxCapacity) {
checkPositiveOrZero(minNewCapacity, “minNewCapacity”); //最小所需容量
if (minNewCapacity > maxCapacity) { //判断最小所需容量是否合法
throw new IllegalArgumentException(String.format(
“minNewCapacity: %d (expected: not greater than maxCapacity(%d)”,
minNewCapacity, maxCapacity));
}
final int threshold = CALCULATE_THRESHOLD; // 4 MiB page 阈值超过4M以其他方式计算
if (minNewCapacity == threshold) { //等于4M直接返回4M
return threshold;
}
// If over threshold, do not double but just increase by threshold.
if (minNewCapacity > threshold) { //大于4M,不需要加倍,只需要扩大阈值即可
int newCapacity = minNewCapacity / threshold * threshold;
if (newCapacity > maxCapacity - threshold) {
newCapacity = maxCapacity;
} else {
newCapacity += threshold;
}
return newCapacity;
}
// 64 <= newCapacity is a power of 2 <= threshold
final int newCapacity = MathUtil.findNextPositivePowerOfTwo(Math.max(minNewCapacity, 64)); //计算不少于所需容量的最小的2次幂的值
return Math.min(newCapacity, maxCapacity); //取容量所允许的最大值和计算的2次幂的最小值,当然在这儿就是newCapacity=64
}
复制代码
总结一下就是最小所需容量是否等于阈值,如果是直接返回阈值此后直接扩大阈值,否则以64为最小2次幂为基础每次扩大二倍直到阈值.
选择合适的ByteBuf实现
netty针对ByteBuf提供了8中具体的实现方式,如下:
| 堆内/堆外 | 是否池化 | 访问方式 | 具体实现类 | 备注 |
| — | — | — | — | — |
| heap堆内 | unpool | safe | UnpooledHeapByteBuf | 数组实现 |
| heap堆内 | unpool | unsafe | UnpooledUnsafeHeapByteBuf | Unsafe类直接操作内存 |
| heap堆内 | pool | safe | PooledHeapByteBuf | |
| heap堆内 | pool | unsafe | PooledUnsafeHeapByteBuf | ~ |
| direct堆外 | unpool | safe | UnpooledDirectByteBuf | NIO DirectByteBuffer |
| direct堆外 | unpool | unsafe | UnpooleUnsafedDirectByteBuf | ~ |
| direct堆外 | pool | safe | PooledDirectByteBuf | ~ |
| direct堆外 | pool | unsafe | PooledUnsafeDirectByteBuf | ~ |
在使用时,都是通过ByteBufAllocator分配器进行申请,同时分配器具有内存管理的功能。
在这儿堆内和堆外没有什么区别,对api的使用时一样的,仅仅是通过Unpooled申请的不一样.
那个safe和unsafe有什么区别呢?
以UnpooledHeapByteBuf和UnpooledUnsafeHeapByteBuf中的getByte(int index)方法为例进行分析
UnpooledHeapByteBuf
@Override
public byte getByte(int index) {
ensureAccessible();
return _getByte(index); //真正的获取字节的方法
}
@Override
protected byte _getByte(int index) {
return HeapByteBufUtil.getByte(array, index); //通过HeapByteBufUtil工具类获取数据
}
复制代码
HeapByteBufUtil
static byte getByte(byte[] memory, int index) {
return memory[index];
}
复制代码
UnpooledHeapByteBuf从堆内数组中获取数据,这是安全的
UnpooledUnsafeHeapByteBuf
@Override
public byte getByte(int index) {
checkIndex(index);
return _getByte(index);
}
@Override
protected byte _getByte(int index) {
return UnsafeByteBufUtil.getByte(array, index);
}
复制代码
PlatformDependent0
static byte getByte(byte[] data, int index) {
return UNSAFE.getByte(data, BYTE_ARRAY_BASE_OFFSET + index);
}
复制代码
UnpooledUnsafeHeapByteBuf是通过UNSAFE来操作内存的
现在我们来研究一下Unsafe
Unsafe的实现
Unsafe意味着不安全的操作,但是更底层的操作会带来性能提升和特殊功能,Netty中会尽力使用unsafe以提升系统性能
Java语言很重要的特性就是一次编译到处运行,所以它针对底层的内存或者其他操作做了很多封装,而unsafe提供了一系列我们操作底层的方法,可能会导致不兼容或不可知的异常.
比如:
-
返回一些低级的内存信息
-
addressSize
-
pageSize
-
提供用于操作对象及其字段的方法
-
allocateInstance
-
objectFieldOffset
-
提供用于操作类及其静态字段的方法
-
staticFieldOffset
-
defineClass
-
defineAnonymousClass
-
ensureClassInitialized
-
低级的同步原语
-
monitorEnter
-
tryMonitorEnter
-
monitorExit
自我介绍一下,小编13年上海交大毕业,曾经在小公司待过,也去过华为、OPPO等大厂,18年进入阿里一直到现在。
深知大多数Java工程师,想要提升技能,往往是自己摸索成长或者是报班学习,但对于培训机构动则几千的学费,着实压力不小。自己不成体系的自学效果低效又漫长,而且极易碰到天花板技术停滞不前!
因此收集整理了一份《2024年Java开发全套学习资料》,初衷也很简单,就是希望能够帮助到想自学提升又不知道该从何学起的朋友,同时减轻大家的负担。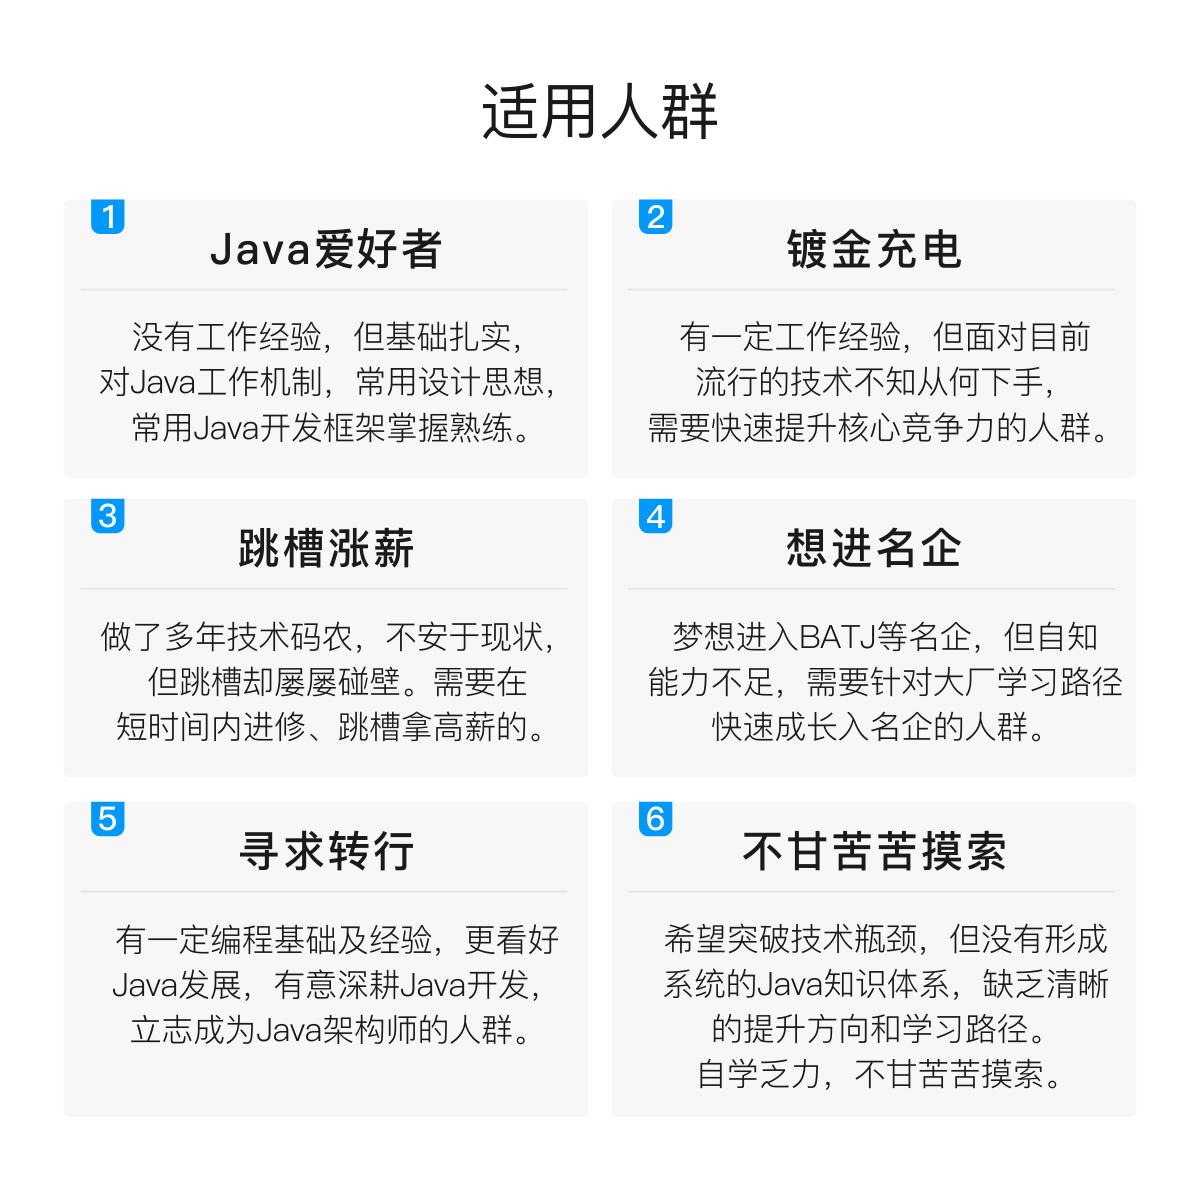

既有适合小白学习的零基础资料,也有适合3年以上经验的小伙伴深入学习提升的进阶课程,基本涵盖了95%以上Java开发知识点,真正体系化!
由于文件比较大,这里只是将部分目录截图出来,每个节点里面都包含大厂面经、学习笔记、源码讲义、实战项目、讲解视频,并且会持续更新!
如果你觉得这些内容对你有帮助,可以扫码获取!!(备注Java获取)

一线互联网大厂Java核心面试题库

正逢面试跳槽季,给大家整理了大厂问到的一些面试真题,由于文章长度限制,只给大家展示了部分题目,更多Java基础、异常、集合、并发编程、JVM、Spring全家桶、MyBatis、Redis、数据库、中间件MQ、Dubbo、Linux、Tomcat、ZooKeeper、Netty等等已整理上传,感兴趣的朋友可以看看支持一波!
《互联网大厂面试真题解析、进阶开发核心学习笔记、全套讲解视频、实战项目源码讲义》点击传送门即可获取!
程,基本涵盖了95%以上Java开发知识点,真正体系化!**
由于文件比较大,这里只是将部分目录截图出来,每个节点里面都包含大厂面经、学习笔记、源码讲义、实战项目、讲解视频,并且会持续更新!
如果你觉得这些内容对你有帮助,可以扫码获取!!(备注Java获取)
一线互联网大厂Java核心面试题库
[外链图片转存中…(img-jc0RJa8o-1713341026011)]
正逢面试跳槽季,给大家整理了大厂问到的一些面试真题,由于文章长度限制,只给大家展示了部分题目,更多Java基础、异常、集合、并发编程、JVM、Spring全家桶、MyBatis、Redis、数据库、中间件MQ、Dubbo、Linux、Tomcat、ZooKeeper、Netty等等已整理上传,感兴趣的朋友可以看看支持一波!
《互联网大厂面试真题解析、进阶开发核心学习笔记、全套讲解视频、实战项目源码讲义》点击传送门即可获取!


 290
290

 被折叠的 条评论
为什么被折叠?
被折叠的 条评论
为什么被折叠?
 到【灌水乐园】发言


