


先自我介绍一下,小编浙江大学毕业,去过华为、字节跳动等大厂,目前阿里P7
深知大多数程序员,想要提升技能,往往是自己摸索成长,但自己不成体系的自学效果低效又漫长,而且极易碰到天花板技术停滞不前!
因此收集整理了一份《2024年最新软件测试全套学习资料》,初衷也很简单,就是希望能够帮助到想自学提升又不知道该从何学起的朋友。
既有适合小白学习的零基础资料,也有适合3年以上经验的小伙伴深入学习提升的进阶课程,涵盖了95%以上软件测试知识点,真正体系化!
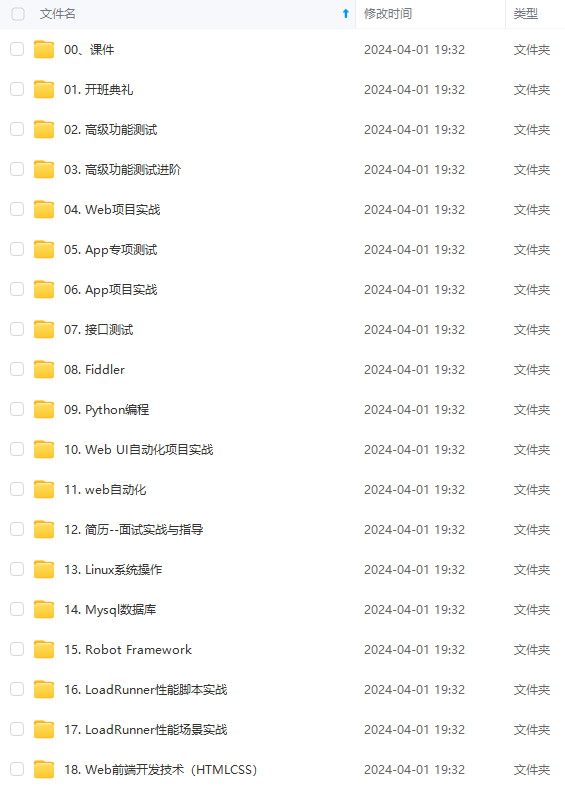
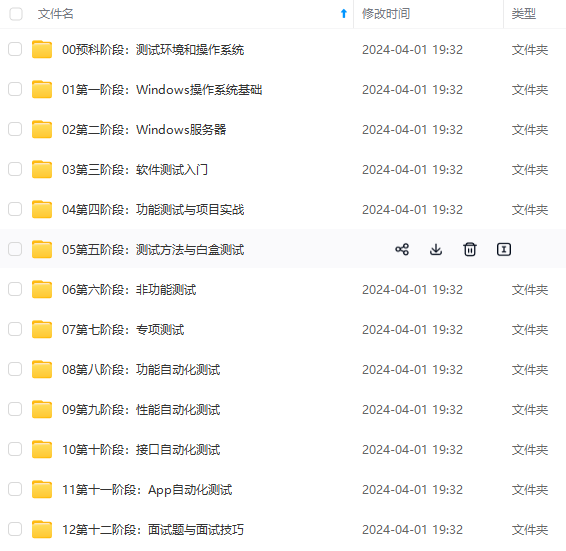
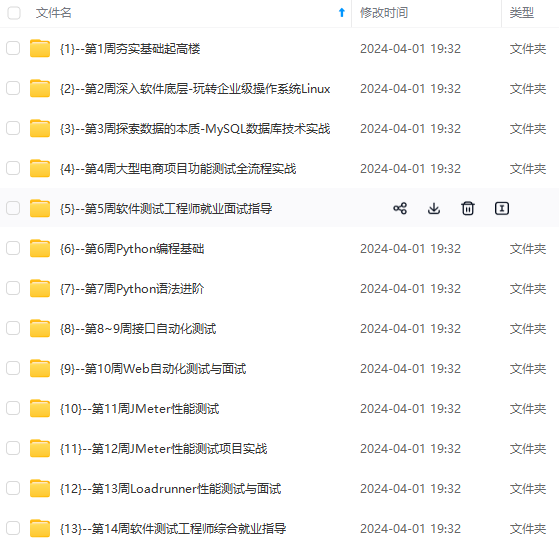
由于文件比较多,这里只是将部分目录截图出来,全套包含大厂面经、学习笔记、源码讲义、实战项目、大纲路线、讲解视频,并且后续会持续更新
如果你需要这些资料,可以添加V获取:vip1024b (备注软件测试)

正文
discovery.zen.fd.ping_timeout: 120s 存活超时时间
discovery.zen.fd.ping_retries: 6 存活超时重试次数
http.cors.enabled: true 使用监控
index.analysis.analyzer.ik.type:”ik” ik分词
thread pool setting
threadpool.index.type: fixed 写索引线程池类型
threadpool.index.size: 64 线程池大小(建议2~3倍cpu数)
threadpool.index.queue_size: 1000 队列大小
threadpool.search.size: 64 搜索线程池大小
threadpool.search.type: fixed 搜索线程池类型
threadpool.search.queue_size: 1000 队列大小
threadpool.get.type: fixed 取数据线程池类型
threadpool.get.size: 32 取数据线程池大小
threadpool.get.queue_size: 1000 队列大小
threadpool.bulk.type: fixed 批量请求线程池类型
threadpool.bulk.size: 32 批量请求线程池大小
threadpool.bulk.queue_size: 1000 队列大小
threadpool.flush.type: fixed 刷磁盘线程池类型
threadpool.flush.size: 32 刷磁盘线程池大小
threadpool.flush.queue_size: 1000 队列大小
indices.store.throttle.type: merge
indices.store.throttle.type: none 写磁盘类型
indices.store.throttle.max_bytes_per_sec:500mb 写磁盘最大带宽
index.merge.scheduler.max_thread_count: 8 索引merge最大线程数
index.translog.flush_threshold_size:600MB 刷新translog文件阀值
cluster.routing.allocation.node_initial_primaries_recoveries:8 并发恢复分片数
cluster.routing.allocation.node_concurrent_recoveries:2 同时recovery并发数
使用bulk API 增加入库速度
初次索引的时候,把 replica 设置为 0
增大 threadpool.index.queue_size 1000
增大 indices.memory.index_buffer_size: 20%
index.translog.durability: async –这个可以异步写硬盘,增大写的速度
增大 index.translog.flush_threshold_size: 600MB
增大 index.translog.flush_threshold_ops: 500000

curl -XPOST ‘127.0.0.1:9200/_cluster/settings’ -d '{
“transient” :
{
“index.indexing.slowlog.threshold.index.warn”: “10s”,
“index.indexing.slowlog.threshold.index.info”: “5s”,
“index.indexing.slowlog.threshold.index.debug”: “2s”,
“index.indexing.slowlog.threshold.index.trace”: “500ms”,
“index.indexing.slowlog.level”: “info”,
“index.indexing.slowlog.source”: “1000”,
“indices.memory.index_buffer_size”: “20%”
}
}’


curl -XPOST ‘127.0.0.1:9200/_cluster/settings’ -d '{
“transient” :
{
“index.search.slowlog.threshold.query.warn”: “10s”,
“index.search.slowlog.threshold.query.info”: “5s”,
“index.search.slowlog.threshold.query.debug”: “2s”,
“index.search.slowlog.threshold.query.trace”: “500ms”,
“index.search.slowlog.threshold.fetch.warn”: “1s”,
“index.search.slowlog.threshold.fetch.info”: “800ms”,
“index.search.slowlog.threshold.fetch.debug”: “500ms”,
“index.search.slowlog.threshold.fetch.trace”: “200ms”
}
}’

–节点下线时,把所有后缀为 -2的从集群中排除
curl -XPUT http://127.0.0.1:9200/_cluster/settings
{ “transient” :
{“cluster.routing.allocation.enable” : “all”, “cluster.routing.allocation.exclude._name”:“.*-2”}
}

curl -XPUT ip:9200/_cluster/settings -d
‘{
“transient”: {
“logger.discover”: “DEBUG”
}
“persistent”: {
“discovery.zen.minimum_master_nodes”: 2
}
}’

—批量指定节点下线
curl -XPUT 127.0.0.1:9200/_cluster/settings -d '{
“transient”: {
“cluster.routing.allocation.exclude._name”: “atest11-2,atest12-2,anatest13-2,antest14-2”
}
}’
curl -XPUT 127.0.0.1:9200/_cluster/settings -d '{
“transient”: {
“cluster.routing.allocation.exclude._name”: “test_aa73_2,test_aa73”
}
}’
curl -XPUT 127.0.0.1:9200/_cluster/settings -d '{
“transient”: {
“cluster.routing.allocation.exclude._name”: “”
}
}’
curl -XPUT 127.0.0.1:9200/_cluster/settings -d '{
“transient”: {
“cluster.routing.allocation.cluster_concurrent_rebalance”: 10
}
}’

curl -XPUT 127.0.0.1:9200/_cluster/settings -d '{
“transient”: {
“indices.store.throttle.type”: “none”,
“index.store.type”: “niofs”,
“index.cache.field.type”: “soft”,
“indices.store.throttle.max_bytes_per_sec”: “500mb”,
“index.translog.flush_threshold_size”: “600MB”,
“threadpool.flush.type”: “fixed”,
“threadpool.flush.size”: 32,
“threadpool.flush.queue_size”: 1000
}
}’

curl -XPUT 127.0.0.1:9200/_cluster/settings -d '{
“transient”: {
“index.indexing.slowlog.level”: “warn”
}
}’

curl -XGET 127.0.0.1:9200/_cluster/health?level=shards
curl -XGET 127.0.0.1:9200/_cluster/settings?pretty
curl -XGET 127.0.0.1:9200/_cluster/pending_tasks?pretty
curl -XGET 127.0.0.1:9200/_cat/aliases
curl -XGET 127.0.0.1:9200/_cat/plugins
网上学习资料一大堆,但如果学到的知识不成体系,遇到问题时只是浅尝辄止,不再深入研究,那么很难做到真正的技术提升。
需要这份系统化的资料的朋友,可以添加V获取:vip1024b (备注软件测试)

一个人可以走的很快,但一群人才能走的更远!不论你是正从事IT行业的老鸟或是对IT行业感兴趣的新人,都欢迎加入我们的的圈子(技术交流、学习资源、职场吐槽、大厂内推、面试辅导),让我们一起学习成长!
0/_cat/plugins
网上学习资料一大堆,但如果学到的知识不成体系,遇到问题时只是浅尝辄止,不再深入研究,那么很难做到真正的技术提升。
需要这份系统化的资料的朋友,可以添加V获取:vip1024b (备注软件测试)
[外链图片转存中…(img-YpYJWJas-1713300016994)]
一个人可以走的很快,但一群人才能走的更远!不论你是正从事IT行业的老鸟或是对IT行业感兴趣的新人,都欢迎加入我们的的圈子(技术交流、学习资源、职场吐槽、大厂内推、面试辅导),让我们一起学习成长!


 2807
2807


 被折叠的 条评论
为什么被折叠?
被折叠的 条评论
为什么被折叠?
 到【灌水乐园】发言


