


还有兄弟不知道网络安全面试可以提前刷题吗?费时一周整理的160+网络安全面试题,金九银十,做网络安全面试里的显眼包!
王岚嵚工程师面试题(附答案),只能帮兄弟们到这儿了!如果你能答对70%,找一个安全工作,问题不大。
对于有1-3年工作经验,想要跳槽的朋友来说,也是很好的温习资料!
【完整版领取方式在文末!!】
93道网络安全面试题
内容实在太多,不一一截图了
黑客学习资源推荐
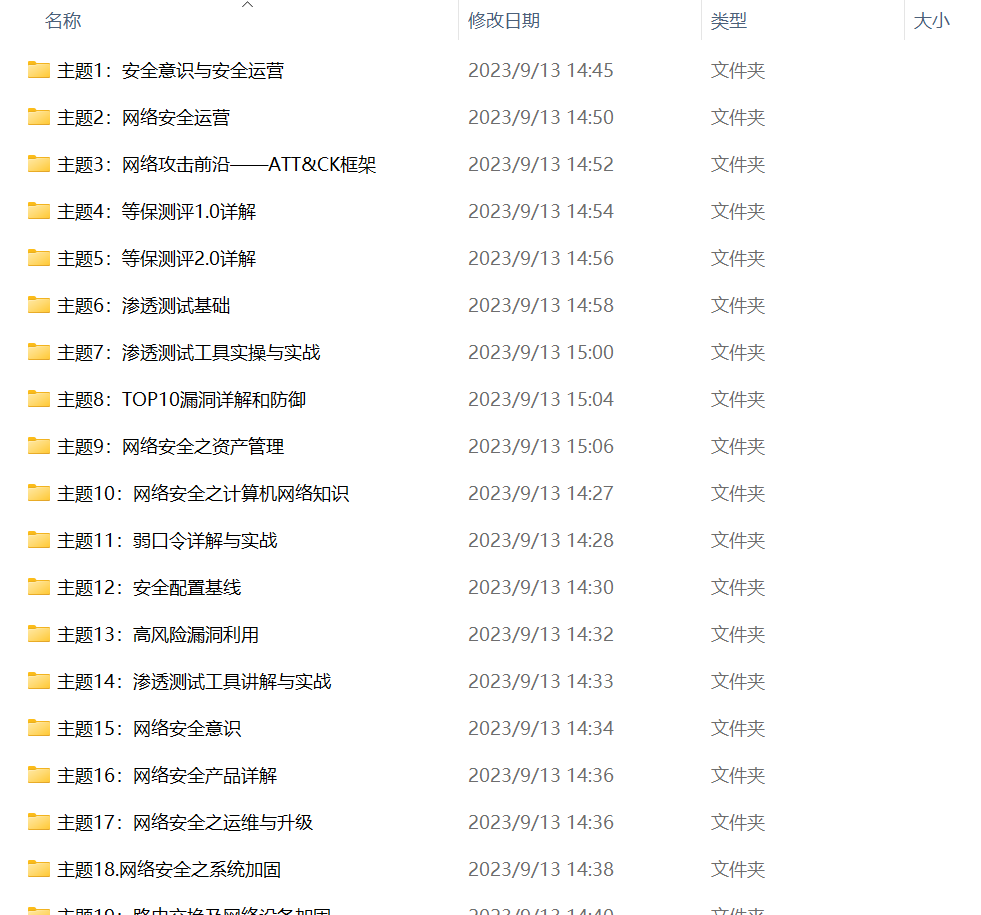
最后给大家分享一份全套的网络安全学习资料,给那些想学习 网络安全的小伙伴们一点帮助!
对于从来没有接触过网络安全的同学,我们帮你准备了详细的学习成长路线图。可以说是最科学最系统的学习路线,大家跟着这个大的方向学习准没问题。
1️⃣零基础入门
① 学习路线
对于从来没有接触过网络安全的同学,我们帮你准备了详细的学习成长路线图。可以说是最科学最系统的学习路线,大家跟着这个大的方向学习准没问题。
② 路线对应学习视频
同时每个成长路线对应的板块都有配套的视频提供:
网上学习资料一大堆,但如果学到的知识不成体系,遇到问题时只是浅尝辄止,不再深入研究,那么很难做到真正的技术提升。
一个人可以走的很快,但一群人才能走的更远!不论你是正从事IT行业的老鸟或是对IT行业感兴趣的新人,都欢迎加入我们的的圈子(技术交流、学习资源、职场吐槽、大厂内推、面试辅导),让我们一起学习成长!
- 主节点
候选主节点的设置方法是设置node.mater为true,默认情况下,node.mater和node.data的值都为true,即该节点既可以做候选主节点也可以做数据节点。由于数据节点承载了数据的操作,负载通常都很高,所以随着集群的扩大,建议将二者分离,设置专用的候选主节点。当我们设置node.data为false,就将节点设置为专用的候选主节点了。
node.master: true
node.data: false
- 数据节点
数据节点负责数据的存储和相关具体操作,比如CRUD、搜索、聚合。所以,数据节点对机器配置要求比较高,首先需要有足够的磁盘空间来存储数据,其次数据操作对系统CPU、Memory和IO的性能消耗都很大。通常随着集群的扩大,需要增加更多的数据节点来提高可用性。
node.master: false
node.data: true
- client节点
即不会被选作主节点,也不会存储任何索引数据。该节点只能处理路由请求,处理搜索,分发索引操作等,从本质上来说该客户节点表现为智能负载平衡器。
node.master = false
node.data = false
配置集群名称
-
不同的节点配置同一个cluster.name可组成同一个集群,确保不同的集群使用不同的cluster.name
-
配置如下 :
cluster.name: es-cluster-test
配置ES节点名称
-
node.name表示集群节点的名称,集群中节点进行区分,如果不配置则默认为主机名
-
配置如下
node.name: es01
配置ES节点监听地址
- 如果不配置,默认是监听在127.0.0.1 和 [::1],同时以development的方式启动。
#监听在指定ip上
network.host : 172.17.0.1
#监听在所有ip上
network.host : 0.0.0.0
日志数据路径配置
- 配置方式
path.data: /opt/data/es
path.logs: /opt/log/es
path:
data: /opt/data/es
logs: /opt/log/es
- path.data, 可以设置多个目录
path:
logs: /opt/log/es
data:
-
/opt/data/es-A
-
/opt/data/es-B
-
/opt/data/es-C
集群发现配置
- discovery.seed_hosts 配置方式如下
用于多个集群节点进行发现,组成集群
discovery.seed_hosts: [“192.168.1.10:9300”, “192.168.1.11”, “seeds.mydomain.com”]
discovery.seed_hosts:
-
192.168.1.10:9300
-
192.168.1.11
-
seeds.mydomain.com
- cluster.initial_master_nodes 配置方式如下
用于集群在第一次启动时,指定可以参与选举的主节点列表 (node.master: true)
cluster.initial_master_nodes: [“es01”, “es02”, “es03”]
cluster.initial_master_nodes:
-es01
-es02
-es03
- discovery.seed_hosts 如果不配置,会自动监听本地回环地址 将本地多个elasticsearch实例加入到集群中。
jvm配置
- /opt/es/config/jvm.options (一般配置为机器内存大小的一半)
sed -i “s/-Xms1g/-Xms"800m”/g" /opt/es/config/jvm.options
sed -i “s/-Xmx1g/-Xmx"800m”/g" /opt/es/config/jvm.options
es01
cluster.name: es-cluster-test
node.name: es01
path.logs: /opt/log/es
path.data: /opt/data/es
bootstrap.memory_lock: true
network.host: 0.0.0.0
http.port: 9200
transport.tcp.port: 9300
discovery.seed_hosts: [“172.16.1.236:9306”, “172.16.1.236:9307”]
cluster.initial_master_nodes: [“es01”, “es02”, “es03”]
es02
cluster.name: es-cluster-test
node.name: es02
path.logs: /opt/log/es
path.data: /opt/data/es
bootstrap.memory_lock: true
network.host: 0.0.0.0
http.port: 9200
transport.tcp.port: 9300
discovery.seed_hosts: [“172.16.1.236:9305”, “172.16.1.236:9307”]
cluster.initial_master_nodes: [“es01”, “es02”, “es03”]
es03
cluster.name: es-cluster-test
node.name: es03
path.logs: /opt/log/es
path.data: /opt/data/es
bootstrap.memory_lock: true
network.host: 0.0.0.0
http.port: 9200
transport.tcp.port: 9300
discovery.seed_hosts: [“172.16.1.236:9305”, “172.16.1.236:9306”]
cluster.initial_master_nodes: [“es01”, “es02”, “es03”]
启动
-
分别进入不同的容器启动elasticsearch
-
命令如下
/opt/es/bin/elasticsearch -d
查看容器状况(容器内)
- 查看集群是否启动成功
[elasticsearch@813bf8515935 /]$ curl localhost:9200/_cat/nodes
172.17.0.7 28 91 9 0.58 0.66 0.90 dilm - es02
172.17.0.6 15 91 5 0.58 0.66 0.90 dilm - es01
172.17.0.8 35 91 13 0.58 0.66 0.90 dilm * es03
- 查看当前节点
[elasticsearch@813bf8515935 /]$ curl localhost:9200
{
“name” : “es03”,
“cluster_name” : “es-cluster-test”,
“cluster_uuid” : “Syj18FUrR1GdnGzghBIacQ”,
“version” : {
“number” : “7.6.2”,
“build_flavor” : “default”,
“build_type” : “tar”,
“build_hash” : “ef48eb35cf30adf4db14086e8aabd07ef6fb113f”,
“build_date” : “2020-03-26T06:34:37.794943Z”,
“build_snapshot” : false,
“lucene_version” : “8.4.0”,
“minimum_wire_compatibility_version” : “6.8.0”,
“minimum_index_compatibility_version” : “6.0.0-beta1”
},
“tagline” : “You Know, for Search”
}
- 查看节点健康状况
[elasticsearch@813bf8515935 /]$ curl localhost:9200/_cat/health?v
epoch timestamp cluster status node.total node.data shards pri relo init unassign pending_tasks max_task_wait_time active_shards_percent
1605859559 08:05:59 es-cluster-test green 3 3 0 0 0 0 0 0
-
100.0%
查看容器状况(宿主机)
- 由于使用docker容器安装,因此也可以通过宿主机映射端口访问,本次测试宿主机为windows

修改配置
- 分别在不同的Es节点修改配置开启安全验证
echo “xpack.security.enabled: true” >> /opt/es/config/elasticsearch.yml
echo “xpack.security.transport.ssl.enabled: true” >> /opt/es/config/elasticsearch.yml
生成证书
- 选择其中一个节点生成CA证书,默认情况下生成证书放在 /opt/es
#创建ca证书 /opt/es/bin/elasticsearch-certutil ca -v
[elasticsearch@c824e845075b es]$ /opt/es/bin/elasticsearch-certutil ca -v
This tool assists you in the generation of X.509 certificates and certificate
signing requests for use with SSL/TLS in the Elastic stack.
The ‘ca’ mode generates a new ‘certificate authority’
This will create a new X.509 certificate and private key that can be used
to sign certificate when running in ‘cert’ mode.
Use the ‘ca-dn’ option if you wish to configure the ‘distinguished name’
of the certificate authority
By default the ‘ca’ mode produces a single PKCS#12 output file which holds:
-
The CA certificate
-
The CA’s private key
If you elect to generate PEM format certificates (the -pem option), then the output will
be a zip file containing individual files for the CA certificate and private key
Please enter the desired output file [elastic-stack-ca.p12]: #输入回车,使用默认
Enter password for elastic-stack-ca.p12 : #回车,暂不输入密码
- 与上一步骤同一个节点创建节点见认证用的证书
#创建节点间证书 /opt/es/bin/elasticsearch-certutil cert --ca elastic-stack-ca.p12
[elasticsearch@c824e845075b es]$ /opt/es/bin/elasticsearch-certutil cert --ca elastic-stack-ca.p12
This tool assists you in the generation of X.509 certificates and certificate
signing requests for use with SSL/TLS in the Elastic stack.
The ‘cert’ mode generates X.509 certificate and private keys.
- By default, this generates a single certificate and key for use
on a single instance.
- The ‘-multiple’ option will prompt you to enter details for multiple
instances and will generate a certificate and key for each one
- The ‘-in’ option allows for the certificate generation to be automated by describing
the details of each instance in a YAML file
- An instance is any piece of the Elastic Stack that requires an SSL certificate.
Depending on your configuration, Elasticsearch, Logstash, Kibana, and Beats
may all require a certificate and private key.
- The minimum required value for each instance is a name. This can simply be the
hostname, which will be used as the Common Name of the certificate. A full
distinguished name may also be used.
- A filename value may be required for each instance. This is necessary when the
name would result in an invalid file or directory name. The name provided here
is used as the directory name (within the zip) and the prefix for the key and
certificate files. The filename is required if you are prompted and the name
is not displayed in the prompt.
- IP addresses and DNS names are optional. Multiple values can be specified as a
comma separated string. If no IP addresses or DNS names are provided, you may
disable hostname verification in your SSL configuration.
-
All certificates generated by this tool will be signed by a certificate authority (CA).
-
The tool can automatically generate a new CA for you, or you can provide your own with the
-ca or -ca-cert command line options.
By default the ‘cert’ mode produces a single PKCS#12 output file which holds:
-
The instance certificate
-
The private key for the instance certificate
-
The CA certificate
If you specify any of the following options:
-
-pem (PEM formatted output)
-
-keep-ca-key (retain generated CA key)
-
-multiple (generate multiple certificates)
-
-in (generate certificates from an input file)
then the output will be be a zip file containing individual certificate/key files
Enter password for CA (elastic-stack-ca.p12) : #暂留空
Please enter the desired output file [elastic-certificates.p12]: #默认
Enter password for elastic-certificates.p12 : #ca证书密码,此次为空
Certificates written to /opt/es/elastic-certificates.p12
This file should be properly secured as it contains the private key for
your instance.
This file is a self contained file and can be copied and used ‘as is’
For each Elastic product that you wish to configure, you should copy
this ‘.p12’ file to the relevant configuration directory
and then follow the SSL configuration instructions in the product guide.
For client applications, you may only need to copy the CA certificate and
configure the client to trust this certificate.
- 配置ES节点使用这个证书
将生成证书拷贝到 /opt/es/config/certs目录下
[elasticsearch@c824e845075b es]$ mkdir -p /opt/es/config/certs
网上学习资料一大堆,但如果学到的知识不成体系,遇到问题时只是浅尝辄止,不再深入研究,那么很难做到真正的技术提升。
一个人可以走的很快,但一群人才能走的更远!不论你是正从事IT行业的老鸟或是对IT行业感兴趣的新人,都欢迎加入我们的的圈子(技术交流、学习资源、职场吐槽、大厂内推、面试辅导),让我们一起学习成长!


 518
518

 被折叠的 条评论
为什么被折叠?
被折叠的 条评论
为什么被折叠?
 到【灌水乐园】发言


