


#include “cocos2d.h”
USING_NS_CC;
int main(int argc, char *argv[])
{
AppDelegate app;
return Application::getInstance()->run();
}
以上代码我们可以看到,在main.cpp里,通过#include引入了两个头文件,一个是AppDelegate.h、一个是cocos2d.h。
定义了我们程序的入口方法main,通过执行Application::getInstance()->run()方法来运行我们的程序。
接着我们来看AppDelegate.h和AppDelegate.cpp,这里两个文件用于 控制整个游戏的生命周期。
>>>AppDelegate.h
#ifndef APP_DELEGATE_H
#define APP_DELEGATE_H
#include “cocos2d.h”
/**
@brief The cocos2d Application.
The reason for implement as private inheritance is to hide some interface call by Director.
*/
class AppDelegate : private cocos2d::Application
{
public:
AppDelegate();
virtual ~AppDelegate();
/**
@brief Implement Director and Scene init code here.
@return true Initialize success, app continue.
@return false Initialize failed, app terminate.
*/
virtual bool applicationDidFinishLaunching();
/**
@brief The function be called when the application enter background
@param the pointer of the application
*/
virtual void applicationDidEnterBackground();
/**
@brief The function be called when the application enter foreground
@param the pointer of the application
*/
virtual void applicationWillEnterForeground();
};
#endif // APP_DELEGATE_H
>>>AppDelegate.cpp
#include “AppDelegate.h”
#include “CCLuaEngine.h”
#include “SimpleAudioEngine.h”
#include “cocos2d.h”
using namespace CocosDenshion;
USING_NS_CC;
using namespace std;
AppDelegate::AppDelegate()
{
}
AppDelegate::~AppDelegate()
{
SimpleAudioEngine::end();
}
bool AppDelegate::applicationDidFinishLaunching()
{
// initialize director 获得导演类实例
auto director = Director::getInstance();
// 获得OpenGL实例
auto glview = director->getOpenGLView();
if(!glview) {
// 指定窗口大小
glview = GLView::createWithRect(“HelloLua”, Rect(0,0,900,640));
// 设置OpenGL视图
director->setOpenGLView(glview);
}
// 设置分辨率大小为480*320
glview->setDesignResolutionSize(480, 320, ResolutionPolicy::NO_BORDER);
// turn on display FPS 打开帧频,屏幕左下角哪一串数据
// 启用FPS 显示,当前 FPS 会在游戏的左下角显示。FPS也就是屏幕每秒重绘的次数。即每秒帧速率。在游戏开发阶段,可以方便地确定游戏运行是否流畅。
director->setDisplayStats(true);
// set FPS. the default value is 1.0/60 if you don’t call this
// 设置绘制间隔
director->setAnimationInterval(1.0 / 60);
// 获得Lua引擎实例
auto engine = LuaEngine::getInstance();
// 设置脚本引擎
ScriptEngineManager::getInstance()->setScriptEngine(engine);
// 执行main.lua脚本
if (engine->executeScriptFile(“src/main.lua”)) {
return false;
}
return true;
}
// This function will be called when the app is inactive. When comes a phone call,it’s be invoked too
// 当应用程序将要进入后台时,会调用这个方法
void AppDelegate::applicationDidEnterBackground()
{
Director::getInstance()->stopAnimation();
SimpleAudioEngine::getInstance()->pauseBackgroundMusic();
}
// this function will be called when the app is active again
// 该方法与applicationDidEnterBackground() 成对出现,在应用程序回到前台时被调用
void AppDelegate::applicationWillEnterForeground()
{
Director::getInstance()->startAnimation();
SimpleAudioEngine::getInstance()->resumeBackgroundMusic();
}
我们在AppDelegate类当中可以找到执行我们Lua脚本的方法,下面来看一下main.lua这个文件,我们屏幕显示的逻辑实现全部在这个文件中可以看到:
>>>main.lua
require “Cocos2d”
require “Cocos2dConstants”
– cclog
cclog = function(…)
print(string.format(…))
end
– for CCLuaEngine traceback 输出绑定执行函数发生错误的信息
function G__TRACKBACK(msg)
cclog(“----------------------------------------”)
cclog("LUA ERROR: " … tostring(msg) … “\n”)
cclog(debug.traceback())
cclog(“----------------------------------------”)
return msg
end
local function main()
collectgarbage(“collect”)
– avoid memory leak 这是脚本回收参数,避免内存泄漏
collectgarbage(“setpause”, 100)
collectgarbage(“setstepmul”, 5000)
– 追加资源的搜索顺序
cc.FileUtils:getInstance():addSearchResolutionsOrder(“src”);
cc.FileUtils:getInstance():addSearchResolutionsOrder(“res”);
local schedulerID = 0
–support debug 获取目标平台
local targetPlatform = cc.Application:getInstance():getTargetPlatform()
if (cc.PLATFORM_OS_IPHONE == targetPlatform) or (cc.PLATFORM_OS_IPAD == targetPlatform) or
(cc.PLATFORM_OS_ANDROID == targetPlatform) or (cc.PLATFORM_OS_WINDOWS == targetPlatform) or
(cc.PLATFORM_OS_MAC == targetPlatform) then
cclog("result is ")
–require(‘debugger’)()
end
– 类似c++的include,引入文件,会检查是否重复引入
require “hello2”
– 调用外部函数,在hello2.lua中
cclog("result is " … myadd(1, 1))
– 获取可视区域
local visibleSize = cc.Director:getInstance():getVisibleSize()
– 可视原点坐标 OpenGL坐标系,左下角为原点
local origin = cc.Director:getInstance():getVisibleOrigin()
– add the moving dog 添加移动的小松鼠
local function creatDog()
– 每一帧尺寸设置,local表示局部变量
local frameWidth = 105
local frameHeight = 95
– create dog animate 加载动画资源并创建精灵帧
– 加载精灵动画所在纹理
local textureDog = cc.Director:getInstance():getTextureCache():addImage(“dog.png”)
– 设置第一帧帧区域
local rect = cc.rect(0, 0, frameWidth, frameHeight)
– 创建第一帧精灵Frame
local frame0 = cc.SpriteFrame:createWithTexture(textureDog, rect)
– 设置第二帧帧区域
rect = cc.rect(frameWidth, 0, frameWidth, frameHeight)
– c创建第二帧精灵Frame
local frame1 = cc.SpriteFrame:createWithTexture(textureDog, rect)
– 基于使用第一帧Frame创建Sprite对象
local spriteDog = cc.Sprite:createWithSpriteFrame(frame0)
spriteDog.isPaused = false
spriteDog:setPosition(origin.x, origin.y + visibleSize.height / 4 * 3)
–[[
local animFrames = CCArray:create()
animFrames:addObject(frame0)
animFrames:addObject(frame1)
]]–
– 根据帧序列数组创建一个动画animation。帧间隔时间delay等于0.5秒
local animation = cc.Animation:createWithSpriteFrames({frame0,frame1}, 0.5)
– 根据动画animation创建动作实例
local animate = cc.Animate:create(animation);
– 松鼠精灵执行该动作
spriteDog:runAction(cc.RepeatForever:create(animate))
– moving dog at every frame 用来更新松鼠的位置,后面会调用该函数
local function tick()
if spriteDog.isPaused then return end
local x, y = spriteDog:getPosition()
if x > origin.x + visibleSize.width then
x = origin.x
else
x = x + 1
end
spriteDog:setPositionX(x)
end
– 生成一个scheule,每帧执行tick函数
schedulerID = cc.Director:getInstance():getScheduler():scheduleScriptFunc(tick, 0, false)
return spriteDog
end
– create farm 创建地面的农场
local function createLayerFarm()
– 创建一个新的Lyaer用作农场管理
local layerFarm = cc.Layer:create()
– add in farm background 添加农场管理
local bg = cc.Sprite:create(“farm.jpg”)
bg:setPosition(origin.x + visibleSize.width / 2 + 80, origin.y + visibleSize.height / 2)
layerFarm:addChild(bg)
– add land sprite 添加地面砖块
for i = 0, 3 do
for j = 0, 1 do
local spriteLand = cc.Sprite:create(“land.png”)、
– 设定每一块砖块位置
spriteLand:setPosition(200 + j * 180 - i % 2 * 90, 10 + i * 95 / 2)
layerFarm:addChild(spriteLand)
end
end
– add crop 添加庄稼,注意crop.png是多张图的合成贴图,所以只取了里面的部分贴图
local frameCrop = cc.SpriteFrame:create(“crop.png”, cc.rect(0, 0, 105, 95))
for i = 0, 3 do
for j = 0, 1 do
local spriteCrop = cc.Sprite:createWithSpriteFrame(frameCrop);
spriteCrop:setPosition(10 + 200 + j * 180 - i % 2 * 90, 30 + 10 + i * 95 / 2)
layerFarm:addChild(spriteCrop)
end
end
– add moving dog 调用上面的createDog()方面,创建一个移动的松鼠
local spriteDog = creatDog()
layerFarm:addChild(spriteDog)
– handing touch events 手指触摸事件处理
local touchBeginPoint = nil
– 手指点击开始
local function onTouchBegan(touch, event)
local location = touch:getLocation()
cclog(“onTouchBegan: %0.2f, %0.2f”, location.x, location.y)
touchBeginPoint = {x = location.x, y = location.y} – 保存点击位置
spriteDog.isPaused = true – 将松鼠暂停移动
– CCTOUCHBEGAN event must return true
return true
end
– 手指按住移动
local function onTouchMoved(touch, event)
local location = touch:getLocation()
cclog(“onTouchMoved: %0.2f, %0.2f”, location.x, location.y)
if touchBeginPoint then
– 将整个农村层拖动,因为之前已经将农场里面所有对象加入layerFarm
local cx, cy = layerFarm:getPosition()
layerFarm:setPosition(cx + location.x - touchBeginPoint.x,
cy + location.y - touchBeginPoint.y)
touchBeginPoint = {x = location.x, y = location.y}
end
end
– 手指离开
local function onTouchEnded(touch, event)
local location = touch:getLocation()
cclog(“onTouchEnded: %0.2f, %0.2f”, location.x, location.y)
touchBeginPoint = nil – 点击位置数据清空
spriteDog.isPaused = false – 恢复松鼠移动
end
– 创建触摸事件监听器
local listener = cc.EventListenerTouchOneByOne:create()
– 注册touch事件
listener:registerScriptHandler(onTouchBegan,cc.Handler.EVENT_TOUCH_BEGAN )
listener:registerScriptHandler(onTouchMoved,cc.Handler.EVENT_TOUCH_MOVED )
listener:registerScriptHandler(onTouchEnded,cc.Handler.EVENT_TOUCH_ENDED )
local eventDispatcher = layerFarm:getEventDispatcher()
– 添加场景图优先级事件监听
eventDispatcher:addEventListenerWithSceneGraphPriority(listener, layerFarm)
local function onNodeEvent(event)
最后
自我介绍一下,小编13年上海交大毕业,曾经在小公司待过,也去过华为、OPPO等大厂,18年进入阿里一直到现在。
深知大多数初中级Android工程师,想要提升技能,往往是自己摸索成长,自己不成体系的自学效果低效漫长且无助。
因此我收集整理了一份《2024年Android移动开发全套学习资料》,初衷也很简单,就是希望能够帮助到想自学提升又不知道该从何学起的朋友,同时减轻大家的负担。
既有适合小白学习的零基础资料,也有适合3年以上经验的小伙伴深入学习提升的进阶课程,基本涵盖了95%以上Android开发知识点!不论你是刚入门Android开发的新手,还是希望在技术上不断提升的资深开发者,这些资料都将为你打开新的学习之门
如果你觉得这些内容对你有帮助,需要这份全套学习资料的朋友可以戳我获取!!
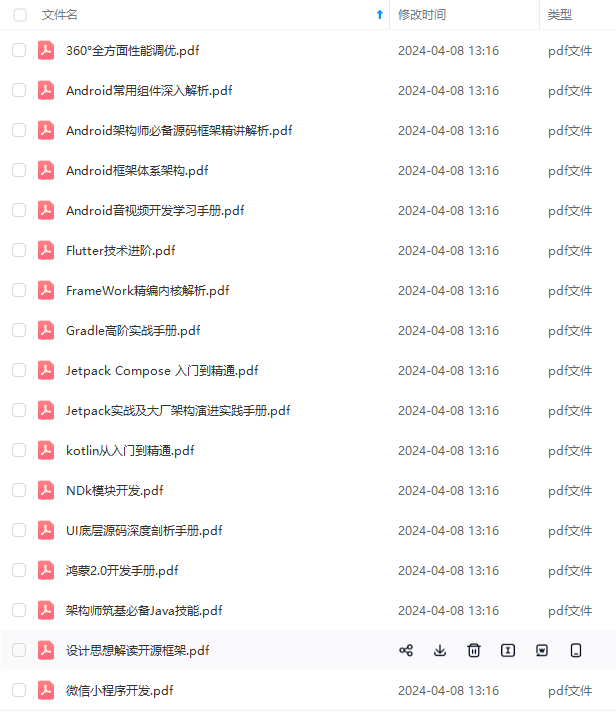
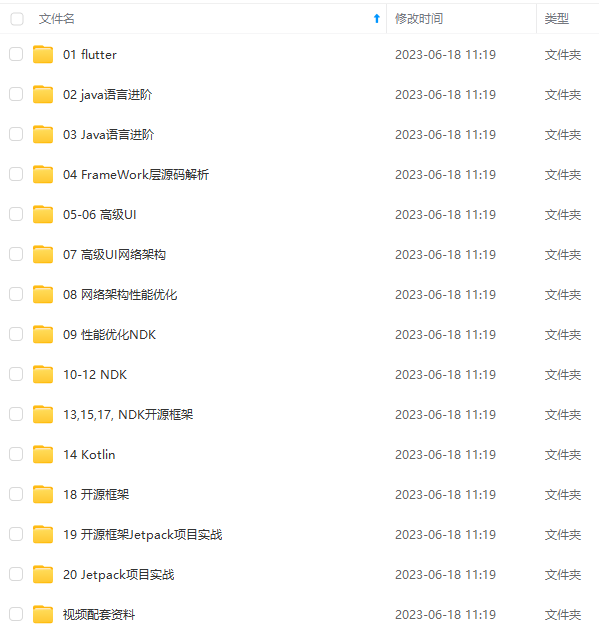
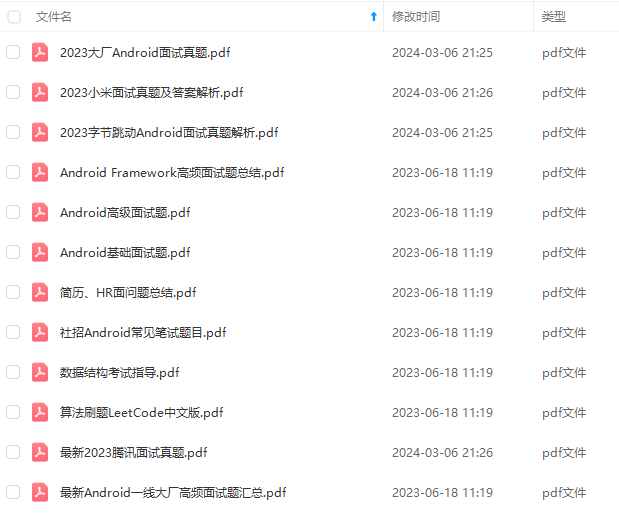
由于文件比较大,这里只是将部分目录截图出来,每个节点里面都包含大厂面经、学习笔记、源码讲义、实战项目、讲解视频,并且会持续更新!
介绍一下,小编13年上海交大毕业,曾经在小公司待过,也去过华为、OPPO等大厂,18年进入阿里一直到现在。**
深知大多数初中级Android工程师,想要提升技能,往往是自己摸索成长,自己不成体系的自学效果低效漫长且无助。
因此我收集整理了一份《2024年Android移动开发全套学习资料》,初衷也很简单,就是希望能够帮助到想自学提升又不知道该从何学起的朋友,同时减轻大家的负担。
[外链图片转存中…(img-0nFhbpMu-1715557230863)]
[外链图片转存中…(img-yeFYGO6V-1715557230865)]
[外链图片转存中…(img-6A1AlZRJ-1715557230866)]
[外链图片转存中…(img-QutlcOVu-1715557230867)]
既有适合小白学习的零基础资料,也有适合3年以上经验的小伙伴深入学习提升的进阶课程,基本涵盖了95%以上Android开发知识点!不论你是刚入门Android开发的新手,还是希望在技术上不断提升的资深开发者,这些资料都将为你打开新的学习之门
如果你觉得这些内容对你有帮助,需要这份全套学习资料的朋友可以戳我获取!!
由于文件比较大,这里只是将部分目录截图出来,每个节点里面都包含大厂面经、学习笔记、源码讲义、实战项目、讲解视频,并且会持续更新!


 2292
2292

 被折叠的 条评论
为什么被折叠?
被折叠的 条评论
为什么被折叠?
 到【灌水乐园】发言


