


前言
本文主要介绍使用 tensorflow hub 中的 CenterNet HourGlass104 Keypoints 模型来完成简单的目标检测任务。使用到的主要环境是:
- tensorflow-cpu=2.10
- tensorflow-hub=0.11.0
- tensorflow-estimator=2.6.0
- python=3.8
- protobuf=3.20.1
导入必要的库
首先导入必要的 python 包,后面要做一些复杂的安装和配置工作,需要一点耐心和时间。在运行下面代码的时候可能会报错:
TypeError: Descriptors cannot not be created directly.
If this call came from a _pb2.py file, your generated code is out of date and must be regenerated with protoc >= 3.19.0.
If you cannot immediately regenerate your protos, some other possible workarounds are:
 1. Downgrade the protobuf package to 3.20.x or lower.
 2. Set PROTOCOL_BUFFERS_PYTHON_IMPLEMENTATION=python (but this will use pure-Python parsing and will be much slower).
你只需要重新使用 pip 安装,将 protobuf 降低到 3.20.x 版本即可。
import os
import pathlib
import matplotlib
import matplotlib.pyplot as plt
import io
import scipy.misc
import numpy as np
from six import BytesIO
from PIL import Image, ImageDraw, ImageFont
from six.moves.urllib.request import urlopen
import tensorflow as tf
import tensorflow_hub as hub

tf.get_logger().setLevel('ERROR')
准备数据和模型
(1)到 [github.com/protocolbuf…]用迅雷下载对应操作系统的压缩包,我的是 win7 版本: [github.com/protocolbuf…]
(2)下载好之后随便解压到自定义目录,我的是 “主目录\protoc-22.1-win64”,然后将其中的 “主目录\protoc-22.1-win64\bin” 路径添加到用户环境变量中的 PATH 变量中,重新打开命令行,输入 protoc --version ,如果能正常返回版本号说明配置成功,可以开始使用。
(3)进入命令行,在和本文件同一个目录下,执行命令
git clone --depth 1 https://github.com/tensorflow/models
,将 models 文件夹下载下来,进入 models/research/ 下,使用命令执行
protoc object_detection/protos/*.proto --python_out=.
将 models/research/object_detection/packages/tf2/setup.py 拷贝到和 models/research/ 下,然后使用执行本文件的 python 对应的 pip 去执行安装包操作
..\Anaconda3\envs\tfcpu2.10_py38\Scripts\pip.exe install . -i https://pypi.tuna.tsinghua.edu.cn/simple
中间可能会报错“error: netadata-generation-failed”,一般都是某个包安装的时候出问题了,我们只需要看详细的日志,单独用 pip 进行安装即可,单独安装完之后,再去执行上面的根据 setup.py 的整装操作,反复即可,过程有点麻烦但还是都可以安装成功的。
(4)这里的模型本来在:
https://tfhub.dev/tensorflow/centernet/hourglass\_512x512\_kpts/1
但是由于网络问题无法获取,所以我们可以改为从
https://storage.googleapis.com/tfhub-modules/tensorflow/centernet/hourglass\_512x512\_kpts/1.tar.gz
获取模型。
from object_detection.utils import label_map_util
from object_detection.utils import visualization_utils as viz_utils
from object_detection.utils import ops as utils_ops


PATH_TO_LABELS = './models/research/object_detection/data/mscoco_label_map.pbtxt'
category_index = label_map_util.create_category_index_from_labelmap(PATH_TO_LABELS, use_display_name=True)

model_path = 'https://storage.googleapis.com/tfhub-modules/tensorflow/centernet/hourglass_512x512_kpts/1.tar.gz'
print('TensorFlow Hub 中的模型地址: {}'.format(model_path))
print('加载模型...')
hub_model = hub.load(model_path)
print('加载成功!')
打印结果:
TensorFlow Hub 中的模型地址: https://storage.googleapis.com/tfhub-modules/tensorflow/centernet/hourglass_512x512_kpts/1.tar.gz
加载模型...
WARNING:absl:Importing a function (__inference_batchnorm_layer_call_and_return_conditional_losses_42408) with ops with custom gradients. Will likely fail if a gradient is requested.
WARNING:absl:Importing a function (__inference_batchnorm_layer_call_and_return_conditional_losses_209416) with ops with custom gradients. Will likely fail if a gradient is requested.
...
WARNING:absl:Importing a function (__inference_batchnorm_layer_call_and_return_conditional_losses_56488) with ops with custom gradients. Will likely fail if a gradient is requested.
加载成功!
(5)在这里我们主要定义了一个函数 load_image_into_numpy_array 来加载从网上下载图片的图片,并将其转换为模型可以适配的输入类型。
(6)IMAGES_FOR_TEST 字典中记录了多个可以用来测试的图片,但是这些都是在网上,用的使用需要调用 load_image_into_numpy_array 函数。
(7)COCO17_HUMAN_POSE_KEYPOINTS 记录了人体姿态关键点。
(8)我们这里展示了 dogs 这张图片,可以看到两条可爱的小狗。
def load_image_into_numpy_array(path):
    image = None
    if(path.startswith('http')):
        response = urlopen(path)
        image_data = response.read()
        image_data = BytesIO(image_data)
        image = Image.open(image_data)
    else:
        image_data = tf.io.gfile.GFile(path, 'rb').read()
        image = Image.open(BytesIO(image_data))

    (im_width, im_height) = image.size
    return np.array(image.getdata()).reshape((1, im_height, im_width, 3)).astype(np.uint8)


IMAGES_FOR_TEST = {
  'Beach' : 'models/research/object_detection/test_images/image2.jpg',
  'Dogs' : 'models/research/object_detection/test_images/image1.jpg',
  'Naxos Taverna' : 'https://upload.wikimedia.org/wikipedia/commons/6/60/Naxos_Taverna.jpg',
  'Beatles' : 'https://upload.wikimedia.org/wikipedia/commons/1/1b/The_Coleoptera_of_the_British_islands_%28Plate_125%29_%288592917784%29.jpg',
  'Phones' : 'https://upload.wikimedia.org/wikipedia/commons/thumb/0/0d/Biblioteca_Maim%C3%B3nides%2C_Campus_Universitario_de_Rabanales_007.jpg/1024px-Biblioteca_Maim%C3%B3nides%2C_Campus_Universitario_de_Rabanales_007.jpg',
  'Birds' : 'https://upload.wikimedia.org/wikipedia/commons/0/09/The_smaller_British_birds_%288053836633%29.jpg',
}

COCO17_HUMAN_POSE_KEYPOINTS = [(0, 1), (0, 2),(1, 3),(2, 4),(0, 5),(0, 6),(5, 7),(7, 9),(6, 8),(8, 10),(5, 6),(5, 11), (6, 12),(11, 12),(11, 13),(13, 15),(12, 14),(14, 16)]

%matplotlib inline
selected_image = 'Dogs'
image_path = IMAGES_FOR_TEST[selected_image]
image_np = load_image_into_numpy_array(image_path)
plt.figure(figsize=(24,32))
plt.imshow(image_np[0])
plt.show()

目标检测
我们这里将经过处理的小狗的图片传入模型中,会返回结果,我们只要使用结果来绘制出所检测目标的框,以及对应的类别,分数,可以看出来结果是相当的准确的,甚至通过人的腿就能识别出人的框。
results = hub_model(image_np)
result = {key:value.numpy() for key,value in results.items()}
label_id_offset = 0
image_np_with_detections = image_np.copy()

keypoints, keypoint_scores = None, None
if 'detection_keypoints' in result:
    keypoints = result['detection_keypoints'][0]
    keypoint_scores = result['detection_keypoint_scores'][0]

viz_utils.visualize_boxes_and_labels_on_image_array(
      image_np_with_detections[0],
      result['detection_boxes'][0],
      (result['detection_classes'][0] + label_id_offset).astype(int),
      result['detection_scores'][0],
      category_index,
      use_normalized_coordinates=True,
      max_boxes_to_draw=200,
      min_score_thresh=.30,
      agnostic_mode=False,
      keypoints=keypoints,
      keypoint_scores=keypoint_scores,
      keypoint_edges=COCO17_HUMAN_POSE_KEYPOINTS)

plt.figure(figsize=(24,32))
plt.imshow(image_np_with_detections[0])
plt.show()

如何系统的去学习大模型LLM ?
作为一名热心肠的互联网老兵,我意识到有很多经验和知识值得分享给大家,也可以通过我们的能力和经验解答大家在人工智能学习中的很多困惑,所以在工作繁忙的情况下还是坚持各种整理和分享。
但苦于知识传播途径有限,很多互联网行业朋友无法获得正确的资料得到学习提升,故此将并将重要的 AI大模型资料 包括AI大模型入门学习思维导图、精品AI大模型学习书籍手册、视频教程、实战学习等录播视频免费分享出来。
😝有需要的小伙伴,可以V扫描下方二维码免费领取🆓
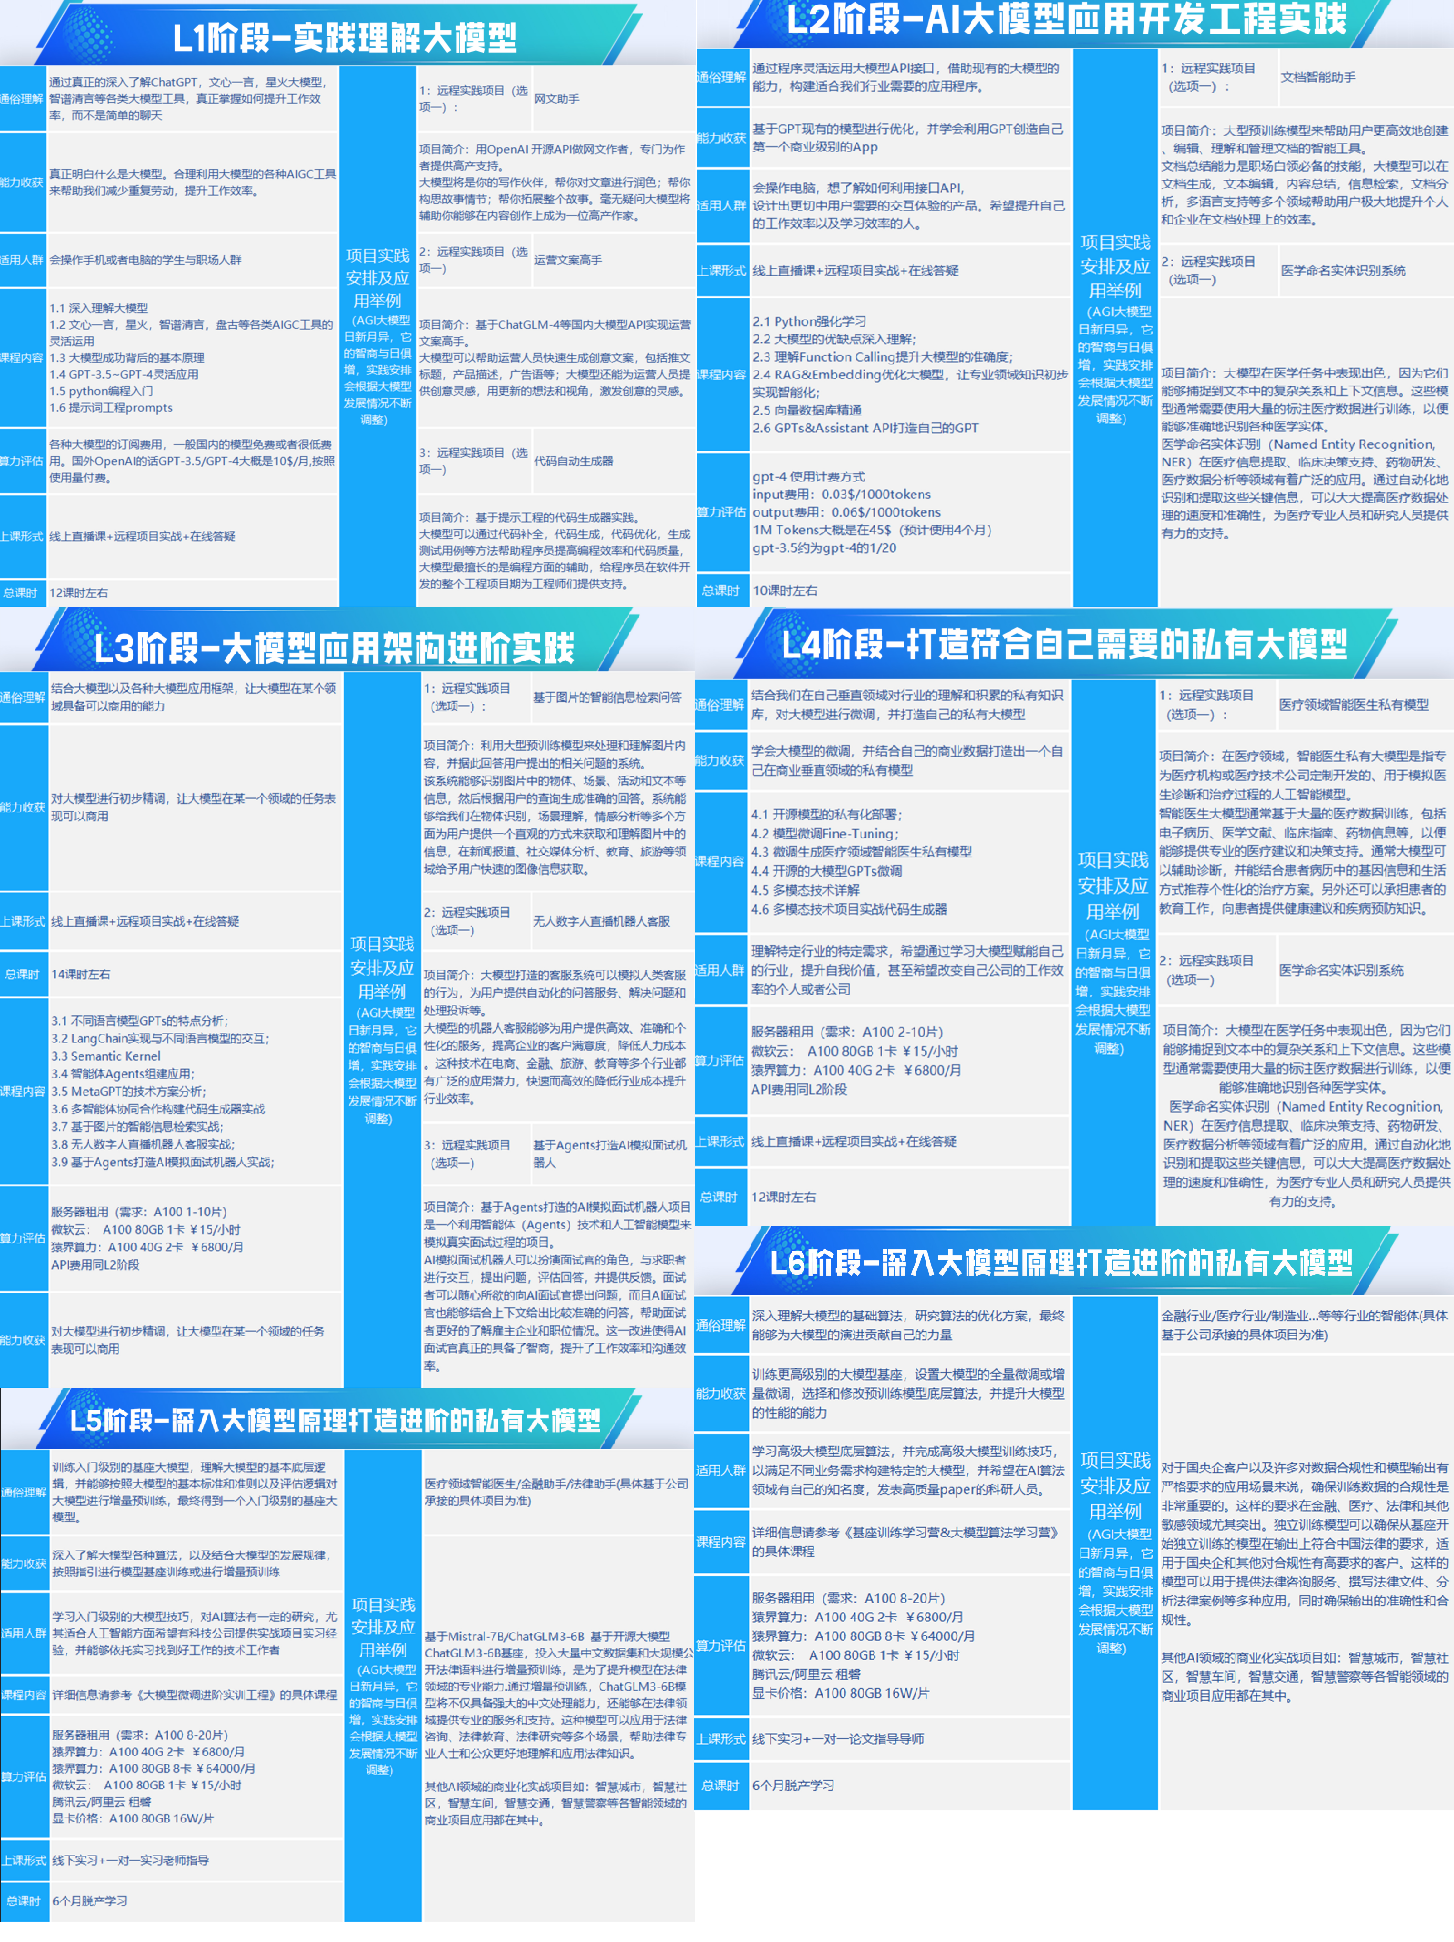
一、全套AGI大模型学习路线
AI大模型时代的学习之旅:从基础到前沿,掌握人工智能的核心技能!
二、640套AI大模型报告合集
这套包含640份报告的合集,涵盖了AI大模型的理论研究、技术实现、行业应用等多个方面。无论您是科研人员、工程师,还是对AI大模型感兴趣的爱好者,这套报告合集都将为您提供宝贵的信息和启示。
三、AI大模型经典PDF籍
随着人工智能技术的飞速发展,AI大模型已经成为了当今科技领域的一大热点。这些大型预训练模型,如GPT-3、BERT、XLNet等,以其强大的语言理解和生成能力,正在改变我们对人工智能的认识。 那以下这些PDF籍就是非常不错的学习资源。

四、AI大模型商业化落地方案

阶段1:AI大模型时代的基础理解
- 目标:了解AI大模型的基本概念、发展历程和核心原理。
- 内容:
- L1.1 人工智能简述与大模型起源
- L1.2 大模型与通用人工智能
- L1.3 GPT模型的发展历程
- L1.4 模型工程
- L1.4.1 知识大模型
- L1.4.2 生产大模型
- L1.4.3 模型工程方法论
- L1.4.4 模型工程实践
- L1.5 GPT应用案例
阶段2:AI大模型API应用开发工程
- 目标:掌握AI大模型API的使用和开发,以及相关的编程技能。
- 内容:
- L2.1 API接口
- L2.1.1 OpenAI API接口
- L2.1.2 Python接口接入
- L2.1.3 BOT工具类框架
- L2.1.4 代码示例
- L2.2 Prompt框架
- L2.2.1 什么是Prompt
- L2.2.2 Prompt框架应用现状
- L2.2.3 基于GPTAS的Prompt框架
- L2.2.4 Prompt框架与Thought
- L2.2.5 Prompt框架与提示词
- L2.3 流水线工程
- L2.3.1 流水线工程的概念
- L2.3.2 流水线工程的优点
- L2.3.3 流水线工程的应用
- L2.4 总结与展望
阶段3:AI大模型应用架构实践
- 目标:深入理解AI大模型的应用架构,并能够进行私有化部署。
- 内容:
- L3.1 Agent模型框架
- L3.1.1 Agent模型框架的设计理念
- L3.1.2 Agent模型框架的核心组件
- L3.1.3 Agent模型框架的实现细节
- L3.2 MetaGPT
- L3.2.1 MetaGPT的基本概念
- L3.2.2 MetaGPT的工作原理
- L3.2.3 MetaGPT的应用场景
- L3.3 ChatGLM
- L3.3.1 ChatGLM的特点
- L3.3.2 ChatGLM的开发环境
- L3.3.3 ChatGLM的使用示例
- L3.4 LLAMA
- L3.4.1 LLAMA的特点
- L3.4.2 LLAMA的开发环境
- L3.4.3 LLAMA的使用示例
- L3.5 其他大模型介绍
阶段4:AI大模型私有化部署
- 目标:掌握多种AI大模型的私有化部署,包括多模态和特定领域模型。
- 内容:
- L4.1 模型私有化部署概述
- L4.2 模型私有化部署的关键技术
- L4.3 模型私有化部署的实施步骤
- L4.4 模型私有化部署的应用场景
学习计划:
- 阶段1:1-2个月,建立AI大模型的基础知识体系。
- 阶段2:2-3个月,专注于API应用开发能力的提升。
- 阶段3:3-4个月,深入实践AI大模型的应用架构和私有化部署。
- 阶段4:4-5个月,专注于高级模型的应用和部署。
这份完整版的大模型 LLM 学习资料已经上传CSDN,朋友们如果需要可以微信扫描下方CSDN官方认证二维码免费领取【保证100%免费】
😝有需要的小伙伴,可以Vx扫描下方二维码免费领取🆓


 1399
1399


 被折叠的 条评论
为什么被折叠?
被折叠的 条评论
为什么被折叠?
 到【灌水乐园】发言


