


工具
- 安装最新版DevEco Studio。
- 请参考配置开发环境,完成DevEco Studio的安装和开发环境配置。
构建第一个ArkTS应用
接下来创建ArkTS工程:
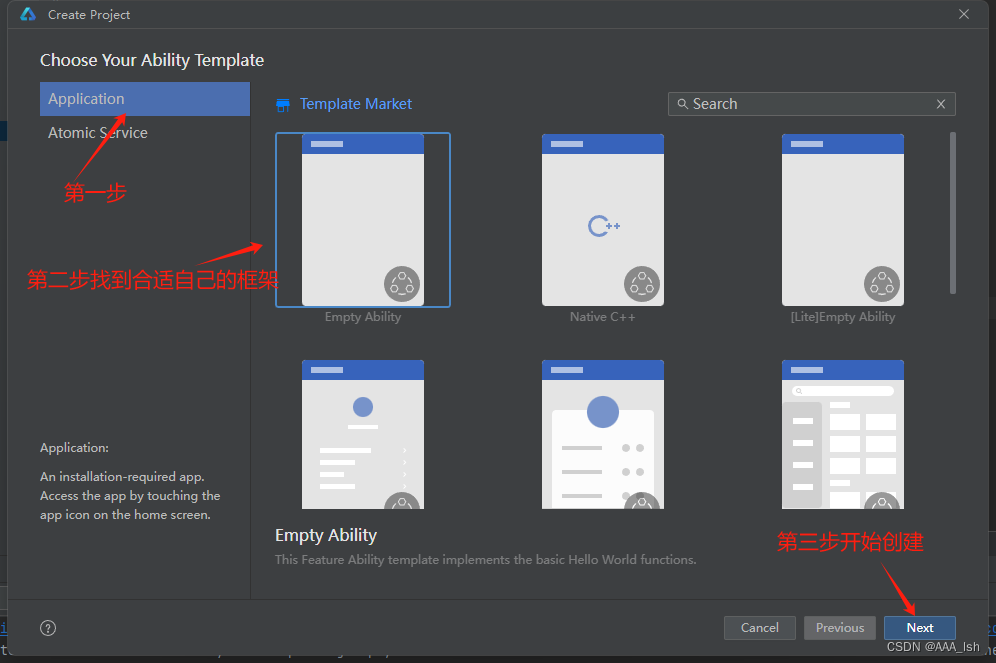
1、如果要是首次打开DevEco Studio,请点击Create Project创建工程。如果已经打开了一个工程,请在菜单栏选择File > New > Create Project来创建一个新工程。
2、选择Application应用开发(本文以应用开发为例,Atomic Service对应为元服务开发),选择模板“Empty Ability”,点击Next进行下一步配置。
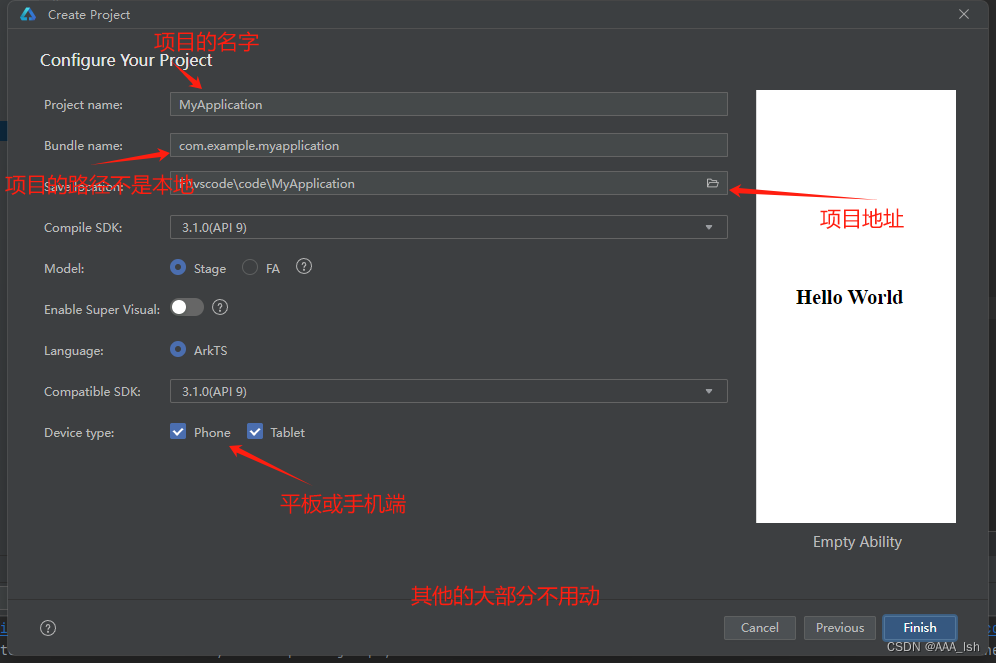
然后只需要点击finish就创建项目了
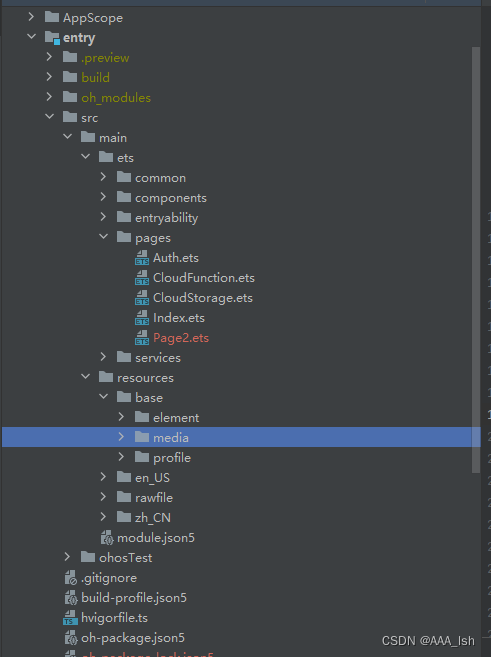
然后这就是一些大体的框架
下面是一些简介:
AppScope > app.json5:应用的全局配置信息。
entry:HarmonyOS工程模块,编译构建生成一个HAP包。
src > main > ets:用于存放ArkTS源码。
src > main > ets > entryability:应用/服务的入口。
src > main > ets > pages:应用/服务包含的页面。
src > main > resources:用于存放应用/服务所用到的资源文件,如图形、多媒体、字符串、布局文件等。
src > main > module.json5:Stage模型模块配置文件。主要包含HAP包的配置信息、应用/服务在具体设备上的配置信息以及应用/服务的全局配置信息。<
 最低0.47元/天 解锁文章


 429
429

 被折叠的 条评论
为什么被折叠?
被折叠的 条评论
为什么被折叠?
 到【灌水乐园】发言


