


1、TextView
id:为TextView设置一个组件id
layout_width:组件的宽度,一般写:wrap_content或者match_parent(fill_parent),前者是控件显示的内容多大,控件就多大,而后者会填满该控件所在的父容器;当然也可以设置成特定的大小,比如我这里为了显示效果,设置成了200dp。
layout_height:组件的高度,内容同上。
gravity:设置控件中内容的对齐方向,TextView中是文字,ImageView中是图片等等。
text:设置显示的文本内容
textColor:设置字体颜色
textStyle:设置字体风格,三个可选值:normal(无效果),bold(加粗),italic(斜体)
textSize:字体大小,单位一般是用sp!
background:控件的背景颜色,可以理解为填充整个控件的颜色,可以是图片
【实例6】
<?xml version="1.0" encoding="utf-8"?>
<LinearLayout xmlns:android="http://schemas.android.com/apk/res/android"
android:layout_width="match_parent"
android:layout_height="match_parent">
<TextView
android:id="@+id/text_one"
android:layout_width="match_parent"
android:layout_height="wrap_content"
android:textSize="30sp"
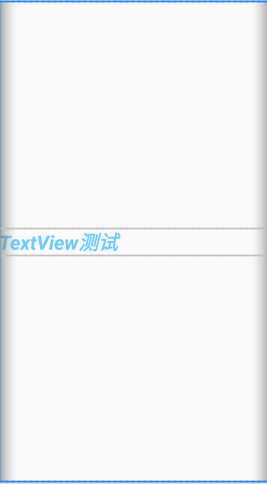
android:text="TextView测试"
android:layout_gravity="center"
android:textColor="#66ccff"
android:textStyle="bold|italic"/>
</LinearLayout>
预览效果:
2、EditView
EditText继承自TextView,可以进行编辑操作,将用户信息传递给Android程序。还可以为EditText控件设置监听器,用来测试用户输入的内容是否合法。
【实例7】
<?xml version="1.0" encoding="utf-8"?>
<LinearLayout xmlns:android="http://schemas.android.com/apk/res/android"
    android:orientation="vertical"
    android:layout_width="match_parent"
    android:layout_height="match_parent"
    android:padding="10dp">

    <TextView
        android:layout_width="match_parent"
        android:layout_height="wrap_content"
        android:text="用户名:"
        android:textSize="30sp"
        android:textColor="#00ff00"/>

    <EditText
        android:layout_width="match_parent"
        android:layout_height=
最低0.47元/天 解锁文章


 397
397


 被折叠的 条评论
为什么被折叠?
被折叠的 条评论
为什么被折叠?
 到【灌水乐园】发言


