


往期知识点整理
介绍
该方案展示了ArkWeb 同层渲染 :将系统原生组件直接渲染到前端H5页面上,原生组件不仅可以提供H5组件无法实现的一些功能,还能提升用户体验的流畅度。
效果图预览

使用说明
- 进入页面即可看到同层渲染效果,Text,Image都是原生组件。
实现思路
- 添加权限。
"ohos.permission.INTERNET"
- 创建控制器管理绑定的NodeController。
   class SearchNodeController extends NodeController {
     private rootNode: BuilderNode<[Params]> | undefined | null = null;
     private embedId: string = "";
     private surfaceId: string = "";
     private renderType: NodeRenderType = NodeRenderType.RENDER_componentTypeDISPLAY;
     private componentWidth: number = 0;
     private componentHeight: number = 0;
     private componentType: string = "";

     setRenderOption(params : NodeControllerParams): void {
       this.surfaceId = params.surfaceId;
       this.renderType = params.renderType;
       this.embedId = params.embedId;
       this.componentWidth = params.width;
       this.componentHeight = params.height;
       this.componentType = params.type;
     }
     /**
      * 在对应NodeContainer创建的时候调用、或者通过rebuild方法调用刷新
      */
     makeNode(uiContext: UIContext): FrameNode | null {
       this.rootNode = new BuilderNode(uiContext, { surfaceId: this.surfaceId, type: this.renderType});
       if (this.componentType === 'native/component') {
         this.rootNode.build(wrapBuilder(searchBuilder), { width: this.componentWidth, height: this.componentHeight});
       } else {
       }
       // 返回FrameNode节点
       return this.rootNode.getFrameNode();
     }
     /**
      * 设置BuilderNode节点
      */
     setBuilderNode(rootNode: BuilderNode<Params[]> | null): void {
       this.rootNode = rootNode;
     }
     /**
      * 获取BuilderNode节点
      */
     getBuilderNode(): BuilderNode<[Params]> | undefined | null {
       return this.rootNode;
     }
     /**
      * 更新BuilderNode节点
      */
     updateNode(arg: Object): void {
       this.rootNode?.update(arg);
     }
     /**
      * 获取EmbedId
      */
     getEmbedId(): string {
       return this.embedId;
     }
     /**
      * 将触摸事件派发到rootNode创建出的FrameNode上
      */
     postEvent(event: TouchEvent | undefined): boolean {
       return this.rootNode?.postTouchEvent(event) as boolean;
     }
   }
- 添加同层渲染的组件。
   @Component
   struct SearchComponent {
   @Prop params: Params;

   build() {
     Column({ space: MARGIN_VERTICAL }) {
       // 原生Text组件
       Text($r('app.string.mall')).fontSize($r('app.string.ohos_id_text_size_body1'))
       Row() {
         Image($r('app.media.search_icon'))
           .width($r('app.integer.search_icon_width'))
           .margin({ left: $r('app.integer.left_margin') })
         Text($r('app.string.search_text_placeholder'))
           .fontSize($r('app.string.ohos_id_text_size_body2'))
           .opacity(OPACITY)
           .fontColor($r('app.color.ohos_id_color_foreground'))
           .margin({ left: $r('app.integer.left_margin') })
       }
       // 原生Grid组件,Grid中包含Image和Text
       Grid() {
         // 性能知识点:此处数据量确定且数量较少,使用了ForEach,在数据量多的情况下,推荐使用LazyForeEach
         ForEach(PRODUCT_DATA, (item: ProductDataModel, index: number) => {
           GridItem() {
             Column({ space: MARGIN_VERTICAL }) {
               Image(item.uri).width($r('app.integer.image_size'))
               Row({ space: MARGIN_VERTICAL }) {
                 Text(item.title).fontSize($r('app.string.ohos_id_text_size_body3'))
                 Text(item.price).fontSize($r('app.string.ohos_id_text_size_body3'))
               }
             }
           }
         })
       }
       .columnsTemplate('1fr 1fr')
       .rowsTemplate('1fr 1fr 1fr')
       .rowsGap($r('app.string.ohos_id_elements_margin_vertical_m'))
       .columnsGap($r('app.string.ohos_id_elements_margin_vertical_m'))
      }
    }
   }
- embed标签可以在H5页面中嵌入任何类型的内容,在H5界面上通过embed标签标识同层元素,应用侧会将原生组件渲染到H5页面embed标签所在位置。
   <div>
       <div id="bodyId">
           <!-- 在H5界面上通过embed标签标识同层元素,在应用侧将原生组件渲染到H5页面embed标签所在位置-->
           <embed id="nativeSearch" type = "native/component" width="100%" height="100%" src="view"/>
       </div>
   </div>
- 通过WebView的enableNativeEmbedMode()控制同层渲染开关,通过onNativeEmbedLifecycleChange获取embed标签的生命周期变化数据。
   build(){
     Stack() {
       // 性能知识点:此处componentId项确定且数量较少,使用了ForEach,在数据量多的情况下,推荐使用LazyForeEach
       ForEach(this.componentIdArr, (componentId: string) => {
         NodeContainer(this.nodeControllerMap.get(componentId));
       }, (embedId: string) => embedId)
       // web组件加载本地test.html页面
       Web({ src: $rawfile("view.html"), controller: this.browserTabController })
         .backgroundColor($r('app.color.ohos_id_color_sub_background'))
         .zoomAccess(false) // 不允许执行缩放
         .enableNativeEmbedMode(true) // TODO: 知识点:通过enableNativeEmbedMode()配置同层渲染开关
         .onNativeEmbedLifecycleChange((embed) => { // TODO: 知识点:通过onNativeEmbedLifecycleChange获取embed标签的生命周期变化数据
           // 获取web侧embed元素的id
           const componentId = embed.info?.id?.toString() as string
           if (embed.status === NativeEmbedStatus.CREATE) {
             // 创建节点控制器,设置参数并rebuild
             let nodeController = new SearchNodeController();
             // 外接纹理与WebView同层渲染
             nodeController.setRenderOption({
               surfaceId: embed.surfaceId as string,
               type: embed.info?.type as string,
               renderType: NodeRenderType.RENDER_TYPE_TEXTURE,
               embedId: embed.embedId as string,
               width: px2vp(embed.info?.width),
               height: px2vp(embed.info?.height)
             });
             nodeController.rebuild();
             // 根据web传入的embed的id属性作为key,将nodeController存入map
             this.nodeControllerMap.set(componentId, nodeController);
             // 将web传入的embed的id属性存入@State状态数组变量中,用于动态创建nodeContainer节点容器,需要将push动作放在set之后
             this.componentIdArr.push(componentId);
           } else if (embed.status === NativeEmbedStatus.UPDATE) {
             let nodeController = this.nodeControllerMap.get(componentId);
             nodeController?.updateNode({
               text: 'update',
               width: px2vp(embed.info?.width),
               height: px2vp(embed.info?.height)
             } as ESObject);
             nodeController?.rebuild();
           } else {
             let nodeController = this.nodeControllerMap.get(componentId);
             nodeController?.setBuilderNode(null);
             nodeController?.rebuild();
           }
         })
         .onNativeEmbedGestureEvent((touch) => { // 获取同层渲染组件触摸事件信息
           this.componentIdArr.forEach((componentId: string) => {
             let nodeController = this.nodeControllerMap.get(componentId);
             if (nodeController?.getEmbedId() === touch.embedId) {
               nodeController?.postEvent(touch.touchEvent);
             }
           })
         })
     }
   }
- h5侧通过id名获取embed标签信息,并通过embed标签添加同层渲染界面的touch监听事件;应用侧添加onNativeEmbedGestureEvent回调使得手指触摸到embed标签时能获取到触摸事件信息。
   let nativeEmbed = {
     // 通过id名获取embed标签
     nativeSearch : document.getElementById('nativeSearch'),
     // 事件
     events:{},
     // 初始化
     init:function(){
       let self = this;
       // 添加touch的监听事件
       self.nativeSearch.addEventListener('touchstart', self.events, false);
     }
   };
   nativeEmbed.init();
   Web({ src: $rawfile("view.html"), controller: this.browserTabController })
     // 获取同层渲染组件触摸事件信息
     .onNativeEmbedGestureEvent((touch) => {
       this.componentIdArr.forEach((componentId: string) => {
         let nodeController = this.nodeControllerMap.get(componentId);
         if (nodeController?.getEmbedId() === touch.embedId) {
           nodeController?.postEvent(touch.touchEvent);
         }
       })
     })
高性能知识点
ArkWeb同层渲染原生组件,原生组件不仅可以提供H5组件无法实现的一些功能,还能提升用户体验的流畅度;同层渲染节点上下树,实现节点复用,节省节点重复开销。
工程结构&模块类型
   nativeembed                            // har类型
   |---mock
   |   |---GoodsMock.ets                  // 数据源
   |---model
   |   |---GoodsModel.ets                 // 数据类
   |---view
   |   |---NativeEmbedView.ets            // 视图层
最后
总是有很多小伙伴反馈说:鸿蒙开发不知道学习哪些技术?不知道需要重点掌握哪些鸿蒙开发知识点? 为了解决大家这些学习烦恼。在这准备了一份很实用的鸿蒙全栈开发学习路线与学习文档给大家用来跟着学习。
针对一些列因素,整理了一套纯血版鸿蒙(HarmonyOS Next)全栈开发技术的学习路线,包含了鸿蒙开发必掌握的核心知识要点,内容有(OpenHarmony多媒体技术、Napi组件、OpenHarmony内核、OpenHarmony驱动开发、系统定制移植……等)技术知识点。

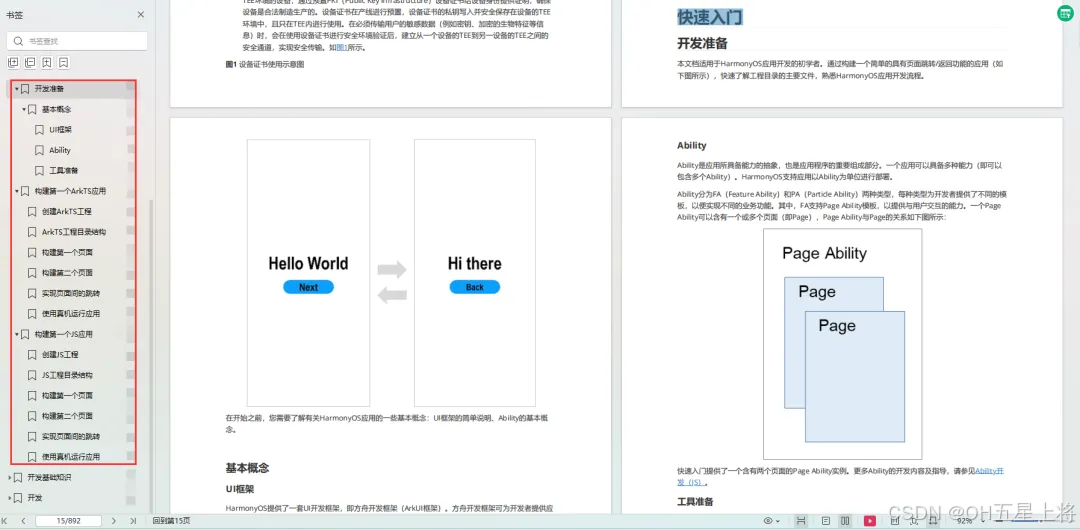
《鸿蒙 (Harmony OS)开发学习手册》(共计892页):https://gitcode.com/HarmonyOS_MN/733GH/overview
如何快速入门?
1.基本概念
2.构建第一个ArkTS应用
3.……
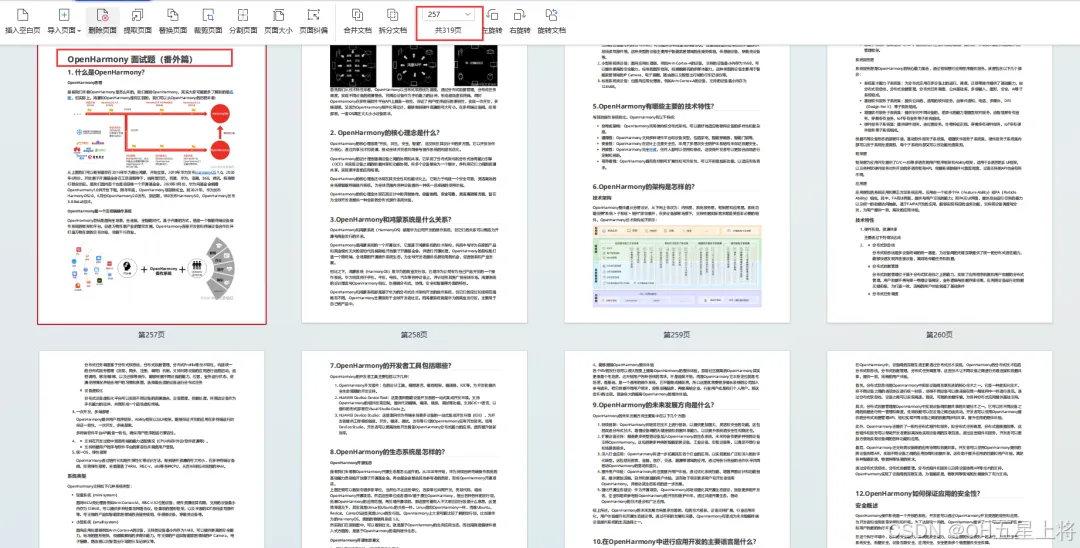
鸿蒙开发面试真题(含参考答案):
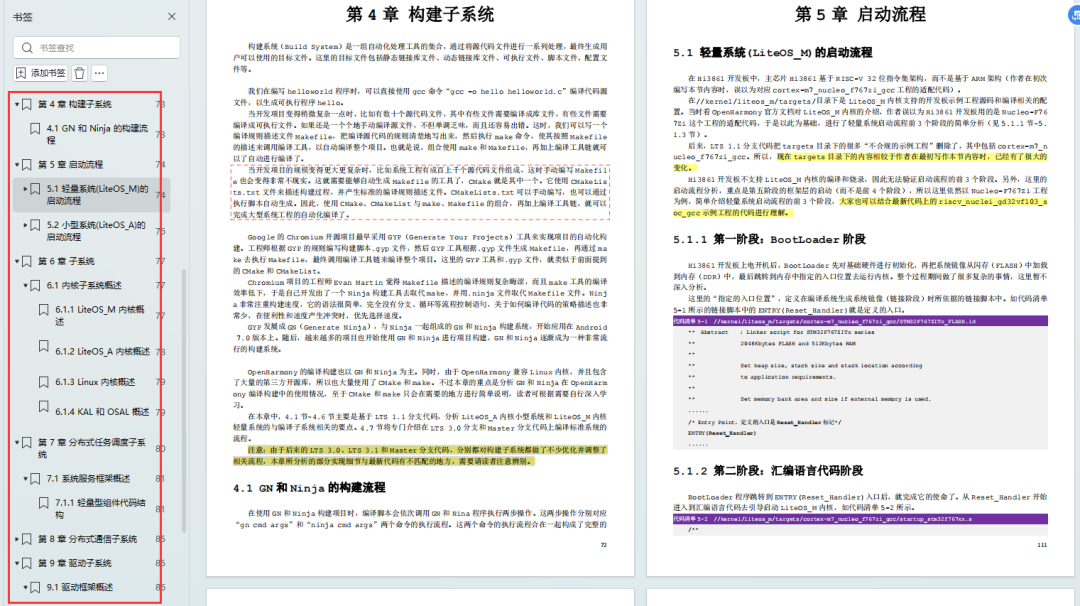
《OpenHarmony源码解析》:
- 搭建开发环境
- Windows 开发环境的搭建
- Ubuntu 开发环境搭建
- Linux 与 Windows 之间的文件共享
- ……
- 系统架构分析
- 构建子系统
- 启动流程
- 子系统
- 分布式任务调度子系统
- 分布式通信子系统
- 驱动子系统
- ……
OpenHarmony 设备开发学习手册:https://gitcode.com/HarmonyOS_MN/733GH/overview


 4080
4080

 被折叠的 条评论
为什么被折叠?
被折叠的 条评论
为什么被折叠?
 到【灌水乐园】发言


