


 本文详细讲解了UIView和CALayer在iOS开发中的紧密联系,通过操作CALayer调整UIView外观和实现动画效果。学习如何利用CALayer控制阴影、圆角、边框等视觉样式,以及如何通过代码实例演示改变UIView的显示和互动特性。
一 概述
- UIView和CALayer的关系
- 如何通过操作CALayer对象,控制UIView的显示
二 概念
2.1 CALayer和UIView的关系
- CALayer负责视图中显示的内容和动画
- UIView负责监听和相应事件
2.2 CALayer
-
在IOS中,你能看得见摸得着的东西基本上都是UIView,比如一个按钮,一个文本标签,一个文本输入框,一个图标等等,这些都是UIView
-
其实,UIView之所以能显示在屏幕上,完全是因为它内部的一个图层
-
在创建UIView对象时,UIView内部会自动创建一个图层(即CALayer对象),通过UIView的layer属性可以访问这个层
@property(nonatomic,readonly,retain) CALayer *layer; -
当UIView需要显示到屏幕上时,会调用drawRect方法进行绘图,并且会将所有内容绘制到自己的图层上,绘图完毕后,系统会将图层拷贝到屏幕上于是就完成了UIView的显示
-
换句话说,UIView本身不具备显示到功能,是它内部的层才有这个显示功能
2.3 CALayer的基本操作
- 通过操作CALayer对象,可以很方便地调整UIView的一些外观属性,比如:阴影,圆角大小,边框宽度和颜色
- 还可以通过给图层添加动画,来实现一些比较炫酷的效果
2.3 CALayer的属性
-
宽度和高度
@property CGRect bounds; -
位置(默认指中点,具体有anchorPoint决定)
@property CGpoint position; -
锚点(x,y的范围都是0-1),决定了position的含义
@property CGPoint anchorPoint; -
背景颜色(CGColorRef类型)
@property CGColorRef backgroundColor; -
形变属性
@property CATransform3D transform; -
阴影颜色
@property CGColorRef shadowColor; -
阴影不透明(0.0~1.0)
@property float shadowOpacity; -
阴影偏移位置
@property CGSize shadowOffset;
三 示例
3.1 UIView示例
代码
  _redView.layer.shadowOpacity=1;
  _redView.layer.shadowColor=[UIColor yellowColor].CGColor;

  _redView.layer.shadowRadius=10;
  _redView.layer.cornerRadius=50;
  _redView.layer.borderWidth=10;
  _redView.layer.borderColor=[UIColor whiteColor].CGColor;
效果图

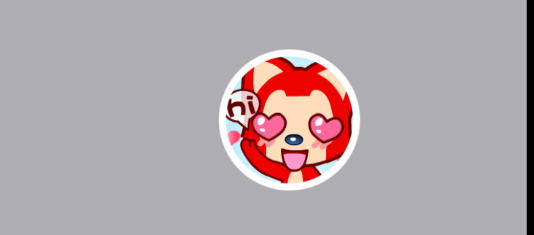
3.2 ImageView示例
代码
 _imageView.layer.cornerRadius=50;
 _imageView.layer.masksToBounds=YES;
 _imageView.layer.borderColor=[UIColor whiteColor].CGColor;
 _imageView.layer.borderWidth=5;
效果图
3.3 transform示例
代码
- (void)touchesBegan:(NSSet<UITouch *> *)touches withEvent:(UIEvent *)event
{
    [UIView animateWithDuration:1 animations:^{
        //旋转
       // _imageView.layer.transform=CATransform3DMakeRotation(M_PI, 1, 0, 0);
        //平移
        //_imageView.layer.transform=CATransform3DMakeTranslation(200, 200, 0);
        //缩放
        //_imageView.layer.transform=CATransform3DMakeScale(0.5, 0.5, 1);
        //NSValue *rotation=[NSValue valueWithCATransform3D:CATransform3DMakeRotation(M_PI, 1, 1, 0)];
        //[_imageView.layer setValue:rotation forKeyPath:@"transform"];
        //[_imageView.layer setValue:@M_PI forKeyPath:@"transform.rotation"];
        //[_imageView.layer setValue:@0.5 forKeyPath:@"transform.scale"];
        [_imageView.layer setValue:[NSValue valueWithCGPoint:CGPointMake(200, 200)] forKeyPath:@"transform.translation"];
        //[_imageView.layer setValue:@"200" forKeyPath:@"transform.translation.x"];
    }];
}
效果图


 2078
2078

 被折叠的 条评论
为什么被折叠?
被折叠的 条评论
为什么被折叠?
 到【灌水乐园】发言


