


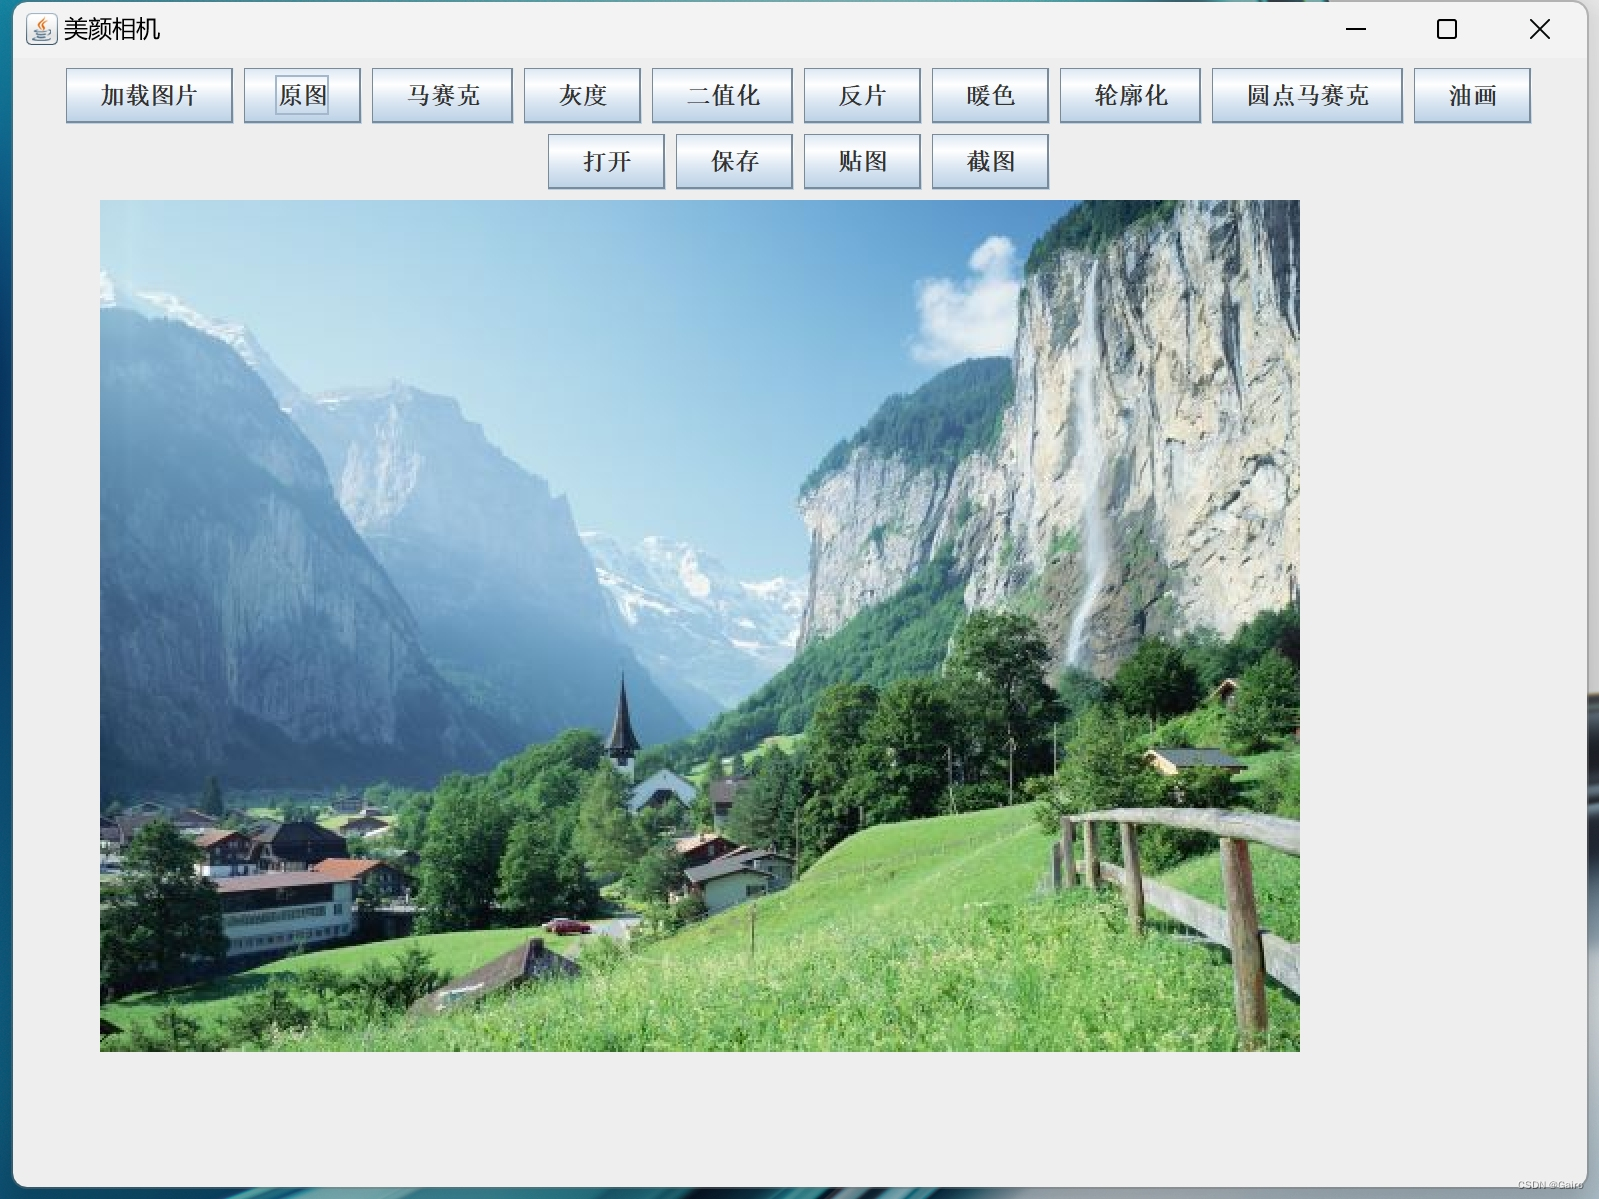
一.图像处理界面开发
//定义一个方法:
public void show()
{
    JFrame fr=new JFrame();//创建一个窗体
    fr.setTitle("美颜相机");//设置窗体标题
    fr.setSize(800,800);//设置窗体大小
    fr.setDefaultCloseOperation(JFrame.EXIT_ON_CLOSE);//退出进程
    fr.setLocationRelativeTo(null);//设置窗体位置(居中显示)
    fr.setResizable(true);//设置窗体不可调整大小
    //设置组件的流式布局:
    FlowLayout flowLayout=new FlowLayout();
    fr.setLayout(flowLayout);

    //······(添加按钮)

    fr.setVisible(true);//设置窗体可视化
}
二.利用数组添加按钮
定义数组:
1.数据类型[ ] 数组名=new 数据类型[长度];
2.数据类型[ ] 数组名={数据,数据,数据};
定义一个字符串类型(String)的数组,将按钮组件的文本存入数组中:
String[]buS={"加载图片","原图","马赛克","灰度","二值化",
"反片","暖色","轮廓化","圆点马赛克","油画","打开","保存","贴图","截图"};
//利用循环结构创建按钮组件
for(int i=0;i<buS.length;i++)
{
JButton button=new JButton();//创建按钮组件
button.setText(buS[i]);//设置按钮组件的文本(buS[i]是存储数据为字符串类型的数组)
fr.add(button);//在窗体上添加按钮
button.addActionListener(li);//为按钮设置动作监听器
}三.动作监听器实现
1.事件源:当前动作所发生的组件(swing)
2.监听器:动作监听器方法:addActionListener()
3.绑定事件处理类
ImageListener li=new ImageListener();
button.addActionListener(li);
接口不能直接创建对象,重新定义一个class类(事件处理类),通过关键字implements声明自己使用一个或者多个接口
继承接口:public class 子类 implements 接口,接口{ }
继承必须重写接口中所有的抽象方法{ }
public class ImageListener implements ActionListener
{
	public void actionPerformed(ActionEvent e)
	{
		String name=e.getActionCommand();//获取按钮上内容
    }
}
四.封装图像工具类
封装:将所有相关的操作代码都打包到一个类中,定义成不同的方法,避免代码冗余
//创建一个图片工具类:
public class ImageTools
{

}
public class ImageListener implements ActionListener
{
//在事件处理类中创建一个图片工具对象:
ImageTools imageTools = new ImageTools ();
}五.图像各种滤镜的代码实现与图片演示
1.获取图片的像素
- File类以抽象的方式代表文件名和目录路径名,主要用于文件和目录的创建、文件的查找和文件的删除等
- BufferedImage类的主要作用是将一幅图片加载到内存中
- ImageIo是一个处理图像的接口
- read方法
//定义一个方法,来读取所传入路径的图片的像素,并利用二维数组来储存图片像素:
public int[][]getImagePix(String imagePath)//Q:void为什么要改成int[][]
{
	File file=new File(imagePath);//创建File类的对象,传入图片路径
	BufferedImage buffImg=null;//null:不创建对象————图像长宽未知
//ImageIo.read(file)(使用ImageIO 直接调用read方法 读取File对象)
//将读取的返回值数据对象存入bufferedImage中:
	try
    {
		buffImg =ImageIO.read(file);
	} catch (IOException e) {
	    // TODO Auto-generated catch block
		e.printStackTrace();//throw new RuntimeException(e)
	}

    //图片的宽高:
	int wid=buffImg.getWidth();
	int height=buffImg.getHeight();
	int [][] imArr=new int[wid][height];

	//双重循环,将buffImg中的像素值取出存入数组:
	for(int i=0;i<wid;i++)
	{
		for(int j=0;j<height;j++)
		{
            //读取图片的像素,利用二维数组来储存图片像素:
			imArr[i][j]=buffImg.getRGB(i,j);
		}
	}
	return imArr;//Q:返回?
}
如此就获得了一个存有图像像素的二维数组
2.画笔
Graphics g=fr.getGraphics();
事件处理类:Graphics g;
3.原图
在图像工具类中创立一个方法,取出像素值,每取出一个像素值,就为画笔设置对应像素值的颜色,并画出该像素点
public void draw01(Graphics g,int [][]imArr)
	{
		int w=imArr.length;
		int h=imArr[0].length;
		for(int i=0;i<w;i++)
		{
			for(int j=0;j<h;j++)
			{
				int rgb=imArr[i][j];
				Color co=new Color(rgb);
				g.setColor(co);
				g.fillRect(50+i,100+j,1,1);
			}
		}
	}
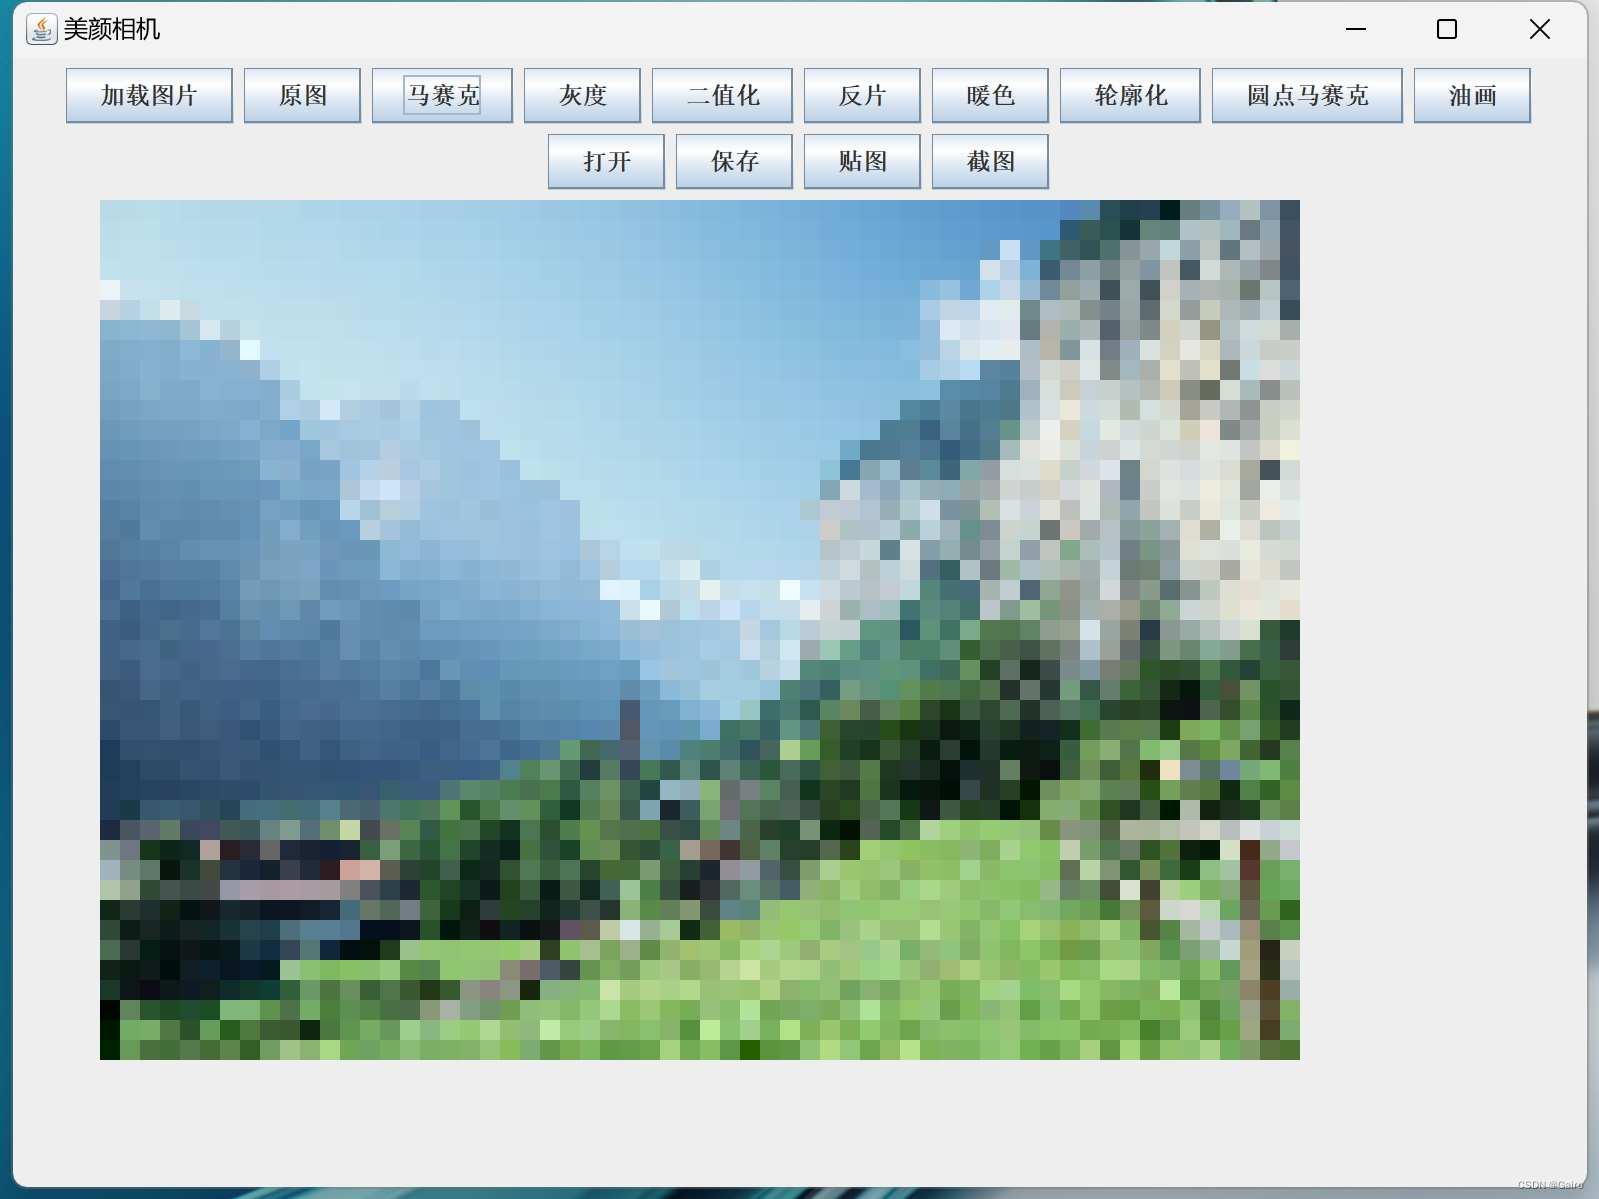
4.马赛克
在原图代码的基础上,增大所读取像素值的间距和像素点的大小
当j自增时
public void draw02(Graphics g,int [][]imArr)
	{
		int w=imArr.length;
		int h=imArr[0].length;
		for(int i=0;i<w;i+=10)
		{
			for(int j=0;j<h;j++)
			{
				int rgb=imArr[i][j];
				Color co=new Color(rgb);
				g.setColor(co);
				g.fillRect(50+i,100+j,10,10);
			}
		}
	}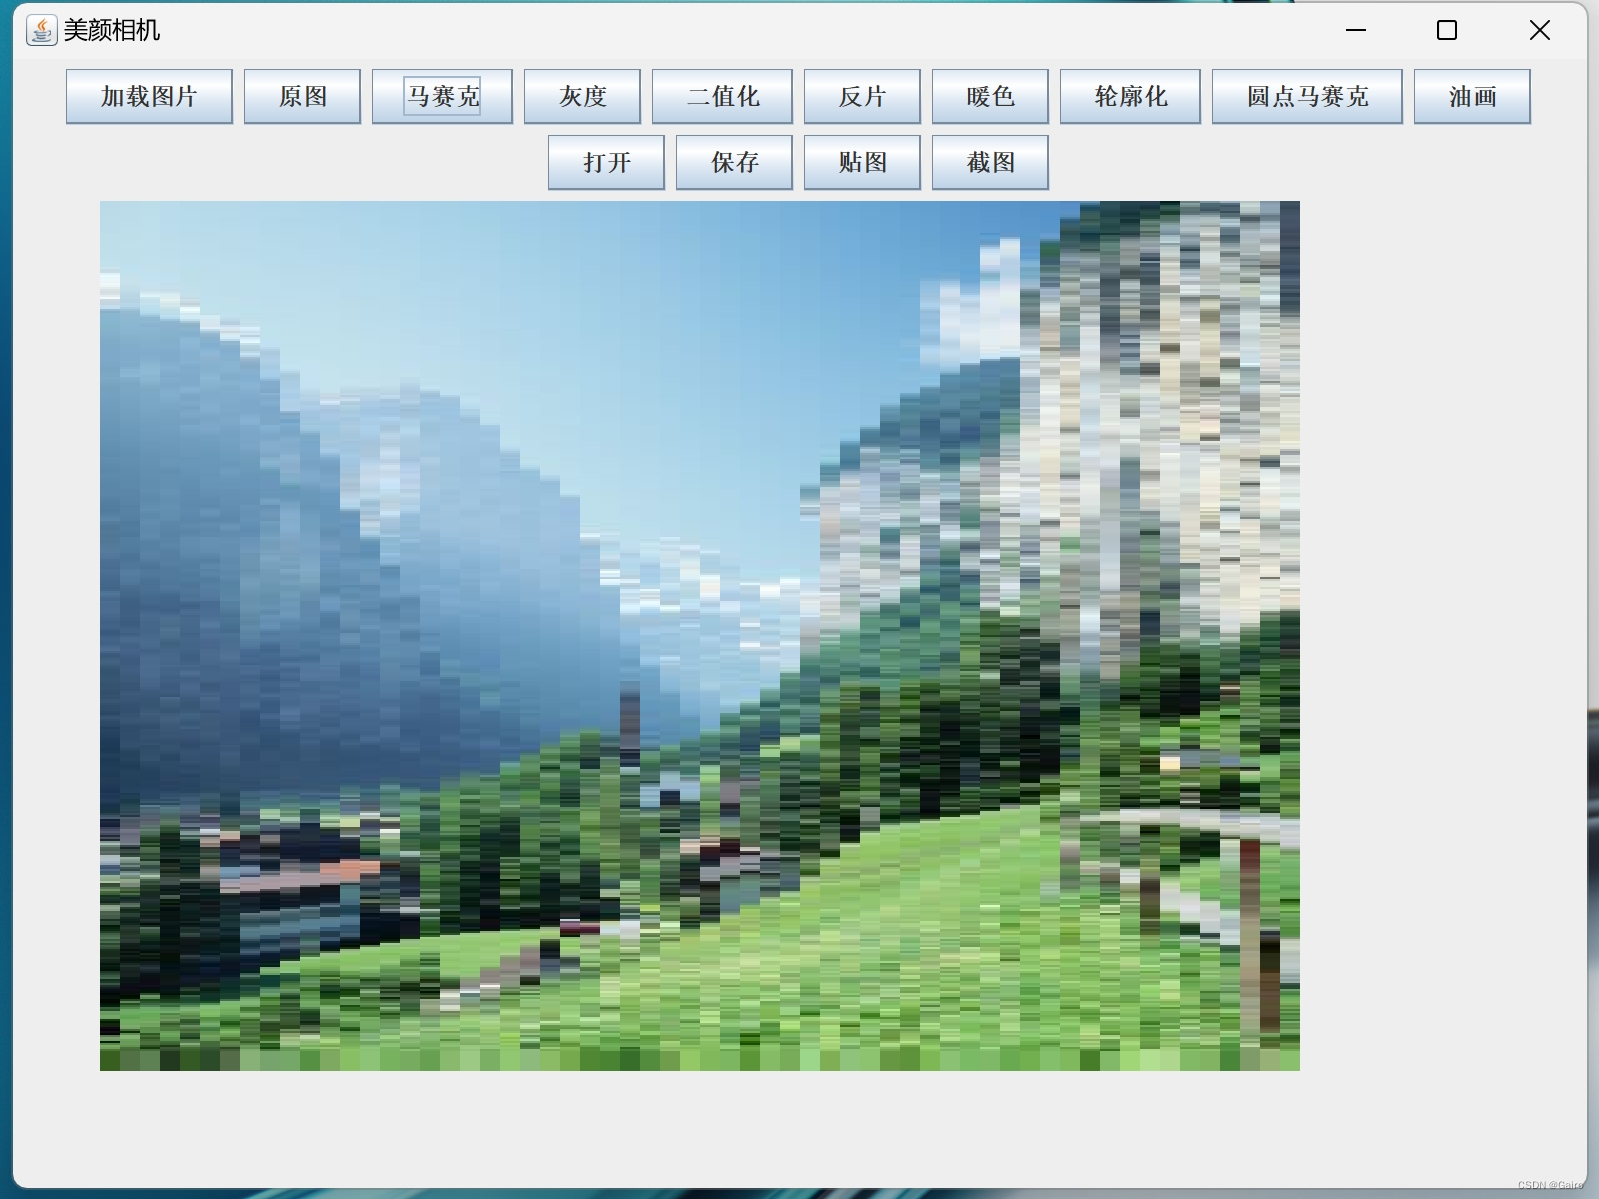
当j+=10时
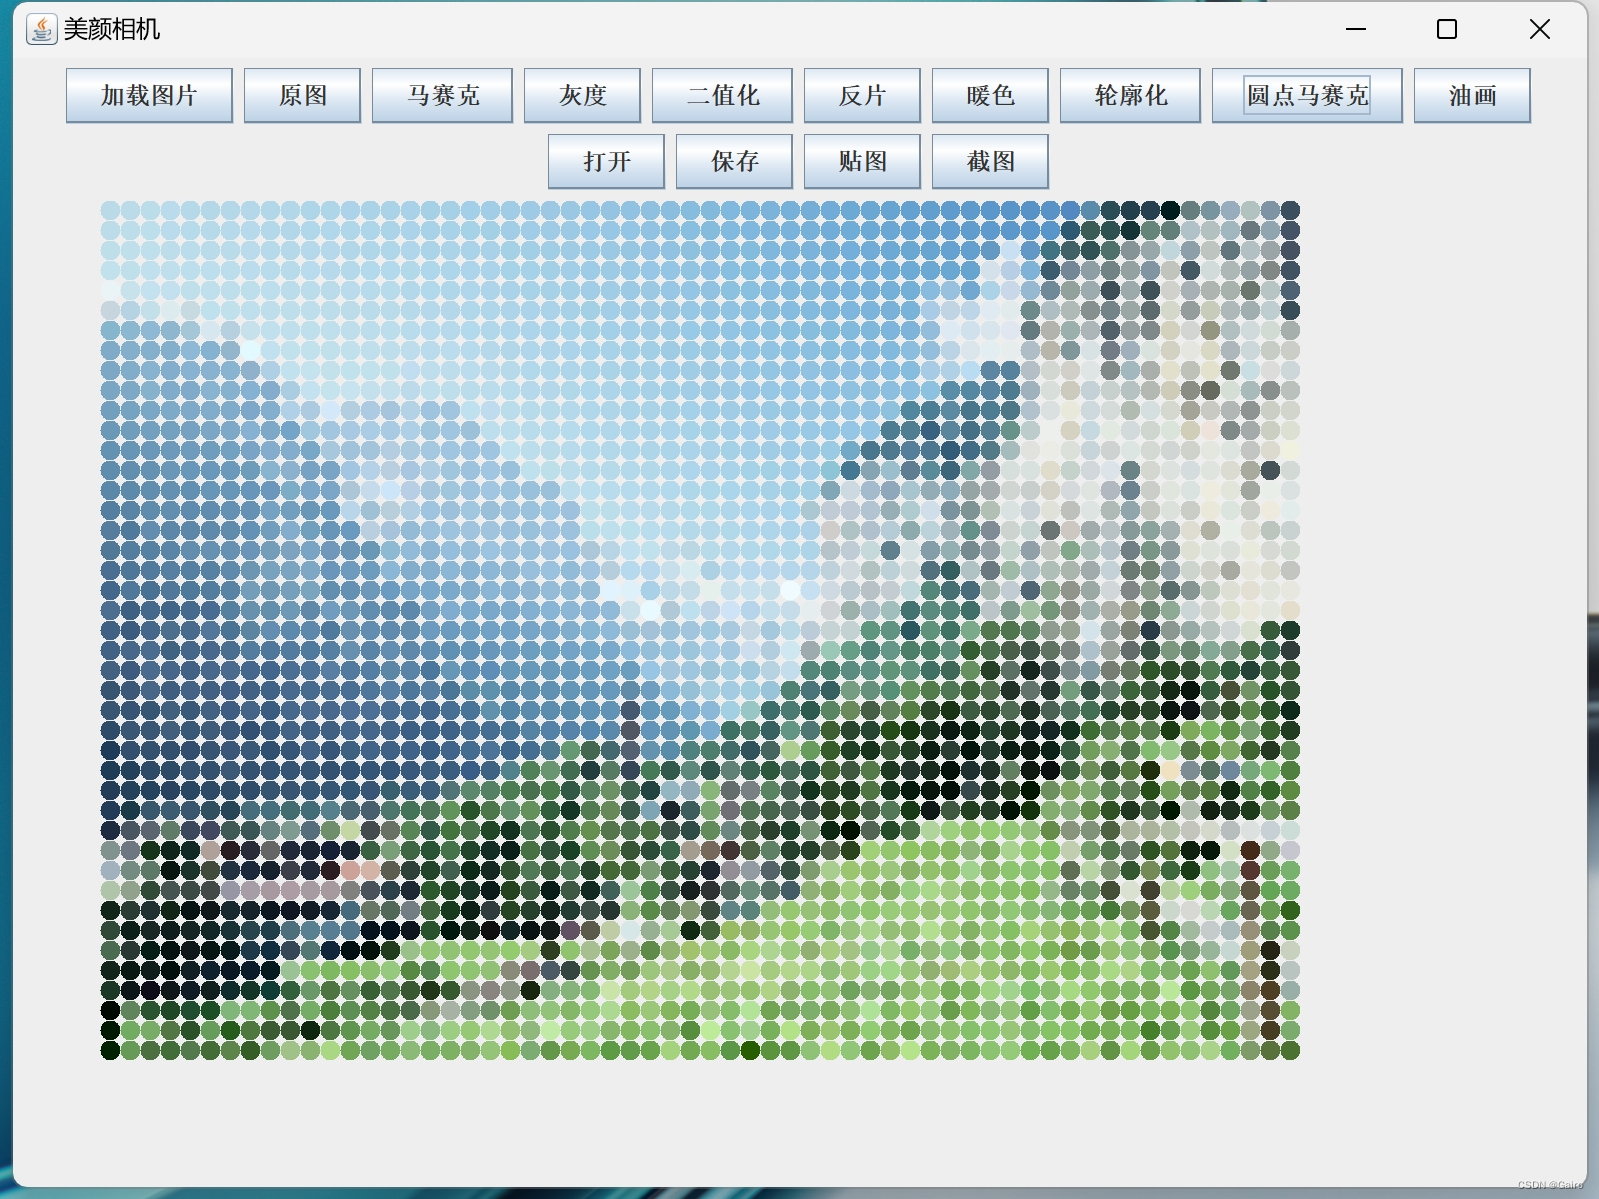
5.圆点马赛克
和方形马赛克一样,只需改变画笔的形状
public void draw08(Graphics g,int [][]imArr)
	{
		int w=imArr.length;
		int h=imArr[0].length;
		for(int i=0;i<w;i+=10)
		{
			for(int j=0;j<h;j+=10)
			{
				int rgb=imArr[i][j];
				Color co=new Color(rgb);
				g.setColor(co);
				g.fillOval(50+i,100+j,10,10);
			}
		}
	}
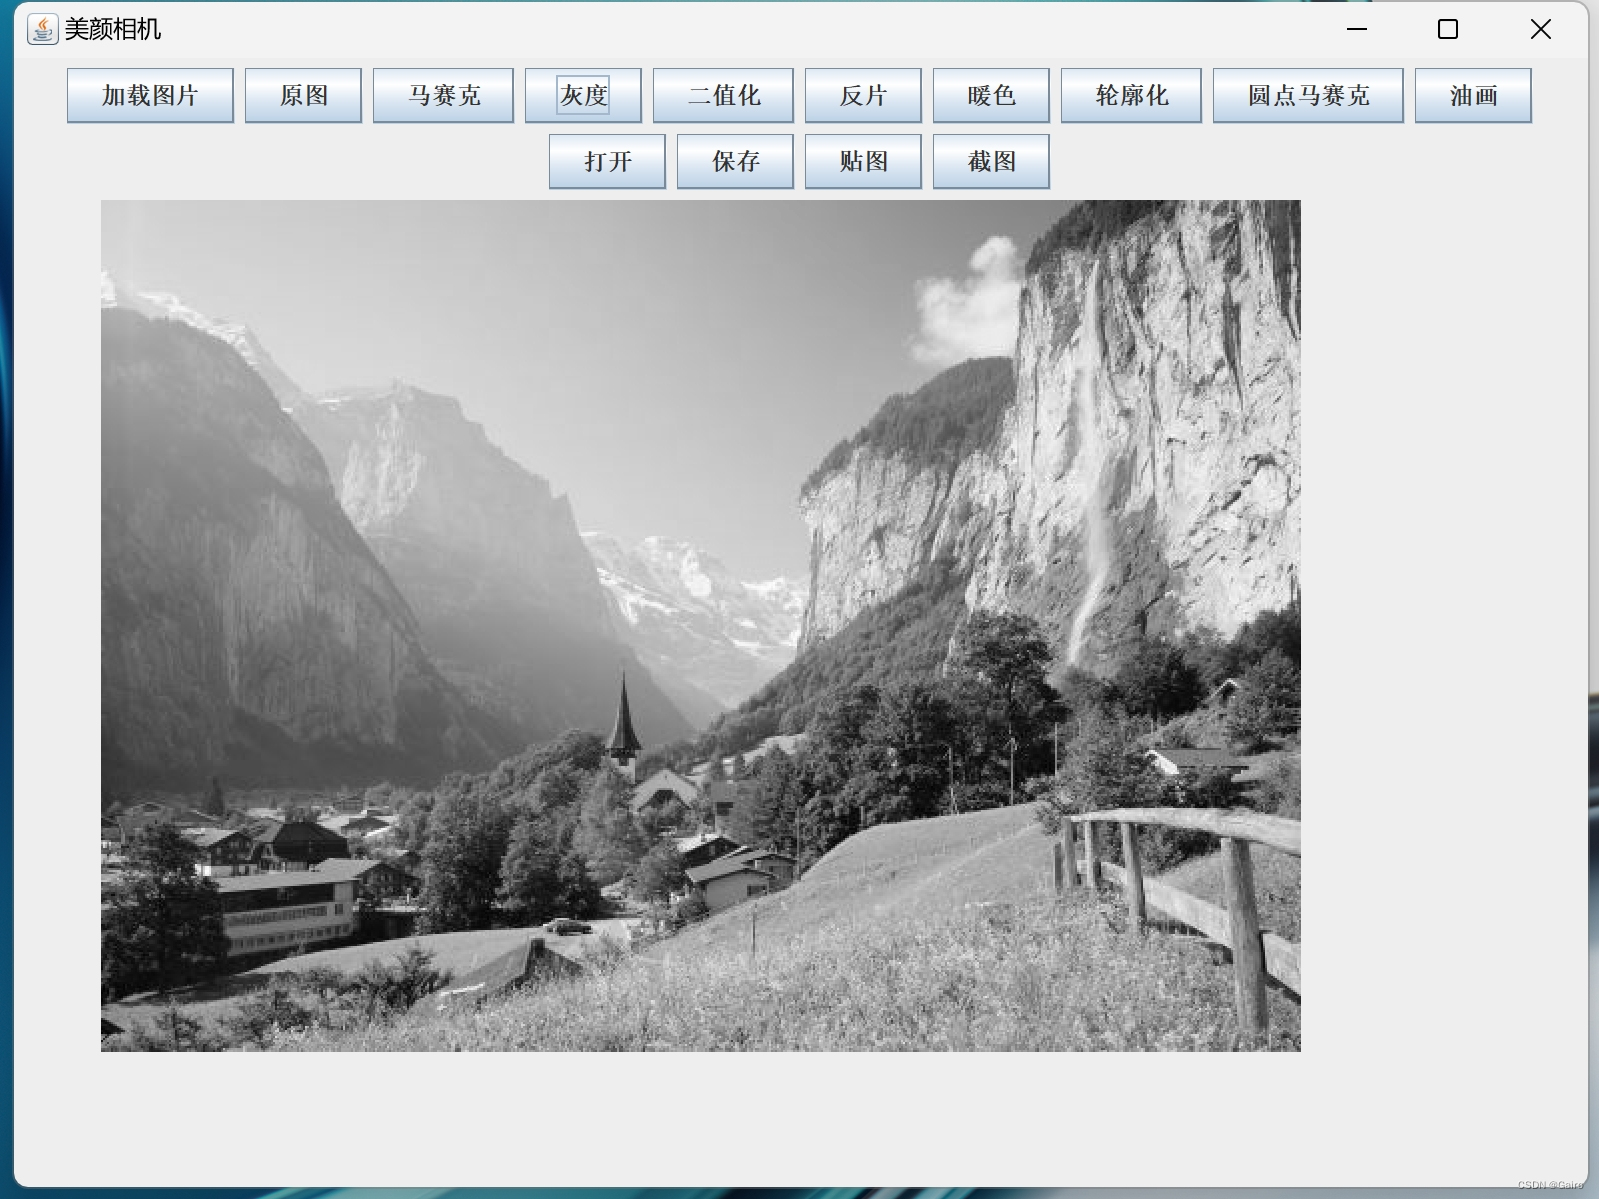
6.灰度
在原图代码的基础上,获得像素值所对应的红、绿、蓝三种颜色的值,以此计算灰度值,更改画笔颜色即可
灰度值有许多计算方法
public void draw03(Graphics g,int [][]imArr)
	{
		int w=imArr.length;
		int h=imArr[0].length;
		for(int i=0;i<w;i++)
		{
			for(int j=0;j<h;j++)
			{
				int rgb=imArr[i][j];
				Color co=new Color(rgb);
				int red=co.getRed();
				int green=co.getGreen();
				int blue=co.getBlue();
				int gray=(int) (red*0.3+green*0.59+blue*0.11);
				Color co1=new Color(gray,gray,gray);
				g.setColor(co1);
				g.fillRect(50+i,100+j,1,1);
			}
		}
	}
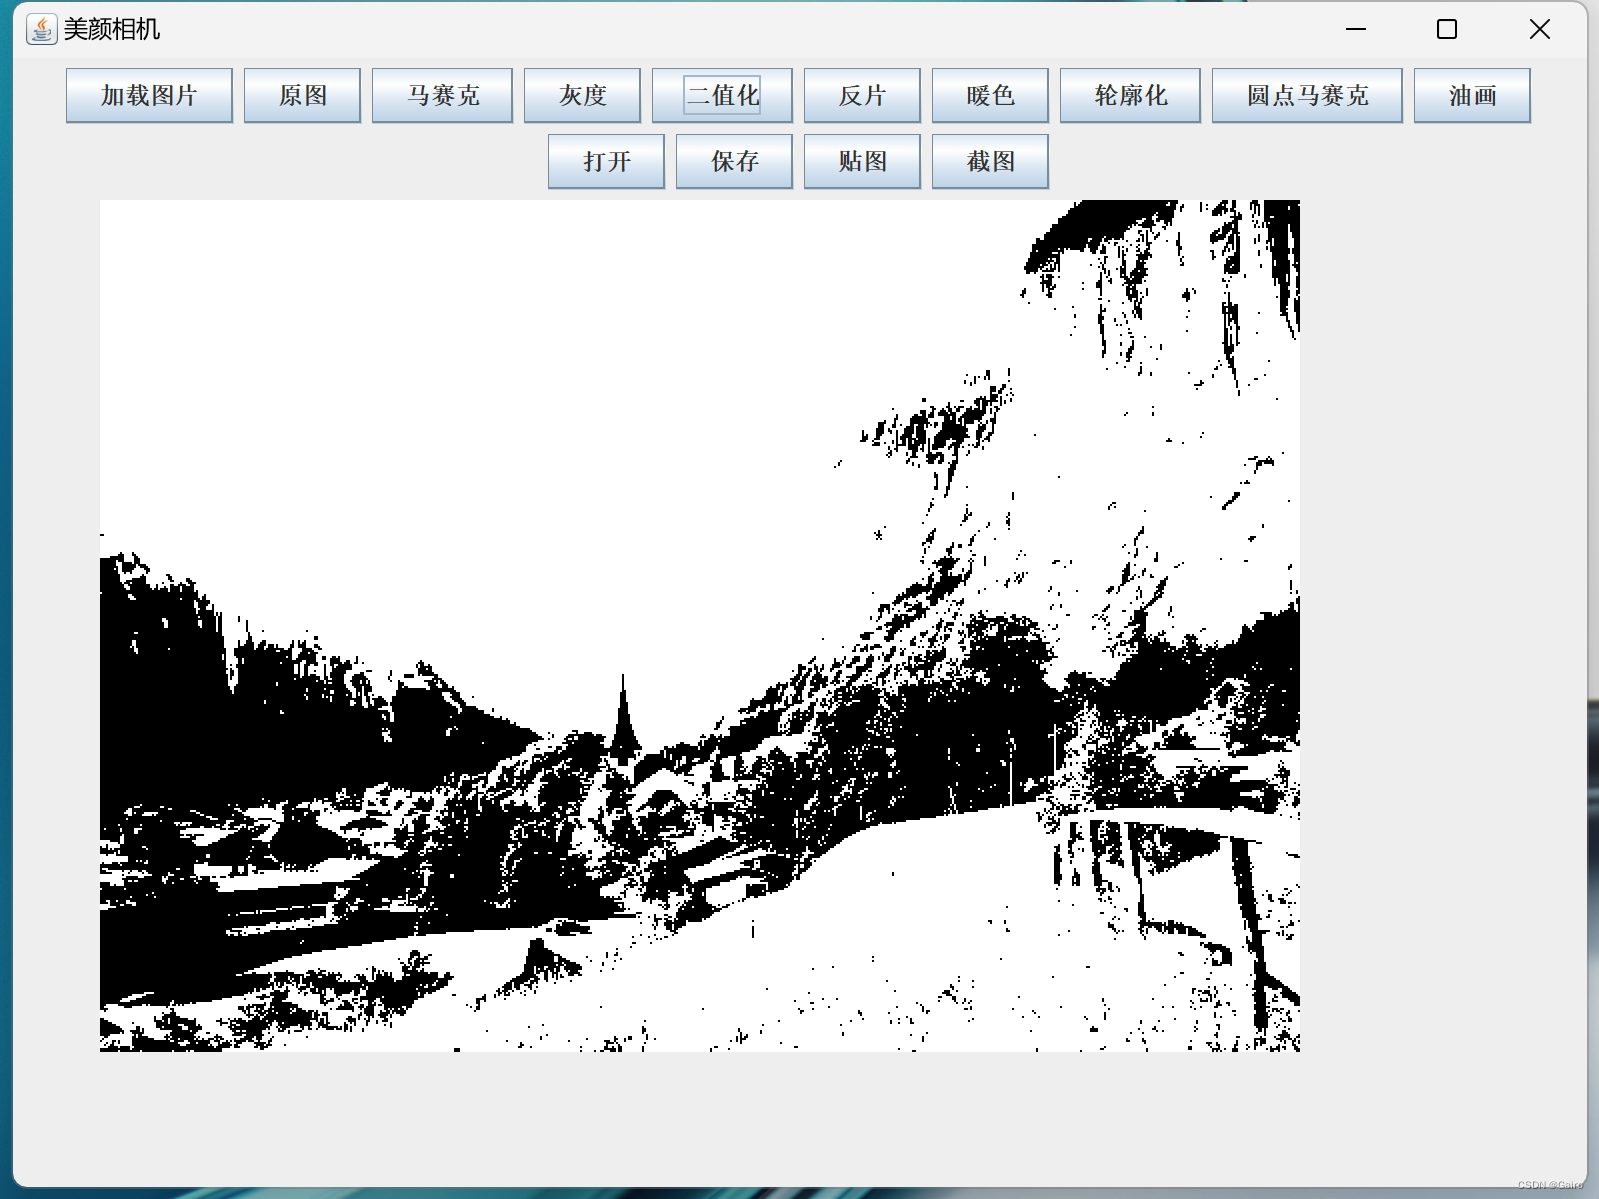
7.二值化
在灰度代码的基础上,在0~255内确定一个值,比较灰度值与该值的大小,将画笔设为黑、白两种颜色
public void draw04(Graphics g,int [][]imArr)
{
int w=imArr.length;
int h=imArr[0].length;
for(int i=0;i<w;i++)
{
for(int j=0;j<h;j++)
{
int rgb=imArr[i][j];
Color co=new Color(rgb);
int red=co.getRed();
int green=co.getGreen();
int blue=co.getBlue();
int gray=(int) (red*0.3+green*0.59+blue*0.11);
if(gray<110)
{
g.setColor(Color.black);
}
else {
g.setColor(Color.white);
}
g.fillRect(50+i,100+j,1,1);
}
}
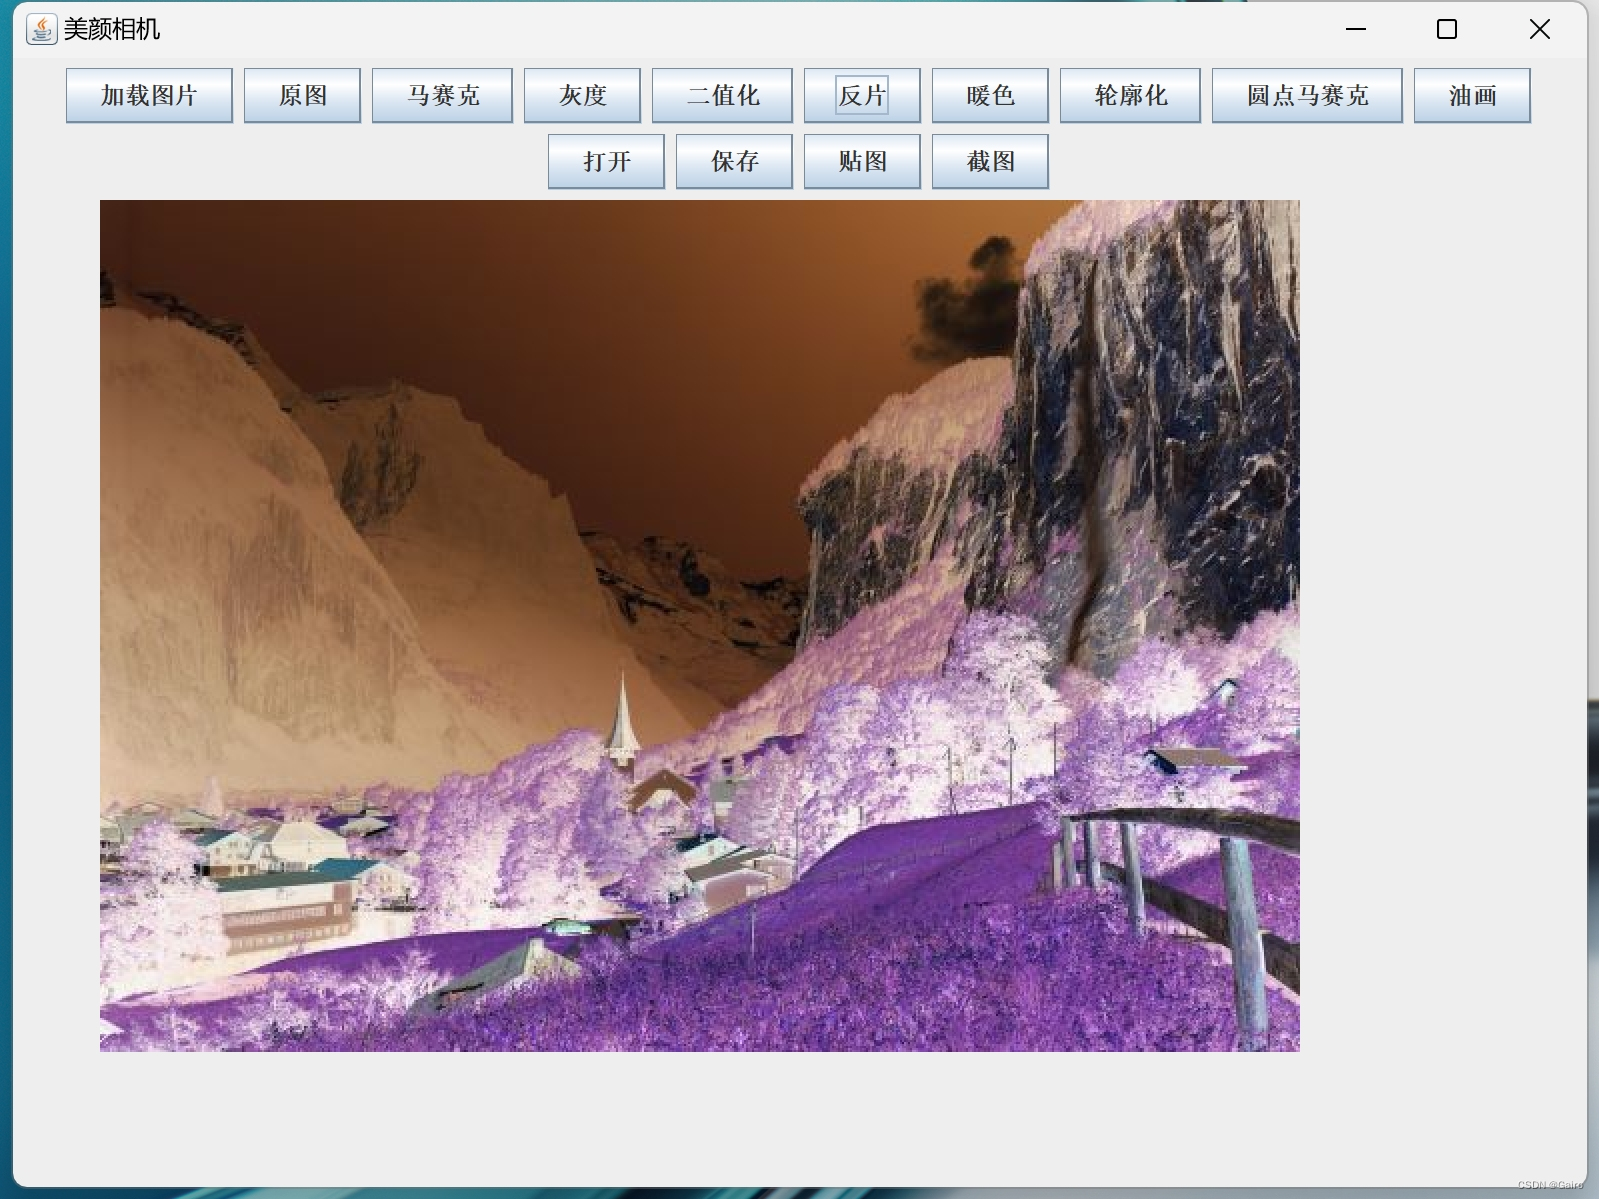
} 8.反片
8.反片
255-红/绿/蓝,获得一组像素值,以此更改画笔颜色
public void draw05(Graphics g,int [][]imArr)
	{
		int w=imArr.length;
		int h=imArr[0].length;
		for(int i=0;i<w;i++)
		{
			for(int j=0;j<h;j++)
			{
				int rgb=imArr[i][j];
				Color co=new Color(rgb);
				int red=co.getRed();
				int green=co.getGreen();
				int blue=co.getBlue();
				int ired=255-red;
				int igreen=255-green;
				int iblue=255-blue;
				Color co2=new Color(ired,igreen,iblue);
				g.setColor(co2);
				g.fillRect(50+i,100+j,1,1);
			}
		}
} 
9.暖色
增加红绿两色的值,减少蓝色的值,以此更改画笔颜色,注意像素值的范围是0~255,不得超出此区间
public void draw06(Graphics g,int [][]imArr)
{
int w=imArr.length;
int h=imArr[0].length;
for(int i=0;i<w;i++)
{
for(int j=0;j<h;j++)
{
int rgb=imArr[i][j];
Color co=new Color(rgb);
int red=co.getRed();
int green=co.getGreen();
int blue=co.getBlue();
int ired=red+100;
if(ired>255)
{
ired=255;
}
int igreen=green+50;
if(igreen>255)
{
igreen=255;
}
int iblue=blue-50;
if(iblue<0)
{
iblue=0;
}
Color co3=new Color(ired,igreen,blue);
g.setColor(co3);
g.fillRect(50+i,100+j,1,1);
}
}
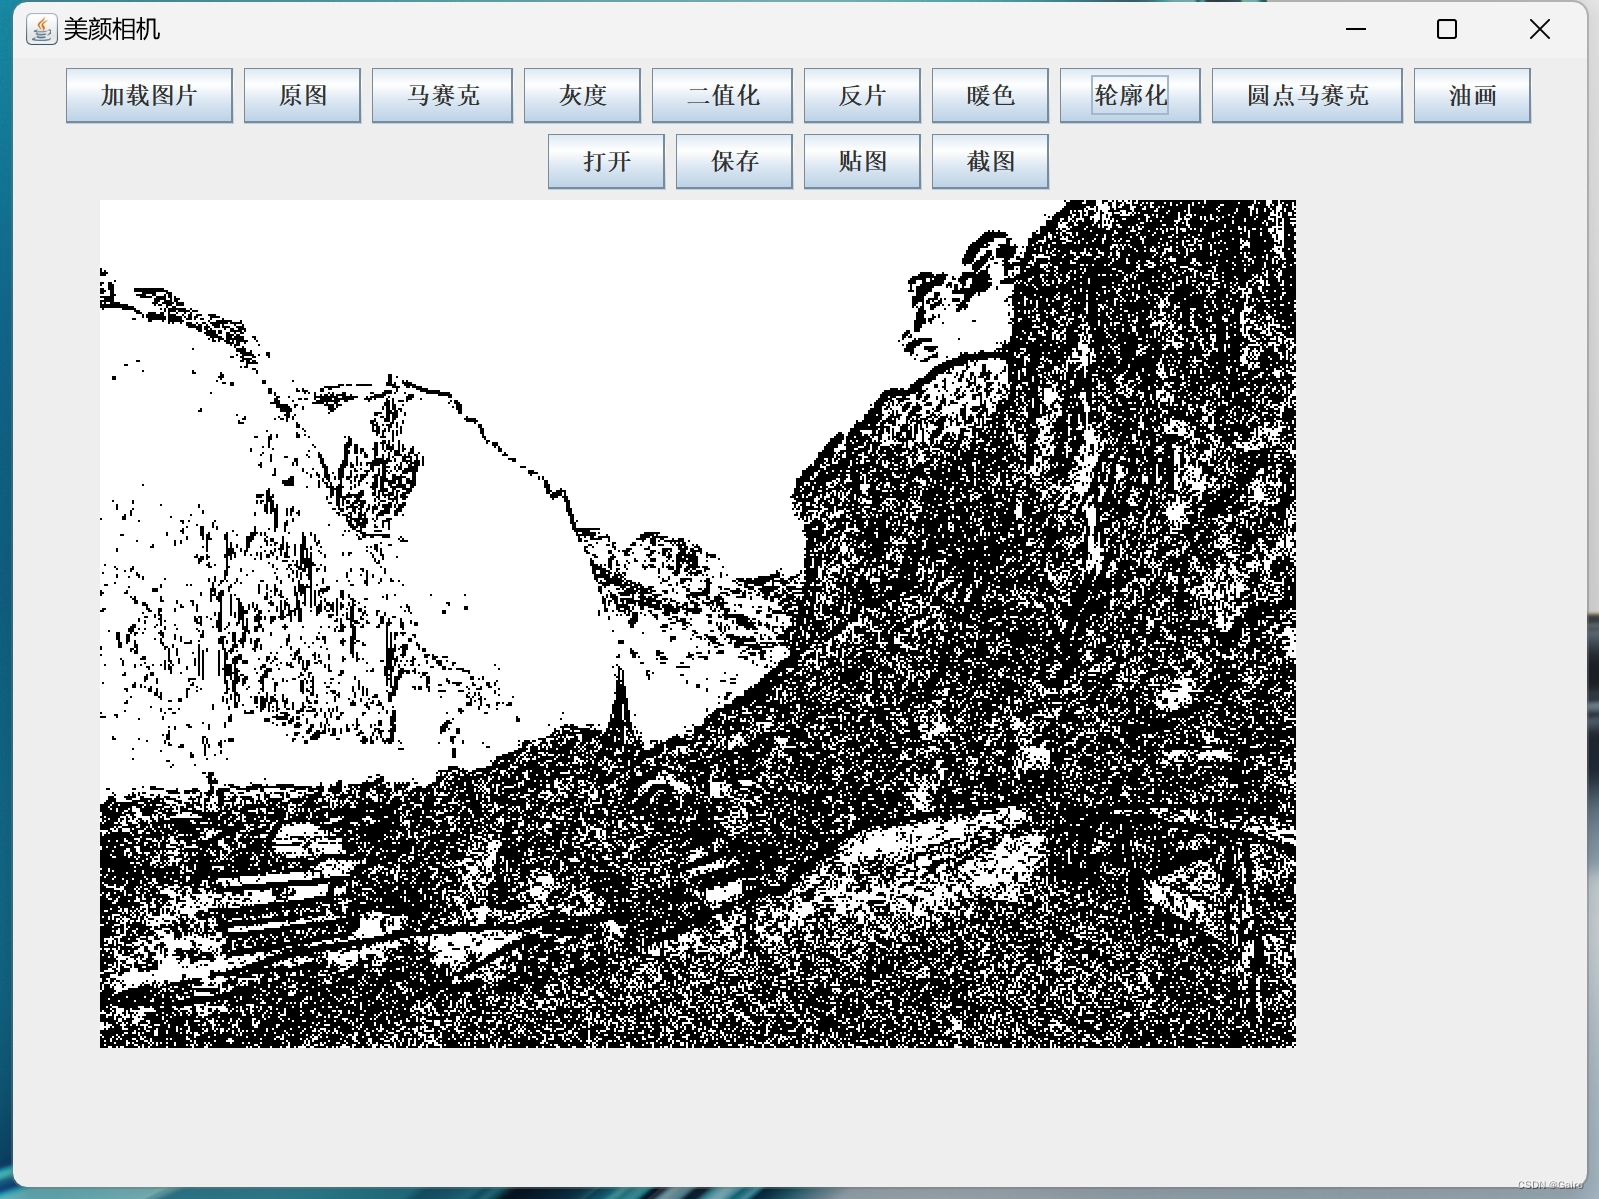
} 10.轮廓化
public void draw07(Graphics g,int [][]imArr)
	{
		int w=imArr.length-2;
		int h=imArr[0].length-2;
		for(int i=0;i<w;i++)
		{
			for(int j=0;j<h;j++)
			{
				int rgb=imArr[i][j];
				Color co=new Color(rgb);
				int red=co.getRed();
				int green=co.getGreen();
				int blue=co.getBlue();
				int gray=(int) (red*0.3+green*0.59+blue*0.11);

				int rgb1=imArr[i+2][j+2];
				Color co1=new Color(rgb1);
				int red1=co1.getRed();
				int green1=co1.getGreen();
				int blue1=co1.getBlue();
				int gray1=(int) (red1*0.3+green1*0.59+blue1*0.11);
				if(Math.abs(gray1-gray)>8)
				{
					g.setColor(Color.black);
				}
				else
				{
					g.setColor(Color.white);
				}
				g.fillRect(50+i, 100+j, 1, 1);
			}
		}
	}
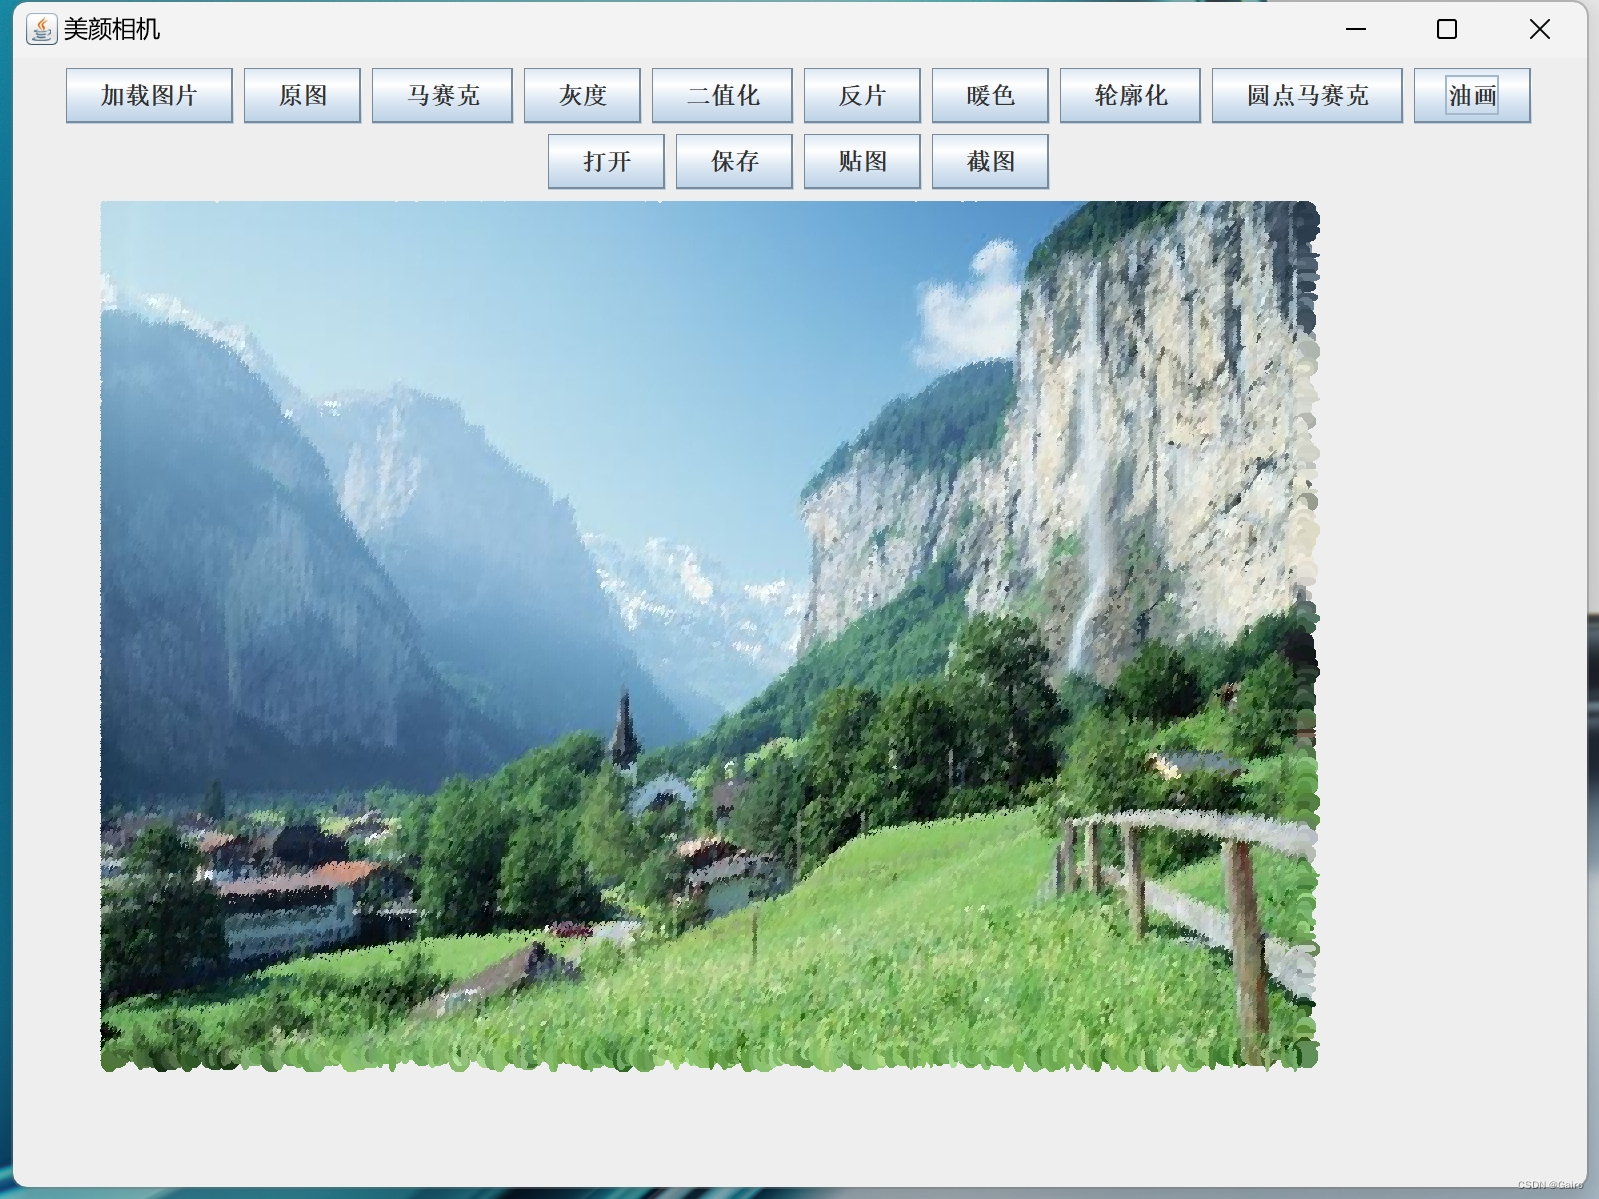
11.油画
油画效果本质上是多个在一定范围内随机大小的点的排列与叠加
public void draw09(Graphics g,int [][]imArr)
	{
		Random random=new Random();
		int w=imArr.length;
		int h=imArr[0].length;
		for(int i=0;i<w;i+=2)
		{
			for(int j=0;j<h;j+=2)
			{
				int x=random.nextInt(10)+3;
				int y=random.nextInt(10)+3;
				int rgb=imArr[i][j];
				Color co=new Color(rgb);
				g.setColor(co);
				g.fillOval(50+i,100+j, x, y);
			}
		}
	}
12.方法的调用
创建图像工具类的对象,调用对应的方法,注意方法的参数
Graphics g;
int[][]imArr;
ImageTools tool=new ImageTools();
public void actionPerformed(ActionEvent e)
{
	String name=e.getActionCommand();
	if(name.equals("加载图片"))
	{
    	imArr=tool.getImagePix("C:\\Users\\希弥尔\\Desktop\\R-C.jpg");
	}
	else if(name.equals("原图"))
	{
		tool.draw01(g,imArr);
	}


 3086
3086


 被折叠的 条评论
为什么被折叠?
被折叠的 条评论
为什么被折叠?
 到【灌水乐园】发言


