


1:场景描述
场景:基于VideoCoder的音视频解码及二次处理播放。
首先导入选择器picker模块,使用PhotoViewPicker方法拉起图库选择视频文件,将视频文件传递到native侧使用Demuxer解封装器进行解封装,再使用OH_VideoDecoder进行解码(surface模式)送显播放
使用的核心API:
- picker :提供拉起图库选择视频的功能接口。
- AVDemuxer :音视频解封装,用于获取视频等媒体帧数据。
- VideoDecoder:视频解码,将视频数据解码后送显播放。
2:方案描述
Step1:导入picker模块(仅代表选择一个视频路径,还有其它获取媒体文件的方式), 拉起图库选择视频文件保存到自定义路径。
Step2:将文件传递到native侧进行交互。
Step3:使用AVDemuxer接口对文件进行解封装获取视频流数据。
Step4:使用VideoDecoder接口将视频数据解码,结合Xcomponent送显播放。
效果图如下:

具体步骤如下:
步骤一:导入picker模块, 拉起图库选择视频文件自定义保存。
import { picker } from '@kit.CoreFileKit';
let photoSelectOptions = new picker.PhotoSelectOptions();
photoSelectOptions.MIMEType = picker.PhotoViewMIMETypes.VIDEO_TYPE;
photoSelectOptions.maxSelectNumber = 1;
let photoPicker = new picker.PhotoViewPicker();
photoPicker.select(photoSelectOptions).then((PhotoSelectResult: picker.PhotoSelectResult) => {
  hilog.info(0x0000, TAG, 'PhotoViewPicker.select successfully, PhotoSelectResult uri: ' + JSON.stringify(PhotoSelectResult));
  this.selectFilePath = PhotoSelectResult.photoUris[0];
  hilog.info(0x0000, TAG, 'Get selectFilePath successfully: ' + JSON.stringify(this.selectFilePath));
}).catch((err: BusinessError) => {
  hilog.error(0x0000, TAG, 'PhotoViewPicker.select failed with err: ' + JSON.stringify(err));
})
}
步骤二:将文件传递到native侧进行交互。
import player from 'libplayer.so';
export const playNative: (
  inputFileFd: number,
  inputFileOffset: number,
  inputFileSize: number,
  cbFn: () => void
) => void;
static napi_value Init(napi_env env, napi_value exports) {
  napi_property_descriptor classProp[] = {
    {"playNative", nullptr, Play, nullptr, nullptr, nullptr, napi_default, nullptr},
};
napi_value PlayerNative = nullptr;
const char *classBindName = "playerNative";
napi_define_class(env, classBindName, strlen(classBindName), nullptr, nullptr, 1, classProp, &PlayerNative);
PluginManager::GetInstance()->Export(env, exports);
napi_define_properties(env, exports, sizeof(classProp) / sizeof(classProp[0]), classProp);
return exports;
}
步骤三:使用Demuxer接口对文件进行解封装获取视频流数据。
Step1:创建解封装器,传入媒体文件格式信息。
int32_t Demuxer::CreateDemuxer(SampleInfo &info) {
  source = OH_AVSource_CreateWithFD(info.inputFd, info.inputFileOffset, info.inputFileSize);
  demuxer = OH_AVDemuxer_CreateWithSource(source);
  auto sourceFormat = std::shared_ptr<OH_AVFormat>(OH_AVSource_GetSourceFormat(source), OH_AVFormat_Destroy);
  int32_t ret = GetTrackInfo(sourceFormat, info);
  return AV_ERR_OK;
}
Step2:添加解封装轨道,获取文件轨道信息。
int32_t Demuxer::GetTrackInfo(std::shared_ptr<OH_AVFormat> sourceFormat, SampleInfo &info) {
  int32_t trackCount = 0;
  OH_AVFormat_GetIntValue(sourceFormat.get(), OH_MD_KEY_TRACK_COUNT, &trackCount);
  for (int32_t index = 0; index < trackCount; index++) {
    int trackType = -1;
    auto trackFormat = std::shared_ptr<OH_AVFormat>(OH_AVSource_GetTrackFormat(source, index), OH_AVFormat_Destroy);
    OH_AVFormat_GetIntValue(trackFormat.get(), OH_MD_KEY_TRACK_TYPE, &trackType);
    if (trackType == MEDIA_TYPE_VID) {
      OH_AVDemuxer_SelectTrackByID(demuxer, index);
      OH_AVFormat_GetIntValue(trackFormat.get(), OH_MD_KEY_WIDTH, &info.videoWidth);
      OH_AVFormat_GetIntValue(trackFormat.get(), OH_MD_KEY_HEIGHT, &info.videoHeight);
      OH_AVFormat_GetDoubleValue(trackFormat.get(), OH_MD_KEY_FRAME_RATE, &info.frameRate);
      OH_AVFormat_GetLongValue(trackFormat.get(), OH_MD_KEY_BITRATE, &info.bitrate);
      OH_AVFormat_GetIntValue(trackFormat.get(), "video_is_hdr_vivid", &info.isHDRVivid);
      OH_AVFormat_GetIntValue(trackFormat.get(), OH_MD_KEY_ROTATION, &info.rotation);
      char *codecMime;
      OH_AVFormat_GetStringValue(trackFormat.get(), OH_MD_KEY_CODEC_MIME, const_cast<char const **>(&codecMime));
      info.codecMime = codecMime;
      OH_AVFormat_GetIntValue(trackFormat.get(), OH_MD_KEY_PROFILE, &info.hevcProfile);
      videoTrackId_ = index;
      OH_LOG_ERROR(LOG_APP, "Demuxer config: %{public}d*%{public}d, %{public}.1ffps, %{public}ld" "kbps",
      info.videoWidth, info.videoHeight, info.frameRate, info.bitrate / 1024);
    }
  }
  return AV_ERR_OK;
}
Step3:开始解封装,循环获取视频帧数据。
int32_t Demuxer::ReadSample(OH_AVBuffer *buffer, OH_AVCodecBufferAttr &attr) {
  int32_t ret = OH_AVDemuxer_ReadSampleBuffer(demuxer, videoTrackId_, buffer);
  ret = OH_AVBuffer_GetBufferAttr(buffer, &attr);
  return AV_ERR_OK;
}
解封装支持的文件格式:

步骤四:使用VideoDecoder接口将视频数据解码,结合Xcomponent送显播放。
Step1:将解封装后的数据送去解码器进行解码
void Player::DecInputThread() {
  while (true) {
        std::unique_lock<std::mutex> lock(signal->inputMutex_);
        bool condRet = signal->inputCond_.wait_for(
            lock, 5s, [this]() { return !isStarted_ || !signal->inputBufferInfoQueue_.empty(); });
  if (!isStarted_) {
    OH_LOG_ERROR(LOG_APP, "Work done, thread out");
    break;
  }
  if (signal->inputBufferInfoQueue_.empty()) {
    OH_LOG_ERROR(LOG_APP, "Buffer queue is empty, continue, cond ret: %{public}d", condRet);
  }
  CodecBufferInfo bufferInfo = signal->inputBufferInfoQueue_.front();
  signal->inputBufferInfoQueue_.pop();
  signal->inputFrameCount_++;
  lock.unlock();
  demuxer_->ReadSample(reinterpret_cast<OH_AVBuffer *>(bufferInfo.buffer), bufferInfo.attr);
  int32_t ret = videoDecoder_->PushInputData(bufferInfo);
}
StartRelease();
}
Step2:获取解码后的数据
void Player::DecOutputThread() {
  sampleInfo_.frameInterval = MICROSECOND / sampleInfo_.frameRate;
  while (true) {
        thread_local auto lastPushTime = std::chrono::system_clock::now();
        if (!isStarted_) {
            OH_LOG_ERROR(LOG_APP, "Decoder output thread out");
            break;
        }
        std::unique_lock<std::mutex> lock(signal->outputMutex_);
        bool condRet = signal->outputCond_.wait_for(
            lock, 5s, [this]() { return !isStarted_ || !signal->outputBufferInfoQueue_.empty(); });
  if (!isStarted_) {
    OH_LOG_ERROR(LOG_APP, "Decoder output thread out");
    break;
  }
  if (signal->outputBufferInfoQueue_.empty()) {
    OH_LOG_ERROR(LOG_APP, "Buffer queue is empty, continue, cond ret: %{public}d", condRet);
  }
  CodecBufferInfo bufferInfo = signal->outputBufferInfoQueue_.front();
  signal->outputBufferInfoQueue_.pop();
  if (bufferInfo.attr.flags & AVCODEC_BUFFER_FLAGS_EOS) {
    OH_LOG_ERROR(LOG_APP, "Catch EOS, thread out");
    break;
  }
  signal->outputFrameCount_++;
  OH_LOG_ERROR(LOG_APP, "Out buffer count: %{public}u, size: %{public}d, flag: %{public}u, pts: %{public}ld",
    signal->outputFrameCount_, bufferInfo.attr.size, bufferInfo.attr.flags, bufferInfo.attr.pts);
  lock.unlock();
  int32_t ret = videoDecoder_->FreeOutputData(bufferInfo.bufferIndex, true);
  if (ret != AV_ERR_OK) {
    OH_LOG_ERROR(LOG_APP, "Decoder output thread out");
    break;
  }
  std::this_thread::sleep_until(lastPushTime + std::chrono::microseconds(sampleInfo_.frameInterval));
  lastPushTime = std::chrono::system_clock::now();
}
OH_LOG_ERROR(LOG_APP, "Exit, frame count: %{public}u", signal->outputFrameCount_);
StartRelease();
}
Step3:使用OH_VideoDecoder_SetSurface设置surface数据和window绑定
int32_t VideoDecoder::Config(const SampleInfo &sampleInfo, VDecSignal *signal) {
  // Configure video decoder
  int32_t ret = ConfigureVideoDecoder(sampleInfo);
  // SetSurface from video decoder
  if (sampleInfo.window != nullptr) {
    int ret = OH_VideoDecoder_SetSurface(decoder, sampleInfo.window);
    if (ret != AV_ERR_OK || sampleInfo.window == nullptr) {
      OH_LOG_ERROR(LOG_APP, "Set surface failed, ret: %{public}d", ret);
      return AV_ERR_UNKNOWN;
    }
  }
  // SetCallback for video decoder
  ret = SetCallback(signal);
  if (ret != AV_ERR_OK) {
    OH_LOG_ERROR(LOG_APP, "Set callback failed, ret: %{public}d", ret);
    return AV_ERR_UNKNOWN;
  }
  // Prepare video decoder
  {
    int ret = OH_VideoDecoder_Prepare(decoder);
    if (ret != AV_ERR_OK) {
      OH_LOG_ERROR(LOG_APP, "Prepare failed, ret: %{public}d", ret);
      return AV_ERR_UNKNOWN;
    }
  }
  return AV_ERR_OK;
}
Step4: native层获取 NativeXComponent
void PluginManager::Export(napi_env env, napi_value exports) {
  napi_value exportInstance = nullptr;
  if (napi_get_named_property(env, exports, OH_NATIVE_XCOMPONENT_OBJ, &exportInstance) != napi_ok) {
    OH_LOG_Print(LOG_APP, LOG_ERROR, LOG_DOMAIN, "PluginManager", "Export: napi_get_named_property fail");
    return;
  }
  OH_NativeXComponent *nativeXComponent = nullptr;
  if (napi_unwrap(env, exportInstance, reinterpret_cast<void **>(&nativeXComponent)) != napi_ok) {
    OH_LOG_Print(LOG_APP, LOG_ERROR, LOG_DOMAIN, "PluginManager", "Export: napi_unwrap fail");
    return;
  }
  char idStr[OH_XCOMPONENT_ID_LEN_MAX + 1] = {'\0'};
  uint64_t idSize = OH_XCOMPONENT_ID_LEN_MAX + 1;
  if (OH_NativeXComponent_GetXComponentId(nativeXComponent, idStr, &idSize) != OH_NATIVEXCOMPONENT_RESULT_SUCCESS) {
    OH_LOG_Print(LOG_APP, LOG_ERROR, LOG_DOMAIN, "PluginManager", "Export: OH_NativeXComponent_GetXComponentId fail");
    return;
  }
  std::string id(idStr);
  auto context = PluginManager::GetInstance();
  if ((context != nullptr) && (nativeXComponent != nullptr)) {
    context->SetNativeXComponent(id, nativeXComponent);
    auto render = context->GetRender(id);
    OH_NativeXComponent_RegisterCallback(nativeXComponent, &PluginRender::m_callback);
  }
}
step5:通过回调将window渲染播放
void OnSurfaceCreatedCB(OH_NativeXComponent *component, void *window) {
  OH_LOG_Print(LOG_APP, LOG_INFO, LOG_DOMAIN, "Callback", "OnSurfaceCreatedCB");
  auto context = PluginManager::GetInstance();
  context->m_window = (OHNativeWindow *)window;
}
鸿蒙全栈开发全新学习指南
有很多小伙伴不知道学习哪些鸿蒙开发技术?不知道需要重点掌握哪些鸿蒙应用开发知识点?而且学习时频繁踩坑,最终浪费大量时间。所以要有一份实用的鸿蒙(HarmonyOS NEXT)学习路线与学习文档用来跟着学习是非常有必要的。
针对一些列因素,整理了一套纯血版鸿蒙(HarmonyOS Next)全栈开发技术的学习路线,包含了鸿蒙开发必掌握的核心知识要点,内容有(ArkTS、ArkUI开发组件、Stage模型、多端部署、分布式应用开发、WebGL、元服务、OpenHarmony多媒体技术、Napi组件、OpenHarmony内核、OpenHarmony驱动开发、系统定制移植等等)鸿蒙(HarmonyOS NEXT)技术知识点。
本路线共分为四个阶段:
第一阶段:鸿蒙初中级开发必备技能

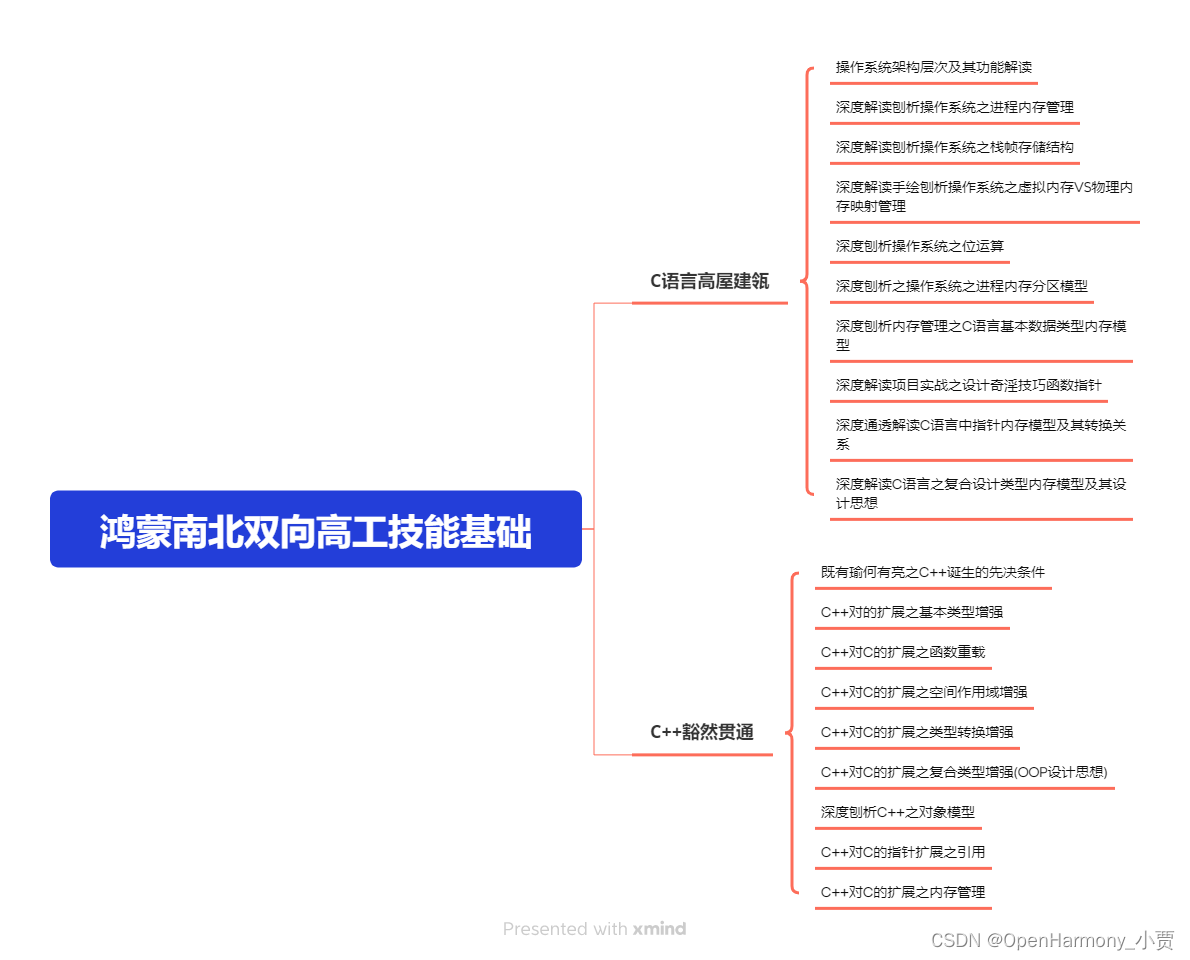
第二阶段:鸿蒙南北双向高工技能基础:gitee.com/MNxiaona/733GH
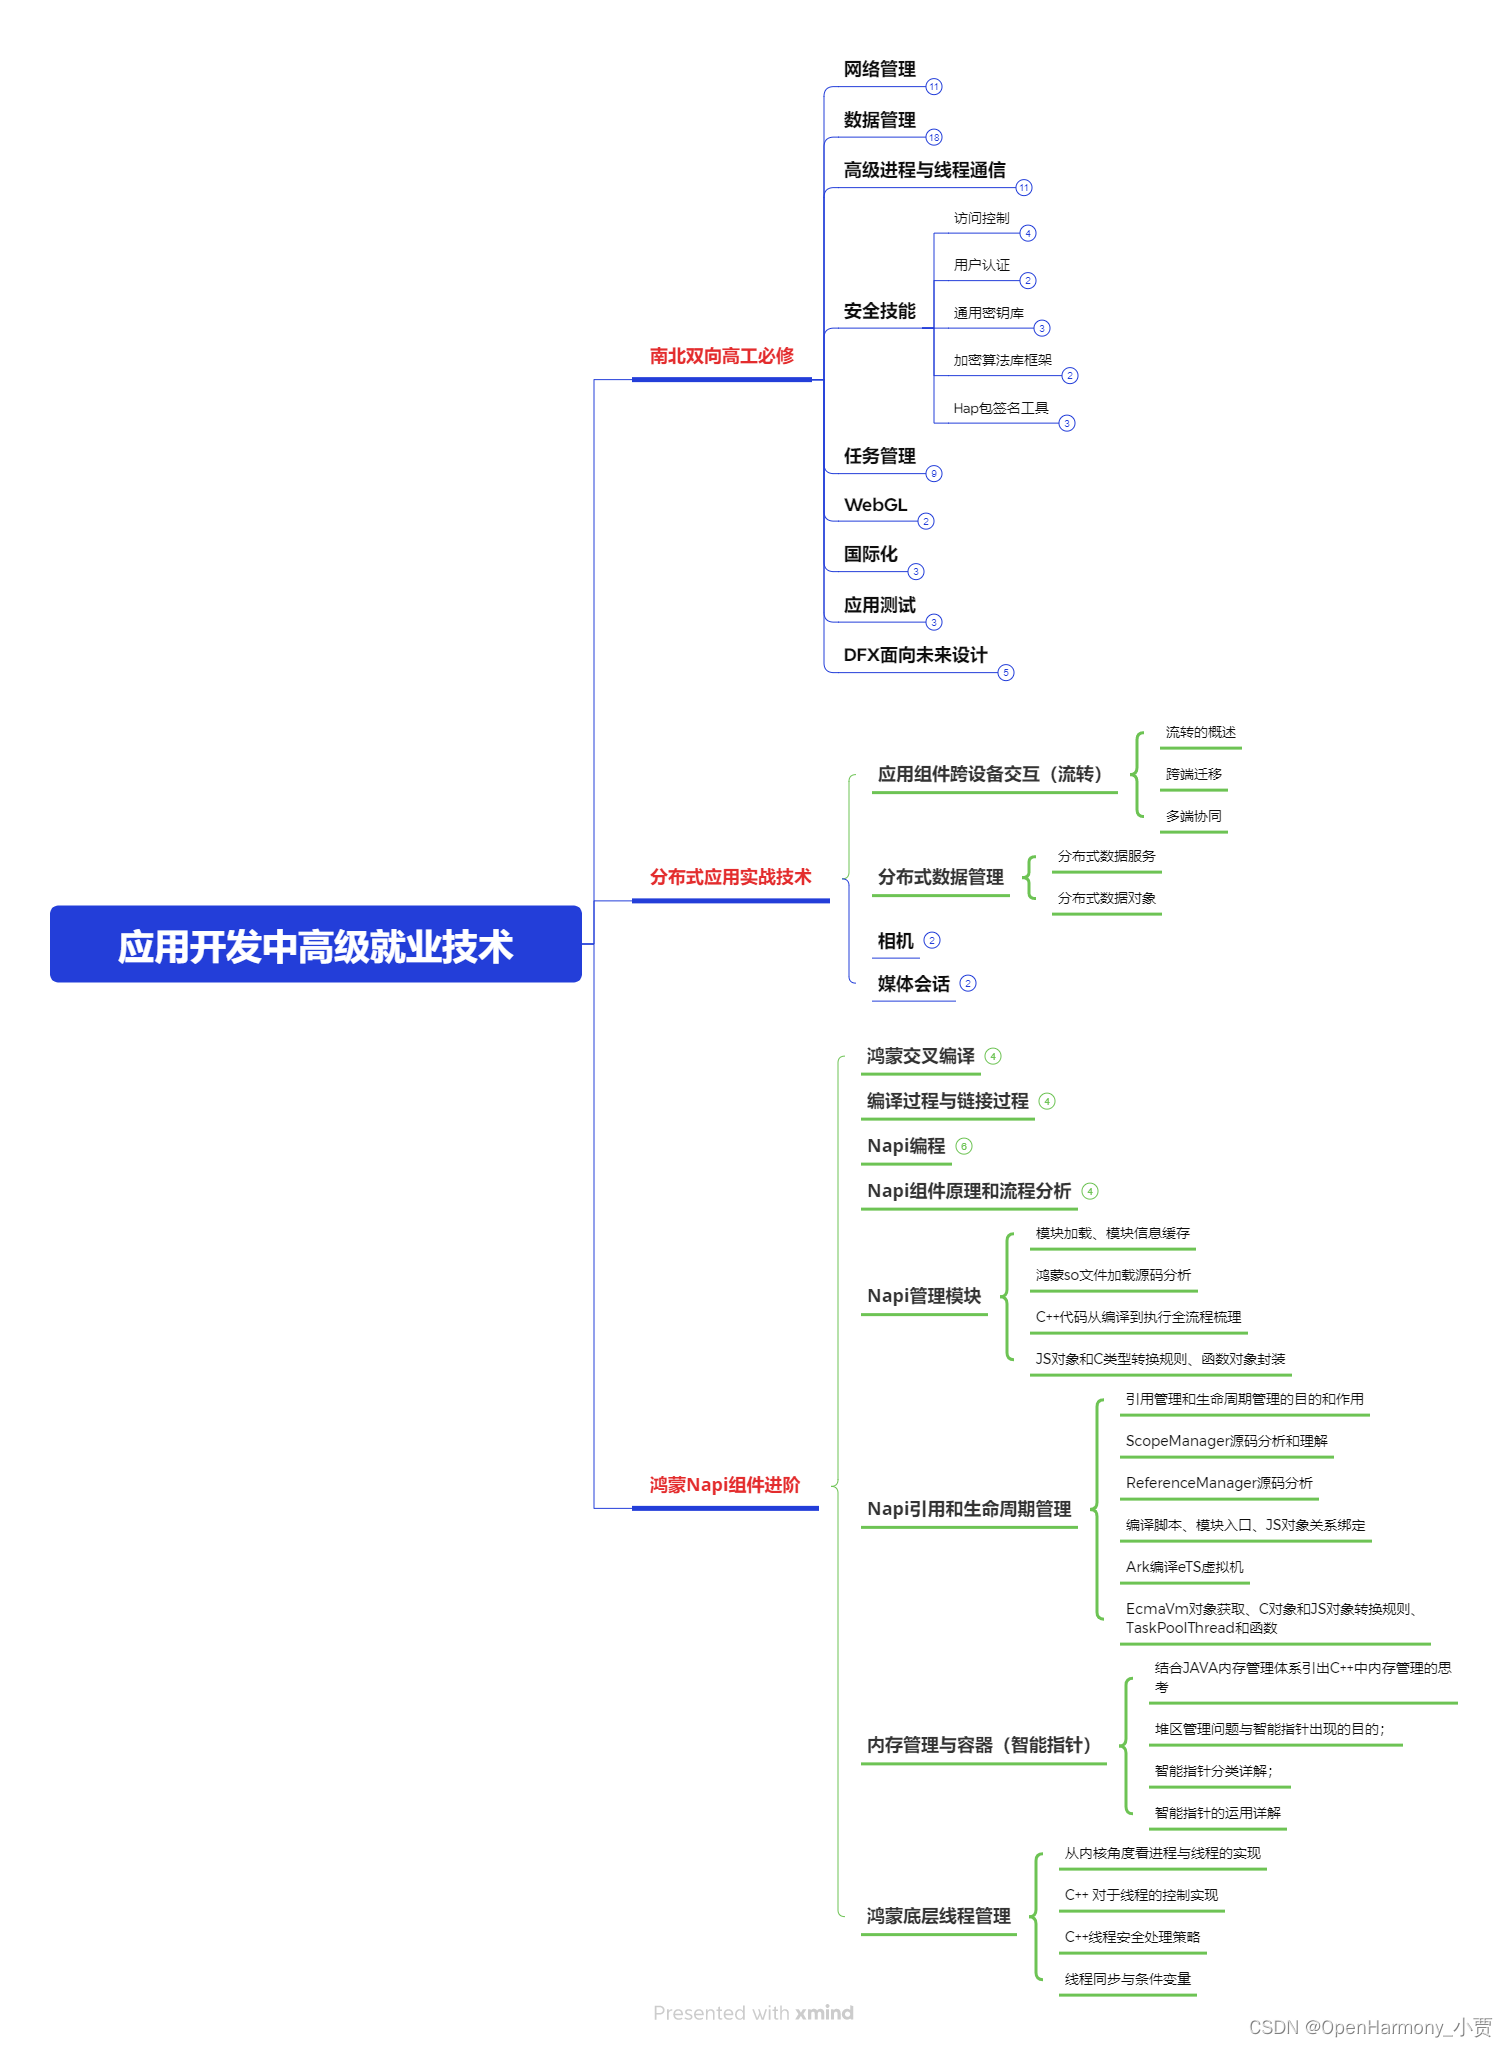
第三阶段:应用开发中高级就业技术
第四阶段:全网首发-工业级南向设备开发就业技术:gitee.com/MNxiaona/733GH

《鸿蒙 (Harmony OS)开发学习手册》(共计892页)
如何快速入门?
1.基本概念
2.构建第一个ArkTS应用
3.……

开发基础知识:gitee.com/MNxiaona/733GH
1.应用基础知识
2.配置文件
3.应用数据管理
4.应用安全管理
5.应用隐私保护
6.三方应用调用管控机制
7.资源分类与访问
8.学习ArkTS语言
9.……

基于ArkTS 开发
1.Ability开发
2.UI开发
3.公共事件与通知
4.窗口管理
5.媒体
6.安全
7.网络与链接
8.电话服务
9.数据管理
10.后台任务(Background Task)管理
11.设备管理
12.设备使用信息统计
13.DFX
14.国际化开发
15.折叠屏系列
16.……

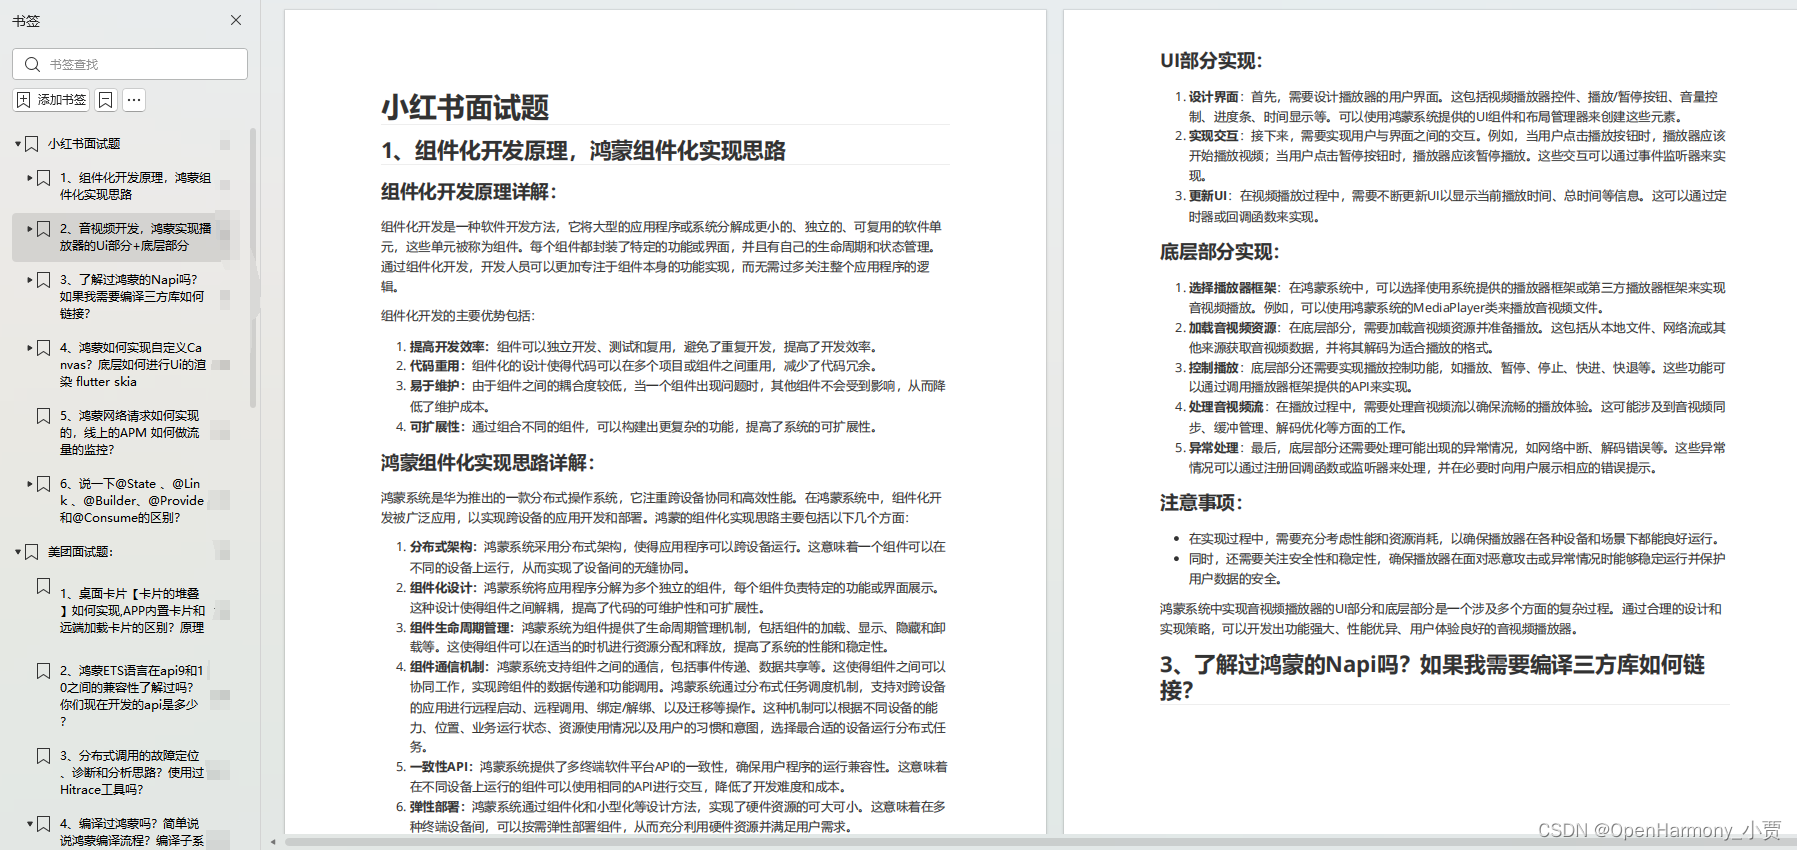
鸿蒙开发面试真题(含参考答案):gitee.com/MNxiaona/733GH
鸿蒙入门教学视频:
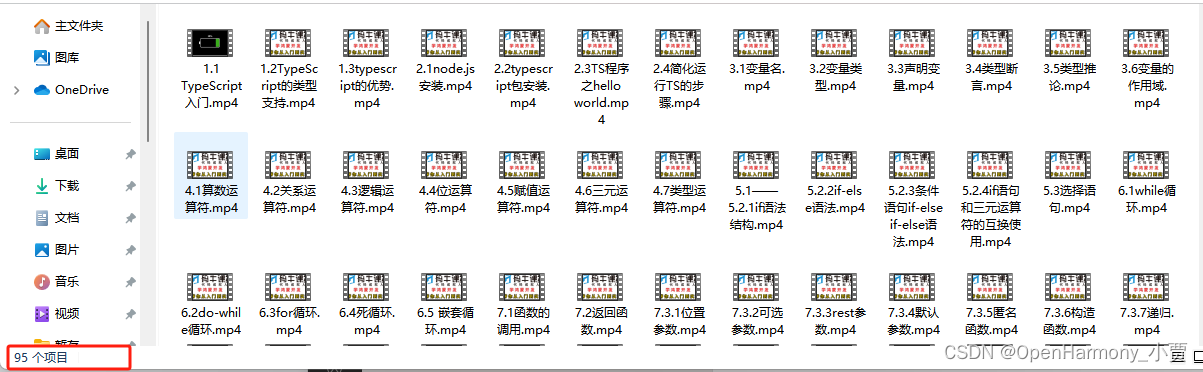
美团APP实战开发教学:gitee.com/MNxiaona/733GH

写在最后
- 如果你觉得这篇内容对你还蛮有帮助,我想邀请你帮我三个小忙:
- 点赞,转发,有你们的 『点赞和评论』,才是我创造的动力。
- 关注小编,同时可以期待后续文章ing🚀,不定期分享原创知识。
- 想要获取更多完整鸿蒙最新学习资源,请移步前往小编:
gitee.com/MNxiaona/733GH


 377
377


 被折叠的 条评论
为什么被折叠?
被折叠的 条评论
为什么被折叠?
 到【灌水乐园】发言


