


 本文详细介绍了如何在Linux系统中安装Asio-CPP库,包括从官网下载、解压并将其头文件复制到系统路径。接着,通过Visual Studio创建Linux控制台项目,解决找不到Asio头文件的问题,以及编译和运行Asio的官方C++11服务器示例。最后,简要提到了示例服务器仅接收客户端连接但不响应的特点,预告了接下来将制作一个EchoServer。
简介
文章将帮助你学习,如何在Linux上搭建Asio-Cpp的开发环境,并使用Asio-Cpp编译一个官方例子。
安装Asio-CPP
1.进入官网:https://think-async.com/Asio/
2.点击下载:

3.右键复制链接地址:

4.在Linux控制台中使用wget下载文件
# 在linux中下载文件
wget https://sourceforge.net/projects/asio/files/asio/1.18.1%20%28Stable%29/asio-1.18.1.zip
5.解压文件到本地
unzip -q [your asio zip]
6.复制asio的所有include下的文件到/usr/local/include目录下
# 进入到asio的包含目录
cd asio-1.18.1/include

# 将include中的asio文件夹拷贝到/usr/local/include目录下
sudo cp -r asio /usr/local/include

# 将asio.hpp文件拷贝到/usr/local/include目录下
sudo cp -r asio.hpp /usr/local/include

到现在为止,安装完毕。
使用VS创建Asio项目
1.新建Linux控制台程序

2.项目命名

3.菜单栏>工具>选项>连接管理器
设置远程Linux主机的登录凭证

成功后,会显示出来主机IP![]()
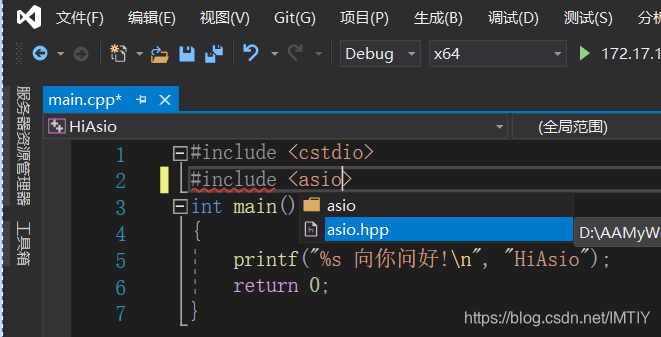
3. 引用asio.hpp头文件

解决找不到头文件
解决方案1: 将asio的所有头文件作为vs的附加包含目录
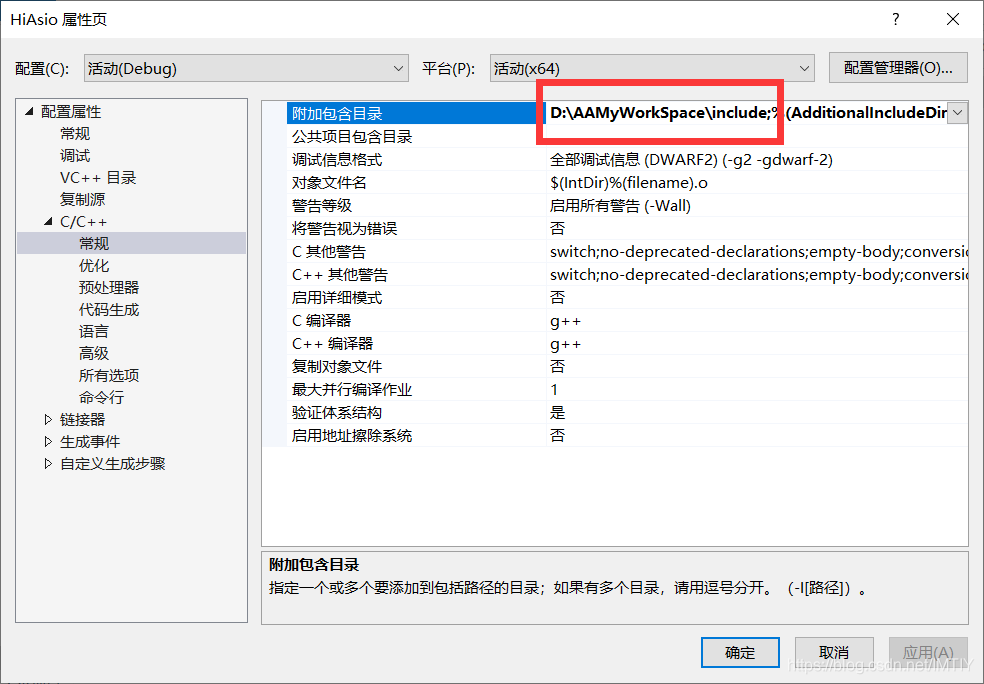
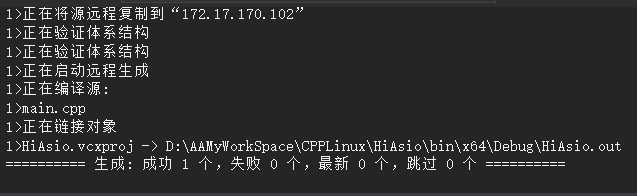
编译成功。
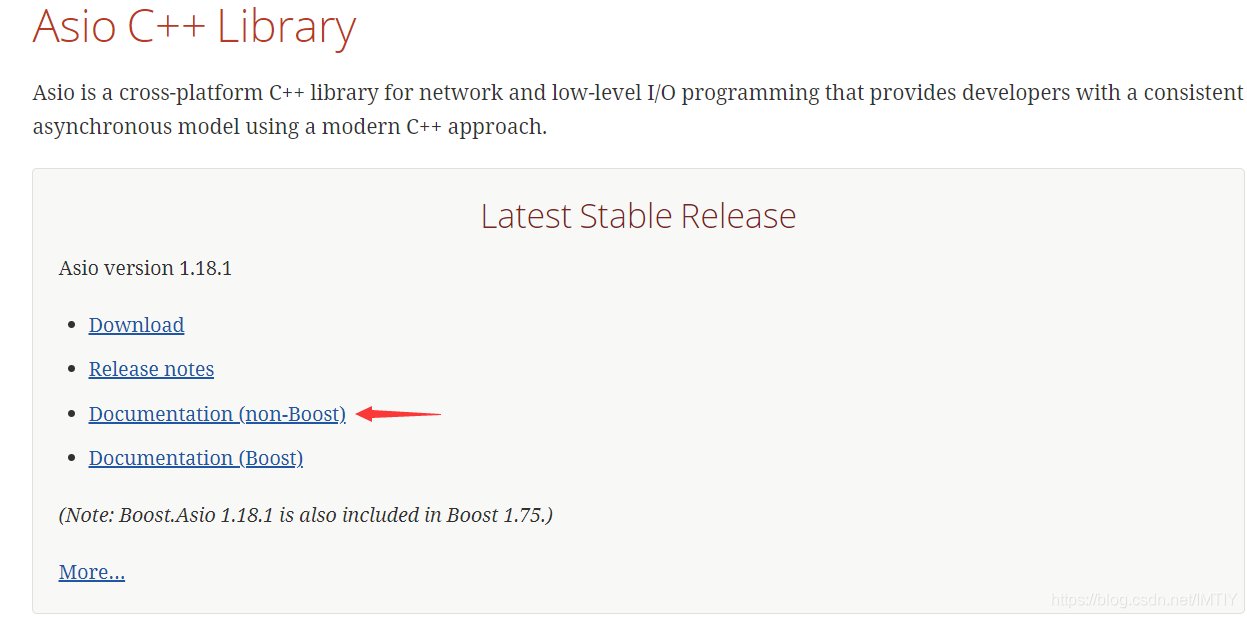
编译官方例子
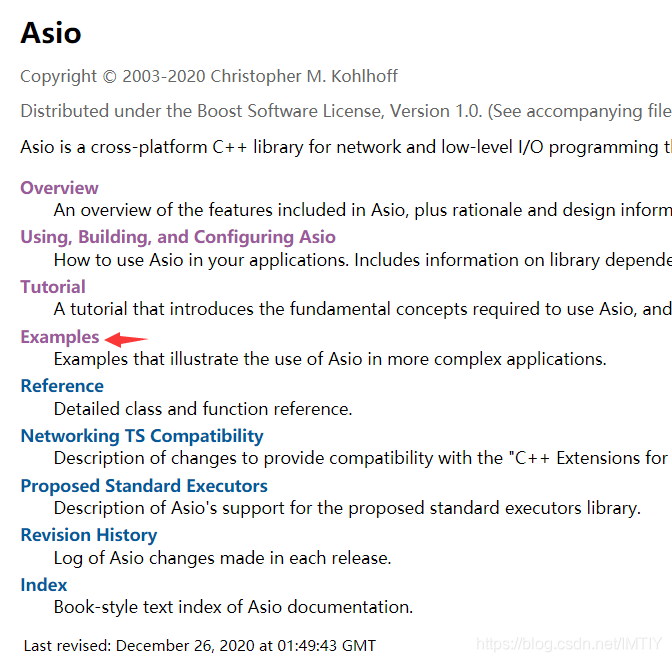
1. 进入官网>点击non-boost
2. 点击进入Examples
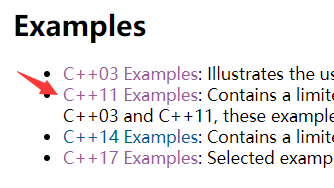
3. 点击进入C++11 Examples
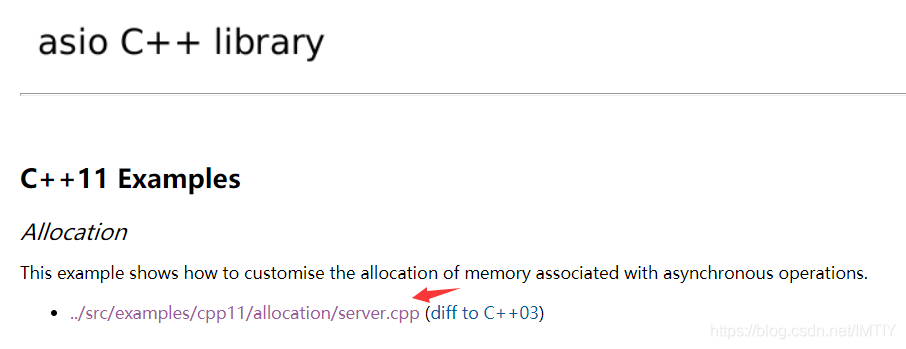
4. 点击进入server.cpp示例
5.拷贝代码,注意要将#include "asio.hpp" 改为 #include <asio.hpp>
//
// server.cpp
// ~~~~~~~~~~
//
// Copyright (c) 2003-2020 Christopher M. Kohlhoff (chris at kohlhoff dot com)
//
// Distributed under the Boost Software License, Version 1.0. (See accompanying
// file LICENSE_1_0.txt or copy at http://www.boost.org/LICENSE_1_0.txt)
//
#include <array>
#include <cstdlib>
#include <iostream>
#include <memory>
#include <type_traits>
#include <utility>
#include <asio.hpp>
using asio::ip::tcp;
// Class to manage the memory to be used for handler-based custom allocation.
// It contains a single block of memory which may be returned for allocation
// requests. If the memory is in use when an allocation request is made, the
// allocator delegates allocation to the global heap.
class handler_memory
{
public:
handler_memory()
: in_use_(false)
{
}
handler_memory(const handler_memory&) = delete;
handler_memory& operator=(const handler_memory&) = delete;
void* allocate(std::size_t size)
{
if (!in_use_ && size < sizeof(storage_))
{
in_use_ = true;
return &storage_;
}
else
{
return ::operator new(size);
}
}
void deallocate(void* pointer)
{
if (pointer == &storage_)
{
in_use_ = false;
}
else
{
::operator delete(pointer);
}
}
private:
// Storage space used for handler-based custom memory allocation.
typename std::aligned_storage<1024>::type storage_;
// Whether the handler-based custom allocation storage has been used.
bool in_use_;
};
// The allocator to be associated with the handler objects. This allocator only
// needs to satisfy the C++11 minimal allocator requirements.
template <typename T>
class handler_allocator
{
public:
using value_type = T;
explicit handler_allocator(handler_memory& mem)
: memory_(mem)
{
}
template <typename U>
handler_allocator(const handler_allocator<U>& other) noexcept
: memory_(other.memory_)
{
}
bool operator==(const handler_allocator& other) const noexcept
{
return &memory_ == &other.memory_;
}
bool operator!=(const handler_allocator& other) const noexcept
{
return &memory_ != &other.memory_;
}
T* allocate(std::size_t n) const
{
return static_cast<T*>(memory_.allocate(sizeof(T) * n));
}
void deallocate(T* p, std::size_t /*n*/) const
{
return memory_.deallocate(p);
}
private:
template <typename> friend class handler_allocator;
// The underlying memory.
handler_memory& memory_;
};
// Wrapper class template for handler objects to allow handler memory
// allocation to be customised. The allocator_type type and get_allocator()
// member function are used by the asynchronous operations to obtain the
// allocator. Calls to operator() are forwarded to the encapsulated handler.
template <typename Handler>
class custom_alloc_handler
{
public:
using allocator_type = handler_allocator<Handler>;
custom_alloc_handler(handler_memory& m, Handler h)
: memory_(m),
handler_(h)
{
}
allocator_type get_allocator() const noexcept
{
return allocator_type(memory_);
}
template <typename ...Args>
void operator()(Args&&... args)
{
handler_(std::forward<Args>(args)...);
}
private:
handler_memory& memory_;
Handler handler_;
};
// Helper function to wrap a handler object to add custom allocation.
template <typename Handler>
inline custom_alloc_handler<Handler> make_custom_alloc_handler(
handler_memory& m, Handler h)
{
return custom_alloc_handler<Handler>(m, h);
}
class session
: public std::enable_shared_from_this<session>
{
public:
session(tcp::socket socket)
: socket_(std::move(socket))
{
}
void start()
{
do_read();
}
private:
void do_read()
{
auto self(shared_from_this());
socket_.async_read_some(asio::buffer(data_),
make_custom_alloc_handler(handler_memory_,
[this, self](std::error_code ec, std::size_t length)
{
if (!ec)
{
do_write(length);
}
}));
}
void do_write(std::size_t length)
{
auto self(shared_from_this());
asio::async_write(socket_, asio::buffer(data_, length),
make_custom_alloc_handler(handler_memory_,
[this, self](std::error_code ec, std::size_t /*length*/)
{
if (!ec)
{
do_read();
}
}));
}
// The socket used to communicate with the client.
tcp::socket socket_;
// Buffer used to store data received from the client.
std::array<char, 1024> data_;
// The memory to use for handler-based custom memory allocation.
handler_memory handler_memory_;
};
class server
{
public:
server(asio::io_context& io_context, short port)
: acceptor_(io_context, tcp::endpoint(tcp::v4(), port))
{
do_accept();
}
private:
void do_accept()
{
acceptor_.async_accept(
[this](std::error_code ec, tcp::socket socket)
{
if (!ec)
{
std::make_shared<session>(std::move(socket))->start();
}
do_accept();
});
}
tcp::acceptor acceptor_;
};
int main(int argc, char* argv[])
{
try
{
if (argc != 2)
{
std::cerr << "Usage: server <port>\n";
return 1;
}
asio::io_context io_context;
server s(io_context, std::atoi(argv[1]));
io_context.run();
}
catch (std::exception& e)
{
std::cerr << "Exception: " << e.what() << "\n";
}
return 0;
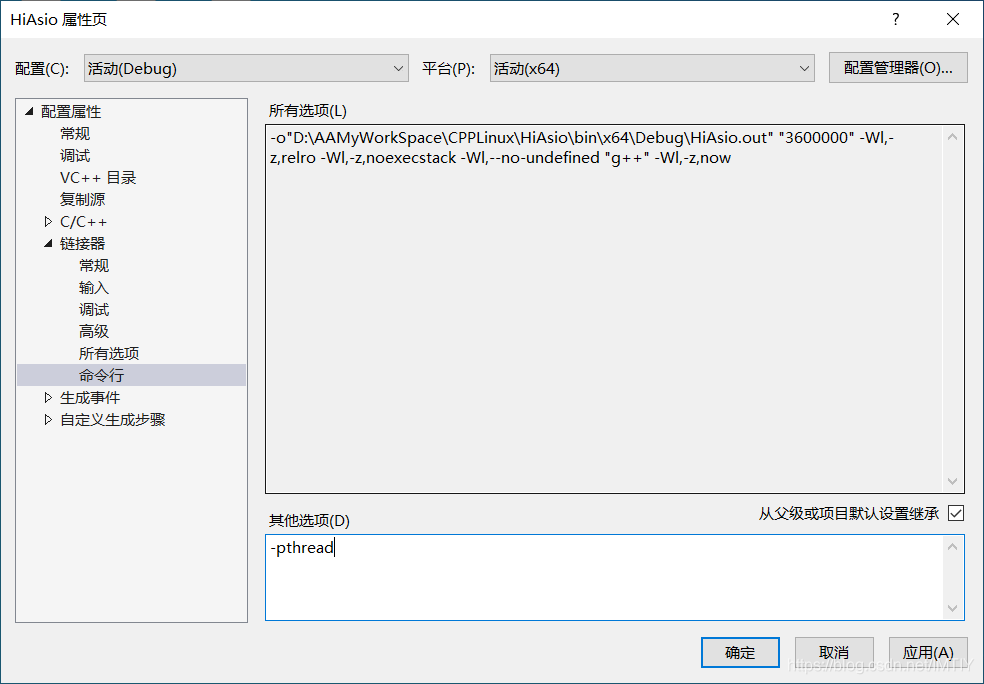
}7. 在链接器>命令行中写入 -pthread
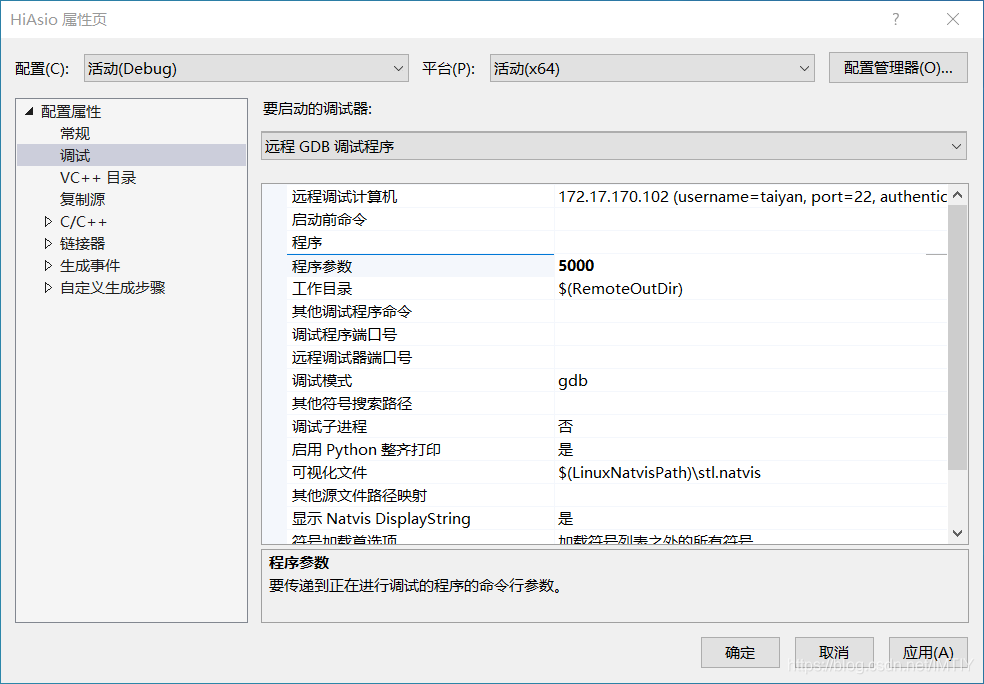
8. 在调试>程序参数添加服务器端口号5000
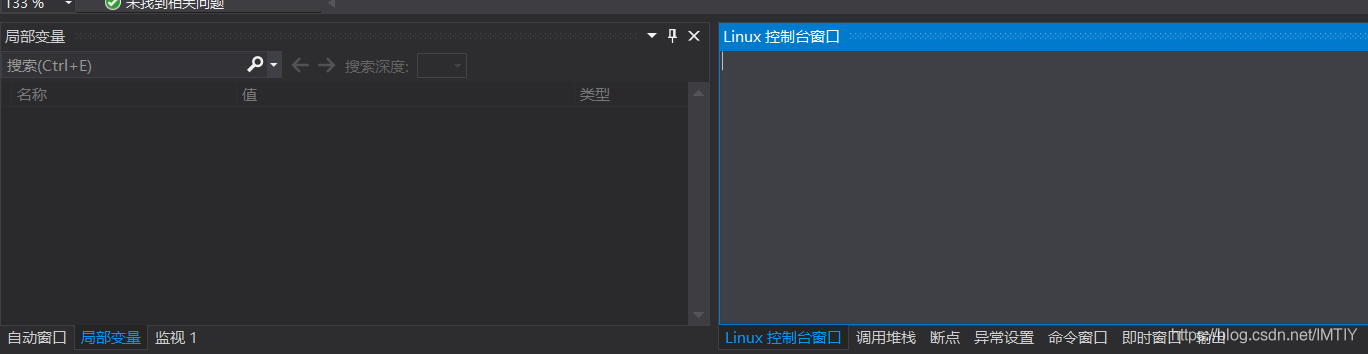
9. 编译运行
如果你的Linux控制台窗口的光标一直在闪烁,就说明服务器运行成功了。
这个官方例子只会接受客户端连接,而不会对客户端发送的消息作出任何响应。
下一篇: 《制作一个EchoServer》


 2830
2830


 到【灌水乐园】发言


