


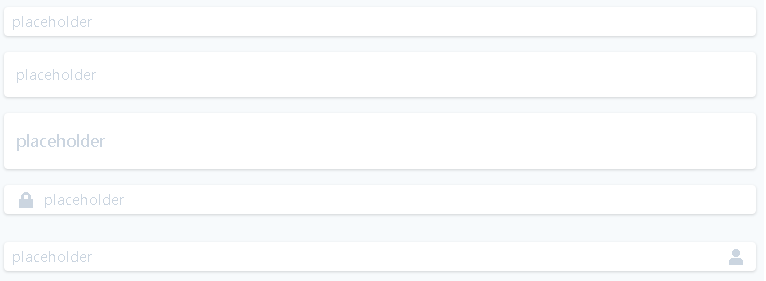
基础输入框
无边框
无边框输入框主要使用了shadow阴影,适合在有底色的环境中使用。
无边框
<input type="text" class="relative outline-none rounded px-2 py-1 w-full bg-white shadow text-sm text-gray-700 placeholder-gray-400 focus:outline-none focus:shadow-outline" placeholder="placeholder" />
| 样式 | 属性 |
|---|---|
| relative | position:relative; |
| outline-none | outline:0; |
| px-2 py-1 | padding:.25rem .5rem; |
| w-full | width:100%; |
| bg-white | background-color:white; |
| shadow | box-shadow: 0 1px 3px 0 rgba(0, 0, 0, 0.1), 0 1px 2px 0 rgba(0, 0, 0, 0.06); |
| text-sm text-gray-700 | font-size:.875rem; color:#b83280; |
placeholder-gray-400实际的类名全程为.placeholder-pink-400::placeholder表示文本占位符的颜色color: #f687b3;。
| 伪类 | 样式 | 属性 |
|---|---|---|
| focus | outline-none | outline:0; |
| focus | shadow-outline | box-shadow: 0 0 0 3px rgba(66, 153, 225, 0.5); |
带边框
带边框取消了阴影shadow取而代之的是border,适合在纯色背景中使用。
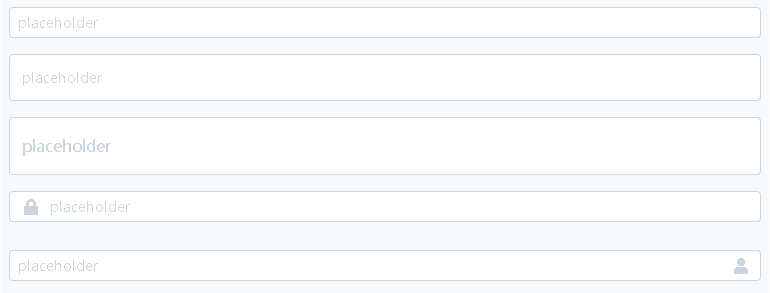
白底带边框
<input type="text" class="relative outline-none border border-gray-400 rounded py-1 px-2 w-full bg-white text-sm text-gray-700 placeholder-gray-400 focus:outline-none focus:shadow-outline" placeholder="placeholder"/>
| 样式 | 属性 |
|---|---|
| relative | position:relative; |
| outline-none | outline:0; |
| border border-gray-400 round | - |
| px-2 py-1 | padding:.25rem .5rem; |
| w-full | width:100%; |
| bg-white | background-color:white; |
| shadow | box-shadow: 0 1px 3px 0 rgba(0, 0, 0, 0.1), 0 1px 2px 0 rgba(0, 0, 0, 0.06); |
| text-sm text-gray-700 | font-size:.875rem; color:#b83280; |
输入框尺寸

input size
| 标识 | 尺寸 | 样式 | 属性 |
|---|---|---|---|
| small | 小型 | py-1 px-2 text-sm | padding:.25rem .5rem; font-size:.875rem; |
| regular | 普通 | py-3 px-3 text-sm | padding:.75rem; font-size:.875rem; |
| large | 大型 | py-4 px-3 text-base | padding:1rem .75rem; font-size:1rem; |
<input type="text" class="relative outline-none rounded py-1 px-2 w-full bg-white shadow text-sm text-gray-700 placeholder-gray-400 focus:outline-none focus:shadow-outline" placeholder="placeholder" />

<input type="text" class="relative outline-none rounded py-3 px-3 w-full bg-white shadow text-sm text-gray-700 placeholder-gray-400 focus:outline-none focus:shadow-outline" placeholder="placeholder" />

<input type="text" class="relative outline-none rounded py-4 px-3 w-full bg-white shadow text-base text-gray-700 placeholder-gray-400 focus:outline-none focus:shadow-outline" placeholder="placeholder" />
输入框图标
输入框左右侧的图标采用Flex弹性容器和绝对定位结合方式实现

input with icon
左侧图标

input with left icon
<div class="relative mb-3 w-full flex flex-wrap items-stretch">
  <span class="absolute z-10 py-3 pl-3 w-8 h-full leading-snug bg-transparent rounded text-base font-normal text-gray-400 text-center flex items-center justify-center">
    <i class="fa fa-lock"></i>
  </span>
  <input type="text" class="relative py-1 px-2 pl-10 w-full bg-white rounded shadow outline-none text-sm text-gray-700 placeholder-gray-400 focus:outline-none focus:shadow-outline" placeholder="placeholder" />
</div>
右侧图标

input with right icon
<div class="relative mb-3 w-full flex flex-wrap items-stretch">
  <input type="text" class="relative py-1 px-2 pr-10 w-full bg-white rounded shadow outline-none text-sm text-gray-700 placeholder-gray-400 focus:outline-none focus:shadow-outline" placeholder="placeholder" />
  <span class="absolute right-0 z-10 py-1 pr-2 w-8 h-full leading-snug bg-transparent rounded text-base font-normal text-gray-400 text-center flex items-center justify-center">
    <i class="fa fa-user"></i>
  </span>
</div>
源代码地址
https://codepen.io/junchow/pen/eYpqWQE?editors=1000
参考UI
https://www.creative-tim.com/learning-lab/tailwind-starter-kit/presentation


 1147
1147

 被折叠的 条评论
为什么被折叠?
被折叠的 条评论
为什么被折叠?
 到【灌水乐园】发言


