


一、介绍
OpenGL已经非常古老了,本文是给想学习OpenGL的小白们一个教程,让大家可以写出一个简单的'Hello World'。而且使用的是Python(!!!)OpenGL只需要简简单单的一行 pip install pyOpenGL 就可以,这不就是小白所需要的吗!
笔者也在学习中,如果大家看到本文内容有误,还望斧正,在这里先谢谢大家了
二、初始化项目
现在我们正式进入代码的编写,这里我们使用pygame来帮助我们快速初始化,如果你没下载pygame库,那速速下载一个!时间不等人!
import pygame as pg
from pygame.locals import *

from OpenGL.GL import *
from OpenGL.GLU import *
在这里我们从pygame.locals中导入是为了在代码中直接使用预定义的标识符,不然每个标识符都需要pg.locals.xxx可太麻烦了,接下来我们继续
def main():
    pg.init()
    display = (960, 540)
    pg.display.set_mode(display, DOUBLEBUF | OPENGL | RESIZABLE)
定义一个main函数,在其中使用pygame.init()函数来初始化,然后设置分辨率和显示模式,在这里我们使用了双缓冲GL,有助于避免画面撕裂
def main():
    pg.init()
    display = (960, 540)
    pg.display.set_mode(display, DOUBLEBUF | OPENGL | RESIZABLE)

    gluPerspective(45, (display[0]/display[1]), 0.1, 50.0)
重点概念:视锥体
先把函数的定义摆出来
gluPerspective(fovy, aspect, zNear, zFar)fovy:垂直视角,也就是游戏里经常见到的FOV,一般为了贴合人眼,游戏取值区间会在60到90,建模等制作时会在45到60之间,防止摄像机造成畸变影响制作
aspect:宽高比,根据不同的比例,图像会有一定程度的拉伸,就像FPS游戏里不变的16/9跟4/3之争,很多人觉得4/3比例下人头会比较大(?)
zNear & zFar:近截面和远截面,这里有一幅图方便理解
视锥体是渲染透视视图的一个非常重要的概念,具体可以浏览这篇知乎文章【透视与正交 - 知乎】本文中就不再赘述啦
import pygame as pg
from pygame.locals import *

from OpenGL.GL import *
from OpenGL.GLU import *

def main():
    pg.init()
    display = (960, 540)
    pg.display.set_mode(display, DOUBLEBUF | OPENGL | RESIZABLE)

    gluPerspective(45, (display[0]/display[1]), 0.1, 50.0)

    glTranslatef(0.0, 0.0, -5)

    while True:
        for event in pg.event.get():
            if event.type == pg.QUIT:
                pg.quit()
                quit()

        glClear(GL_COLOR_BUFFER_BIT|GL_DEPTH_BUFFER_BIT)
        pg.display.flip()
        pg.time.wait(10)

if __name__ == "__main__":
    main()
一次性将代码补全,写一个死循环,在其中添加pygame的事件检测,然后刷新画面
BOOM!!第一个helloworld就做好了,让我们点击运行看一下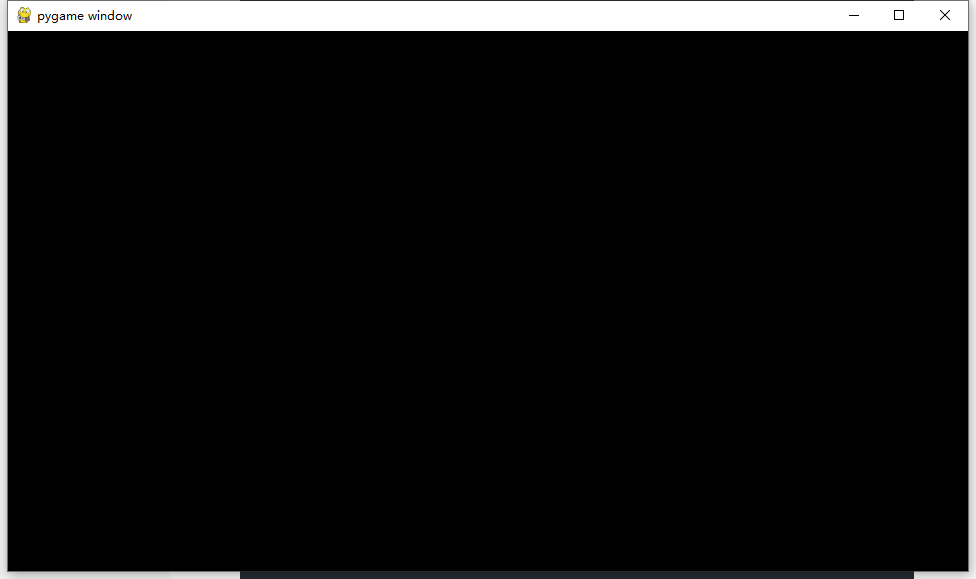
黑咕隆咚
别急着退出这篇文章,这是因为我们并没有用GL绘制任何图形,目前只是创建了一个pygame的窗口,使用了双缓冲GL
关闭窗口,我们来添加一个立方体
# Vertex
cubeVertices = ((1, 1, 1), (1, 1, -1), (1, -1, -1), (1, -1, 1),
                (-1, 1, 1), (-1, -1, -1), (-1, -1, 1), (-1, 1, -1))
cubeQuads = ((0, 4, 6, 3), (2, 3, 6, 5), (1, 2, 5, 7),
             (1, 7, 4, 0), (7, 5, 6, 4), (2, 1, 0, 3))
cubeColors = ((1, 0, 0), (0, 1, 0), (0, 0, 1), (1, 1, 0), (1, 0, 1), (0, 1, 1))
我们先声明一下立方体的顶点坐标,然后将各个点按照逆时针顺序连接为四边形,最后上色。记得一定要逆时针连接,如果没注意好用了顺时针的顺序,面法线就会朝向立方体内部,剔除背面后丑的一
glBegin(GL_QUADS)
for i, quad in enumerate(cubeQuads):
    glColor3fv(cubeColors[i])
    for vertex in quad:
        glVertex3fv(cubeVertices[vertex])
glEnd()
接下来我们用GL绘制一个立方体,众所周知,GL是一个巨大的状态机,所以我们用glBegin来告诉GL我们接下来要绘制了。GL_QUADS声明我们要绘制单个四边面。然后就是我们刚刚定义的一大堆东西出场的时间了,用for循环遍历所有面,先为单个面声明颜色,然后为每个顶点声明坐标,不多废话上代码
import pygame as pg
from pygame.locals import *

from OpenGL.GL import *
from OpenGL.GLU import *

# Vertex
cubeVertices = ((1, 1, 1), (1, 1, -1), (1, -1, -1), (1, -1, 1),
                (-1, 1, 1), (-1, -1, -1), (-1, -1, 1), (-1, 1, -1))
cubeQuads = ((0, 4, 6, 3), (2, 3, 6, 5), (1, 2, 5, 7),
             (1, 7, 4, 0), (7, 5, 6, 4), (2, 1, 0, 3))
cubeColors = ((1, 0, 0), (0, 1, 0), (0, 0, 1), (1, 1, 0), (1, 0, 1), (0, 1, 1))

def main():
    pg.init()
    display = (960, 540)
    pg.display.set_mode(display, DOUBLEBUF | OPENGL | RESIZABLE)

    gluPerspective(45, (display[0]/display[1]), 0.1, 50.0)

    glTranslatef(0.0, 0.0, -5)

    while True:
        for event in pg.event.get():
            if event.type == pg.QUIT:
                pg.quit()
                quit()

        glClear(GL_COLOR_BUFFER_BIT|GL_DEPTH_BUFFER_BIT)
        glBegin(GL_QUADS)
        for i, quad in enumerate(cubeQuads):
            glColor3fv(cubeColors[i])
            for vertex in quad:
                glVertex3fv(cubeVertices[vertex])
        glEnd()
        pg.display.flip()
        pg.time.wait(10)

if __name__ == "__main__":
    main()
运行代码看看我们会得到什么
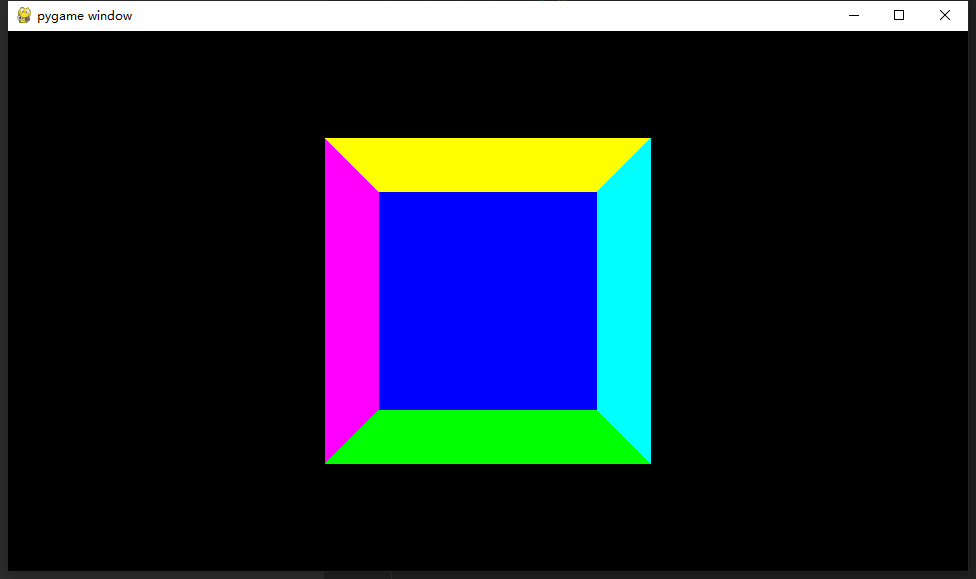
画面是有东西了但是这个立方体怎么这么奇怪呢,那是因为我们没有设置剔除背面,为什么刚才我们没有加上呢,嘿嘿我忘了
import pygame as pg
from pygame.locals import *

from OpenGL.GL import *
from OpenGL.GLU import *

# Vertex
cubeVertices = ((1, 1, 1), (1, 1, -1), (1, -1, -1), (1, -1, 1),
                (-1, 1, 1), (-1, -1, -1), (-1, -1, 1), (-1, 1, -1))
cubeQuads = ((0, 4, 6, 3), (2, 3, 6, 5), (1, 2, 5, 7),
             (1, 7, 4, 0), (7, 5, 6, 4), (2, 1, 0, 3))
cubeColors = ((1, 0, 0), (0, 1, 0), (0, 0, 1), (1, 1, 0), (1, 0, 1), (0, 1, 1))

def main():
    pg.init()
    display = (960, 540)
    pg.display.set_mode(display, DOUBLEBUF | OPENGL | RESIZABLE)

    glEnable(GL_CULL_FACE)
    glEnable(GL_DEPTH_TEST)

    gluPerspective(45, (display[0]/display[1]), 0.1, 50.0)

    glTranslatef(0.0, 0.0, -5)

    while True:
        for event in pg.event.get():
            if event.type == pg.QUIT:
                pg.quit()
                quit()

        glClear(GL_COLOR_BUFFER_BIT|GL_DEPTH_BUFFER_BIT)
        glBegin(GL_QUADS)
        for i, quad in enumerate(cubeQuads):
            glColor3fv(cubeColors[i])
            for vertex in quad:
                glVertex3fv(cubeVertices[vertex])
        glEnd()
        pg.display.flip()
        pg.time.wait(10)

if __name__ == "__main__":
    main()
这下没问题了,但是只有一面似乎有点单调了,让我们给立方体加上一个旋转,不多废话直接上代码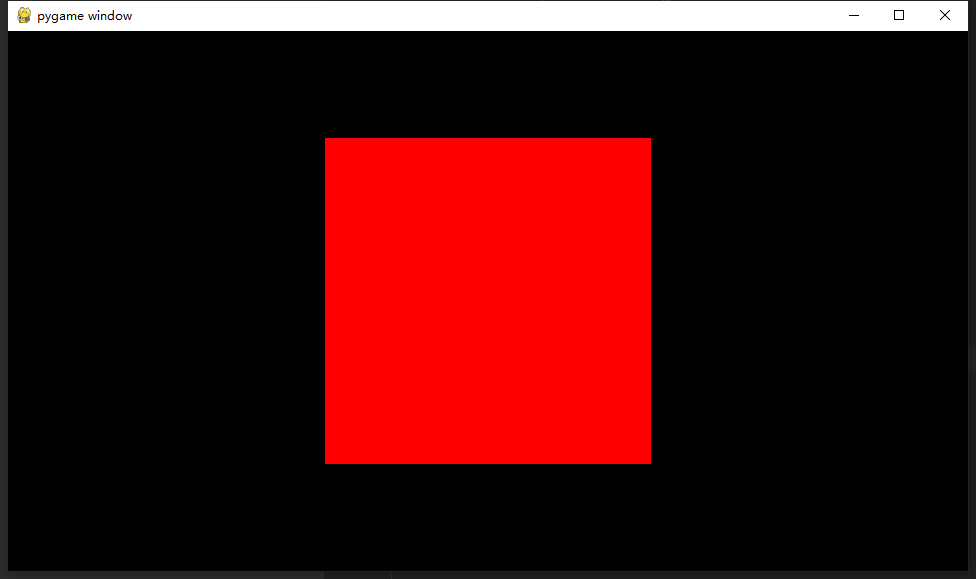
import pygame as pg
from pygame.locals import *

from OpenGL.GL import *
from OpenGL.GLU import *

# Vertex
cubeVertices = ((1, 1, 1), (1, 1, -1), (1, -1, -1), (1, -1, 1),
                (-1, 1, 1), (-1, -1, -1), (-1, -1, 1), (-1, 1, -1))
cubeQuads = ((0, 4, 6, 3), (2, 3, 6, 5), (1, 2, 5, 7),
             (1, 7, 4, 0), (7, 5, 6, 4), (2, 1, 0, 3))
cubeColors = ((1, 0, 0), (0, 1, 0), (0, 0, 1), (1, 1, 0), (1, 0, 1), (0, 1, 1))

def main():
    pg.init()
    display = (960, 540)
    pg.display.set_mode(display, DOUBLEBUF | OPENGL | RESIZABLE)

    glEnable(GL_CULL_FACE)
    glEnable(GL_DEPTH_TEST)

    gluPerspective(45, (display[0]/display[1]), 0.1, 50.0)

    glTranslatef(0.0, 0.0, -5)

    while True:
        for event in pg.event.get():
            if event.type == pg.QUIT:
                pg.quit()
                quit()

        glRotatef(1, 0, 1, 0)
        glClear(GL_COLOR_BUFFER_BIT|GL_DEPTH_BUFFER_BIT)
        glBegin(GL_QUADS)
        for i, quad in enumerate(cubeQuads):
            glColor3fv(cubeColors[i])
            for vertex in quad:
                glVertex3fv(cubeVertices[vertex])
        glEnd()
        pg.display.flip()
        pg.time.wait(10)

if __name__ == "__main__":
    main()
然后我们就得到了一个旋转的雪月花,不对,立方体
这一篇我们就先到这里吧,下一篇让我们添加上视角的移动,wasd和鼠标控制


 5572
5572

 被折叠的 条评论
为什么被折叠?
被折叠的 条评论
为什么被折叠?
 到【灌水乐园】发言


