


在MCUXpresso IDE中建立使用静态库的工程
概述
在做Smoothieware工程移植到MCUXpresso IDE的任务。
查看编译日志,发现Smoothieware分为2个工程,一个主工程lpc1768, 一个静态库工程mbed-lpc1768.
我前面实验,是将所有代码都在一个工程中编译,编译出来的elf在MCU中装不下。当然原因很多。
但是我想严格按照Smoothieware的做法来,也将工程分为2个工程,一个主工程a,一个库工程b.
先编译b, 再编译a(a中链接b, 并使用b的接口)。
做了一个实验,验证了建立这种2个工程的例子,确实可以。
笔记
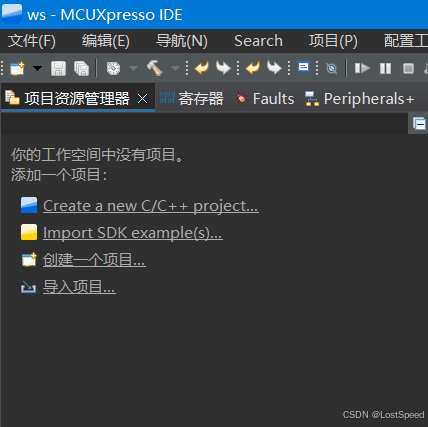
将工作区清空
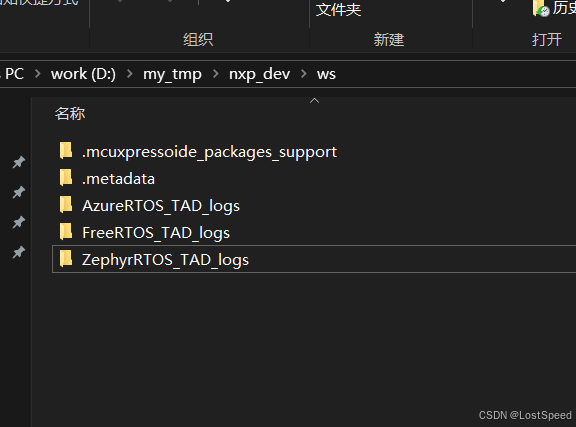
头2个文件夹是工作区用的,不能删
后面3个logs文件夹是硬件调试器的单步调试连接日志,是自动产生的,不用删(删了也会再产生)。
建立库工程
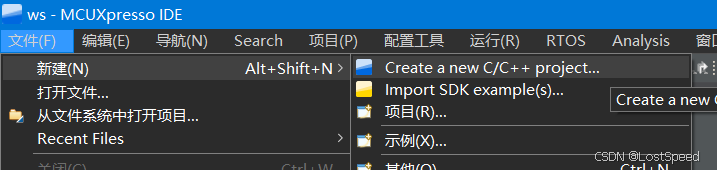
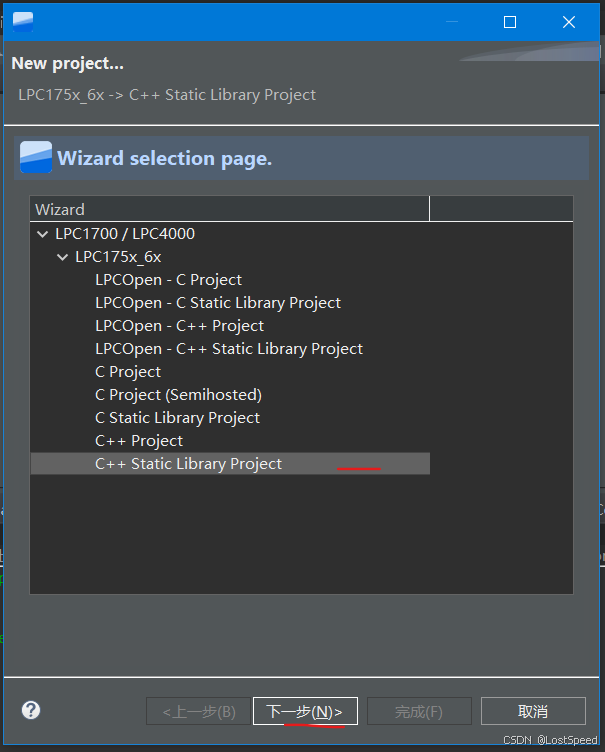
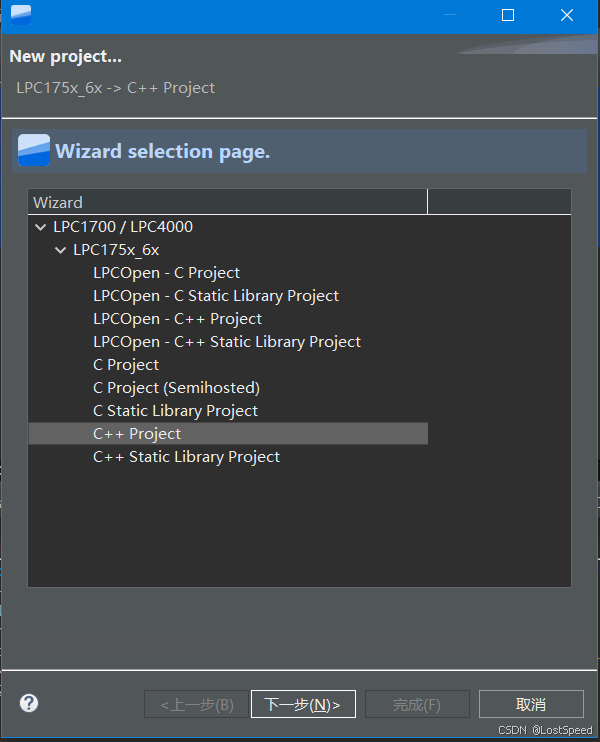
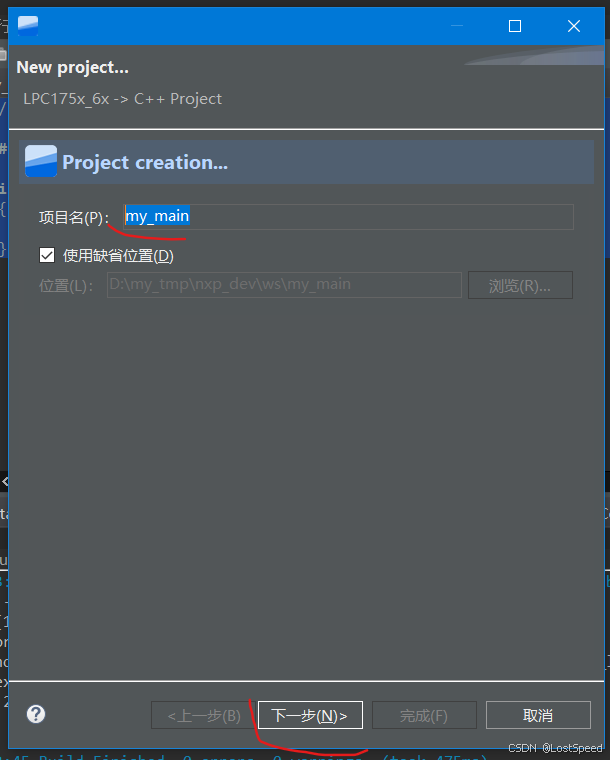
新建c++工程
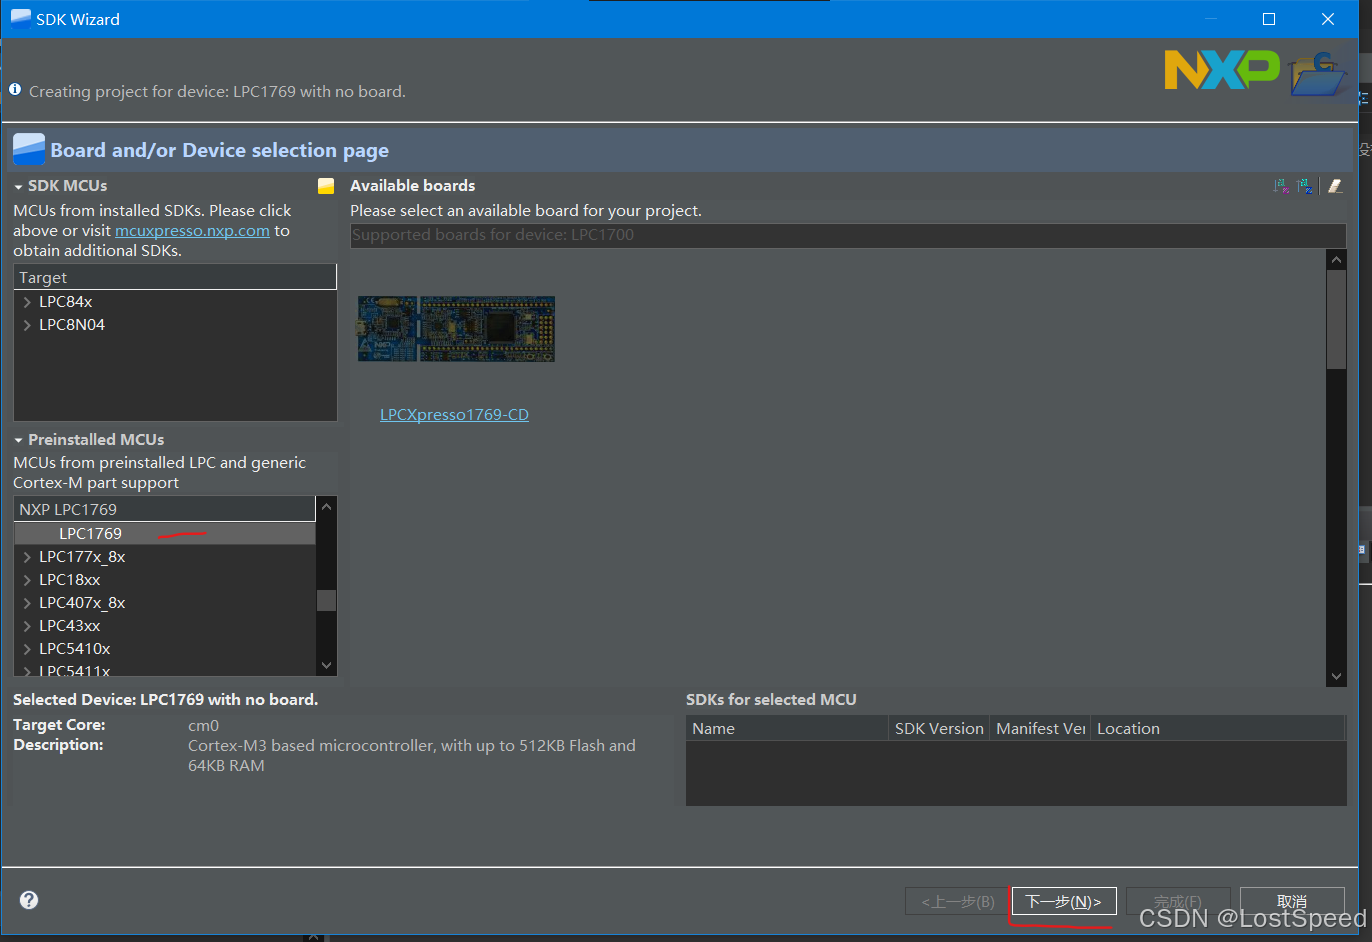
MCU选1769
选c++静态库工程
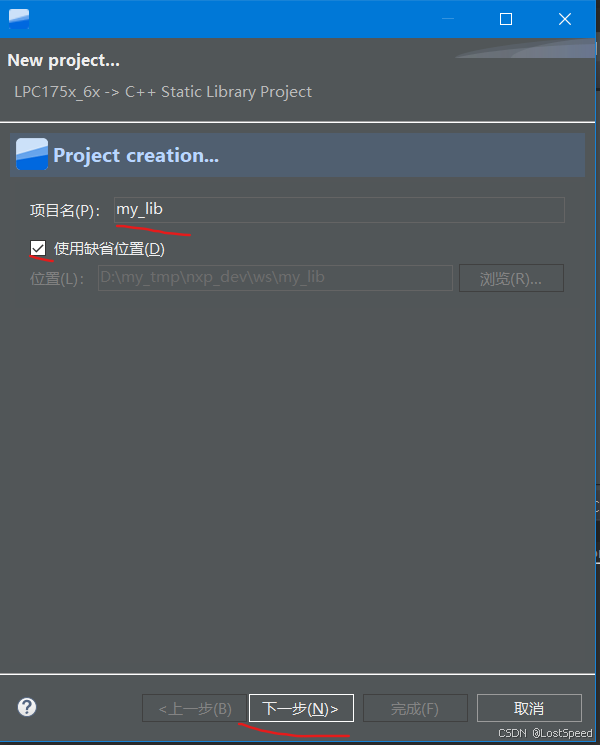
给定静态库工程名称
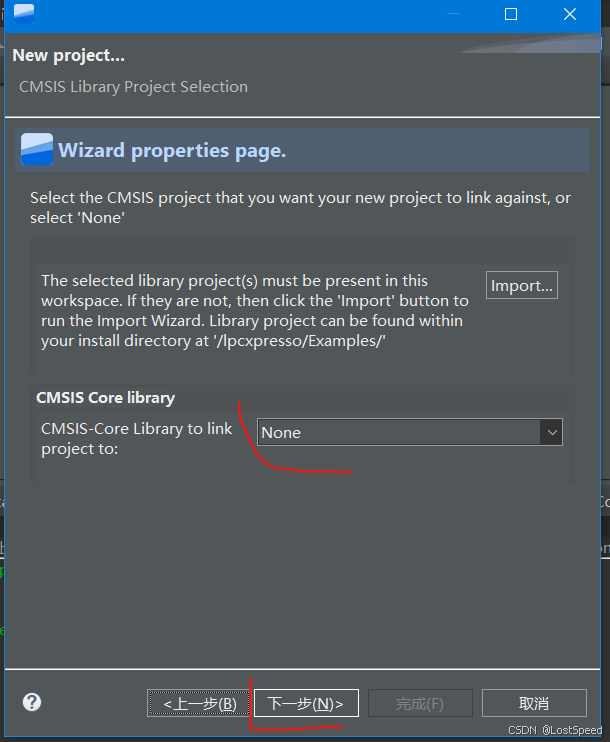
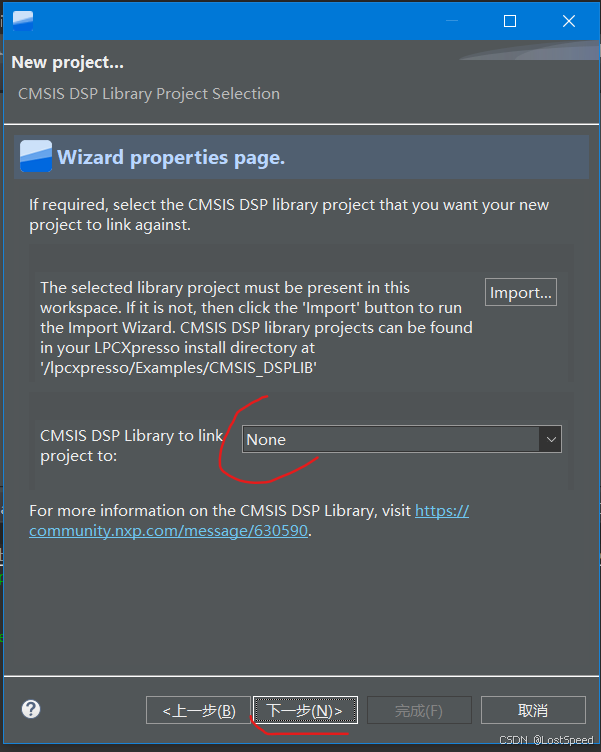
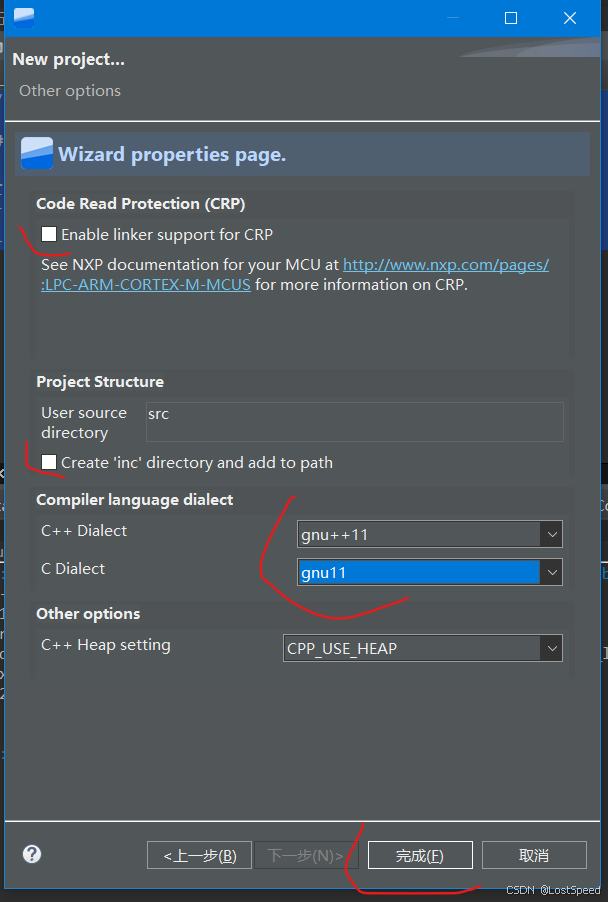
不要选LpcOpen库和CMSIS库
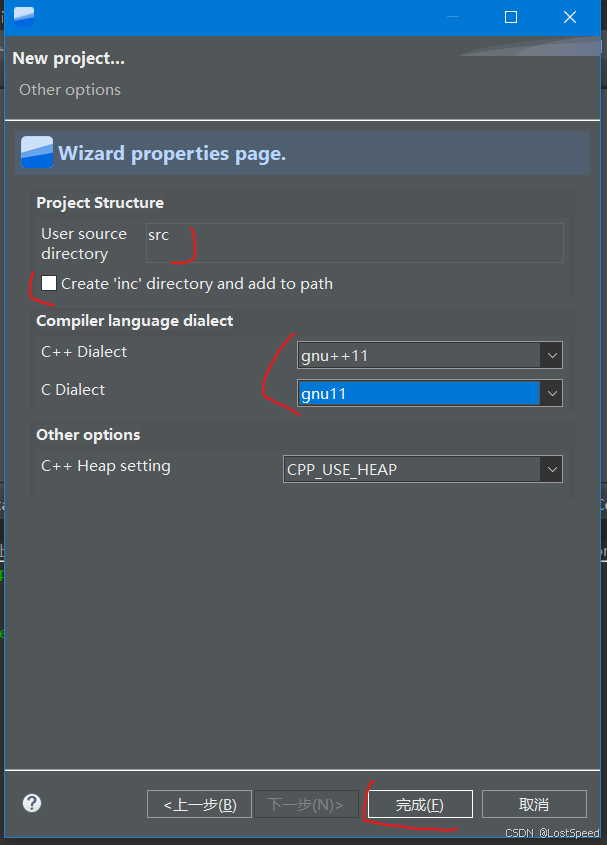
语言标准选2011,除了src目录,不需要建立inc目录
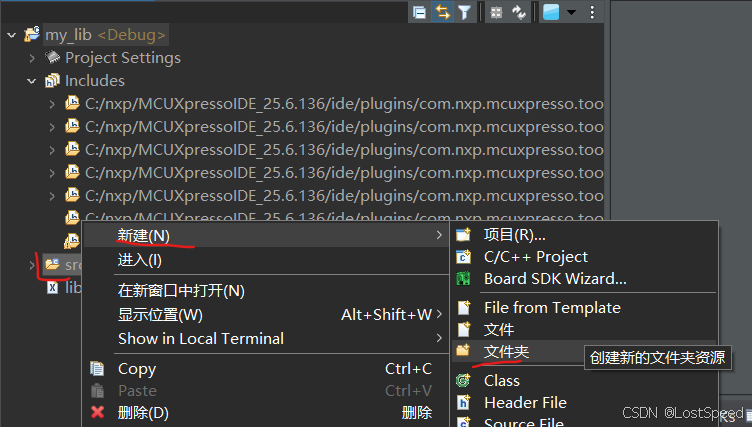
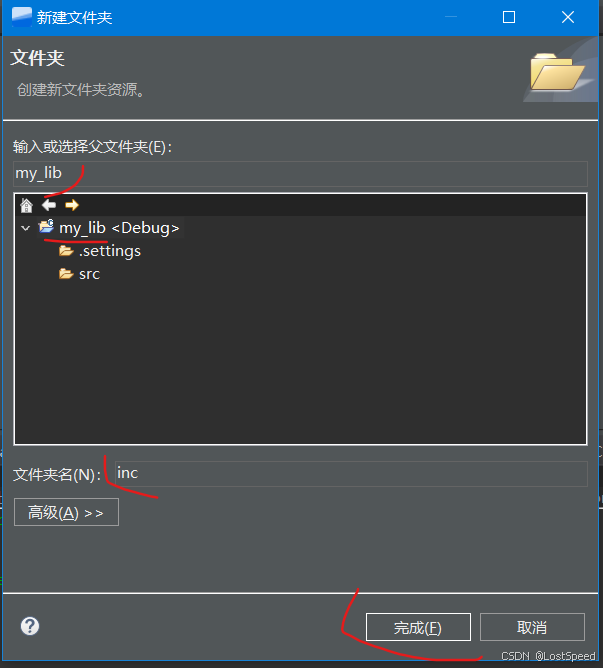
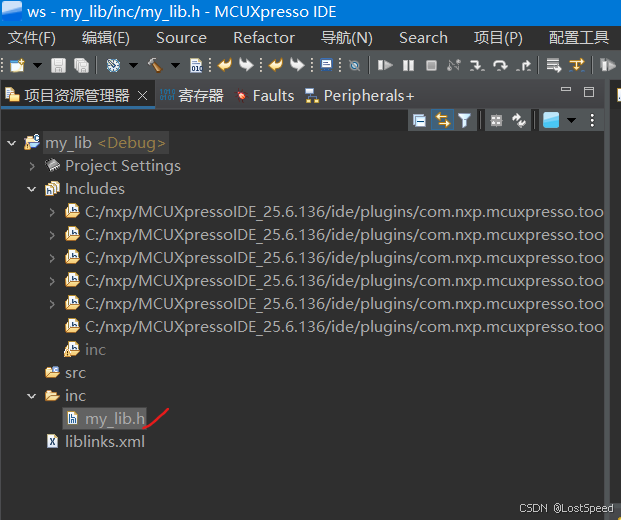
新建inc目录
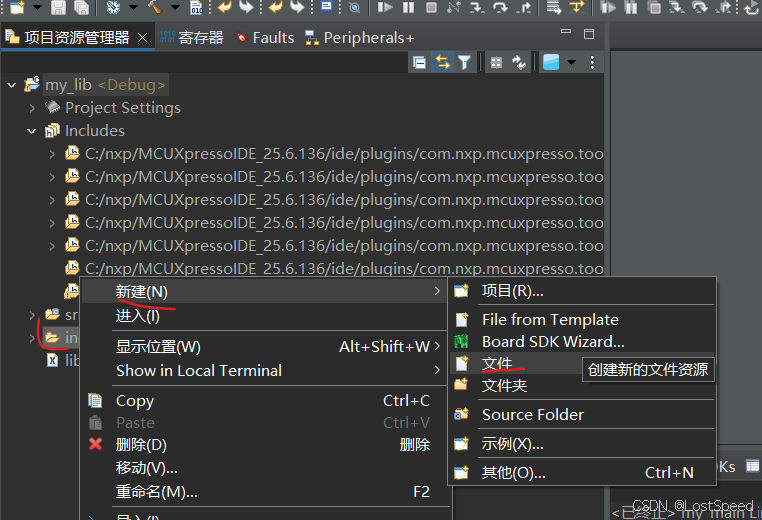
在inc目录中新建c++的.h文件
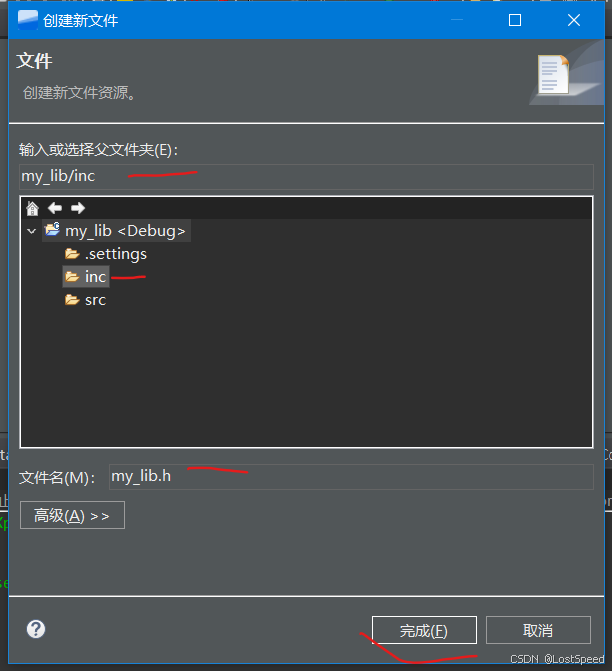
同理,在src目录中建立实现文件my_lib.cpp
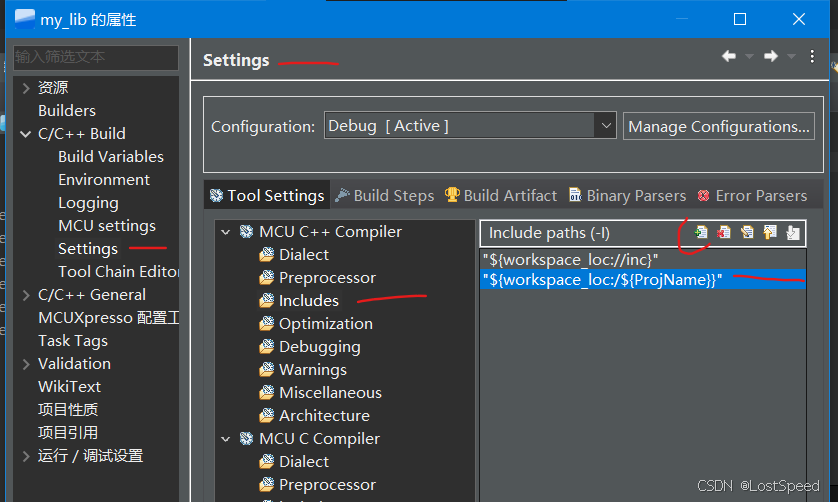
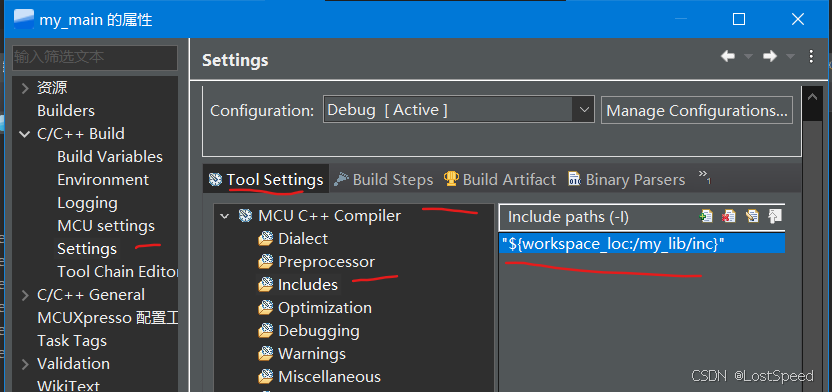
将工程根目录加入工程的包含路径。
填写my_lib.h内容如下
// @file my_lib.h
// @brief only test static library's interface

#ifndef __MY_LIB_H__
#define __MY_LIB_H__

int add(int x, int y);

#endif // #ifndef __MY_LIB_H__
填写my_lib.cpp内容如下
// @file my_lib.cpp

#include "inc/my_lib.h"

int add(int x, int y)
{
	return  (x + y);
}
编译通过。
17:53:44 **** Incremental Build of configuration Debug for project my_lib ****
make -r -j16 all
make[1]: Nothing to be done for 'main-build'.
Performing post-build steps
arm-none-eabi-size "libmy_lib.a" ; # arm-none-eabi-objdump -h -S "libmy_lib.a" >"libmy_lib.lss"
   text	   data	    bss	    dec	    hex	filename
     26	      0	      0	     26	     1a	my_lib.o (ex libmy_lib.a)


17:53:45 Build Finished. 0 errors, 0 warnings. (took 475ms)
建立主工程
在同一个工作区中,再建立主工程。
以下是不同的地方,相同的地方请参考静态库工程的建立。
选c++工程
不选crp
在主工程的my_main.cpp中加入库函数调用。
/*
 * Copyright 2022 NXP
 * NXP confidential.
 * This software is owned or controlled by NXP and may only be used strictly
 * in accordance with the applicable license terms.  By expressly accepting
 * such terms or by downloading, installing, activating and/or otherwise using
 * the software, you are agreeing that you have read, and that you agree to
 * comply with and are bound by, such license terms.  If you do not agree to
 * be bound by the applicable license terms, then you may not retain, install,
 * activate or otherwise use the software.
 */

#ifdef __USE_CMSIS
#include "LPC17xx.h"
#endif

#include <cr_section_macros.h>

// TODO: insert other include files here
#include "my_lib.h"

// TODO: insert other definitions and declarations here

int main(void) {

    // TODO: insert code here
	int z = add(3, 5);

    // Force the counter to be placed into memory
    volatile static int i = z ;
    // Enter an infinite loop, just incrementing a counter
    while(1) {
        i++ ;
        // "Dummy" NOP to allow source level single
        // stepping of tight while() loop
        __asm volatile ("nop");
    }
    return 0 ;
}
设置头文件路径
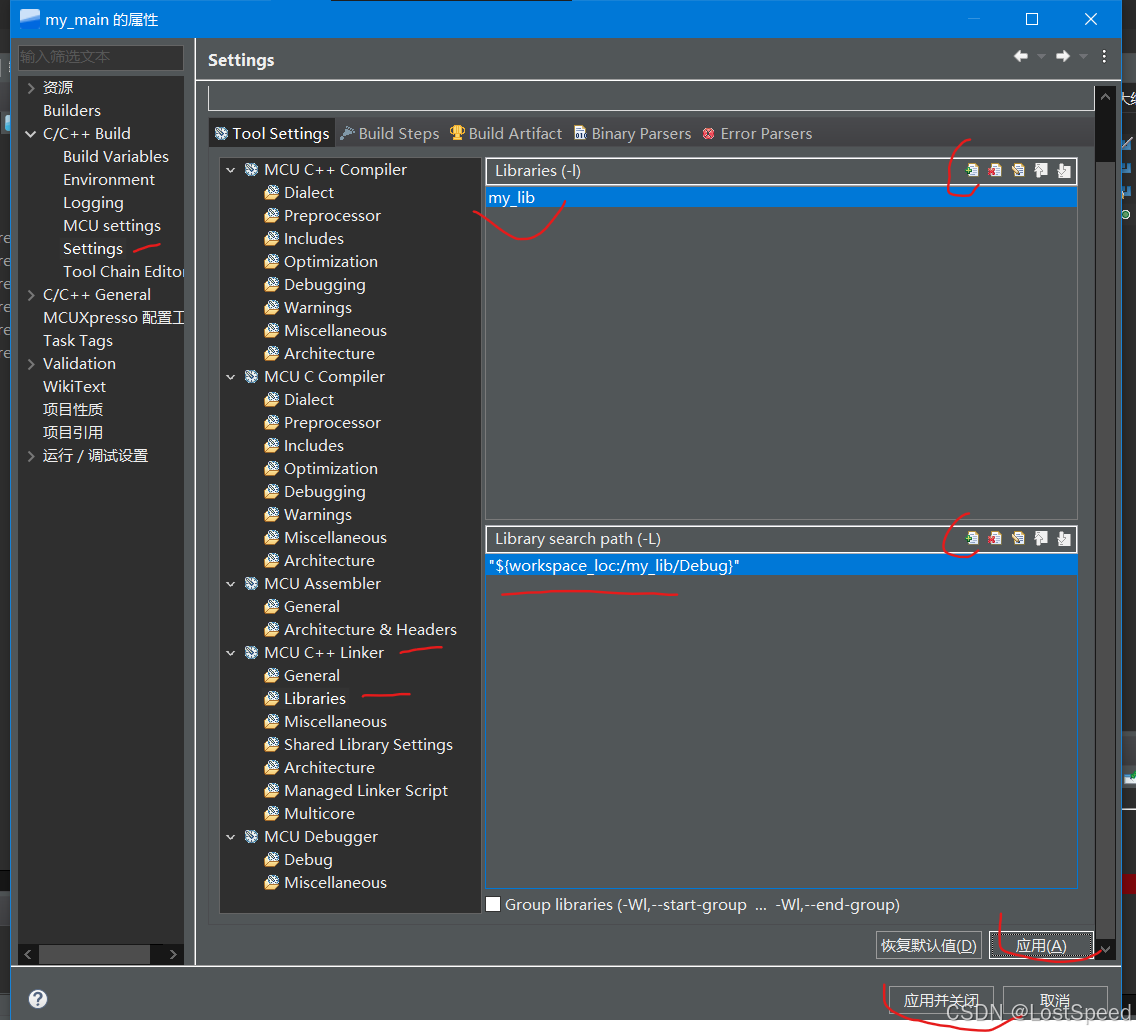
增加要链接的库名称和库搜索路径
编译通过
Finished building: ../src/cr_cpp_config.cpp

Finished building: ../src/cr_startup_lpc175x_6x.cpp

Finished building: ../src/crp.c

Finished building: ../src/my_main.cpp

Building target: my_main.axf
Invoking: MCU C++ Linker
arm-none-eabi-c++ -nostdlib -L"D:\my_tmp\nxp_dev\ws\my_lib\Debug" -Xlinker -Map="my_main.map" -Xlinker --cref -Xlinker --gc-sections -Xlinker -print-memory-usage -mcpu=cortex-m3 -mthumb -T "my_main_Debug.ld" -o "my_main.axf" ./src/cr_cpp_config.o ./src/cr_startup_lpc175x_6x.o ./src/crp.o ./src/my_main.o    -lmy_lib
Memory region         Used Size  Region Size  %age Used
       MFlash512:       16048 B       512 KB      3.06%
        RamLoc32:        1828 B        32 KB      5.58%
        RamAHB32:           0 B        32 KB      0.00%
Finished building target: my_main.axf

Performing post-build steps
arm-none-eabi-size "my_main.axf"; # arm-none-eabi-objcopy -v -O binary "my_main.axf" "my_main.bin" ; # checksum -p LPC1769 -d "my_main.bin";
   text	   data	    bss	    dec	    hex	filename
  14668	   1380	    444	  16492	   406c	my_main.axf


18:08:44 Build Finished. 0 errors, 0 warnings. (took 2s.351ms)
验证
接上1769板子, 选SWD调试,可以单步调试,接口调用正确,且可以单步调试进入接口。


 655
655

 被折叠的 条评论
为什么被折叠?
被折叠的 条评论
为什么被折叠?
 到【灌水乐园】发言


