


因为之前没有学习过ThreeJS粒子系统,还属于ThreeJS入门级选手,所以就边学习边做些笔记记录吧。
- ThreeJS粒子系统的一些有意思且炫酷的应用案例:
MineData@Earth 首页 - Three.js粒子变换特效_哔哩哔哩_bilibili
- UP2017腾讯互动娱乐年度发布会 - 腾讯互动娱乐
- …
ThreeJS粒子系统可以用于模拟星星,星空,烟雾,雨,尘埃,火等等效果
每个粒子由两个三角形的平面组成,粒子总是面对相机。
1.第一个示例
创建粒子和创建 Mesh 类似,需要:
- 一个几何体(BufferGeometry)
- 一个材料(PointsMaterial)
- 一个 Points 实例(注意不是Mesh 实例)
//object
{
  const particlesGeometry = new SphereGeometry(1, 32, 32)
  const particlesMaterial = new PointsMaterial({
    size: 0.02,
    sizeAttenuation: true
  })
  particles = new Points(particlesGeometry, particlesMaterial)
  scene.add(particles)
}
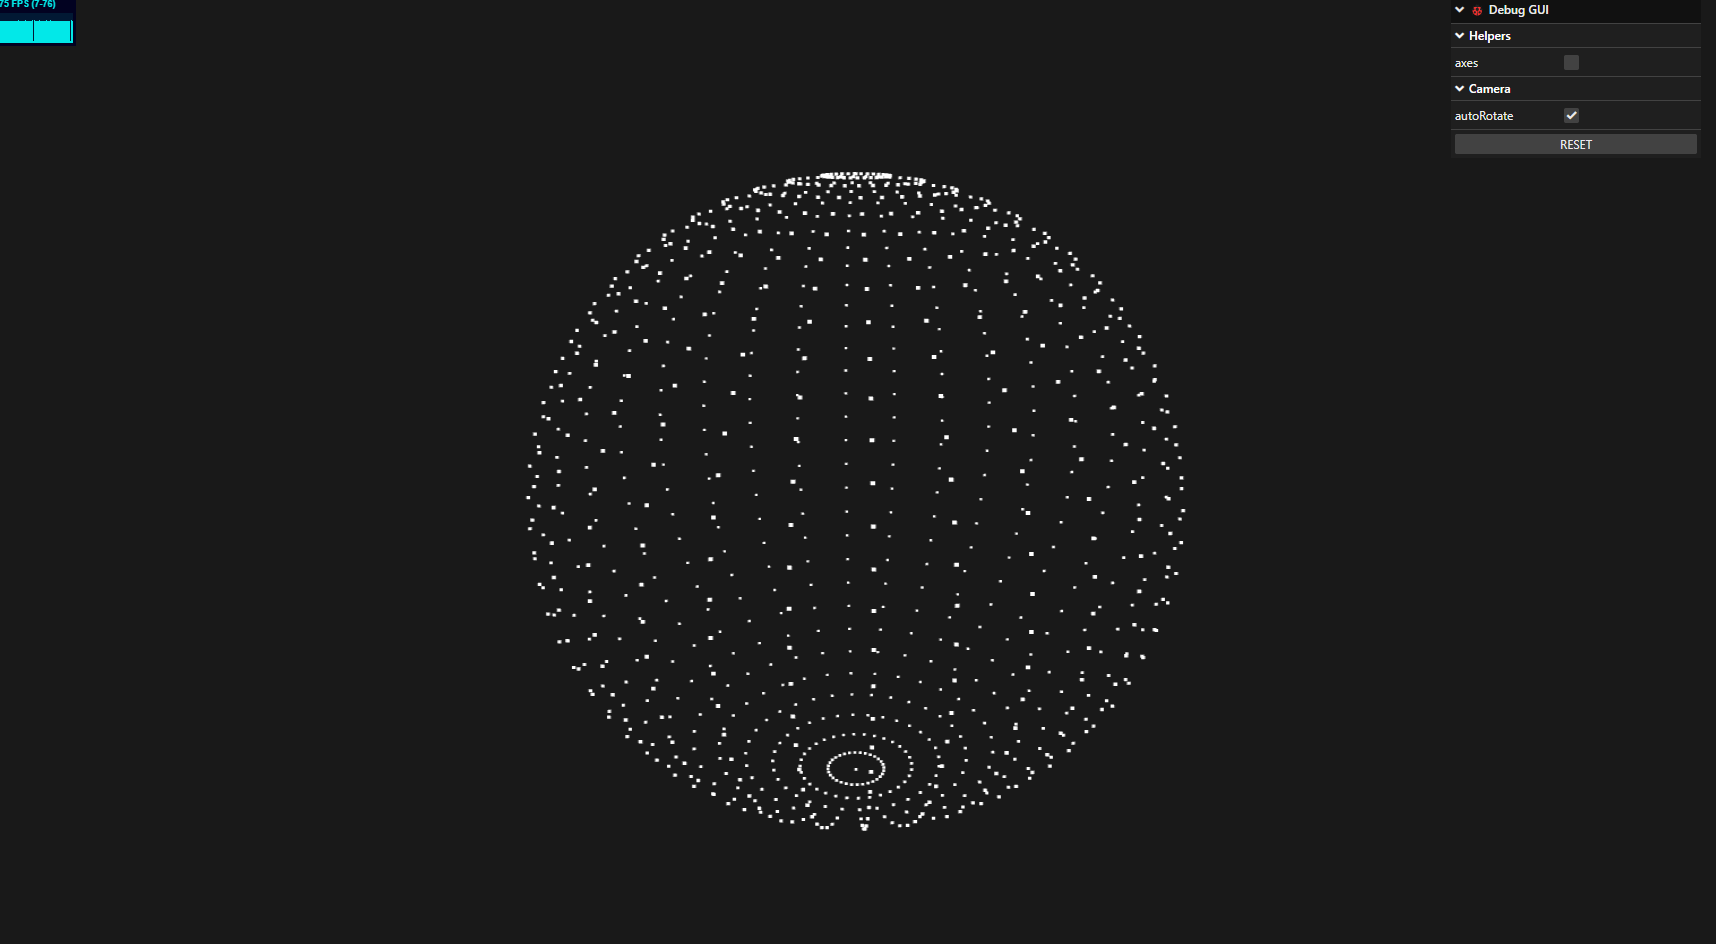
- sizeAttenuation: 设置为true,在相机近处的粒子比远处的粒子更大,如果将 sizeAttenuation 设置为 false,那么粒子大小将不会衰减,这样对性能有一些好处,但是丧失了真实性。
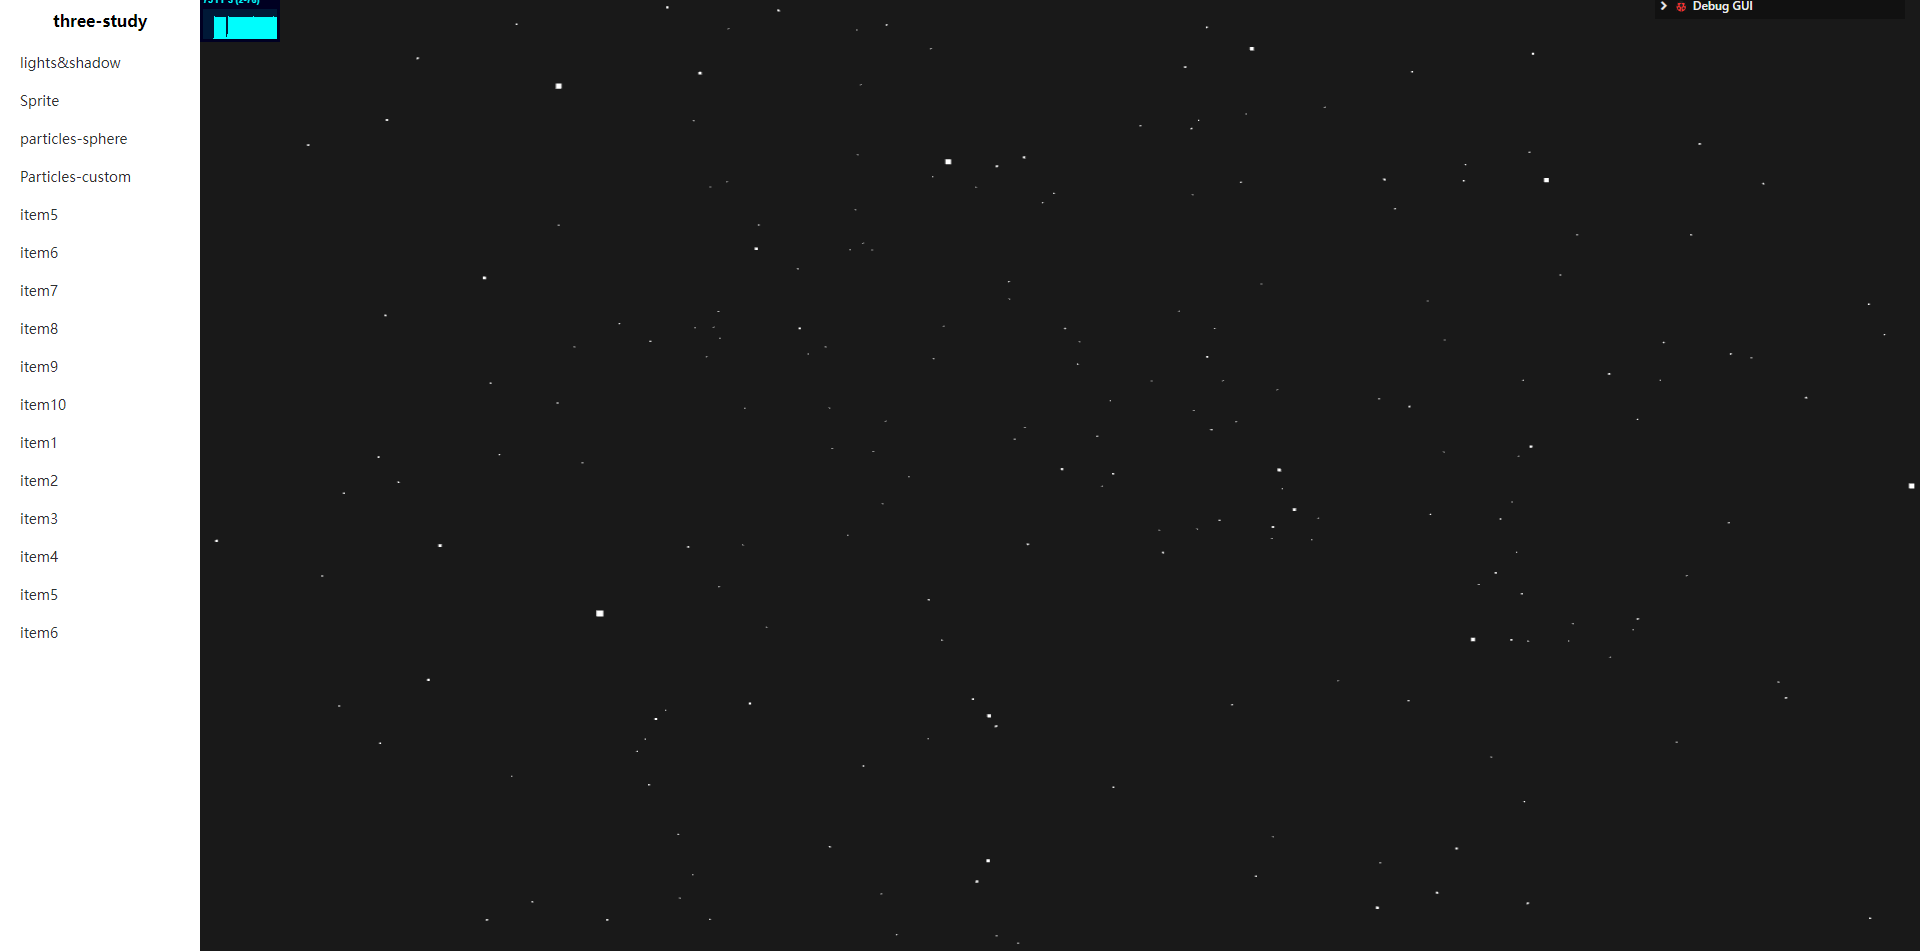
2.自定义几何体
可以使用 BufferGeometry 而不是 SphereGeometry来定义粒子框架的几何体,通过向几何体的 position 属性中添加位置信息,以定义每个顶点的位置。
//object
    {
        const particlesGeometry = new BufferGeometry(1, 32, 32)
        const count = 500
        // 每一个vertex有三个points
        const positions = new Float32Array(count * 3)

        for(let i = 0; i < count * 3; i++) {
            // x,y,z 属于[-5, 5]区间
            positions[i] = (Math.random() - 0.5) * 10
        }
        particlesGeometry.setAttribute("position", new BufferAttribute(positions, 3))
        const particlesMaterial = new PointsMaterial({
            size: 0.02,
            sizeAttenuation: true
        })
        particles = new Points(particlesGeometry, particlesMaterial)
        scene.add(particles)
    }
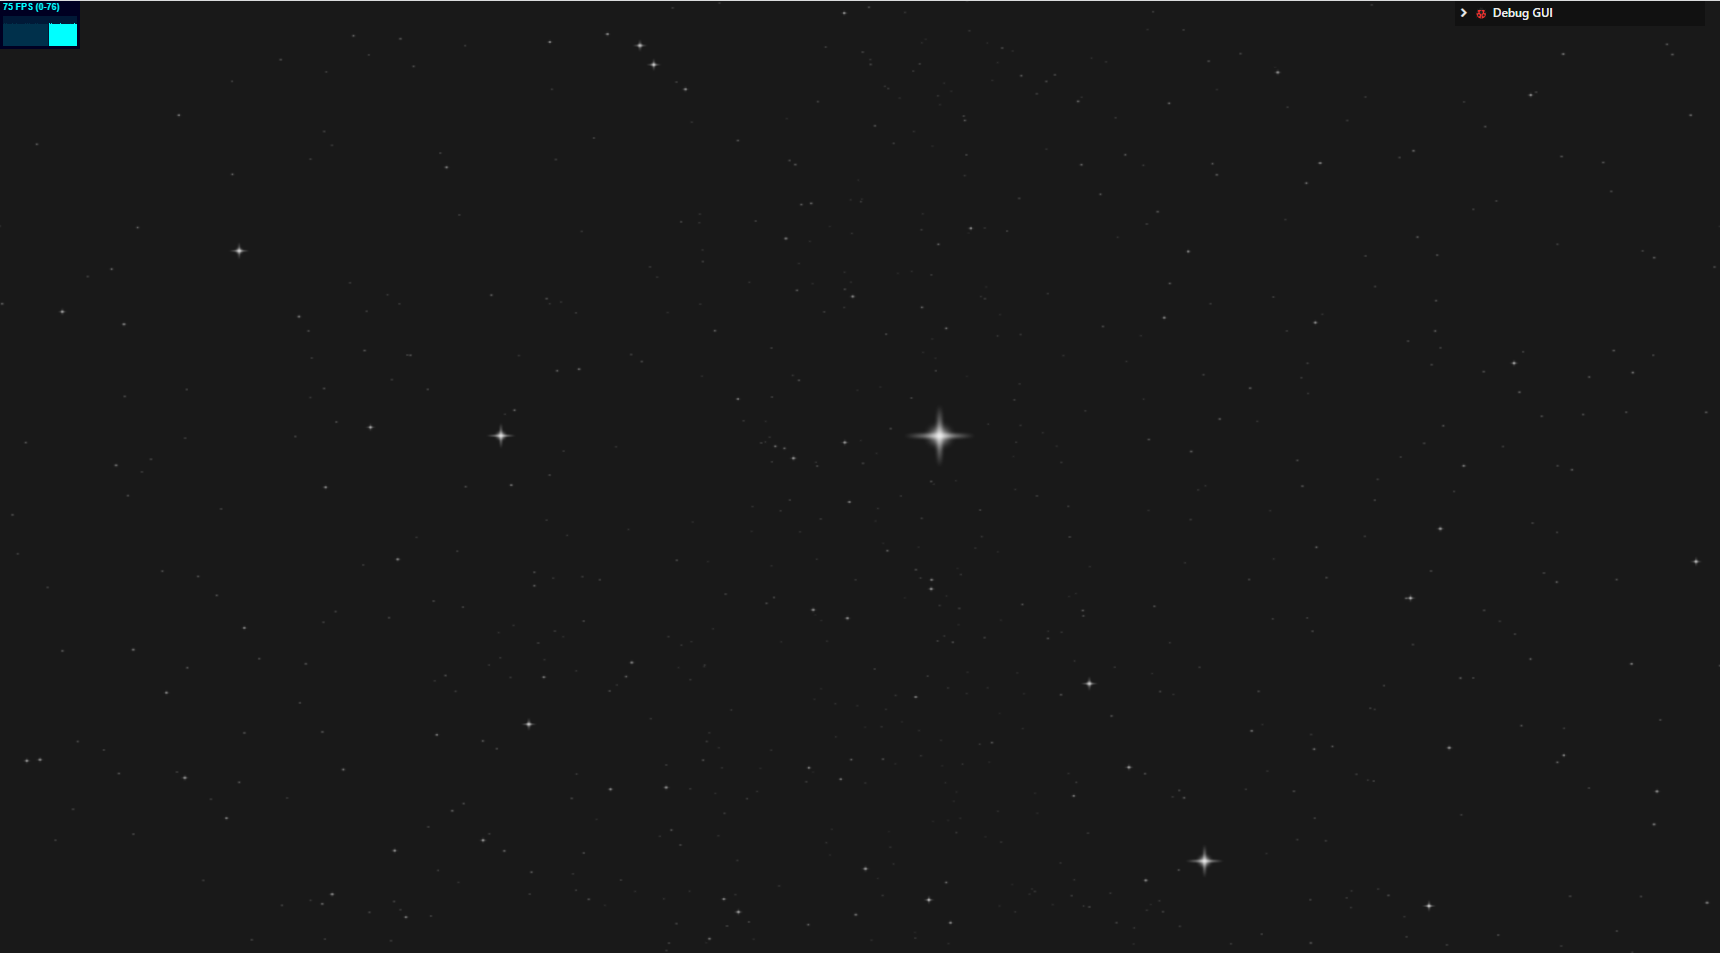
3.修改粒子Color,Map 和 Alpha Map
可通过修改PointsMaterial的属性来实现多种粒子效果:
//颜色
particlesMaterial.color = new THREE.Color("#ff88cc")

//粒子的纹理映射
const textureLoader = new THREE.TextureLoader()// 加载纹理
const particleTexture = textureLoader.load("/textures/particles/10.png")
// particlesMaterial.map = particleTexture// 设置纹理
//为了不让粒子的黑色的纹理部分挡住了后方的粒子,所以需要激活透明度并且使用 alphaMap 属性,
particlesMaterial.alphaMap = particleTexture
particlesMaterial.transparent = true
4.粒子动画
动起来还是帅的!

实现简单的粒子动画只需要在动画函数内单独更新 particlesGeometry 的每一个顶点的位置,它存储在 particlesGeometry.attributes.position.array 中,
const animate = () => {
    requestAnimationFrame(animate)
    stats.update()
    // Update particles
    const elapsedTime = clock.getElapsedTime()
    for(let i = 0; i < count; i++) {
        const i3 = i * 3
        particlesGeometry.attributes.position.array[i3 + 1] = Math.sin(elapsedTime)
        const x = particlesGeometry.attributes.position.array[i3 + 0]
        particlesGeometry.attributes.position.array[i3 + 1] = Math.sin(elapsedTime + x)
    }
    particlesGeometry.attributes.position.needsUpdate = true


    if (animation.enabled && animation.play) {
        animations.rotate(particles, clock, Math.PI / 3)
        animations.bounce(particles, clock, 1, 0.5, 0.5)
    }

    if (resizeRendererToDisplaySize(renderer)) {
        const canvas = renderer.domElement
        camera.aspect = canvas.clientWidth / canvas.clientHeight
        camera.updateProjectionMatrix()
    }
    cameraControls.update()
    renderer.render(scene, camera)
}
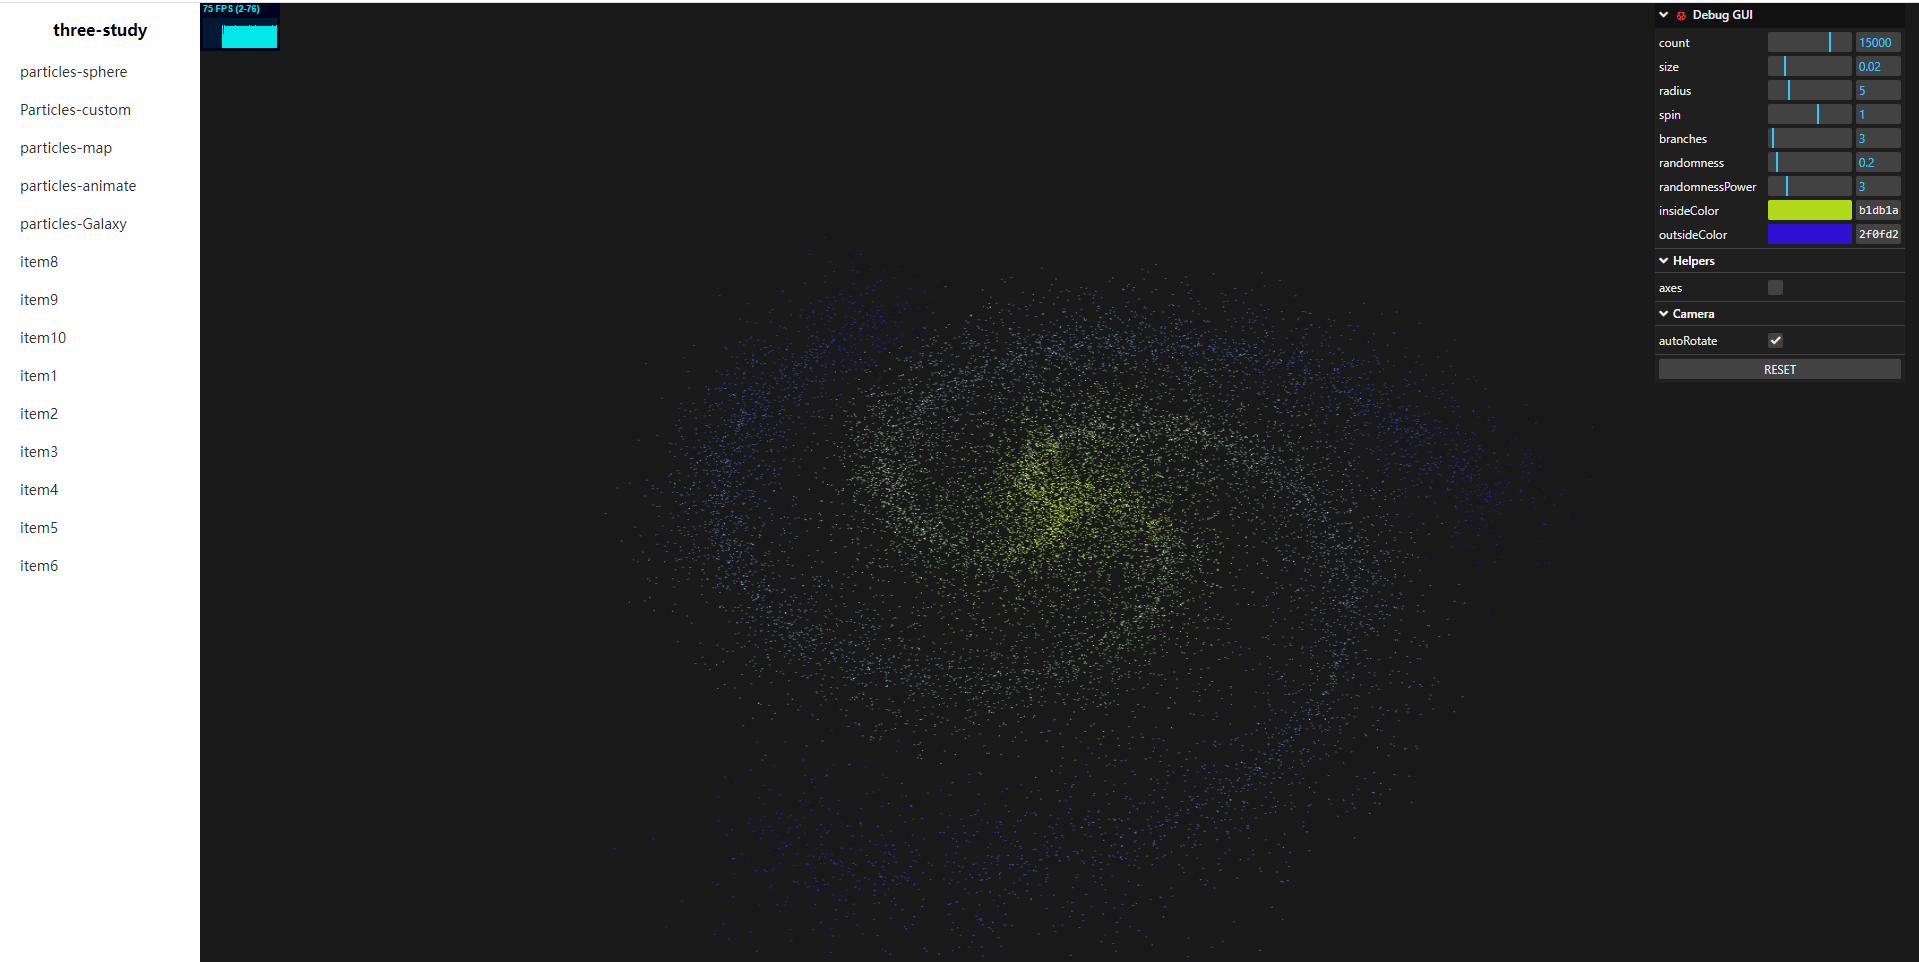
5.银河系+dat.gui实践
<template>
    <canvas id="gl"></canvas>
</template>
<script setup>
import GUI from 'lil-gui'
import {
  AmbientLight,
  AxesHelper,
  PointsMaterial,
  BufferGeometry,
  BufferAttribute,
  Clock,
  AdditiveBlending,
  PerspectiveCamera,
  PointLight,
  Scene,
  Points,
  WebGLRenderer,
  Color
} from 'three'
import { OrbitControls } from 'three/examples/jsm/controls/OrbitControls'
import Stats from 'three/examples/jsm/libs/stats.module'
import * as animations from './../utils/animations'
import { resizeRendererToDisplaySize } from './../utils/responsiveness'
import { onMounted  } from 'vue'

const animation = { enabled: false, play: true }

let canvas
let renderer
let scene
let ambientLight
let pointLight
let camera
let cameraControls
let axesHelper
let clock
let stats
let gui
let particles = null;
//星系生成参数
const parameters = {
    count:15000,
    size:0.02,
    radius:5,
    spin:1,
    branches:3, //分支数
    randomness:0.2,
    randomnessPower:3,
    insideColor:"#b1db1a",
    outsideColor:"#2f0fd2"
}

let geometry = null
let material = null

onMounted(()=>{
    // document.getElementById('my-three')?.appendChild(renderer.domElement)
    init();
    animate();
})

const init=()=>{
    // renderer&&scene
    {
        canvas = document.querySelector('#gl')
        renderer = new WebGLRenderer({canvas, antialias: true, alpha: true })
        renderer.setPixelRatio(Math.min(window.devicePixelRatio, 2))
        scene = new Scene()
    }


    // light
    {
        ambientLight = new AmbientLight('white', 0.4)
        pointLight = new PointLight('#ffdca8', 1.2, 100)
        pointLight.position.set(-2, 3, 3)
        pointLight.castShadow = true
        pointLight.shadow.radius = 4
        pointLight.shadow.camera.near = 0.5
        pointLight.shadow.camera.far = 4000
        pointLight.shadow.mapSize.width = 2048
        pointLight.shadow.mapSize.height = 2048
        scene.add(ambientLight)
        scene.add(pointLight)
    }

    //object

    generateGalaxy()

    // camera
    {
        camera = new PerspectiveCamera(50, canvas.clientWidth  / canvas.clientHeight, 0.1, 100)
        camera.position.set(8, 8, 5)
    }

    // controls
    {
        cameraControls = new OrbitControls(camera, canvas)
        cameraControls.target = particles.position.clone()
        cameraControls.enableDamping = true
        cameraControls.autoRotate = true
        cameraControls.update()
    }

    // helpers
    {

        axesHelper = new AxesHelper(4)
        axesHelper.visible = false
        scene.add(axesHelper)


    }

    // STATS & CLOCK
    {
        clock = new Clock()
        stats = new Stats()
        stats.dom.style.left="200px"
        canvas.parentNode.appendChild(stats.dom)
    }

    // DEBUG GUI
    {
    gui = new GUI({ title: '🐞 Debug GUI', width: 250})

    gui.add(parameters, "count").min(100).max(20000).step(100).onFinishChange(generateGalaxy)
    gui.add(parameters, "size").min(0.001).max(0.1).step(0.001).onFinishChange(generateGalaxy)
    gui.add(parameters, "radius").min(0.01).max(20).step(0.01).onFinishChange(generateGalaxy)
    gui.add(parameters, "spin").min(-5).max(5).step(0.001).onFinishChange(generateGalaxy)
    gui.add(parameters, "branches").min(2).max(20).step(1).onFinishChange(generateGalaxy)
    gui.add(parameters, "randomness").min(0).max(2).step(0.001).onFinishChange(generateGalaxy)
    gui.add(parameters, "randomnessPower").min(1).max(10).step(0.001).onFinishChange(generateGalaxy)
    gui.addColor(parameters, "insideColor").onFinishChange(generateGalaxy)
    gui.addColor(parameters, "outsideColor").onFinishChange(generateGalaxy)

    const helpersFolder = gui.addFolder('Helpers')
    helpersFolder.add(axesHelper, 'visible').name('axes')

    const cameraFolder = gui.addFolder('Camera')
    cameraFolder.add(cameraControls, 'autoRotate')


    // reset GUI state button
    const resetGui = () => {
        localStorage.removeItem('guiState')
        gui.reset()
    }
    gui.add({ resetGui }, 'resetGui').name('RESET')

    gui.close()
    }

}

const animate = () => {
    requestAnimationFrame(animate)
    stats.update()
    if (animation.enabled && animation.play) {
        animations.rotate(particles, clock, Math.PI / 3)
        animations.bounce(particles, clock, 1, 0.5, 0.5)
    }

    if (resizeRendererToDisplaySize(renderer)) {
        const canvas = renderer.domElement
        camera.aspect = canvas.clientWidth / canvas.clientHeight
        camera.updateProjectionMatrix()
    }
    cameraControls.update()
    renderer.render(scene, camera)
}

const generateGalaxy = ()=>{

    if(particles !== null){
        geometry.dispose()
        material.dispose()
        scene.remove(particles)
    }
    //geometry
    geometry = new BufferGeometry()
    const positions = new Float32Array(parameters.count * 3)
    const colors = new Float32Array(parameters.count * 3)
    const colorInside = new Color(parameters.insideColor)
    const colorOutside = new Color(parameters.outsideColor)

    //我们将顶点放置在从中心到半径的直线上,
    for(let i = 0; i < parameters.count; i++) {
        const i3 = i * 3

        const radius = Math.random() * parameters.radius
        const spinAngle = radius * parameters.spin
        const branchAngle = (i % parameters.branches) / parameters.branches * 2 * Math.PI

        const randomX = Math.pow(Math.random(), parameters.randomnessPower) * (Math.random() < 0.5 ? 1 : -1)
        const randomY = Math.pow(Math.random(), parameters.randomnessPower) * (Math.random() < 0.5 ? 1 : -1)
        const randomZ = Math.pow(Math.random(), parameters.randomnessPower) * (Math.random() < 0.5 ? 1 : -1)

        positions[i3 + 0] = Math.cos(branchAngle + spinAngle) * radius + randomX
        positions[i3 + 1] = 0 + randomY
        positions[i3 + 2] = Math.sin(branchAngle + spinAngle) * radius + randomZ

        const mixedColor = colorInside.clone()
        mixedColor.lerp(colorOutside, radius / parameters.radius)
        colors[i3 + 0] = mixedColor.r
        colors[i3 + 1] = mixedColor.g
        colors[i3 + 2] = mixedColor.b
    }

    geometry.setAttribute("position", new BufferAttribute(positions, 3))
    //在几何体上添加 color 属性
    geometry.setAttribute("color", new BufferAttribute(colors, 3))

    // material
    material = new PointsMaterial({
        size: parameters.size,
        sizeAttenuation: true,
        depthWrite: false,
        blending: AdditiveBlending,
        vertexColors: true
    })


    particles = new Points(geometry, material)
    scene.add(particles)
}

</script>
<style>
#gl {
   width: 100%;
   height: 100%;
   display: block;
   background: rgb(25, 25, 25);

}
.lil-gui.root > .children > .lil-gui > .title {
    color: white;
    padding-right: 180px;

}

</style>
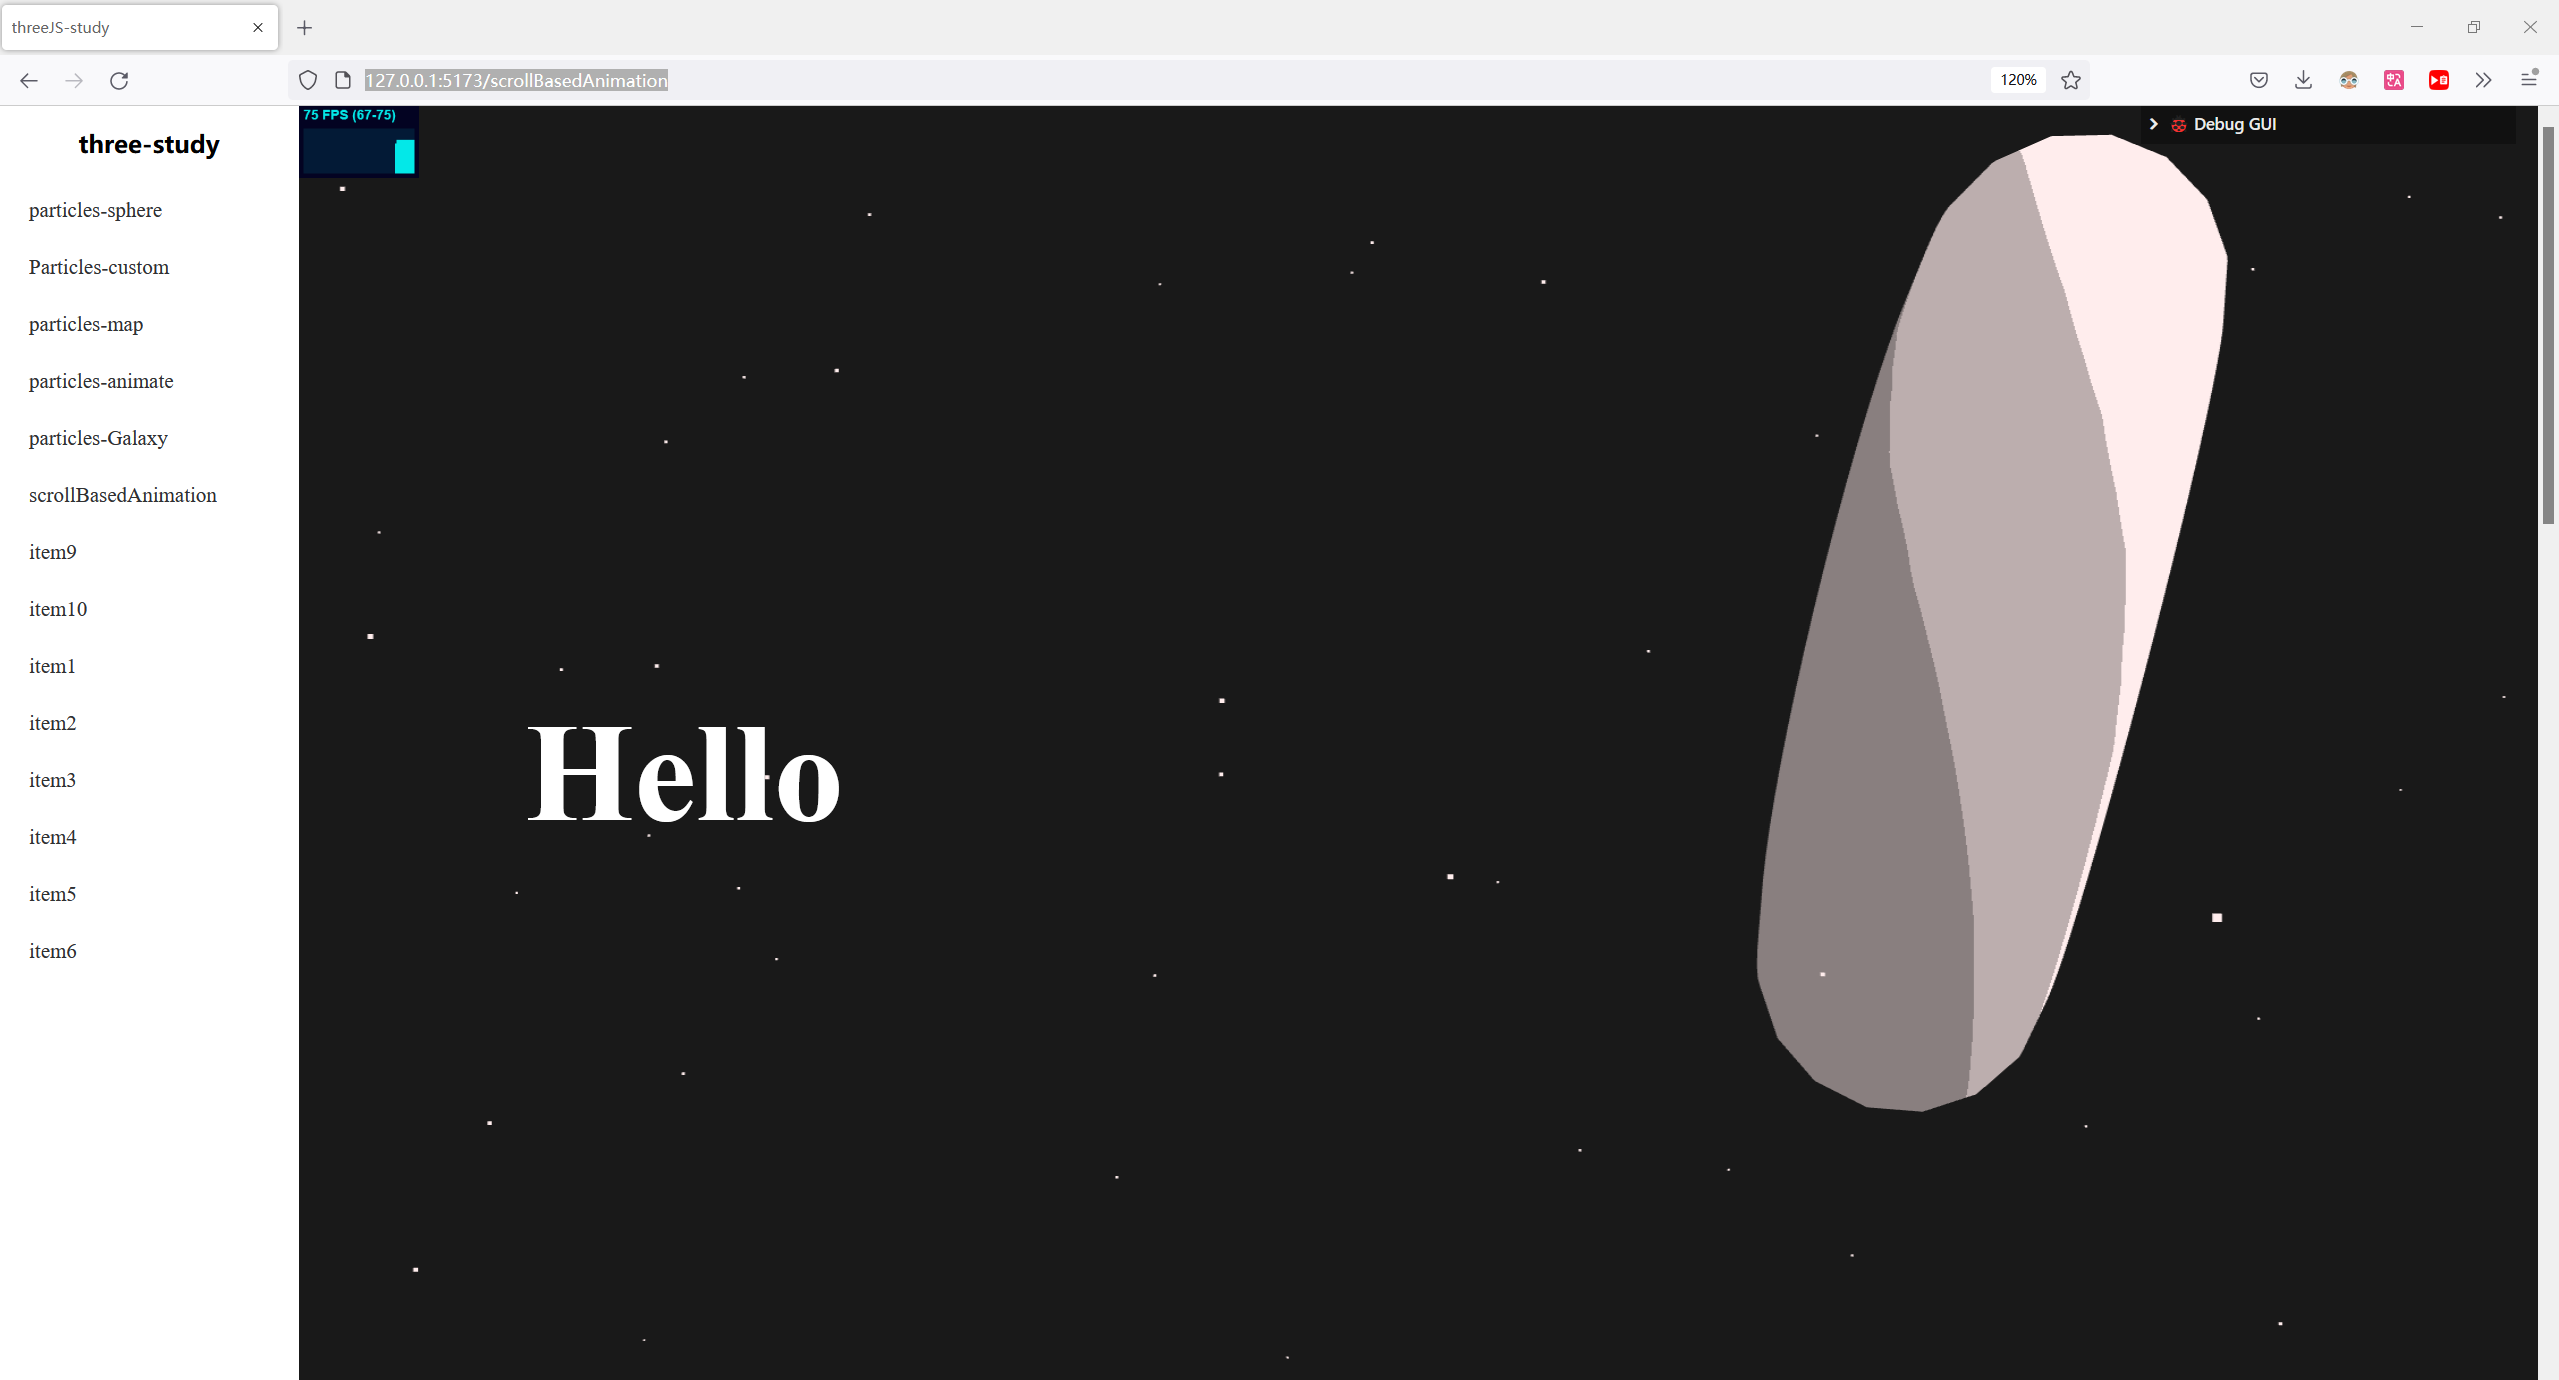
6.基于滚动条的动画
todo:
- 学习如何将 Three.js 作为 HTML 页面的背景
- 让相机跟随滚动而移动
- 发现一些技巧让3D效果更具沉浸感
- 基于光标位置添加视差效果,当到达特点区域时触发动画效果
[1]css设置
要将Three.js 作为HTML 页面的背景,首先需要对页面css布局进行一定的设置
<body>
  <canvas class="webgl"></canvas>
  <section class="section">
    <h1>My Portfolio</h1>
  </section>
  <section class="section">
    <h2>My projects</h2>
  </section>
  <section class="section">
    <h2>Contact me</h2>
  </section>
</body>
*
{
margin: 0;
padding: 0;
}

html,
body
{
/* overflow: hidden; */
background-color: #363636;;
}

.webgl
{
position: fixed;
top: 0;
left: 0;
outline: none;
}


.section
{
display: flex;
align-items: center;
height: 100vh;
position: relative;
font-family: 'Cabin', sans-serif;
color: #ffeded;
text-transform: uppercase;
font-size: 7vmin;

padding-left: 10%;
padding-right: 10%;
}

section:nth-child(odd)
{
    justify-content: flex-end;
}
[2]固定弹性卷轴
在某些浏览器环境中(这里chorome是不会的),您可能会注意到,如果滚动距离太远,当页面超出限制时,您会看到一种弹性动画。
虽然这是一个很酷的功能,但默认情况下,页面背面是白色的,与我们的体验不符。
为了解决这个问题,我们可以将页面的颜色设置background-color为与 的颜色clearColor相同renderer。相反,我们将使其透明并仅在页面上clearColor设置。background-color
const renderer = new THREE.WebGLRenderer({
canvas: canvas,
alpha: true
})
[3]在Three画布中添加多个对象
为了实现鼠标滚动动画效果,通常需要添加多个三维对象
/**
* Objects
*/
// Texture---这里添加了一些渐变纹理
const textureLoader = new THREE.TextureLoader()
const gradientTexture = textureLoader.load('textures/gradients/3.jpg')
gradientTexture.magFilter = THREE.NearestFilter
// Material
const material = new THREE.MeshToonMaterial({
    color: parameters.materialColor,
    gradientMap: gradientTexture
})

// Meshes
const mesh1 = new THREE.Mesh(
    new THREE.TorusGeometry(1, 0.4, 16, 60),
    material
)
const mesh2 = new THREE.Mesh(
    new THREE.ConeGeometry(1, 2, 32),
    material
)
const mesh3 = new THREE.Mesh(
    new THREE.TorusKnotGeometry(0.8, 0.35, 100, 16),
    material
)
这里需要根据自己的喜好添加不同的对象和材质,同时也别忘了添加一些光照效果:
/**
* Lights
*/
const directionalLight = new THREE.DirectionalLight('#ffffff', 1)
directionalLight.position.set(1, 1, 0)
scene.add(directionalLight)
然后就是修改这些三维对象的位置了,为了达到滚动滚动条展示不同的三维物体,需要将他们的y坐标值取一定的距离:
const objectsDistance = 2  //物体之间的距离
mesh1.position.y = - objectsDistance * 0
mesh2.position.y = - objectsDistance * 1
mesh3.position.y = - objectsDistance * 2
然后就是相机设定相机随滚动条滚动而滚动了
/**
* Scroll
*/
let scrollY = window.scrollY //检索滚动值
//监听滚动条的滚动值
window.addEventListener('scroll', () =>
{
scrollY = window.scrollY

console.log(scrollY)
})
然后在tick函数中,用于scrollY使相机移动(在进行渲染之前):
const tick = () =>
{
// ...

// Animate camera
camera.position.y = - scrollY / sizes.height * objectsDistance

// ...
}
后面也可以根据需要对对象的水平位置进行修改:
mesh1.position.x = 2
mesh2.position.x = - 2
mesh3.position.x = 2
[4]视差Parallax
为了让我们的体验更加身临其境,我们将通过使相机根据鼠标移动水平和垂直移动来应用这种视差效果。它将创建自然的交互,并帮助用户感受到深度。
光标
首先,我们需要检索光标位置。
为此,请创建一个具有和属性的cursor对象:xy
/**
* Cursor
*/
const cursor = {}
cursor.x = 0
cursor.y = 0
然后,监听mousemove事件window并更新这些值:
window.addEventListener('mousemove', (event) =>
{
cursor.x = event.clientX / sizes.width - 0.5
cursor.y = event.clientY / sizes.height - 0.5

console.log(cursor)
})
然后就可以在函数tick中使用了
const tick = () =>
{
// ...

// Animate camera
camera.position.y = - scrollY / sizes.height * objectsDistance

const parallaxX = cursor.x
const parallaxY = - cursor.y
camera.position.x = parallaxX
camera.position.y = parallaxY

// ...
}
但是这时就又有一个问题了,就是这里设定了后,相机的滚动就不起作用了,因为问我们更新了camera.position.y两次,第二次将取代第一次
为了解决这个问题,我们将把相机放在一个组three.js docs中,并对组而不是相机本身应用视差。
/**
* Camera
*/
// Group
const cameraGroup = new THREE.Group()
scene.add(cameraGroup)

// Base camera
const camera = new THREE.PerspectiveCamera(35, sizes.width / sizes.height, 0.1, 100)
camera.position.z = 6
cameraGroup.add(camera)
在该tick函数中,不是在相机上应用视差,而是将其应用在cameraGroup:
[5]额外效果
上面的基本是已经有一定的效果了,而如果追求更炫酷的效果,则需要之际补充添加,原理可参考上面的,比如粒子、触发旋转、网格动画、对材质等其他属性进行动画处理、对 HTML 文本进行动画处理
import './style.css'
import * as THREE from 'three'
import * as dat from 'lil-gui'
import gsap from 'gsap'

/**
 * Debug
 */
const gui = new dat.GUI()

const parameters = {
  materialColor: '#ffeded',
  materialColor:"#ffeded"
}

/**
 * gui
 */
gui
  .addColor(parameters, 'materialColor')
  .onChange(() =>
    {
      material.color.set(parameters.materialColor)
      particlesMaterial.color.set(parameters.materialColor)
    })

/**
 * Base
 */
// Canvas
const canvas = document.querySelector('canvas.webgl')

// Scene
const scene = new THREE.Scene()

/**
 * Test cube
 */
/**
* Objects
*/

// Texture
const textureLoader = new THREE.TextureLoader()
const gradientTexture = textureLoader.load('textures/gradients/3.jpg')
gradientTexture.magFilter = THREE.NearestFilter
// Material
const material = new THREE.MeshToonMaterial({
  color: parameters.materialColor,
  gradientMap: gradientTexture
})

// Meshes
const mesh1 = new THREE.Mesh(
  new THREE.TorusGeometry(1, 0.4, 16, 60),
  material
)
const mesh2 = new THREE.Mesh(
  new THREE.ConeGeometry(1, 2, 32),
  material
)
const mesh3 = new THREE.Mesh(
  new THREE.TorusKnotGeometry(0.8, 0.35, 100, 16),
  material
)

const objectsDistance = 4
mesh1.position.y = - objectsDistance * 0
mesh2.position.y = - objectsDistance * 1
mesh3.position.y = - objectsDistance * 2
const sectionMeshes = [ mesh1, mesh2, mesh3 ]

mesh1.position.x = 2
mesh2.position.x = - 2
mesh3.position.x = 2
scene.add(mesh1, mesh2, mesh3)


/**
* Particles
*/
// Geometry
const particlesCount = 200
const positions = new Float32Array(particlesCount * 3)
//构建随机position
for(let i = 0; i < particlesCount; i++)
{
  positions[i * 3 + 0] = (Math.random() - 0.5) * 10
  positions[i * 3 + 1] = objectsDistance * 0.5 - Math.random() * objectsDistance * sectionMeshes.length
  positions[i * 3 + 2] = (Math.random() - 0.5) * 10
}

const particlesGeometry = new THREE.BufferGeometry()
particlesGeometry.setAttribute('position', new THREE.BufferAttribute(positions, 3))

// Material
const particlesMaterial = new THREE.PointsMaterial({
  color: parameters.materialColor,
  sizeAttenuation: true,
  size: 0.03
})

// Points
const particles = new THREE.Points(particlesGeometry, particlesMaterial)
scene.add(particles)


/**
* Scroll
*/
let scrollY = window.scrollY
let currentSection = 0 //用于记录触发旋转
window.addEventListener('scroll', () =>
  {
    scrollY = window.scrollY
    const newSection = Math.round(scrollY / sizes.height)

    if(newSection != currentSection)
    {
      currentSection = newSection
      gsap.to(
        sectionMeshes[currentSection].rotation,
        {
          duration: 1.5,
          ease: 'power2.inOut',
          x: '+=6',
          y: '+=3',
          z: '+=1.5'
        }
      )
      console.log('changed', currentSection)
    }

  })


/**
* Cursor
*/
const cursor = {}
cursor.x = 0
cursor.y = 0
window.addEventListener('mousemove', (event) =>
  {
    cursor.x = event.clientX / sizes.width - 0.5
    cursor.y = event.clientY / sizes.height - 0.5

      })

      /**
      * Lights
      */
      const directionalLight = new THREE.DirectionalLight('#ffffff', 1)
      directionalLight.position.set(1, 1, 0)
      scene.add(directionalLight)

      /**
      * Sizes
      */
      const sizes = {
      width: window.innerWidth,
      height: window.innerHeight
      }


      window.addEventListener('resize', () =>
    {
      // Update sizes
      sizes.width = window.innerWidth
      sizes.height = window.innerHeight

      // Update camera
      camera.aspect = sizes.width / sizes.height
      camera.updateProjectionMatrix()

      // Update renderer
      renderer.setSize(sizes.width, sizes.height)
      renderer.setPixelRatio(Math.min(window.devicePixelRatio, 2))
      })

      /**
      * Camera
      */

      // Group
      const cameraGroup = new THREE.Group()
      scene.add(cameraGroup)
      // Base camera
      const camera = new THREE.PerspectiveCamera(35, sizes.width / sizes.height, 0.1, 100)
      camera.position.z = 6
      cameraGroup.add(camera)

      /**
      * Renderer
      */
      const renderer = new THREE.WebGLRenderer({
      canvas: canvas,
      alpha: true
      })
      renderer.setSize(sizes.width, sizes.height)
      renderer.setPixelRatio(Math.min(window.devicePixelRatio, 2))

      /**
      * Animate
      */
      const clock = new THREE.Clock()
      let previousTime = 0

      const tick = () =>
    {
      const elapsedTime = clock.getElapsedTime()
      const deltaTime = elapsedTime - previousTime
      previousTime = elapsedTime
      // Animate meshes
      for(const mesh of sectionMeshes)
      {
      mesh.rotation.x += deltaTime * 0.1
      mesh.rotation.y += deltaTime * 0.12
      }
      // Animate camera
      camera.position.y = - scrollY / sizes.height * objectsDistance

      const parallaxX = cursor.x * 0.8
      const parallaxY = - cursor.y * 0.8

      cameraGroup.position.x += (parallaxX - cameraGroup.position.x) * 5 * deltaTime
      cameraGroup.position.y += (parallaxY - cameraGroup.position.y) * 5 * deltaTime

      // Render
      renderer.render(scene, camera)

      // Call tick again on the next frame
      window.requestAnimationFrame(tick)
      }

      tick()
7.将模型转成粒子
构建一个粒子生成转化函数即可:
const count = 10000 //粒子数
let particlesGeometry = new BufferGeometry()
let positions = new Float32Array(count * 3)
//object
  {
      particlesGeometry.setAttribute("position", new BufferAttribute(positions, 3))
      const particlesMaterial = new PointsMaterial({
          size: 0.2,
          sizeAttenuation: true
      })
      particles = new Points(particlesGeometry, particlesMaterial)
    	//先添加一个空的粒子实例
      scene.add(particles)
      transformP(new BoxGeometry(20,20,20,10,10,10))
  }
/*根据传入的geoetry的属性来修改粒子实例的position信息*/
const transformP = (geometry)=>{
    const {array,count} = geometry.getAttribute('position');
    let targetIndex =0;
    for (let index = 0; index<count; index++){
      const i3 = index *3;
      targetIndex %= count;
      const targetIndex3 = targetIndex * 3;
      positions[i3] = array[targetIndex3];
      positions[i3+1] = array[targetIndex3+1];
      positions[i3+2] = array[targetIndex3+2];

      targetIndex++;
    }
    particlesGeometry.setAttribute("position", new BufferAttribute(positions, 3));
    particlesGeometry.attributes.position.needsUpdate = true;

}

const consoles = {
      toggle :()=>{
          transformP(new SphereGeometry(20,64,64));
      }
  }
  gui.add(consoles,'toggle')
8.使用ShaderMaterial实现粒子动画
要将上面的粒子模型切换时实现动画过渡效果有两个方案:
- 每一帧去改positions,但是性能不好,不推荐
- 使用shader着色器材质(ShaderMaterial)
[1]使用ShaderMaterial
import vertexShader from "./../shader/particels_vs.glsl?raw"
import fragmentShader from "./../shader/particels_fs.glsl?raw"
//object
    {
        particlesGeometry.setAttribute("position", new BufferAttribute(positions, 3))

        const shaderMaterial = new ShaderMaterial({
            vertexShader,
            fragmentShader,

        })

        // const particlesMaterial = new PointsMaterial({
        //     size: 0.2,
        //     sizeAttenuation: true
        // })
        particles = new Points(particlesGeometry, shaderMaterial)

        scene.add(particles)
        transformP(new BoxGeometry(20,20,20,10,10,10))
    }
void main(){
  vec3 color=vec3(.0627,.8235,.9255);
  gl_FragColor=vec4(color,1.);
}
void main(){
  vec4 viewPosition=modelViewMatrix*vec4(position,1.);
  gl_Position=projectionMatrix*viewPosition;
  gl_PointSize=3.;//没有近大远小效果
  //有近大远小效果
  gl_PointSize*=100./-(modelViewMatrix*vec4(position,1.)).z;
}
[2]粒子模型变换动画
shaderMaterial创建好之后,就先放一边,留着后面使用了,后面构建变换动画
//...
let particles
const pointNumber= 10000
let particlesGeometry = new BufferGeometry()
let position = new Float32Array(pointNumber * 3)
let toPosition = new Float32Array(pointNumber * 3)
let speed = new Float32Array(pointNumber);
const progress = {
    value:0
}

const consoles = {
  	//点击变换到球形粒子模型
    toggle :()=>{
        transformP(new SphereGeometry(20,64,64));
        consoles.progress = 0;
    },
    progress:0,
}


onMounted(()=>{
    // document.getElementById('my-three')?.appendChild(renderer.domElement)
    init();
    animate();
})

//object
{

    particlesGeometry.setAttribute("position", new BufferAttribute(position, 3))
    particlesGeometry.setAttribute("toPosition", new BufferAttribute(toPosition, 3))
    particlesGeometry.setAttribute("speed", new BufferAttribute(speed, 1))

    const shaderMaterial = new ShaderMaterial({
        vertexShader,
        fragmentShader,
        uniforms:{
            progress

        }
    })

    const particlesMaterial = new PointsMaterial({
        size: 0.2,
        sizeAttenuation: true
    })
    particles = new Points(particlesGeometry, shaderMaterial)

    scene.add(particles)
    initTransform();//从粒子平面变化到正方体粒子模型
    transformP(new BoxGeometry(20,20,20,30,30,30))
}

gui.add(consoles,'toggle')
gui.add(consoles,"progress",0,1).onChange(val=>{progress.value=val})

//初始化一个粒子平面
const initTransform = ()=>{
    const {random} = Math
    for (let index =0; index <pointNumber; index++){
        const i3 = index *3;
        toPosition[i3] = (0.5 -random()) * 200;
        toPosition[i3 + 1] = (0.5 -random()) * 200;
        toPosition[i3 + 2] = (0.5 -random()) * 200;

        speed[index] = 0.5+random()*0.5;
    }
    particlesGeometry.attributes.toPosition.needsUpdate = true;
    particlesGeometry.attributes.speed.needsUpdate = true;

}

const transformP = (geometry)=>{
    const {array,count} = geometry.getAttribute('position');
    let targetIndex =0;
    for (let index = 0; index<pointNumber; index++){
      const i3 = index *3;
      targetIndex %= count;
      const targetIndex3 = targetIndex * 3;
      position[i3] = toPosition[i3];
      position[i3+1] = toPosition[i3+1];
      position[i3+2] = toPosition[i3+2];

      toPosition[i3] = array[targetIndex3];
      toPosition[i3+1] = array[targetIndex3+1];
      toPosition[i3+2] = array[targetIndex3+2];

      speed[index] = 0.5+Math.random()*0.5;

      targetIndex++;
    }
    particlesGeometry.setAttribute("position", new BufferAttribute(position, 3));
    particlesGeometry.setAttribute("toPosition", new BufferAttribute(toPosition, 3));
    particlesGeometry.attributes.position.needsUpdate = true;
    particlesGeometry.attributes.toPosition.needsUpdate = true;
    particlesGeometry.attributes.speed.needsUpdate = true;

}
uniform float progress;
attribute vec3 toPosition;
attribute float speed;

void main(){
  //progress 0-1,0position 1toPosition
  vec3 dis=toPosition-position;

  float percent=progress/speed;

  vec3 pos;
  if(percent<=1.){
      pos=position+dis*progress*percent;
    }else{
      pos=toPosition;
    }

  vec4 viewPosition=modelViewMatrix*vec4(pos,1.);
  gl_Position=projectionMatrix*viewPosition;
  gl_PointSize=1.;//没有近大远小效果
  //有近大远小效果
  gl_PointSize*=100./-(modelViewMatrix*vec4(pos,1.)).z;
}
 #### [3]导入外部模型转换粒子模型
const loader = new GLTFLoader();
const dracoLoader = new DRACOLoader();
dracoLoader.setDecoderPath( '/draco/' );
loader.setDRACOLoader( dracoLoader );
loader.load("/models/particle1.glb",function(gltf){
  console.log(gltf.scene)
  const people = gltf.scene.getObjectByName("people");
  //...
  if(!people){
    throw new Error("模型获取有误");
  }

  transformP(people.geomtry)

})
[4]颜色变换
实现效果一:
 原理同potison,定义两个attribute变量:
let color = new Float32Array(pointNumber*3)
let toColor = new Float32Array(pointNumber*3)
particlesGeometry.setAttribute("color", new BufferAttribute(color, 3))
particlesGeometry.setAttribute("toColor", new BufferAttribute(toColor, 3))

const transformP = (geometry,color)=>{
    const {array,count} = geometry.getAttribute('position');

    // console.log(color)
    // const disColor = new Color();
    // disColor.r = color[1].r - color[0].r;
    // disColor.g = color[1].g - color[0].g;
    // disColor.b = color[1].b - color[0].b;

    let targetIndex =0;
    for (let index = 0; index<pointNumber; index++){
      const i3 = index *3;
      targetIndex %= count;
      const targetIndex3 = targetIndex * 3;
      position[i3] = toPosition[i3];
      position[i3+1] = toPosition[i3+1];
      position[i3+2] = toPosition[i3+2];

      toPosition[i3] = array[targetIndex3];
      toPosition[i3+1] = array[targetIndex3+1];
      toPosition[i3+2] = array[targetIndex3+2];

      color[i3] = toColor[i3];
      color[i3 + 1] = toColor[i3 + 1];
      color[i3 + 2] = toColor[i3 + 2]atr
然后shader也要像position进行改动
uniform float progress;
attribute vec3 toPosition;
attribute float speed;
attribute vec3 color;
attribute vec3 toColor;
varying vec3 vColor;

void main(){
    //progress 0-1,0position 1toPosition
    vec3 dis=toPosition-position;
    vec3 disColor=toColor-color;

    float percent=progress/speed;

    vec3 pos;
    if(percent<=1.){
        pos=position+dis*progress;
        vColor=color+disColor*percent;
    }else{
        pos=toPosition;
        vColor=toColor;
    }

    vec4 viewPosition=modelViewMatrix*vec4(pos,1.);
    gl_Position=projectionMatrix*viewPosition;
    gl_PointSize=1.;//没有近大远小效果
    //有近大远小效果
    gl_PointSize*=100./-(modelViewMatrix*vec4(pos,1.)).z;
}
varying vec3 vColor;
void main(){
    float strength=distance(gl_PointCoord,vec2(.5));
    float dis=length(gl_PointCoord.xy-.5);
    dis=smoothstep(.5,0.,dis);
    strength=step(.5,strength);
    strength=1.-strength;

    //圆形以外像素 不渲染
    if(strength==0.)
    discard;
    if(dis==0.)
    discard;

    gl_FragColor=vec4(vColor,strength*dis);
}
[5]粒子大小随机
同上创建一个attribute变量,然后传递给顶点着色器的gl_positonSize即可
scale[index] = 0.5+Math.random()*0.5;
gl_PointSize=scale;//没有近大远小效果
[6]通过片段着色器将粒子改为圆形
varying vec3 vColor;
void main(){
    float strength=distance(gl_PointCoord,vec2(.5));
    float dis=length(gl_PointCoord.xy-.5);
    dis=smoothstep(.5,0.,dis);
    strength=step(.5,strength);
    strength=1.-strength;

    //圆形以外像素 不渲染
    if(strength==0.)
    discard;
    if(dis==0.)
    discard;

    gl_FragColor=vec4(vColor,strength*dis);
}
还有将记得将depthTest关闭
const shaderMaterial = new ShaderMaterial({
      vertexShader,
      fragmentShader,
      uniforms:{
          progress
      },
      blending: AdditiveBlending, //粒子重叠时高亮重叠部分
      transparent: true,
      depthTest: false,
  })
9.通过滚动控制粒子变化进度
现在已经实现了模型例子的变化动画,那么要吧这个动画的变化应用到页面的滚动上还需要做一些处理
// Scroll
    {
        let curr = 0;
        window.addEventListener('scroll', ()=>{
            const currScrollHeight = window.scrollY;
            const percent  = currScrollHeight /window.innerHeight
            const currIndex = Math.floor(percent)
            // console.log(currIndex)

            if(curr !== currIndex){
                curr = currIndex
                console.log(sectionModels[curr])
                transformP(sectionModels[currIndex].geometry,sectionModels[currIndex].color);
                consoles.progress = 0;
            }


            shaderMaterial.uniforms.progress.value = percent - currIndex;
            console.log(percent - currIndex);

        })
补充
GSAP库的使用
GSAP 的 ScrollTrigger 插件可让您使用最少的代码创建令人惊叹的基于滚动的动画。


 899
899


 被折叠的 条评论
为什么被折叠?
被折叠的 条评论
为什么被折叠?
 到【灌水乐园】发言


