


一、安装前准备
1、C盘预留足够的空间
由于显卡驱动、PyTorch需要安装到C盘上,所以我们必须预先给C盘腾出足够的空间,大约(40G左右比较合理,整个环境和部署下来预计需要20G)。
由于我的C盘空间不足

所以我使用了傲梅分区助手,将D盘中空闲的空间重新分配到C盘中
特别注意:物理磁盘上,C盘和D盘必须是同一个磁盘
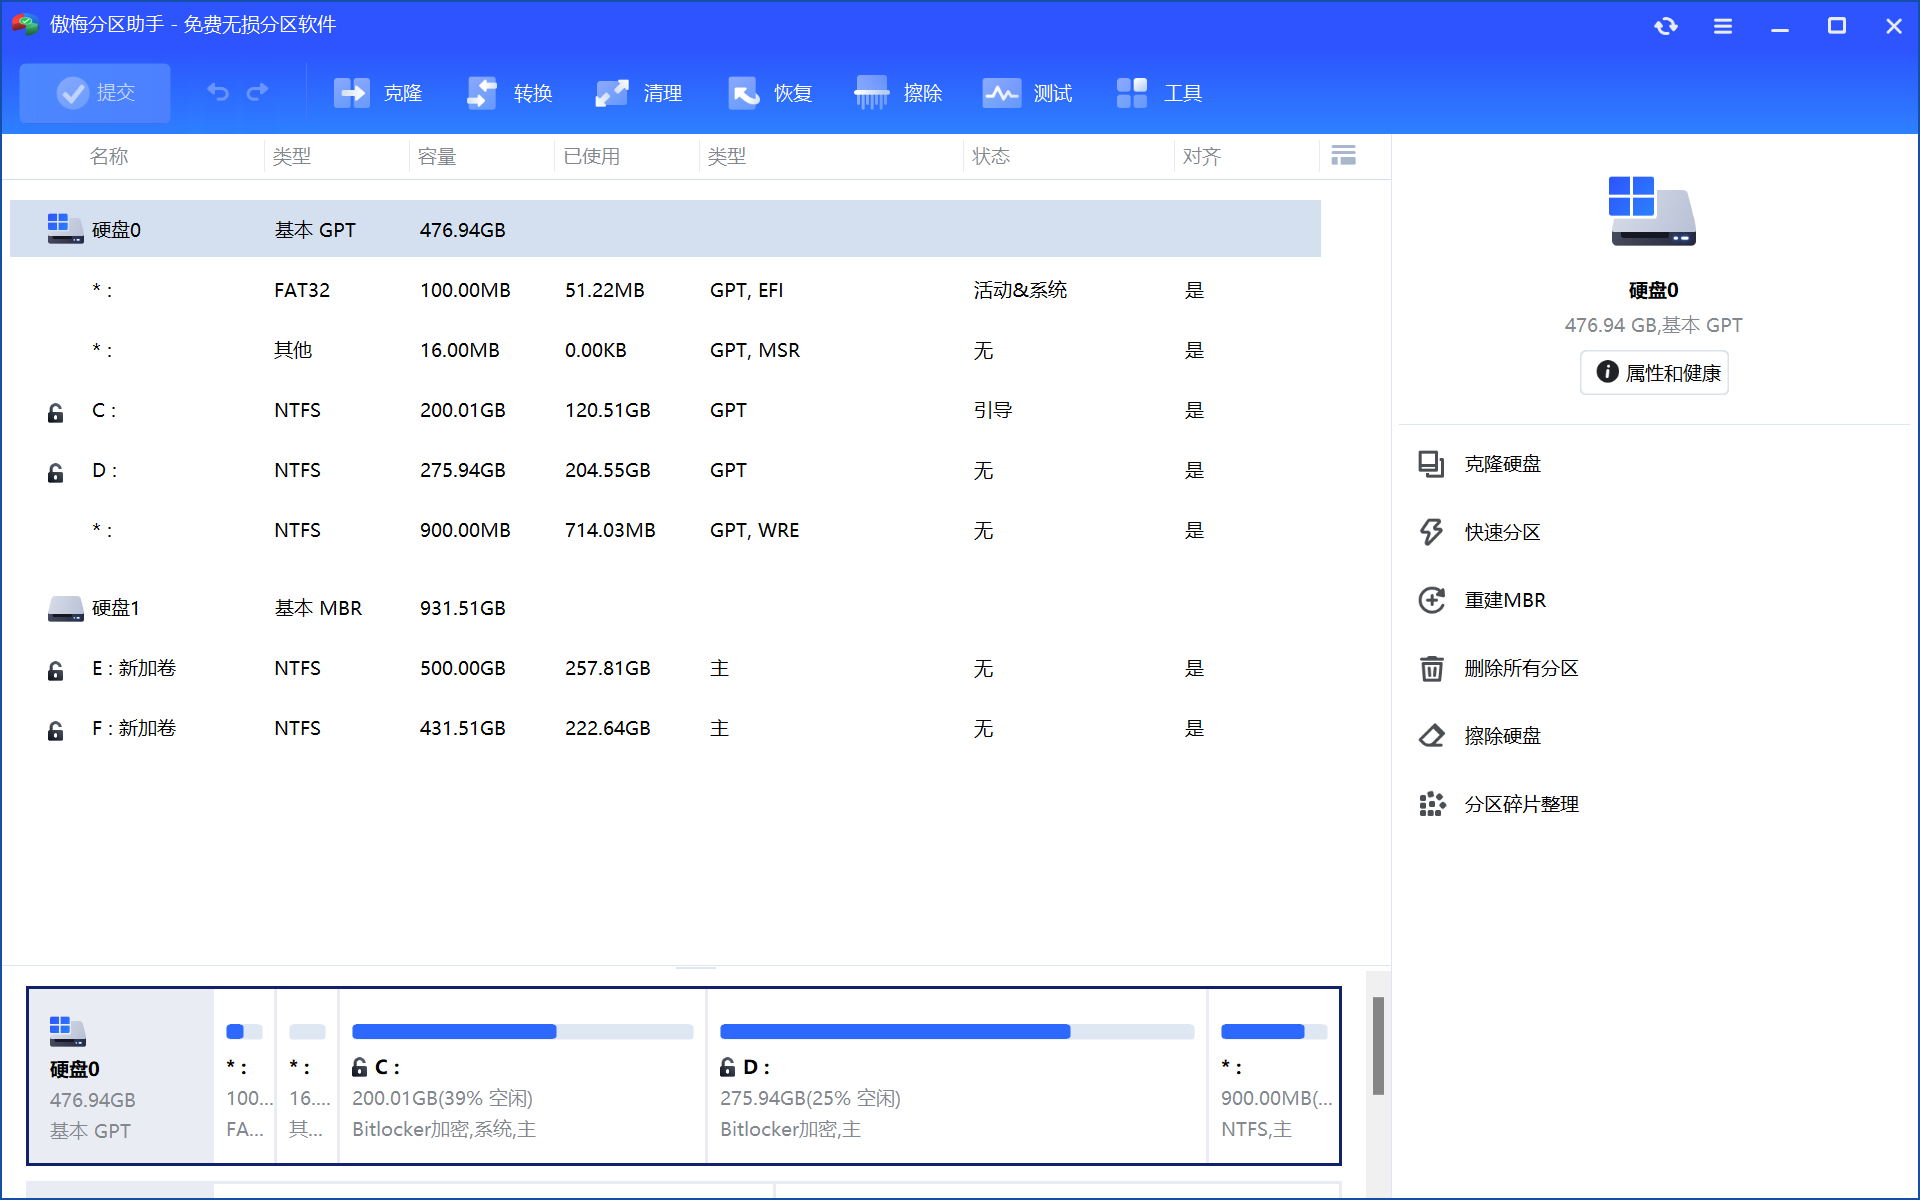
分盘的过程涉及到bitlocker磁盘加密解锁和windows pe模式磁盘重新写入和加载需要耗费大量的时间,我将D盘100GB空间分到C盘中大约花了3个小时
如何分盘这里就不详细描述了,傲梅分区助手官网进入傲梅分区助手官网可以下载并参考官方分区教程进行操作
2、安装Python环境
后面我们安装PyTorch和运行TTS测试程序都是使用Python程序实现的,所以要先预先安装Python环境,我安装的是Python 3.11.9 x86-64位版本
点击这里进入python官网下载目录
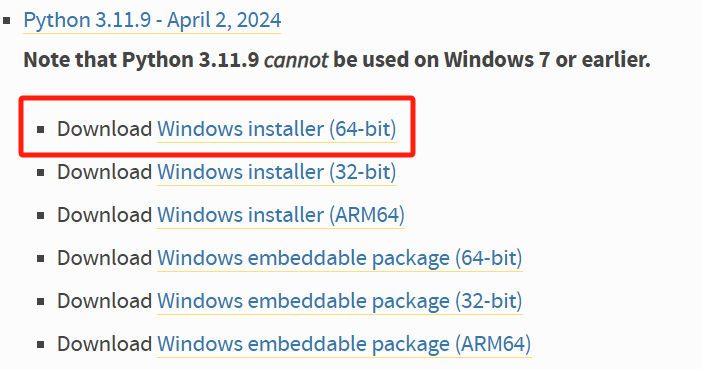
安装Python也不是我们这篇文章的重点,具体操作可以参考点击这里
3、安装显卡驱动
-
确保已安装最新版 NVIDIA 显卡驱动(通过 NVIDIA 控制面板 或官网下载适配 当前显卡的驱动)。
-
驱动版本需支持 CUDA 11.8 或更高(推荐 CUDA 12.1,PyTorch 最新版支持更佳)。
-
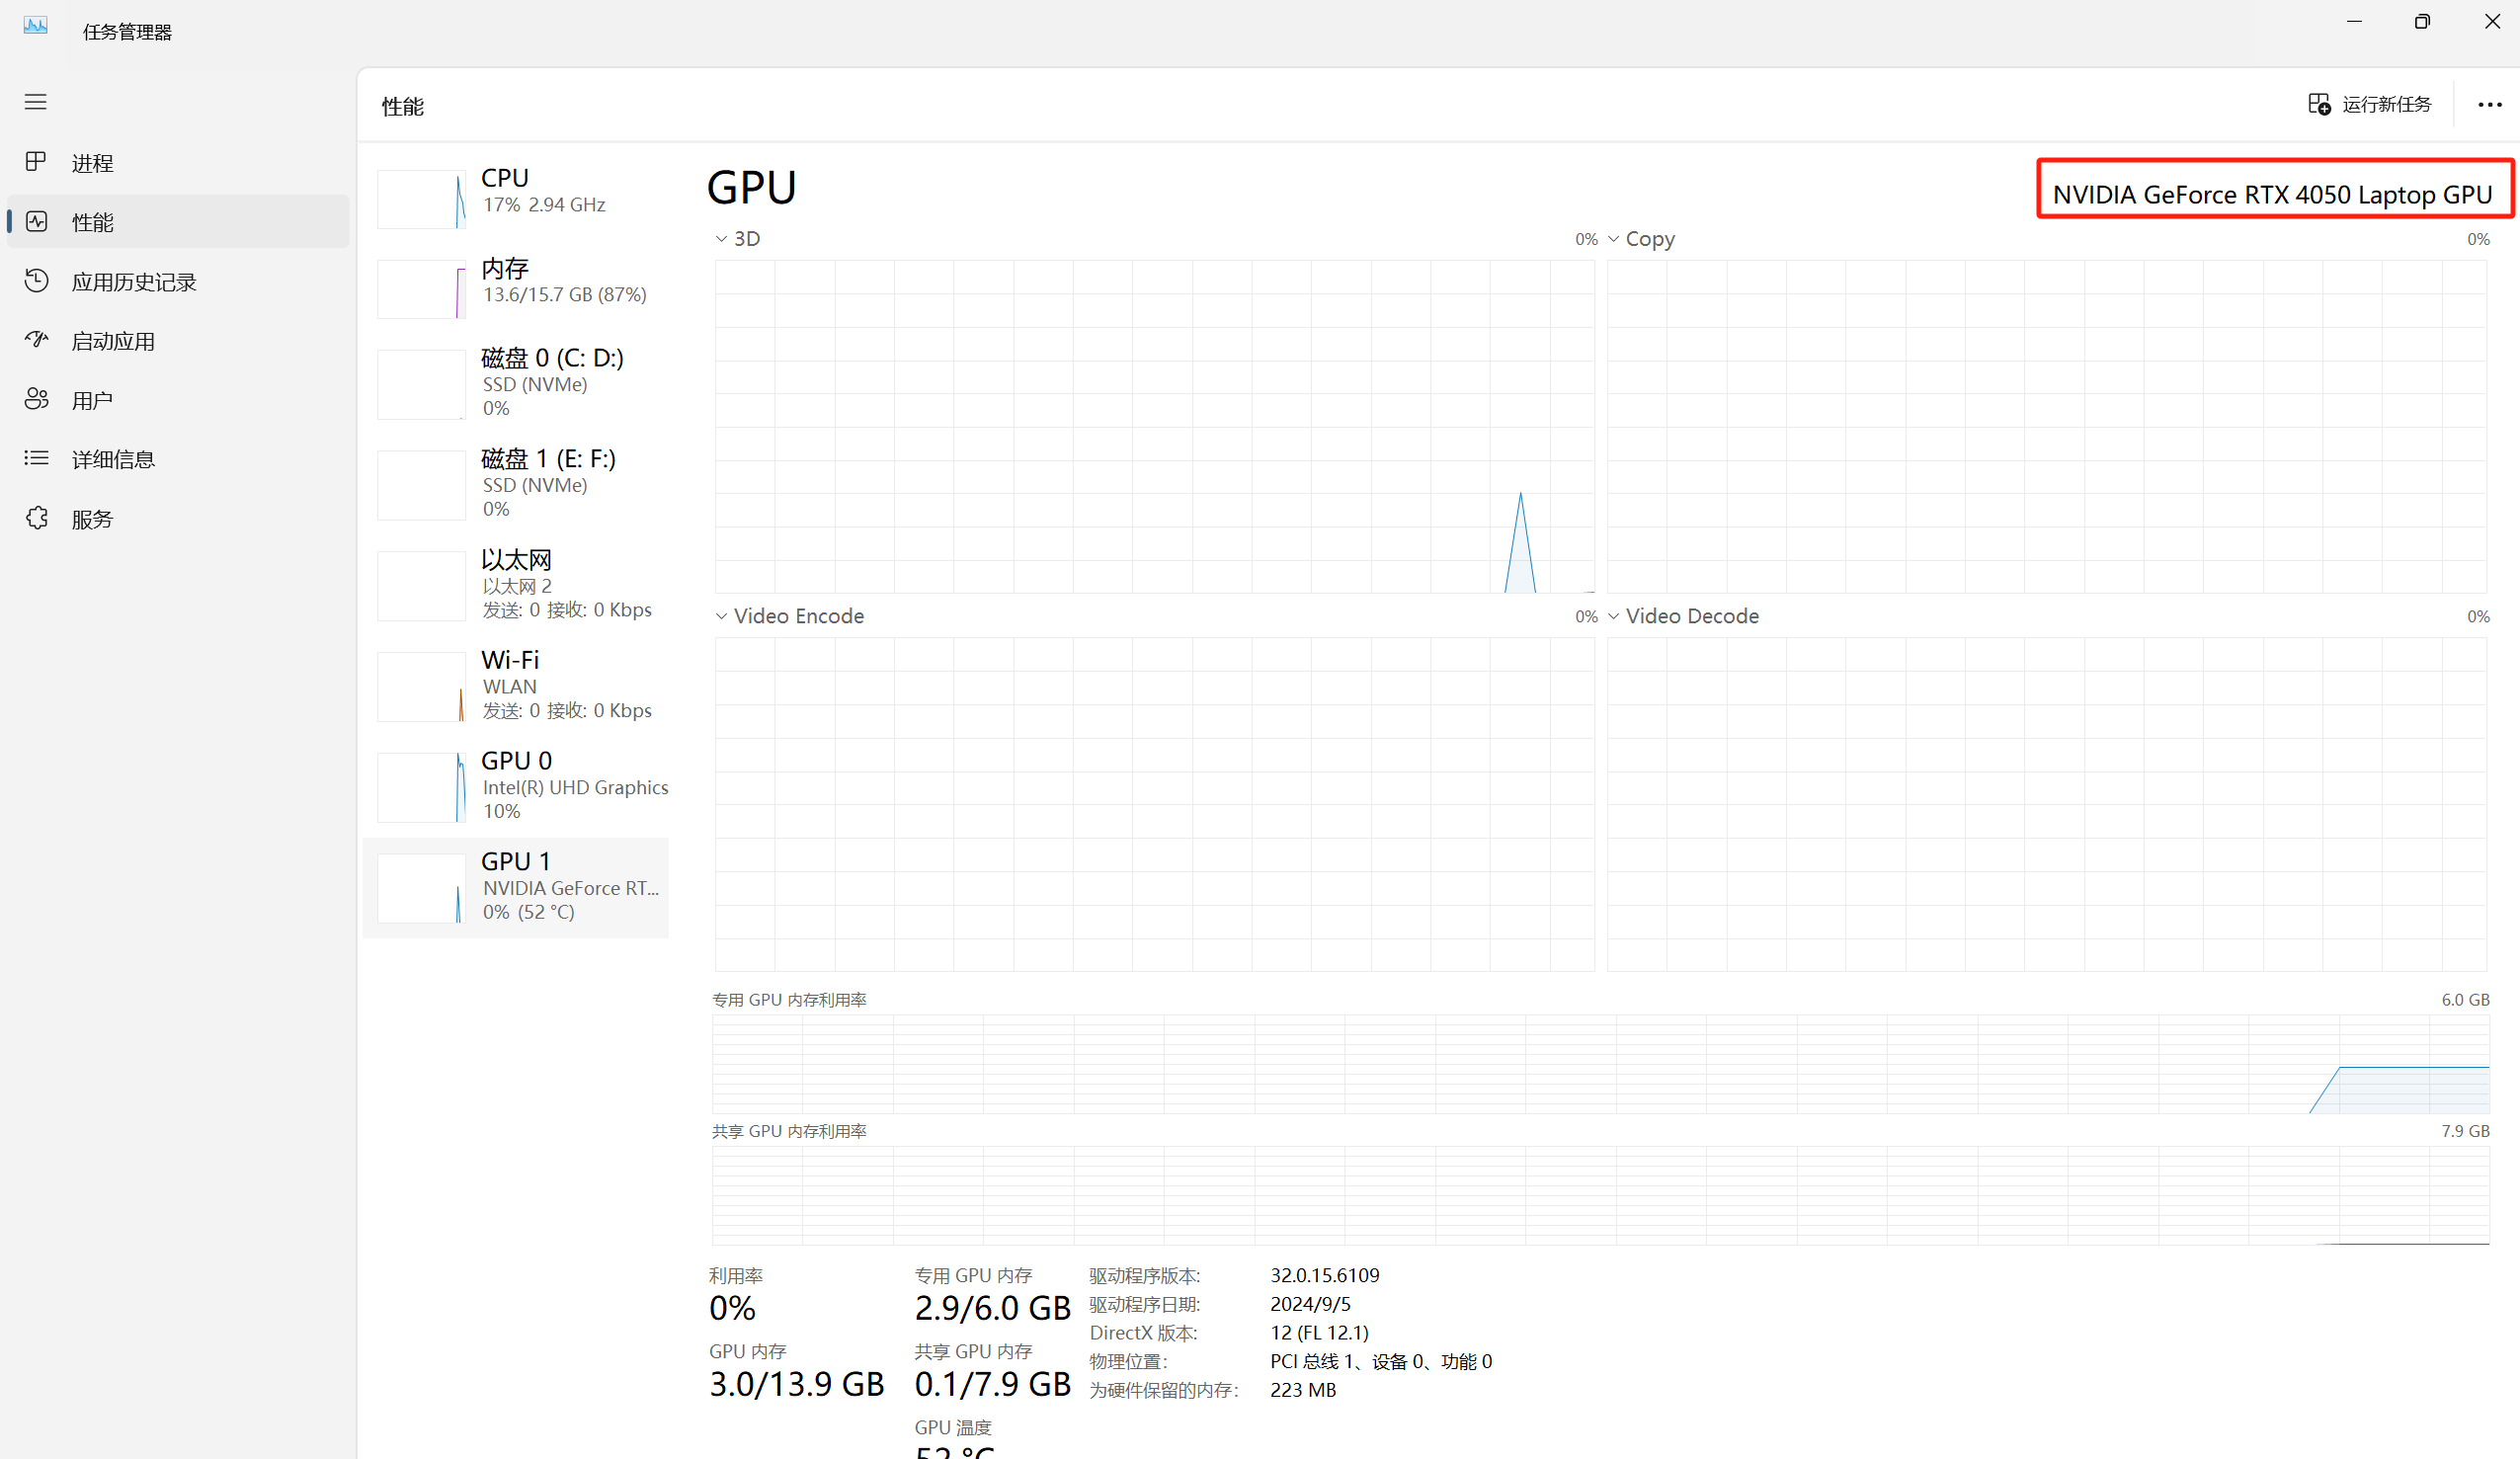
鼠标右键单击任务栏打开任务管理器
-

-
点击左边栏选项【性能】
-
-
如上图可以看到我的电脑的显卡GPU的型号是NVIDIA GeForce RTX 40050 Laptop
-
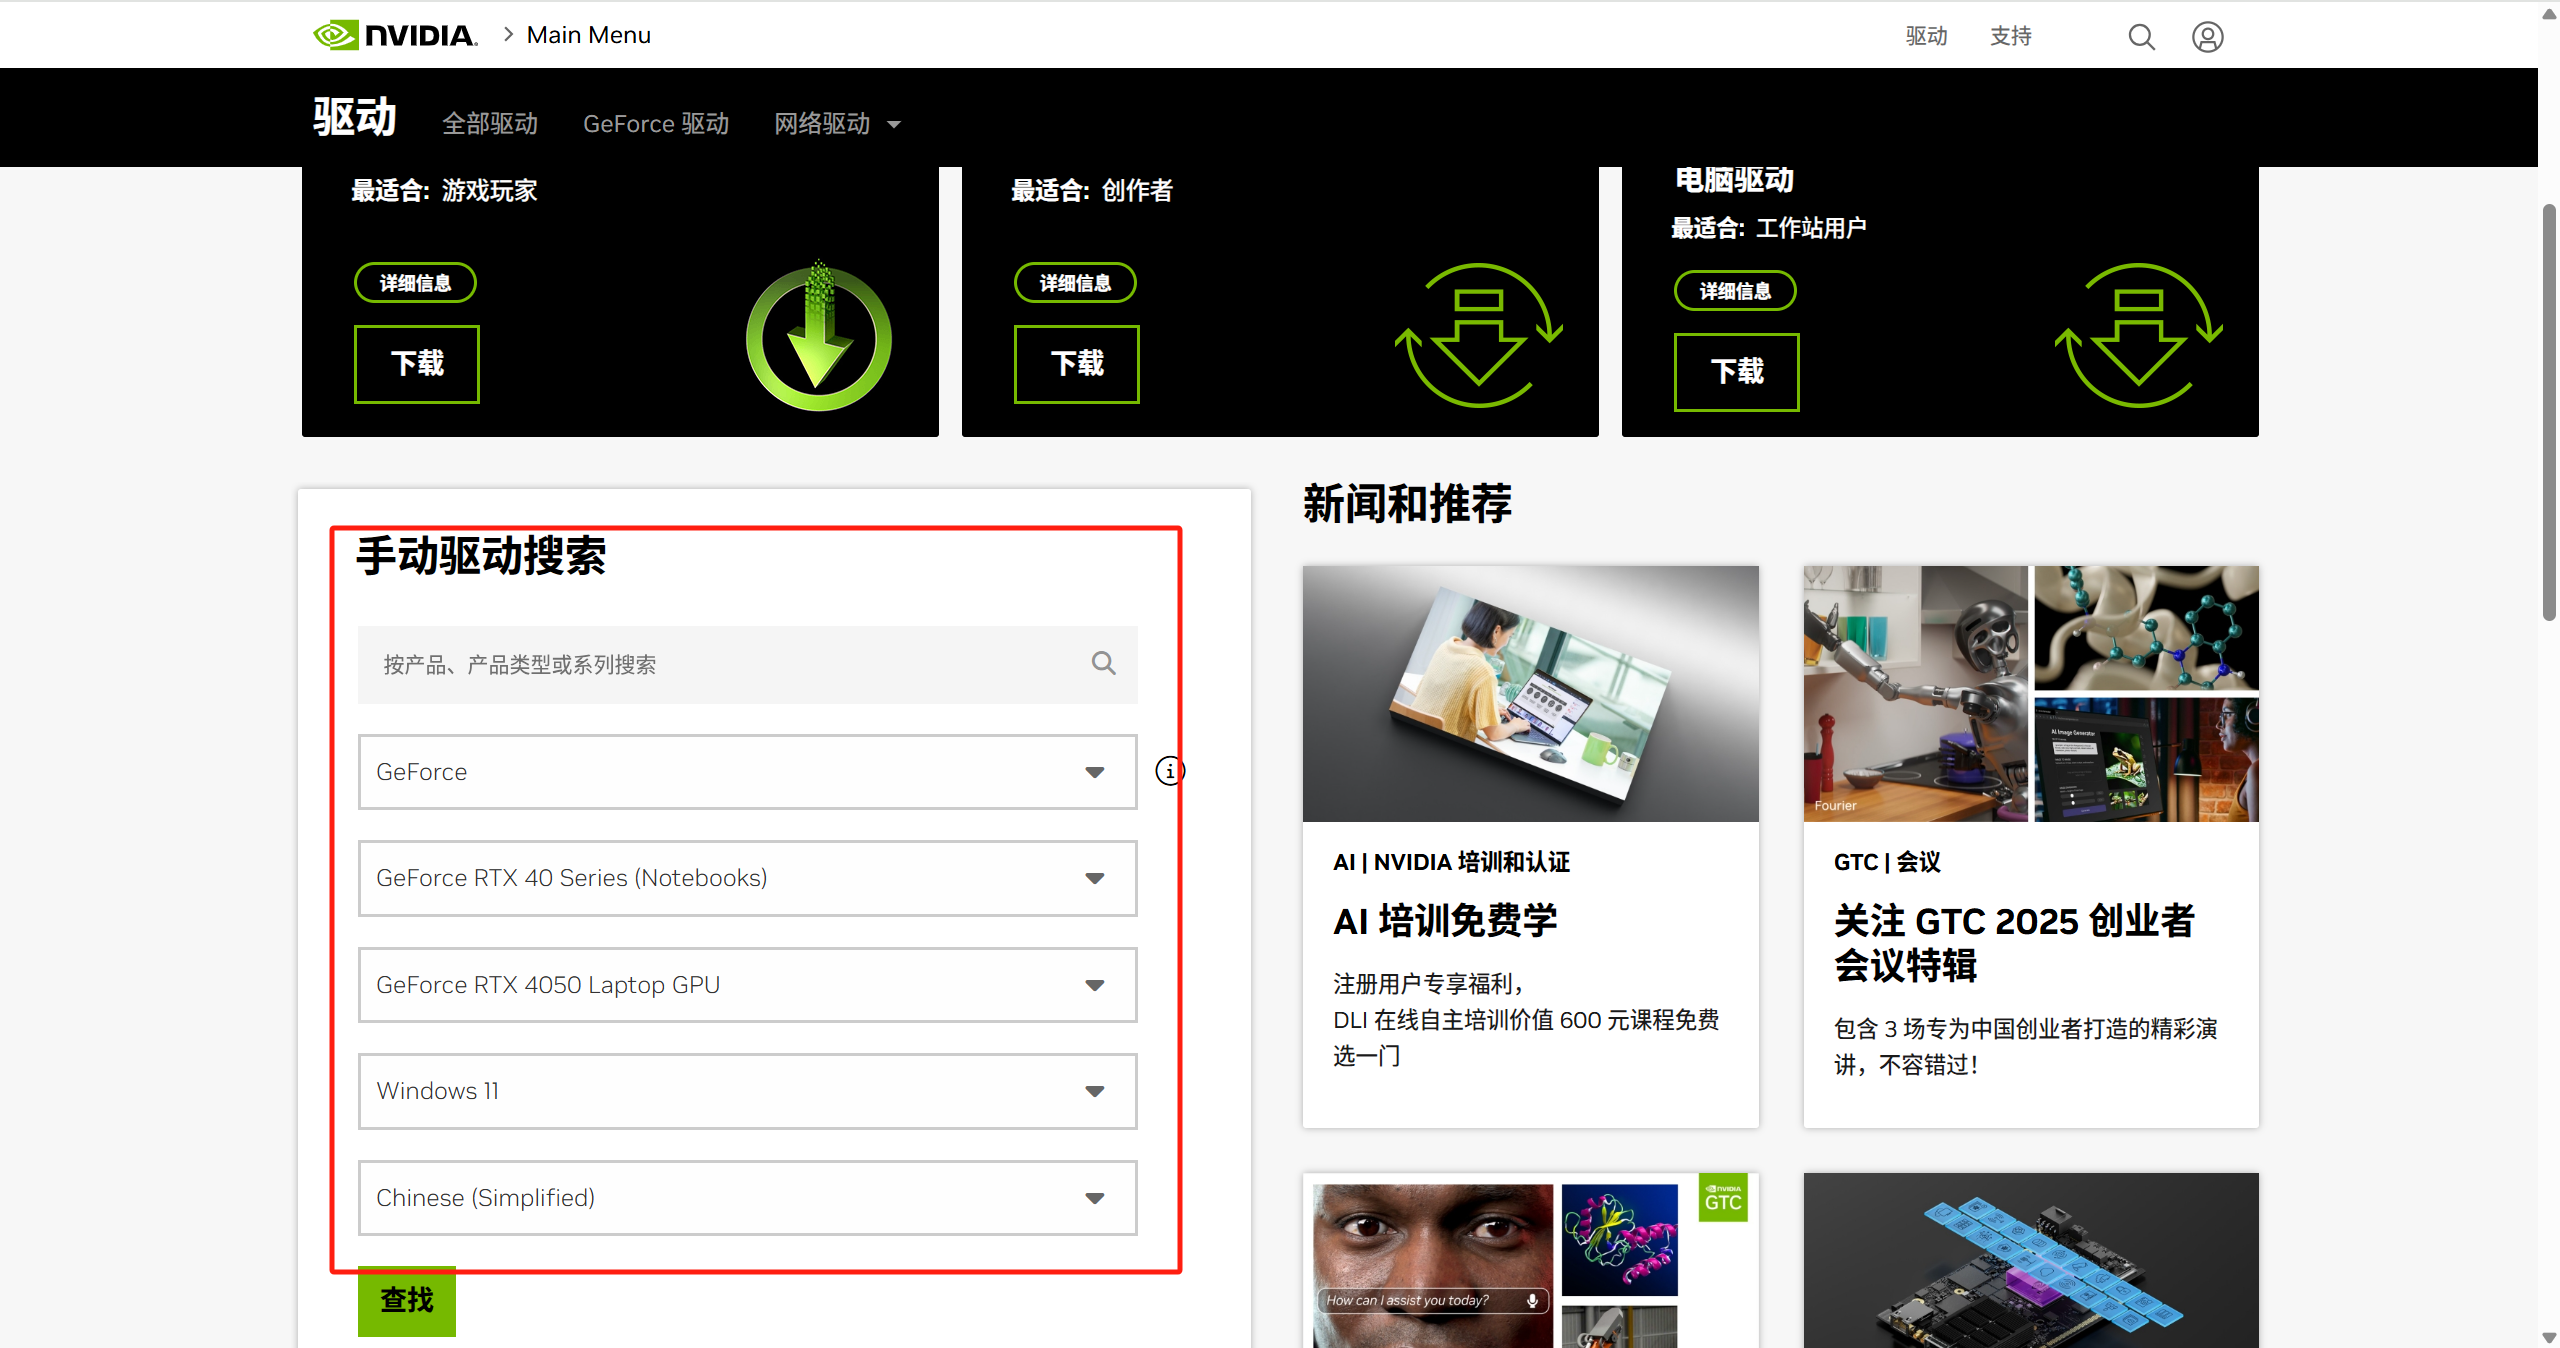
点击此处前往NVIDIA官网下载对应的显卡驱动
-
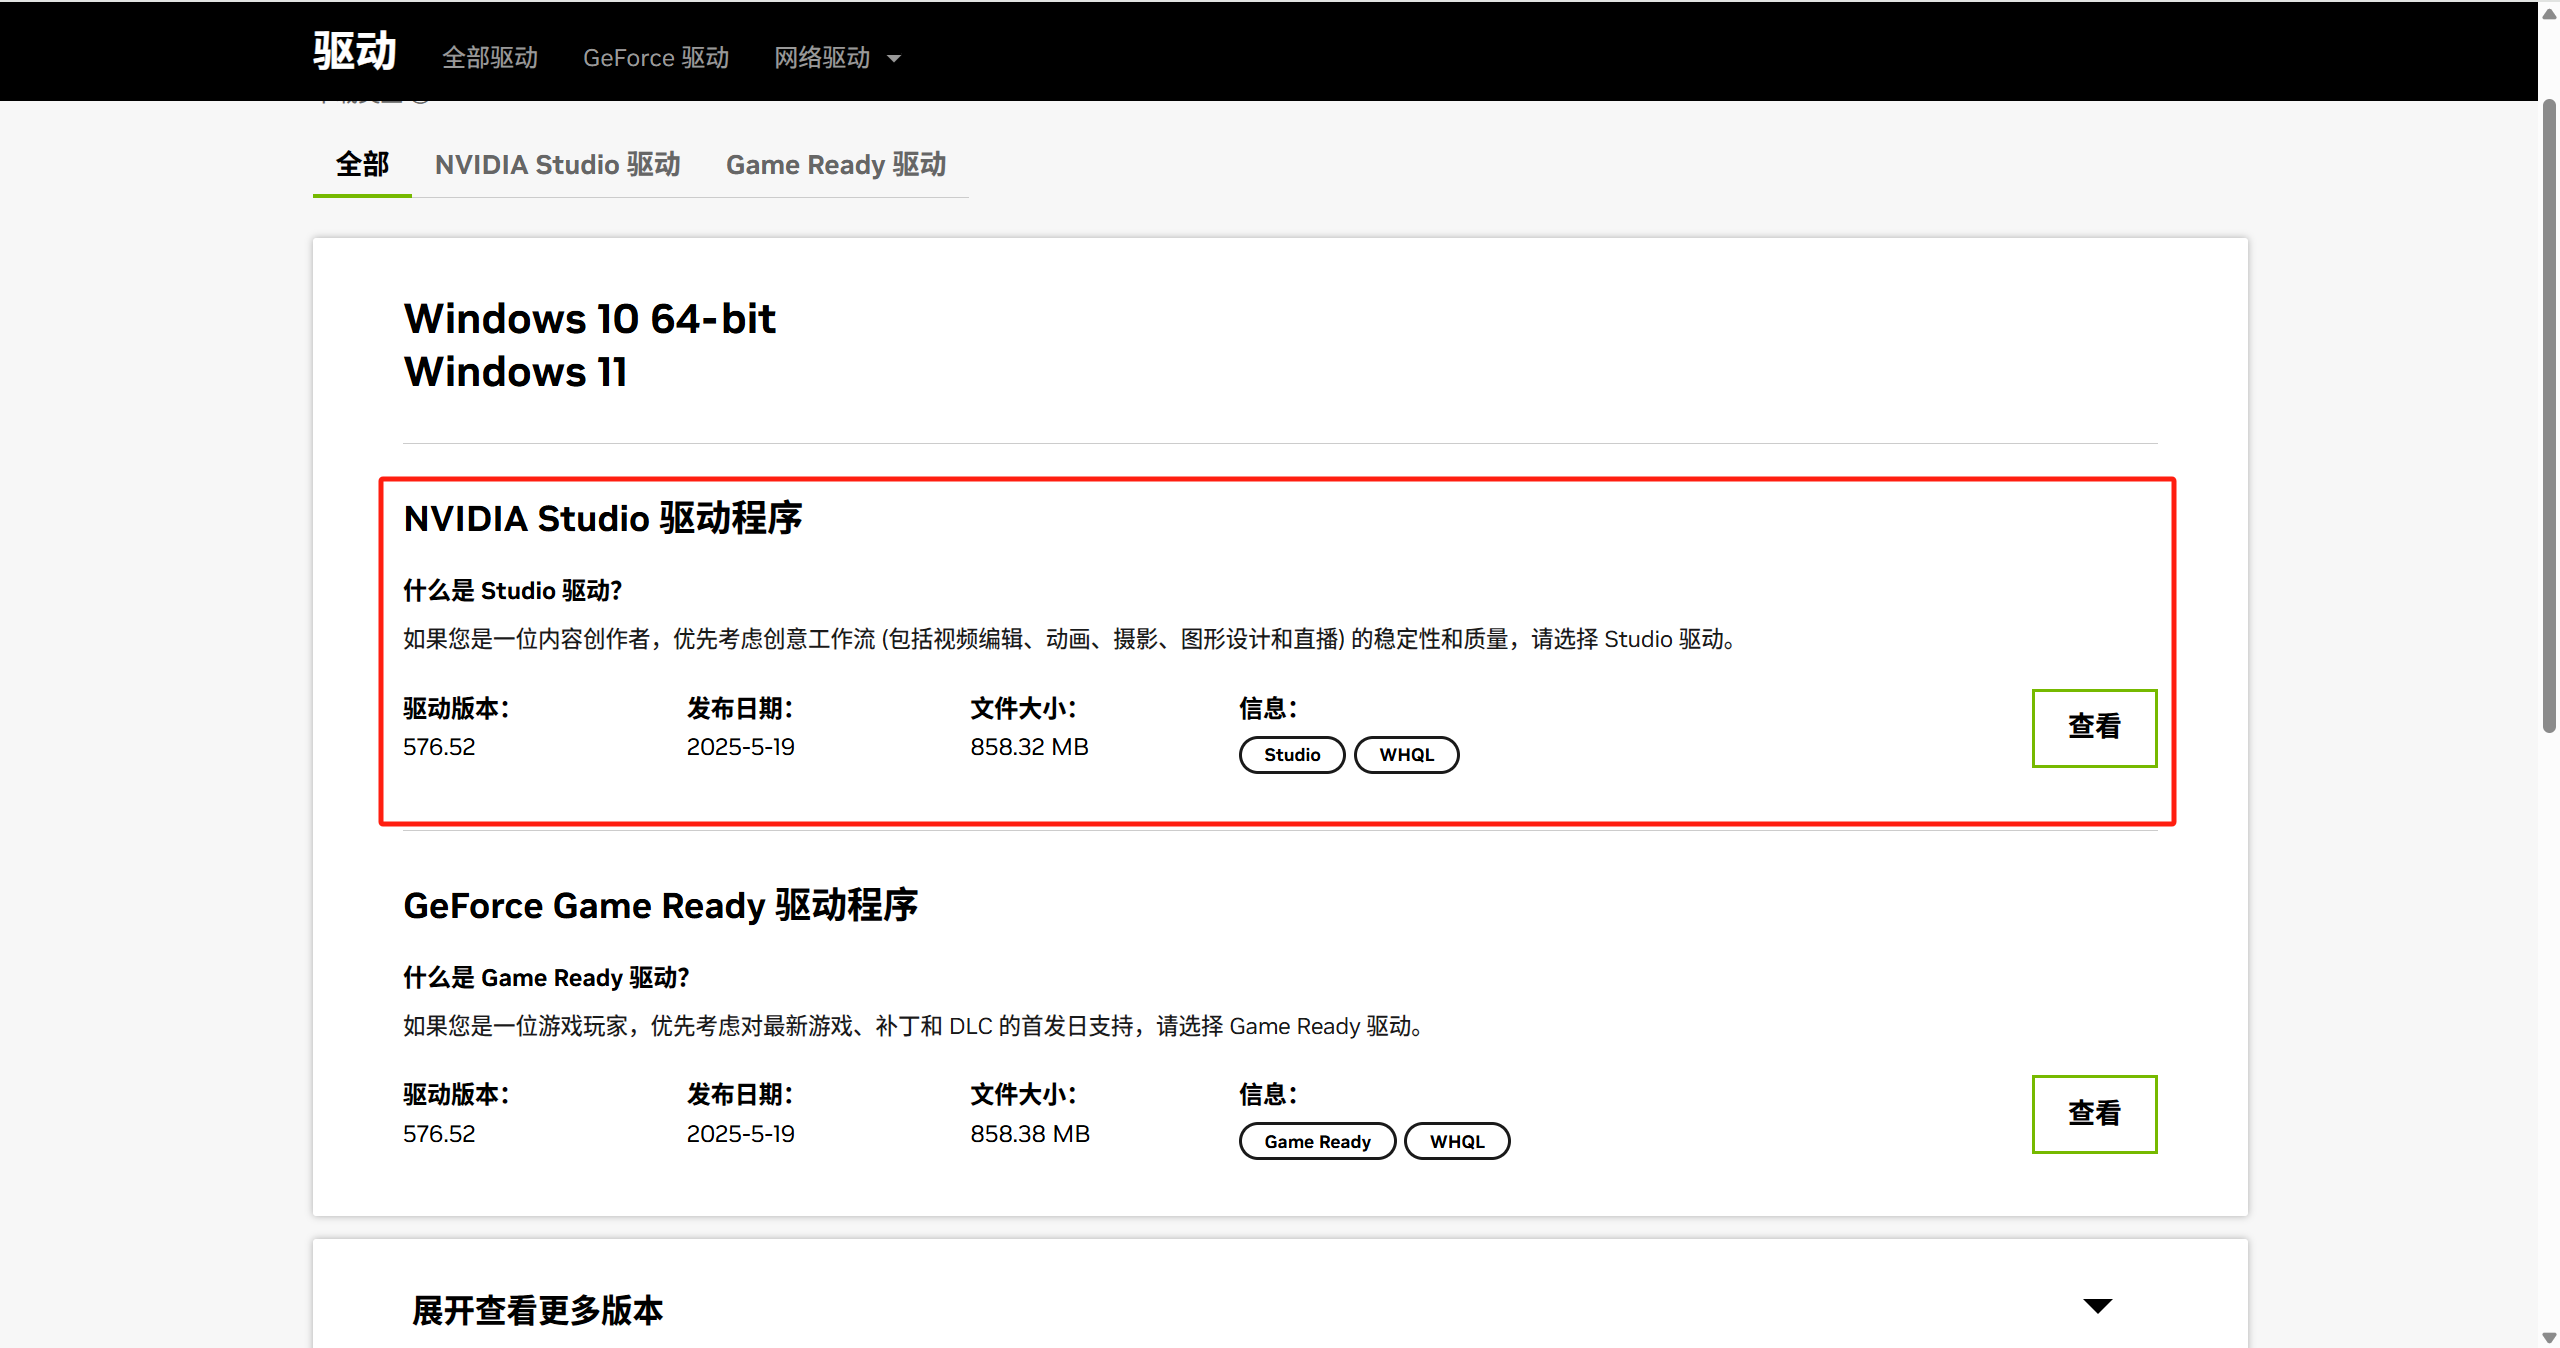
选择和我们显卡相同的搜索条件进行搜索
-
-
因为是使用显卡的深度学习方面的功能,所以我们选择Studio驱动下载或更新
-
4、安装CUDA Toolkit
下载完显卡驱动后我们就需要下载CUDA工具包,UDA(Compute Unified Device Architecture)是NVIDIA开发的并行计算平台和编程模型,主要目的是利用GPU(图形处理器)的强大计算能力来加速通用计算任务。它让开发者能够直接通过编程调用GPU进行高性能计算,突破传统CPU在并行计算中的性能瓶颈。
首先需要检查与当前显卡兼容的CUDA Toolkit版本
使用win + R输入cmd打开Windows命令指示符,输入nvidia-smi指令查看显卡支持的最高版本CUDA
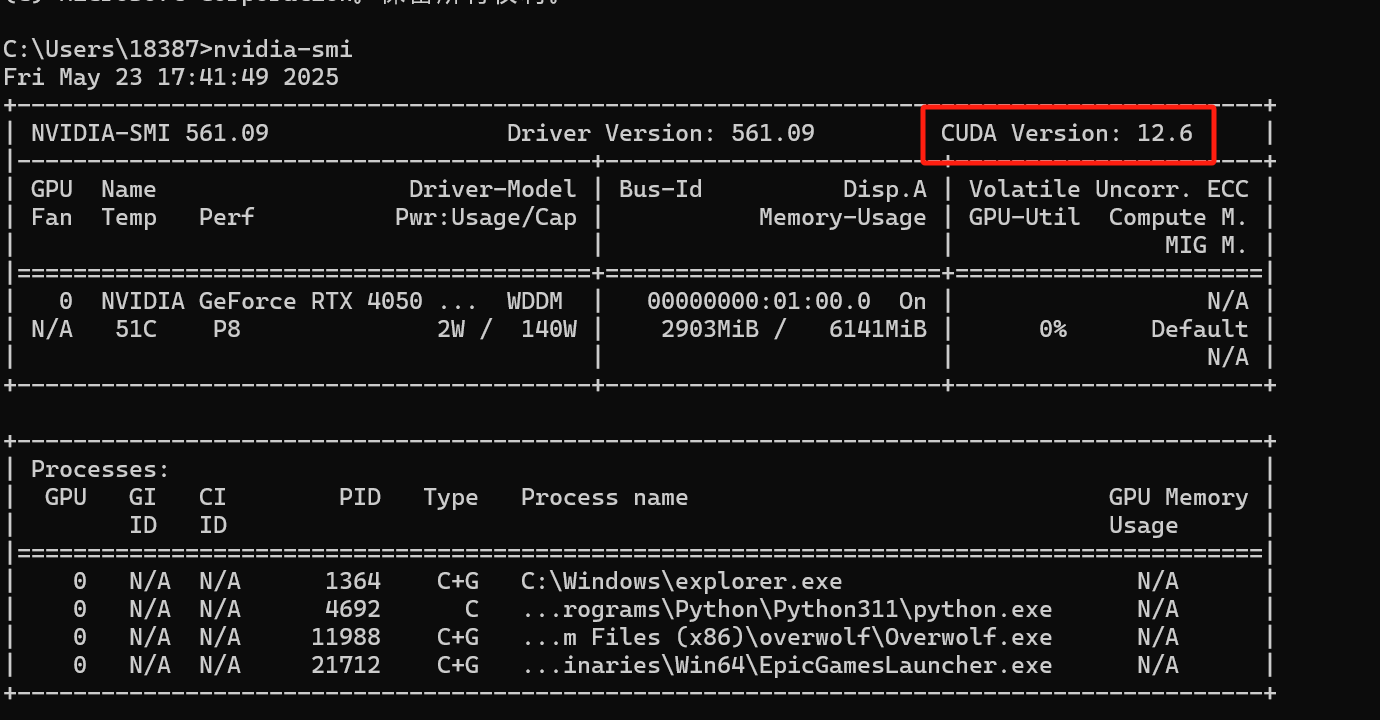
可以看到我的显卡最高可以支持CUDA 12.6这个版本
点击此处前往下载
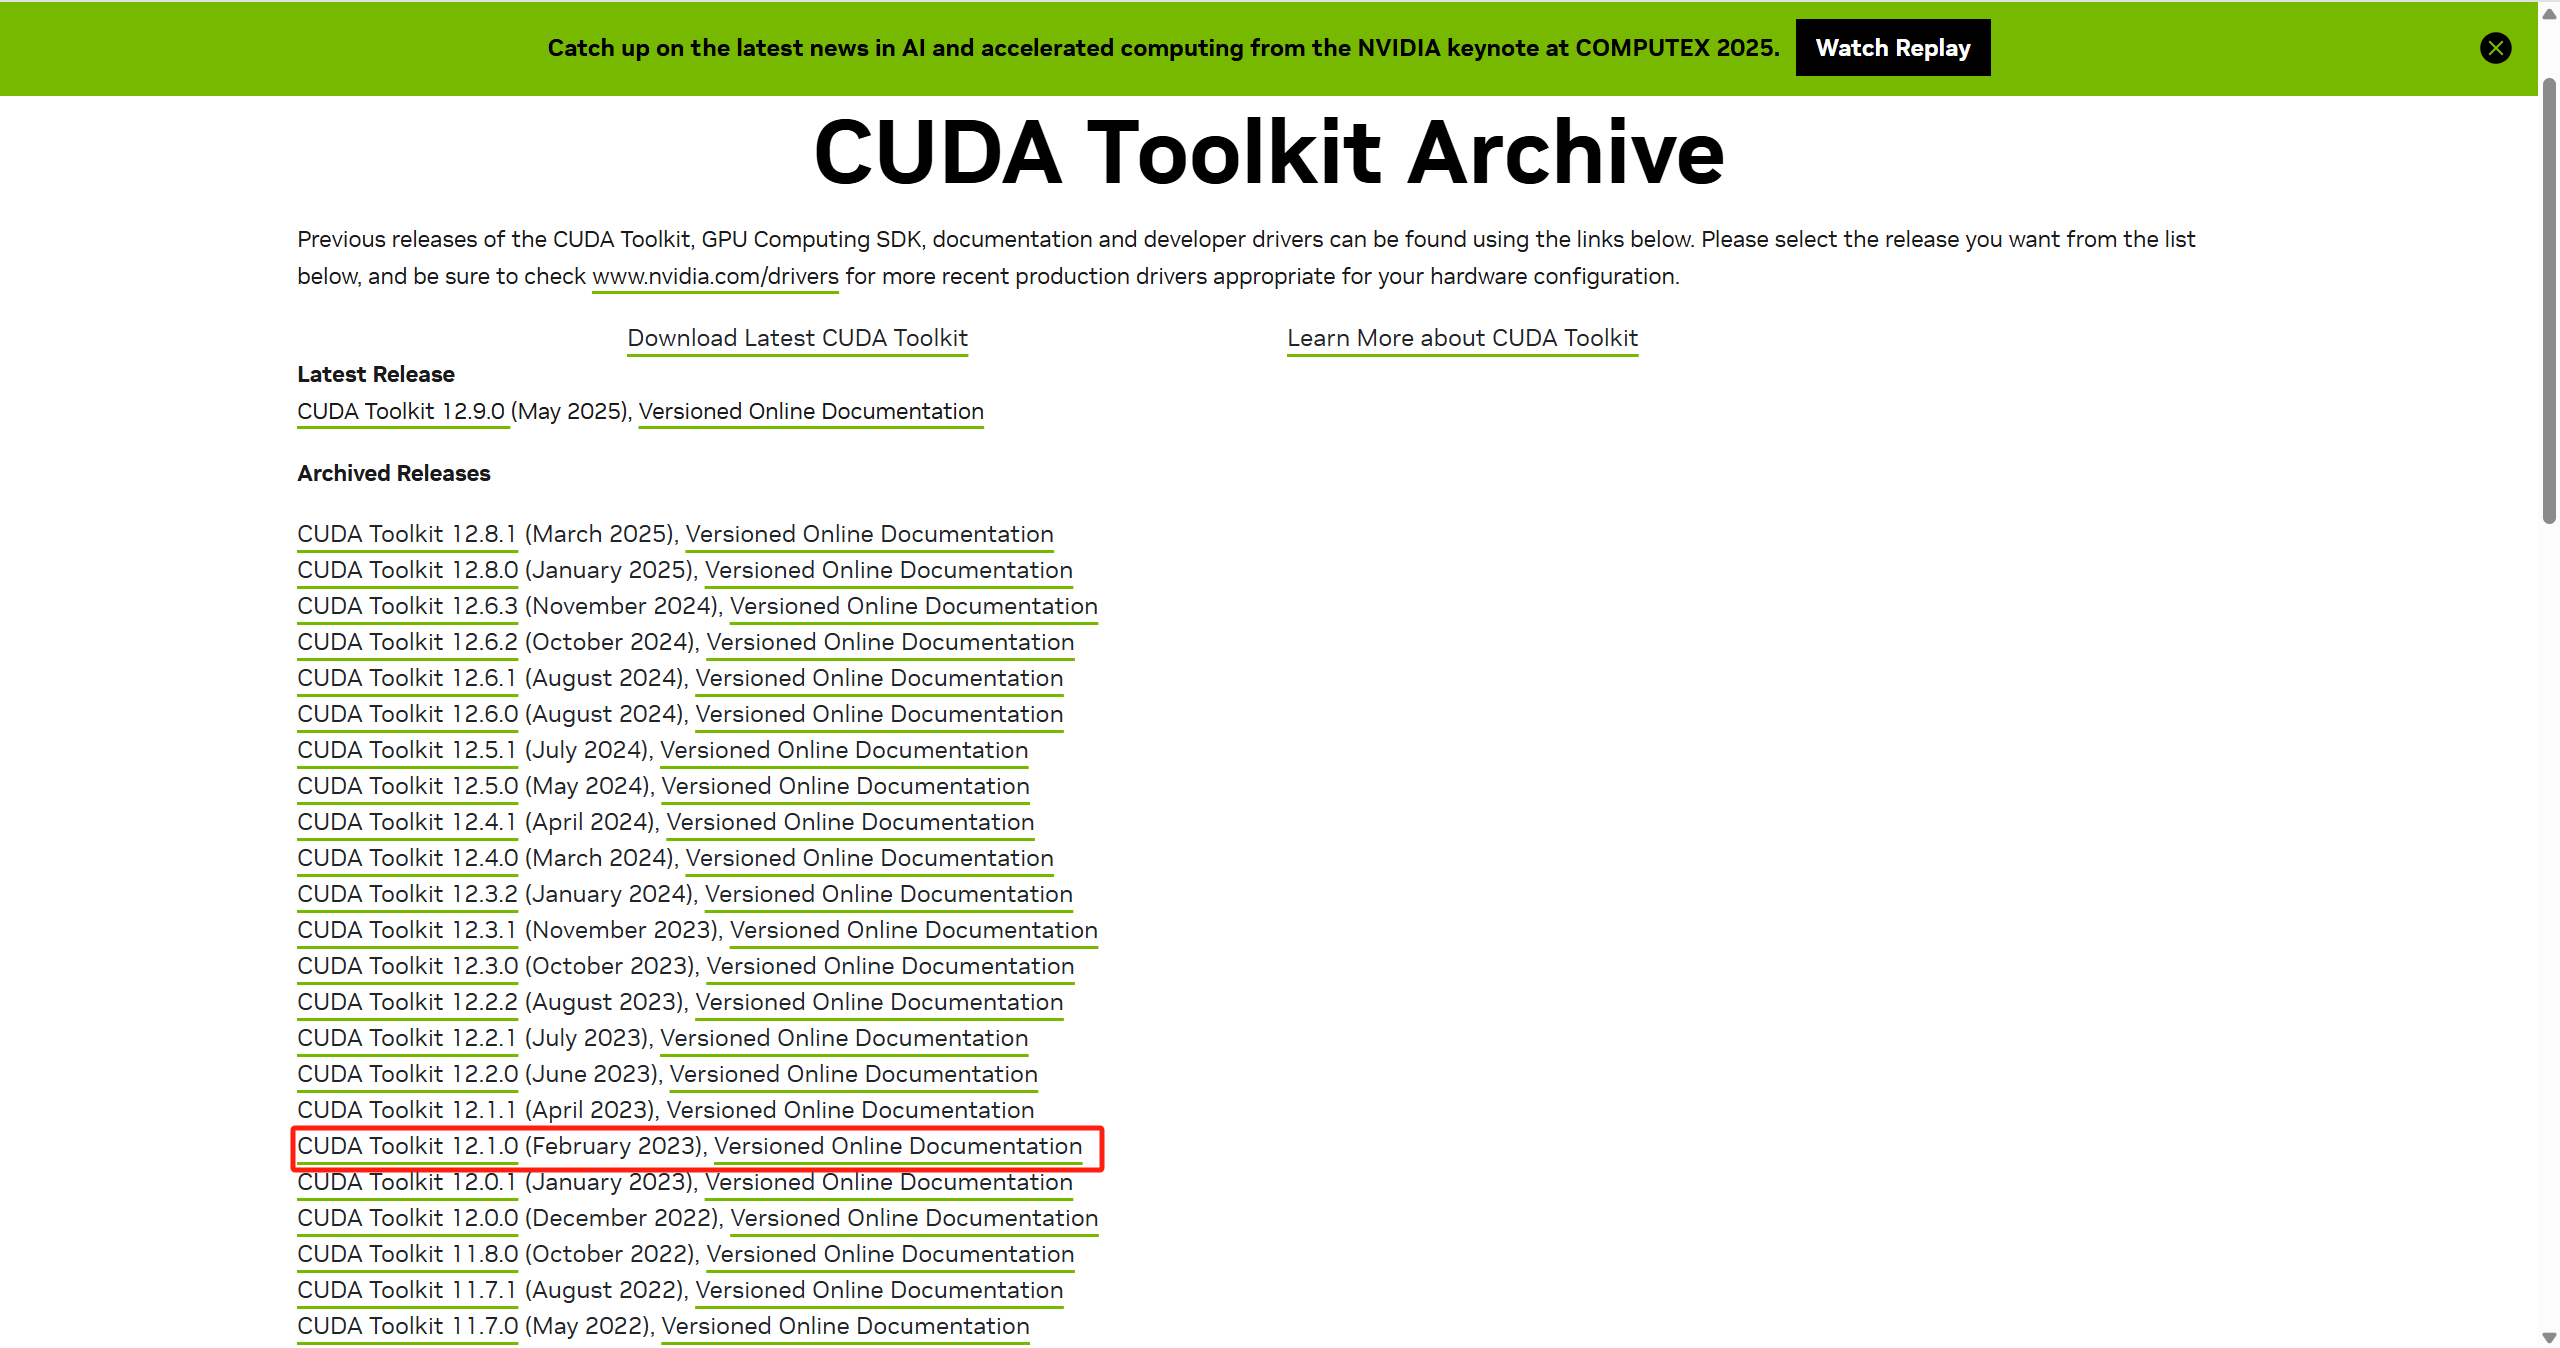
我选择的是CUDA12.1.0这个版本
下载完成后按照NVIDIA的向导程序安装即可
5、安装cuDNN
cuDNN是CUDA的深度学习加速库,接下来我们安装cuDNN
点击此处前往下载cuDNN
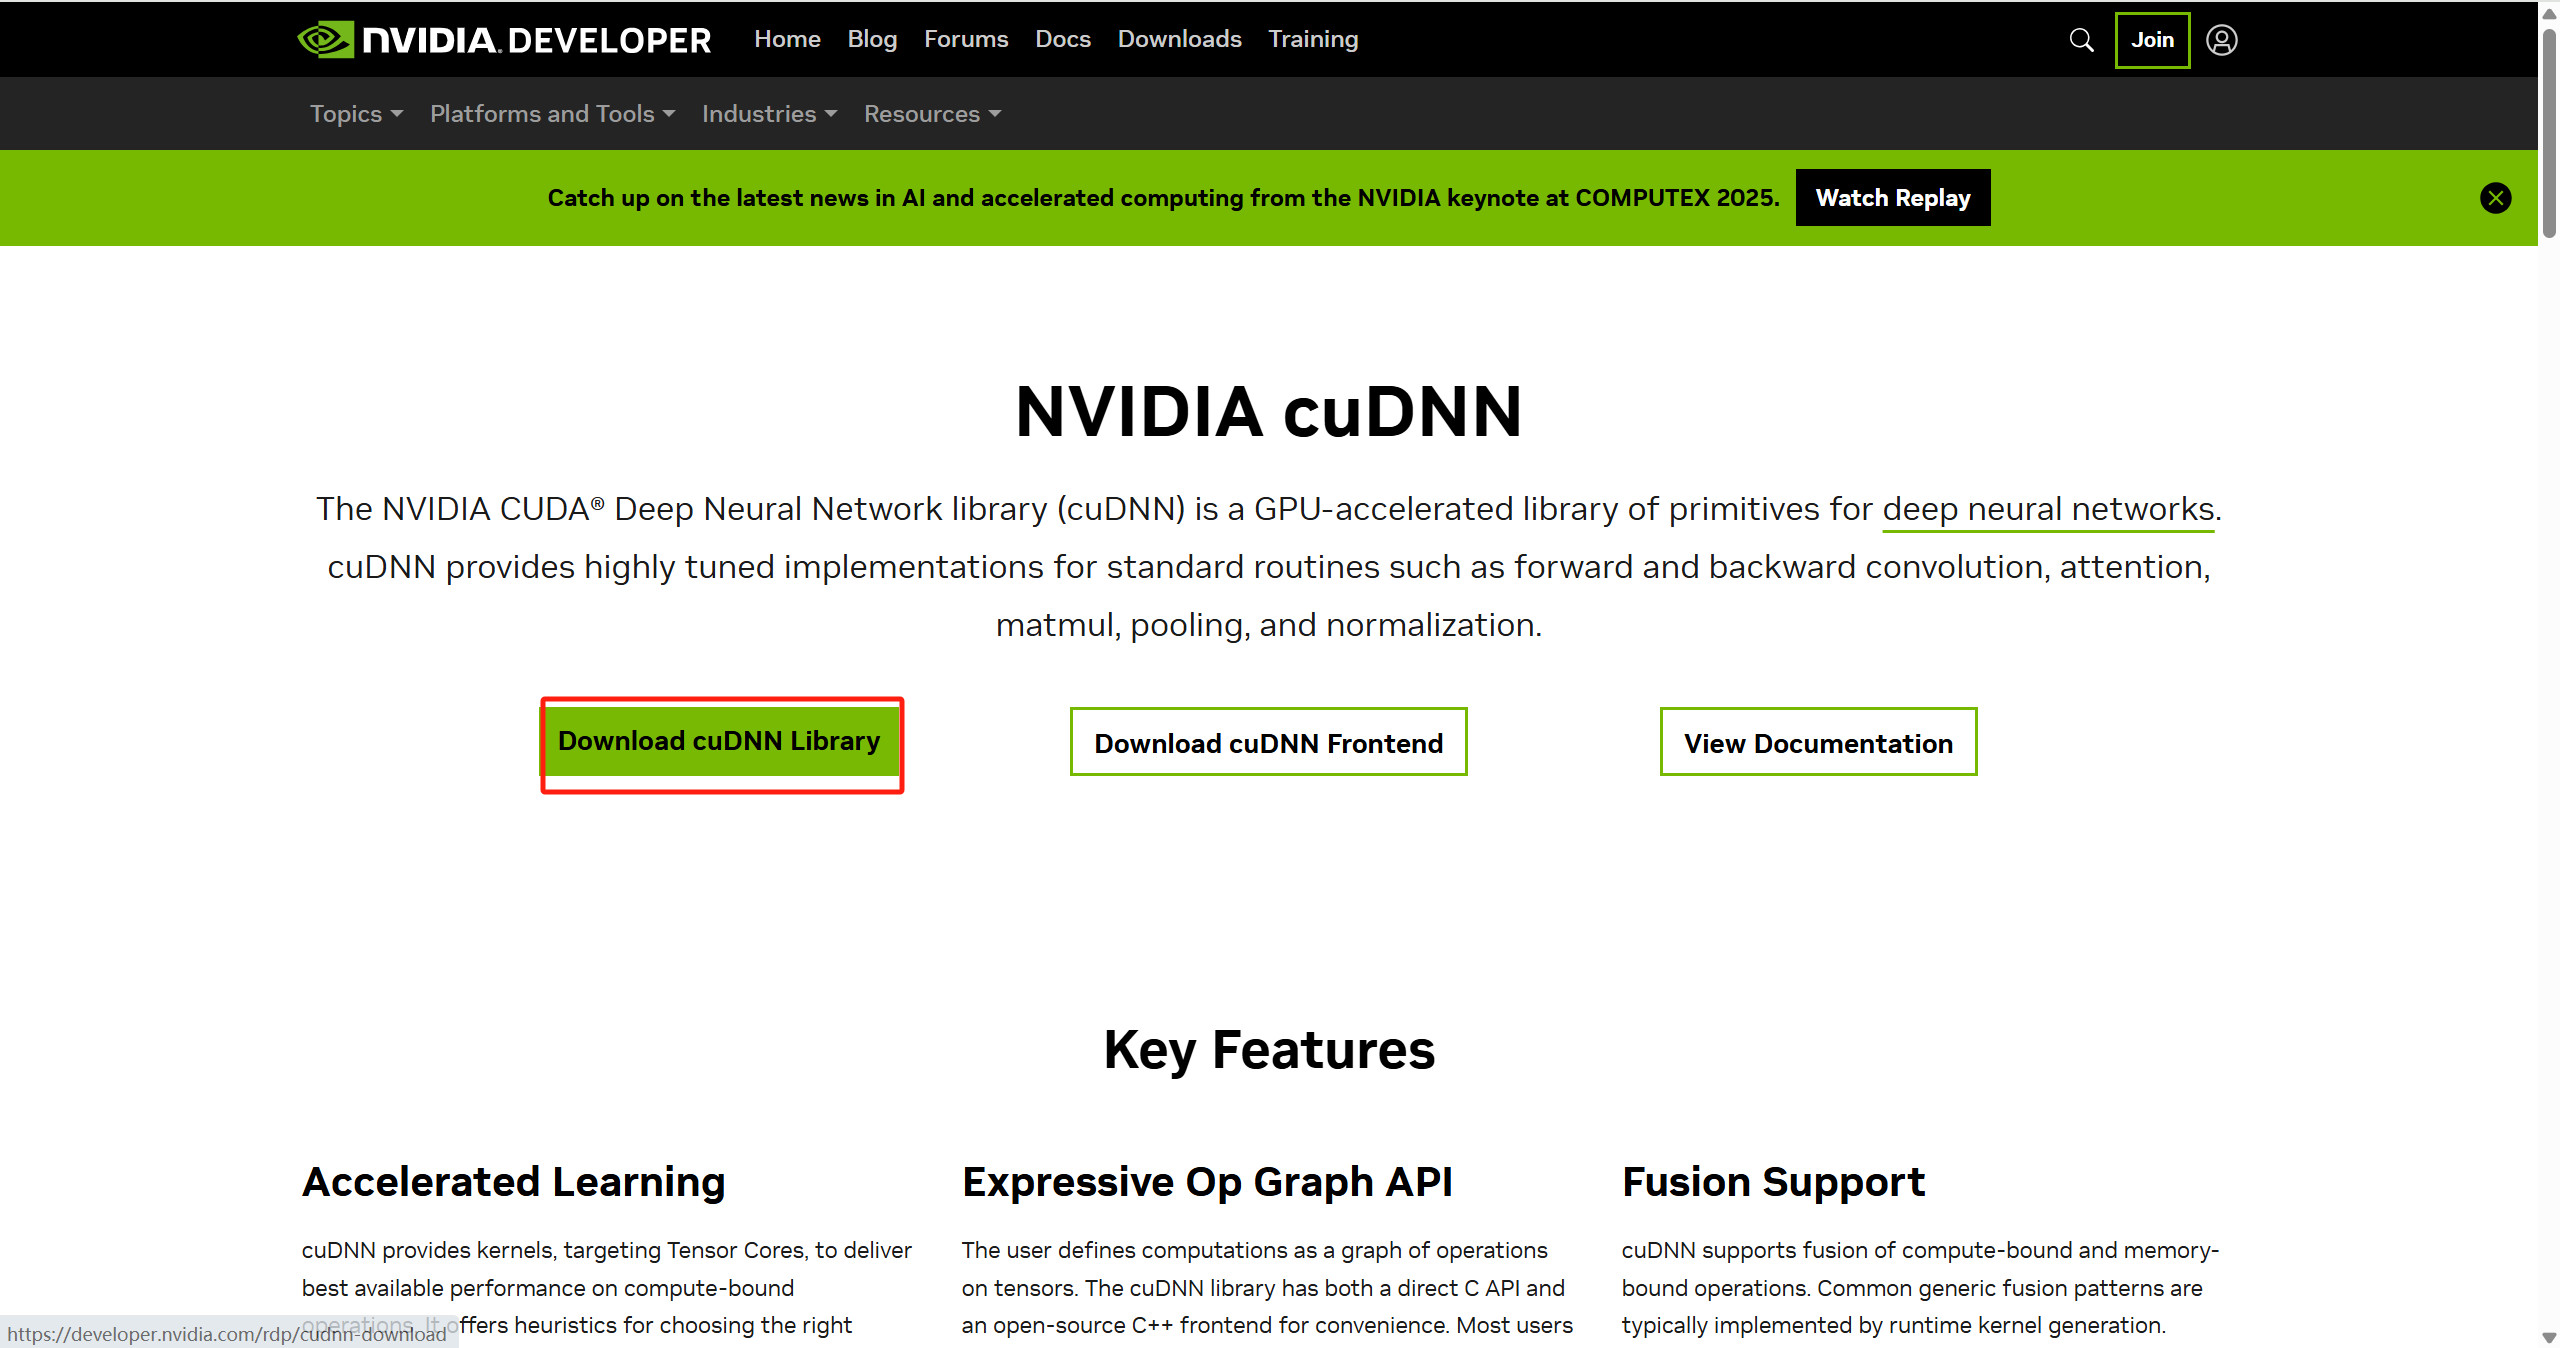
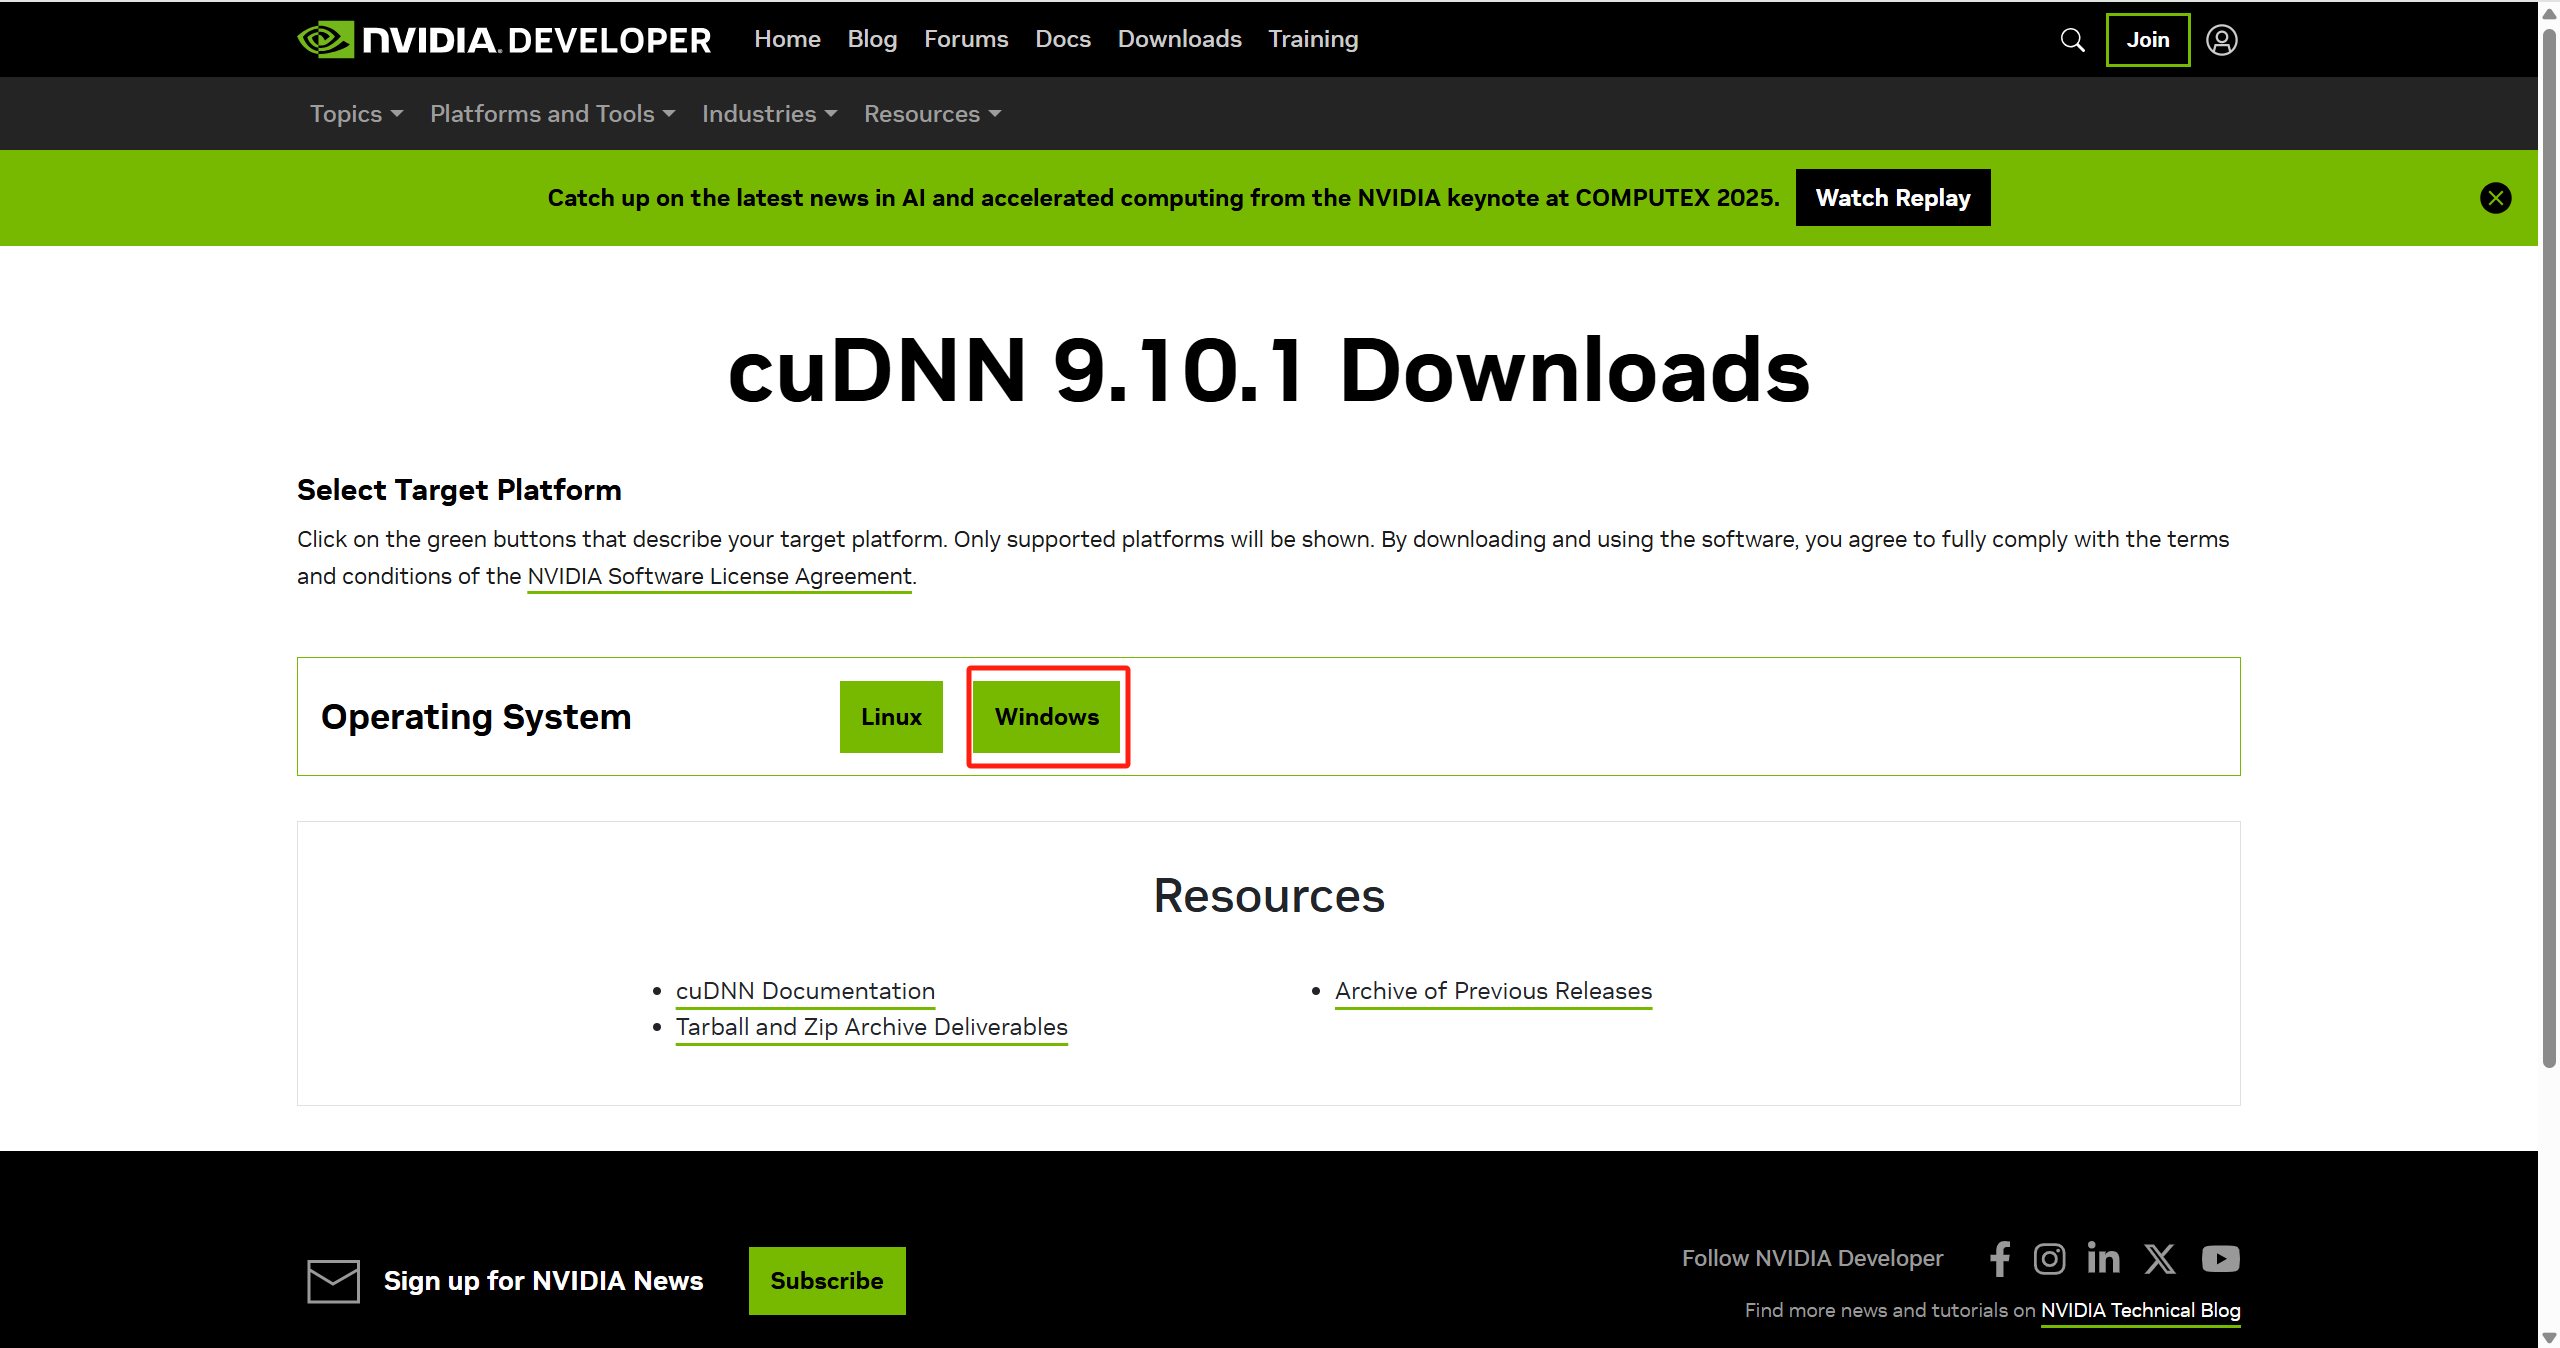
点击红框的地方即可
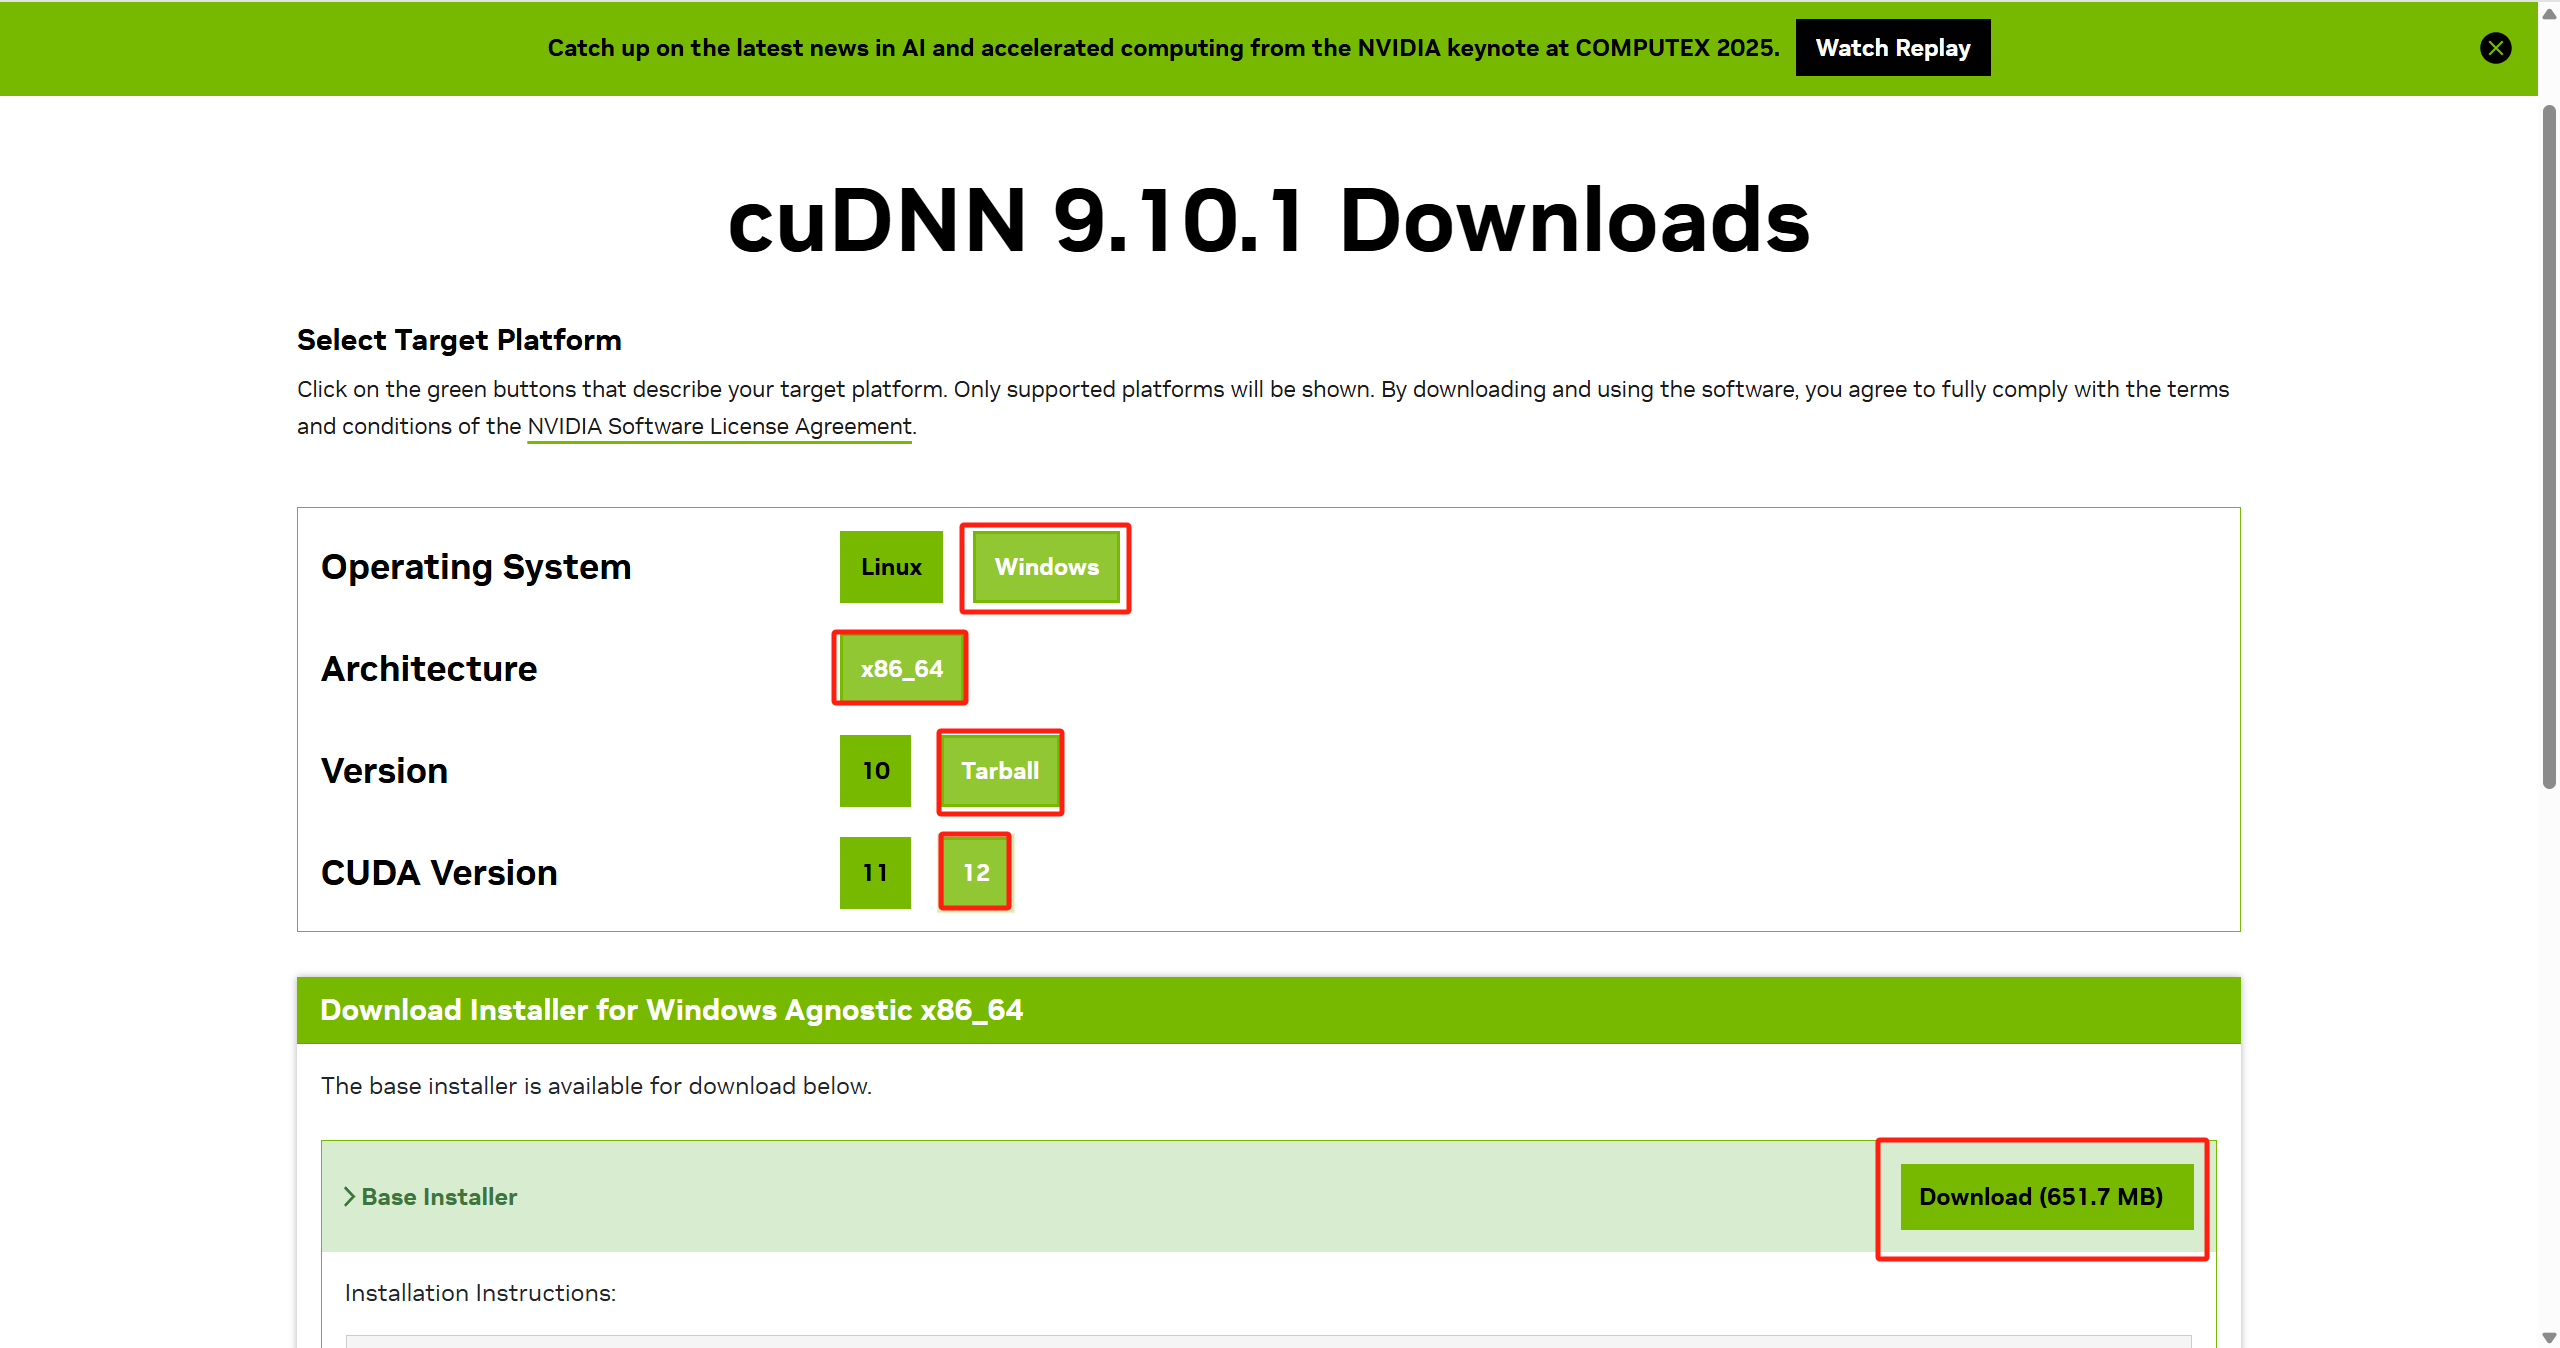
从向到下根据之前的CUDA版本选择下载
下载完成后解压cudnn包,打开cudnn目录,并且复制红框中的文件夹
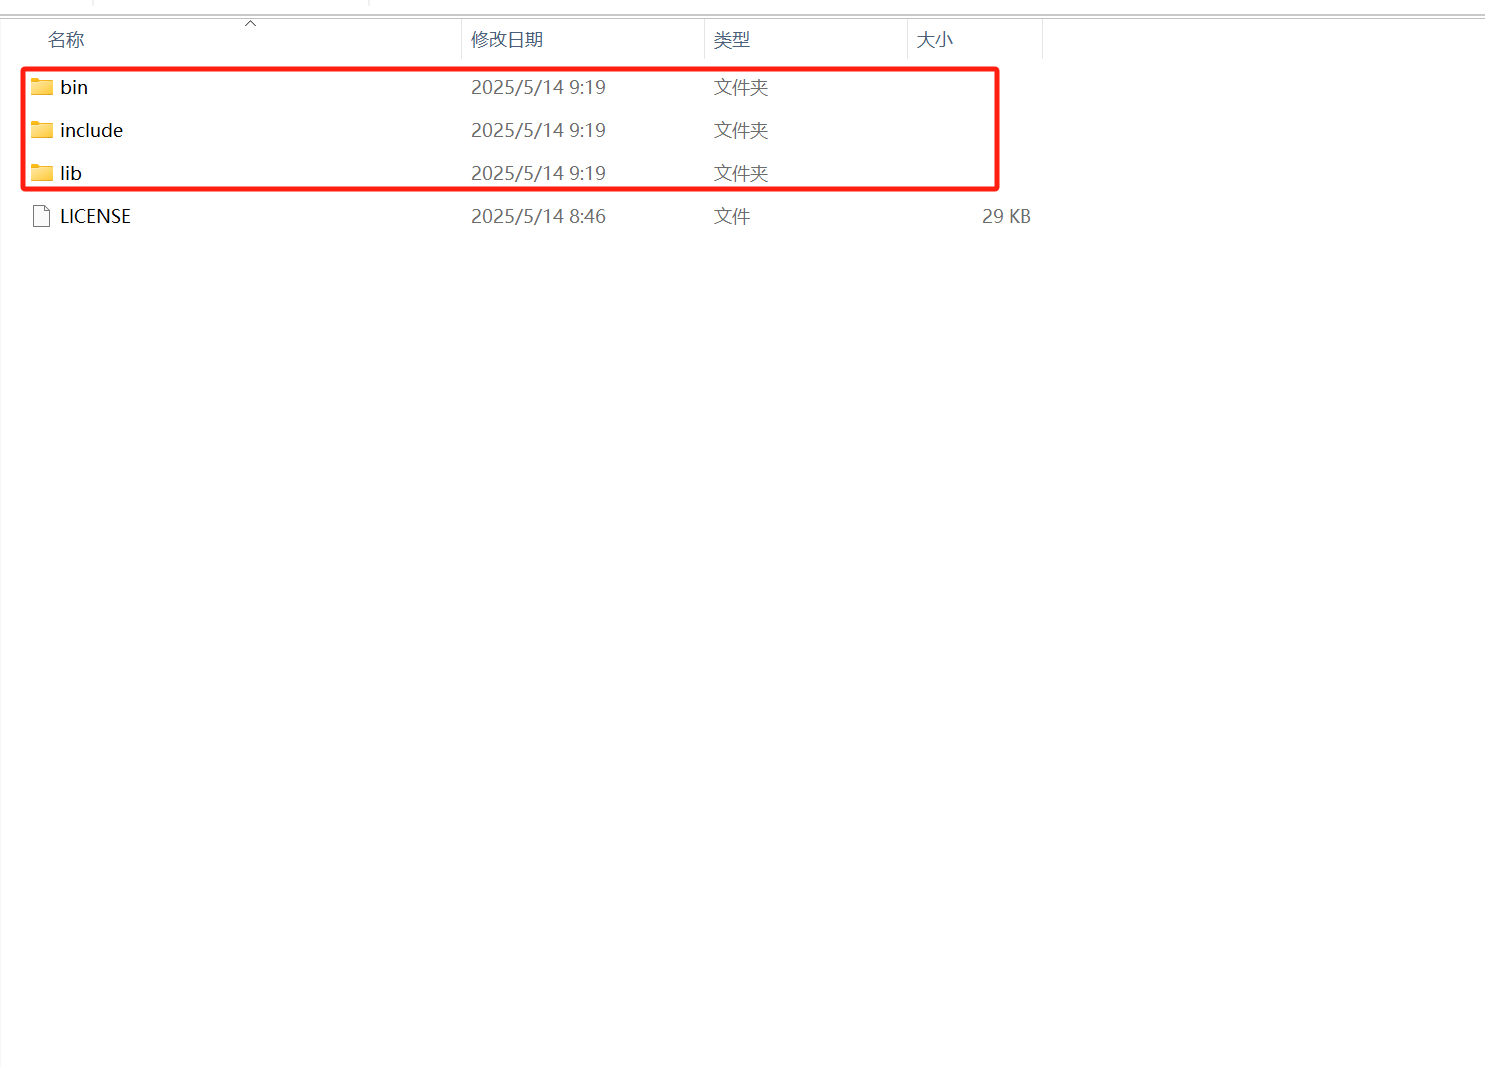
将 cuDNN 的文件解压后复制到 CUDA 安装目录(如 C:\Program Files\NVIDIA GPU Computing Toolkit\CUDA\v12.1)
二、安装PyTorch (GPU版本)
1、创建python虚拟环境
新建一个目录在此空间下创建Python虚拟环境
# 语法:python -m venv <环境名称>
python -m venv myenv  # 创建名为 myenv 的虚拟环境
激活虚拟环境
.\Scripts\activate2、安装PyTorch
访问 PyTorch 官网,根据 CUDA 版本生成安装命令。因为我的CUDA版本是12.1这个版本
pip install torch torchvision torchaudio --index-url https://download.pytorch.org/whl/cu121因为这个是用的官方的源服务器可能在国外下载速度会比较慢
验证GPU支持:(新建一个test.py在其中写入如下代码)
import torch
print(torch.cuda.is_available())  # 应输出 True
print(torch.cuda.get_device_name(0))  # 应显示 RTX 4050
并且在python虚拟环境下运行这个python程序
(.venv) PS D:\TTS-WorkSpace\.venv>python test.py特别注意:启动python程序的指令应该在test.py所在的父级目录下进行
特别注意,可能由于国内镜像使用的节点的问题,下载这段如果使用国内镜像就会下载成cpu版本的PyTorch,建议耐心等待下载安装完成,若是出现如下报错可能就是这个问题
(.venv) PS D:\TTS-WorkSpace\.venv> python test.py
False
Traceback (most recent call last):
  File "D:\TTS-WorkSpace\.venv\test.py", line 3, in <module>
    print(torch.cuda.get_device_name(0))  # 应显示 RTX 4050
          ^^^^^^^^^^^^^^^^^^^^^^^^^^^^^
  File "D:\TTS-WorkSpace\.venv\Lib\site-packages\torch\cuda\__init__.py", line 544, in get_device_name
    return get_device_properties(device).name
           ^^^^^^^^^^^^^^^^^^^^^^^^^^^^^
  File "D:\TTS-WorkSpace\.venv\Lib\site-packages\torch\cuda\__init__.py", line 576, in get_device_properties
    _lazy_init()  # will define _get_device_properties
    ^^^^^^^^^^^^
  File "D:\TTS-WorkSpace\.venv\Lib\site-packages\torch\cuda\__init__.py", line 363, in _lazy_init
    raise AssertionError("Torch not compiled with CUDA enabled")
AssertionError: Torch not compiled with CUDA enabled
三、安装Coqui TTS
1、直接通过pip安装
pip install TTS四、依赖项配置
安装Microsoft C++ Build Tools
从Visual Studio安装,勾选C++桌面开发组件
五、验证安装
在之前创建的python虚拟环境的目录下新建如下的文件夹和文件
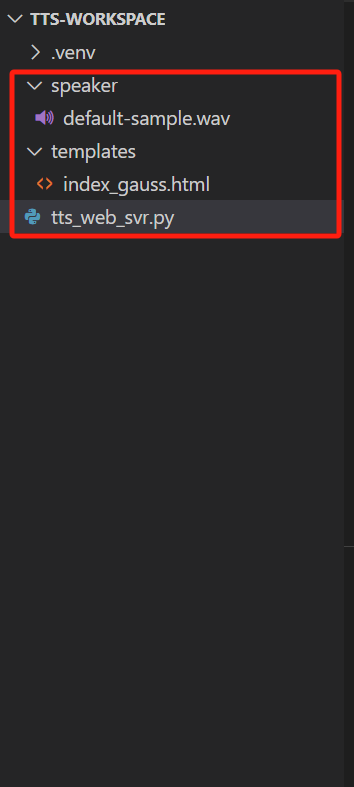
可以通过我以下的链接拷贝文件
tts_web_svr.py
index_gauss.html
由于csdn无法上传音频文件,你可以使用自己或的什么音频文件,因为我这个程序是根据本地的这个音频文件来合成的语音,只要正常音频资源即可
最后运行程序
(.venv) PS D:\TTS-WorkSpace> python .\tts_web_svr.py
D:\TTS-WorkSpace\.venv\Lib\site-packages\TTS\api.py:70: UserWarning: `gpu` will be deprecated. Please use `tts.to(device)` instead.
  warnings.warn("`gpu` will be deprecated. Please use `tts.to(device)` instead.")
 > tts_models/multilingual/multi-dataset/xtts_v2 is already downloaded.
 > Using model: xtts
D:\TTS-WorkSpace\.venv\Lib\site-packages\TTS\tts\layers\xtts\xtts_manager.py:5: FutureWarning: You are using `torch.load` with `weights_only=False` (the current default value), which uses the default pickle module implicitly. It is possible to construct malicious pickle data which will execute arbitrary code during unpickling (See https://github.com/pytorch/pytorch/blob/main/SECURITY.md#untrusted-models for more details). In a future release, the default value for `weights_only` will be flipped to `True`. This limits the functions that could be executed during unpickling. Arbitrary objects will no longer be allowed to be loaded via this mode unless they are explicitly allowlisted by the user via `torch.serialization.add_safe_globals`. We recommend you start setting `weights_only=True` for any use case where you don't have full control of the loaded file. Please open an issue on GitHub for any issues related to this experimental feature.
  self.speakers = torch.load(speaker_file_path)
D:\TTS-WorkSpace\.venv\Lib\site-packages\TTS\utils\io.py:54: FutureWarning: You are using `torch.load` with `weights_only=False` (the current default value), which uses the default pickle module implicitly. It is possible to construct malicious pickle data which will execute arbitrary code during unpickling (See https://github.com/pytorch/pytorch/blob/main/SECURITY.md#untrusted-models for more details). In a future release, the default value for `weights_only` will be flipped to `True`. This limits the functions that could be executed during unpickling. Arbitrary objects will no longer be allowed to be loaded via this mode unless they are explicitly allowlisted by the user via `torch.serialization.add_safe_globals`. We recommend you start setting `weights_only=True` for any use case where you don't have full control of the loaded file. Please open an issue on GitHub for any issues related to this experimental feature.
  return torch.load(f, map_location=map_location, **kwargs)
GPT2InferenceModel has generative capabilities, as `prepare_inputs_for_generation` is explicitly overwritten. However, it doesn't directly inherit from `GenerationMixin`. From 👉v4.50👈 onwards, `PreTrainedModel` will NOT inherit from `GenerationMixin`, and this model will lose the ability to call `generate` and other related functions.
  - If you're using `trust_remote_code=True`, you can get rid of this warning by loading the model with an auto class. See https://huggingface.co/docs/transformers/en/model_doc/auto#auto-classes
  - If you are the owner of the model architecture code, please modify your model class such that it inherits from `GenerationMixin` (after `PreTrainedModel`, otherwise you'll get an exception).
  - If you are not the owner of the model architecture class, please contact the model code owner to update it.
 * Serving Flask app 'tts_web_svr'
 * Debug mode: off
WARNING: This is a development server. Do not use it in a production deployment. Use a production WSGI server instead.
 * Running on http://127.0.0.1:5002
Press CTRL+C to quit
在浏览器中输入最后程序出现的http://127.0.0.1:5002这个地址,就可以进入程序的前端进行操作,通过输入文本然后通过GPU计算模型生成音频文件并播放出来
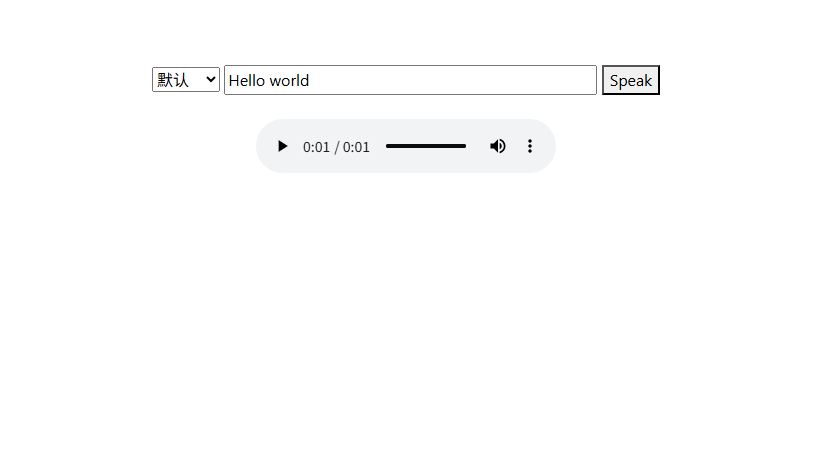
如上图所示并且能够输出并播放音频即使实现成功了!


 1961
1961

 被折叠的 条评论
为什么被折叠?
被折叠的 条评论
为什么被折叠?
 到【灌水乐园】发言


